Tips for gardeners: proper preparation and planting of seeds for seedlings
Every spring it is time for gardeners to sow seeds for growing seedlings... It would seem that it is difficult - I planted a seed in the ground and expect the emergence of seedlings. This option is, of course, possible, but it does not guarantee a good harvest. When planting seeds, it is important to consider the growing conditions of each crop, and then the results will undoubtedly please you.
Content:
- Features of preparing seeds for seedlings
- Landing dates
- Soil preparation
- Planting tips
- Care (watering, lighting, temperature, feeding)
- Seedling picking
- Landing in the ground
Features of preparing seeds for seedlings
When growing different types of crops, there are certain features, they also concern planting seed... Before sowing, the seeds need to be prepared:
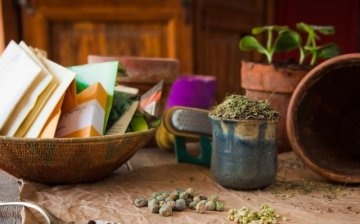
- First, buy and browse the available ones.
- Second, check the expiration dates.
- Thirdly, to clarify the sowing rates.
After that, the immediate preparation for landing, which includes verification of germination, calibration, stratification, hardening, bubbling, scarification, soaking, disinfection and germination.
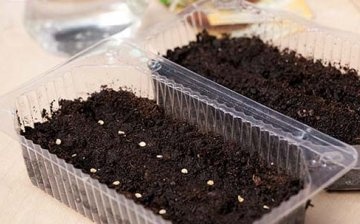
Seed germination is checked one and a half or two months before sowing seeds. To check, plant the seeds in a container with earth, cover with foil and place in a warm room.
After sprouting, calculate the percentage of germination: the ratio of the number of sprouts to the number of seeds sown.
As you know, large seeds contain more nutrients and germinate better than small ones. Moreover, the same the seeds germinate at the same time, and care for the seedlings is greatly facilitated. Seed calibration can be done manually or using a special sieve. Disinfection is carried out to destroy pathogens diseases... This can be done by either pickling or heating.
Warming up can be done in different ways:
- Expose the seeds to the open air so that the sun's rays fall on them, for a period of 1 - 4 days.
- Warm up the seeds in the oven for 4-5 hours, stirring from time to time, at a temperature of 40-50 degrees.
- Hang the seeds in cloth bags from the central heating radiator one and a half to two months before sowing.
After warming up the seed material of some crops (tomato, cucumbers, melons and gourds) must be additionally treated with a 1% solution of potassium permanganate for 20 minutes. Then the seeds should be rinsed under running water.
Dressing - processing of seed with special means. The simplest and most popular etching method is using potassium permanganate:
- It is carried out just before sowing.
- Make a dark pink solution.
- Place the seeds in it for half an hour.
- Dry to separate the seeds from each other.
- Do not rinse.
- Important: use only glassware for etching.
To obtain simultaneous shoots, the seeds are soaked in water (the mildest type of pre-sowing treatment):
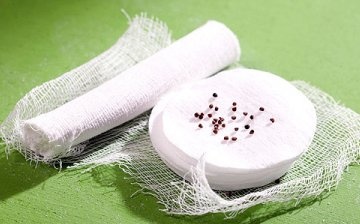
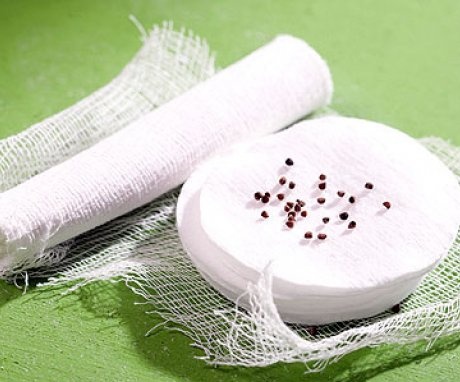
- Place the seeds on cheesecloth or any thin cloth in a small container.
- Cover the top with the same piece of gauze or cloth.
- Fill with water: the mass of water should be approximately equal to the mass of the seeds.
- Moisturize constantly without drying out.
It is good to soak in a nutrient solution - dissolve in one liter of water:
- Potassium nitrate and superphosphate 5 g each
- Boric acid, manganese sulfate, copper sulfate, zinc sulfate - 0.1 g each.
In the nutrient solution, the seeds are kept for 12 hours at room temperature. Good results are obtained by soaking seeds in growth regulators, in an infusion of ash (dissolve 16 g of ash in 1 liter of water and leave for a day), in melt water (at room temperature 20-24 degrees). Seed hardening is very beneficial for plants grown outdoors. However, it is carried out on condition that seedlings will also be hardened. The seeds swollen after soaking are kept in the room during the day, and put in the refrigerator overnight. The hardening period is one week.
Stratification - keeping the seed at a low temperature in a humid environment for a long time - is carried out for difficult-to-germinate seeds. With podzimny sowing, stratification occurs naturally. At home, the seeds are mixed with sand, moistened and allowed to swell. After that, the container with seeds and sand is placed in the refrigerator until germination.
Sometimes gardeners use the folk method of stratification - in a cabbage stump:
- In autumn, chop off the root of the stumps and cut the core.
- Put in the received container the seeds.
- Close with a stump plug.
- Bury the stump with seeds to a depth of about 30 centimeters.
- In the spring, dig up the seeds and plant.
Scarification consists in thinning the shell of the seed to accelerate germination. Seeds neat process with sandpaper, a file or rubbed with sand. The procedure is carried out for seeds with a very dense shell. Thermal scarification can be carried out. To do this, the seeds in a cloth bag are first dipped in boiling water for a few seconds, then in ice water. Seeds with a burst shell are removed and the procedure is continued with the rest. Repeat three to four times.
Sparging is the treatment of seeds with air or oxygen in water.
The first option is less effective because the air contains a small percentage of oxygen. After this procedure, the germination time is reduced by at least a week. At home, you can use an aquarium compressor for bubbling:
- Dip the hose tip into a half liter jar.
- Pour 2/3 of room temperature water into the jar.
- Switch on the compressor.
- Dip the seeds in the bag into the water.
- Stir occasionally.
- At the end, dry the seeds.
Sparging time for vegetable crops:
- Tomato - 12-18 hours
- Pepper - 24-36 hours
- Carrots, lettuce - 12 hours
- Ogurtsov - 15-20 hours
- Luke - 14-24 hours
- Dill - 18 hours.
Carrying out the above methods of pre-sowing treatment, it is important to take into account the characteristics of a particular crop. For some plant species, one method is sufficient, for others a combination of several.
Landing dates
One of the main factors for successful cultivation any culture is the age of seedlings at the time of planting in the ground. The seedlings should not be overgrown, otherwise the plants may not take root, or this process will take a long time. In addition, due to a lack of nutrients, the stem begins to grow woody and does not give lateral shoots from which fruits develop, the roots begin to rot.
Experienced gardeners adhere to the "better later" rule, as in the event of sudden frosts, the planted seedlings may die.
And overexposing it, as mentioned earlier, is highly undesirable. The timing of sowing seeds needs to be adjusted depending on the growing region, on the time of the onset of spring and on the growing conditions seedlings... In a cool room, the timing naturally increases.
The time required for normal development from seed to ready-to-plant seedlings is usually indicated on the seed bags. That is, if you subtract the recommended age of seedlings from the approximate date of the expected last frost, you can find out the date of sowing the seeds.
Soil preparation
The soil for seedlings prepared depending on the culture:
- For cucumbers - take in equal parts sod (or compost) and humus soil, add wood ash (for 1 bucket of mixture, about a third of a glass of ash).
- For tomato, peppers, eggplant, white cabbage and cauliflower, Luke, lettuce - take one part of sod and humus soil and two parts of sand. 200 g of ash and 120 g of fluff lime are added to one bucket of the mixture.
You can prepare a universal soil in the fall:
- Take humus, turf soil in equal proportions (all lumps and roots must be removed from it) and peat.
- Treat the mixture with Hom.
- Fold in plastic bags.
- Leave in the cold until spring.
Often to avoid damage root system at transplant, the seedlings are grown in peat cubes that you can make yourself. For one bucket of well-decomposed peat, you need to take:
- Dolomite flour - 60 g (or wood ash - 2 cups)
- Complex mineral fertilizer - 90 g.
- The size of the cubes will vary depending on the type of crop being sown.
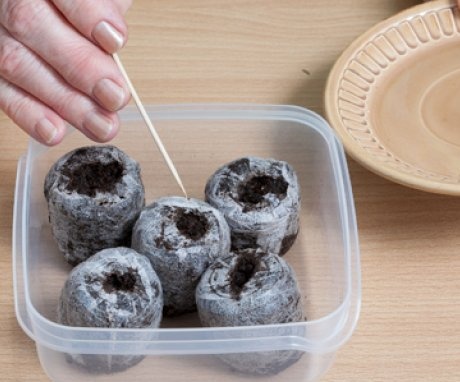
Gardeners often resort to such a convenient method as planting seeds in peat tablets. The advantages of peat tablets are undeniable:
- Not necessary dive seedlings.
- There is no need to feed the plants as the tablets are fortified with nutrients.
- Risk of infection diseases minimal.
- No need to mess with soil preparation.
- They take up little space.
- The only drawback peat tablets - their high price.
Planting tips
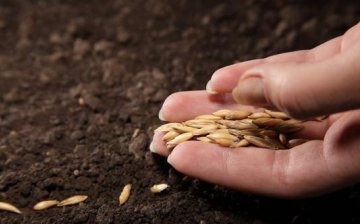
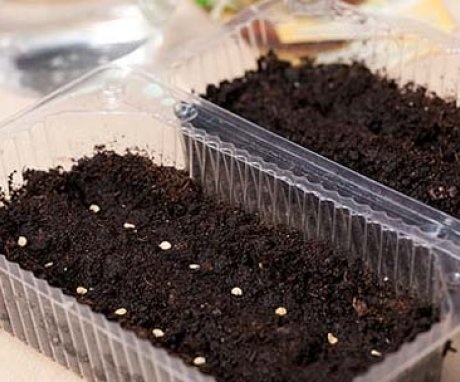
Pour the prepared soil into the container, make small pits in it and pour it with warm, settled water. Put a seed in each hole, lightly sprinkle with earth and sprinkle with a spray bottle.
For a greenhouse effect, cover the containers with transparent foil.
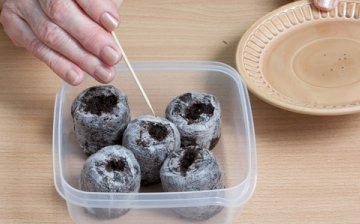
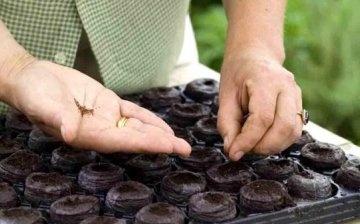
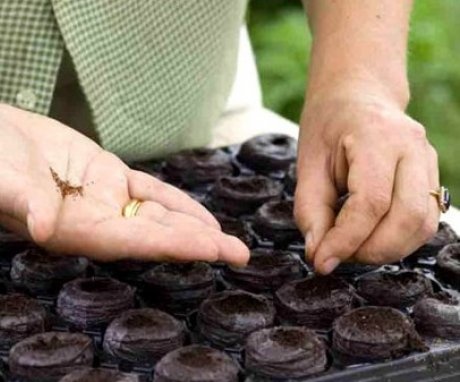
Planting seeds in peat tablets:
- Place the tablets in containers (tray or special cassettes).
- Fill with water.
- Add water as the tablets swell.
- After 20 minutes, drain off the remaining water.
- Press the seeds lightly into the depression in the tablets.
- Sprinkle lightly with peat.
- Cover containers with foil or glass.
Tablets are great for growing plants that are difficult to tolerate pick, eg, peppers and eggplant... If there are no tablets, it is better to initially sow such plants in separate containers.
Care (watering, lighting, temperature, feeding)
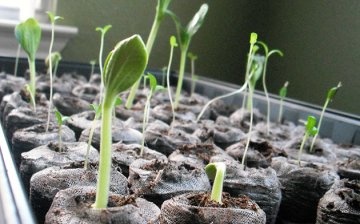
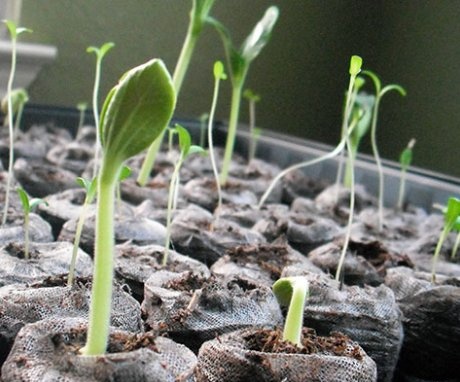
After planting, the containers with the planted seeds should be regularly ventilated and the soil moisture should be monitored. When sprouts appear, the film must be removed from the containers with seedlings. It is important that the plants are in a well-lit place: if there is a lack of light, the seedlings are pulled out.
Once a day, the seedlings need to be rotated 180 degrees so that they do not bend.
It is desirable that the room temperature is maintained at 16 - 18 degrees. The cool air will inhibit the growth of seedlings that are drawn towards the light. If the seedlings are grown in peat tablets, care must be taken to ensure that the roots of the plants are not intertwined with the neighboring ones. Therefore, the tablets must be placed at a distance from each other. If the root system is too overgrown, place the tablets in the soil.
Watering should be regular, in small portions, not excessive. You can water with a tablespoon. The water should be settled, at room temperature. Top dressing seedlings are carried out twice, provided that you used high-quality soil for planting: the first top dressing - after the formation of two real leaves, the second - before planting in the ground. If the soil is not very good, fertilizing can be done every ten days. Fertilizers for seedlings, it is easier to buy in a store in a specialized department, information on application is given on the package. When feeding plants, it is important to observe the measure, because an excess of fertilizer is no less harmful than its lack.
Seedling picking
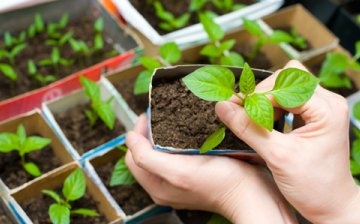
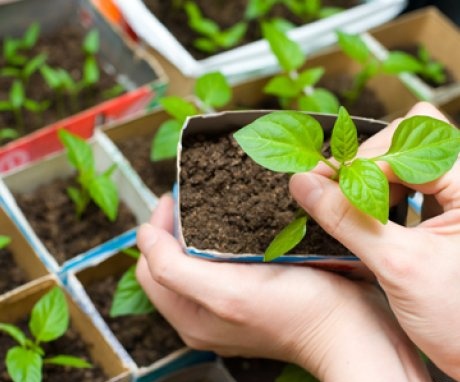
After the formation of two or three true leaves seedlings need to be exposed picking - transplanting plants into larger containers.
Many have a negative attitude to this procedure, believing that picking has a bad effect on the plants (during transplanting, the roots may be damaged, the plant has to adapt to new conditions), and the seeds are immediately planted in large containers.
It should be noted that during the germination period, the seeds need not so much space as a sufficient amount of oxygen.
When planted in small containers with holes, the seeds have enough oxygen and the water does not stagnate, unlike large containers in which there is a problem with drainage. As the plant grows, the root system develops and the sprouts need more space. Therefore, a pick is carried out.
Landing in the ground
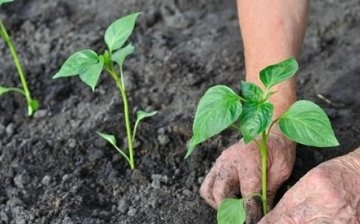
Landing in the ground is an important step in growing plants. First of all, it is important not to be mistaken with the timing of disembarkation - necessarily after the last frost. Before planting in the soil in a permanent place, the seedlings need to be watered well and then not watered for 4-5 days. After transplants it is necessary to shade the seedlings at first, protecting them from sunburn.
Until the plants take root, they need to be watered every day.
A good result gives treatment plants before transplanting with a biostimulant, for example, "Epin-extra". It helps seedlings adapt to new conditions faster and easier. It is recommended to transplant seedlings into open ground, if possible, in cloudy weather.
More information can be found in the video.




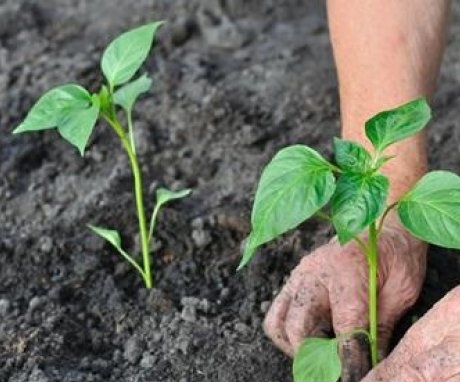
Before planting, I soak the seeds in a weak solution of potassium permanganate, then they swell. I also warm up the soil before planting. And then I just start landing. Then, when the seedlings sprout, you can treat the seedlings with a biostimulant.