The most effective methods of germinating seeds at home
Germinating seeds Is a whole science. In order for them to grow much faster, you can apply different methods that take into account the timing of germination, the characteristics of the seed and the conditions necessary for them to germinate.
Content:
- Seed germination methods
- Planting seeds after germinationI
- Seed care after germination
- Benefits of germinating seeds
Seed germination methods
There are two methods by which seeds can be germinated.
First method. It is perfect for all types of seeds that are not too small:
- First you need them process using any disinfectant available in gardening stores.
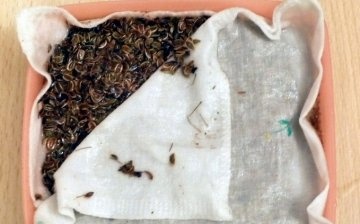
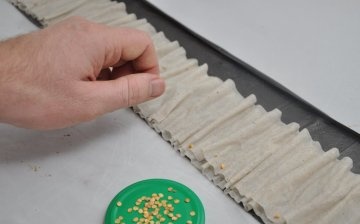
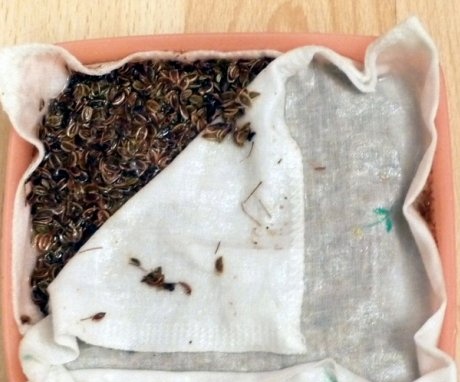
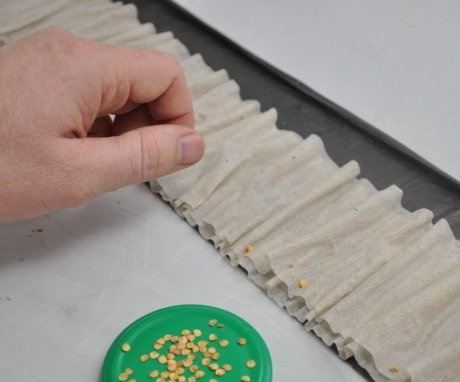
- After that, the seeds must be laid out on a moistened gauze, which was previously folded in two layers.
- It is most convenient to put it in an ordinary plastic lid with warm and clean water poured into it.
- After that, you can write the name of the variety on paper and put it under the lid.
- Next, the lid with the germination material is placed in a small plastic bag, tied and hung near the radiator.
With such a simple method, you can easily provide the seeds with favorable conditions so that they can germinate. If the seeds are not placed in a plastic bag, then you can easily miss the moment when the seeds begin to dry out in the lid due to the evaporation of water. Although with this method, the material should be checked for germination at least once every two days.
These conditions will help the seeds germinate more quickly.
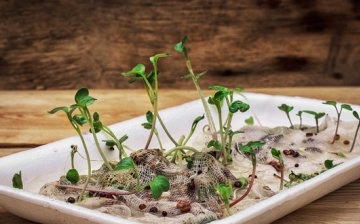
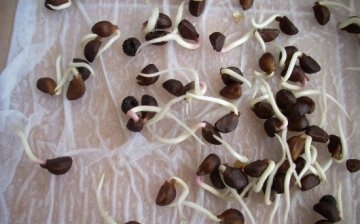
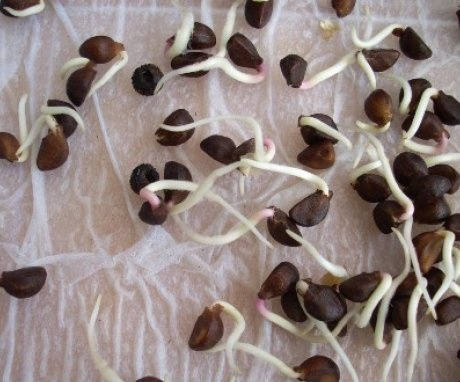
The advantage of this method is that the seeds will germinate in almost 100% of cases. After some time, the seeds will begin to "hatch". Small roots will start to appear. As soon as they become noticeable, the seeds should be immediately planted in pre-moistened soil. The sowing material should not be allowed to overgrow, because it will be difficult to sow.
Second method. It is suitable for seeds that germinate for a long time, and especially for those with a very small size:
- After the material for sowing has been pretreated with a special solution for disinfection, it is mixed with moistened sand in proportions of 1 to 4.
- Next, it should be placed in small containers.
- After that, the seeds must be kept in a warm room.
- The temperature should not be less than 28 degrees until the seeds "hatch". To ensure such a temperature, just as in the first method, you can place the germination material near the radiators.
After the seeds have already "hatched", it will already be possible to start sowing them together with the mixed sand into the previously prepared soil. Before this, such a mixture should be slightly dried. In case there is a place for landing for some reason not prepared, then the seeds should be stored together with the moistened sand in the refrigerator. The temperature in this unit should be approximately 2 degrees.
Planting seeds after germination
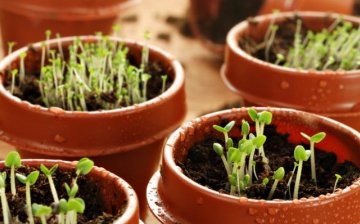
After the seeds are prepared, the soil must be constantly watered. In this case, the soil should be moistened, but not damp. Seeds should be evenly dispersed over the soil, which should have a nutrient composition. At the same time, they are, as it were, slightly pressed into the ground with the help of a finger. Cover the planting material with a small layer of soil. As for the thickness of the loose cover layer of the earth, it should be two or three times the size of the seed.
Each of the seeds should not be very close to each other. Some of them may be barely covered with a layer of earth, while others, on the contrary, should be deep in the soil. It all depends on the type of planting material and climate. Some seeds do not require a lot of sunlight and can grow well in shaded areas, while others, on the contrary, are quite demanding on lighting.
The soil must always be kept moist and in no case allowed to dry out.
After planting a sprouted seed, you can cover the container with ordinary polyethylene film. Some summer residents use a newspaper for this purpose. This action will provide the future plant with a "mini-greenhouse" effect. The fact is that with this method, water in the soil will be stored for a long time, and besides that, the temperature will be well regulated.
It is necessary to constantly monitor the moisture content of the soil, otherwise the plant will not be able to grow normally. You do not need to be zealous with too frequent watering. This is fraught with the fact that the seed may die and there will be no sprout.
Seed care after germination
Useful tips for caring for seedlings:
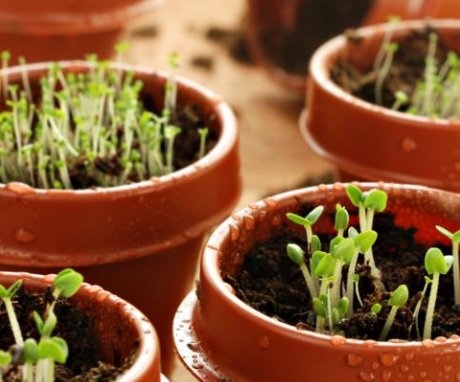
- As soon as the seeds have been able to break through the soil layer and the first small sprouts have appeared, they should be moved seedlings in the sun. Make sure that the temperature in the germination room is at least 15 degrees. Otherwise, the plant will not be able to grow healthy and strong.
- The soil should be kept moist throughout the entire time until the sprout hatches. After it appears, you need to remove the newspaper or plastic wrap. It is not necessary to swamp the soil as this can easily lead to mold. All this can negatively affect the future vegetable crop.
- Since the nutrient medium of the soil does not contain all the necessary substances for growing seedlings, then it is imperative to add organic matter to the ground. Each plant requires its own fertilizerthat suits only him. Improper feeding can lead to stunted growth or death of seedlings.
- If you need to germinate a large number of seeds in a very small area, you need to proceed as follows. Remove those shoots that are thinner and weaker. If the seeds were sown in a container or small container, such as a plastic cup, then only two or three seeds are placed in them.
- After they germinate, only one plant should remain. Weak sprouts need to be removed under the base. This should be done in order to still poorly developed root system did not remain in the soil. Otherwise, the remnants of roots will begin to interfere with the development of the remaining plants.
Benefits of germinating seeds
This method, of course, has many more advantages than disadvantages. Many strong and viable seeds can be sorted out at once. Even a novice gardener can determine them - these are exactly those the seedsthat were able to germinate and hatch in the first place. If a small root system has already appeared, then you can no longer worry about their germination in the soil.
You can simultaneously see the result of all your efforts in the form of the simultaneous germination of all plants.
Usually the difference between them is no more than two or three hours. At the same time, you can immediately make sure that the effort expended was not in vain.This method can greatly facilitate the care of future plants, because each of the sprouts will be at approximately the same stage.
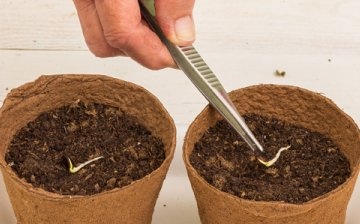
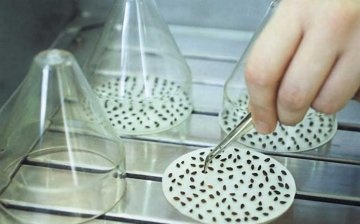
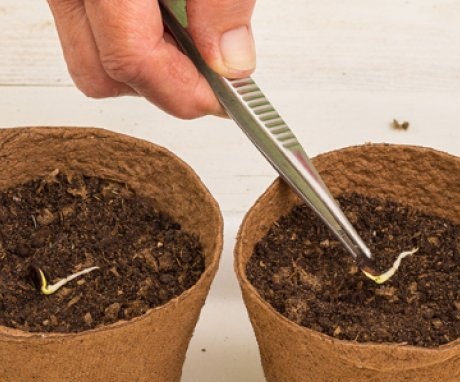
But this method also has a minor drawback - you will have to spend a little time and some effort on germinating seedlings. In addition, neatness in germination is needed. After all, all manipulations are usually performed using tweezers, so that fragile sprouts cannot be damaged. Otherwise, there is a great risk that the roots can become very tangled and their disconnection without damage will become impossible.
More information can be found in the video.




The seeds, which are sold in packaged form, have already been treated with disinfecting compounds. Therefore, before planting, they can only be soaked in warm water. Germinated seeds germinate very well.