After the construction of a two-story house, the question arises of the construction of a staircase. And it is better to solve it yourself, because this way you can not only save a decent amount of money, but also build a really reliable, durable structure.
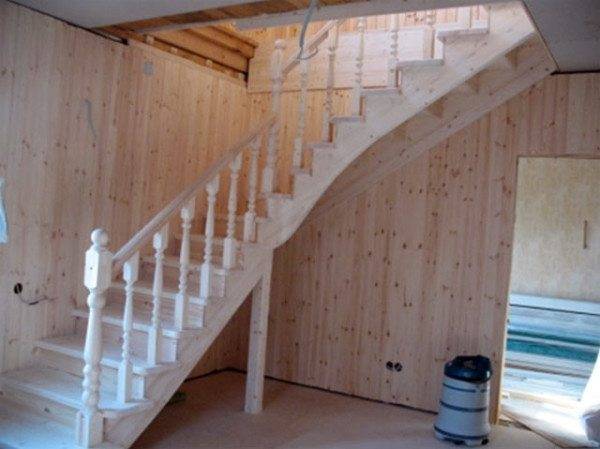
And about that how to make a wooden staircase do it yourself, read our article.
Installation of a flight staircase made of wood: from A to Z
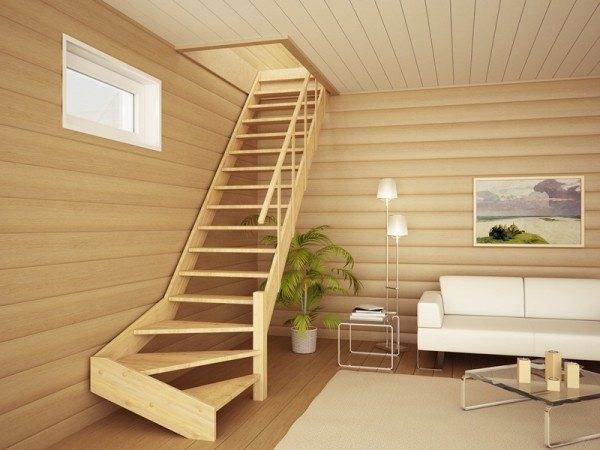
Why wood, when the modern market offers so many unique materials? The fact is that wood is 100% environmentally friendly, easy to handle and easy to use. Even a beginner can work with it!
Of course, the process of creating a staircase will take some time, but the work will pay off doubly, since the structure made with a soul will last more than a dozen years to the delight of the owners. So let's get started.
Choice of structure
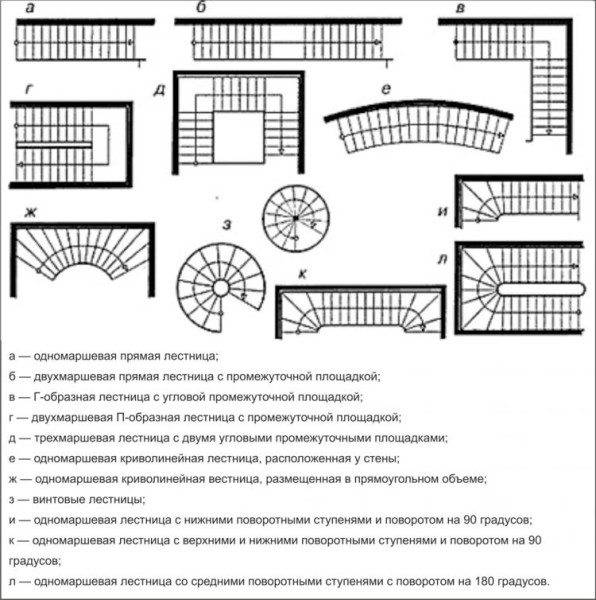
In general, two main types of wooden ladder structures can be distinguished:
- screw;
- marching.
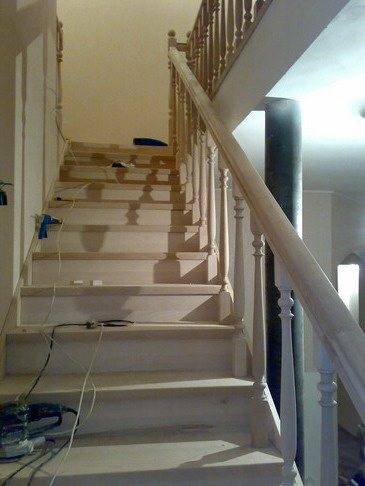
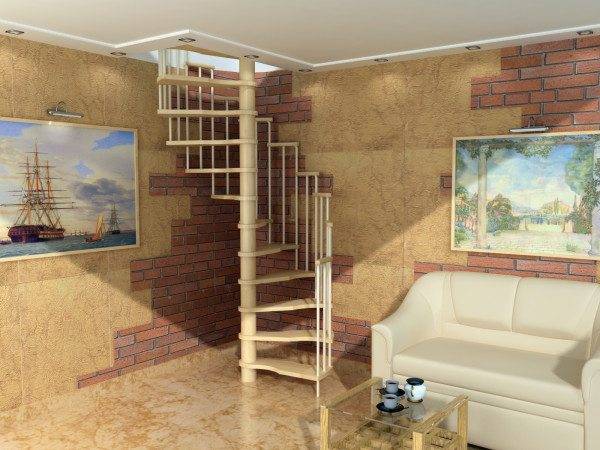
Marching stairs are the simplest, therefore, it is for the construction of such a structure that we recommend that a novice home craftsman start. As for the screw transitions to the second floor, they are very complex in execution, require accurate measurements and calculations: one slightest mistake - and the ladder may not work.
For information! In turn, marching products are divided into two main types in terms of their structure: one-marching and two-marching. Both are not so difficult to collect on your own. But there are also multi-march designs.
Also, before making a staircase out of wood, you need to decide on the following nuances:
- the presence and size of a free area on which it will be possible to arrange the rise to the upper floor;
- height between floors;
- the maximum load that the ladder will have to withstand;
- ease of use (type of steps, their height and width, type of fences and railings).
Tools and materials
Before answering the question of how to make a wooden staircase yourself, you yourself need to make calculations, make parts and assemble them together. And for this, let's prepare all the necessary tools and materials.
For the manufacture of stairs made of wood, conifers are most often used, since they are easily amenable to any processing and the price for them is relatively low.
Advice! Buy planed wood that is free of gray areas, roughness, cracks, knots or deformations. The presence of knots is allowed only if this part of the material goes to the risers and steps (the diameter of the knots is not more than 1 cm).
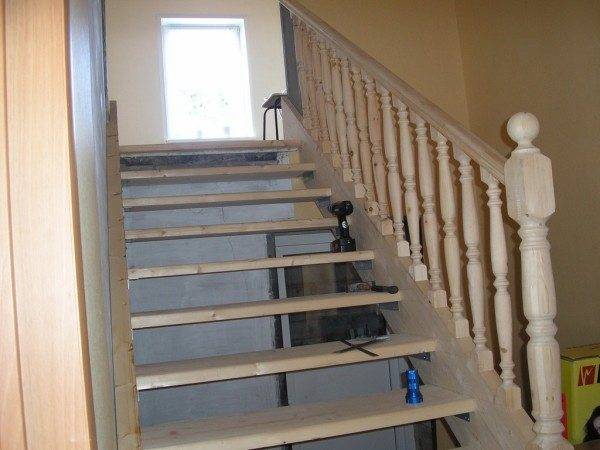
From the materials we need:
- boards in the size provided for by the staircase project;
- bars for steps, the thickness of which must be at least 4 cm;
- beams for tread with a thickness of 3-4 cm;
- beams for risers - not less than 3 cm;
- bars for bowstrings or stringers with a section of 5x25 cm;
- balusters, railings and handrails are better to buy ready-made, because it is very difficult to make them beautifully with your own hands without skills and experience;
- stainless steel screws, anchor bolts, self-tapping screws are used as fasteners.
Instruments:
- Roulette, locksmith's corner, sharpened pencil and several rulers of different lengths for taking all sizes;
- A hand or electric drill (as a last resort, a brace) to make holes;
- A hacksaw for cutting large wooden parts and a hacksaw for metal with large teeth for cutting small parts;
- Electric screwdriver or screwdriver set with matching tips for tightening bolts, screws and screws;
- Chisel and hammer to make grooves;
- Manual or electric plane;
- Sanding paper (coarse, medium and fine grained).
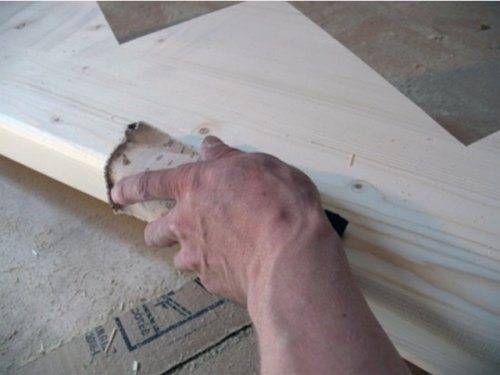
Important! Fine-grained sandpaper must be used to clean all the details of the stairs, otherwise, after the varnish or paint dries, the wood fibers will begin to bristle, which will negatively affect the appearance of the entire structure. We recommend carrying out all grinding work with gloves so as not to pick up splinters.
The main parts of the flight staircase
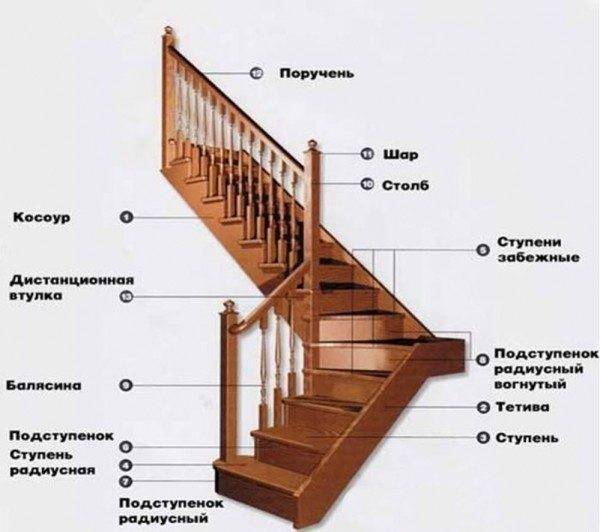
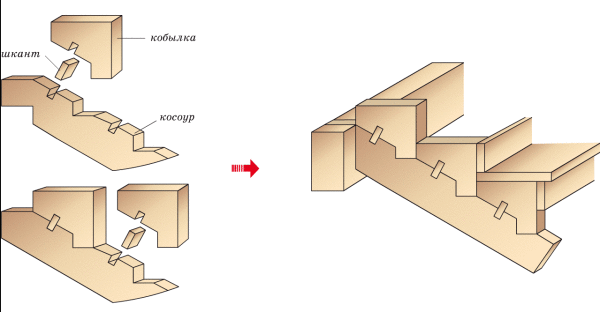
- Kosour - all the loads fall on him. It is such a supporting beam that supports the steps and risers from below.
Instead of kosourov, a bowstring can also be used, which also performs a bearing function. There are special recesses in it, into which the steps are wound up with the end. It is customary to use such a device on one side, where the staircase is closely adjacent to the wall, and on both sides - if it is clamped between two walls.
- Stair steps - wooden beams, consisting of a horizontal part (tread) and a vertical part (riser). We step on the treads with our feet, and the risers enclose the space under the treads and strengthen the structure as a whole.
For information! You can do without risers, then there will be free space, and the leg will not rest. However, the ladder will turn out to be less durable and reliable.
As for the shape of the steps, they can be very different: traditional rectangular, turning at a certain angle, in order to discard the need for an intermarch site, radius for a beautiful approach and winders, where the first step is made of a non-standard shape.
- Railings - stacked from balusters and handrails. Their sizes and shapes depend on the personal preferences of the owners. If the staircase consists of more than one flight, then it also includes support pillars.
Detailed calculation of the dimensions of parts
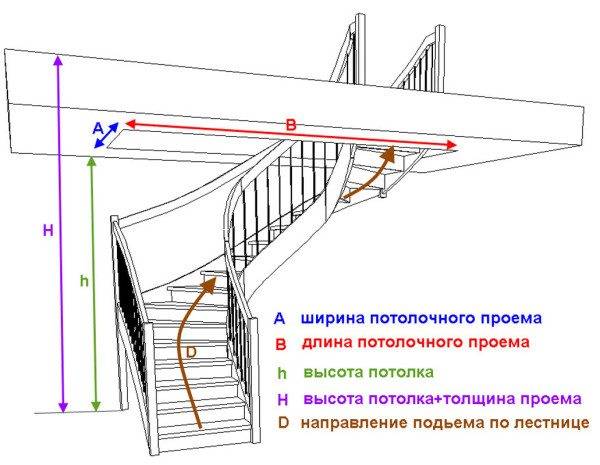
Before making wooden stairs, it is imperative to make all the calculations and draw a drawing of the future structure. You can do this with your own hands or using one of the architectural programs. Another option is to contact a specialized company - so you can be 100% sure of the accuracy of the calculations.
We will provide all examples of calculations in case you want to do it yourself. Designing is perhaps the longest and most exhausting process, but the assembly of the stairs itself will not take you much time.
It can be divided into several stages:
- Ladder height. To find this value, measure the distance from the surface of the final floor of the first floor to the final floor of the second floor. This will be the length of the future flight of stairs.
Attention! If the final (ie final) floor has not yet been laid, then its thickness must be taken from the calculation "by eye", since the ladder is placed exclusively on the final floor covering.
For an example of the calculation, we conditionally take the height from floor to ceiling equal to 250 cm, and the thickness of the interfloor overlap together with the floor of the second floor is 35 cm. 250 + 35 = 285 cm (this is the height of the future staircase).
- The number of steps and the height of the risers. The calculation of the number of steps is made, starting from the height of the risers, which is most often standard and varies from 15.2 to 19.7 cm.It is generally believed that this is the most optimal height for a comfortable ascent: a smaller one will knock a step, a large one makes it difficult to climb. and the descent is dangerous. We will take the average value from this range, that is, 17 cm.
Then we find the number of steps according to this principle: the height of the stairs / the height of the risers - 285/17 = 16.76.Round up and get 17 pieces.
We now have two paths:
- Make the first run-in step small, and the rest with risers exactly 17 cm.
- Recalculate and get a more accurate, but uneven result, which will slightly complicate the manufacture of parts. To do this, you need to divide the height of the structure by the number of steps: 285/17 = 16.76 cm.Thus, you can make 17 steps of the same size, but with a riser height equal to 16.7 cm.
- Tread width. It is believed that for convenience, the minimum value of this parameter should be 22 cm, and the maximum value - 40 cm. If the treads are less, the descent will turn out to be difficult. If it is more, the step will go astray.
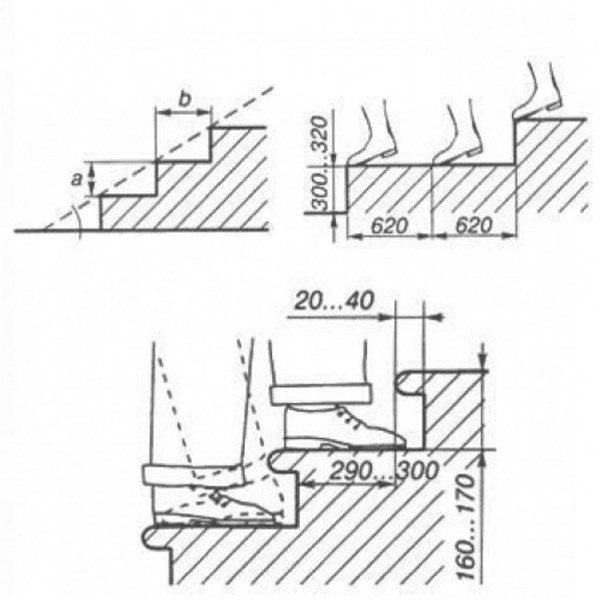
For the most accurate calculation, you can use one of two formulas:
- 2a + b = 64 cm;
- a + b = 47 cm;
where, a - riser height, b - tread width.
Let's try to substitute the values and calculate using the first formula: 2a + 16.7 = 64 cm; (64-16.7) / 2, a = 23.65 cm. This width does not suit us, as it is too small. Let's use the second formula: 47-16.7, a = 30.3 cm. This width is quite acceptable, you can round it up to 30 cm.
- Stair width. In principle, this value is not strictly regulated in any way. Let's just say that the minimum comfortable width is 80 cm. The most successful solution would be to lift 100-140 cm wide, then there will be no problems with the transfer of furniture, and full people will move comfortably.
Advice! In order for all the details of the stairs to be in harmony with each other, you can use the following hint: the width of the march should be a multiple of the width of the tread. In our example, these are 60, 90, 120 and 160 centimeters.
- The length of the ladder is found by multiplying the width of the tread by the number of steps: 30 * 17 = 510 cm. 4 m 10 cm is a rather long length that will take up a lot of space. And if it is not possible to build such a structure in a straight line, in one march, then you will have to make it a two-march with a 180º turn and a dividing platform.
Another option is a staircase with swivel steps. It is better to do such calculations using special programs, where you can also clearly see the location of all elements of the march.
- Clearance height above the steps. Another important parameter that needs to be calculated before making a ladder with your own hands from wood. The beginning of the march almost always falls under the ceiling, gradually reducing the free space above the head of the climber.
Therefore, it is important to calculate the height from the highest step located under the ceiling to the ceiling. The minimum allowable value here is 195 cm.
- The length of the stringer or bowstring. It is found by the Pythagorean theorem: the length of the ladder² + the height of the ladder² = the length of the stringer². That is, 480² + 285 ² = 558, 23 cm. Let's take with a margin, somewhere around 580 cm.
Manufacturing of parts and assembly of stairs
So, having figured out all the parameters and having prepared an approximate drawing of the future lifting structure, you can proceed to the answer to the most important question: "How to make a wooden staircase yourself?"
For convenience, below is a simple instruction, supplemented with photographs.
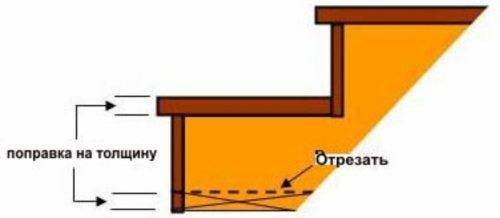
- The first thing to do is trim the top and bottom of the beam that was purchased for the stringers to the required length of the ladder. And after that, still cut off the bottom of the thickness of one tread (conditionally take 5 cm).
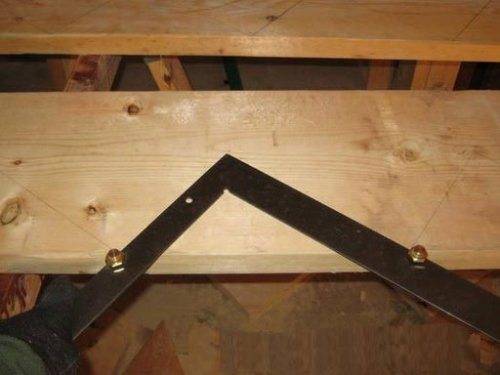
- Then openings for steps are cut out in the beam. To do this, mark the width of the tread and the height of the riser on the construction squares (minus 2-4 cm) and transfer the markings to the inner surface of the beam with a pencil.
Saw off excess parts with a saw or jigsaw.
- Next, put the kosour in the place where the ladder will be located: its upper end should rest against the ceiling, and the lower end should fit tightly into the floors of the first floor. At the same time, check the horizontality of the cuts under the steps.
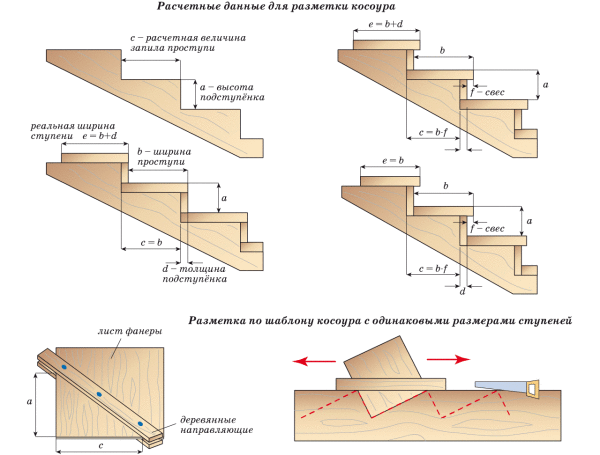
For information! You will need two such kosour, however, depending on the loads that the staircase must withstand, there may be more of them. Then cut out all the others using the first one as a template.
- Sand all the details well.
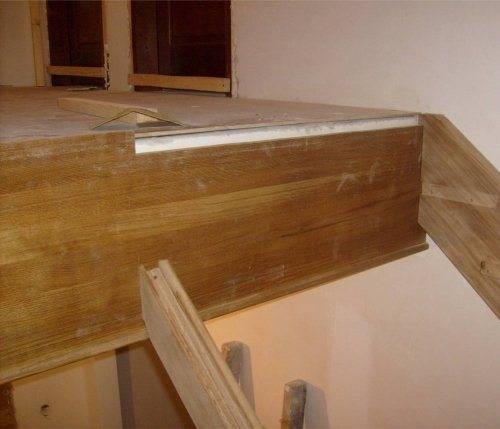
- Above and below the stringers must be connected together. To do this, cut them from the bottom and top by a quarter and fasten them to the thick beam with anchor bolts. If you can fix these parts to the walls, then do this, also using anchors.
- All stringers are securely fixed, we proceed to installing the risers. Saw the beam into the required number of risers of a certain length, align them with each other and sand them.
These parts are attached to the stringer with self-tapping screws from the front side. Then the hats can be putty or hidden under decorative trim.
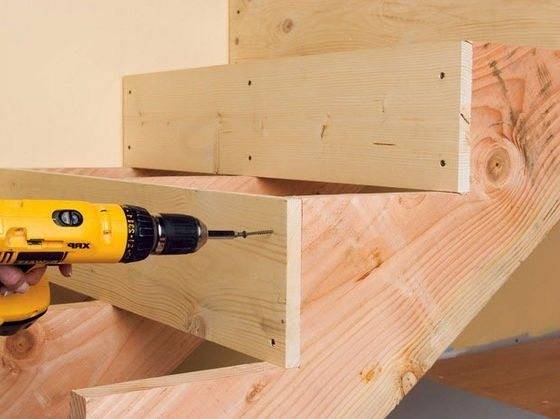
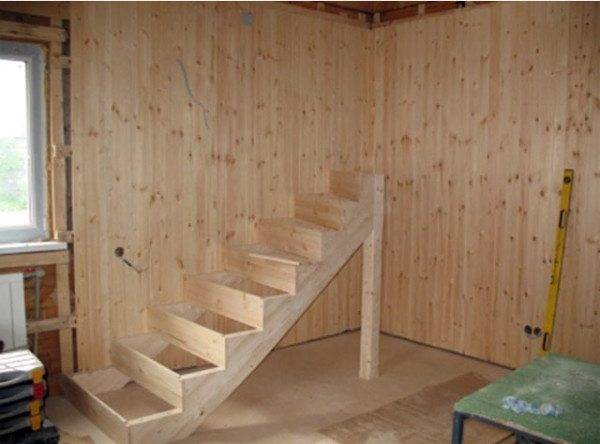
- When all the risers are mounted, proceed to the treads. To do this, also saw the beam into the number of steps (minus 1), sand them and cut the protruding outer edge with an angle. Place the risers in their places and secure with screws or self-tapping screws.
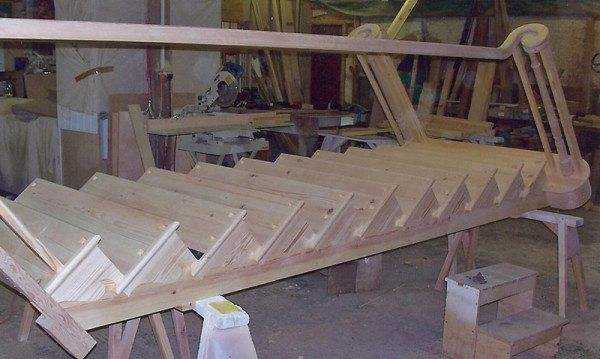
- The last thing to be done is to mount balusters on the steps, which are fastened with pins 100x8 mm (length, width), and a railing (self-tapping screws are suitable here).
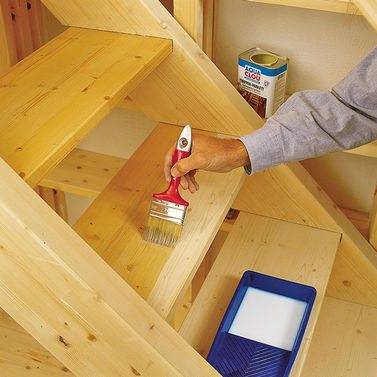
This completes the assembly of the ladder! All that remains is to paint the structure. It is better, of course, to preserve the natural texture and color of the wood by using a clear varnish or wood stain.
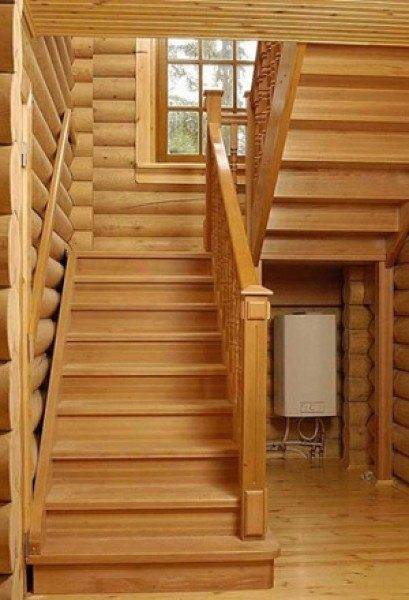


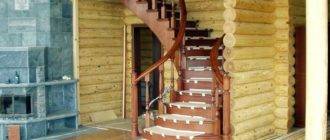
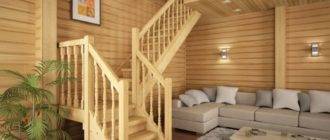
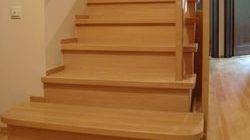

Another point is that the wooden steps are very slippery, which is dangerous, we solved this problem with the help of carpet, stupidly planted it on the screws, it turned out not very aesthetically pleasing, of course, I am considering options for how to make it better.