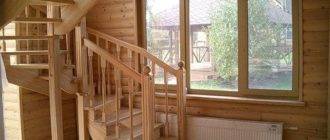
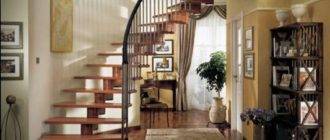
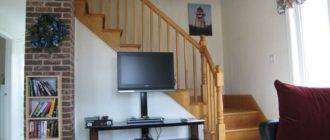
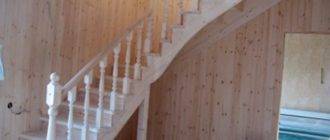
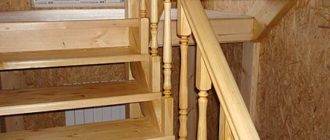
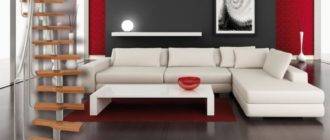
If you decide to build a second floor, then you will definitely need a staircase.
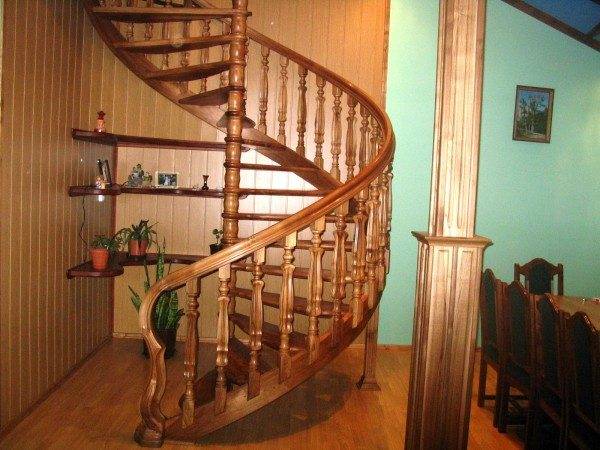
The following methods will help to solve this problem:
- Hiring specialists. Immediately, we note that the price of such a pleasure will be very impressive, so immediately analyze the possibilities of your budget.
- Purchase of a ready-made modular kit. Such a solution to the issue will be cheaper than paying professionals. And it will not be difficult to assemble such a complete set either.
- Making stairs to the second floor with your own hands. This option will require more work from you, but it will also come out the most economical.
In this article, we will look at the third way to implement a staircase project and analyze all aspects of building stairs.
Selection of material and equipment
In processing, wood is the most pliable. Therefore, we use wood for our purposes. But this material is also offered in a fairly wide range. Consider the pros and cons of different tree species.
Choosing wood
- Beech:
-
- Shades of light gray or reddish yellow.
- Below average durability.
- The structure is practically not expressed.
- High sensitivity to excessive moisture.
- Low price.
With such negative qualities, it is still used due to its low cost. At the same time, it is located inside well-heated premises.
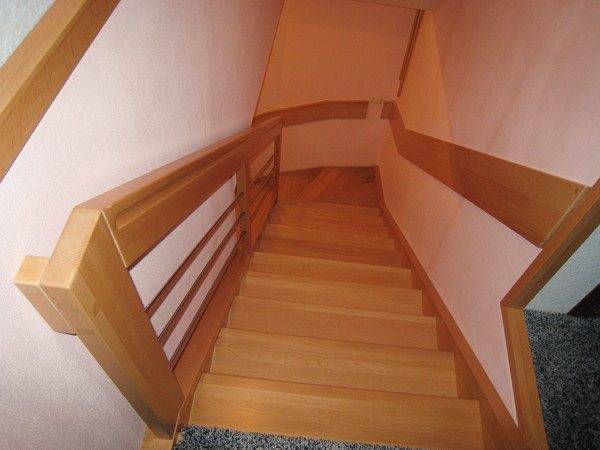
- Spruce:
-
- Uniform texture.
- Light shades prevail.
- Resistant to water due to high resin content.
- Nice pine scent.
- Low cost.
Decent reliability and low cost make this type of wood very popular in the production of stairs.
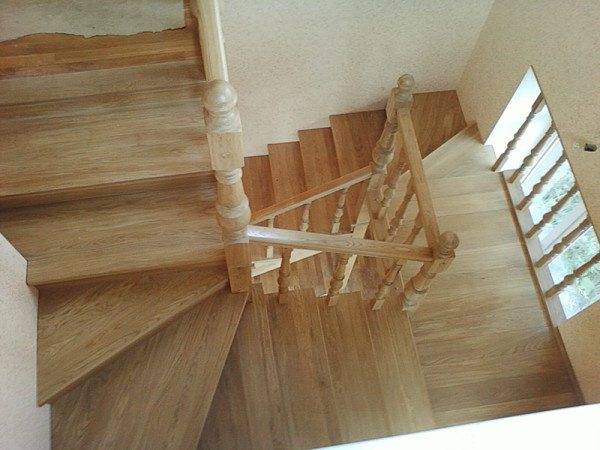
- Oak:
-
- Very high strength.
- Coloring in the form of a beautiful light yellow pattern.
- It is an expensive material.
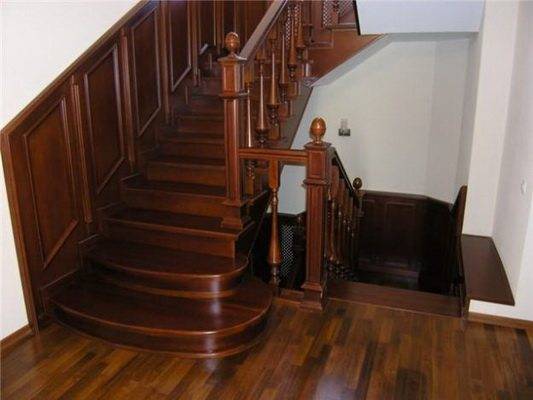
- Larch:
-
- Golden color scheme with brown veins.
- High strength.
- Durability.
- Resistance to the harmful effects of high humidity.
- The price is lower than oak products with almost complete similarity of technical indicators.
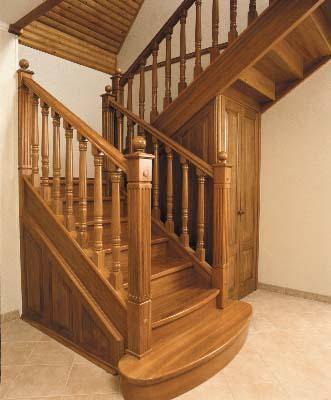
- Ash:
-
- Light color.
- Very easy handling.
- High flexibility.
- Increased strength.
- Weak environmental impact.
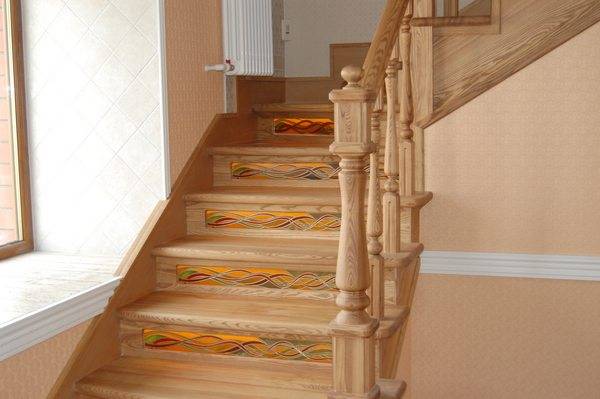
- Maple:
-
- It has the highest strength, since there are no pores in its structure.
- Absolutely waterproof.
- Heavy to handle.
- A very expensive final product.
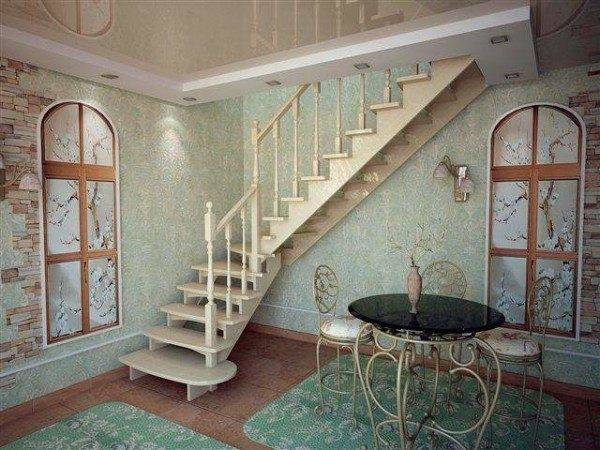
Complete set of everything you need
We can already choose the material from which we plan to make the stairs to the second floor. Now we will carefully prepare so that everything you need is at hand at the right time..
So, we need:
- Ladder steps made of wood. It is quite easy to find the right size in the store. Let's take meter samples as a sample for our project.
- Metal corners, preferably galvanized.
- A set of four-centimeter self-tapping screws.
- Bowstring. It should be borne in mind that at least two units are required, depending on the number of flights of stairs.
Tip: a bowstring is a large, voluminous and heavy element, so for convenience, plan to buy these items at your nearest store.
- The rest of the ladder components: support pillar, handrails, balusters;
- Substances for wood processing: varnish, stain, antiseptics.
That's all we need. If you have carpentry skills, many staircase elements can be made independently, which will make it possible to save even more and embody your design fantasies in wood. If the experience is not enough, then all of the above can be picked up in a hardware store.
Installation
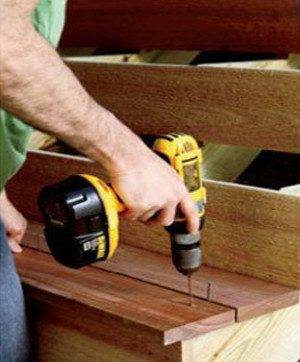
Manufacturing and installing stairs to the second floor is much easier with ready-made elements.
There are three stages here:
- Calculation of parts and drawing up a drawing.
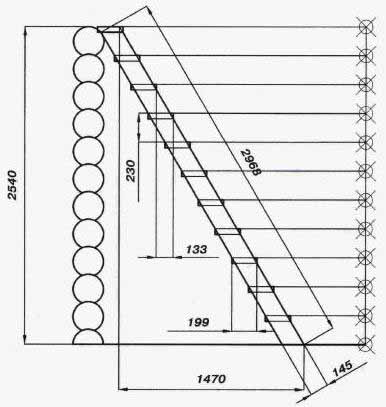
Advice: be sure to draw up at least a simple drawing.
This will make it possible not to be mistaken in the quantity and size of the purchased material.
- Purchase of the necessary components.
- Assembly into one piece.
With the right blueprint, you will buy parts that fit well enough, and using an electric screwdriver, it should be easy to beat the installation work.
Let's look at the nuances of creating ladder components with our own hands. The following instruction will help with this:
Making a bowstring
The manufacture of stairs to the second floor independently begins with the production of a bowstring.
To do this, we will acquire a 60 x 300 mm board in duplicate. We make cuts with a saw, taking into account the dimensions of the steps of the drawn drawing. We measure the evenness of the cuts with a spirit level. It should look something like the picture below:
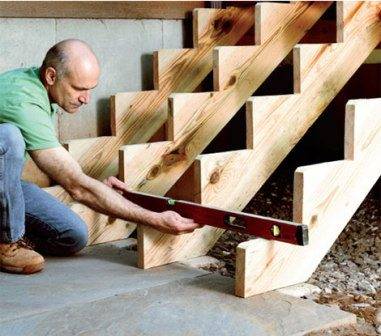
Tip: to get better cuts and work faster, it is recommended to use an electric jigsaw.
We fix the steps
The secret of fastening the steps is their preliminary marking. Mark the position of the first piece on one string, check the corresponding position on the second. If the level is met, go to the next, and so on to the very top.
Only if all the marks match, we proceed to fix the steps:
- We fasten the corners with self-tapping screws to the marked places.
- We put prepared boards on top of them and also fix them from below.
- It is necessary to use at least four screws for good fixation. A large number of them will protect against the appearance of a squeak.
How to create the railing
First of all, you should make the balusters of the stairs. It is necessary to cut them off at exactly the same angle, which is very difficult to do manually. Therefore, it is recommended to use a special machine with an adjustable cutting angle.
Tip: in the absence of the opportunity to make even, uniform corners, you can purchase metal ready-made balusters.
They will greatly simplify the work and will not spoil the overall look.
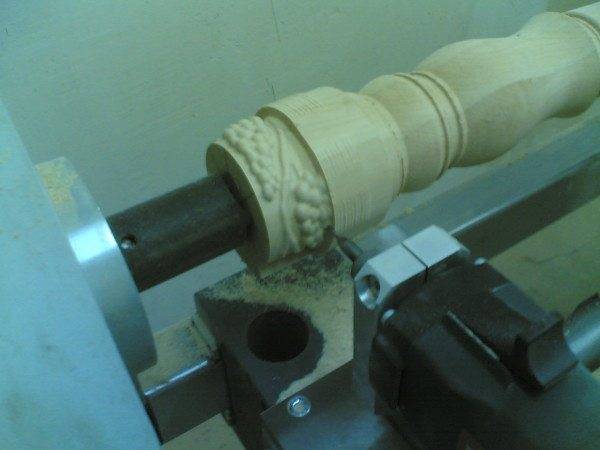
If you have the ability and ability to use a milling machine, then you can significantly improve the appearance of your structure by making curly railings.
Further:
- we take nails of a five-millimeter diameter and cut rods from them into five centimeters;
- we drill holes of a slightly smaller diameter in the balusters, on the bowstring and in the handrails of the stairs;
- we fix the components with prepared rods;
- at the same time, we still carefully fasten the handrails to the support post or wall;
- we apply a varnish coating.
Conclusion
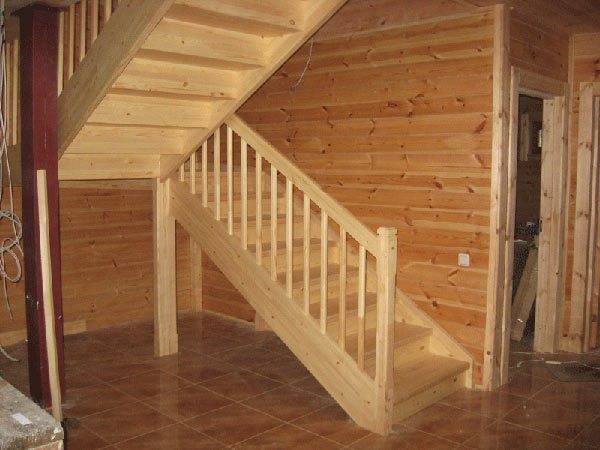
We examined how to make a wooden staircase to the second floor. The process was not that difficult. If you purchase ready-made modules, then everything will be even easier with detailed installation instructions.
In any case, by approaching the matter responsibly, you can create a practical and beautiful design that emphasizes the interior of your home.
The video in this article contains additional material on the topic. Good luck with your design!

