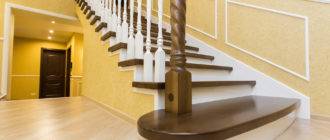
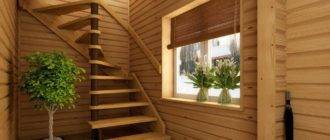
To save space in the room or in case of an acute shortage of such, staircases are equipped as a communication between floors. In such structures, the outer side of the tread is always larger than the inner one, which makes it possible to increase the support area for the human foot. Below we will talk about the properties, places of application and calculations of such structures, and also watch a video in this article on this topic.
Straight and multi-march stairs
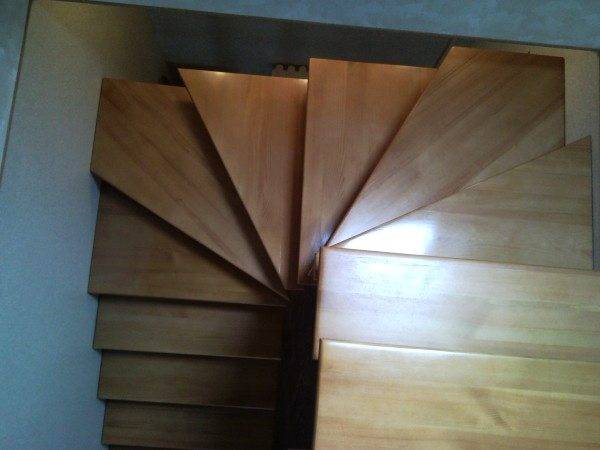
As we have already said, a do-it-yourself run-in staircase is mounted in case of a lack of space and its slope is steeper than that of a conventional one. Such modified steps are made to increase the foot support area and to provide a feeling of safety, the foot must fit on it by at least 70%. This means that the width of the tread will start from 25 cm or more (find out here how to make run-in steps for wooden stairs).
How to calculate cross-run structures when turning 180⁰
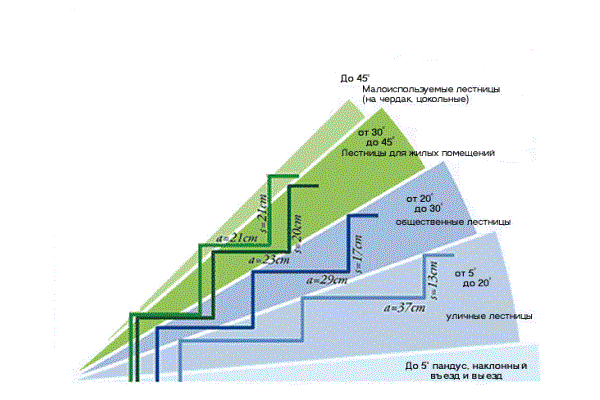
- On steep stair descents, which can be called slopes from 40⁰ or more, as well as in order not to make a platform between marches when turning, they use winder steps... This ensures not only comfort, but also safety, especially on the descent, when the foot rests on the heel and there is a high probability of slipping if the support is not wide enough.
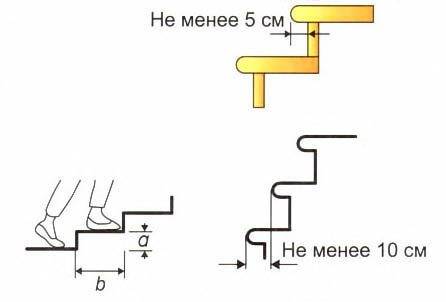
- The lack of tread width is especially felt on screw structures or bends, where the tread narrows towards the center, so its narrowest part should be at least 100 mm, because when descending, this will be the maximum area for the location of the foot... But the overhang of the tread should be limited to 50 mm so that when lifting the sock does not cling to the overhanging part. The distance between parallel flights should be at least ¼ of their width, as required by the instructions, so that the treads at the turn are wide enough.
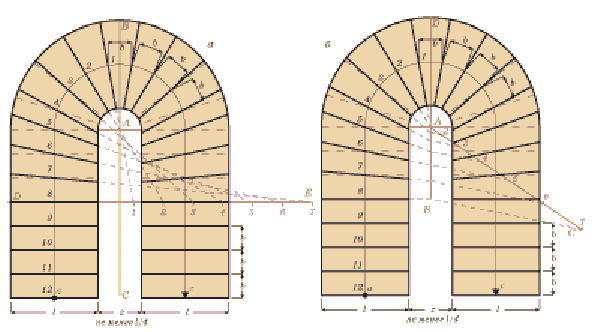
- Pay attention to the schematic drawing above and you will see two options for parallel flights, where the landing is replaced by the winders. On variant "a" the middle line of movement ABC is drawn, where the width of the treads is marked (note that the line BC divides the middle tread exactly in the middle, into two equal parts). So we get divisions 1, 2, 3, 4 and so on, how many steps there will be.
Advice. The more straight steps there are in the calculation, the more convenient the staircase will turn out, and the transition will not be so noticeable.
- Of the straight steps shown by this diagram of the winder staircase in Figure 11 with a dotted line, three of them are captured - 6, 7, and 8. The DE line in this case, encloses the straight step 8, from which the tread width correction begins, and the center A is connected to divisions 1 and 2 on the line of movement. These lines continue until the intersection with DE, where a segment 1-2 is formed, postponing which from point D to point E, points 3, 4, 5, 6, 7 are formed.
- These points are connected by straight lines with points that correspond to the numbers marked on the movement line. As a result of the graphic calculation, we have a projection of the shape of the treads for the winders on the left half of the structure. The exact same calculation should be done for the right side.
- Another drawing of the winder staircase in Figure "b" shows the adjustment of the winder steps according to the accepted standard. From point b along the line of motion, the width is plotted, but this is done in such a way that line DB intersects tread 1 in the middle, dividing it into equal parts.Then, we take the number of straight steps, and in our case it is 6, 7, 8, we get a segment AB and from the vertical line DB draw an oblique AC to it at any angle less than 90⁰, and apply 7 divisions on it.
- These seven divisions must correspond to seven adjustable steps (scale does not matter). But the size of the divisions should increase by one part each time, that is, starting from point A, the first division will be 2, the second - 3 parts, and so on. For the drawing, you can use any size, where one part will be 5, 10 or 15 mm - everything will depend on the scale of the drawing.
- Point B is connected to point C and if we draw lines parallel to them from each point, then on the vertical AB we will get the corresponding segments. And now we connect the intersection points with points 2, 3, 4, 5 and so on, and continue them to the wall that surrounds the cell - this is how we get a horizontal projection of the shape of the winders.
How to Calculate Structures When Rotated 90⁰
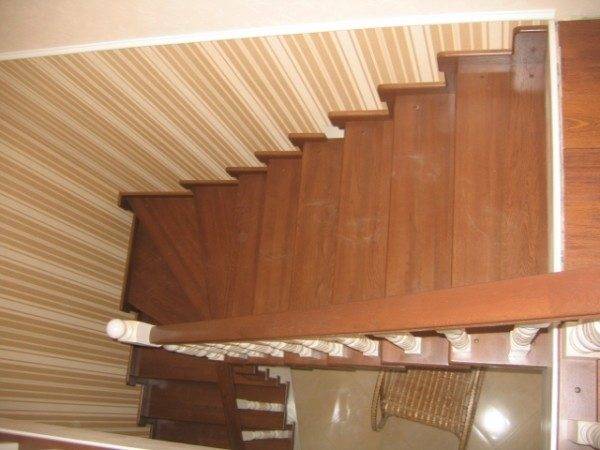
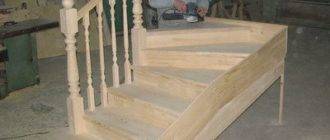
- A design such as a winder staircase with a 90-degree turn (see photo above) implies bent stringers, bowstrings or other supports that will repeat a smooth bend, therefore they are most often made without a smooth transition, but at a right (acute, obtuse) angle ... The calculation of such a structure can be performed in a similar way to the upper calculation, using the same graphics (see also the article Calculation of a staircase with winders - how to do it right). The sequence of such works is indicated in the lower drawings.
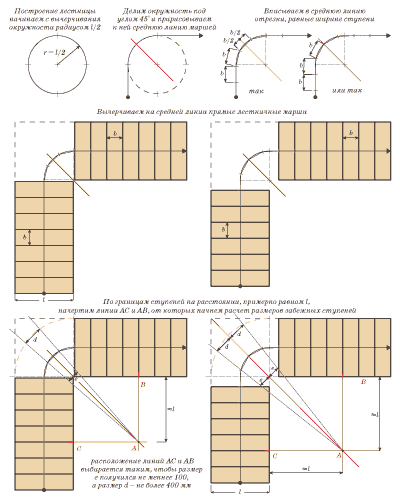
- These drawings show the entire sequence of actions, and you can perform all types of work at home. Certain parts of the diagram are explained directly in the figure.
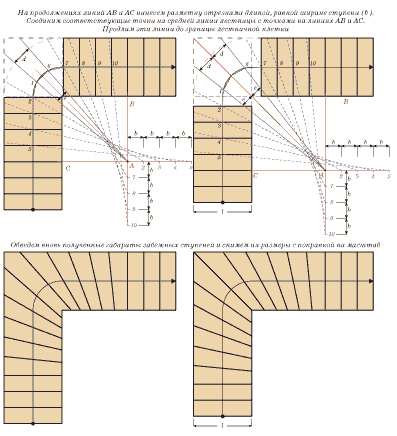
- Graphic calculations do not give an ideal result, so during the drawing process these dimensions can be changed, but this should not affect the width of the tread along the center line of movement. That is, for some treads, you can change the width of one or the other side without affecting the middle.
Advice. When you transfer dimensions from a drawing to a real object, be sure to add up the entire chain so that it does not exceed the existing parameters of the location marked out in the room.
Calculation of a straight staircase with winder steps
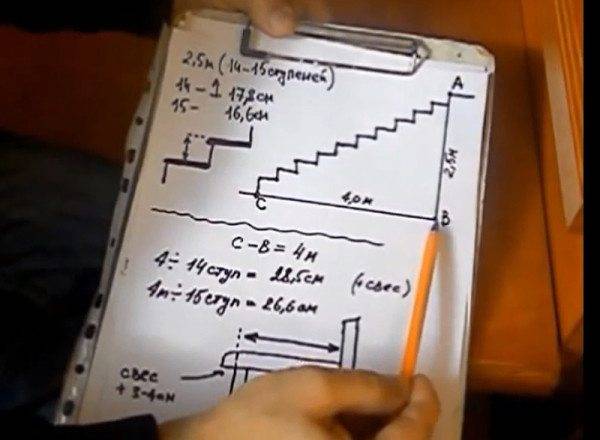
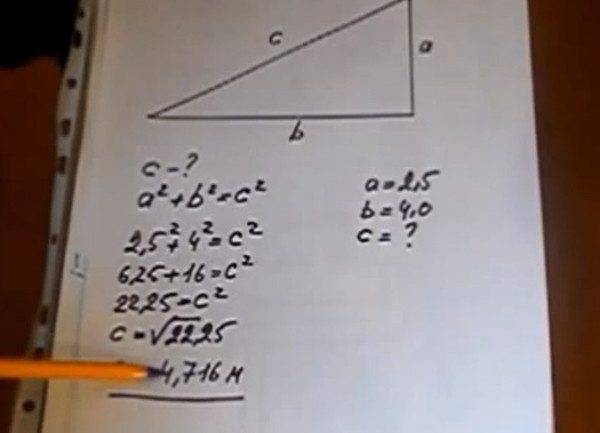
- In order to calculate the number of steps on the march of a straight staircase, you need to mark three points - A, B and C, where A is the place of the floor of the second floor at the junction with the march, B is the place on the lower level under point A, and C is the lower the end of the march at the level of point B. Thus, we get a triangle ABC, along which we will be guided.
- In this case, our CB segment is 4m, which means the difference in the horizontal position of the lower and upper points of the march. The AB segment has 2.5 m, which means the difference between the end vertical points of the march location. The ascent turns out to be a little steep, but for this there are cross-country steps.
- In this case, you can make either 14 or 15 steps, then their height will be 17.8 cm and 16.6 cm, respectively. Both options are suitable, only with an increase in the number of steps, the width of the tread decreases.
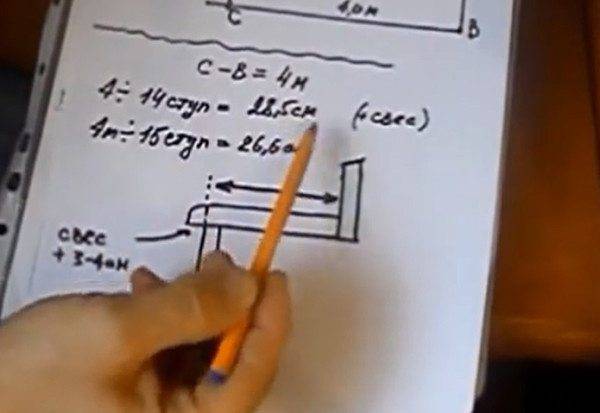
- To calculate the net width of the tread (without overhang), you need to divide the CB value by the expected number of steps, which means 400/15 = 26.6 cm, and 400/14 = 28.5 cm, which, with the addition of an overhang of 3-5 cm, forms a chic tread, quite sufficient for a comfortable descent and ascent.
