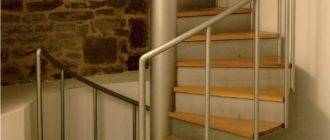
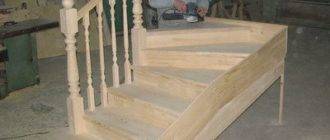
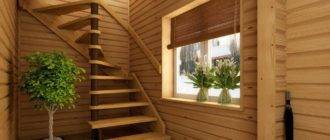
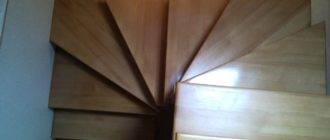
In order to significantly reduce the length of the staircase, you will need to calculate the staircase. This procedure is simply necessary for those who experience discomfort due to lack of space in the house. Winder stairs are a fairly simple and compact design, with the width of the line of movement of one adult.
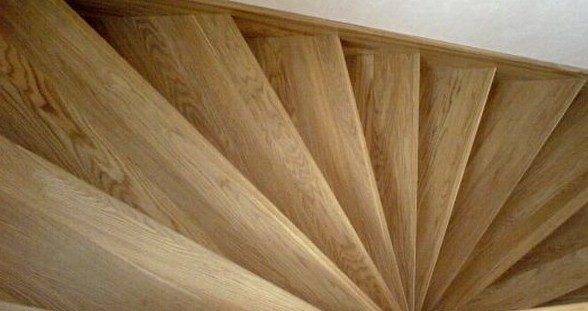
Attention! You should immediately clarify such a moment - this type of steps is quite inconvenient when descending, since their width becomes narrower as they move (closer to the middle of the flight of stairs).
In order to make the staircase safer, you first need to make a rounding of the staircase at turns - this way you will be able to reduce the length and width of the steps, making them more comfortable.
Let's get down to calculations
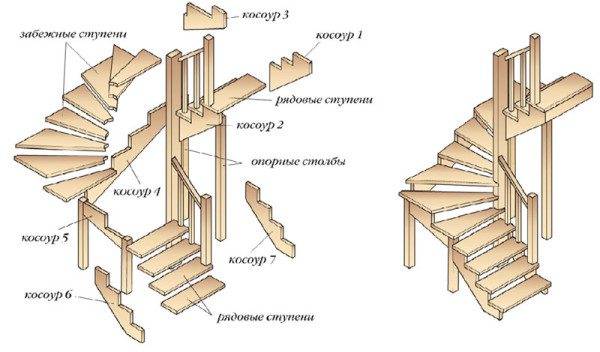
So, as an example, consider a staircase with a pair of parallel flights and turns (read also the SNiP article on the height of the staircase railing and other parameters: we comply with the standards).
To begin with, you need to calculate the width of the run-in steps with your own hands, which will replace the interfloor platform for us.
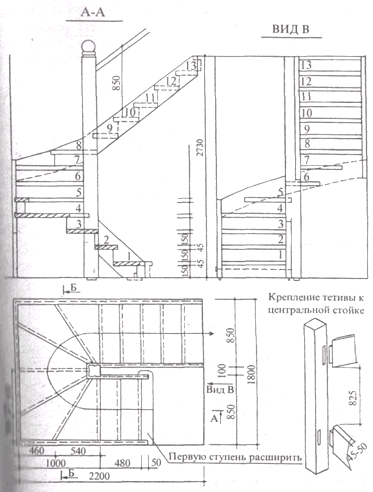
- To begin with, you need to draw ABC lines in the middle of the march (on the diagram), which we will later call the middle (central) lines. Then, when we have the so-called center, it is necessary to apply the width of the treads to the center line. All this should be done from the top of the rounding, distributing them in such a way that the central line divides the upper step strictly in half;
- After you figure out the width of the treads, you will have new divisions on the plan, which are recommended to be numbered. The more straight steps come out in the end, the more convenient your staircase with winder steps will be;
- The next step is to draw lines D and E, which will pass along the edges of even treads and highlight the dimensions of the winder staircase with a dotted line;
- Now, you need to connect the center of line A with lines (steps) 1 and 2 along the line of movement. Thus, you will be able to visually accurately display the future span on the plan;
Second way
To fully understand the question of how to calculate a staircase with winder steps, it is necessary to consider all known methods. In addition to the above option, there is a second one.
Adjusting the winders in this way is as follows: first, you should draw one even vertical line, which we conventionally designate with the letter B. Now, after we have a "base", we can safely proceed to the formation of future winders, tracing them approximately the same as indicated in the first version.
Attention! The middle step should be strictly in the middle of the drawn line, which is "repulsive" (it is from it that the width of the treads is laid off).
Calculation is a delicate matter
Let's start right away with a note: when designing a winder staircase, you should pay special attention to the width of the treads - due to the fact that a person's path runs almost strictly in the center of the staircase, the width of the steps in that place should not be less than 22 cm (see also the article Norm stair step width, as well as other standards of its characteristics).
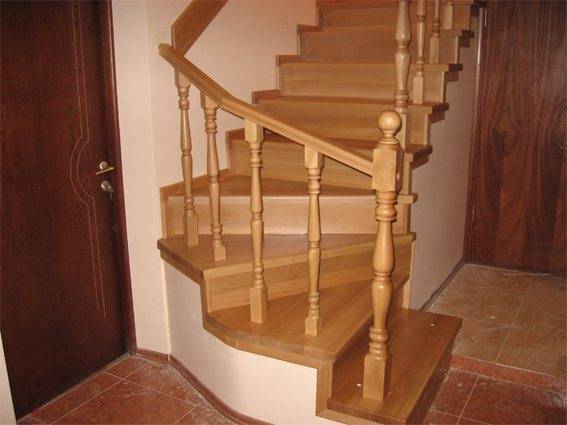
Remember that before you start designing stairs with winders, you should have at least a superficial idea of what the calculation of L-shaped stairs is in general (if you understand all the above information, then the design of straight lines, as well as stairs with a platform without too much trouble).
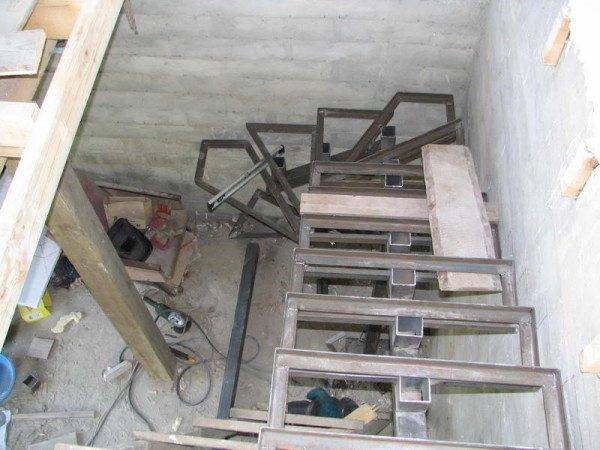
Taking into account the fact that we are calculating a simplified run-in structure, in this case we will resort to a simple and for many standard calculation, namely, drawing up a plan using the example of a straight staircase.The only difference will be that a simple (straight) march is calculated without three winder steps, which, in turn, will be made in the form of simple frame structures.
You can see the layouts of this type of steps on ready-made diagrams (see photo). So, three frames made of timber (no more than 18 cm high), with the width and height you have chosen, to which furniture boards (steps) must be attached after installation, should be placed on the span strictly according to the plan. Already completed steps should be securely fastened to the finished frame.
Note! The run-in structure must be fixed extremely rigidly, since the entire staircase as a whole (including the entire staircase with railings) will be mounted to it.
A few tips and tricks
You should immediately take into account that your calculations will not turn out perfect and will not give some kind of super-accurate result. Therefore, the rendering results can be easily changed at will, adapting solely to the size of your room (but not changing the width of the steps).
This does not mean a categorical prohibition on changing the winders - they can file the edges (expanding or narrowing them), but at the same time the width in the middle must remain unchanged.
When removing dimensions from an already finished project (drawing), it is imperative to check the entire ladder chain by adding - the resulting sum of dimensions should turn out to be no more or less than the size of the ladder indicated in the plan (read also the GOST article on the dimensions of the steps of the stairs: ensuring safety and optimal design).
Output
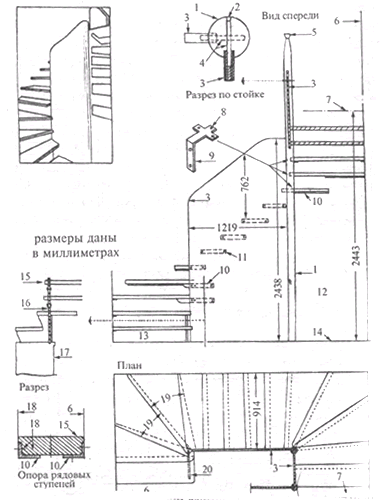
That's basically all, we hope that this instruction will really help you in drawing up a preliminary plan. If you want to order a well-designed project (for example, a staircase with a 90-degree turn), then immediately get ready for the fact that the price for it will be quite high and may hit your pocket a little.
The video in this article is ready to provide additional information on this topic.
We look!


