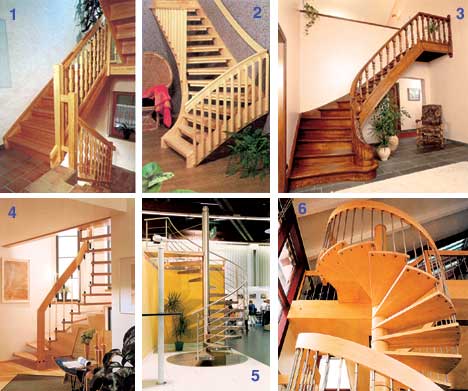
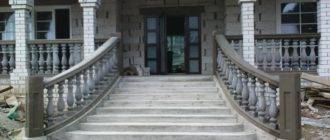
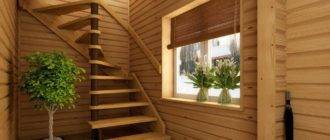
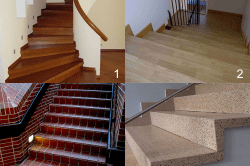
If you already have your own wooden house with a large attic, but there is no staircase leading to the second floor, then it's time to think about its correct layout and construction in the right place. There are several types of interfloor structures made of different materials, and some of them and a description are shown below in the photo.
Types of stairs
Marching staircase
This is one of the most common types, it looks quite simple: a supporting structure at an inclination of 45 degrees, on which the steps are located (see also the article Two-flight staircase, construction and materials used). Marching spans are also filled with steps and their optimal number in one span is up to 15.
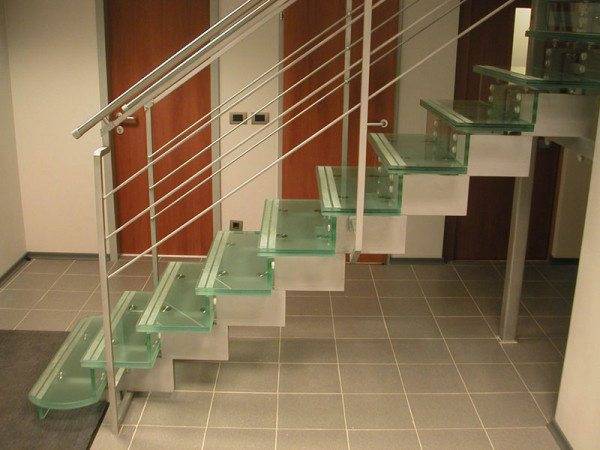
An economical option that is optimal for small spaces.
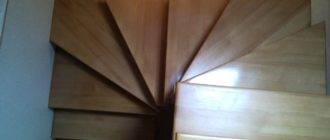
Swivel
The same marching ones, only with a turn of up to 180 degrees, and the manufacture of interfloor stairs of this type at home is a rather laborious process and it is better to invite specialists.
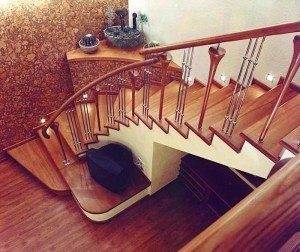
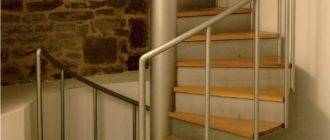
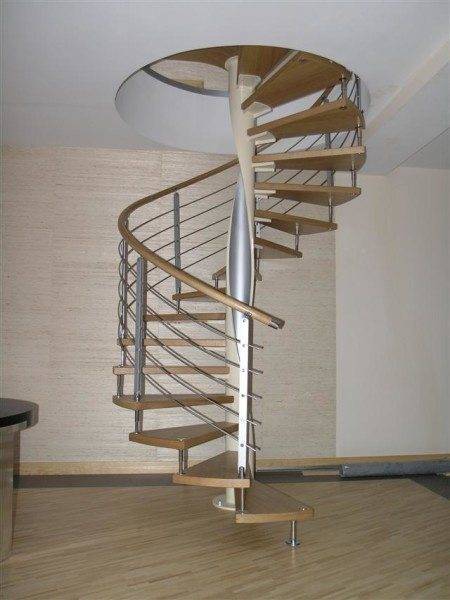
Screw structures
Very beautiful ornate compositions that resemble a winding spiral. This staircase option is perfect for small rooms, where every centimeter of space is saved.
Note! The diameter of such a twisted staircase is about 1.3 meters and the width of the step in the center, according to the standard, should vary from 20 to 25 centimeters.
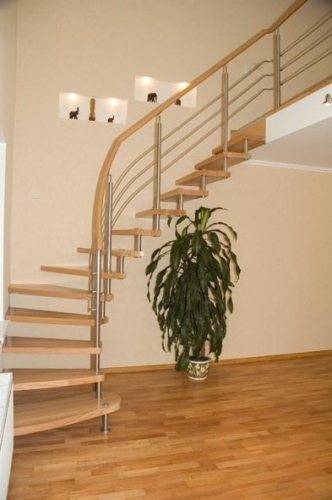
Bolt
In fact, they are the same marching ones, only they are not attached to the support, but directly to the wall. This gives the whole structure some airiness, lightness and a very interesting interior design.
When is the best time to start?
Many people ask themselves the question - how to make the most interfloor staircase only at the end of the entire construction of the house. This is the most common mistake of all novice amateur builders.
In fact, the design of the future structure should begin from the moment when the foundation was erected. After all, this will help to distribute the load and correctly plan the location of the stairs, which, as a result, will give exactly the effect that was originally conceived..
Also, during the construction of any structure, you should pay attention to some aspects:
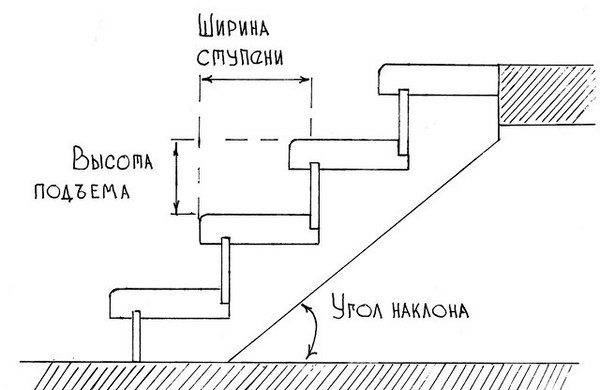
- The angle of inclination (ascent, descent) should not exceed 45 degrees.
- The width between the steps (treads) is within 30 - 35 cm.
- The height of the steps themselves is from 14 to 18 cm.
How to make a good flight of stairs yourself
Let's figure out how to make an interfloor staircase with our own hands.
If you have decided on the type of your future interfloor ladder and want to make it yourself, then with certain skills, desire and a set of necessary tools, anyone can do it.
Tip: Before starting work, you need to draw up a project and make all the calculations for the installation of the future structure. In order for your do-it-yourself interfloor staircase to serve for more than one year, first, carry out the following steps:
- Measure the entire room and determine the location where the flight of stairs will be located.
- Calculate the height of the steps taking into account the desired width of the future "ladder". Example: the height of the stairs is 250 cm, and the height of the steps is about 18 cm. We divide the first value by the second, and, having rounded everything to one whole number, we get 14 steps. To calculate the height of the steps, we divide the entire structure of 250 cm by the number of steps and get 250/14 = 17.86 cm. This is exactly what the height of each step should be.
- Decide on the height and shape of the railings, their height should be no less than 90 cm, and choose the design at your discretion.
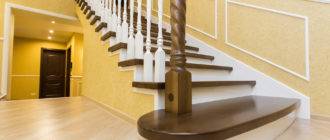
- Choose the material from which you will build the future structure - it can be traditional wood, metal or stone. Sometimes glass and ceramics are additionally used, but this is the lot of professionals.
All the subtleties of the technology of installing wooden stairs
Before starting to carry out interfloor wooden stairs with your own hands, you should check and evaluate the strength of the floor and all floors in the place of installation of the future structure. In this case, you should definitely take into account all possible loads, because if they are very large, then all the supporting structures can collapse at times and bring a lot of not only trouble, but also all kinds of injuries (see also the article Do-it-yourself installation of a wooden staircase - we do the work ourselves) ...
Note! This can happen when the ladder itself is too heavy, insufficient fastening, fragile materials, and a small number of support points. That is why the technology for the construction of interfloor structures should provide for mandatory preliminary work on the location of support points, strengthening weak floors, as well as the selection of those projects that have an acceptable weight for your support elements.
The strengthening of the site, which is the basis and installation of the future structure, also belongs to the preparatory work. For inexperienced craftsmen, such a seemingly easy question - how to make an interfloor staircase on your own, can entail many difficulties and nuances in the course of work, which are solved during the construction process.
The order of work for self-taught masters for the installation of wooden stairs
To begin with, it is worth deciding whether you will buy a ready-made structure or make it yourself. Of course, it is much easier to purchase a ready-made project with all fasteners and ready-made parts, because the price is not so high as to spend your time and energy on the independent manufacture of stairs and railings. But, everyone has the right to decide for himself what is better and more convenient for him.
If you are ready to do all the work yourself, our instructions will help you:
- First, choose a location for your staircase and decide which view suits you best.
- Calculate all of the above parameters and calculate the need for material.
- Purchase the basis for future details of the entire structure and customize everything to size yourself or order this work from professionals, which will be much easier and more efficient. You just have to put everything together correctly.
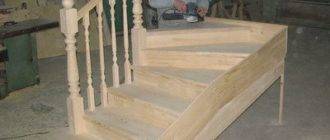
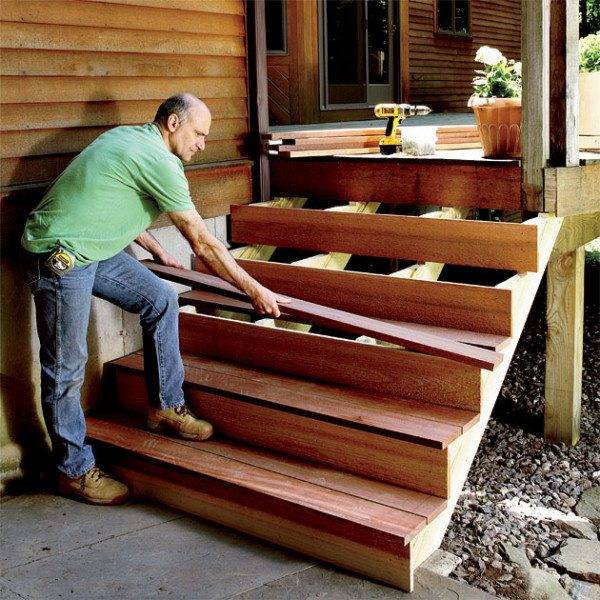
- Prepare the beams, bowstrings, stringers, mark the steps and prepare the steps and risers themselves for further installation.
- Collect the marches, mount them and start fastening the dependents, and then the steps themselves. At the same time, try to most carefully fit the parts to one another and perfectly combine all the elements.
- Make an intermediate platform between marches. For this, a wooden board made of boards or lumber is usually used.
- Reinforce the flight to the floor with a support crossbeam, and to the floor between floors with anchors and bolts.
- Install the railings, reinforce the balusters and all intermediate posts. Most often, metal studs or groove joints are used for this.
- Install the outer pillars, which should be securely anchored to the main wall.
- Install the railing.
- Next, move on to decorating your structure with wood carvings and all kinds of inserts of your choice.
- At the end of the work, cover the entire structure with additional paint or varnish.
