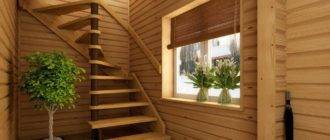
In most private houses, the staircase performs not only functional tasks, but it is also part of the interior. And for this you need to know exactly how to build a staircase with your own hands in such a way that it is reliable, functional and fits well into the design of the premises.
Although this task is difficult, it is quite possible to implement it on your own thanks to the desire and this article. So let's start in order.
Types of stairs
First you need to decide on the type of stairs.
They can be as follows:
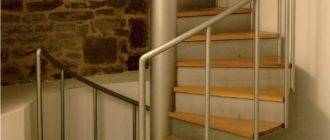
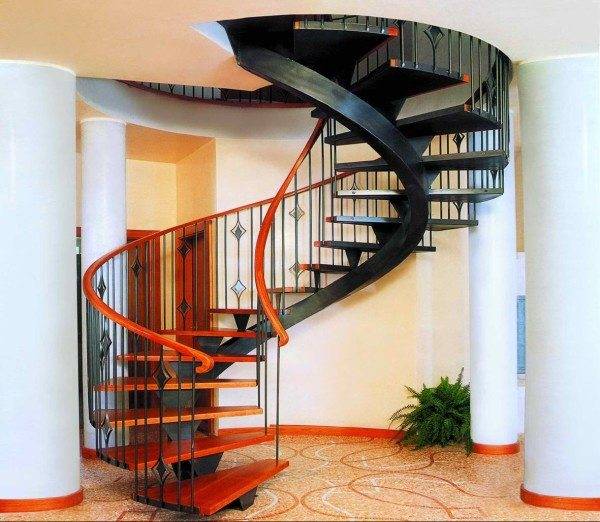
- Screw or spiral... They are well suited for buildings with limited space. The construction of such an element of the interior will be complicated by calculations of the space that it will occupy.
It must be said that in everyday use, these structures are not as comfortable as marching ones, but they need less space for them. This type is well suited for auxiliary purposes, for example, to climb to the attic. The construction of stairs of this type is made of metal or wood in various forms;
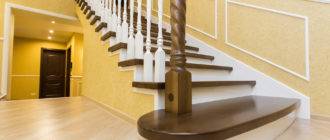
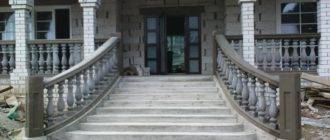
- Marching... They are in great demand among our population, this is due to the fact that they are comfortable to navigate through them. The disadvantage is the need for a large space for their arrangement. They can be made of wood, metal, glass, stone and other materials;
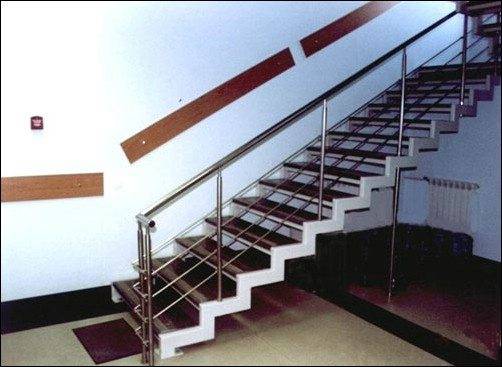
- On the bolts... This type of ladder differs in that each step and fence is attached to the wall with pins or bolts. They are simple in design and compact in size. The instruction for such a ladder establishes the fact that, depending on the material of manufacture, one step is capable of withstanding a load of at least a thousand tons.
How to calculate the dimensions of a staircase
The construction of a staircase of any kind begins with calculating its dimensions. At this stage, it is necessary to be extremely careful, since the mistakes made in the future will "come out sideways".
Consider the case when we need a flight staircase to the second floor. We know that the ceiling height is 2.7 meters. Next, you need to calculate the steps.
Practice shows that the height of the step is sufficient within 15-20 centimeters. Let's take the upper limit and divide our height by it, we get 13 steps.
Here's how SNiP regulates the size of the risers and steps:
- For public and residential premises, they are equal to 14.8 and 30 cm;
- For attics and basements, respectively 17.1 and 26 cm.
Then you need to make a projection of the stairs to the floor in order to calculate its position in the room. The step of our design will be in the range of 25-30 cm.
Take the number 25 and multiply by the number of steps obtained (13 pcs.). We get 3,250 meters - this will be the projection of our structure onto the floor.
Materials used for stairs
- Metal... Stainless steel is ideally suited for these purposes, it is durable and strong, and also has high resistance to corrosion. The service drain of such a design will be at least fifty years. Ordinary steel is also suitable, but it will have several times less service life;
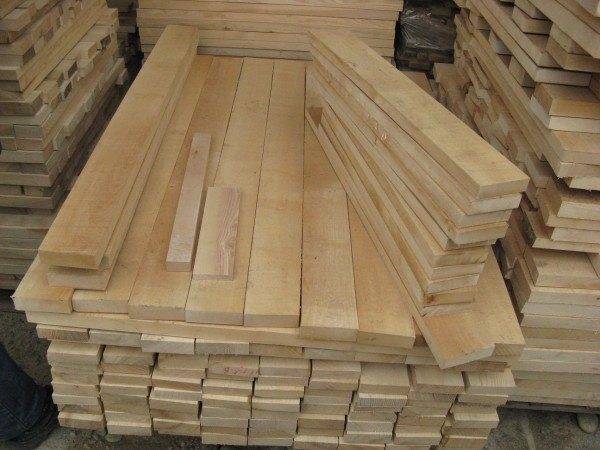
- Wood... Ash is a good choice for these purposes, it is not afraid of atmospheric precipitation and mechanical damage. In addition to it, you can take maple, beech or oak wood. In extreme cases, a pear or cherry tree is also suitable, their price is low, and their resistance to damage is high.
It is strictly forbidden to make stairs from pine, this can be explained by the fact that its wood is soft. We will show you how to build a wooden staircase later in this article;
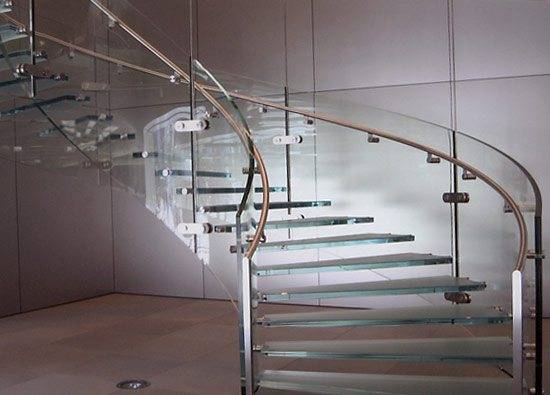
- Glass... Tempered or laminated glass is used for manufacturing.Their disadvantage is that they are highly susceptible to damage - when hitting the butt, there is a puncture and further deformation. Acrylic glass is lightweight and can withstand high loads. Their only drawback is that after a certain time they turn yellow and are scratched;
- Stone... The ideal option is granite or quartzite. These materials have a long service life and a high level of strength. You can also use marble, but you need to be prepared for the fact that after a couple of years it will start to rub.
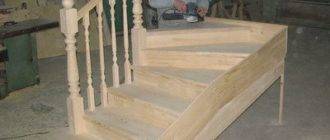
Secrets of assembling a wooden staircase
From my own experience, I will tell you how I built the stairs. The work itself was not easy, and every bit of information had to be obtained from different sources.
For your convenience, I provide basic information in this section. Therefore, you will have a much better chance of creating a real "masterpiece".
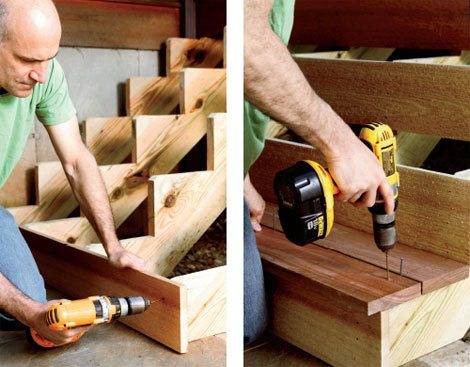
Before starting the assembly process, you need to try on the parts, if there is a need, then adjust them. Then all elements are cleaned with fine sandpaper or a sander.
For the further connection of all these parts, it is necessary to use stainless screws. Before joining the surfaces, be sure to coat them with wood glue or PVA.
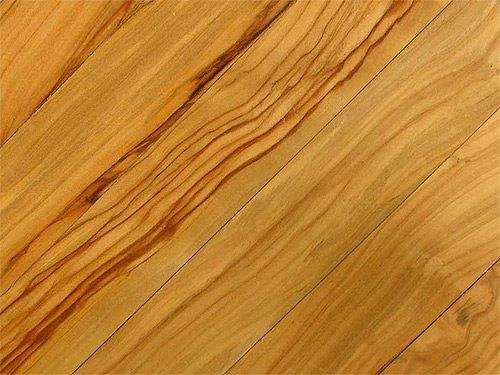
Next, work is carried out to cover our structure with stain. If it is not there, then you can use the heated drying oil, for this you need to walk it 2-3 times. Opening with drying oil is performed before the assembly of the structure.
After that, cover the stairs with waterproof varnish - two layers will be enough. More on this in the next section.
Advice. To prevent drying oil and glue from getting into the places where the glue will be applied, they need to be sealed with masking tape. You can buy it at any hardware store.
Painting
The whole painting process can be divided into several parts:
- Surface preparation;
- Painting stage;
- Protective lacquer layer.
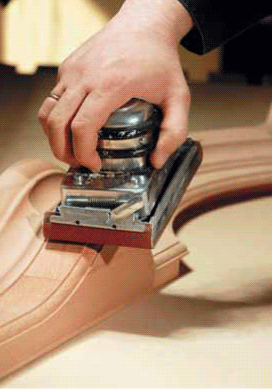
First you need to prepare a separate element for painting. At this stage, there will be two types of work: sanding and putty.
The latter is carried out with special mixtures intended only for wooden objects. Compounds not suitable for wooden surfaces are strictly unacceptable to use.
After the layer of putty is completely dry, you can proceed to sanding. Such work takes place in two steps. The first step is rough (superficial), after which you need to pause for several days.
You will see how the villi begin to rise on the wooden surface, they need to be blown well. Only then can you start sanding.
After sanding, the board turns out to be perfectly smooth and even, now you can safely proceed to applying coatings, but first we decide what it will be. First of all, we cover our stairs with a primer, and then paint. The primer must be chosen to match the paint.
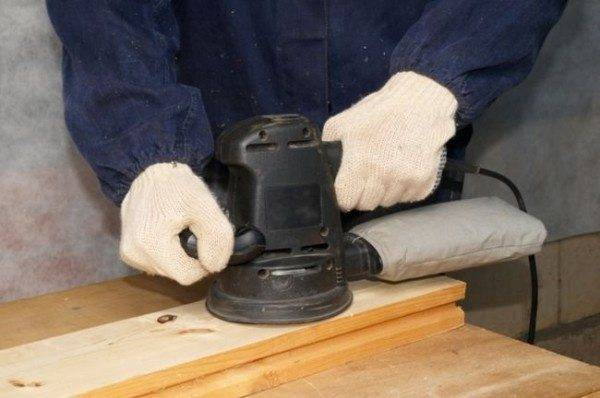
Important. Opt for urethane or alkyd coatings because they are ideal for painting wood surfaces. As for the color, it is better to take light colors.
If you wish, you can use wood stain instead of paint, its advantage is that it perfectly highlights the beautiful wood pattern. Such a staircase will look chic and natural. After that, it can be opened with coloring compositions, but this is already at your request.
The stain is chosen together with the varnish, it is better not to save on this process, because you can spoil the whole look. In addition, the service life will depend on the quality of these components.
After the paint has dried, a top coat of varnish is applied to it. Experts recommend choosing a matte varnish or a semi-matte variety.
The varnish composition must be applied three times, with each last layer must be completely dry. If bubbles form on the varnish, they must be sanded.
Mounting
Let's talk about how to build a staircase yourself.
Direct installation of any ladder is broken down into the following steps:
- First you need to determine the place where it will be mounted;
- The choice of type, dimensions, number of steps, angle of inclination, material and design is performed;
- They proceed to installation only when finishing and construction work is over;
- All issues related to safety measures are being worked out (the presence of fences and railings);
- A reliable fastening of the ladder is being developed so that there are no creaks, wobbles and other shortcomings;
- At the last stage, the installation of the structure itself takes place.
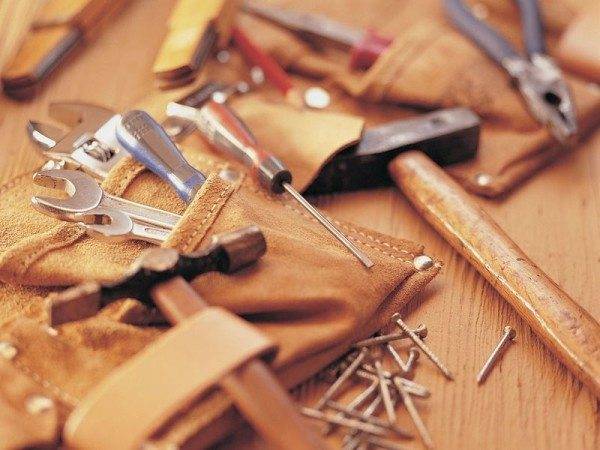
At the initial stage of choosing a staircase, the design of the house, as well as its features, must be taken into account. This is done so that the staircase is an addition to his interior. As for the tool that will be needed when creating the stairs, then we will need a lot here.
Much can be found by your friends, and the rest will have to be purchased.
So what we need:
- A hacksaw for metal, we will use it very intensively;
- A set of wrenches for tightening bolted connections;
- Screwdriver and drill for screwing screws and drilling holes;
- Grinder. It will help us to bring the surface of the boards to the required condition;
- Self-tapping screws, pencil for marks, building level;
- Sandpaper to sand the surface where the machine cannot crawl;
- Roulette - three meters will be enough;
- Brushes for painting, varnishing and other works.
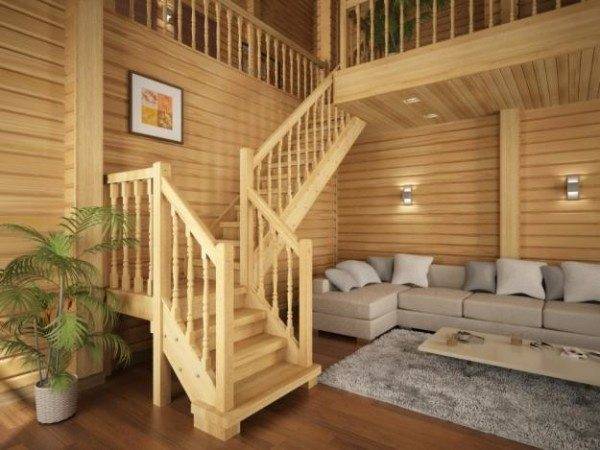
The staircase is an important element in the house, in many respects comfort and coziness will depend on it. It will take a lot of time to design and build a staircase, but in the end you will get a high-quality and durable structure.
The option considered in this article will help you understand how to build a spiral staircase with your own hands. And in the video presented in this article, you will find additional information on this topic.

