By and large, the restoration of wooden stairs is a routine repair of the structure, associated with the replacement of treads and risers, as well as grinding and applying a new paint and varnish coating.
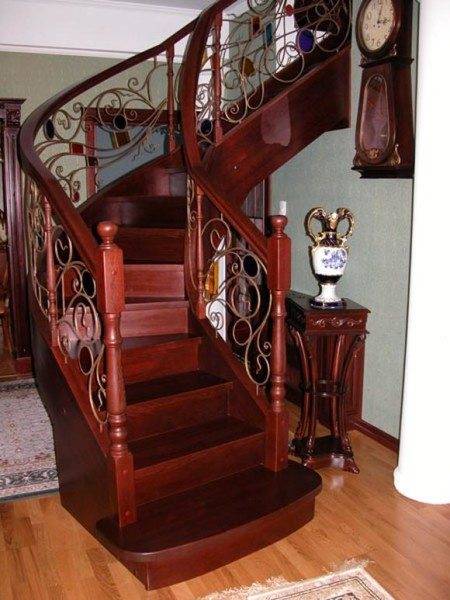
Of course, if such a construction is a work of art, then professional artists-restorers get down to business and there is nothing for amateurs to do there, but this is a completely different topic. In our case, it will be about the current repair, which will help you to understand the video in this article.
Renovation work
Wooden staircases are installed in residential buildings for communication between floors, and in most cases they end up in a high-traffic area, which entails the need for repairs. Most likely, the price of such a structure is considerable, so the restoration turns out to be more profitable than a complete replacement of the entire structure.
Eliminate squeak

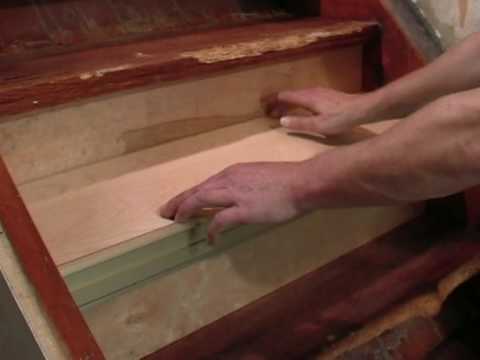
The picture above shows the very essence of the squeak elimination process, that is, instructions for using the tools. You need to lift the tread from the riser with some lever and drive in a temporary wedge there. Now you just have to seal the gap with sealant and pull the boards together with self-tapping screws.
But everything is not as simple as it might seem at first glance, and if the reason lies in the usual abrasion or drying of wood or loosening of nails, then you will quickly cope with the problem. But the root of evil may lie in the subsidence of the supports or the main balusters, that is, the place in the floor where they rest. Then, you may have to dismantle the entire structure in order to reassemble it on a solid basis.
So, if you need to strengthen the floor, then you will have to remove the floorboard and, having determined its condition, add an additional log or even fill in a concrete patch for support. In any case, the cause of the squeak will be the friction of the wooden parts against each other and you need to fix them tightly together - then there will be no more sound.
Advice. You can seal the large gap between the wooden parts with a rope dipped in wood glue. Push it into the split slot and then putty with sawdust and glue. After drying, the squeak will disappear, but under no circumstances use silicone for this.
Replacing steps
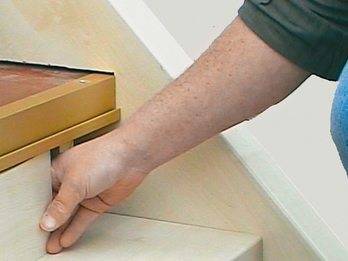
You may have to do it yourself to replace either the entire step, or the tread or riser, using new wooden parts for this. In theory, all this is quite simple, but in practice, as a rule, obstacles arise, that is, you remove the riser size, cut a new one, while observing all the angles 90⁰, and it is not included in the footprint, despite the reliability of the parameters. And the thing is, the wooden structure is prone to subsidence and shrinkage, so diagonals may be knocked down in the sewn-up quadrangle you need.
It is enough to change one of the corners by at least one degree to make the board you precisely cut out to be unusable. Therefore, to facilitate measurements, you can use thick cardboard, first beating off the shape of the riser with a mallet or a rubber hammer, and then transfer the template to the board. To beat off the line, place the cardboard on the edge on the lower step, placing it sideways on the upper riser, and beat a strip along this line with a mallet.
Advice. Please note that ladders are usually made of hardwoods such as ash, elm, beech or oak, so they can crack when you hammer nails into them or screw in self-tapping screws.To avoid this, first drill a through hole with a smaller diameter in the board and only then hit a nail or screw in a screw. It makes no sense to use glue for old adhesive joints, because it will not stick. To give the surface the ability to adhere, it must be sanded down to living wood, which sometimes implies a layer of several millimeters, which may be unacceptable.
Grinding and painting
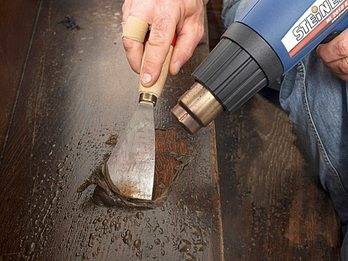
The most common problem that requires restoration of a staircase is the abrasion of the paintwork and in order to reapply the old paint on the wooden staircase it is necessary to remove it. Before doing this, you need to remove the metal edging, which often protects the top and bottom, and sometimes all stair steps. If the varnish layer is thick, then try to remove it with a spatula and for this you need to warm up the surface with an ordinary hair dryer (if available, then with a construction one), and then scrape off the coating, as shown in the photo above.
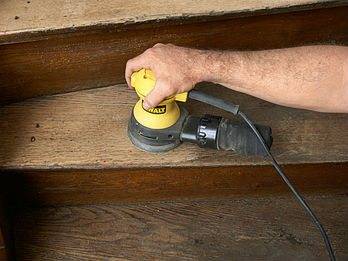
But, even if the varnish is well removed after warming up, it will not be possible to completely remove it with a spatula, so you will have to resort to using a delta sander (in the corners) and a vibration sander (on the main surface) machine. If you do not have one available, then you can use a small angle grinder (grinder). When sanding the surface automatically, avoid rubbing the same place for a long time so that unevenness does not appear on the plane.
Advice. There will be too much dust when sanding the stairs, so use a vacuum cleaner to remove dust from each step and prevent it from scattering around the house. If there is an assistant, then he can vacuum directly while sanding, holding the wide nozzle directly under the stream of dust from under the sander.
Conclusion
