

Proper cultivation of greens at home


Greens can be used both fresh and as a seasoning for cooking. But in winter, access to this product is limited. What supermarkets and market vendors offer is unlikely to benefit the body, because in addition to useful elements, such greens contain a lot of chemical additives that are used to accelerate its growth.
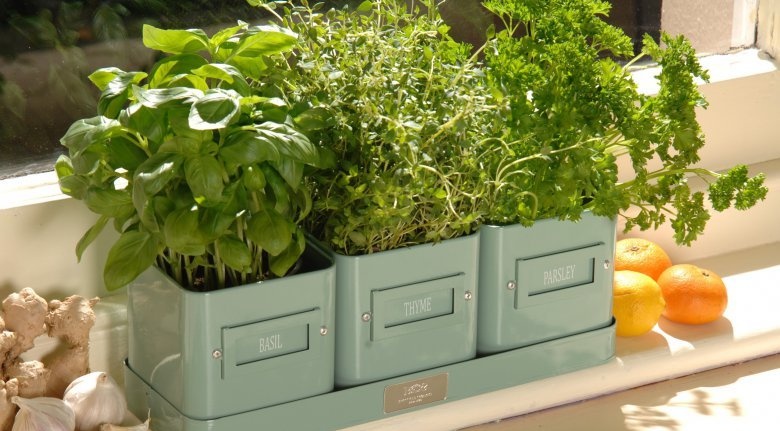
With a little effort, you can organize a mini-garden in the apartment, thanks to which a fresh, healthy greens will be at hand at any time. The most popular culinary uses are chives, lettuce, parsley, and dill, which can grow well at home.
Content:
- Growing onions in water
- How to properly grow onions in soil or substrate
- Interesting idea - onion tree
- Features of growing watercress
- Sowing lettuce on the windowsill
- Parsley cultivation methods
- Planting dill on greens
Growing onions in water
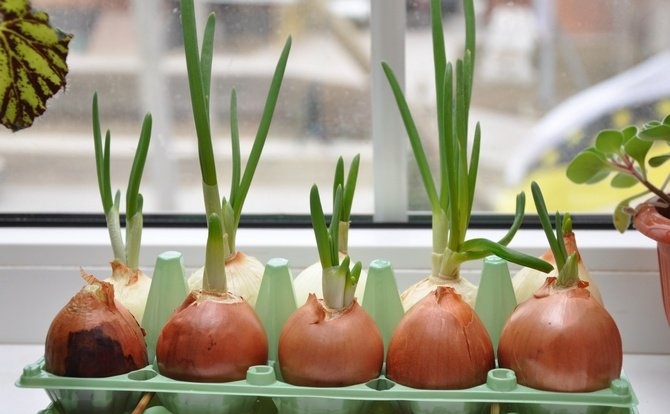
Cultivation Luke in an apartment does not require special skills, it is the most unpretentious vegetable and it is not a pleasure to take care of it. There are three ways to grow onions in an apartment:
- by placing the head of the onion in a container of water
- planting in the substrate
- landing in the ground
This is the easiest and most affordable way to get fresh green onion feathers, just follow these steps:
- Select the bulbs. You can take those that have already sprouted. But if there are none, then the tail is cut off from the head, leaving about one and a half centimeters.
- The bulbs are cleaned of peeling husks and kept for about an hour in warm water (40 degrees).
- In a shallow but wide container, pour water at room temperature in such an amount that the bulbs are immersed by one third.
- Place heads tightly in containers.
- Put the container with onions in a warm place and periodically add water and turn clockwise so that the sprouts are friendly.
This is the most commonly used method and has worked well for many years. But some believe that green onions will be more beneficial if grown in soil or substrate.
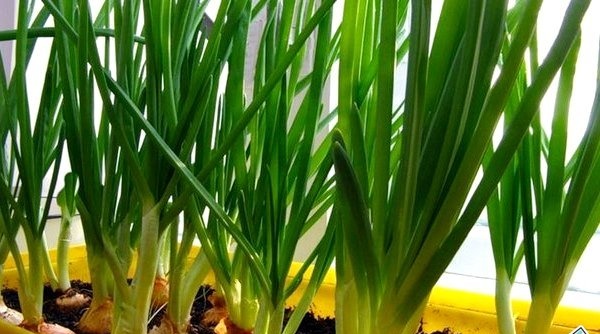
How to properly grow onions in soil or substrate
These two methods take a little longer and are not much different. The main difference is that the substrate must be constantly submerged in water.
To grow green onions in the ground, you need to prepare the soil and containers with a depth of more than 6 cm.Further, you need to act in stages:
- They take onion sets, wash them in warm water, peel them off and cut off the tails.
- The heads are placed in warm water so that only the roots are immersed and sent to the battery for a day.
- The onions are planted in the prepared soil, deepening the heads by a third, and the containers are sent to a warm place until the first sprouts appear. After that, the containers are rearranged on the windowsill.
After 2-3 weeks, you can cut off full-fledged feathers. At first, it is better to use the extreme ones, so that the central ones open up access to the light.
Interesting idea - onion tree
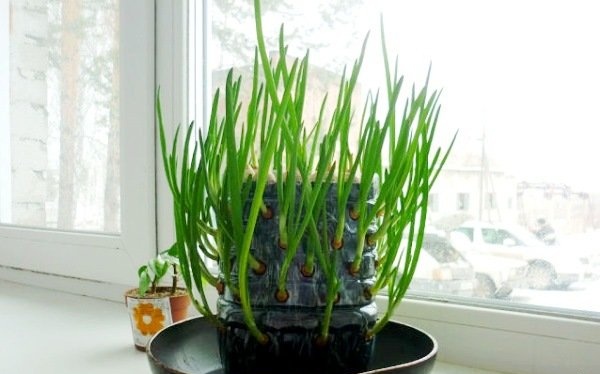
If it is not possible to place several wide containers on the windowsill, then you can grow an onion tree that will take up little space and diversify the interior.
To do this, you need to prepare a large plastic bottle, soil and onion sets.
Growing features:
- The top and bottom of the bottle are cut off and holes are cut in the side walls.
- Place the container in the pallet and fill it with soil up to the first strip with holes. Plant the onions so that their tails are facing outward through the holes. Thus, fill the bottle to the top and drop several heads from the top.
- Place in a warm room until germination, then move to the window. It is important to unwrap the bottle periodically so that each side has enough light and the tree is greened evenly. It also requires regular watering.
Such an onion cactus will save space and give your kitchen a flavor. The secret of uninterrupted harvesting lies in the fact that onions are planted at intervals of two weeks. While the first crop is being consumed, the second will arrive, and then the third and vice versa.
Features of growing watercress
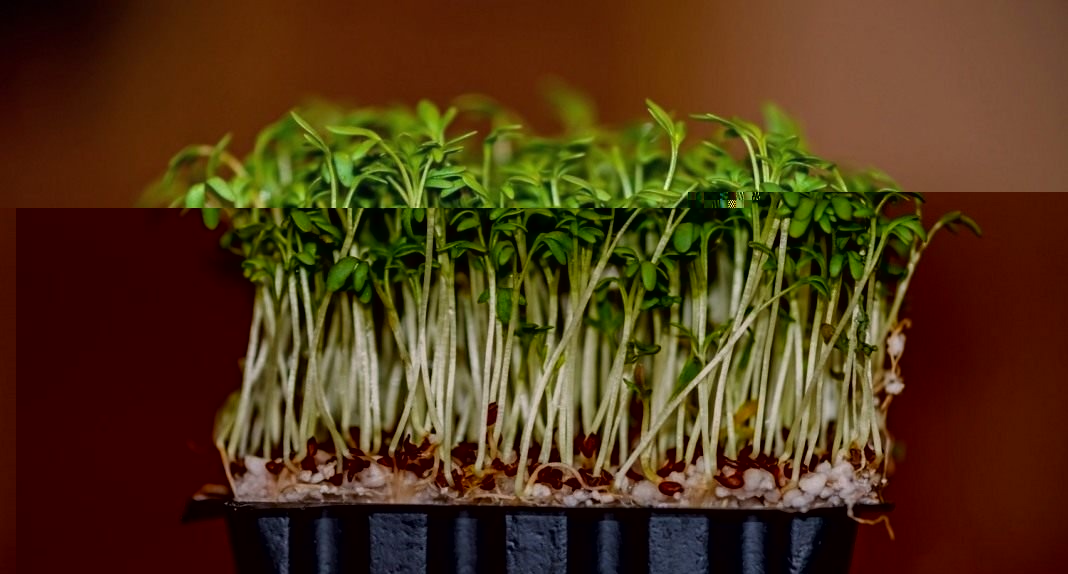
When growing lettuce at home, care should be taken in advance to provide additional lighting... Choosing the right variety will help partially solve this problem. Some varieties do not require a lot of light. You also need to know that if the humidity level is low, then the lettuce leaves are bitter. Therefore, it is important to observe these two conditions when growing lettuce on a windowsill.
The advantage of watercress is that it is grown not only in the ground, but also in sawdust, chopped rags, as well as on a sieve. It is grown in the ground like this:
- put a good drainage layer on the bottom of the container and fill it with earth
- sow seeds, deepening them by half a centimeter and leaving a distance of at least 10 cm between the rows
- water the seeds, cover with foil and send to a dark place before the first shoots appear
- move the container to the windowsill and ensure regular watering, spraying, fresh air and sufficient light
Seedlings will hatch in 2-5 days, and the leaves can be cut off in 2-3 weeks.
Sowing lettuce on the windowsill
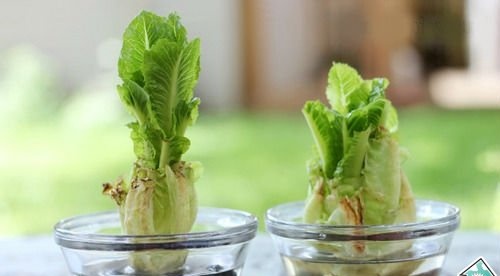
A feature of lettuce is its growth rate. Therefore, the soil for planting should be nutritious, and the planting capacity is chosen wide, but shallow - 9-13 cm. The soil for planting can be bought in a store or prepared by yourself by mixing humus, garden soil and sand in a ratio of 2: 2: 1.
You need to plant and care for this salad in the same way as in the case of planting watercress.
But lettuce leaves are rich in organic iodine, the maximum amount of which it accumulates in the open field. At home, the accumulation of iodine is problematic, therefore, the plant should be fed with complex micronutrient fertilization based on potassium iodide.
Top dressing apply 1 or 2 times by spraying the leaves. If you plant the salad in several containers at intervals of one and a half weeks, then you can ensure continuous production of useful leaves in winter.
Parsley cultivation methods
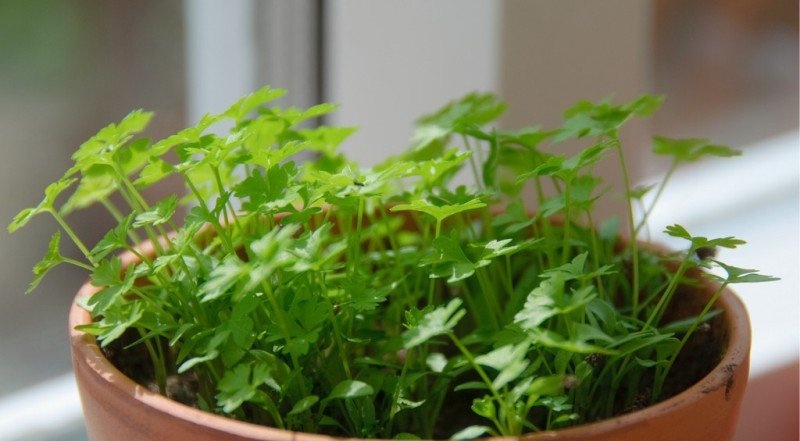
Growing parsley on the greens of the house is possible in two ways: seed and planting roots for distillation.
Seminal. This method consists of several stages:
- Seed preparation. To accelerate the emergence of seedlings, the seeds should be wrapped in a cloth and held for half an hour under a stream of warm water, and then left in a damp cloth for a day.
- Provide containers with drainage and fill with prepared soil.
- Plant the prepared seed material, deepening it by 0.5 cm and sprinkle it with earth a little.
- Planting is left in a dark place until sprouts appear, periodically watering.
- Transfer the parsley to a window with access to light and thin out the seedlings so that there is an interval of 3-4 cm between them.
- When the greens reach a height of 9-14 cm, they can be cut.
Planting root crops for distillation.The success of this method lies in the correct selection of the roots. They should be short and thick - 6 cm long and at least 2 cm thick. They should also have an apical growth bud and the presence of petioles is encouraged.
The optimum temperature for the growth of parsley is 20-22 degrees.
The roots are planted at an angle into the moistened ground so that the growth point deepens by 2-3 cm. An interval of 3-4 cm should be left between the roots. After planting, the container is left in a cool place and watered periodically. When the first sprouts hatch, the parsley is transferred to a lighted place - a table or a windowsill. Every day, the container is turned so that there is enough light for the entire planting.
Planting dill on greens
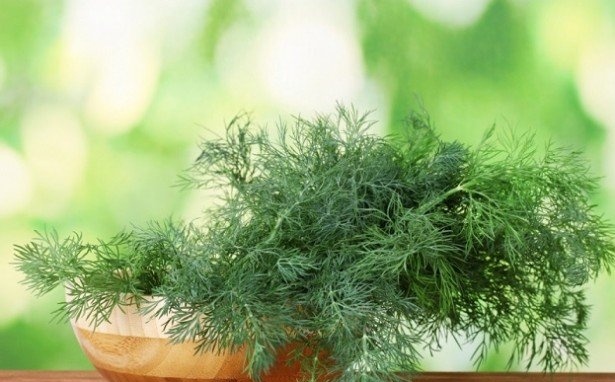
For cultivation dill in the conditions of the windowsill, you should choose unpretentious and high-yielding varieties. Preference is given to Griboyedovsky, which gives an early harvest and is resistant to diseases, Grenadier, Aurora, Dalniy, Aelita and Kustisty.
Growing rules:
- The drop tank should be large enough. A drainage layer is laid out on its bottom and filled with soil, not filling up to the edge of 2 cm.
- To speed up the appearance of sprouts, you need to place the seeds in a cloth moistened with water for two days.
- After that, place them on the surface of the earth, lightly sprinkle with peat and humus and water.
- Cover the container with polyethylene and keep for about seven days in a dark place, maintaining a temperature of 20 degrees.
- With the emergence of friendly shoots, the container is rearranged to a well-lit place.
- To prevent stretching of the greenery, the temperature should be lowered at night and, if necessary, provide additional lighting. The fact that dill does not have enough light will tell the pale green mass.
- In order for dill to accumulate enough vitamins, it needs to be watered and fed regularly. mineral fertilizers... Greens grow well at temperatures of 10-17 degrees.
- In order for dill greens to always be available, you need to plant seeds in several containers at intervals of seven days.
Besides these crops, cultivation at home is possible. celery, spinach, basilica, cilantro, thyme, lemon balm, sage and oregano... And if space permits, it is possible to grow vegetables. Especially popular are tomato, cucumbers and acute and bell pepper.
Cultivating greens is a simple process and does not take much time. It is enough to make the correct planting, find a suitable place and ensure regular watering. As a result, greens will be present on the table every day, providing households with the necessary microelements. Also, this approach will help significantly save the family budget.
More information can be found in the video:
And in February, I plant onions on the window in pots of sand. It is very convenient and greenery is always at hand. I transplant the root parsley from the garden into glasses in the fall. Enough for the whole winter. I can't do anything else. No salads, no dill, no other herbs. This year I will try according to your recommendations.