Growing dill on a windowsill - from planting to leaving
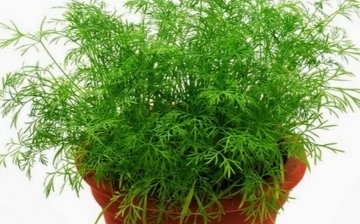
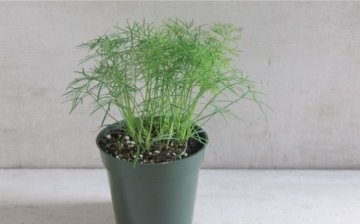
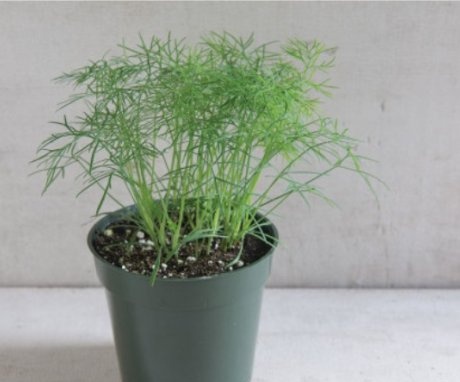
Growing dill on the windowsill is not at all difficult, the main thing is to create the necessary conditions for it and properly care for the greens.
Content:
- Dill varieties for growing
- Preparing dishes and soil
- Sowing dill seeds
- Dill care on the windowsill
- The benefits of dill for the body
Dill varieties for growing
To get a high yield of dill, pay attention to the type of the selected variety. You can choose early ones, but they give few green shoots and quickly discard the flower. Therefore, they are only suitable for early production. These are the varieties:
- Gribovsky with a pleasant aroma blooms 2 months after sowing the seeds. Differs in unpretentiousness to growing conditions and gives a lot of products.
- Grenadier with blue leaf needles
- Richelieu is a medium-ripening variety with bluish leaves
It is even better to sow late varieties of dill in pots. Here they will have enough time to give many green shoots. You can use varieties with lush greenery:
- Russian size
- Gourmet
- Kibray
- Firework
- Alligator
- Dipl
- Buyan
Growing early and late varieties of dill, they extend the terms of obtaining greens. If, for any reason, one of the species dries up, the other will yield a crop.
Preparing dishes and soil
Most often, dill is grown on a windowsill in autumn and winter. But it is at this time that he needs additional backlight... There is enough sunlight in the spring. Often, in the absence of a vegetable garden, they use a balcony. For growing dill, southern and eastern windows are better suited, on which the plants will receive a lot of light.
Prepare dishes in advance. These can be narrow (along the width of the window sill) boxes up to 20 cm deep or ordinary flower pots. When choosing dishes, take into account that the roots of dill grow in breadth and in depth. The material from which they are made does not matter. You can take decorative pots that will decorate the interior of the room.
To grow dill, you will need to extend the daylight hours, for this you will need phytolamps with a power of 40-80 watts.
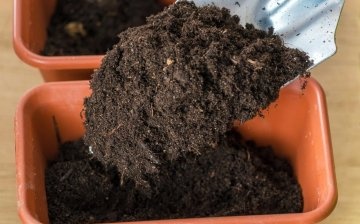
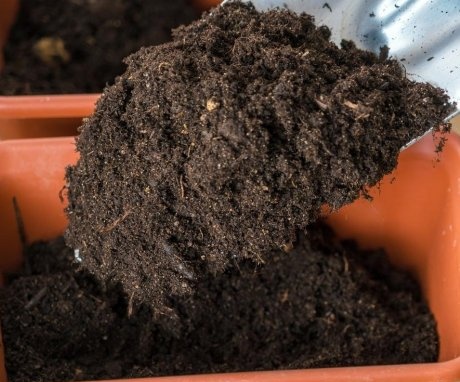
A loose neutral soil is prepared with a large amount of nutrients, micro- and macroelements. After all, the plant will not be able to get them without the help of bright sunlight. They take a ready-made universal soil mixture and add garden soil to it in equal proportions. It is good if the mixture contains vermicompost and coconut fiber.
To prevent root rotting, they are placed in the dishes drainage layer... This is broken brick, gravel, expanded clay, pieces of foam. A layer of washed coarse sand is placed on it.
It is good if there are holes in the bottom of the dishes for moisture outflow. But sometimes dill is sown in a suitable container. It is advisable to turn the drainage holes in the bottom. The dishes are placed in a tray, where excess water will be removed. Cook mineral fertilizers, which will subsequently feed the plants.
Sowing dill seeds
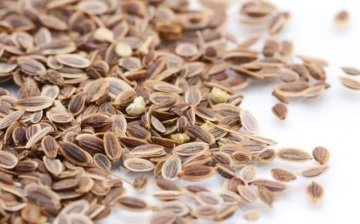
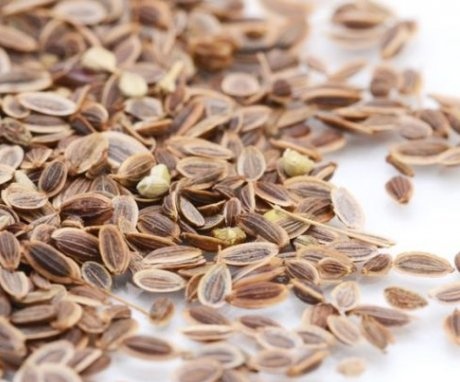
For spring cultivation without backlight, seeds are sown in March. Soak them in warm water for 48 hours. It will destroy the oily shell that covers the seeds. It is because of her that shoots appear late. The water is periodically drained and filled with new water. After such treatment, the seeds will hatch quickly and amicably. Then for a couple of hours they are placed in potassium permanganate solution... It will disinfect the seeds, protect them from fungi and other pathogens. If there is no potassium permanganate, you can soak it in water.
Select seeds from water. In this case, those of them that have surfaced on the surface of the solution are thrown away. They are not ripe, therefore, they will not give full-fledged shoots. Place them on a clean cloth to dry. Bring to the point where they do not stick together.
For an area of a square with a side of 10 cm, use 0.3 g of dill seeds.
Grooves are made in the soil, the prepared seeds are immersed to a depth of 0.5 mm. In rounded pots, they are often placed in a circle or in groups. Fall asleep with earth, moisten from a spray bottle. Cover with glass or cover with foil. Inside, high air humidity is maintained and maintained, which contributes to the emergence of seedlings. Install in a warm place, protected from direct sunlight. The temperature in the room at this time is approximately 20 ° C.
Often dill is sown directly on the soil, which has been slightly moistened before. In this case, the grooves are not made. From above, the seeds are covered with a layer of peat with humus. The peat itself dries up very quickly, and the humus is not light enough. They are waiting for shoots to appear. When using film or glass, they will appear in a week, without it - in two.
Dill care on the windowsill
Young seedlings are often pulled out. This is due to the heat in low light conditions. Therefore, immediately after the seedlings emerge from the ground, put the dishes on the windowsill, the temperature is lowered. In winter or late autumn, dill is illuminated with fluorescent lamps suspended at a height of up to half a meter above the plants. Do this in the morning for 4-6 hours.
How to properly care for greens:
- Dill is a moisture-loving plant. Therefore, seedlings need to be watered regularly. For humidification, use filtered or settled water at room temperature. Dill reacts well to spraying. In winter, watering is rarely carried out so as not to cause the development of fungal diseases. This is done only after the soil has dried. And in the spring, excess moisture will harm the dill bushes. If there is insufficient drainage, it can cause root rot.
- If the seedlings are very dense, they are thinned out in the state of forks. After 3 weeks, they break through the plants so that there is at least 3 cm between the neighboring ones. If this is not done, the plants will elongate, they will be thin and unsalted. Harvesting begins one and a half months after sowing. First, the tops are cut off. This will lead to the formation of side shoots and the formation of a lush bush.
- Dill in pots is fed with universal mineral fertilizer no more than 2 times a month. Follow the advice of the instruction so as not to overdose with the amount. This can make the product dangerous for consumption or even completely ruin it. Good results are obtained by applying liquid fertilizer Growth. It is easy and convenient to use. If the seeds were sown in a new fertile soil with the introduction of vermicompost or humus, it is not necessary to feed the plants. If the soil was taken after the flowers, it is necessary to apply fertilizers to obtain a high yield.
- The temperature in the room is maintained at about 18 degrees, at night it is lowered by opening the window, balcony or taking out the pots to the balcony. Dill easily tolerates lowering up to 8 degrees. To maintain the vitamin green conveyor, a new batch of seeds is sown every month or even two weeks later. Shoots cut once will no longer grow back.
- When dill is grown at temperatures above 20 degrees, it can stretch up strongly, the leaves will become light, lose their taste and aroma, and begin to fade. To prevent this, the plants are illuminated, transferred to a brighter place, or the temperature is lowered.
The benefits of dill for the body
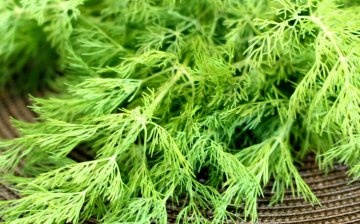
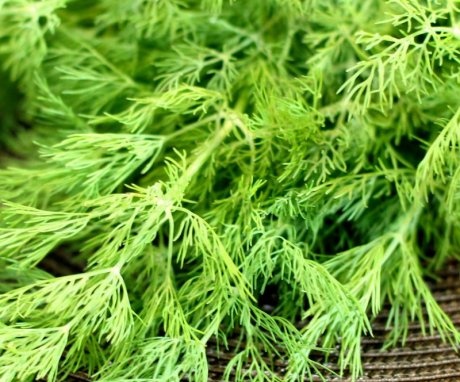
Leaves and young shoots of the plant contain carotene, mineral salts, acids and other useful substances. It supplies the body with salts of potassium, calcium, phosphorus, gives dishes a unique aroma.Almost any dish, after adding a pinch of finely chopped shoots, becomes delicious.
Dill is used as a drug for metabolism, lack of appetite, kidney disease, gastrointestinal tract.
In the garden, it grows only until frost. Therefore, it is prepared for the winter: dried, frozen, stored in jars mixed with salt. But the most delicious and healthy fresh dill.
It is not difficult to grow it at home. The plant does not require the use of additional equipment; the temperature and humidity level in an ordinary apartment are suitable for it.
More information can be found in the video:





I always ice dill for the winter, because I don't like dry, but I tried to salt it - then it's hard to guess with salt, so you can oversalt the dish. Growing on a windowsill certainly solves this problem. I will definitely try this year.
The main condition for growing any greenery on the windowsill is sufficient lighting. If there is not enough sun, you need to illuminate with phytolamps, otherwise the seedlings will stretch out, there will be no sense from them.
I also grow dill on the windowsill, but I don't put the drainage in, I just make holes in the pot and put it on the pallet. But I didn’t know that the tops of dill should be cut off, now I’ll try.
I didn’t know that the tops had to be cut off first. It is clear now why even a bushy "Alligator" grows with skinny wastelands, at the beginning I always plucked the more powerful and old branches.
Somehow I tried to grow dill on the windowsill, but it grew very liquid, thin and absolutely odorless, it turns out that you need to choose the right seeds, not all varieties are suitable for indoor growing, especially since the temperature in the kitchen is always above 20 degrees