Clematis Fargesioides: cultivation and use of shrub vine
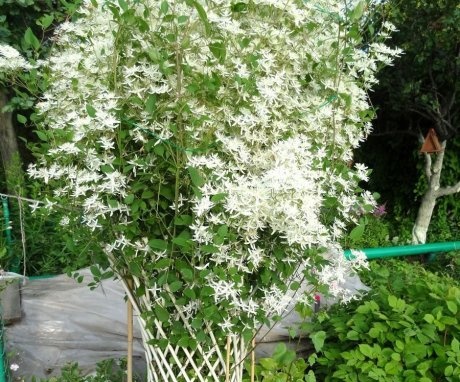
Small-flowered clematis have their own charm. Their flowers cover the entire surface of the bush, are distinguished by a pleasant aroma and unpretentious care. One of these species is Fargesioides.
Content:
- Features of the structure of the variety
- Reproduction of clematis
- Planting a seedling
- Recommendations for the care of the vine
- Top dressing, pruning and installation of supports
Features of the structure of the variety
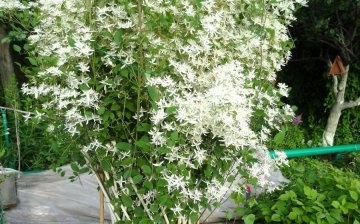
This small-flowered hybrid clematis belongs to the Fargez group. A powerful shrub vine reaches a height of 4-7 m. The number of shoots increases every year. At first they are green, then they turn red-brown. The leaves are large, each of them consists of 5 or 7 leaves. Flowers grow in groups of 3-7 in one inflorescence. The flower diameter varies depending on growing conditions and can range from 4 to 7 cm.
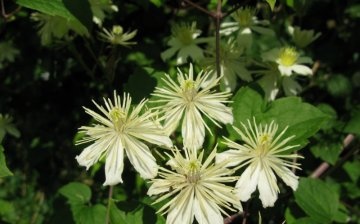
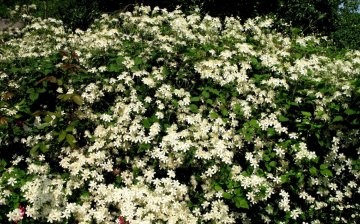
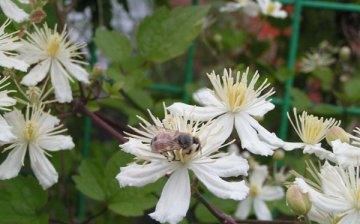
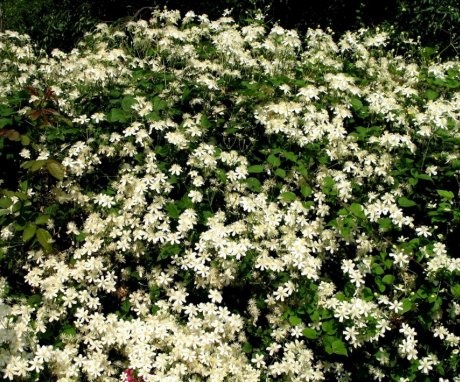
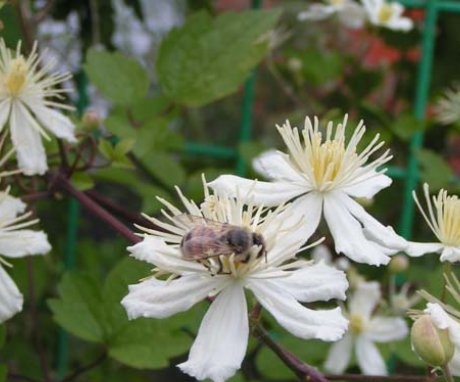
Clematis Fargesioides has several names. One of them is Paul Farges. The bush is densely covered with small light yellow or white flowers with a cream shade. Anthers are light yellow. The impression is that it is covered with snow. Hence the name of clematis "Summer Snow". The flowers have a pleasant, delicate aroma that intensifies in the evening.
Flowering begins in early summer and lasts until September.
Grows well in sunny areas, but can also be grown in partial shade. Then its flowering will be less abundant. His rhizome does not spread over the territory of the garden, so it is possible to control the growing zone.
Reproduction of clematis
A feature of the variety is that it can be propagated using seeds. They are collected from the bush and planted immediately. If you do this after a few months, germination will be greatly reduced.
Clematis can be propagated dividing the bush, cuttings or layering:
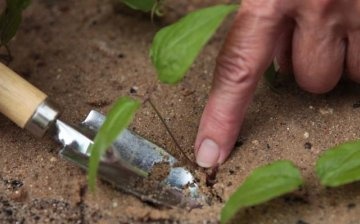
- The division of the old bush is carried out in the spring, while the shoots have not yet grown large. Carefully remove the part with a shovel that grows slightly to the side. They are transplanted to a new place.
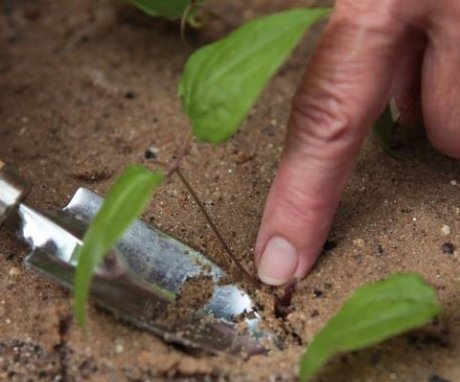
- Often clematis propagated by layering. To do this, choose a shoot located at the edge of the bush, take it to the side and place it in a pre-prepared groove up to 10 cm deep. Slightly cut the skin or scratch it from below. Young roots will form faster in this place. In the fall or next spring, a young plant is transplanted to a permanent place.
- If it is not possible to dig in the shoot, cut it into pieces 15-20 cm long, planted in a greenhouse under cans or film. Set at an angle of 45 degrees. Cover from bright sunlight. Water, spray. Ventilate periodically.
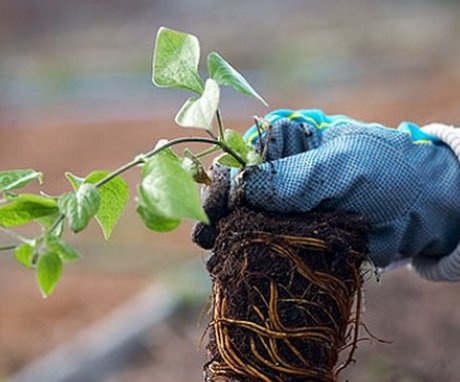
When buying a ready-made clematis bush Fargesioides, you need to pay attention to the presence of vegetative buds. If they are not there, then there will be no shoots from the root, whatever size it is. It is desirable that root system the plants were developed, the roots were dark yellow in color, and were white on the cut. The length of the shoot does not play any role when buying.
Sometimes, instead of clematis, they sell motherwort weed, the root system of which at first glance looks like clematis. Therefore, you need to buy only in trusted places.
Planting a seedling
Clematis Fargesioides, like other representatives of the species, is most afraid of flooding and stagnation of water in the root system. Therefore, it should be planted where groundwater does not come close to the soil surface. But even in such areas drainage not prevent. It can be a layer of gravel, expanded clay, stones.
Landing rules:
- A pit with parameters 60 cm is prepared.The lower ball of soil is laid aside, the rest of the earth is mixed with humus, compost.
- Add a glass of nitroammophoska and wood ash, which will protect the root system from decay, will serve as a source of beneficial trace elements, and a bucket of sand.
- A layer of drainage with a height of about 15 cm is laid on the bottom. River sand is poured on top. Then part of the prepared soil is poured.
- Install the vine in the hole so that the distance from the lower buds to the ground is 5 cm.
- Previously, a stake is driven into the bottom of the pit, which will initially serve as a support for clematis. Doing this after planting can damage the root system.
- Tie the seedling with a string to the peg with a figure eight (fix it to the support, twine the plant in the form of a figure eight and fix it again to the support). You cannot pinch the seedling, because nutrients cannot flow upward. Tying will keep the plant in place and prevent it from poking down when planting.
- Fill the remaining space in the pit with soil, leaving a small hole through which air will flow to the root system. By the fall, it will need to be covered with sand, adding it gradually.
Recommendations for the care of the vine
Clematis is watered regularly in the first year until the young shoots begin to actively develop. Then the procedure is carried out once a week (if there is no rain). The mulched soil will help to reduce the amount of watering and protect the young plant from weeds that actively break through near the young plants.
Instead of mulch, you can use decorative bark, plant low annual plants with a wide crown. It can be marigold or marigolds. They will not only cover the soil under the bush and create a beautiful composition, but with their insecticidal properties they will scare away pests that can settle on the roots of clematis (nematode), or eat them, moving past the bush. It can be bear, beetle larvae, wireworms... You can fight them by spilling the root system in June and September with Aktara's solution. Dilute 1 bag per liter of water and pour 3 liters under the bush.
When a dark spot is found on the shoots near the ground, the shoots are cut off completely, capturing a few centimeters of healthy tissue.
Young shoots can damage caterpillars of butterflies, their base is slugs. To get rid of caterpillars, collect them by hand or handle them insecticides... Weeds are removed so as not to create favorable conditions for slugs. Spread 5% metaldehyde in granules over the surface of the earth.
Watering is carried out in the evening with water warmed up in the sun. It is poured onto the soil without getting on the shoots. In rainy cold weather, clematis is protected from rot by treating it once a week with wood ash or once a month fungicides.
Fargesioides is resistant to the main diseases of clematis: fusarium, powdery mildew, phomopsis. If white or other colored spots appear on the leaves, the plant is treated with fungicides. The same treatment can be carried out to prevent the disease by treating clematis along with other plants. In the spring it is a 1% solution of copper or iron sulfate, or Bordeaux liquid, in the summer - Skor, Hom, Oxyhom.
Top dressing, pruning and installation of supports
Clematis Fargesioides need not be fed if you do not need to get a huge amount of green mass. Otherwise, fertilizers are applied up to 5 times per season:
- In the spring, ammonium nitrate is introduced, 50 g of it is scattered along the near-trunk circle before digging.
- During the formation of buds, 30 g of nitroammophoska is introduced, diluting it in a bucket of water.
- After the faded part of the bush is cut off, they feed mullein, diluting 1 liter of it in a bucket of water.
- To increase the number of flowers, they are fed with potassium nitrate every 2 weeks.
- In order for the plant to winter better, add potassium and phosphorus, 20 g per bucket of water. Do not overfeed clematis because too much can do more harm than good.
Clematis Fargesioides belongs to the free pruning group of plants. Since flowers form on this year's shoots, last year's are not needed to bloom. Therefore, you can cut the bush in autumn or spring strongly, leaving several buds on the shoot. The volume of the plant depends on the number of shoots, therefore, they take into account how many of them are needed in order to cover the wall of a building, a gazebo or a support.
Clematis Fargesioides is one of the few varieties that is used to decorate the facades of houses. There, they also need supports, along which he will climb up. When growing near fences, supports are installed, the distance between which is 2-4 m.
The height of the supports depends on the capabilities of the owners, because the plant itself can grow up to 7 meters.
Metal or other strong pillars are dug in, several rows of wire are pulled between them. The more there are. The easier it will be to form a plant that clings with its antennae to the wire or adjacent shoots. It is impossible to allow their plexus, because in this case an inaccurate lump will form. To make it easier for the plant to climb to the next wire, a plastic net for cucumbers is installed. It will not be possible to do with the net itself, because the bush is very strong and will tear off the net.
In late autumn, it is better to remove the bush from the support and lay it on the ground, covering it with non-woven materials. But this should only be done in regions with frosty winters and insufficient snow. And you need to protect the root system rather than old shoots. After all, there will be no more flowering on them. Therefore, most often it is enough to cover the near-trunk circle with humus, spruce branches, dry leaves.
More information can be found in the video:


