Work order
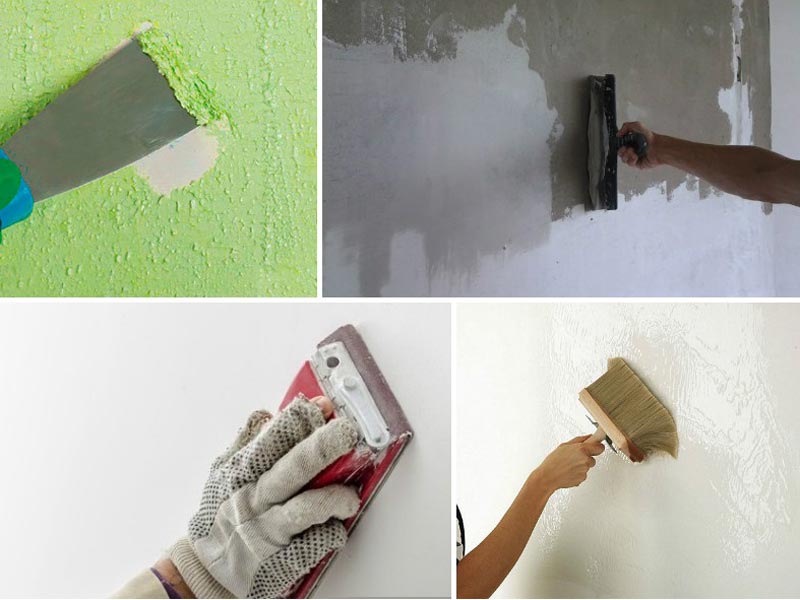
Each master has his own secrets of how to putty drywall under the wallpaper. Nevertheless, the work is carried out according to the technology in several stages:
- All joints and defects are carefully leveled.
- External and internal corners are formed.
- The filled areas are sanded.
- The entire surface is dedusted and primed.
- Putty is applied.
- Grinding and priming is carried out for subsequent finishing.
You can control the quality of the base using the directional light of a lamp or flashlight. If defects are noticeable, you need to apply the next layers until the desired result is achieved.
Sealing seams, holes and defects
All recesses on the surface of the wall must be tightly filled with putty. Professional craftsmen recommend using a Knauf-Fugen mixture for this. It is flexible, easy to use, fills the joints well.
The putty is rubbed into the defects with little effort until a bead of material forms on the surface. Self-tapping screws are recommended to be processed with Knauf-Fugen 2 times to avoid shrinkage.
To strengthen the seams, reinforcing paper tape or serpyanka are used. They protect the filler from cracking and destruction.
Seam sealing is carried out in the following ways:
- Pre-wet the paper tape in water for better adhesion to the surface and prevent the formation of bubbles. Fill the joint with putty and glue the tape, pressing it lightly with a narrow trowel. The tape must be completely immersed in the solution.
- Apply a finishing filler to the seam. Glue the wetted tape on PVA glue to the joint. After drying, putty the entire surface.
- When using serpyanka, the seam is also first filled with putty. Remove excess mortar from the middle with a narrow spatula, then smooth the tape strictly in the center of the joint with your hand, pressing slightly. Cover with putty with a wide spatula.
There should be no voids in the seams and holes, and bubbles under the tape or serpentine. Grinding is started after the solution has dried (10-12 hours).
Plasterboard corners
The processing technology for external and internal corners is different. For the outer corners, special perforated profiles made of galvanized steel or plastic are used. They allow you to strengthen the joint of two sheets and give the corner the correct geometry.
The area is pre-covered with fresh putty. The profile is applied to the corner and pressed slightly. A portion of the putty is applied on top and smoothed so that the corner disappears completely under it. You can pre-fix the profile with self-tapping screws.
A paper tape is used to reinforce the inner corners. The joint must be well coated with putty. Place the tape over the mortar and press firmly. Smooth it out with a narrow trowel, then cover with a small amount of putty.
Finishing plaster of plasterboard walls for painting
The substrate for painting should be almost perfect. The task of the finishing putty is to level out even the smallest defects.
Before puttingty drywall for painting, the entire surface must be covered with a starting mixture, dried and sanded. Clean the walls from dust, prime. After drying, get to work:
- Stir the composition for finishing putty thoroughly. If it is prepared from a dry mixture, you need to achieve a uniform and smooth consistency, reminiscent of sour cream.
- Apply the mixture with a trowel to a long trowel and spread over the wall.
- Then, in a circular motion, rub over the surface with the thinnest possible layer.
- Sequentially putty each area with an approach to the adjacent one, so as not to leave rough marks from the spatula. Movements must be done with uniform pressure.
To speed up the work and improve its quality in the corners, it is recommended to use a special angled spatula. It copes well even with hard-to-reach places.
The air temperature in the room should not be lower than 10%. Drying time - 8 hours. After complete drying, start sanding. This is a laborious process, but the final result will depend on the quality of the work done.
What primer is better for putty and painting
The choice of the type of impregnation for walls depends on the applied material, the type and structure of the surface.
- Priming the walls before painting with water-based or acrylic paint. Before applying water-based or acrylic compositions to concrete, plastered, putty or previously painted with similar compositions, it is recommended to use liquid acrylic primers for painting.
- The same impregnating liquids can be used under the putty, but the bases must be dense and have good adhesion to them. In the presence of paint and varnish coatings, it is advisable to use concrete contact.
- Pigmented compositions are used to level the general color background, - to lighten a dark base. Suitable for paints and decorative coatings - wallpapers, plasters, putties.
- The antiseptic composition must be used, regardless of the coating used, in the presence of temperature extremes and high humidity.
The technology of plastering walls for painting
In order to properly perform the filling of walls for painting, it is necessary to level the walls with a starting putty, then apply the finishing mixture and grout the surface. Let's take a closer look at these three stages.
Preparing the walls
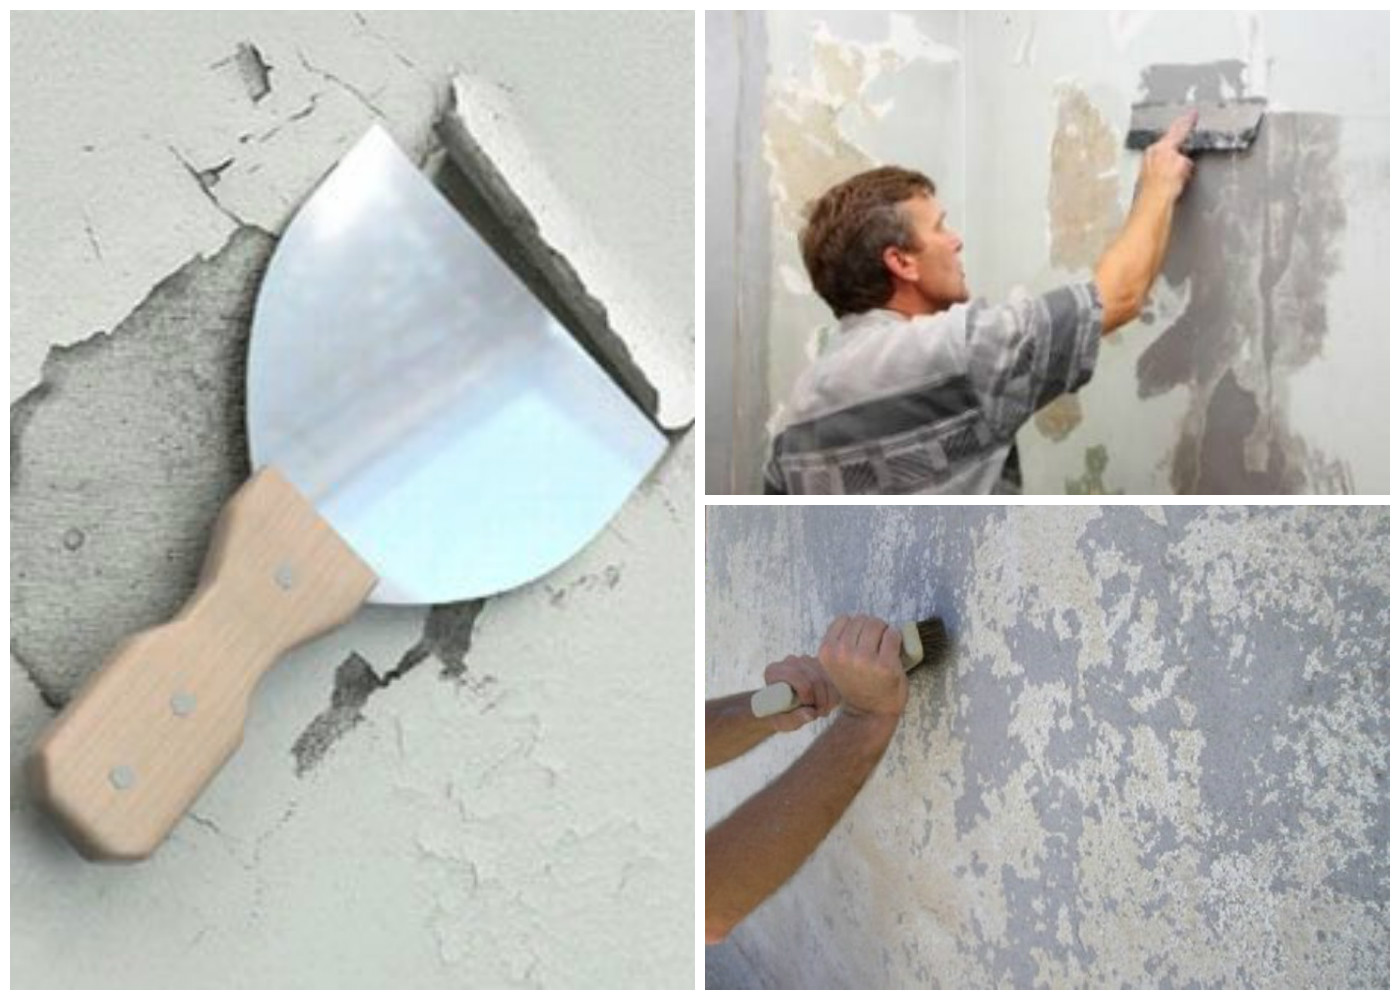
Preparing the walls before applying the putty for painting is a mandatory stage of the work. If the finishing will be carried out on drywall, then the joints between the sheets should be carefully covered. You will also need to close cracks, holes and dents with a reinforcing mesh over puttying.
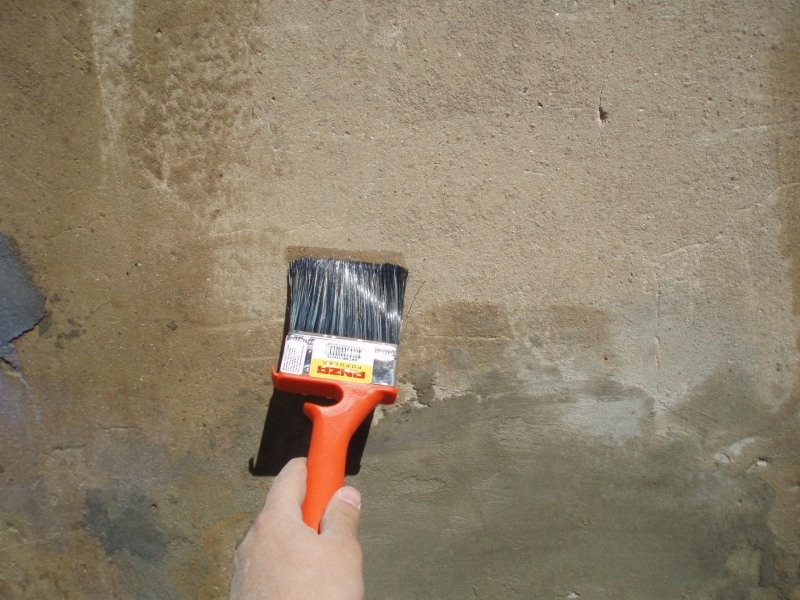
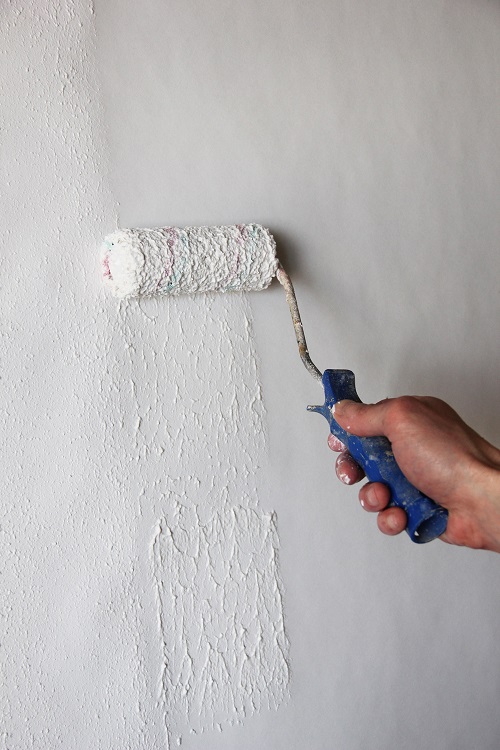
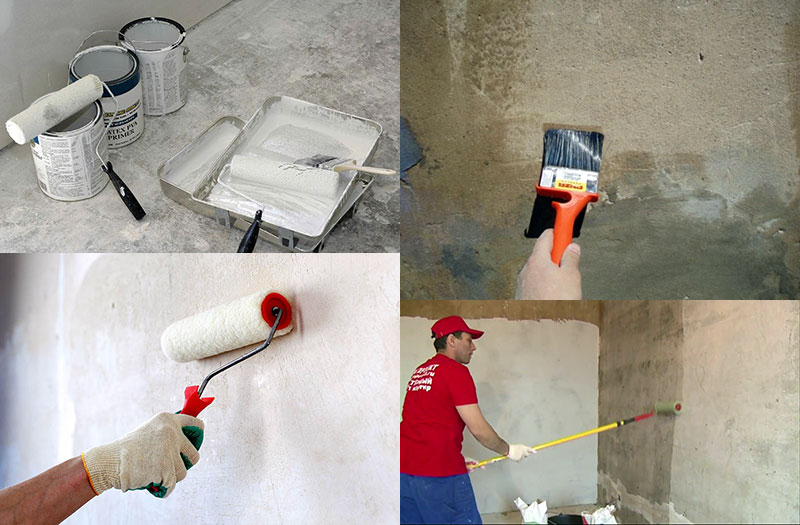
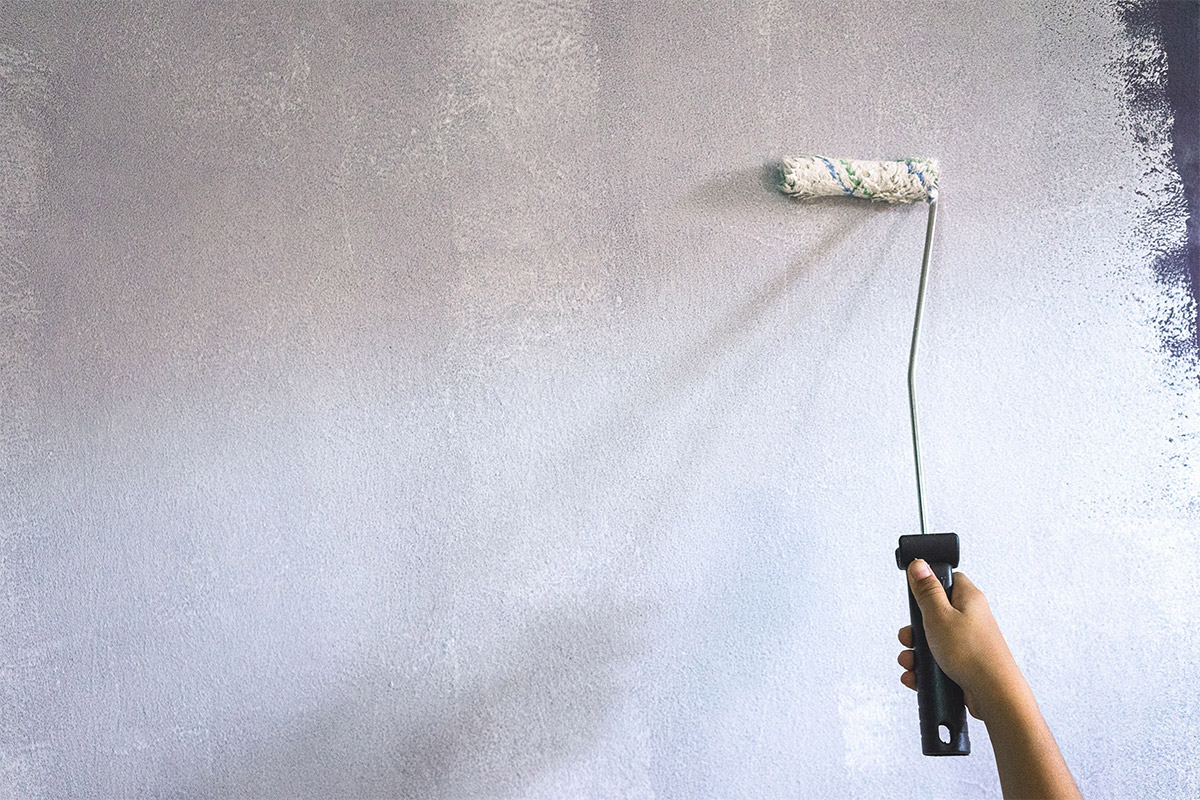
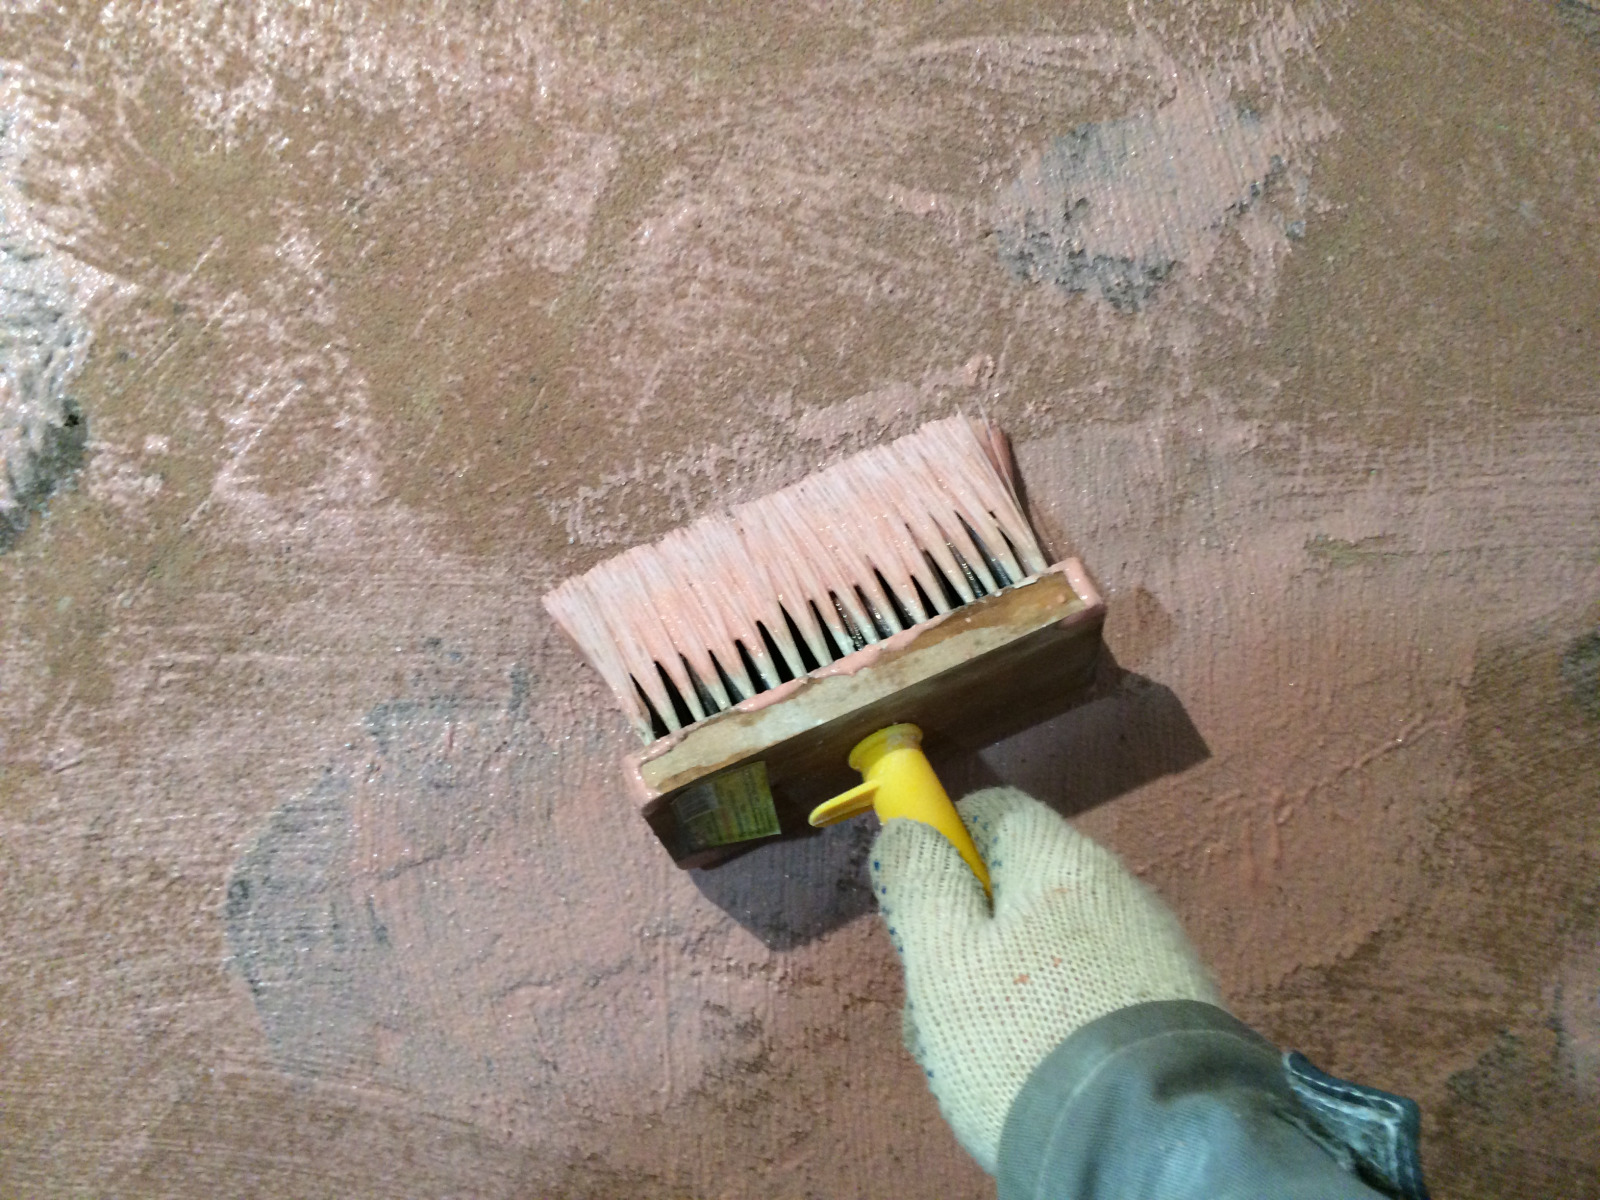
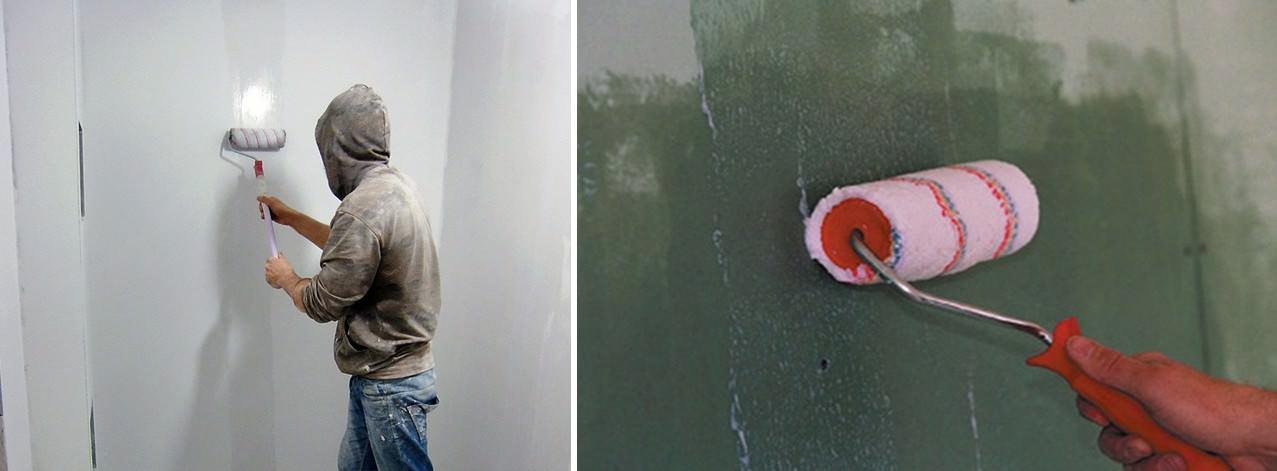
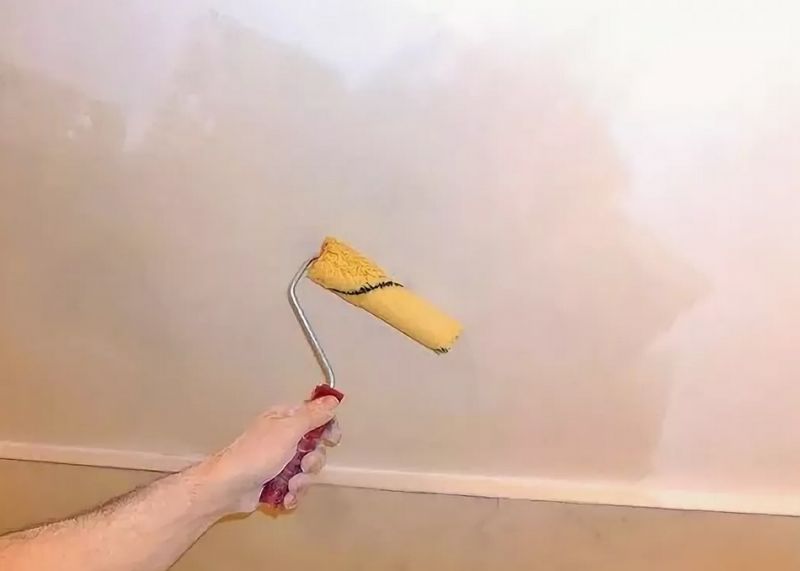
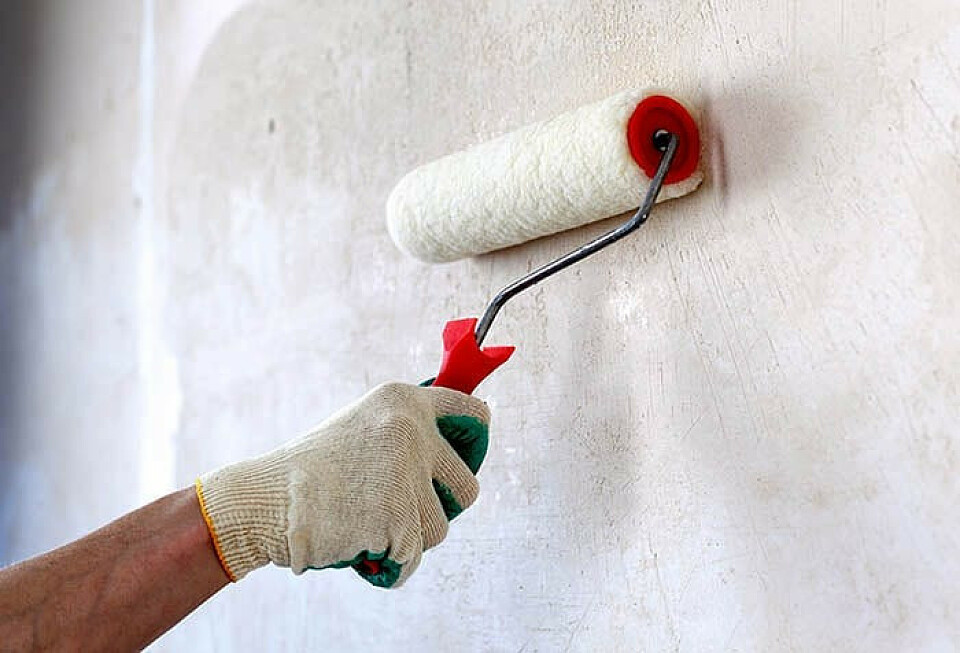
Before puttying, the walls must be cleaned of dust and dirt, wiped with a damp cloth and dried. Then you need to apply a primer to the base. The solution is applied with a roller or brush. The surface should be primed in several layers.
The drying time of the primer is indicated on the package, each next layer is applied only after the previous ball has completely dried. After completing the priming work, you can proceed directly to the puttying.
Start layer
It will be necessary to level the base with the starting mixture by applying a thick layer of the composition to the base. The first step is to dilute the dry mixture with water in the proportions indicated on the package. Then the composition must be mixed well with a construction mixer and left for fifteen minutes. If a gypsum putty is used for painting, then it is not recommended to dilute it all, since it sets quickly and will be unusable. Prepare the solution in small portions.
It is necessary to carry out filling work for painting in the direction from top to bottom. Putty is applied using a wide spatula, a narrow tool is used to pick up the mixture and seal the base in hard-to-reach places.
It is necessary to hold the spatula at an angle of thirty degrees, and collect the mixture in small quantities. Such manipulation allows you to eliminate the flaws on the base as much as possible. Before applying the first layer of material, a double-glazed window or a reinforcing mesh should be applied to large holes.
Finishing layer
The finishing layer is not very different from the starting ball of the putty. The same tools are required to carry out the procedure.However, the main difference between these two types of putty is the thickness of the applied layer: the starting layer is about fifty millimeters, and the finishing layer is two millimeters.
The ball must be flat and free from defects. After completing the procedure, the base will need to be left to dry for several days.
Grout
After the finishing ball of the putty is completely dry, the base will need to be wiped off. Grouting should be carried out carefully, since after it there should be no defects and flaws on the surface.
Primer types
A primer for paint on wood will fully fulfill its functions if it is correctly selected. It is not surprising, because if you ask for a primer in a hardware store, you will immediately be asked about the type of substance.
There are two large groups of materials that differ from each other:
- Classification of primers by composition.
- Types of primers for their intended purpose.
By composition
Primers, according to their composition, can be divided into the following groups:
Acrylic based. The peculiarity of acrylic products is their versatility. It is suitable for chipboard, wood, concrete, brick and plastered surfaces. Used for porous materials, dries quickly (about 5 hours) and does not emit any odor
Allows the material to breathe, which is very important for wood. Air passes through its structure, the room is ventilated, and the material itself gets rid of excess moisture
Acrylic compounds are not suitable only for metal surfaces.
An alkyd primer for wood is considered the best option for treating wood. After application, the structure of the material becomes slightly swollen, the adhesion to the surface is improved. It dries not as quickly as the previous version, about 15 hours. Ingredients may be added to prevent rust and mildew. Glyphthalic compounds. They are mostly used for the treatment of metal surfaces, however, the products are also suitable for wood. Drying up to 24 hours. There is a big disadvantage - it can only be used for dry rooms. With prolonged exposure to moisture, the substance loses its original properties. Perchlorovinyl materials. Another versatile compound used for wood, brick, plaster and metal surfaces. Such a primer for wood for painting dries very quickly, in summer the layer will dry in just 1-2 hours. True, you cannot use a primer for internal surfaces, it is toxic. Polyvinyl acetate. Made from latex and polyvinyl acetate dispersion (main component). Suitable for all surfaces. True, a primer for acrylic paint or any other will not work. This is a prepared substrate for polyvinyl acetate paint only. Drying - about 30 minutes. Phenolic. Base coat for painting, applied to metal and wood surfaces. Drying takes about 15 hours. Scope of use: outdoor work. Polystyrene. Scope of use - external work on wood and plastered surfaces.
Aluminum. It is applied to a wooden surface. Additionally, it protects the material from the negative influence of the fungus. Epoxy. It is used for processing only metal and concrete, protecting against corrosion and improving adhesion. Shellac. Primer for painting wood. Thanks to her, resins will not stand out from the structure of conifers. Mineral. Made from cement, plaster and lime. Applies to brick and concrete only. Drying lasts from 3 hours to a day. It all depends on the thickness of the layer and the material.
By appointment
Thanks to the addition of additional components, the primer acquires certain properties for better painting of the walls. Types of products:
- Deep penetration. If the surface is loose and not strong enough, then this is the best option. The substance strengthens the wall, reducing the consumption of paints and varnishes.Scope of use: impregnation of plaster, for bricks, aerated concrete, foam concrete, gypsum board. It is not worth using a composition for preparing a surface that does not absorb moisture poorly.
- Antiseptic, for wet rooms. These include the kitchen and bathroom. The composition is supplemented with special substances that prevent the defeat of the fungus. In addition, it is water-repellent and increases fire resistance. After the base has been primed, paint or other finishing is applied. The adhesion is so high that biological microorganisms cannot penetrate into the layers in any way. Excellent composition for wood.
- Anti-corrosion. Used for metal, prevents rust.
- Adhesive and non-contact. This primer can be applied to old paint as it provides maximum adhesion to smooth and non-absorbent surfaces. Adhesion is increased by adding acicular quartz or sand to the composition. Ideal base for heavy wallpaper.
Manufacturers indicate what kind of primer it is. Just look at the packaging. There is information about the consumption, as well as the scope of use.
Choosing a putty for walls after plastering
While the primer is drying, you need to choose how to putty the walls after plastering, since they need to be leveled before further finishing. For this purpose, it is better to purchase a starting mixture: it is specially designed for processing walls after plastering, and is suitable for eliminating significant differences in height.
Also, when the primer after plastering on the walls dries, you can treat their surface with a universal or finishing putty. The latter, in comparison with the starting mixture, have relatively worse consumer characteristics, and are usually used in cases where the plaster layer does not have significant flaws.
According to the base material, putties are divided into three categories:
- cement - resistant to moisture, but have a high degree of shrinkage;
- gypsum - cheap, do not shrink, pliable when applied, but sensitive to moisture levels;
- polymer - are expensive, do not shrink, and are resistant to moisture.
Most often, gypsum-based putties are used, however, the scope of use is limited, they are not recommended to be applied in very humid rooms where there is contact with water in the bathroom, pool. Otherwise, why putty the walls after plastering, if, due to high humidity, the gypsum-based coating quickly deteriorates.
It is strictly forbidden to use gypsum plasters on the street since moisture and frost destroy the Rodband mixture and others.
According to the form of sale, putties are presented in two categories:
- ready-made - already diluted solution that can be used immediately after opening the container;
- dry - mixtures intended for self-preparation, however, having a much lower cost than ready-made mixtures.
Thus, the cheapest option is dry gypsum powder, but it also has the lowest quality. Gypsum mixes are excellent for filling cracks in walls. Ready-made putties based on polymers, these materials are best used to make the finishing layer.
Plaster wall processing technology
Often, before starting putty work, the question arises of whether it is necessary to pull out the beacons after plastering, or they can be left in the walls. It is recommended to do this without fail. The lighthouses are made of metal, and if left behind, over time they will corrode. This, in turn, will reduce the strength of the plaster layer, and ultimately lead to its crumbling. Cracks and other damage will appear on the surface of the walls.
After the decision has been made whether to choose beacons after plastering, you can proceed to the starting surface putty.The lowest, coarsest layer of material is applied. With the help of mixtures for starting putty, holes and grooves are rubbed, eliminating large differences in height. The thickness of one starting layer can sometimes reach 15-20 mm.
Under the layer of putty, you can put a painting net, stretching it over the entire surface of the wall to be treated. This will make it possible to achieve a more even laying of the material, to improve the strength of the starting layer of putty.
When the starting coating is dry, proceed to the finishing, which is carried out using finishing mixtures. Unlike the starting one, it is applied in a very thin layer so that it completely repeats the resulting wall relief. In some cases, the question arises whether it is necessary to putty the walls after plastering with Rotband so that the surface is perfectly flat. If you follow the technology, the need to apply additional finishing layers disappears, the walls are already aligned.
Preparing walls for painting or wallpapering
After finishing the putty work, you should wait until the walls are completely dry, and only then prepare them for painting or wallpapering. The technology for performing both types of finishes is the same, the only difference is in the nuances when choosing finishing materials. You can spend as much time choosing a suitable finishing method as the walls dry after plastering - about a month.
Classification of mixtures
The classification of putty materials was carried out according to several criteria. The sequence of grouping is determined by the key factors and properties of the putty, which combine the mixtures into the following classes:
Oil and glue. If you need the cheapest mix, the group is right. It is not known whether the prospects for oil solutions will continue, because they are already considered the past century. The main disadvantage is the appearance of yellow spots through the paint layer and wallpaper.
Gypsum cement. Materials are much more expensive. Designed for a full range of general finishing operations. In products of domestic production, most often, the composition contains more cement than gypsum. According to the cement and gypsum base for the masters, the main purpose of the powder was determined - having covered a layer of plaster with soil, you most likely putty with the composition of the wall for further wallpapering.
Water-dispersive. Also from the category of gypsum-cement, however, they are necessarily produced in a batch with an aqueous polymer emulsion, respectively, containers are buckets. The advantage is that you do not need to learn on the packaging what to do and in what proportion to dilute the putty - the product is already ready for use.
Do I need to prime before painting
The primer can be carried out with various compositions: paint, ready-made primer or concentrate, which is diluted according to the instructions. Also, solutions are marked relative to the surface to which they will be applied (wood, metal, plaster).
Water-based
Water emulsion is not the cheapest finishing material, therefore, preliminary priming of the walls will significantly save on paint consumption.
The primer applied under the water-based paint reduces the hygroscopicity of the base, which leads to a more even distribution of the paint on the surface, strengthening the coating, and increasing the wear period.
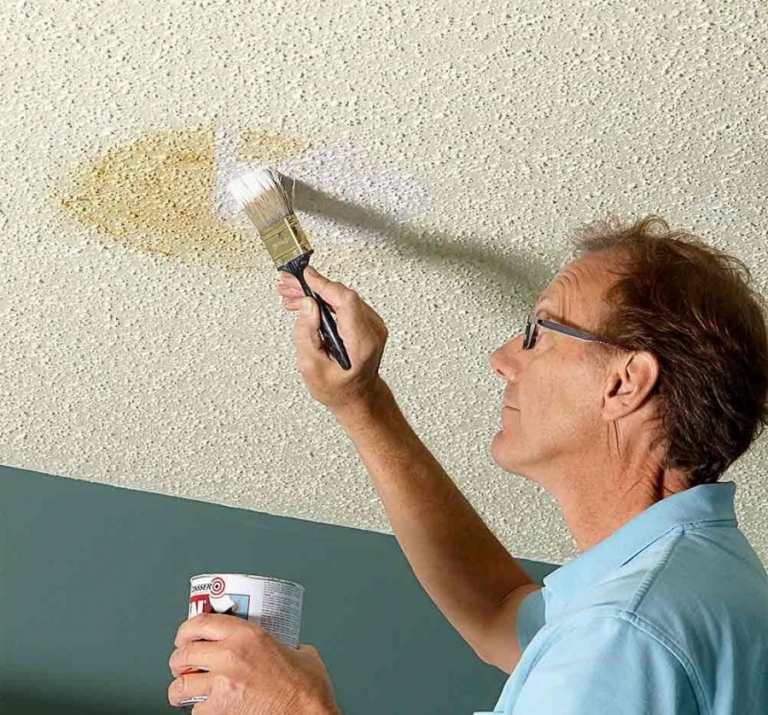
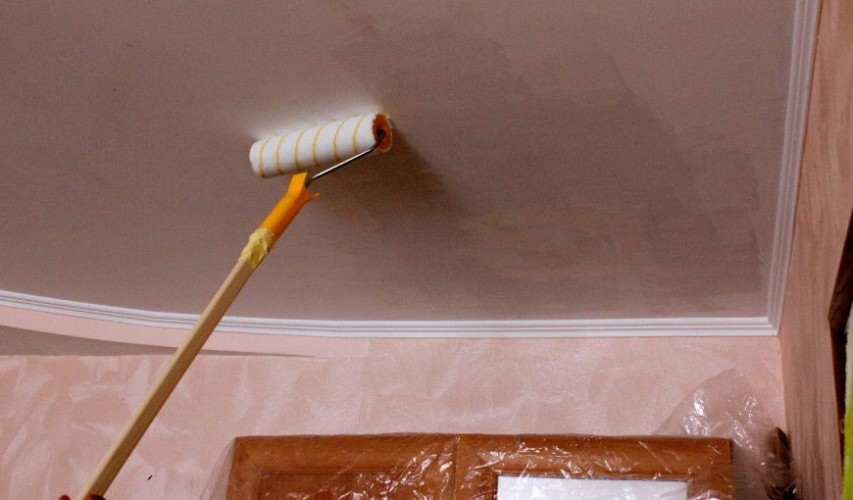
The primer under the water emulsion is applied with a brush, preferably in one layer, which should ideally cover all the unevenness of the wall, but at the same time not form uneven accumulations of soil. After complete drying of the primer-composition, which takes 5-7 hours, the water-based paint is applied in two layers.
Silicate
Silicate paints are sold dry; for coloring, the mixture must be diluted with water and used as soon as possible, until the paint has lost its properties. Therefore, a pre-primer on a silicate base is of great importance for the speed and quality of painting.
Special primers reduce the toxicity of the alkali contained in silicate paints and strengthen mineral surfaces to extend the life of the paint to 10-15 years.
Acrylic
Priming before acrylic painting has an important feature: the composition must be applied to highly abrasive surfaces, from smooth surfaces it will gradually creep even together with the paint.
Therefore, before applying the primer, the surface of the wall must be treated with a stiff brush or coarse sandpaper in order to artificially create grooves and roughness.
In turn, the primer solution perfectly fixes the coating particles, leveling the adhesion and absorbency of the wall, which allows the acrylic paint to lie in an even and durable layer.
Oil
Oil paint is one of the most highly adhesive, even without a pre-primer coat. Priming increases the strength of the oil coating, making it smoother and less porous. However, often oil paint, applied without a primer, itself acts as an unsurpassed material for finishing work, as it adheres well to the surface.
When applying oil paint for the first time, the use of a primer solution is optional. In the case of secondary, it is worth making a choice in favor of a special composition "over paint", which will save the time required to remove the old layer.
Output
I am sure that after reading the article, you figured out how to putty the ceiling for painting. For my part, I tried to describe the whole process in as much detail as possible. You can learn something for yourself from the photos and videos in this article. If you have any questions, write them in the comments, we will talk.

A ceiling perfectly aligned with your own hands.
November 28, 2019
Operations with ceilings, Ceiling decoration, Ceiling painting, Ceilings, Ceiling structures
If you want to express gratitude, add clarification or objection, ask the author something - add a comment or say thank you!
Conclusion
- Do I need to prime the ceiling before painting if the frame is made of gypsum plasterboard? Of course, after installation, the plasterboard structure must be putty and leveled after installation.
- Is it possible to do without a primer when using wallpaper for painting or applying a new coat to an old water emulsion? Yes, you can. Priming walls before painting with water-based paint consumption? But the primer will reduce the consumption of paintwork. If the previous layer is significantly different in color, then application is mandatory.
Do not forget that priming and painting the ceiling must be carried out in compliance with safety rules: you need to work with goggles, gloves and a respirator.
Additional Information: Putty the ceiling before painting with water-based paint
Then you can proceed to the main stage of work - applying the starting putty. To complete this process, you will need two spatulas - with a wide and narrow blade. The first is considered the main tool, used for filling the central part of the ceiling surface, the second is an auxiliary one, used for processing corner and other hard-to-reach areas.
As we noted earlier, the first step is to thoroughly prime the surface. Next, you should prepare a putty - in the case of a starting one, a dry mixture is used. It is prepared in accordance with the information on the bag.
To do this, you need a bucket, an electric drill and a mixing nozzle.
Depending on the further actions, it is determined whether it is necessary to sand the surface. If the ceiling is covered with wallpaper, then after drying, you can start pasting. If the ceilings were prepared for painting, then they remove the protrusions and give smoothness using fine sandpaper. To determine irregularities, small areas are illuminated with a portable lamp and gradually sanded.
The surface can be mechanically sanded.
If ordinary ceilings need processing, then why putty those made of plasterboard construction? There are several reasons for this, here are some of them: 1. No matter how much you fit the drywall sheets, the gap between the plates will remain, they will need to be filled with something during the final finishing work. 2. How to putty the ceiling for painting with water-based paint? Due to installation, the surface of the plasterboard structure may turn out to be slightly broken, this must be corrected during the final finishing, it is better to do this on time. 3. When fixing the gypsum plasterboards, all builders use self-tapping screws, which leave shallow recesses, which must be filled with putty.
As for oily stains, it must be said that it will not be possible to hide them with water-based paint. If you plan to use water-based paint for finishing the ceiling, then before starting work, grease stains must be painted with enamel paint.
The main nuance of plasterboard puttying is that such a surface does not require leveling, and the putty is applied in order to make the ceiling uniform. Before applying the composition, you need to align the seams of the sheets by cutting the chamfer with a clerical knife at an angle of 45 degrees. Then the seams are pasted over with fiberglass mesh, pre-primed.
After the primer has dried, you can start to putty your ceiling for smooth painting with a special starter putty. For this purpose, you will need a clean container, a 40 millimeter spatula, a 100 millimeter spatula, a 250 millimeter spatula, a 450 millimeter spatula, a drill with a nozzle or a construction mixer. You will also need a nylon mesh, which has 2 by 2 cells, with which the putty will become stronger and will not give even small cracks.
Even an inexperienced person can easily level the ceiling using such a grid.

