Primer: types and properties
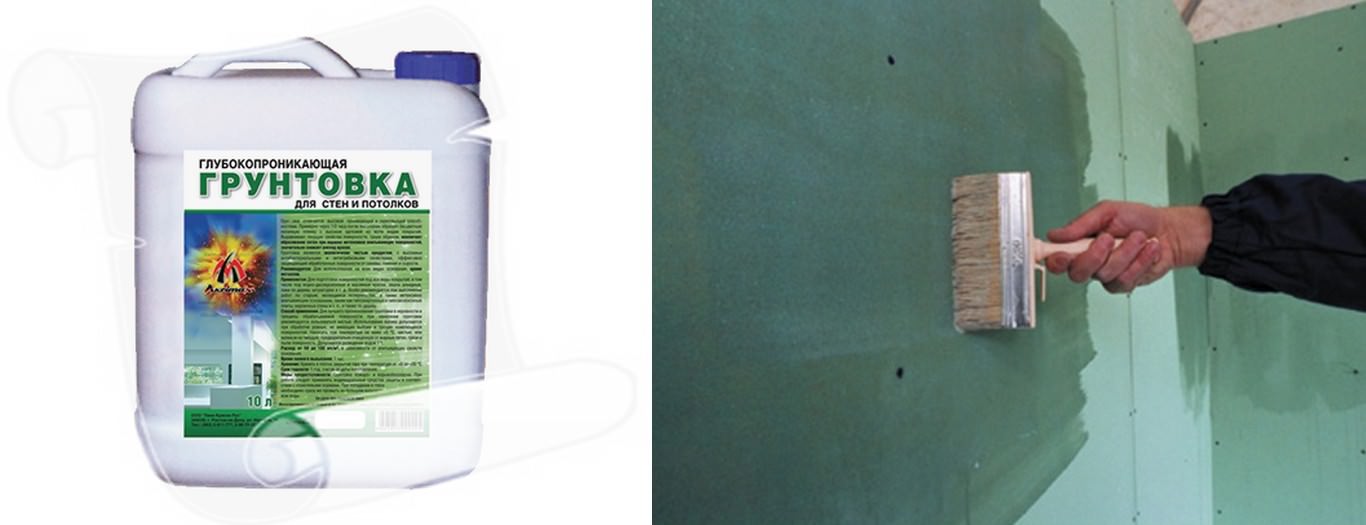
The main purpose of using a primer is to give the surface strength and increase the service life of the coating applied to it in the future.
The primer on the walls is indispensable before gluing wallpaper - it is able to penetrate deep into the surface to be pasted and mask defects (cracks and holes).
Wallpaper primer can prevent damage to the roll and the appearance of mold or mildew under it.
A properly applied mixture can improve the adhesion between the wall and the coating, which will lead to a decrease in the cost of finishing materials.
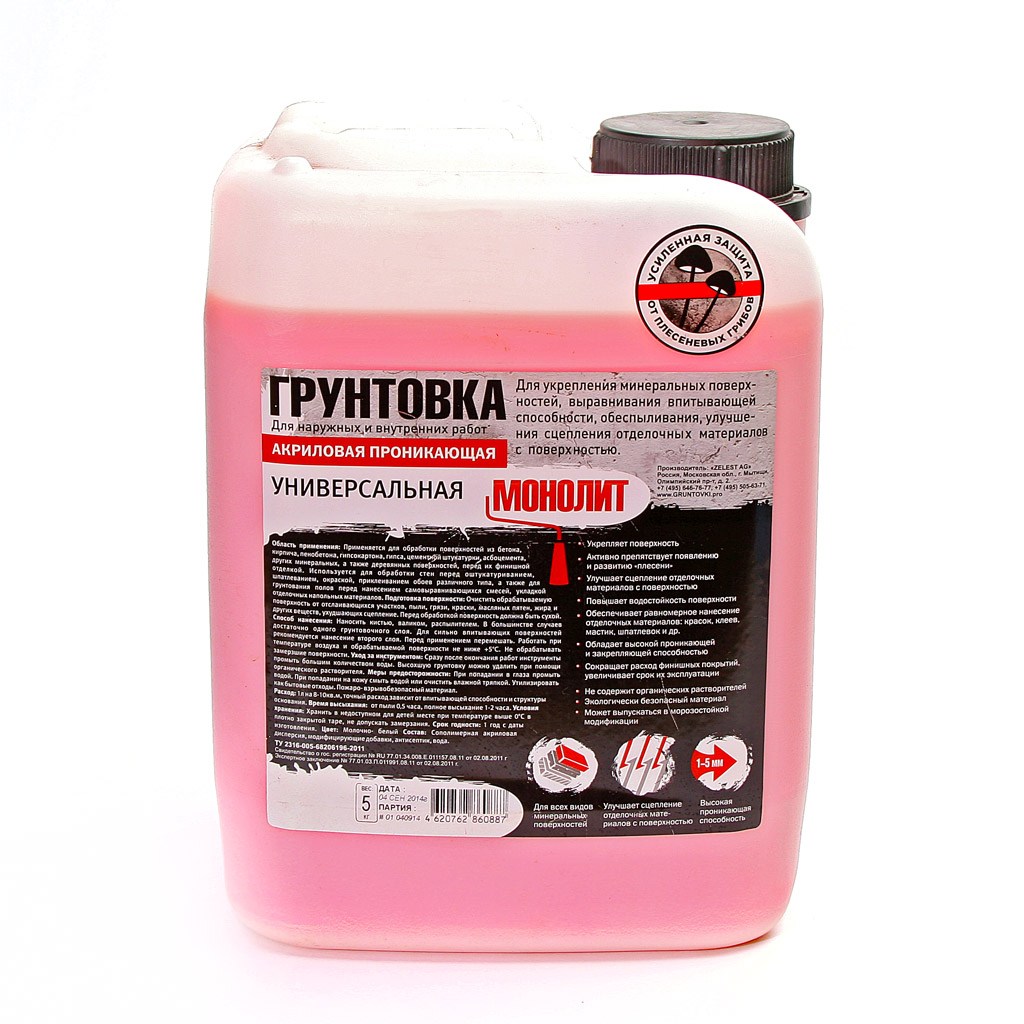
There are several types of primers - acrylic, oil, contact, concrete contact.
Let's analyze each of them in detail:
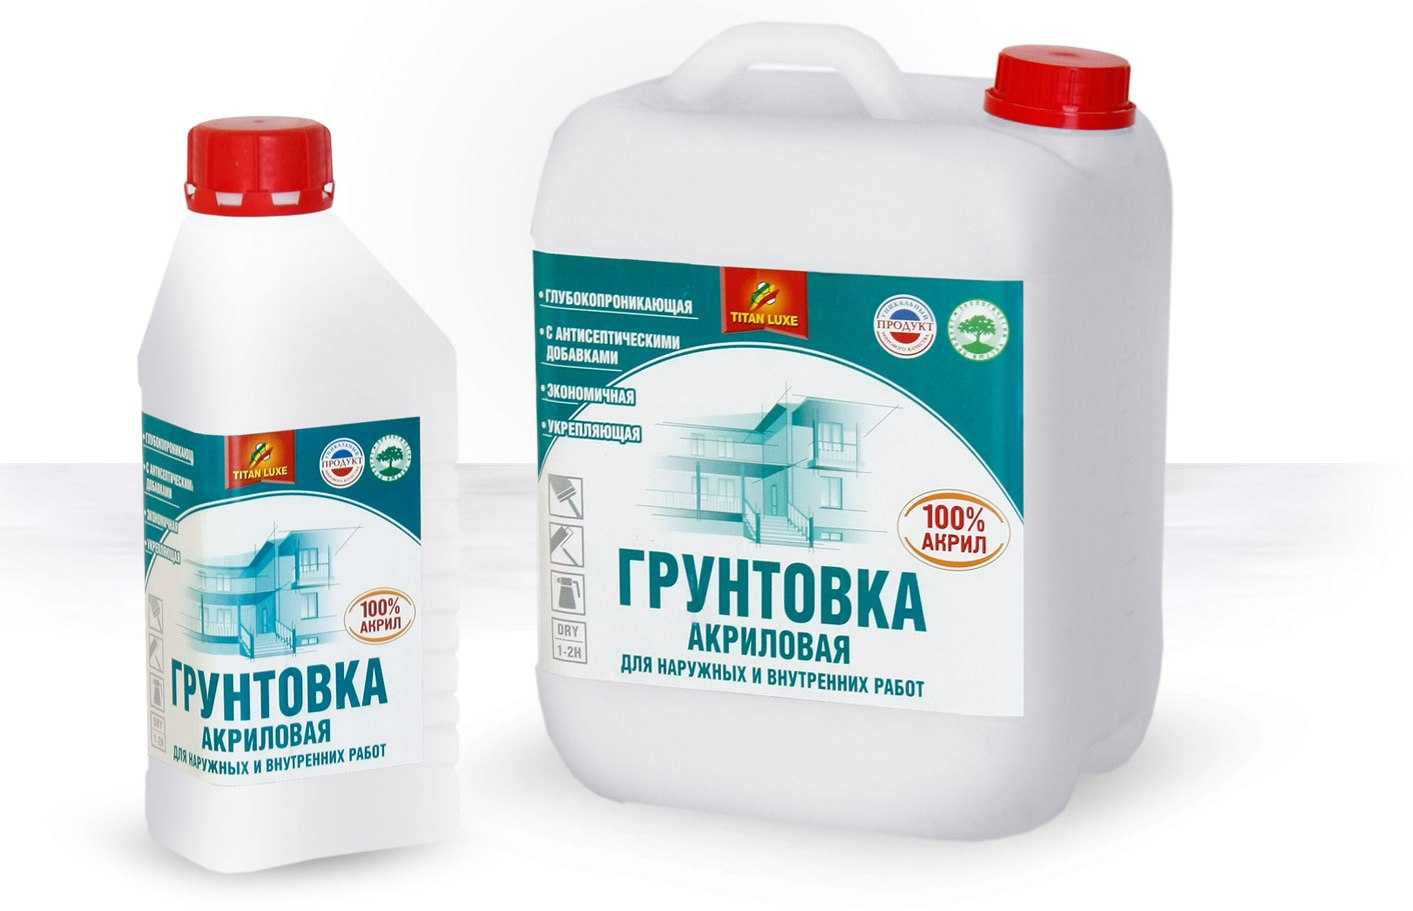
- acrylic is a universal mixture of deep penetration, capable of imparting strength to a weak base. Most often used in living quarters for leveling walls. However, it can be used on ceilings and floors. Penetrates to a depth of 1 centimeter and, when cured, forms a durable coating with excellent adhesion properties. Not recommended for work on ferrous metals;
- contact primer with the addition of quartz sand enhances the adhesion of the surface and, due to its composition, penetrates deeply into the walls, effectively filling cavities;
- an alkyd or oil primer mixture is used to treat wood or metal surfaces. It can be applied to rust, as it combines the properties of paint and anti-corrosion properties;
- drying oil or alcohol primer is perfect for working on wood - if you preheat the surface to be treated, you can significantly reduce the drying time;
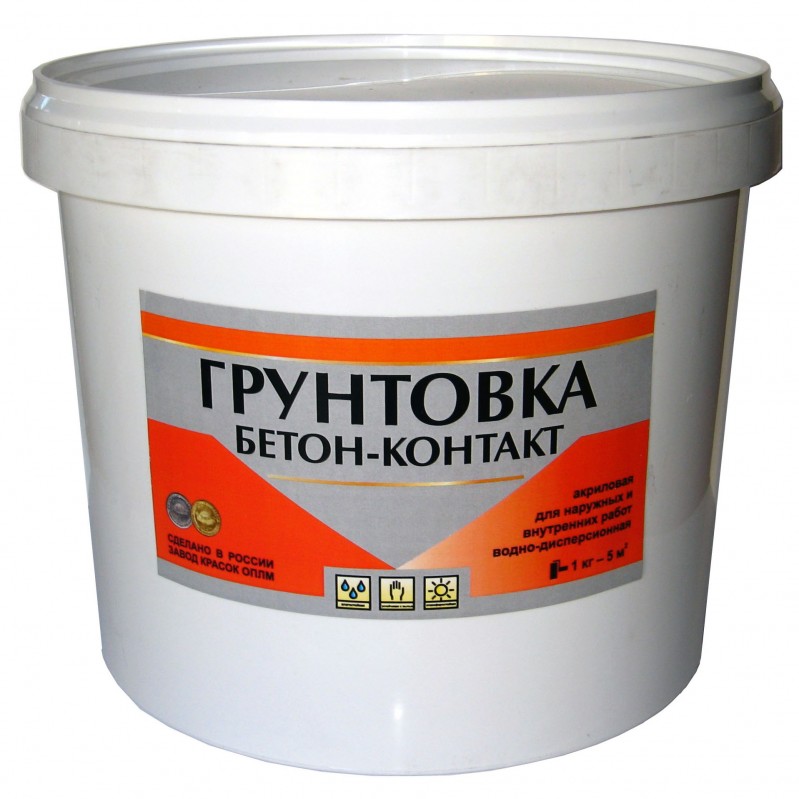
- concrete contact is ideal for walls and ceilings of an ordinary apartment.
Video:
There are also mixtures less popular among ordinary residents, which are most often used only by professionals:
- on concrete or lime-sand walls, they work with a silicone solution, which hardens in 5 hours;
- areas with poor absorbency - utility rooms and workshops - are treated with a polyurethane compound;
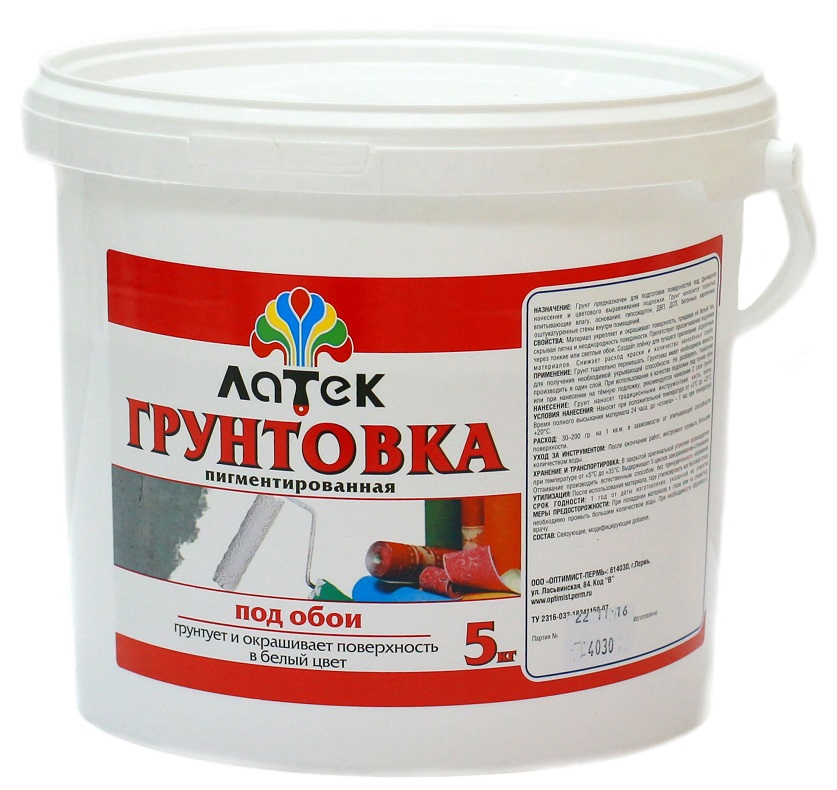
- to obtain a neutral color that does not shine through the wallpaper, a pigmented primer is used on the surface.
The drying time of the primer depends primarily on the type. So, oil, contact and primer mixture of deep penetration freeze for about a day. Acrylic primer dries in just 10 hours.
Therefore, before buying a mixture, read the label - the manufacturer always indicates the drying time of the primer mixture.
If we talk about average values, then the mixture dries completely after about 4 hours at a temperature of 25 degrees Celsius and a humidity of 65%.
Remember that the higher the humidity in the room, the longer it will take for the deep penetration primer to harden, so this process can be accelerated simply by opening the windows, of course, if the weather is clear without rains.
If the room has increased humidity, and there is no opportunity to ensure the flow of air, then the time indicated on the box can be doubled.
How long should the primer dry before wallpapering?
There are several factors that affect the drying rate:
- the mixture will solidify slowly if the room temperature is extremely low or, conversely, high temperature;
- the thicker the layer is applied, the longer it will take to dry;
- how much the newly applied primer will dry is also influenced by its composition - the deeper the mixture penetrates, the longer it will take to solidify.
Do not forget about the duration of the action of the primer solution - the interval until the mixture retains its adhesive properties.
Use the primer immediately after preparation, otherwise it will lose its effectiveness.
The primed surface also plays an important role.
If the primer mixture is applied in 2-3 layers on cement-lime plaster, then you will have to wait about 6 hours.
If the primer is applied to a regular wall before the putty, then it will take 2 - 3 hours for the mixture to harden.
After a visual assessment, run your hand over the wall - a smooth and dry surface will indicate a successful priming.
Do not forget to read the instructions for use before starting work. The manufacturer always indicates the optimal working conditions and material consumption for obtaining the best result.
Drywall primer before putty: why is it needed and how to do it
Therefore, we can safely say that priming drywall for putty is a necessary and effective process. Ignoring this work or a desire to save money on it can lead to the fact that the putty will lie unevenly, will crumble immediately after drying or after the subsequent finishing. The second method is simpler, and it takes much less time than the first, however, in terms of quality the coverage will be decently inferior to the one that we did before.
When filling drywall, special attention is paid to the joints of two sheets and the grooves left after screwing in the screws. This coating will not be able to hide even small flaws, and in some cases even emphasize them.
Therefore, the correct plastering of drywall is the key to high-quality painting of the walls.
- A little more primer than is required for the treated area. The required amount depends on the type of primer and is indicated by the manufacturer on the label.
- Water. When using a water-dispersion acrylic primer, water will come in handy if the primer turns out to be thick.
- Roller for basic drywall processing.
- Paint brush for seams, corners and fasteners.
- Paint container with a grooved bottom.
If the surface has been evenly primed, but when drying out, areas that clearly dry unevenly are noticeable, then it would be better after complete drying to apply the primer again and dry again. This will provide better adhesion to the drywall surface.
Materials and tools
When preparing wall priming work, it is necessary to prepare:
- spatulas (wide and narrow);
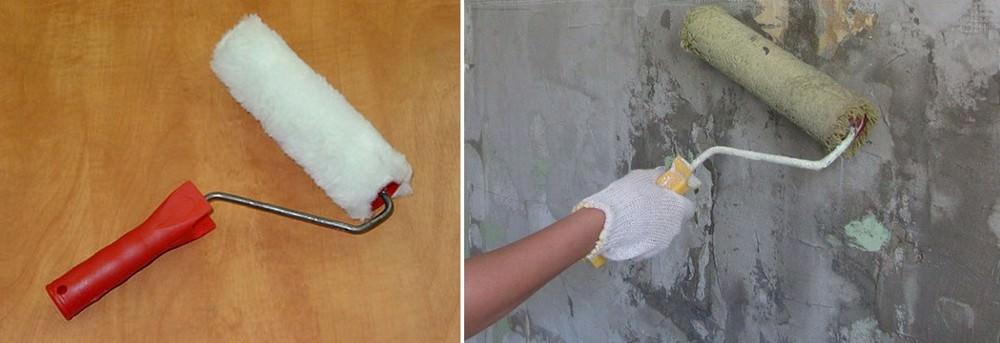
- roller with a short pile attachment;
- brush (bristle brush) with soft bristles;
- paint bath for primer;
- roller extension handle;
- floor protection film;
- masking tape.
Preparatory work
Before applying the primer, carefully prepare the surface:
- remove the old coating (wallpaper, paint). If the wallpaper is not removed or remains in place, then it is necessary to wet the surface with water and let it stand, and then, prying with a spatula, remove the wallpaper from the wall;
- to clean, with a spatula, the entire surface from the remnants of the coating;
- remove all sagging and irregularities;
- to remove places with "coiling" plaster. Re-plaster large areas and deep places;
- cut deep cracks and seal them with putty;
- remove the lining of sockets and switches.

Surface protection before priming
Often, wallpapering of walls is carried out after the installation of the finishing floor covering. Primer compounds (especially deep penetration) are strong enough and if you do not immediately remove the drops from the floor, window sill or door cladding, then it is very difficult, and sometimes even impossible, to wash them off. To protect surfaces, the floor and window sills are covered with a film, securing around the perimeter with masking tape. Do the same with the doors. The casing of the doorways is sealed with masking tape. After carrying out these works, you can start priming the walls.
Preparing the primer mix
Primers are usually supplied ready-to-use. Exceptions are primer concentrates, which have to be diluted, depending on the composition, with water or a solvent. It is easy to prepare such solutions. You need to follow the manufacturer's instructions and that's it.
But there are options when the primer mix can be prepared at home.
Recipe 1. For the preparation of a conventional soil solution. You will need water - 7 liters, laundry soap - 1 piece, copper sulfate - 100 g, wood glue - 500 g. Soap is rubbed into boiling water and the rest of the ingredients are added. The mixture is cooked with stirring for 30 minutes. Then you need to strain and cool.
Recipe 2. In this case, a deep penetration adhesive can be made from the adhesive solution. We need water - 8 liters, PVA glue - 1 liter, a small amount of cement. Cement is added to the diluted glue, the mixture is mixed and drained.
The disadvantage of such solutions is their limited storage time. Any solution must be used within 24 hours, otherwise the properties of the soil disappear.
Wall priming
The walls can be primed after careful preparation and after the leveling layers of plaster or putty have dried. It is necessary to carry out the process in rooms with normal temperature and humidity. This affects the drying time of the walls.
If necessary, priming is carried out in several layers.
Attention!
If the surface of the walls is weak, has a porous structure, then first it is primed before puttingty. After drying, putty the surface, allow to dry and re-primer before gluing the wallpaper.
When to start gluing wallpaper
You can start gluing wallpaper after the soil on the wall has completely dried. As a test, you can use a square piece of plastic film measuring 25x25 cm.It is attached, 24 hours after priming, to the wall, securing it around the perimeter with masking tape. If after 12 hours the film on the side of the wall remains dry, it means that the surface is dry. You can get to work.
4 Do-it-yourself priming process - there are no special secrets
The first stage of work on the preparation of walls involves removing the old coating (wallpaper, paint), dried glue from them, removing crumbling plaster, protruding fittings and hardware. After that, the surface is treated with an antiseptic. Its application will not be superfluous, despite the fact that the solutions described in the article themselves are excellent protection against mold and mildew.
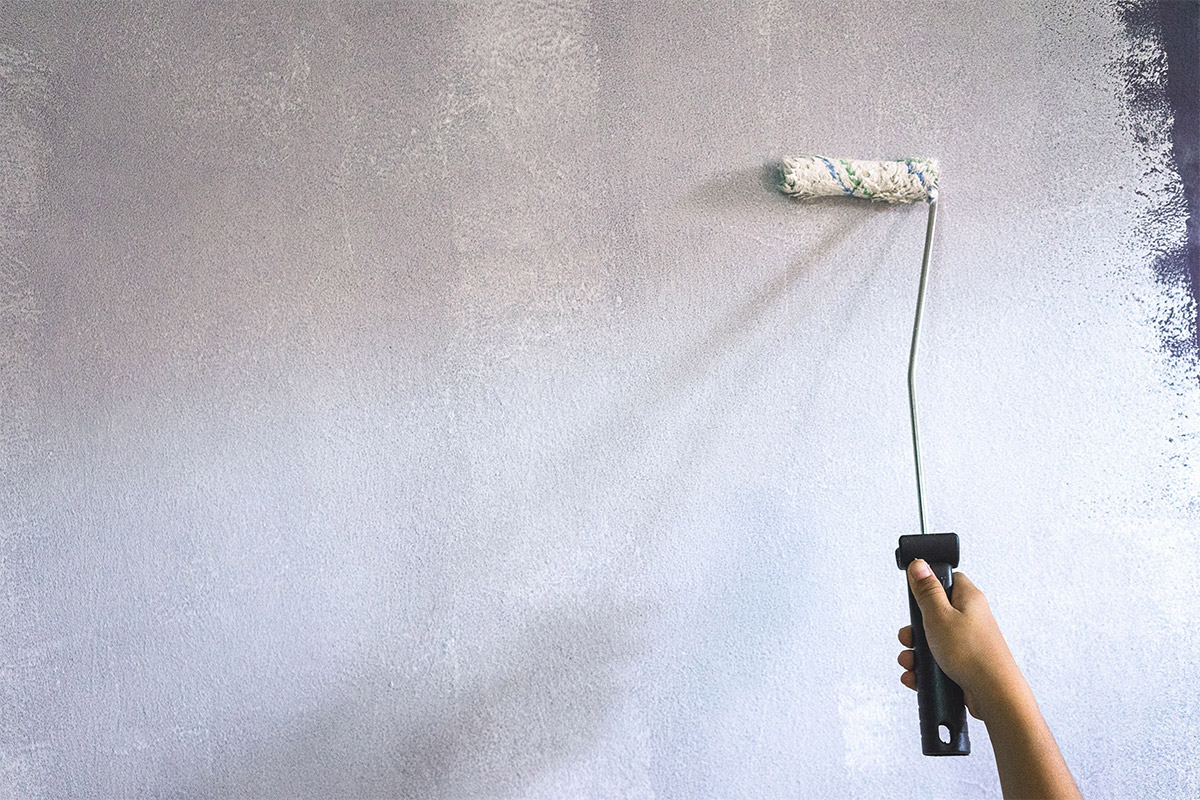
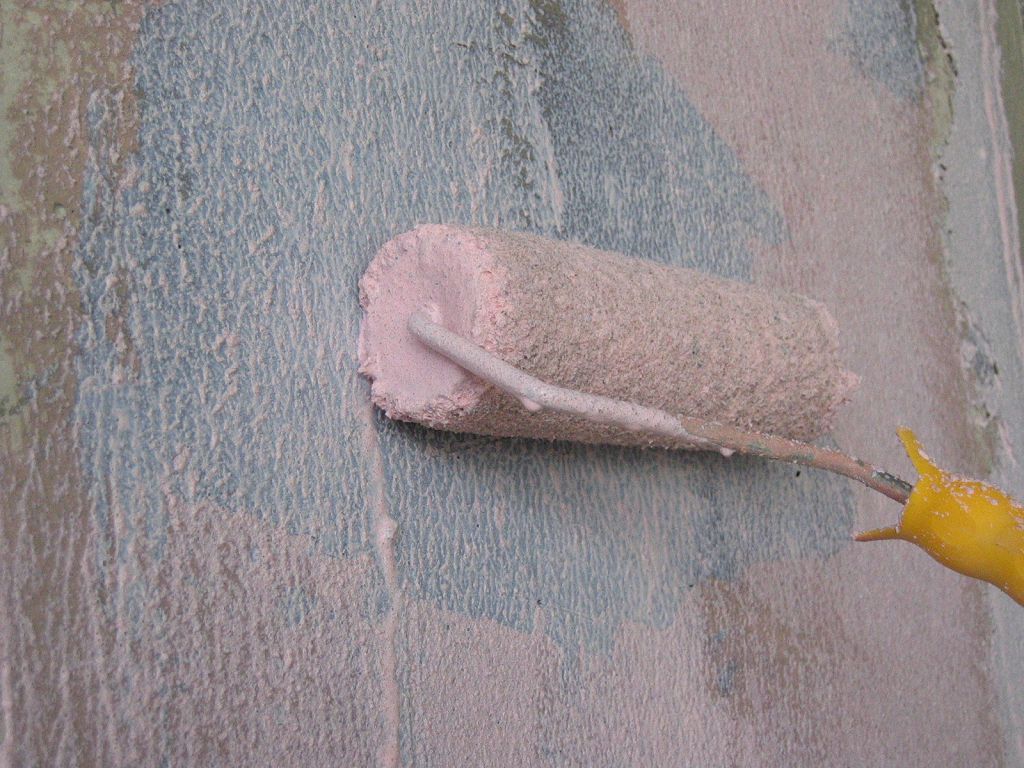
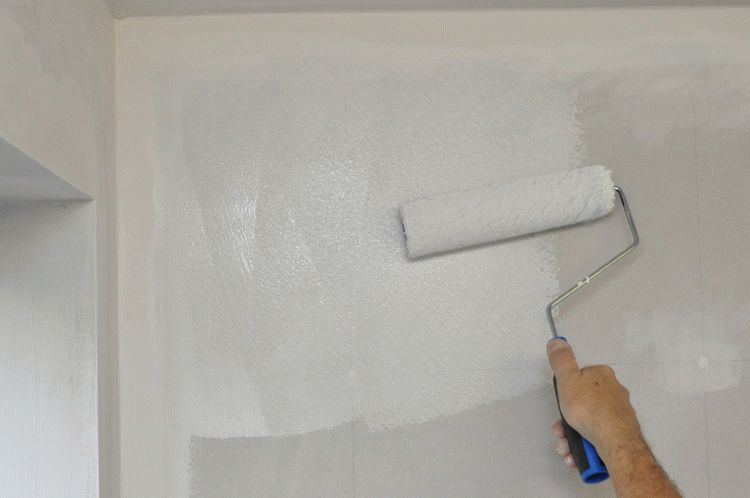
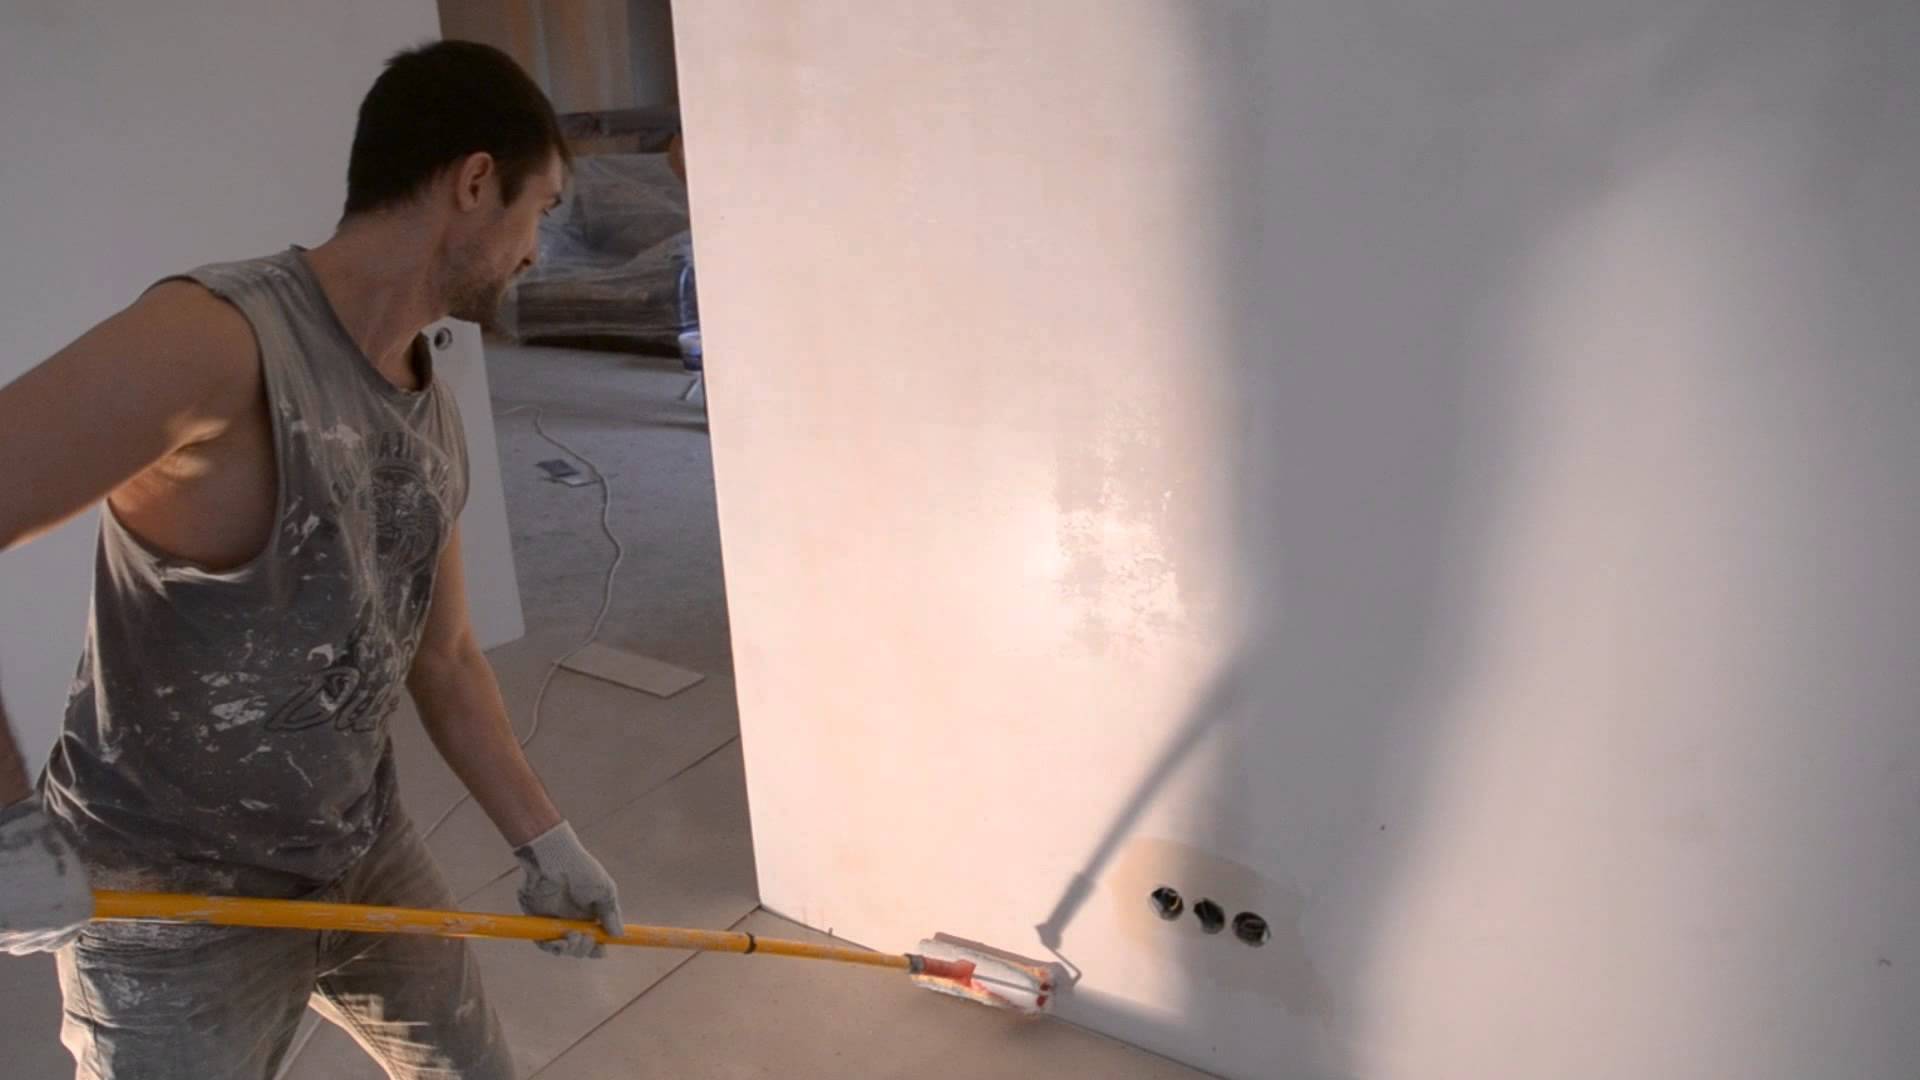
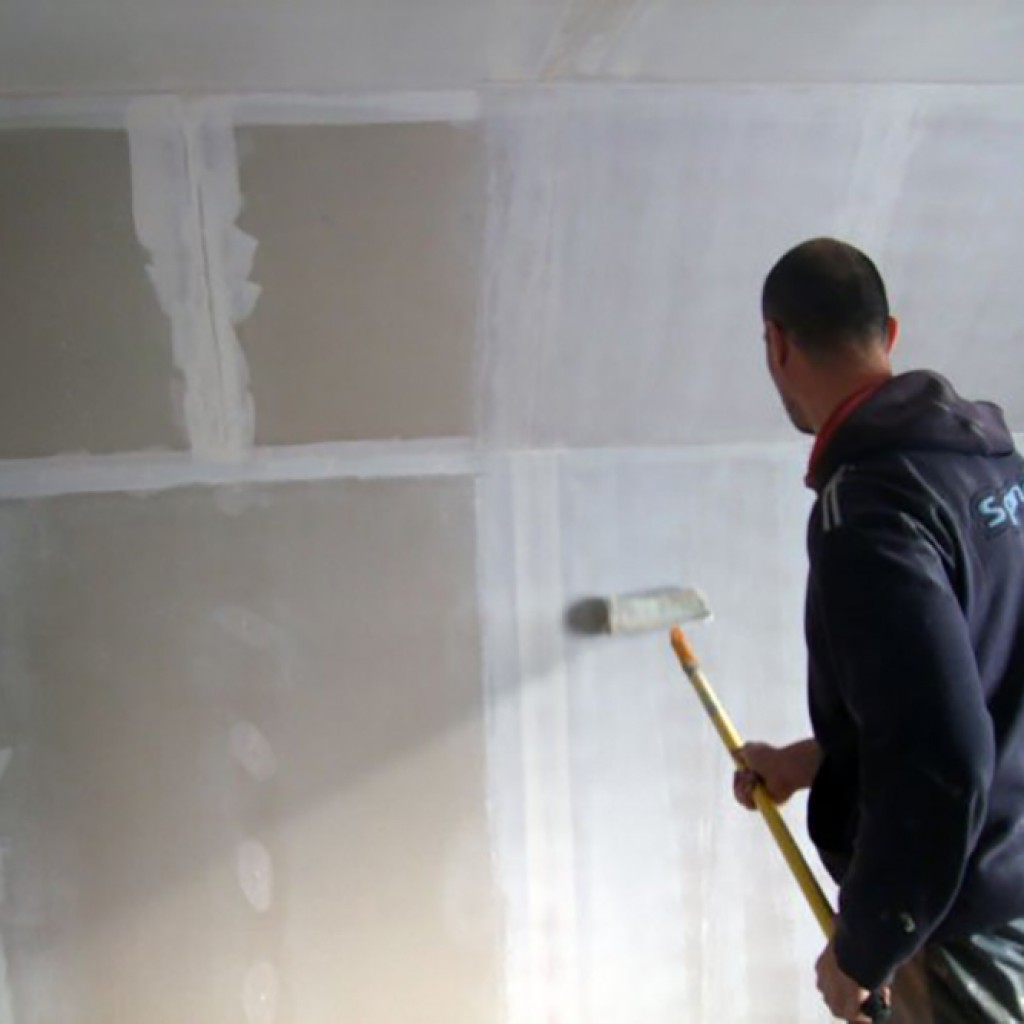
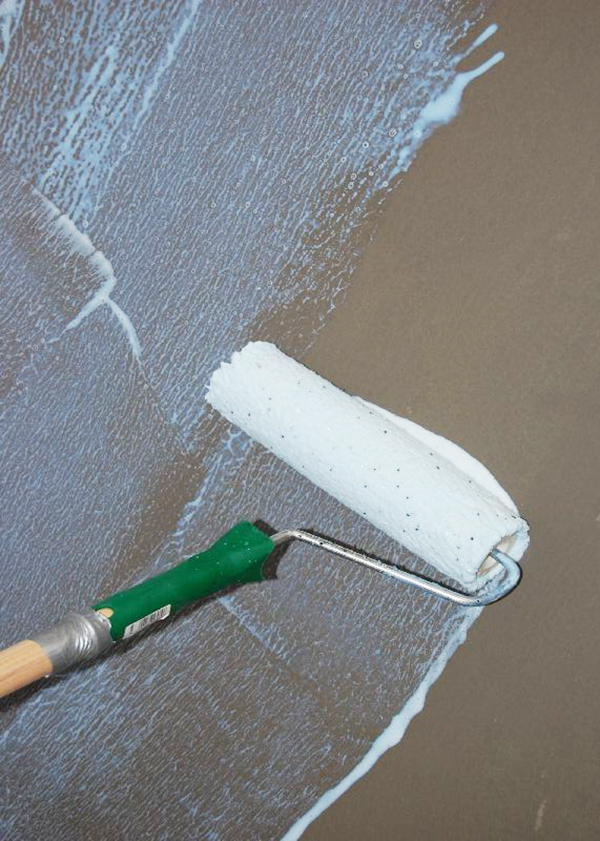
The wall is covered with a rough coat of primer. It is most convenient to do this with a brush or paint roller. There is no need to save the hardening composition
Here it is important to distribute it along the vertical base as evenly as possible.

When the soil is dry, the surface to be decorated is putty. The leveling compound must adhere well. It is desirable to putty the bases with a thin layer. The operation is performed twice if necessary. Then proceed to the finishing priming and subsequent painting of the walls or pasting them with wallpaper.
Can I be primed with glue?

For heavy vinyl wallpaper, this priming method is not very suitable, but for non-woven wallpaper with a thin layer or none at all, it is quite acceptable. True, the glue will be required one and a half times more than usual. For the primer, we dilute the glue in warm water according to the usual scheme, but pour the water itself twice as much.
Pour the dry mixture in a thin stream with continuous stirring.
We leave the resulting composition alone for 10 minutes, then mix thoroughly again. Apply liquid glue to the walls with a roller, spreading it over the surface in a thin layer without the formation of smudges
It is important to be patient and start gluing the wallpaper only after the primer layer has completely dried.
This usually takes 8 to 12 hours at normal room temperature.With all the simplicity of this method, you need to remember that it is only suitable for even and strong walls.
After completing the priming work, you need to check the quality of their performance again. To do this, it is enough to slide your palm over the surface. The absence of grains of sand or traces of putty will be a sure sign that the job has been completed successfully, and you can confidently start gluing non-woven wallpaper.
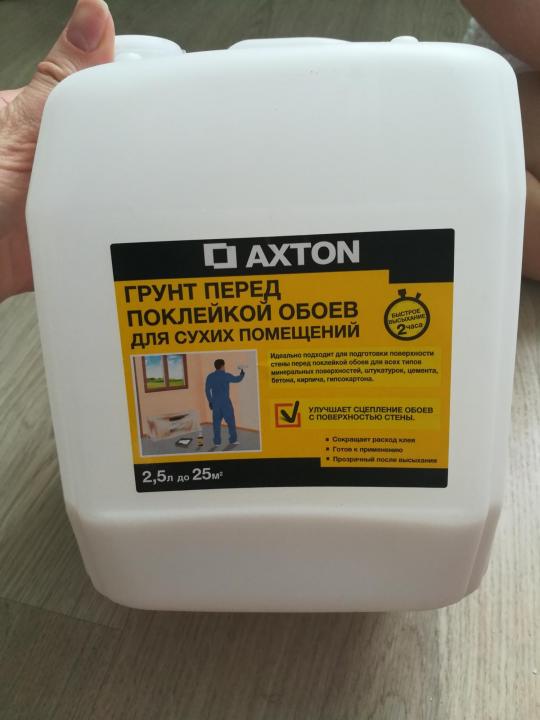
Additional Information: How can you replace the primer for the walls before gluing the wallpaper
- walls treated with primer do not support the spread of mold and mildew;
- impregnation provides better adhesion - the wallpaper will adhere firmly to the wall;
- the treated surfaces have a higher moisture resistance, which also ensures a strong adhesion of the wallpaper to the wall, even at high humidity;
- the primer levels minor irregularities in the wall and removes excessive porosity of the surface.
Priming the walls in the first place prevents premature peeling of the wallpaper. After all, it will be very sorry for the work spent, when the owners, already pacified by the end of the repair, will notice that the wallpaper, glued with such diligence, is moving away or bubbling in some places. Such a “surprise” will ruin any mood.
After all, re-gluing wallpaper is an additional cost and wasted time. Whether it is necessary to prime the walls before gluing the wallpaper, we will try to explain in the next paragraph.
Thousands of skeptics will object: “fathers and grandfathers did not know what a primer was, and wallpaper hung on the walls for tens of years”. They are partly right. Indeed, a few decades ago, if the walls were primed, they did it either with very liquid homemade glue, or used diluted PVA glue.
Like any finishing material, the wallpaper should hold firmly and not turn yellow over time. For this, acrylic and alkyd compounds, latex compositions and even a solution of wallpaper glue are used. If the walls of drywall are not pre-treated with soil, then subsequently the wallpaper will have to be removed along with a putty or a protective layer of drywall panels.
Therefore, the preparation of the walls must be done.
- Relatively flat. Wallpaper will hide minor defects; but serious irregularities will still be noticeable. Note: matte, textured and contrasting wallpaper conceals irregularities; glossy, smooth and monochromatic - emphasize.
- Devoid of dust.
With a deep penetration primer, the wall should be treated in several layers. Each subsequent layer is applied only after the previous one has completely dried. Deep penetration solutions can take a long time to dry.
Therefore, it is recommended to adhere to the technical requirements when working with these materials, especially if you are doing repairs yourself.
A family of acrylic primers suitable for most types of surfaces, including concrete, brick, wood, plaster and putty. They dry quickly, do not have a pungent odor, and are best suited for drywall. Depending on the material of the wall surface, you can choose:
When choosing an acrylate primer, you can see the designations: strengthening, deep penetration, universal, adhesive, with antiseptic additives, etc. You can get confused from such a variety. What primer should I use before painting the walls? But it's actually pretty simple: the names speak for themselves.
Moreover, manufacturers add antiseptics to all soils so that the walls under the wallpaper are not exposed to mold attacks.
Types and characteristics of primers
The main principle for choosing an impregnation is the type of surface on which the composition is planned to be applied. Some hobbyist finishers claim that special primers are sold for different types of wallpaper. However, this is not quite true.
Primers for different types of wallpaper
There are no primers for different types of wallpaper, it is easy to explain logically.The fact is that at least 10 different types of material are used for the construction of walls. At the same time, for each, a special component would be added to the glue, which would work to adhere the wallpaper to this particular surface.
As for wallpapers, there are also a lot of them: the market offers about 10 different types. For a certain type of wallpaper (for example, non-woven), you will have to produce 10 different adhesives (for each surface). It turns out that the market should offer the consumer an assortment of 100 different types of coverage. In such an assortment, sellers, buyers, as well as manufacturers themselves would get confused.
Now the market offers 10 types of primer and 10 types of adhesives, which are suitable for different types of wallpaper. Such a variety does not harm anyone and does an excellent job with its task.
 If the processing was done correctly, the wallpaper will fit snugly on the wall.
Classification of primers by purpose and form of release
The construction market offers a range of different primers. This variety can be sorted by the type of solvent in the composition, the nature of the release, the purpose. If you have an understanding of all these factors, you can greatly simplify the search for the desired composition.
Table 1. Classification of primers.
| Classification type | What impregnations are |
|---|---|
| By release form | Primers are produced in the form of: a liquid solution, which can be used immediately; a concentrate for dilution with water; a dry mixture, which must be previously diluted with a liquid. |
| By the type of solvent in the composition | The solvents are: water (in water-based impregnation); organic compounds - white spirit, acetone, isopropanol. |
| By appointment | According to the functions that the primer should perform, it is divided into several types: strengthening (for structures made of plasterboard, aerated concrete, gas silicate); penetrating (for stone, brick, concrete surfaces); adhesive (for gluing wallpaper on tiles, glass or plastic) ... |
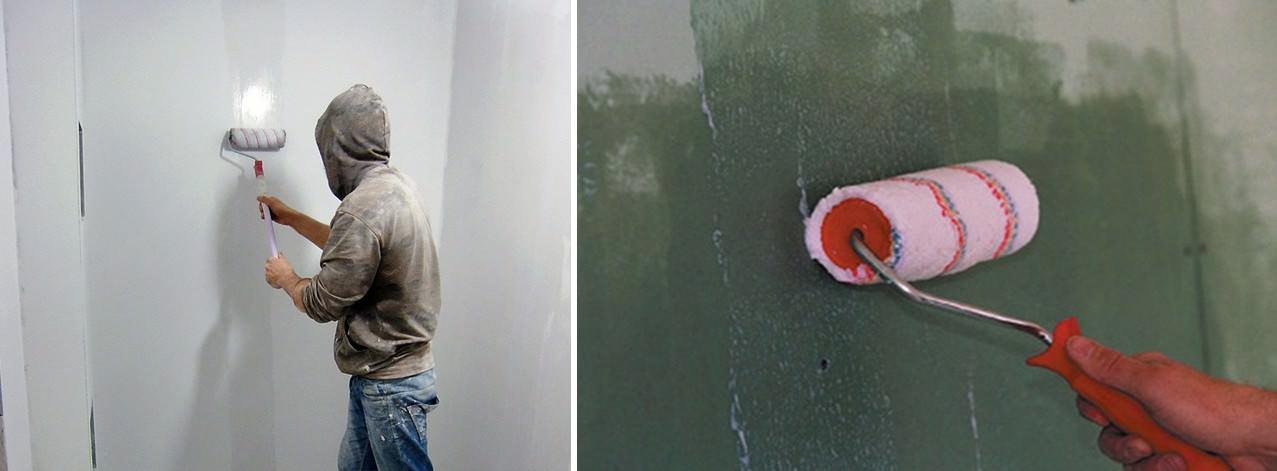
 The mixtures are applied with a brush or roller
Classification by type of soil
The most important classification of primers on the market is by soil type. This is the main factor that buyers look at when choosing the right formulation. Primers are acrylic, alkyd, mineral.
Table 2. Classification of primers by soil type.
| Composition, release form | In what cases is used | |
|---|---|---|
 Acrylic Acrylic
|
It is offered in the form of powders, concentrates, ready-made water-based solutions. Antiseptic is added to some grades of acrylic primers, then they are used for finishing kitchens / bathrooms. Also act as pigment primers for color equalization. |
A universal type of primer that is suitable for almost all types of surfaces. It is covered with walls made of: wood; concrete; bricks; plywood. They are also different for their intended purpose - strengthening, adhesive, deeply penetrating. It dissolves well in water, dries quickly. |
 Alkyd Alkyd
|
The compositions are more aggressive than the previous ones. Consist of alkyd resins with the addition of organic solvents. Due to specific components, they have an unpleasant odor that disappears after long ventilation. Available only as ready-made wet mixes. Available in 4 varieties: polyvinyl acetate; glyphthalic; polystyrene; perchlorovinyl. All types create a film on the wall surface that can withstand strong shocks and temperature drops from -40 to +60 degrees. |
It is used everywhere and for all surfaces, except for drywall, gypsum plasterboard, coatings based on gypsum and cement. The protective film makes it possible to use a primer for walls in the kitchen and in the bathroom. Able to act as a topcoat. |
 Mineral Mineral
|
Quite a harmless coating that dries quickly and does not have a pungent odor. The composition contains gypsum, cement and lime. | Mineral-based mixtures fill the pores of concrete, expanded clay concrete, brick surfaces until smooth. They are used very rarely. |
The undisputed market leader is an acrylic primer. It is economical to use, does not smell and fills loose materials well due to its structure. At the same time, it is cheaper than analogues. Therefore, mineral and alkyd coatings are not easy to buy in the store.
How to prepare a primer at home
If there is no trust in modern manufacturers, you can prepare a primer yourself. You don't have to learn any special skills or cook a lot of ingredients to do this. The main thing is to check how accurately the proportions are respected. We offer 3 options for homemade primer.
 Basic tips for working with a primer
Option 1: Soap and Lime Primer
For cooking you need:
- 7 l: pure boiled water;
- 200 g: regular laundry soap;
- 2.5 kg: slaked lime;
- 100 g: drying oil.
 To prepare the mixture, the soap is grated
You will also need two mixing containers and a sieve. When the tools and components for the future primer are ready, we proceed to the phased production:
- Pour 3 liters of boiling water into a container, add grated soap. Stir until soap dissolves.
- When the consistency becomes homogeneous, add drying oil.
- Pour the remaining 4 liters of boiling water into the second container and add lime.
- Combine both solutions, mix and pass through a sieve.
The resulting mixture is cooled for a couple of hours, after which it is used to treat the walls.
Option 2: Copper sulfate primer
This variation of the solution actively resists the development of fungus and makes the wall surface stronger. To prepare:
- 7 l: boiling water;
- 500 ml: wood glue;
- 150 g: copper sulfate;
- 1 package: grated laundry soap.
Unlike the previous method, the primer will be cooked over an open fire. Therefore, you also need to prepare the tiles. In addition, you cannot use aluminum cookware: it will react with vitriol.
 Copper sulfate
To prepare a primer, you need:
- Pour soap into boiling water, stir until almost completely dissolved.
- Put the container with the liquid on the fire, add copper sulfate, pour out the glue.
- Reduce heat to minimum, cook for 30-40 minutes. Stir regularly to avoid lumps.
Remove the prepared mixture from heat, cool slightly. Then pass through 2-3 layers of gauze.
Option 3: Step-by-step instructions for preparing a deep penetration solution
To make a penetrating primer you will need:
- 8 l: pure boiled water;
- 1.5 l: PVA construction glue;
- 1 trowel, finely chopped chalk or cement.
Step 1. Choose any containers, taking into account the total volume of ingredients. We prepare the necessary material.
 We prepare the necessary material and containers
Step 2. Pour the building glue into a container with water, stir until smooth.
 The solution is kneaded until smooth
Step 3. Pour cement or chalk into the prepared liquid, stir until dissolved.
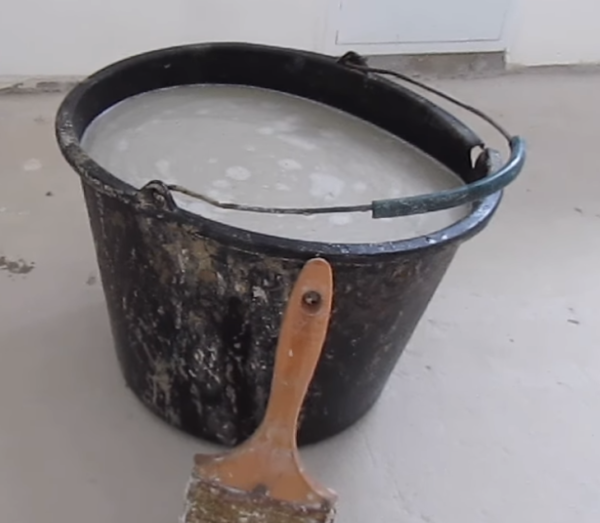 Mix with cement / chalk
Step 4. After the composition has cooled, you need to pour it through a sieve or gauze cloth.
 We filter the solution through a sieve
Step 5. Apply the finished primer to the wall.
 Starting to apply the primer
Important points
Priming the surface of the walls before finishing is mandatory - it ensures high quality and durability of the subsequent gluing of wallpaper or painting the wall. Work with soil does not require special equipment and can even be carried out by a non-professional.
However, it is important to adhere to some principles:
- Choose a primer suitable for your surface.
- Follow the manufacturer's instructions carefully, the entire procedure is indicated on the outside of the package. The product should only be diluted in the proportions specified by the manufacturer. If you make the mixture more or less concentrated, then the primer will lose its performance and its use will lose all sense.
- Use a roller - it provides an even application of the layer, but hard-to-reach areas should be treated with a small diameter brush.
- Treat the porous base several times, treat damaged surfaces with solutions of two types: antiseptic at the first stage, and universal at the second.
- Take your time, wait until the surface dries naturally.
- Do not dilute the entire mixture at once (if you purchased dry soil) - most often only part of the raw material requires work.
- If during the work the primer gets on the floor, window or clothing, wipe the place of contamination with a cloth soaked in water. The sooner you do this, the easier it will be to get rid of unsightly stains.
- Rinse rollers and containers immediately.

These rules are simple, but it is their observance that will guarantee that all subsequent work will be done quickly, efficiently and efficiently.
Well, in conclusion, we recommend that you familiarize yourself with the best primer manufacturers in the world. Hardly anyone will doubt that the primer of a well-known brand is of excellent quality. But a product from an unfamiliar company is always fraught with risk: you may be lucky, and the product will have all the declared characteristics, or it may turn out to be much worse than expectations.
If you do not want to play roulette, we advise you to give preference to the products of one of the leaders in this market segment:
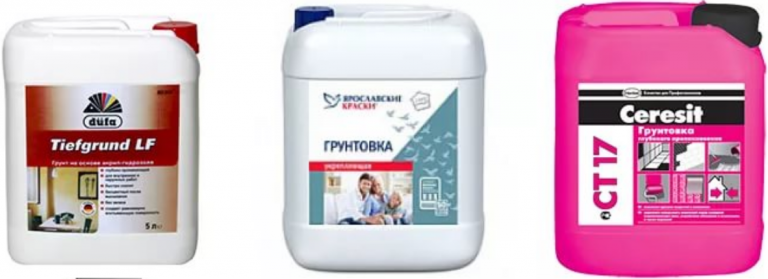
- Ceresit is the absolute leader in the mortar market. A world-famous company with a century-old history. For more than 100 years, this manufacturer has been offering the consumer high-quality goods in a wide range. To date, Ceresit has opened its factories in Russia, which made it possible to significantly reduce the prices for products for the domestic consumer. The production of soils of all types has been established, and, of course, under the wallpaper.
- Knauf is a well-known German holding, formed back in the 30s of the last century. The brand has been known on the Russian market since 1993. The products are represented by universal compounds, deep penetration agents, soils for absorbent substrates. The constantly growing quality of products here is ensured by the relentless introduction of the latest technologies and the improvement of the management system.


- Tikkurila is a company from Finland that has been successfully selling its products since 1862. The giant's production facilities are represented in several countries, where the production of paints and other materials has been established. The category of primers here is represented by acrylic compounds, as well as suspensions with moisture-insulating parameters and increased adhesion properties.
- Caparol is a brand with a worldwide reputation. The company began its work back in 1885, today the products are sold in dozens of countries around the world. The manufacturer offers a variety of soil types, including frost-resistant compounds and under wallpaper.
- Weber is a manufacturer that produces construction mixes under the Vetonit brand. Here, the production of primers for facade and interior finishing works has been established.
- Ivsil is a Russian manufacturer. The company is relatively young - it is only 20 years old, but it has firmly established itself as one of the leaders in the building mixtures market. It is engaged in the production of universal soils and compounds for maximum penetration.
- "Prospectors" is another domestic factory, which started in 1992. The basic principles of its work are based on the introduction of scientific and technological progress, improvement of technology and tireless quality control. Now "Prospectors" offer the Russian buyer concrete contact primers and suspensions for surfaces with high absorbency.


How to quickly and easily apply a primer, see the video below.

