The veranda has long ceased to play the role of only a utility room, having turned into a comfortable place to relax and receive guests. And, of course, this type of building cannot do without a porch, which makes climbing it convenient and safe. In this article, we will analyze the main steps for the construction of both structures as a single complex.
General Provisions
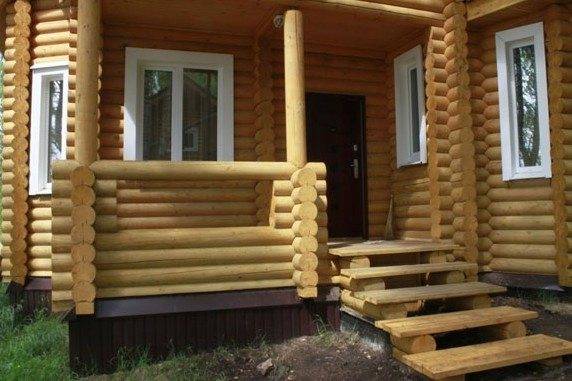
The veranda is not a separate structure from the house, but is its entrance, which performs a number of the following functions.
Appointment
- Preventing the ingress of dirt and dust from the street to the house.
- Protection of the doorway from wind, cold and atmospheric precipitation... In the opposite case, all the aggressive influence of the external environment falls directly on the door, which, opening and closing, lets it inside the residential building.
- Providing a comfortable area for spending time with a cup of aromatic tea, your favorite book or a dear guest.
- Building decoration, or rather the entrance to it, because this is the first thing we pay attention to when we come to someone. An aesthetic design can become the main attraction on your suburban area.
Views
There are two types of verandas according to the way they are arranged:
| Name | Description | Specific traits |
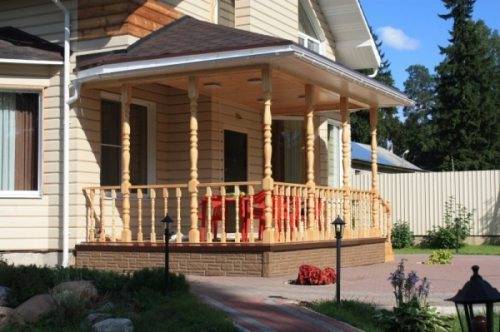
| Open | There is no upper part of the walls, the roof is installed on piles | The site is protected from atmospheric precipitation, but is blown by the wind, which makes recreation on it pleasant in summer and impossible in more severe seasons. This option is less expensive and easier to build. |
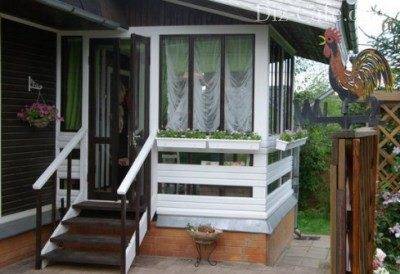
| Closed | All openings free from wall material are glazed | The room is completely protected from bad weather. The higher selling price is compensated by the possibility of its year-round use not only for gatherings, but also as a kitchen or a greenhouse. The protective properties of the structure are also significantly increased. |
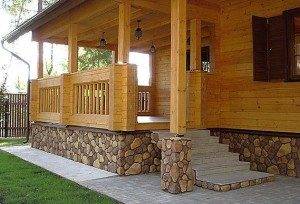
Advice: if you visit the cottage only in the summer season, then it is more rational to implement a veranda with an open porch.
The closed one will require additional costs and still will not be used to the full.
Typical dimensions
In order for the veranda and the porch to the house to fully perform their functions and at the same time not turn out to be too bulky a structure, one should adhere to the following dimensions:
| Parameter | Value, m |
| Length | 4-7 |
| Width | 2,5-3,5 |
| Height | Not higher than the roof of the house itself |
Installation work
You should start creating a porch with a veranda with your own hands not on the site, but in the appropriate institutions:
Stage number 1: preparation
- First of all, you should go to a design firm, where, according to the sketches presented, they will draw up a finished project that is necessary for the legal justification of your construction. Otherwise, you will have to pay a considerable fine.
- With the acquired documents, you will have to visit some more instances, but after receiving approval for the work, you can finally safely go to the hardware store.
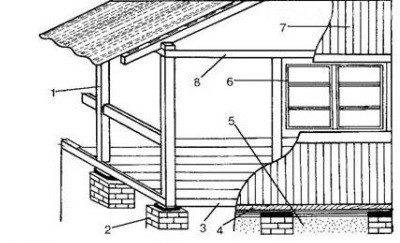
- Carry out the purchase in accordance with the materials that were used in the construction of the house, so that the new extension is in harmony with its design. Below is a diagram of all the elements of the future structure, which should be guided by:
| Designation in the figure | Name |
| 1 | Racks |
| 2 | Foundation piles |
| 3 | Bottom strapping |
| 4 | Draining |
| 5 | Plinth |
| 6 | Window |
| 7 | Lining |
| 8 | Top strapping |
Stage number 2: foundation
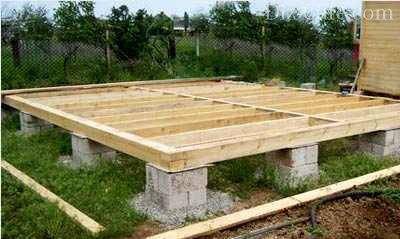
Ideally, the foundation is created the same as that of the house itself.But this is not always possible and then it is worth using a more economical option, laying a pile foundation.
Instructions for erecting base pillars:
- We apply the markup in accordance with the certified plan.
- We dig holes of a meter depth around the perimeter in 1-1.5 m increments.
- We fill up a twenty-centimeter layer of sand mixed with crushed stone, and ram it.
- We create bituminous waterproofing. Also for this purpose, roofing material laid on the resulting "pillow" is suitable.
- Pour 15 cm of concrete.
- From above we erect columns of bricks. They should be somewhere 30 cm below the floor of the main building.
Stage number 3: frame
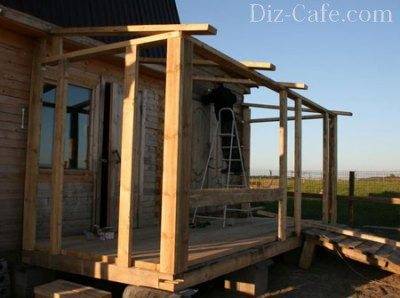
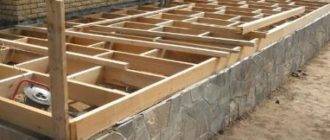
- We take the beams 8 cm by 8 cm or 10 cm by 10 cm and, connecting them with a "straight lock", we install the lower harness.
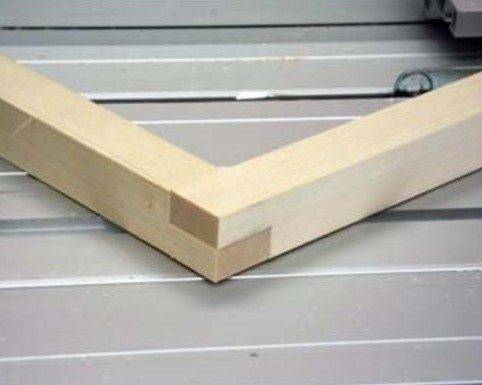
Tip: It is recommended to use a circular saw during carpentry work.
This will greatly speed up and simplify the task.

- We install the racks in the corners and in other planned places, fixing them with steel staples and nails.
- At the top we mount the upper harness in the same way.
- We install the rafters so that with one end they lie on the outer side of the outer trim, and with the other they are connected to the beam located under the slope of the roof of the house.
- We fix the horizontal elements of the posts with bolts.
- We also attach the porch to the veranda with our own hands. To do this, we cut out the bowstrings and install them where there will be an ascent to the veranda.
Stage 4: walls
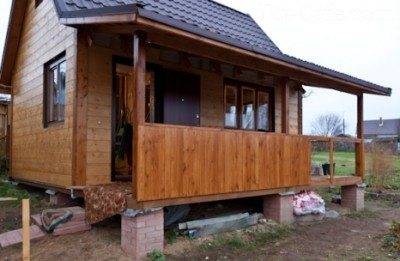
- We sheathe the outside of the building with clapboard using nails or self-tapping screws.
- On the inside of the wall, we wrap it with insulation; for this, materials such as polystyrene, mineral wool or felt are quite suitable.

- We finish the interior decoration by installing drywall or chipboard sheets.
Stage 5: roof
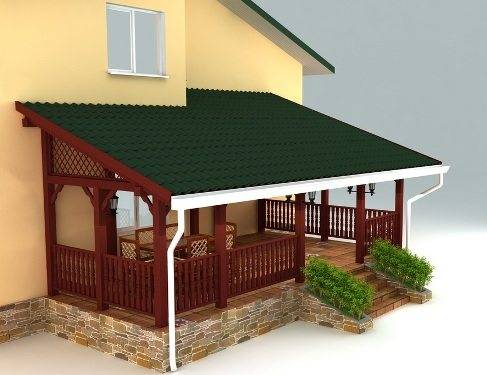
The most common and easy-to-implement option is a pitched roof, in which the rafters are installed at an angle away from the house. Above, a covering of bituminous tiles, roofing material, slate or metal tiles is created. At the same time, it is desirable that the material be in harmony with that used for the roof of a residential building, and be light in weight.
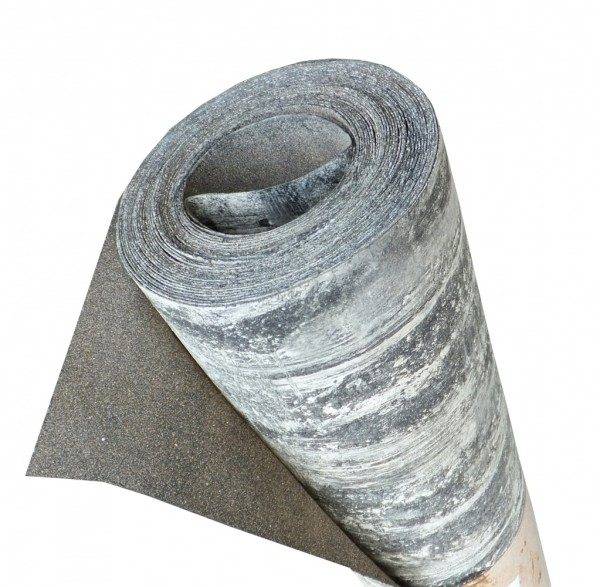
Let's analyze the roofing device using the example of roofing material:
- We knock down the boards tightly on the rafters in order to get a monolithic flooring as a result.
- We roll out the roofing material so that they lay on top of each other with an overlap of 10 centimeters.
- We knock down the edges of the strip with rails with nails.
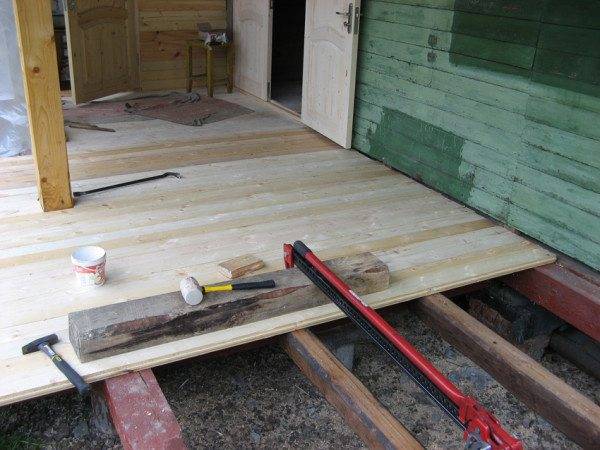
Stage 6: floor
- We install logs from beams on support piles.
- We process wood with moisture protection agents.
- From above we fill the processed boards with a thickness of at least thirty centimeters. We also form the steps of the porch from it.
Output
A veranda with a porch is an excellent addition to a country house, fulfilling aesthetic and protective properties. When drawing up a project, remember that the extension must be in harmony with the main building. The installation work itself is quite feasible on our own.
The video in this article will introduce you to additional materials. Successful implementation of your plans!


