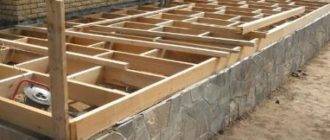
Most home craftsmen who have already gained experience during the construction of their own country cottage can easily equip a platform at the front door and design beautiful and durable steps leading to it. The roof above the porch raises more questions: not everyone can make it with their own hands, especially if the increasingly popular polycarbonate is used as a material.
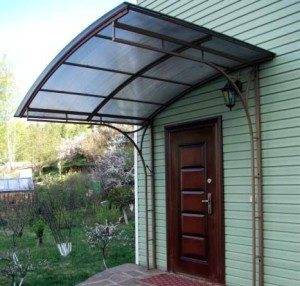
Roof manufacturing procedure
As you might have guessed, below will be described in detail the process of making a porch canopy made of polycarbonate - a multilayer plastic that is flexible, durable, a variety of colors and easy installation. It is increasingly used in individual construction, which is also facilitated by an affordable price.
Advice!
The instructions in this article are not dogmatic.
For example, if a balcony in a wooden house is a porch roof, you do not need to reinvent the wheel and sculpt a polycarbonate visor next to it.
Any architectural element must be organically combined with existing buildings.
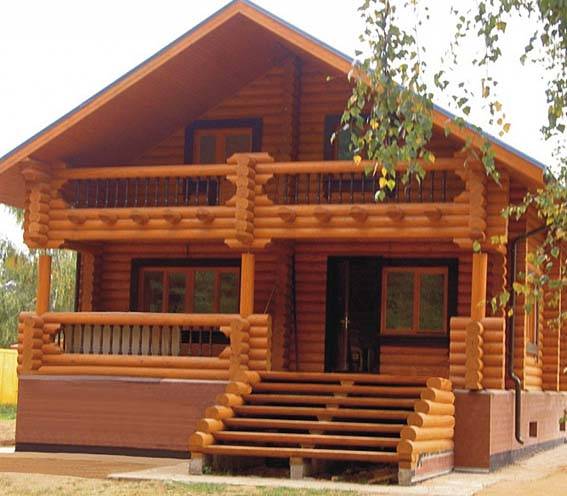
Let's consider in more detail how to build a porch with a roof in a country house or in a private house using multilayer transparent plastic.
Stage 1. Purchase of building materials
In special hardware stores, there are two main types of polycarbonate:
- Monolithic... It can be either completely transparent or matte. Externally, monolithic polycarbonate resembles organic glass, but in terms of its consumer properties (strength, weight, and so on) it is much superior to the latter.
- Cellular... Structurally, it consists of two thin sheets of plastic, interconnected by many thin membranes. They form a specific multi-chamber structure that increases strength without taking away flexibility.
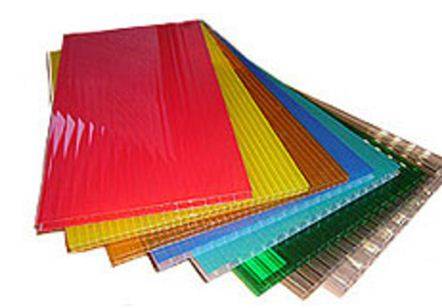
It is better if the roof of the porch with your own hands is made of two-layer polycarbonate. It is easier to work with him, and the result obtained will not make you regret the money spent on the purchase.
Advice!
Before purchasing plastic, carefully check its quality.
Each sheet must have a uniform structure and weight as specified in the technical documentation. Do not buy material thinner than 6 mm.
It will not work for a porch canopy.
Stage 2. Preparation of the drawing
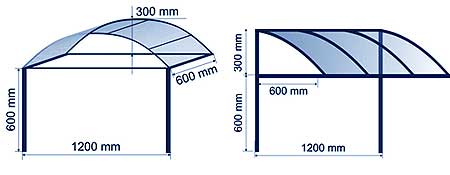
Before making the roof over the porch, it will be superfluous to take care of creating a sketch of it. You can simply draw a drawing on a sheet of paper or use a computer program for this.
And in fact, and in another case, you need to strictly observe the proportions. This will allow you to evaluate the appearance of the finished structure and help you correctly calculate the required amount of materials.
Stage 3. Construction of the frame
Now we start creating a frame on which the plastic sheets will be attached. It can be made from wooden blocks of suitable cross-section, but it is better to use a profiled pipe for this purpose. The resulting product will be as strong and durable as possible, especially if the elements are protected from corrosion with paint.
The manufacturing process itself is as follows:
- A piece of pipe is cut to the required length. Better to measure with a margin. The excess material can be removed later.
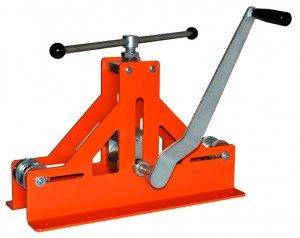
- After that, the pipe is bent to the desired diameter. If you do not have a pipe bending machine, you can do this operation using a grinder.To do this, cuts are made on one of the sides in half the section of the pipe (their number depends on the radius you need), after which bending is performed.
- For additional strength, the damaged areas can be additionally strengthened by welding, but this is not necessary, since the polycarbonate is light enough and the frame will not experience heavy loads.
- In the same way, you need to bend the second arc of the visor, and then connect them together with transverse elements.
- Then the crate is equipped. For it, you can use thinner rolled metal or pieces of reinforcement. The number of rods and the distance between them depends on the area of the canopy. It is necessary to make sure that the polycarbonate sheet does not bend under load.
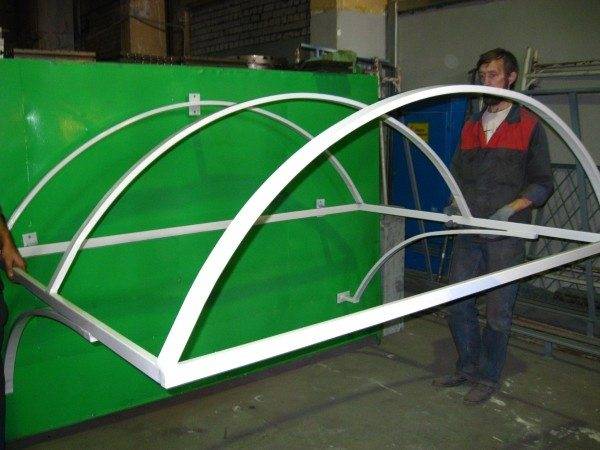
- After finishing the welding work, it is necessary to thoroughly clean all the seams and paint the frame with alkyd enamel, which will protect the metal from moisture and will not collapse from strong temperature fluctuations.
Stage 4. Facing with polycarbonate
The next stage of work is the installation of plastic sheets on the finished frame. There is not much to tell here. You just need to attach polycarbonate to the profiled pipes and screw them with self-tapping screws.
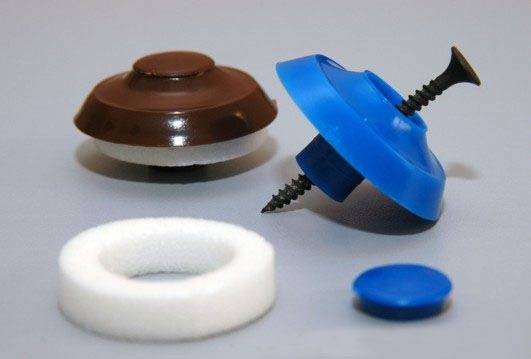
The only feature is the choice of fixing accessories. Self-tapping screws are suitable for ordinary ones, but their caps must be equipped with special sealed caps with thermal washers that compensate for the thermal vibrations of the plastic.
To make the connection strong, and the visor does not collapse, follow some rules:
- the self-tapping screw must be screwed into a pre-drilled hole, the diameter of which is slightly larger than the dimensions of the fastening element;
- Do not tighten the fittings tightly; a gap of 2 mm should remain between the head and the plastic.
Stage 5. Support pillars
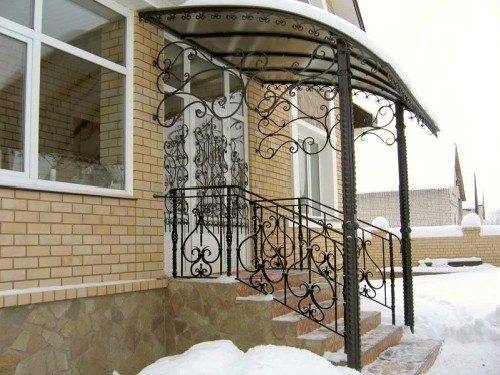
The visor, especially of large sizes, should rest on the struts. Most often, they are a constructive continuation of the site in front of the front door and are made of the same material.
For example, when the porch itself is made of brick, the posts are also laid out of it. If you live in a house made of wood, you can support the visor on the beams of a suitable section.
In all other cases, you can safely use a pipe with a cross section of 50 mm.
Advice!
For racks, it is better to use galvanized parts. They are protected against corrosion.
If you do use regular steel, do not forget to cover it with several coats of paint.
You can strengthen the pillars directly in the ground. To do this, small pits are dug, a crushed stone pillow is poured onto the bottom, profiled pipes are inserted, after which the recesses are filled with concrete.
During solidification, you need to constantly monitor that the supports occupy a strictly vertical position.
Stage 6. Final assembly
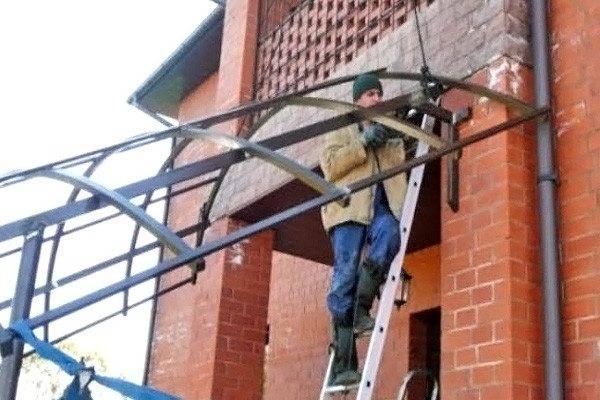
Once the work with the supports is finished and the cement has hardened, the frame with the fixed polycarbonate can be installed in the designated place. You will not be able to do this operation yourself. Although plastic is lightweight, the overall weight of the structure will be significant.
Installation is carried out in two ways:
- On four pillars (two at the wall of the house, two on the outside of the porch). In this case, everything is simple. You need to raise the frame and weld it to the supports. Make sure to weld carefully, otherwise the entire structure may collapse under the influence of wind or snow.
- On two outer pillars. The peculiarity here is that the back of the frame will be fixed directly to the wall of the house. To do this, holes must be drilled in the facade for dowels or anchor bolts in advance.
Note!
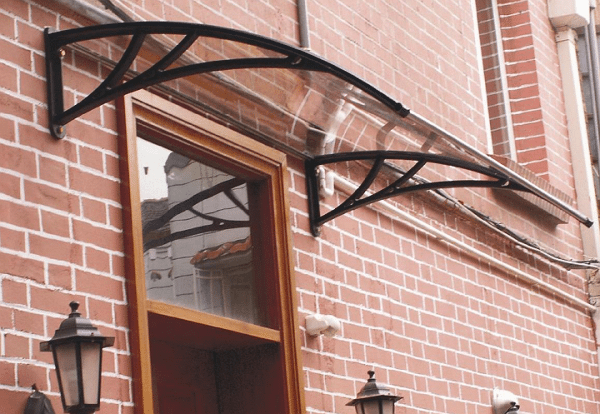
A small visor above the entrance can be installed without pillars at all - by fixing it on the wall and providing special kerchiefs for strength.
Output
A canopy over the porch is not an obligatory element of the latter.You can get to the site and open the front door without him. But the presence of a roof will not only protect the hall of the house from precipitation, but also extend the service life of the extension to the house.
What's more, with a little imagination and effort, you can turn your porch into a spacious roofed veranda that will become your family's favorite summer vacation spot. The video in this article will cover our topic in more detail.


