LED plant light - advantages, assembly and installation
In a city apartment, it is often impossible to provide full lighting for plants without additional lamps. Lack of light leads to the fact that seedling begins to stretch, it becomes more fragile and does not take root well after transplants... To provide her with good conditions for growth, you can purchase various additional light sources, or you can make them yourself.
The easiest option lampsthat can be done without the special skills of an electrician is an LED plant light. With the correct selection of the spectrum, it will completely replace natural light.
Content:
- Benefits of LED downlights
- Required materials for assembly
- DIY LED lamp assembly
- How to improve lighting efficiency
Benefits of LED downlights
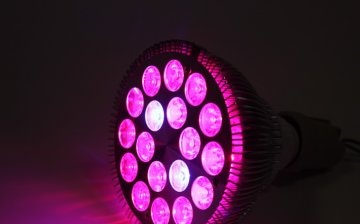
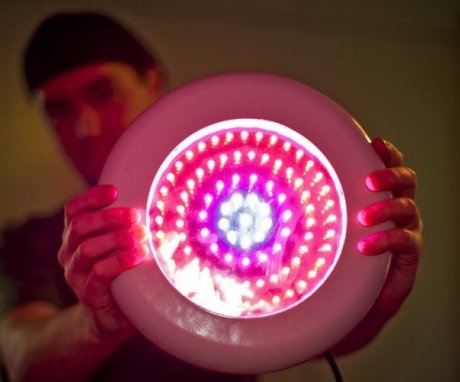
For successful growth and development, plants need light radiation of a certain spectrum - blue and violet waves promote cell growth, thanks to which plants become strong. Red spectrum waves provoke bloom, therefore, they are also necessary for growing vegetables and fruits in greenhouse conditions or in an apartment.
The advantage of LEDs is precisely that it is possible to provide light radiation with a suitable wavelength, while it will be directional.
Other advantages of LED plant lights include:
- Low power consumption. Unlike incandescent lamps, the LED does not heat up during operation, so electricity is not consumed for heating. This allows for huge savings and reduced energy costs.
- Durability. The LEDs do not need to be constantly changed and are rated for over 1000 hours of use.
- They will be inexpensive, they can be easily found on sale and installed without problems. To connect the circuit, you will need soldering skill, but with a little practice, there will be no problems with assembling the luminaire.
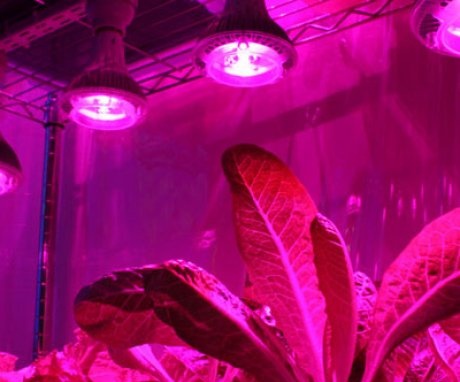
- The LED provides directional light, and the closer it is to the plant, the more effective the lighting will be. Since the LEDs do not heat up, there is no risk of burning the leaves, and this allows the supply seedlings powerful luminous flux. As a result, the plants become stronger and more abundant crops can be obtained.
- LED lighting can be easily installed on shelves in greenhouses, such a lamp does not take up much space in a city apartment. It can be installed directly above the bed, so you can arrange boxes with seedlings in several tiers and additionally save space.
Required materials for assembly
It is not always advisable to purchase a special phytolamp with a red or blue spectrum of illumination due to its high cost. As a rule, they are chosen by professional gardeners who need special equipment to illuminate a large number of plants.
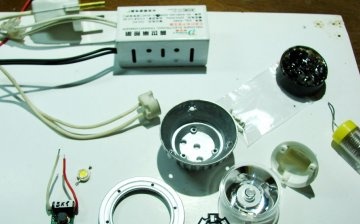
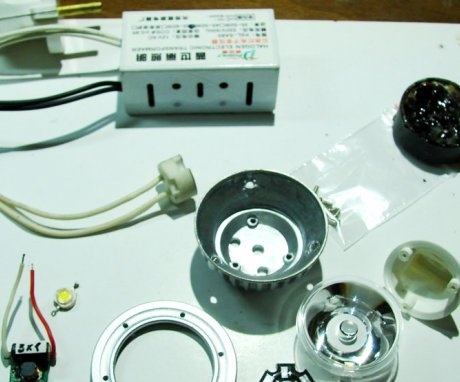
For growing seedlings at home, you can assemble an LED lamp with your own hands, and all the materials for it are easy to purchase at any electrical store.
To make a lamp, you need to purchase:
- Red and blue LEDs. Their number depends on the size of the beds: for optimal illumination on the tape, you need to alternate two red and one blue LEDs.
- Thermal paste. It is an organosilicon compound with high thermal conductivity and is used to cool the device. Thermal paste can be replaced with special hot melt glue, but it is more expensive.
- Base for LED placement. You can take anything as a base: it can be an old aluminum profile, a panel from furniture, even a long school ruler will do.
- Power supply for supplying the required voltage to the system.
- Wires and plug for connecting to the mains.
DIY LED lamp assembly
How to assemble an LED light? To make an LED strip, the LEDs are attached to the line with thermal paste, while the color sequence must be observed. In addition to blue and red LEDs, you can make a line of 3HP2C white LEDs with a color temperature of 3800-4300K and a line of pure white LEDs 4800-5300K. The first will simulate the midday sun, and the second will simulate the morning and evening sun rays.
The LEDs are connected to each other by conductors by soldering, the resulting line is connected to the power supply.
If you need to install 2 lines of LEDs, they are connected in parallel, a switch is installed in the system. The power supply is connected with a cord and plug to connect to the mains. The LED lines are attached to the base with tape, after which the finished lamp can be placed over the home garden.
To place several seedling beds in a small room and provide all the plants with the necessary amount of light, you can build racks. The rack is a support with shelves arranged in several tiers, the frame elements and shelves are bolted together. This is a very simple structure that can be assembled either from metal corners with boards, or from a bar.
3 tiers are installed in height, and on each of them there are LED lamps, which are attached to the shelf above the plants. If the rack is assembled from wood, it is necessary to treat all wood elements with stain to protect them from decay. In a room with several shelves, you need to provide not only good lighting, but also ventilation so that the plants have enough air.
How to improve lighting efficiency
The location of the LEDs requires knowledge of some of the laws of light propagation. The directional flow should not be wasted, otherwise the luminaire will not be able to fully perform its functions.
There are several of the most effective recommendations:
- So that the light radiation does not go to waste, the beds can be shielded with a matte plastic screen. It will reflect the light, providing the plants with light from all directions.
- The luminaire can be hung on adjustable chains. As the seedlings grow, it will be possible to move the lamp to the desired distance.
- The optimal distance from the lamp to the leaves is 10-25 cm. If you raise the lamp higher, it will be able to illuminate a large surface of the garden, but the lighting efficiency begins to decrease with every centimeter. If the distance to the leaves is increased by 2 times, the intensity of the light flux will decrease by 4 times.
- LEDs do heat up slightly during operation, so it is recommended to mount them on an aluminum plate to dissipate heat.
To achieve optimal lighting in a greenhouse or home garden with seedlings, you will need to experiment for some time, combining different options for LED lamps.Gardening is not only a science, but also a creative process, and after a series of experiments, you can choose the most suitable LED lamp for each garden bed.
More information can be found in the video.


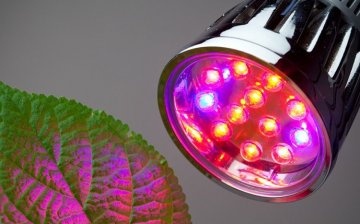
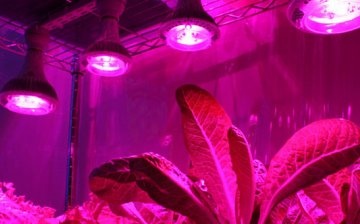
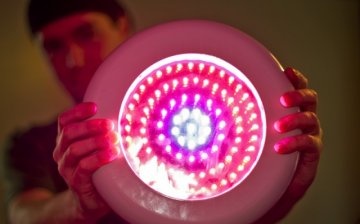


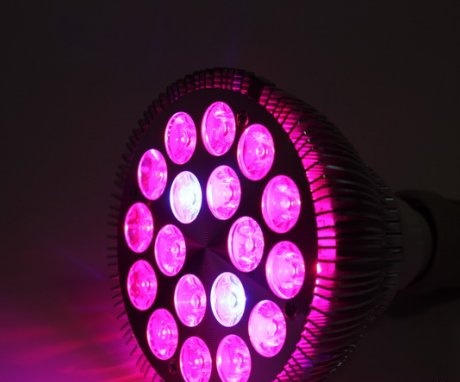
In addition, the LED is very convenient when you need to add illumination to a small piece of land, or to a separate flower, pot, or bush. It can be brought directly to the sprout, since there is no heat generation, and you can do without wires from the mains.
Many LEDs are powered by one regular battery.