Soil moisture sensor: how it works and do it yourself
Automation greatly simplifies the life of the owner greenhouses or a personal plot. Automatic irrigation system will save you from monotonous repetitive work, and the soil moisture sensor will help to avoid excess water - it is not so difficult to assemble such a device with your own hands. The laws of physics come to the rescue of the gardener: moisture in the soil becomes a conductor of electrical impulses, and the more there is, the lower the resistance. As the humidity drops, the resistance increases, and this helps to track the optimal watering time.
Content:
- Design and principle of operation of the humidity sensor
- DIY humidity sensor assembly
- Areas of use of the humidity sensor
Design and principle of operation of the humidity sensor
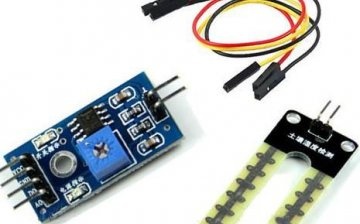
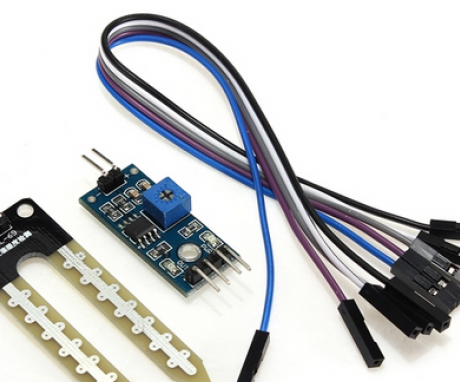
The design of the soil moisture sensor consists of two conductors that are connected to a weak source of energy; a resistor must be present in the circuit. As soon as the amount of moisture in the space between the electrodes increases, the resistance decreases and the current increases.
Moisture dries up - resistance increases, current decreases.
Since the electrodes will be in a humid environment, it is recommended to switch them on through a wrench to reduce the damaging effects of corrosion. During normal times, the system is off and only starts up to check the humidity at the push of a button.
Soil moisture sensors of this type can be installed in greenhouses - they provide monitoring of automatic irrigation, therefore, the system can function without human intervention at all. In this case, the system will constantly be in working order, but the condition of the electrodes will have to be monitored so that they do not become unusable under the influence of corrosion. Similar devices can be installed on outdoor beds and lawns - they will instantly get the information you need.
In this case, the system turns out to be much more accurate than a simple tactile sensation. If a person considers the ground to be completely dry, the sensor will show up to 100 units of soil moisture (when evaluated in a decimal system), immediately after watering this value rises to 600-700 units.
After that, the sensor will allow you to monitor the change in moisture content in the soil.
If the sensor is supposed to be used outdoors, it is advisable to carefully seal its upper part in order to prevent information distortion. To do this, it can be coated with a waterproof epoxy resin.
DIY humidity sensor assembly
The sensor is assembled as follows:
- The main part - two electrodes, the diameter of which is 3-4 mm, they are attached to the base made of PCB or other material protected from corrosion.
- At one end of the electrodes, you need to cut a thread, on the other hand, they are made sharpened for more convenient immersion in the ground.
- In the PCB plate, holes are drilled into which the electrodes are screwed; they must be secured with nuts and washers.
- Outgoing wires must be put under the washers, after which the electrodes are insulated. The length of the electrodes that will be immersed in the ground is about 4-10 cm.depending on the used container or open bed.
- The sensor requires a 35 mA current source, the system requires a 5V voltage. Depending on the amount of moisture in the soil, the range of the returned signal will be 0-4.2 V. The resistance loss will show the amount of water in the soil.
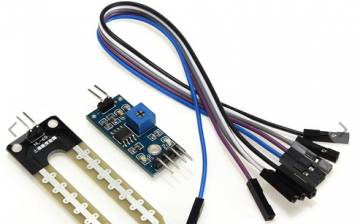
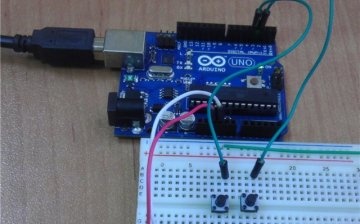
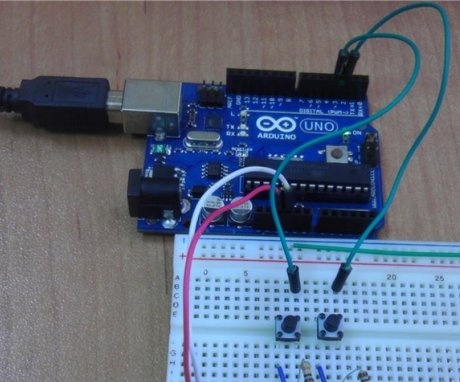
- The connection of the soil moisture sensor is carried out through 3 wires to the microprocessor; for this purpose, you can purchase, for example, an Arduino. The controller will allow you to connect the system with a buzzer to give a sound signal when the soil moisture is too low, or to an LED, the brightness of the illumination will change when the sensor changes.
Such a homemade device can become part of autowatering in the "Smart Home" system, for example, using the MegD-328 Ethernet controller. The web interface shows the moisture level in a 10-bit system: the range from 0 to 300 indicates that the ground is completely dry, 300-700 - there is enough moisture in the soil, more than 700 - the ground is wet and no watering is required.
The design, consisting of a controller, a relay and a battery, can be removed into any suitable housing, for which any plastic box can be adapted.
At home, using such a humidity sensor will be very simple and reliable at the same time.
Areas of use of the humidity sensor
The application of the soil moisture sensor can be very diverse. Most often they are used in automatic watering systems and manual glaze plants:
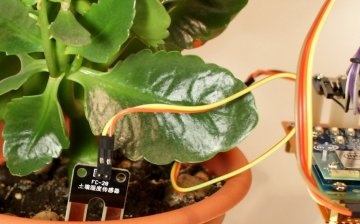
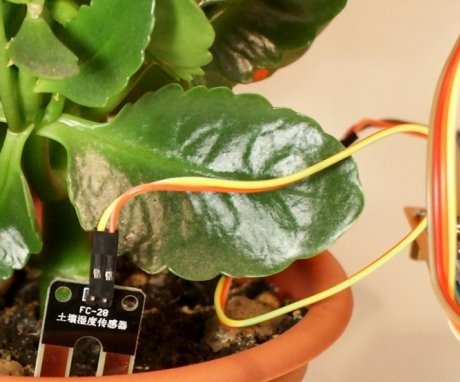
- They can be installed in flower pots if the plants are sensitive to the water level in the soil. If we are talking about succulents, for example, about cacti, it is necessary to pick up long electrodes that will react to changes in moisture levels directly at the roots. They can also be used for violets and other fragile plants root system... Connecting to the LED will allow you to accurately determine when it is time to carry out watering.
- They are indispensable for organizing watering of plants. in the greenhouse... By a similar principle, air humidity sensors are also assembled, which are needed to start up the plant spraying system. All this will automatically ensure watering of plants and a normal level of atmospheric humidity.
- At the dacha, the use of sensors will allow you not to keep in mind the time of watering each garden bed, the electrical engineering itself will tell you about the amount of water in the soil. This will help prevent over-watering if it has been raining recently.
- The use of sensors is very convenient in some other cases as well. For example, they will allow you to control soil moisture in the basement and under the house near the foundation. In the apartment, it can be installed under the sink: if the pipe starts to drip, the automation will immediately report this, and it will be possible to avoid flooding of neighbors and subsequent repairs.
- A simple sensor device will allow you to fully equip all problem areas of the house and garden with a warning system in just a few days. If the electrodes are long enough, they can be used to control the water level, for example, in an artificial small reservoir.
Self-fabrication of the sensor will help equip the house with an automatic control system at minimal cost.
Factory-made components are easy to purchase online or in a specialized store, most of the devices can be assembled from materials that can always be found in the home of an electrical enthusiast.
More information can be found in the video.


