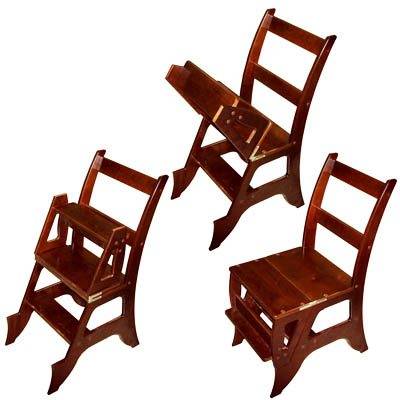
How simple and at the same time ideal backwam device, which we use almost every day, if there is a need to get something from the upper shelves.
This frees us from using an iron bulky step-ladder.
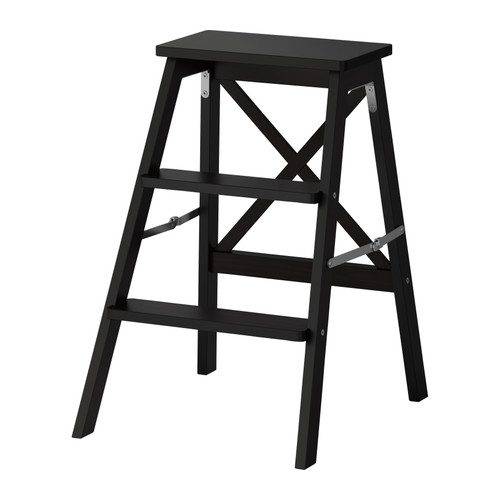
Putting it all together
This simple piece of furniture can be used in a huge amount of work: both in renovation and after renovation. And the most interesting thing is how the initially strong and comfortable step-ladder turns into a tall and beautiful stool! Agree, such an element will not be lost in any kitchen!
Let's look at all the stages of work in the article, and try to assemble this item on our own, proving that not only Ikea can design interesting products, figuratively speaking!
Preparation
So, we are going to build a stool, the pull-out module of which will be located under his seat + two durable steps. The module will slide out using the drawer rails.
So, we need the following details:
- Legs, 4 pieces, dimensions 19x100x725 mm.
- Upper prongs - 2 pieces 19x38x180 mm.
- Lower prongs - 2 pieces 19x100x420 mm.
- Upper drawers - 2 pieces 19x125x345 mm.
- Lower side bar 19x105x345 mm.
- The upper step of the stool 19x270x445 mm - 1 pc.
- Plywood side plates 305x170x250 mm - 2 pcs.
Important!
We select everything for the retractable steps in the same order, only for the corresponding dimensions already.
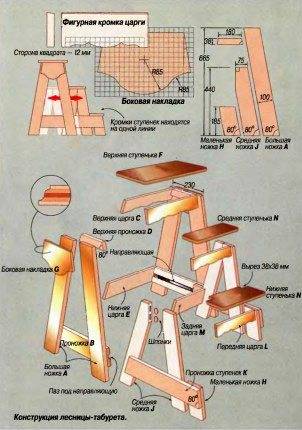
Work
First of all, we will cut out workpieces 10 cm wide, while immediately sanding the surface to an ideal state.
Next, we cut out three sets of legs, all in size. Since our legs will be located at a slight angle, the ends will need to be cut and we will get not a 90 angle, but 80.
Since we have a folding stool ladder, then we cut out all the prodcuts, and we have three types of them! The main thing is to make sure that the ends of the blanks diverge when cutting. To do this, we work using a circular saw or jigsaw.
Here we saw plywood overlays, the ends of which should diverge. We choose plywood at our discretion, it is a decorative element. (see also Stairway rungs: protection, decor and comfort)
Since we started talking about sawing, let's clarify here what tools we may need:
- Jigsaw or circular.
- Plane, drill, drill bits for wood.
- Clamps.
- Spatula and paint brush.
- A sander, so as not to sand everything with your own hands with sandpaper.
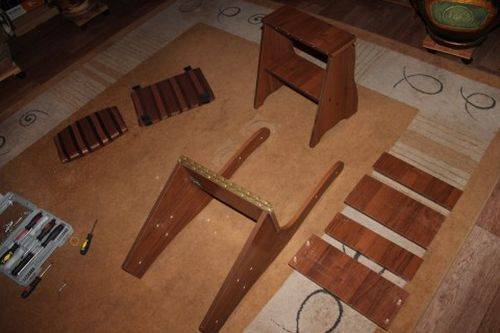
The tools are simple and affordable, even if we have to buy everything, they will certainly find use in the house later.
The next step is to choose either the grooves for the dowels, or drill the holes for the dowels. These parts will connect the middle legs of our entire structure.
It is definitely worth mentioning the rounding of the legs. And it's not so much about beauty, although the appearance, of course, matters, but the fact that with even bases of the legs, we can have chips, because they will be subjected to a load, and often of a dynamic nature. Therefore, with a jigsaw, carefully cut off the mating points of the legs at a slight angle.
Next, we proceed to the tsars, if anyone does not know, this term means the bar that we will have under the stool. We mow the upper end in the tsar, taking into account the divergence of the main structure in an inclination of 10 degrees, respectively, the end of the tsar will go at an angle of 80 degrees.
Important!
In general, the instruction here assumes all work on bevelling and cutting corners, based on what kind of slope we have, if 10 ° C, then everything will go then under 80, if 15 °, then under 75.
Now we come to the steps.They can be cut both from the same material as the stool stock and from plywood sheets with a thickness of 18 mm or more.
We have three steps, and we immediately round their edges. Plus, on the lowest step, we need two corner cutouts, because the step is combined here with small legs.
Putting it together in parts
At first, assembly is always carried out only on dowels, without the use of glue. We adjust everything, look at how the stool ladder works, we will have a control assembly.
And we will draw from the side in the following sequence:
- We connect the large legs of the structure and the upper legs with screws. The holes are drilled here in advance, and during the final assembly, the screw heads are hidden under special plugs.
- We fasten the tsars.
- We attach the top step.
- We collect the middle legs by attaching the legs.
- We attach the small legs to the middle ones.
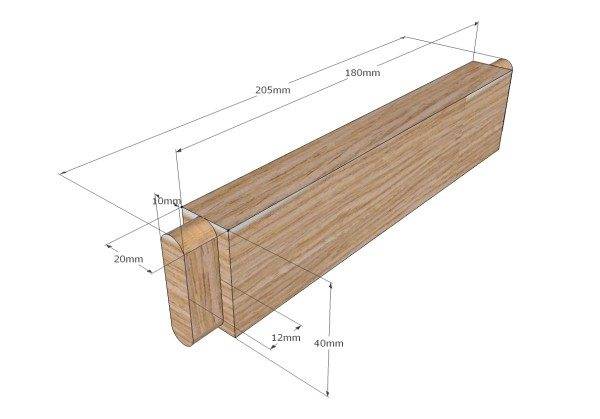
Retractable mechanism
For the final stage, and we have a folding design, we need to set the leading edges of the retractable steps in one line. To do this, we need to completely pull out the free parts of the guides into the groove of the projectors and fix them firmly. (see also Swedish ladder: independent and step-by-step construction)
The stronger the fastening, the less chance of skewing when the structure is extended. We check everything several times so that the guides work clearly and without failures.
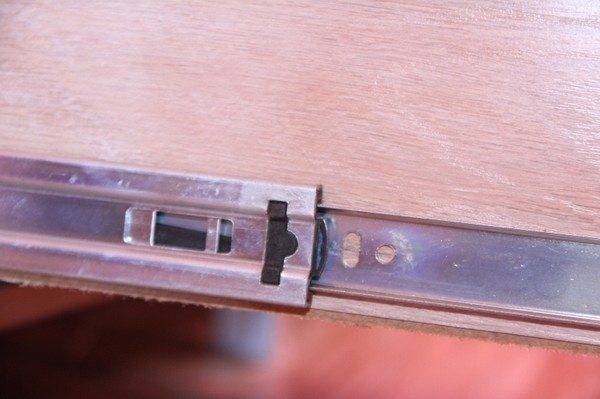
Fine assembly
Here we just disassemble everything, glue it and assemble it clean. Now the whole structure will be both fixed and glued. The glue can be used in a variety of ways, the price of the entire product does not change much from the cost of the glue, but the fact that we assembled everything on our own makes our design at least three times cheaper than the purchased version.
In the end, you can varnish the chair, and in several layers, let it dry, and you can use it!
Output
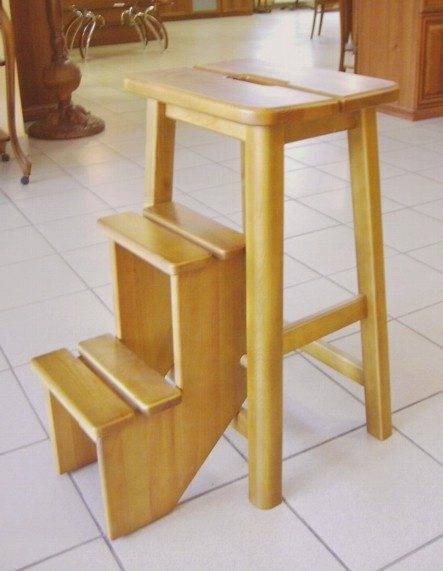
It is quite easy to assemble ladders-stools and stepladders on your own, the main thing is to strictly follow the technical recommendations and, if possible, find a good drawing. The tool for work is simple, little material is needed, everything is relatively inexpensive. In addition, all materials are on sale in a wide range. (see also Wardrobe under the stairs: space arrangement options)
Everything else depends only on perseverance and attentiveness. And in the video presented in this article, you will find additional information on this topic.

