Tips before painting
Before starting work, you need to make sure that certain conditions are met.
- From the moment of pasting the wallpaper, at least 2 days must pass for it to dry thoroughly. Better yet, wait all three days.
- Remember that the first time you paint the wallpaper, you will need to apply at least 2 layers, otherwise there will be drops and bald spots that may go unnoticed during work. New layers are always applied after the previous ones have completely dried - the instructions on the package will tell you the exact time.
- Glass fiber must be primed before painting. For paper and non-woven fabrics, such preparation is not required.
- It is necessary to remove all traces of glue from the surface of the wallpaper, otherwise the paint will lay down unevenly, bald spots will appear, which will then be very difficult to remove.
- The paint should have the consistency of liquid sour cream. If, after opening the lid, you see that it has thickened, add water, but not more than 5% of the total.
- The optimum air temperature is + 17… + 22 ° C.
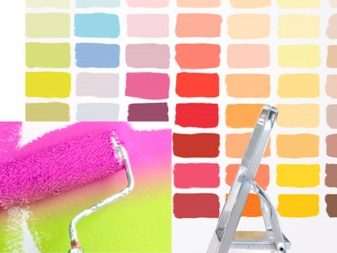
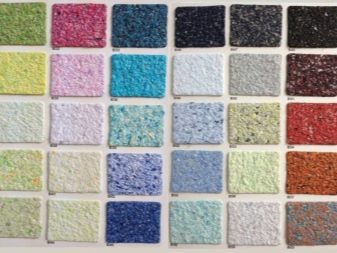
 All the colors of the rainbow
Where to buy stencils
Stencils are most often bought in stores or at construction markets, ordered through sites on the Internet. The most popular are:
- vegetable, floral motifs;
- silhouettes of animals, birds;
- profiles, stylized faces of people;
- geometric figures;
- inscriptions with intricate type;
- meanders, fractals;
- asterisks, hearts;
- letters, numbers, logos.

Sometimes templates are made according to sketches made up with their own hands, which remain to be enlarged and printed in one of the photo studios, where there is large-format printing on paper, plastic, self-adhesive film. In companies that are engaged in outdoor advertising, it is possible to develop any stencil based on the photograph brought by the customer.
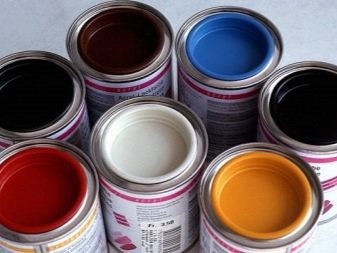
Paint: basic selection rules
Multi-colored mixes for painting wallpaper will refresh the room at any time. The type of finish is suitable for lovers of frequent repairs, when there is no need to remove the base, but you can simply change its shade. Canvas paint can create a sophisticated, austere finish. When choosing a material, it is necessary to take into account the protective functions, features, decorativeness of each type. The quality mixture should not contain reactive solvents. Each type of wallpaper uses its own paint:
- Water-based. The basis is PVA. Only suitable for dry, darkened rooms. The painted surface cannot be washed as the mixture is water-soluble;
- Latex. Used in the kitchen, bathroom due to increased moisture resistance, resistance to abrasion, sunlight;
- Acrylic. Resin-based universal compound. Composite components increase the durability of the walls. After quick drying, a breathable layer forms between the wall and the wallpaper.
How to calculate the amount of paint required
The first thing to do before starting repair work is to prepare the necessary tools and calculate the paint consumption. The amount of the mixture will depend on the area to be painted. It is necessary to measure the height of the ceiling, the width of the area for painting, subtract the size of openings, windows, untreated coatings.
Usually, manufacturers indicate consumption on cans of liquid paint, taking into account the type of wallpaper. If it is necessary to paint the walls several times, this indicator increases at least one and a half times. One square meter will take about 150-200 g of paint. Wallpaper with rough surfaces (fiberglass) in this regard is much more economical than paper.

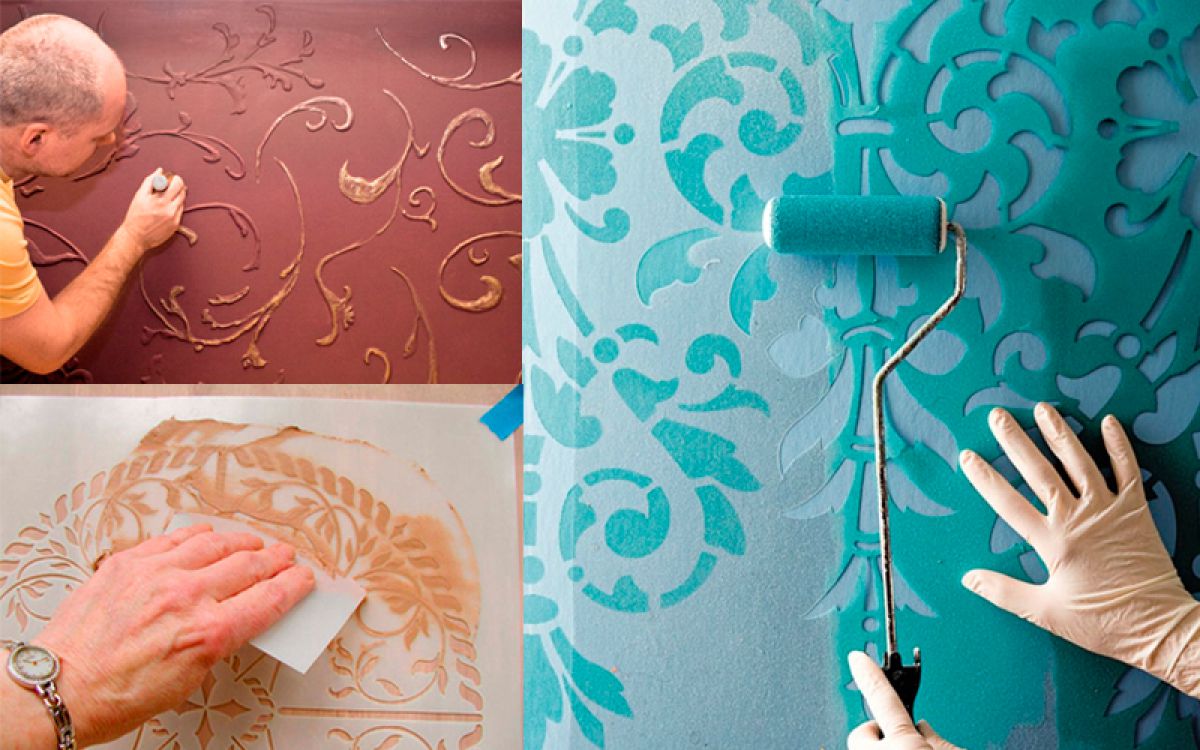
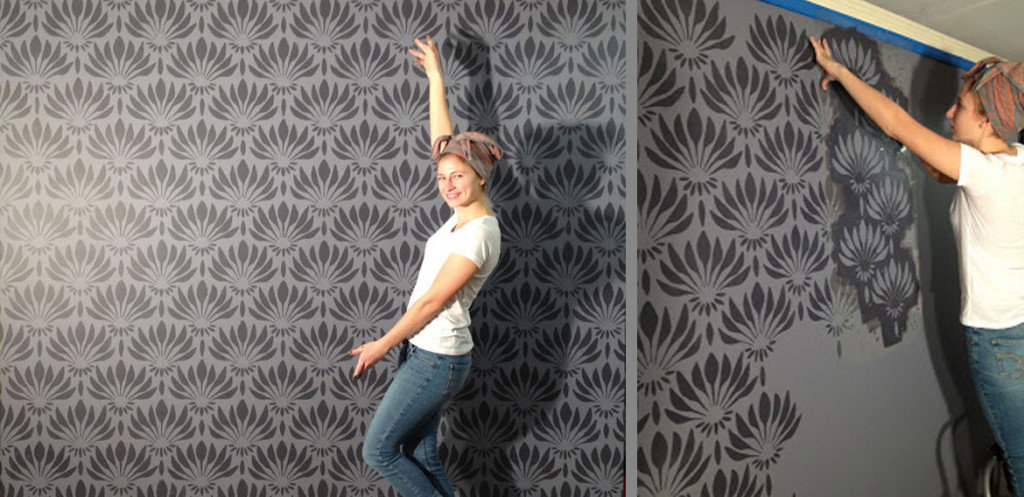
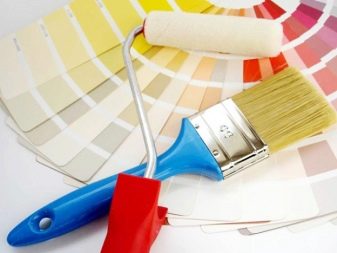
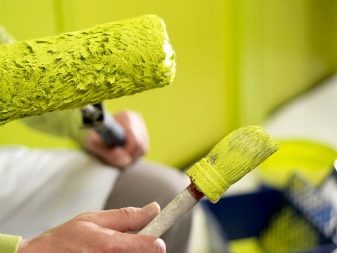
Paint application technique
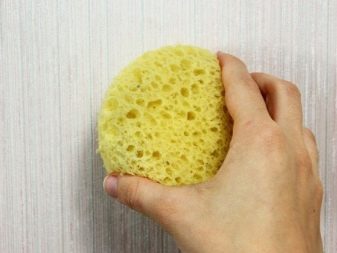
In addition to the finished stencil, you will need a roller.You can apply the enamel directly from the spray can, which is convenient when painting large sections of the wall. A brush is not suitable for this purpose, because it does not allow to form beautiful, even contours and leads to the appearance of material drips. The roller paints the surface thoroughly, and the picture will look even, smooth. A thin brush can only be useful for painting over small details of the template. It is also advisable to prepare a foam sponge - on it the roller is soaked from excess paint.
Wall preparation includes:
- removal of the old coating,
- cleaning from dust, stains,
- alignment,
- applying plaster and primer,
- staining.
The application of the decor is permissible only on a completely dry surface. You can draw directly on the wallpaper.
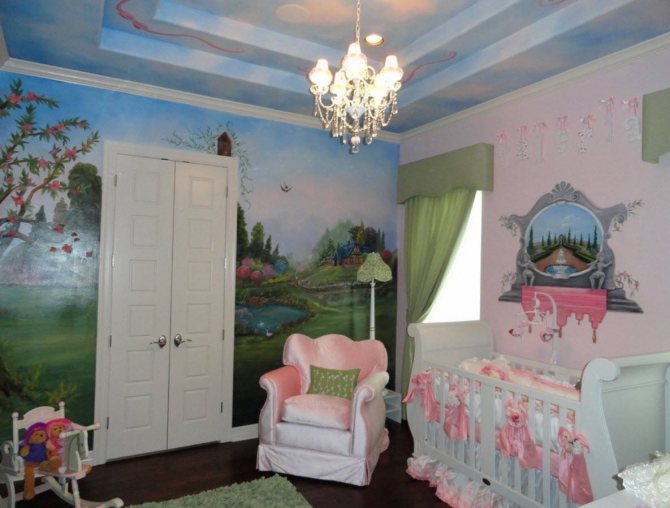
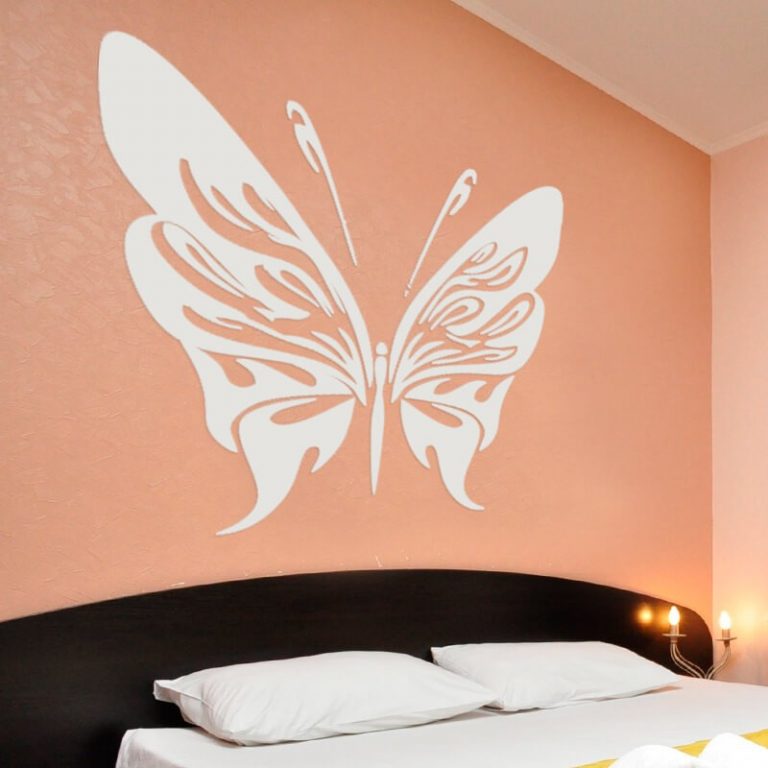
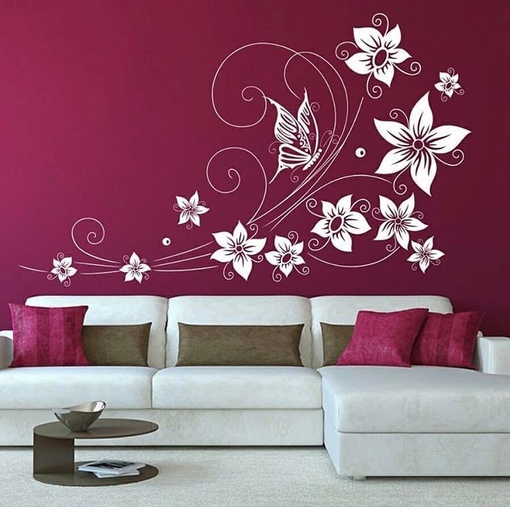
Choosing a place for decor
It is best to decorate a wall that has no windows and no large furniture. The painting above the bed, near the lamps, next to the switch looks good. You can make the transition of the picture from furniture to the wall.


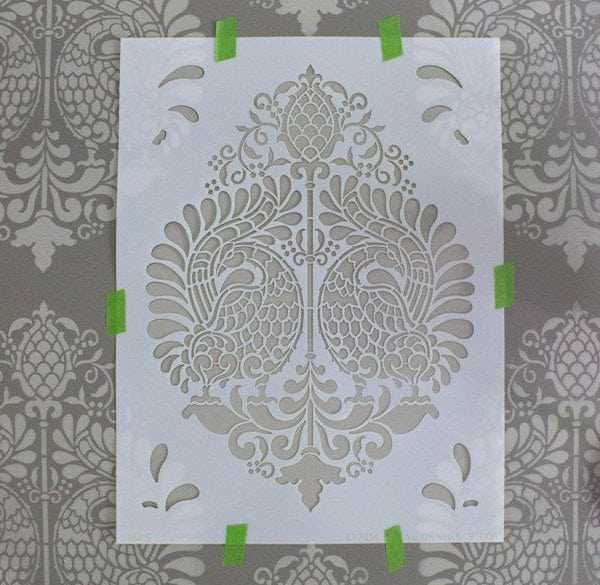
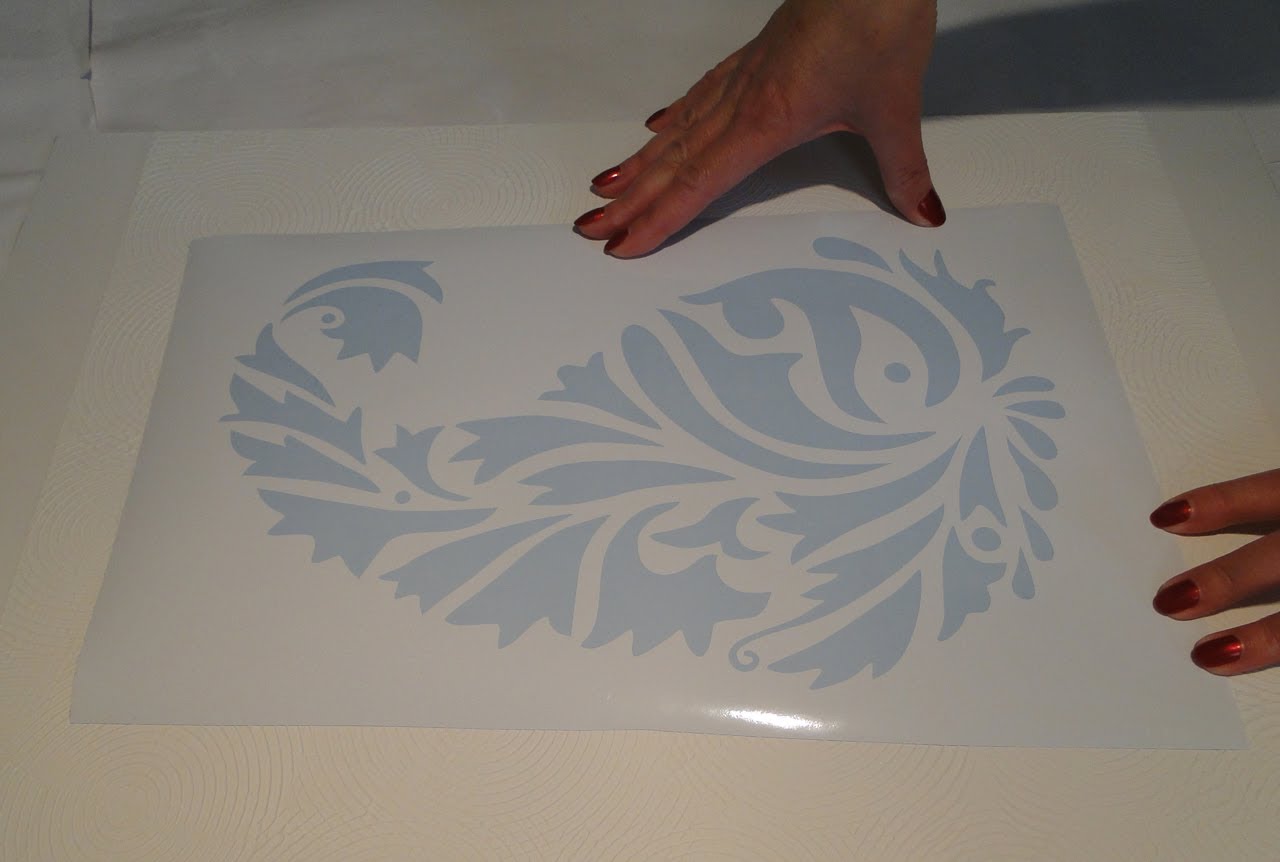
Securing the stencil
The next step is to attach the template to the wall. This is done with a special glue that will not damage the surface and can be easily removed after completion of the work. You can stick the stencil with double-sided tape (paper), which is widely used in painting. Plain tape leaves streaks on the wall and unsightly stains
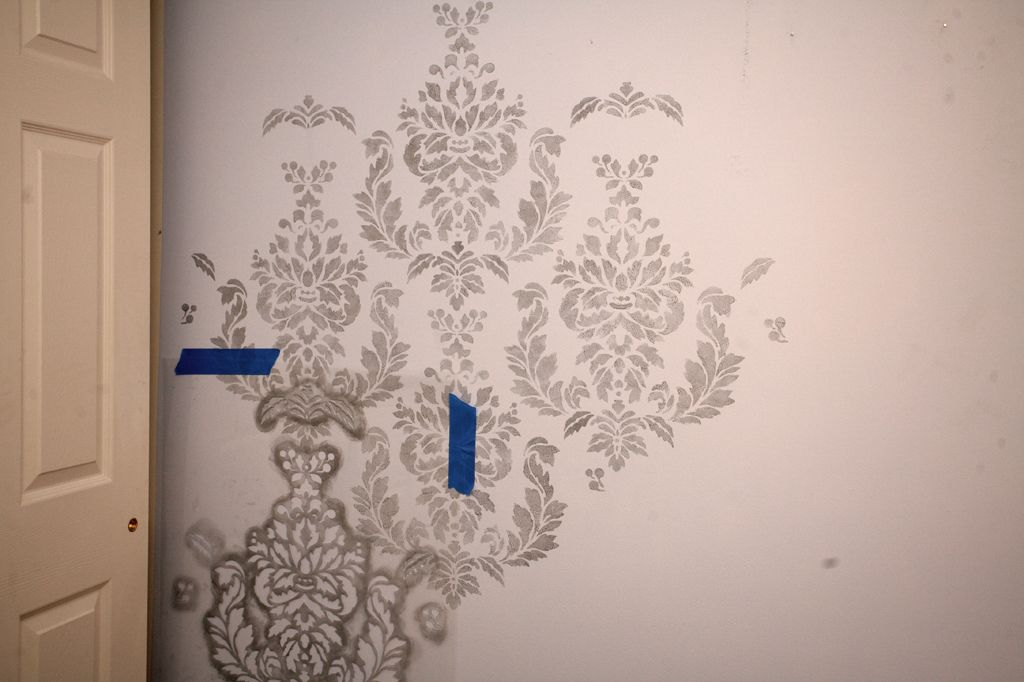
It is important to secure the stencil carefully so that it does not move. To do this, be sure to glue pieces of scotch tape at the corners of the template and along the contour as often as possible.
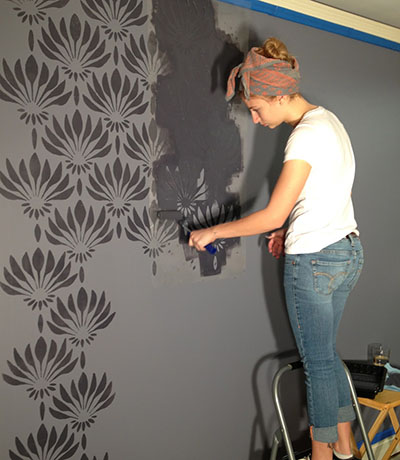
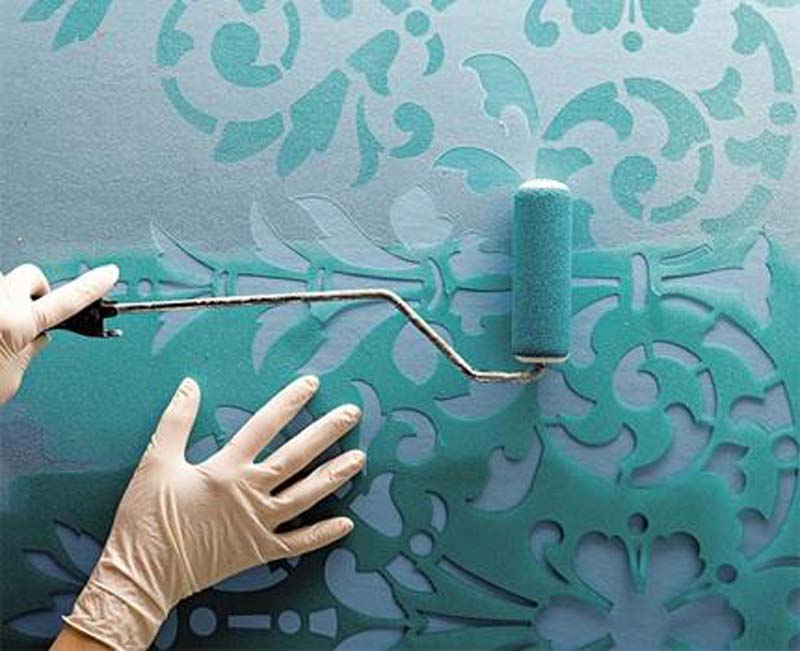
Transferring the picture to the wall
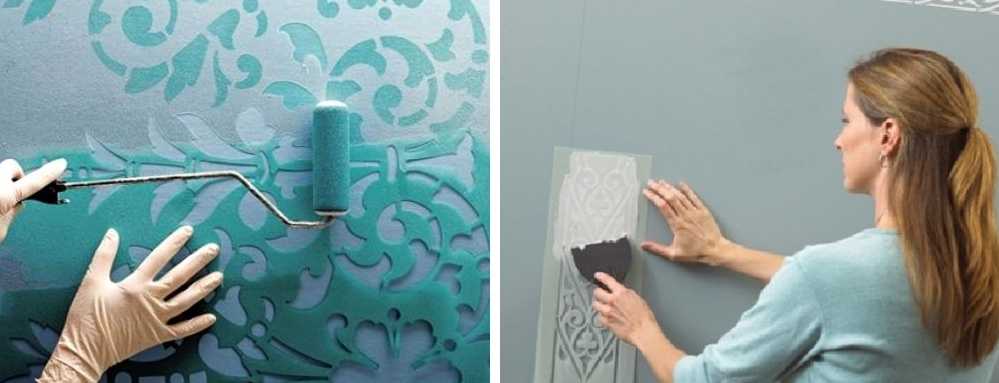
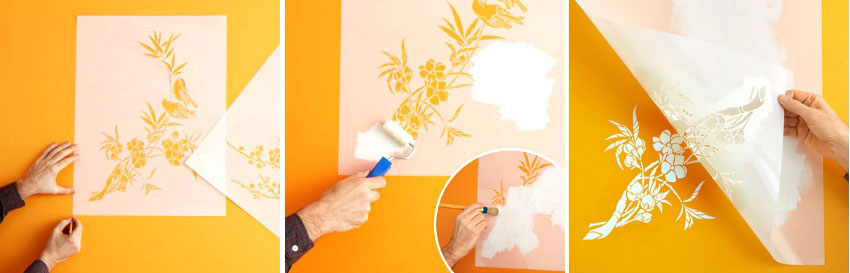
After fixing the stencil, moisten the roller, squeeze it well on foam rubber. Next, the main part of the picture and its details are carefully painted over.
You cannot immediately remove the workpiece - you need to let the decor dry completely. Then the stencil is removed from the wall, the remains of the tape or glue are removed. Remove paint from the workpiece if it is expected that the stencil will be used repeatedly (for example, for repeating patterns).
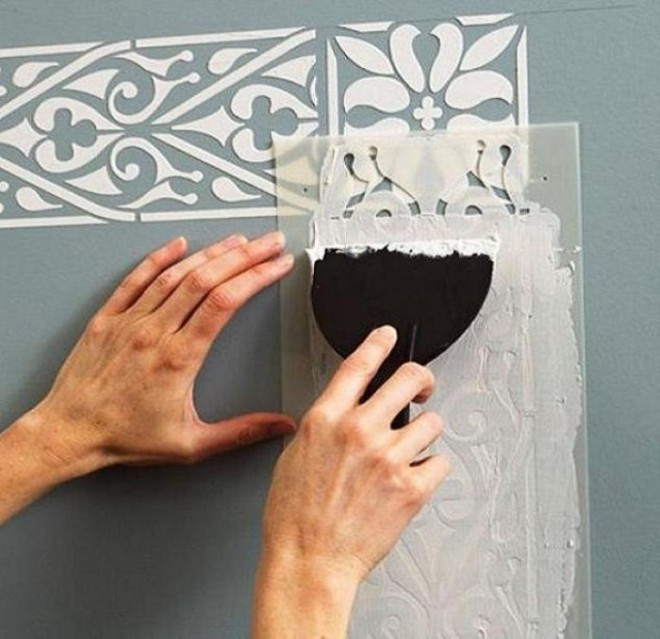
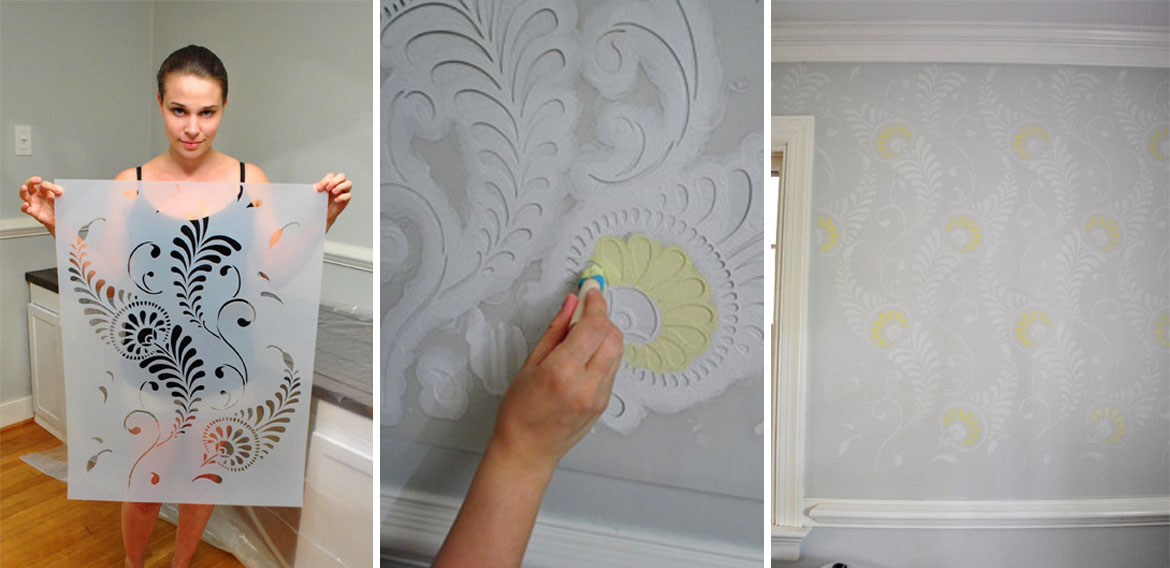
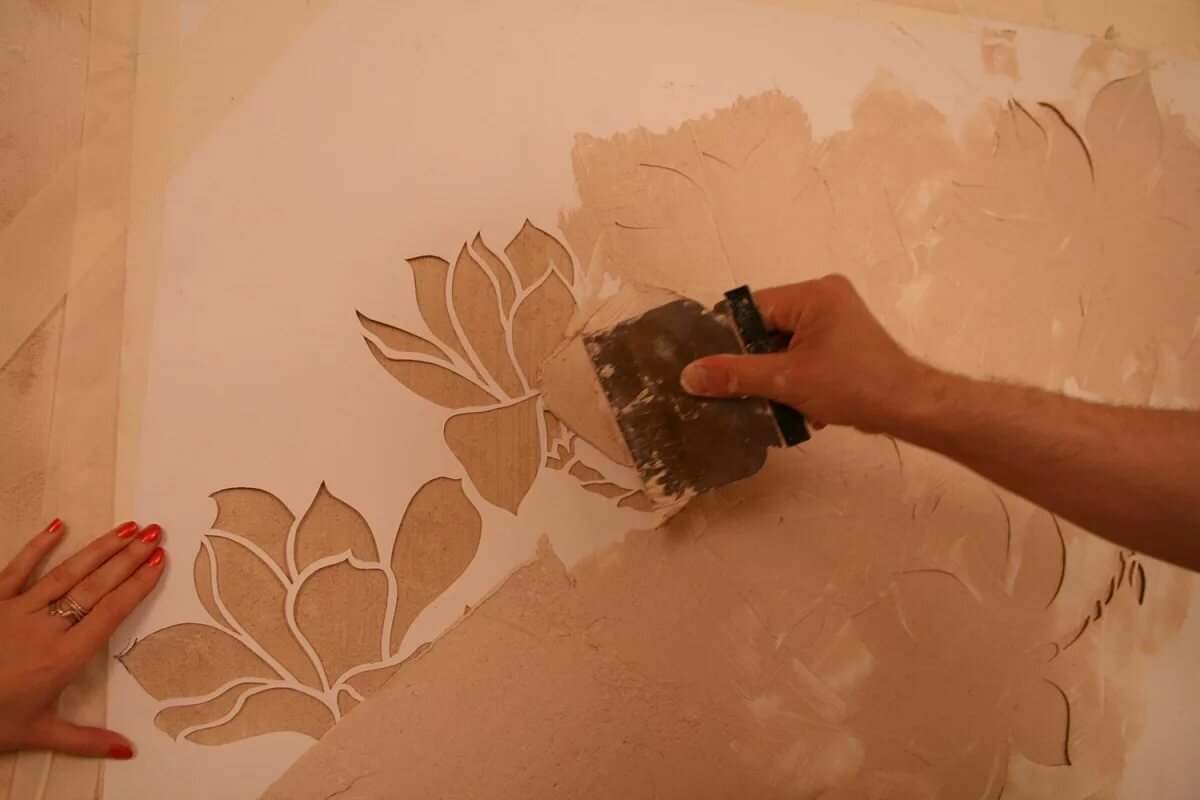
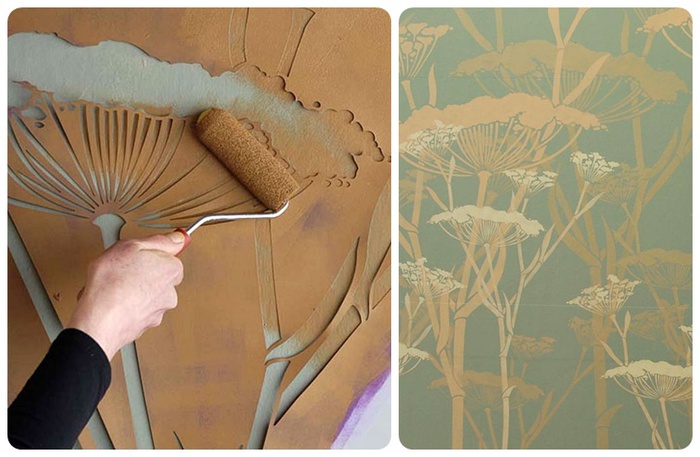
Working with volumetric stencils
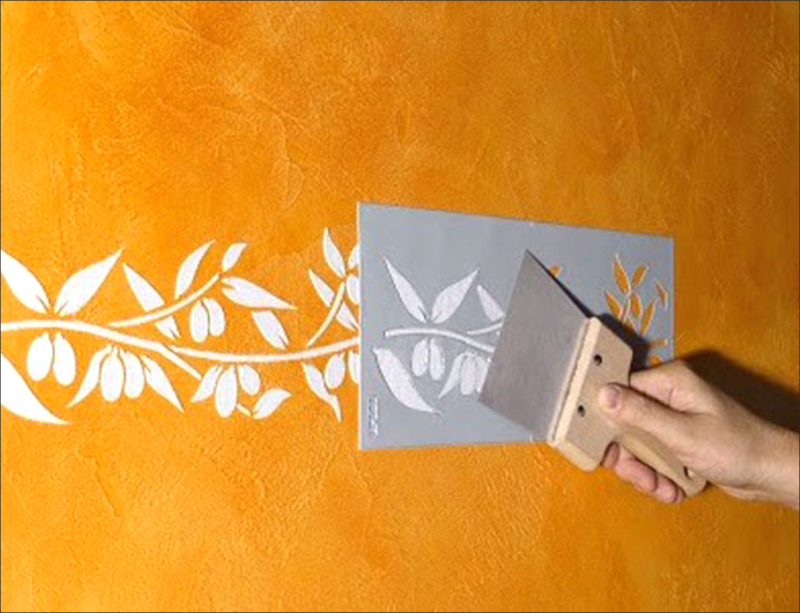
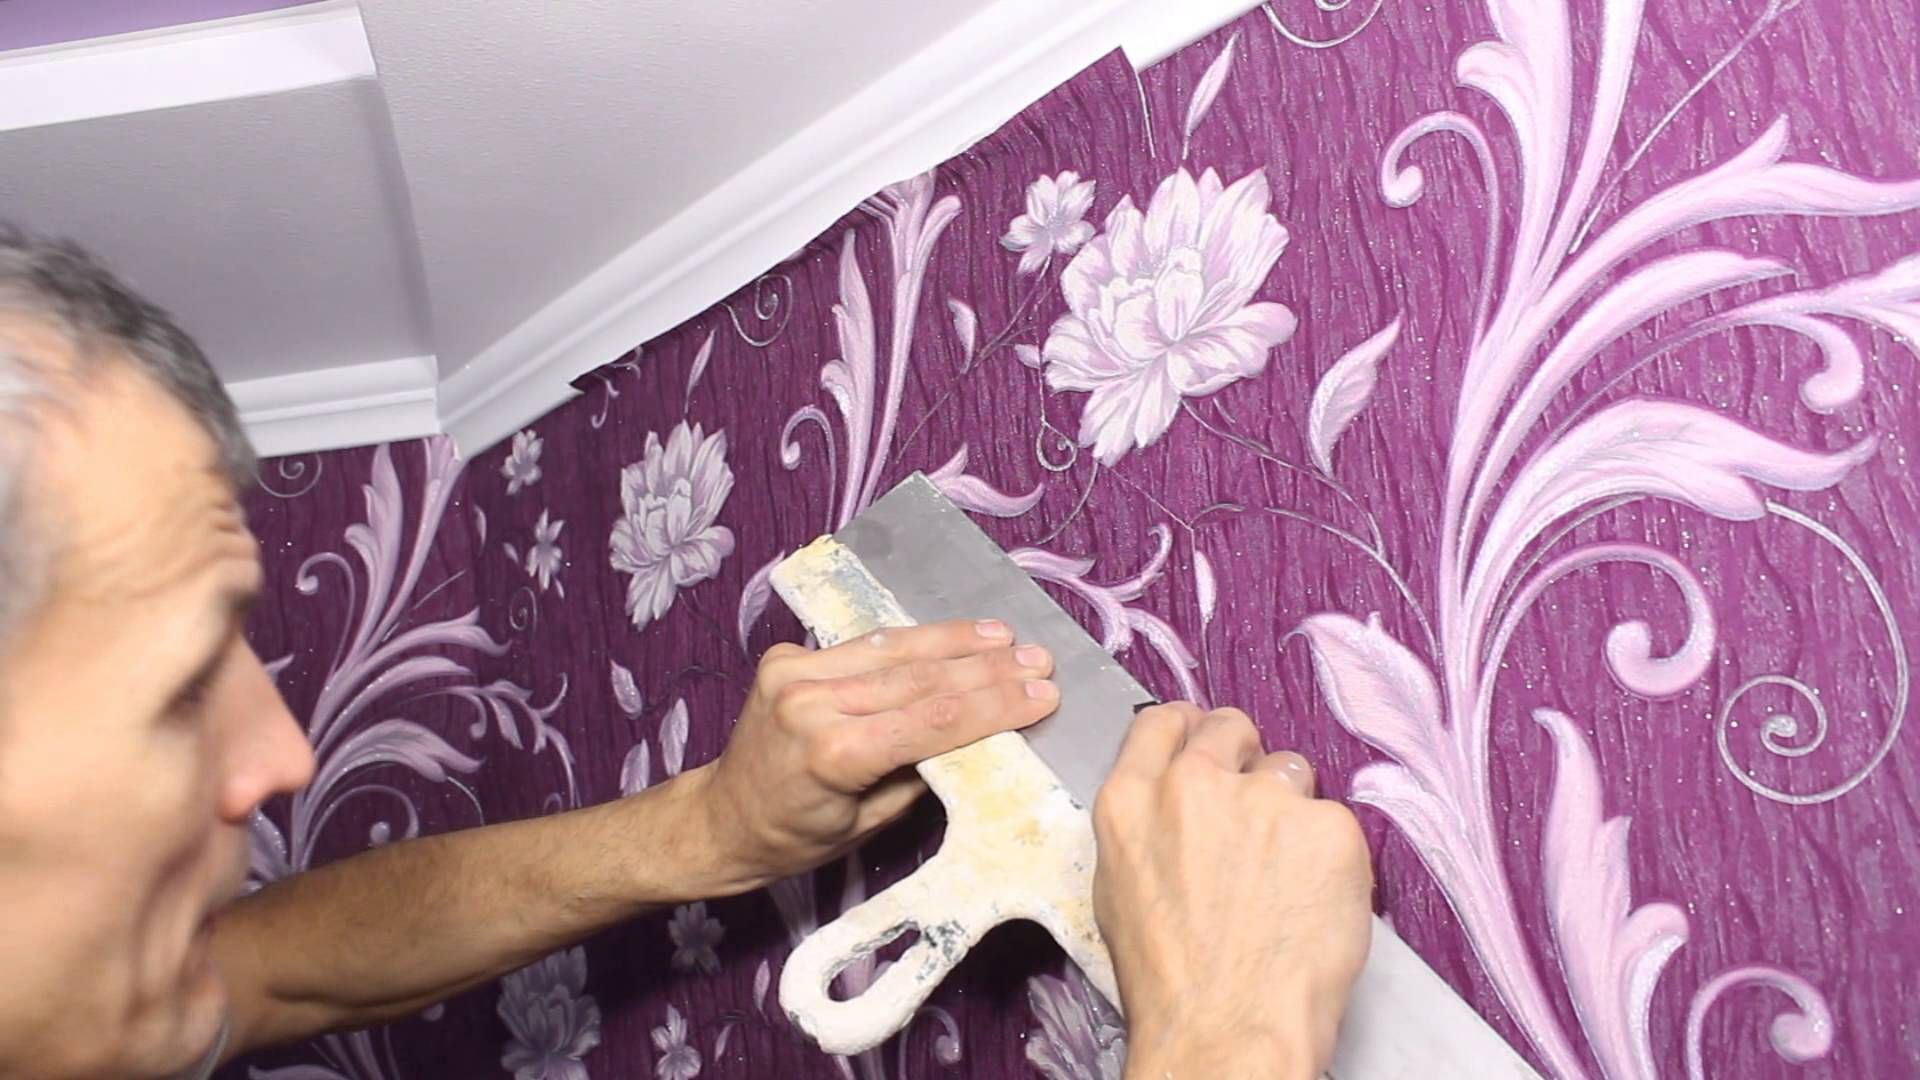
For such templates, plaster or textured paint, liquid wallpaper is used. The composition should be diluted to the desired viscosity (or use ready-made, without dilution). It must be applied to the wall with a plastic spatula. It is permissible to do this with an ordinary plastic card.
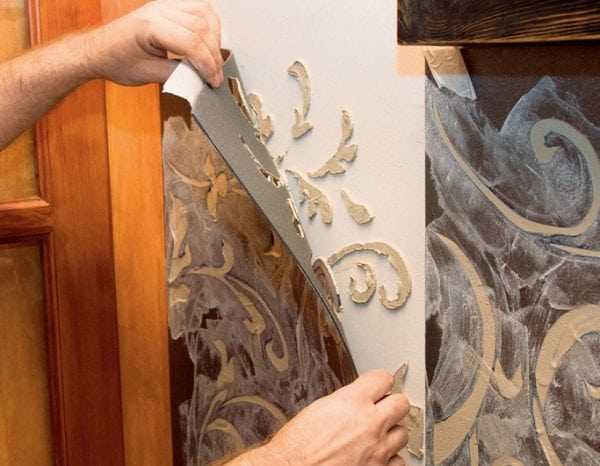
The material must be filled in all areas, removing the excess. The surface should be flat and smooth. It is better to remove the stencil when it dries, but not after it is completely dry. The decor always turns out to be uneven, and you can give it the desired qualities after final drying with sandpaper.
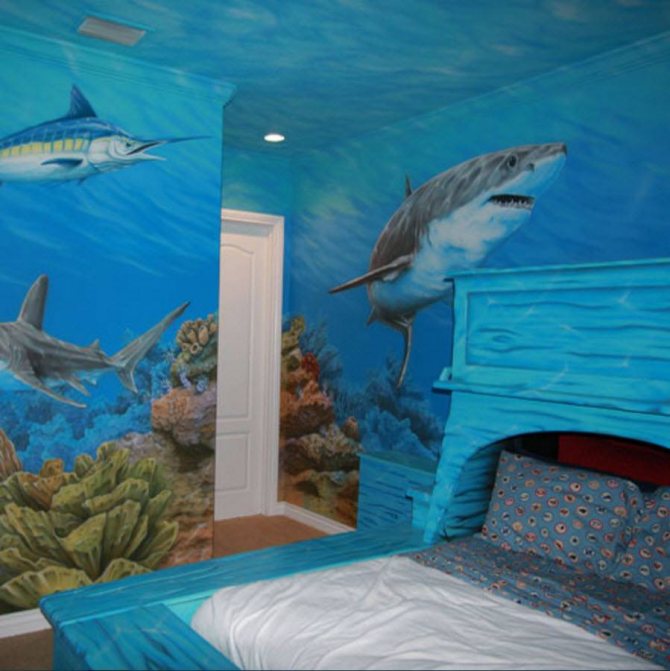
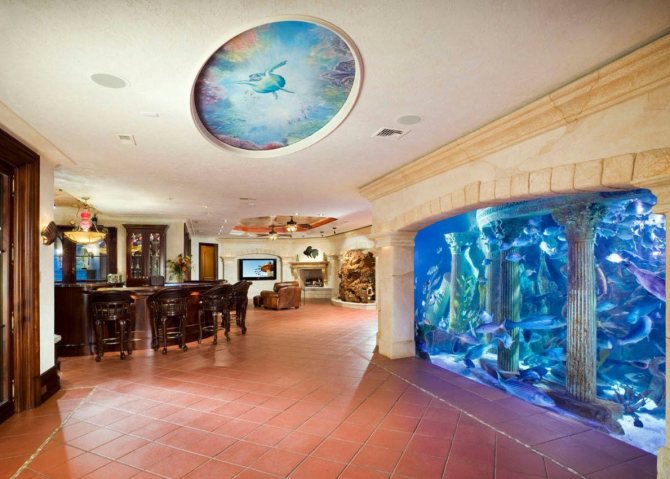
Photo print on the ceiling
In order to create a patterned finish for the ceiling, PVC film is most often used. It can be performed in various modifications:
- matte;
- glossy (great for visually increasing the height of a room with a low ceiling);
- satin (subtle imitation of satin-type fabric weave creates an original mood of decoration).
Also, a special polyester fabric with polyurethane impregnation can be used to apply a pattern to the ceiling. Such fabric for decoration is also called seamless, because it is produced in widths from 3 to 5 m and allows you to create a ceiling sheathing without connecting seams. Raw materials meet European quality standards, all safety and hygiene rules are observed. But such material is more expensive than PVC film - the cost will also depend on the width of the canvas.
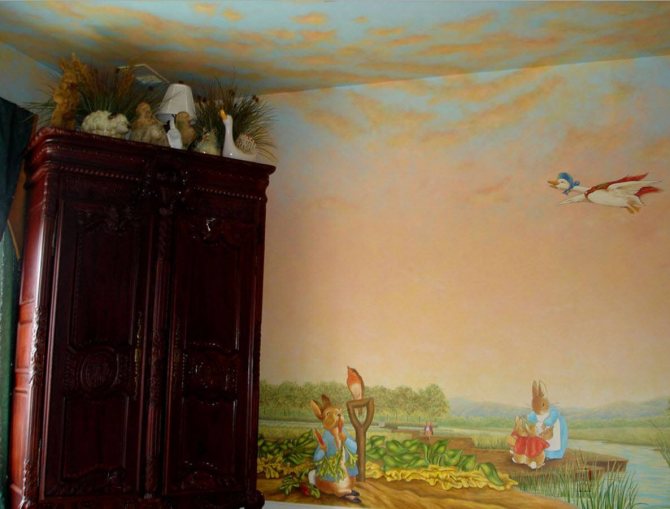
Production technology - an image converted into an electronic format is applied to the material using a special large-format printer. The drawing is obtained with high accuracy and brightness - its choice is limited only by your imagination. Manufacturers have ready-made catalogs, but you can also order an image you have created. An interesting effect can be achieved by using a continuation of the wallpaper pattern on the ceiling.
A feature of applying an image to the ceiling is the ability to create a completely unique interior. But it is necessary to take into account the high requirements for the quality of installation - if the fabric is not evenly distributed, then the slightest crease can cause distortion of the pattern. That is why for photo printing on film or fabrics for the ceiling, you need to contact companies that have proven their work in the market with positive reviews.
How to choose paint?
High-quality paints will also have to be matched to good wallpaper. It is not worth saving, since questionable products can negatively affect the state of health. If there are allergy sufferers or small children in the family, it is advisable that they were not in the room at the time of renovation.
Today, paints are most often used:
- alkyd;
- acrylic;
- water-dispersive.
Alkyd paints are bought for utility rooms - basements, storage rooms. These paints can harm human and animal health. The oils and resins that make up them can disable even a healthy adult man. But they have a number of advantages. They have a high saturation, are indifferent to humidity, do not deteriorate under the influence of ultraviolet radiation.
Their service life is only five years, they are highly flammable, so it is undesirable to apply them near an open fire. The cost of acrylic paints is very low.
In the composition of water-dispersion paints there are no harmful substances, therefore they are suitable for city apartments. A huge selection of colors will allow you to match the color to any interior.
Latex paint on a water-dispersion acrylic base is used to paint mainly non-woven embossed wallpaper and glass wallpaper. It dries up in a few hours and has no specific odors. Recommended for use in bedrooms, kitchens and living rooms, but cannot be used in bathrooms.
Water-based latex paint will last for years. Its elasticity is achieved through specially formulated substances. In the store, it is found in a universal white color, other colors are obtained by diluting it immediately before application.
Acrylic paints are suitable for city apartments, country houses and office premises. Such paints are bought even for kindergartens. There are no harmful chemicals in their composition, but the price, respectively, of acrylic paints is high.
Water-based acrylic paint for non-woven wallpaper. It stands out among competitors for its rich colors that do not fade over the years of operation. It can be applied both to paper wallpapers and glass wallpapers.
Water-based paint does not contain harmful chemical components, therefore it is used in residential premises for commercial and domestic purposes. After painting, the wallpaper is moisture resistant, can be washed, and does not emit odor. Water-based paint can be used to paint kitchens, bathrooms and swimming pools thanks to the silicone base.
As for liquid wallpaper, their mixtures have certain dyes in advance. Some experts recommend painting the wall before applying liquid wallpaper. For this, oil paint is used. In this case, the spots do not appear, the saturation of the shades increases, and the surface is leveled. To make the textured wall stand out against the main background, there is a design solution: before applying liquid wallpaper, paint the walls in bright, exotic colors.


Remember that in cases where the walls are already painted in the room, for example, magnetic paint was used, before the next step - wallpapering, you need to "highlight" this place. Otherwise, unpleasant stains will appear under the wallpaper. To maintain the magnetization effect, the paint must be applied about five times, and the wallpaper must not be very thick. The next layer of paint is applied only after the previous one has dried. Therefore, liquid wallpaper is best suited for magnetic paint.
Now let's talk a little about the features of paints.If the paint has no gloss, it is matte. It is best applied in larger rooms. Semi-matte looks great in bedrooms, and glossy paint looks great in rooms where sunlight will play up the interior.
Using a water-based varnish, you can increase the mechanical strength of the wallpaper and its water resistance. But it is worth considering the disadvantages of this event. Shine will "reveal" all the irregularities, the process itself is laborious, you need to be patient. Varnish contributes to a change in the main shade, but at the same time such wallpapers are well washed.
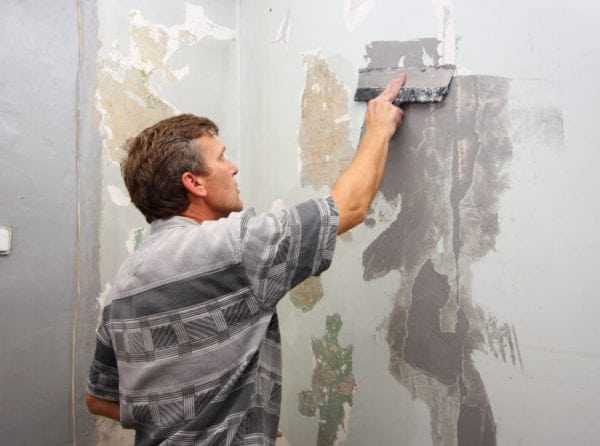
Wall surface preparation
 As before any decorative finish, before applying the stencil to the wall with your own hands, you need to clean it of dust and dirt. This is done in a standard way. Then comes the turn of specific preparation.
To make the drawing even, it is recommended to mark with a pencil the places where the stencil is attached. A helping hand is needed here if there is no building level among the tools.
It is especially important to make accurate markings when the drawing is complex and consists of several small motives.
Masking tape will help fix the drawing on the wall. For a stronger adhesion, it is convenient to use a spray with an adhesive effect, it does not leave marks, can be used several times. Aerosol adhesive can be used on a variety of surfaces. Leaves no stains or marks.
Starting work with unfamiliar material, you must first practice using old wallpaper or paper. At the same time, make sure that the colors of the wall and for the picture are selected correctly, it is not too late to change them at the preparatory stage.
Application: how to avoid dripping
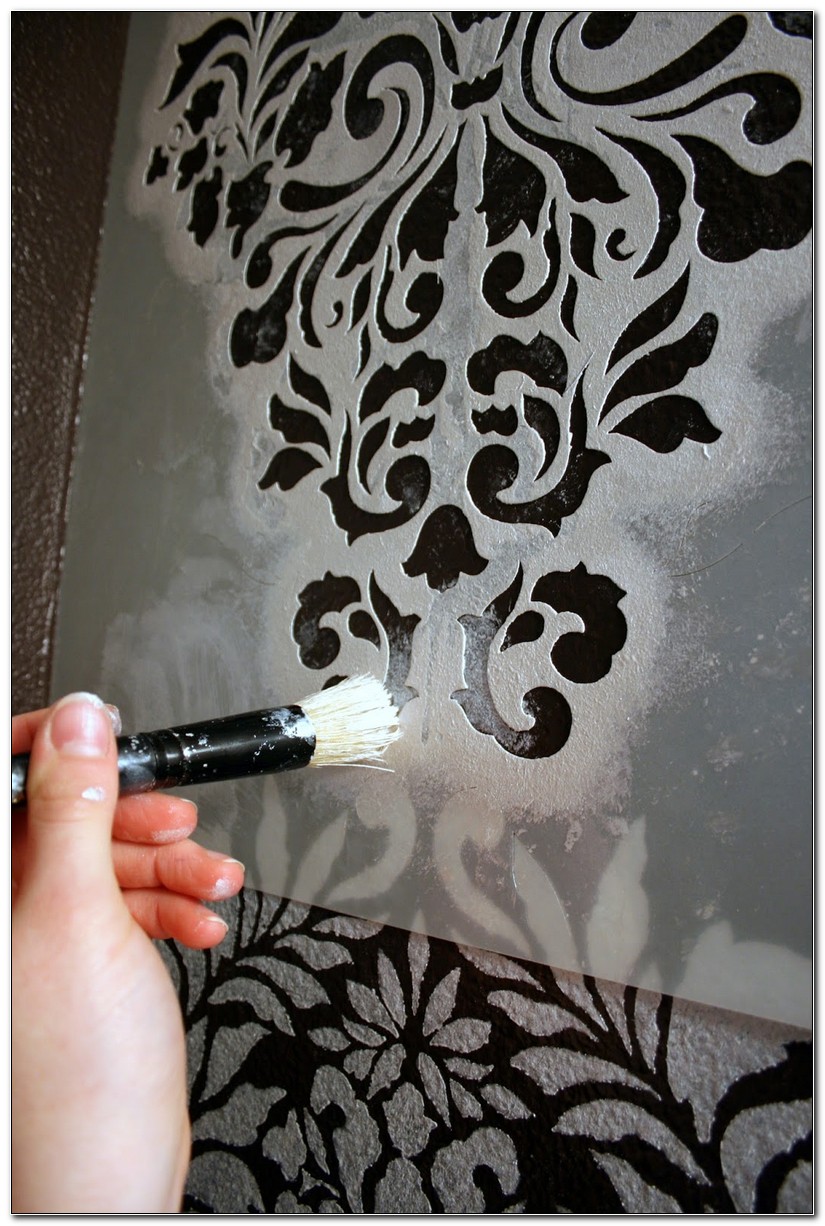
 For a great result, it is better to choose drawings without too small details. The simplest tool seems to be a brush, but here you should take into account a number of features. You will have to hold the brush vertically and apply the paint with a minimal layer, otherwise it will not avoid flowing under the drawing.
Therefore, you will need to apply several layers. A sponge is also a good option, you should put a sheet of paper next to it, on which excess paint will be removed.
- In time it is necessary to remove accumulations of paint in the corners of the drawing.
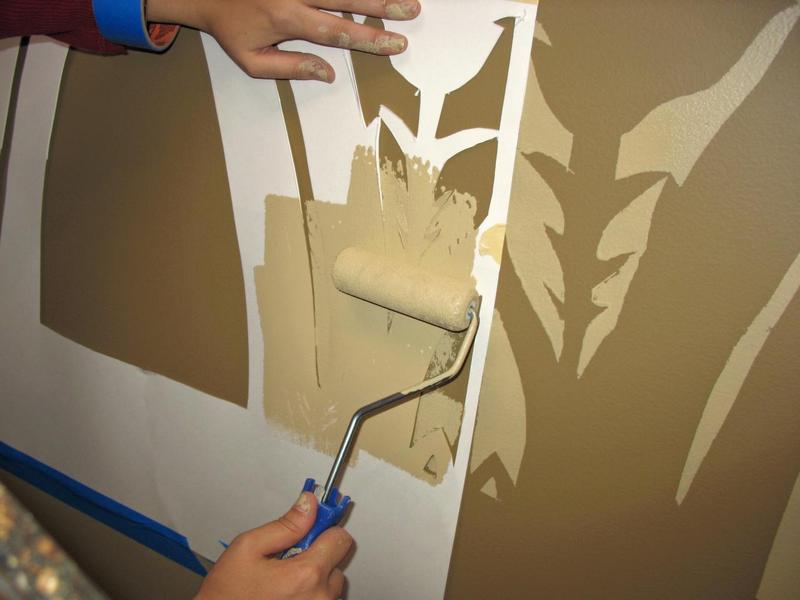
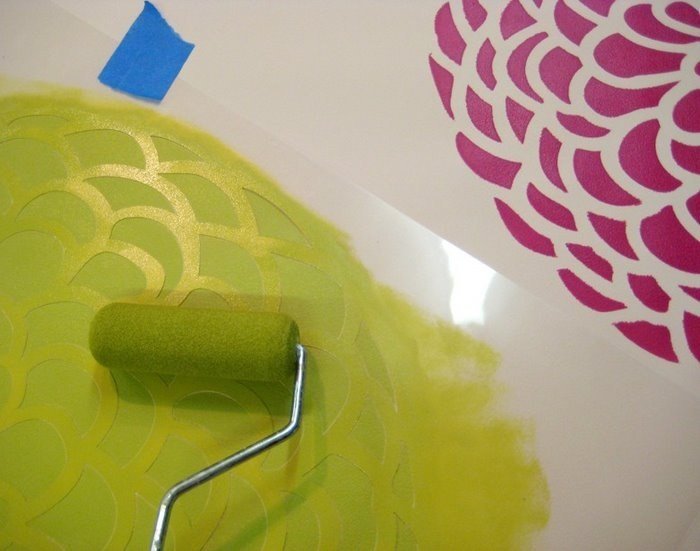
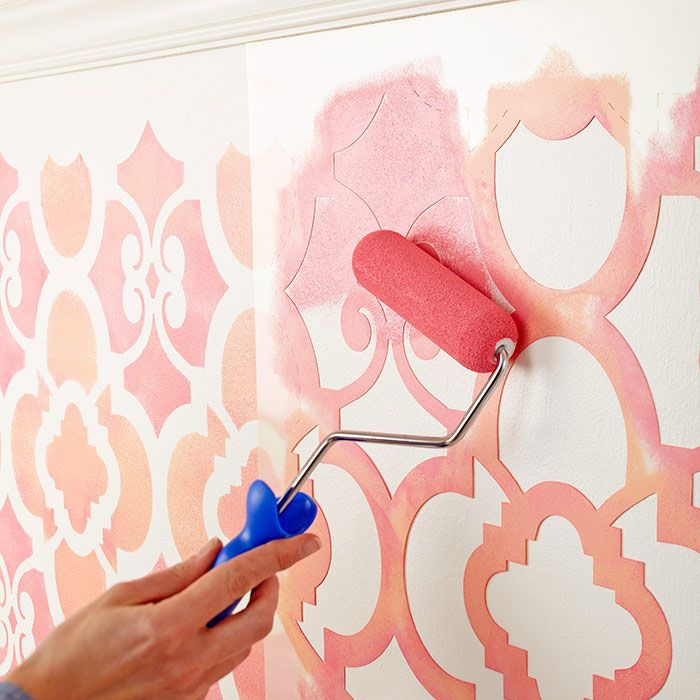
- A roller is best used only if the drawings are large enough.
- If the borders of the picture look indistinct, a regular paint brush will come in handy. It can be used to mark the edges after the stencil is removed.
- To make the volumetric stencil easier to paint, it should be pre-coated with a primer.
It is better to use acrylic paints. They are safe when working indoors, dry very quickly, can be easily tinted, well applied with various types of tools, be it a roller or a brush. Their cost is also low. There is also an acrylic putty on sale, which is suitable for making voluminous drawings in the Baroque or fantasy style.

When applying paint, do not rush - you will not be able to erase unsuccessful strokes. In case of an error, the entire area will have to be redone. It is imperative to first protect the parts of the wall that should not be exposed to paint. If spray is used, cover the entire space to the side of the drawing with foil.
Although the decoration of premises using stencils has a number of nuances, you should not be intimidated: your efforts will pay off with interest! After all, the result will be a designer room, and the financial costs are not too high. The efforts made will create a special aura in the house that will have a beneficial effect on all family members.
DIY painting technology
The process of painting wallpaper is no different from working with other types of surfaces. In all cases, it will be necessary to prepare the premises, choose the right paint, and provide for the availability of the necessary tools. The painting of the walls is carried out clearly in stages, observing the drying time of the primer layers, the setting period of all materials.To paint the wallpaper without streaks and rough color transitions, you should strictly follow the technology.

How long can it take to paint after gluing
You can paint the wallpaper only after the glue has completely dried. Manufacturers of paints and varnishes and paintings recommend waiting at least 48 hours. If you apply the paint ahead of time, you can ruin the decorative finish. Plain wallpaper is likely to stain and even detach from the wall. The movement of the roller will provoke the elongation of the villi of the cullet.
Drying time is influenced by many factors. These are the room temperature, humidity, type of canvases, the presence of drafts. Recommended conditions for early drying are temperature 18-25 ° С, humidity - no more than 70%, closed windows. It is very difficult to notice deviations of such indicators without special devices in a house or apartment. The first signs of high humidity are fogged up windows.

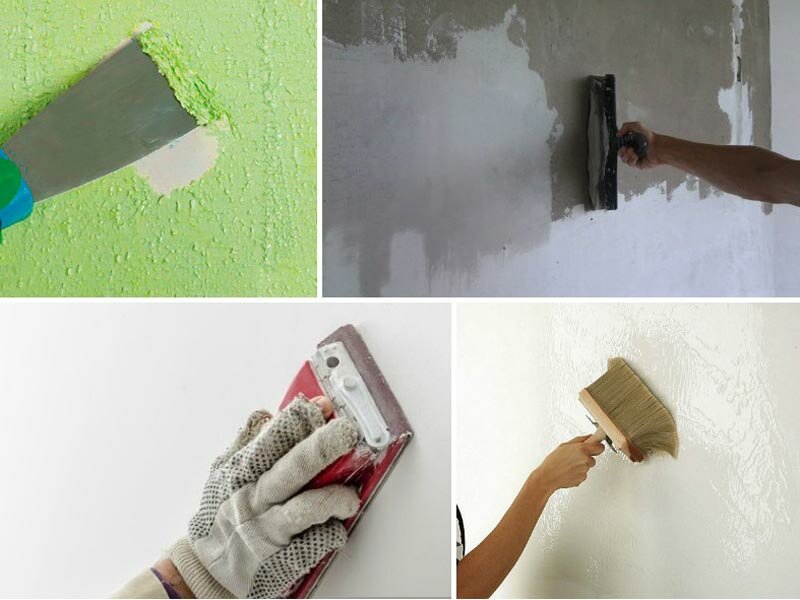
Surface preparation
The preparation for painting the wallpaper is an important step that should not be overlooked. The entire surface to be decorated must be clean and free from signs of mold and microorganisms. The slightest moisture must be removed with a dry cloth and the wall must be allowed to dry well. Dust, cobwebs must be swept away with a dry brush or vacuum cleaner.
Some wallpapers require a water-repellent coating before painting. Using a roller or brush, we distribute the composition over the entire surface, not forgetting about the corners and other hard-to-reach places. After complete drying, it is necessary to glue with masking tape all possible places of contact of paint with other surfaces - plinth, ceiling, slopes.

Primer
In addition to water-repellent impregnation, it is imperative to apply a primer to the wallpaper before painting. Such a procedure will help to reduce the consumption of the dye mixture, strengthen the fibers of the main wall decoration, and minimize the appearance of streaks and color irregularities. To apply the material, use a brush or roller. The following compositions are used for priming the canvases:
- Latex based. Used to give strength to heavy substrates of mineral origin. The mixtures are quickly and deeply absorbed into the surface, leveling distorted relief of any size.
- Reinforced acrylic compounds. They strengthen loose materials well, dry quickly, and have no odor.
- Special adhesive for priming. The thick mixture is diluted with water in certain proportions. Apply with a roller, dry and re-process the surface.

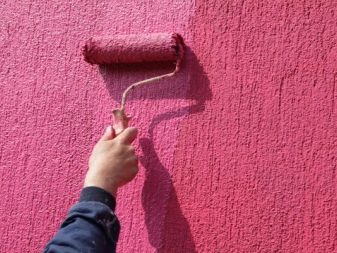
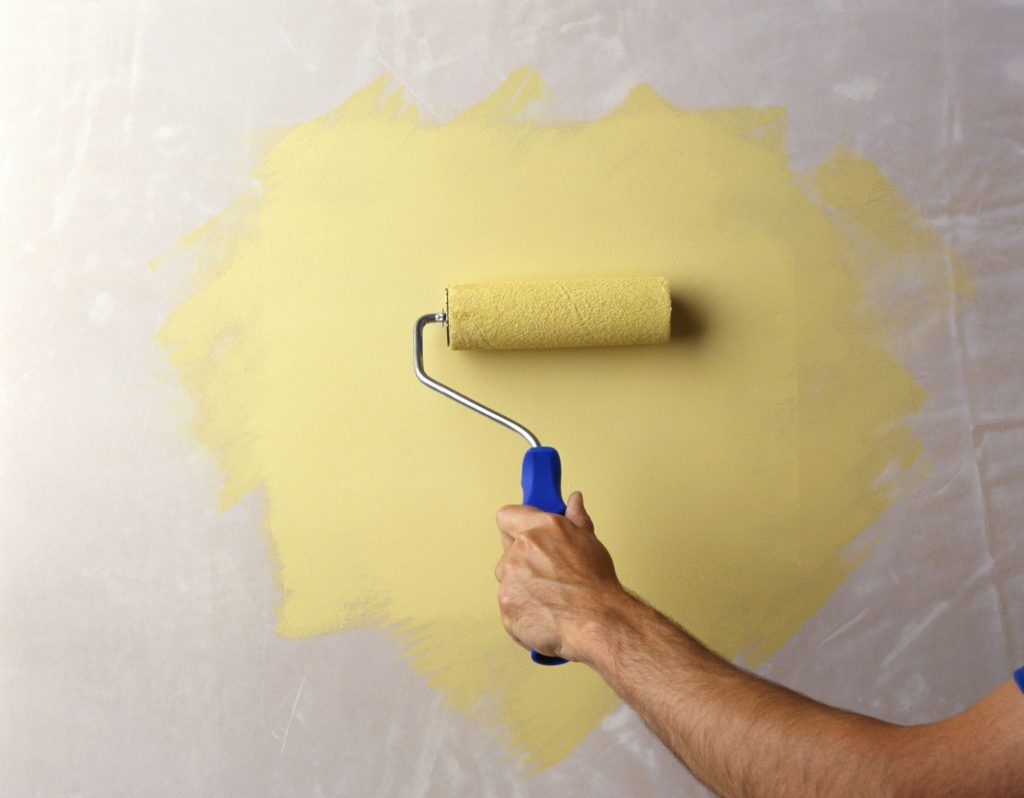
Tips for applying paint
The thickness of the paint coat during the first application depends on the type of wallpaper and the expected result. It is better if it is moderate, without sags and streaks. Each subsequent staining will deepen the shade, make it saturated. If the paint is uneven, the appearance can be corrected - walk over this place again until the mixture begins to thicken. The resulting smudges should be shaded with a dry sponge and repainted.
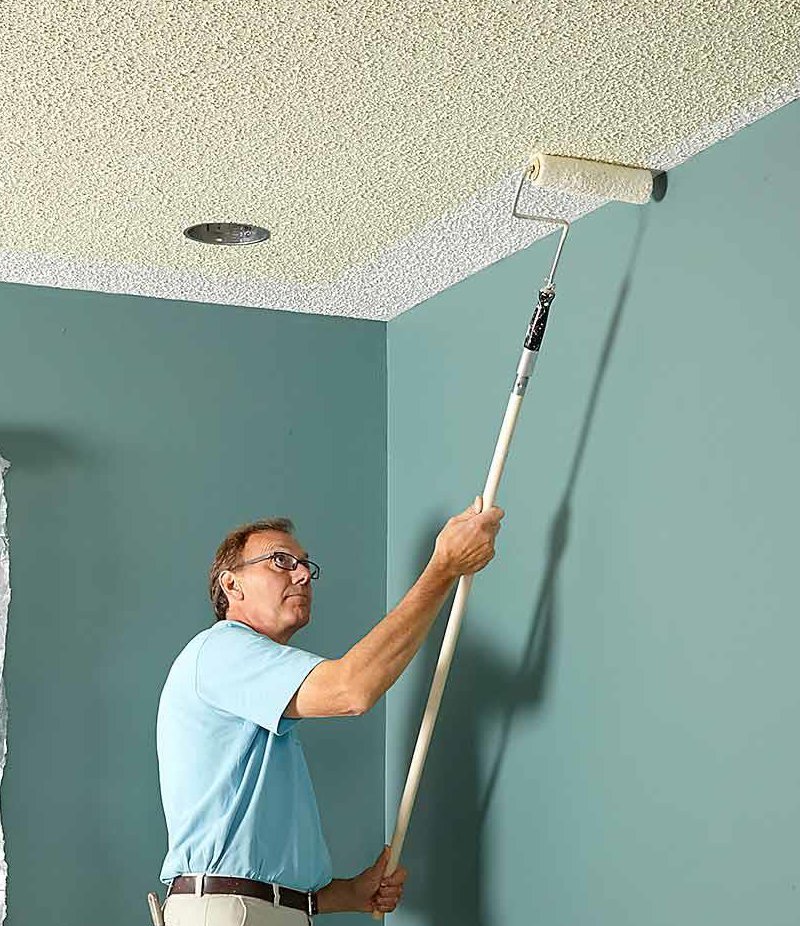
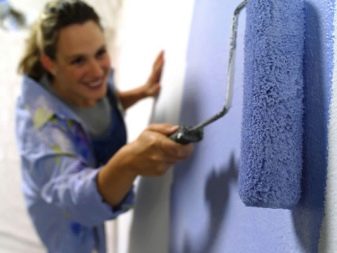
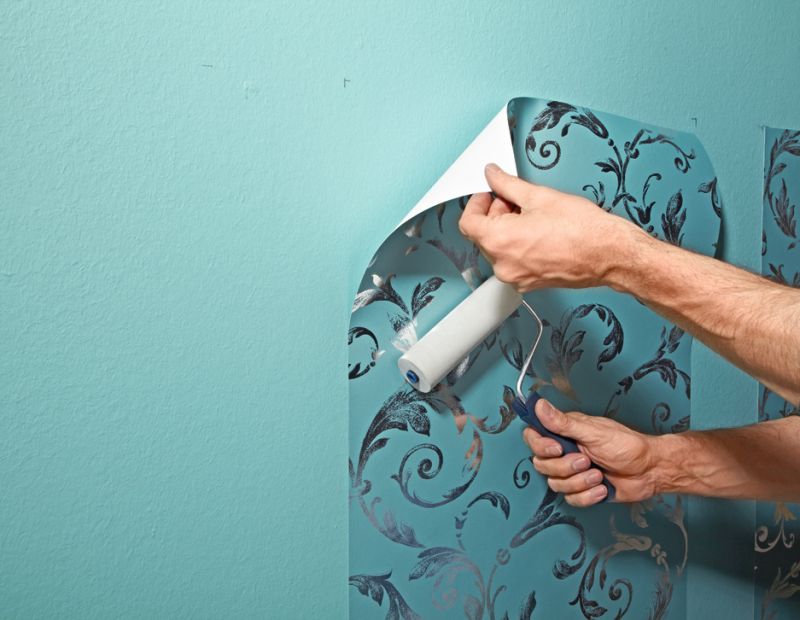
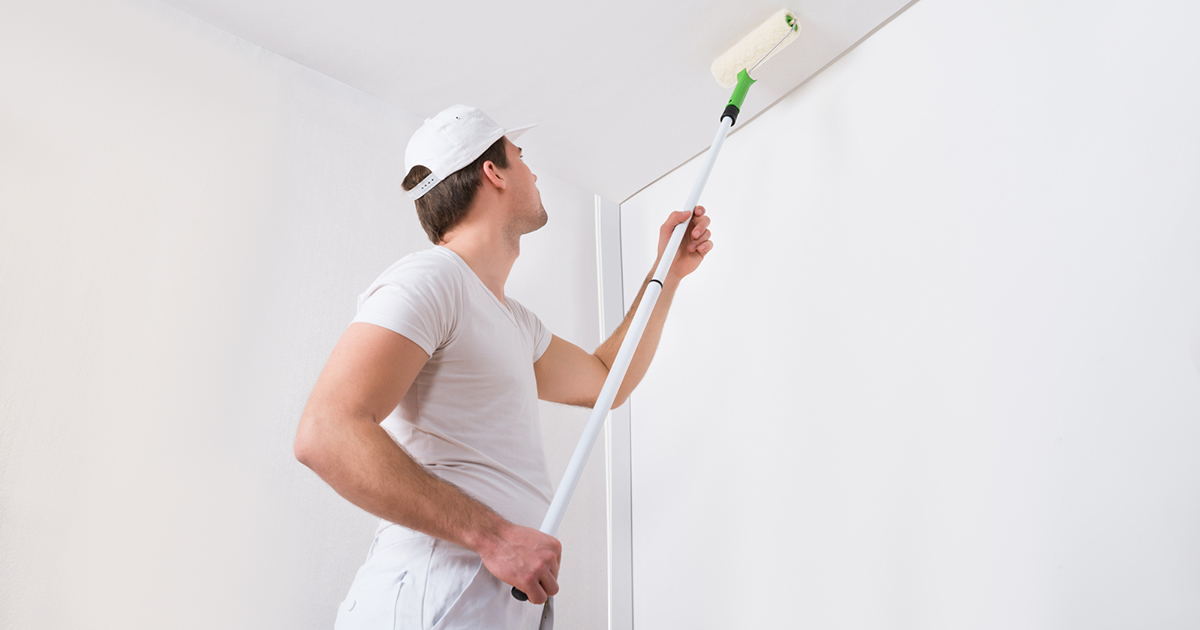
It is better to use a roller for coloring the wallpaper. The brush is only required for applying minor strokes. It is necessary to move any painting tool from top to bottom, from the ceiling to the floor. Thanks to a simple technique, strokes will not be noticeable in bright lighting in the kitchen and in a dark hallway.

Latest articles
Why many Soviet tanks during World War II did not have a muzzle brake today, 13:15
Ampulothrower: why the rival flamethrower could not push him off the battlefield today, 11:37
Why do resellers buy large quantities of silicone grease today, 10:20
7 reasons why you should sleep on a buckwheat husk pillow today, 09:10
An elite penthouse on board an airliner has eclipsed the plane of the President of the United States with its luxury 07/23/2020, 10:23 PM
5 Practical Feng Shui Furniture Arrangement Tips That Will Attract Love to Your Home 07/23/2020, 9:36 PM
Is it worth pouring mining into the thresholds in case of rust, or will it only get worse 07/23/2020, 19:40
Novelty in interior design: "living" furniture that attracts attention 07/23/2020, 18:01
"Tank destroyer": how Degtyarev's anti-tank rifle helped to beat the German invaders 07/23/2020, 16:33
How to make lightly salted cucumber crunch: a simple recipe 07/23/2020, 15:06
All articles
Painting technology
Most manufacturers produce wallpaper for painting in light colors to simplify the process of their design and selection, combining colors. The mixtures can only be applied to dry surfaces, regardless of the type of material and the expected result. Monotonous wallpapers are suitable for formal, formal spaces. You can simply apply a special strengthening compound that will not affect the color of the base, or completely change the shade, make a new drawing. Paint application can be carried out using various technologies.

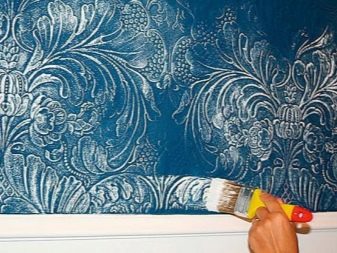
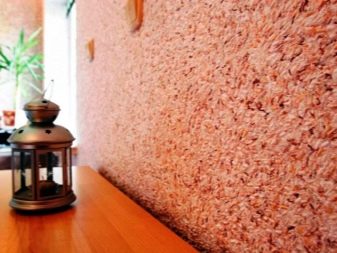
Highlighting the texture
This coloring technique allows you to create a three-dimensional drawing, lighten or darken it against the general background. In addition to the aesthetic benefits, the highlighting of the texture will help to adjust the parameters of the room. The pronounced structure of many finishing materials is able to mask the relief of surfaces, to make good accents in certain areas. There are several ways to designate beautiful patterns on the wallpaper with paint:
- Painting the seamy side of non-woven wallpaper. After drying and gluing to the wall, the paint shines through to the front side, creating a beautiful background for an expressive pattern. The pattern can be left natural light or brought closer a few tones to the base with a special roller with a short thief.
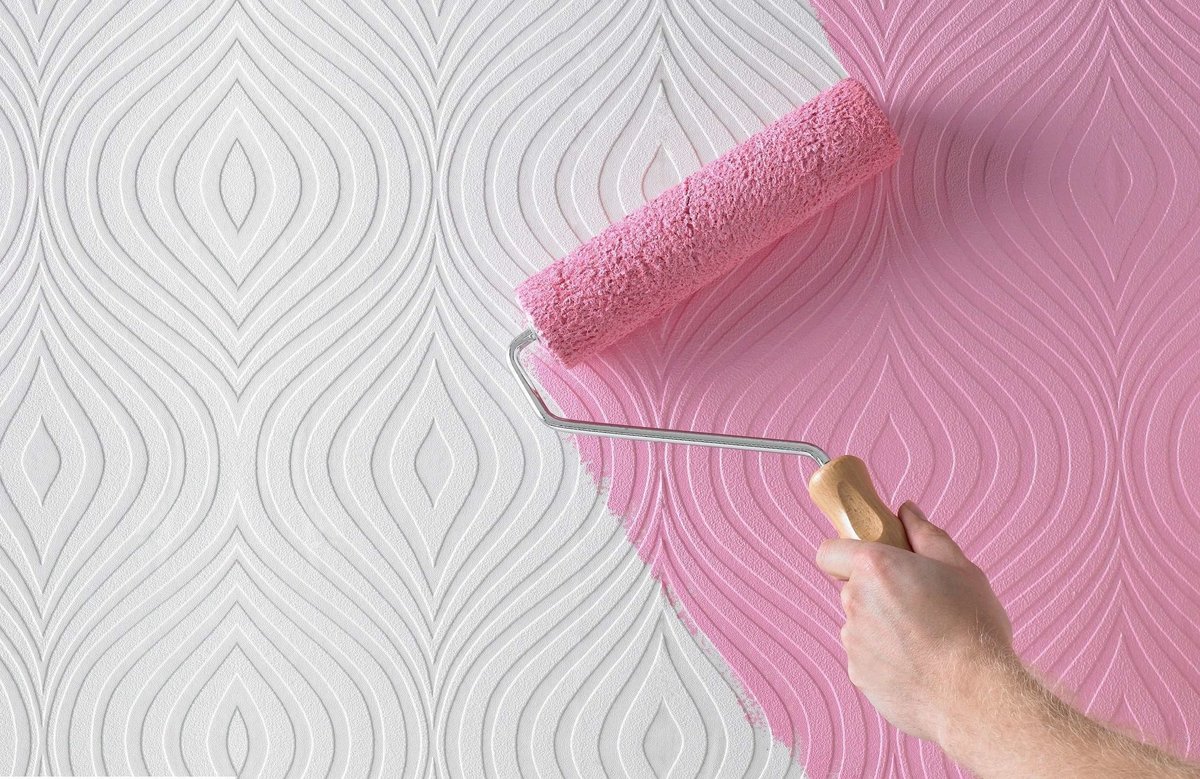
- Painting the wall under the wallpaper in a bright color. The wallpaper base will soften the surface, thereby highlighting the convex pattern. It can also be dyed or left white.
- Partial paint removal from freshly painted wallpaper. Slightly noticeable stains are made on the surface with a damp cloth, muffling the brightness of the pattern. After drying, it can be painted in a different color.
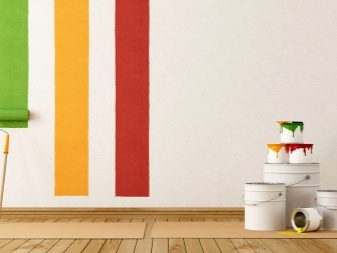
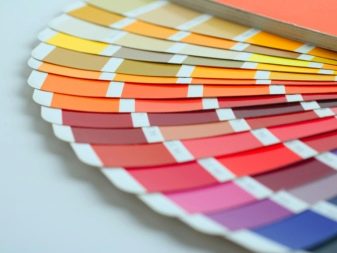
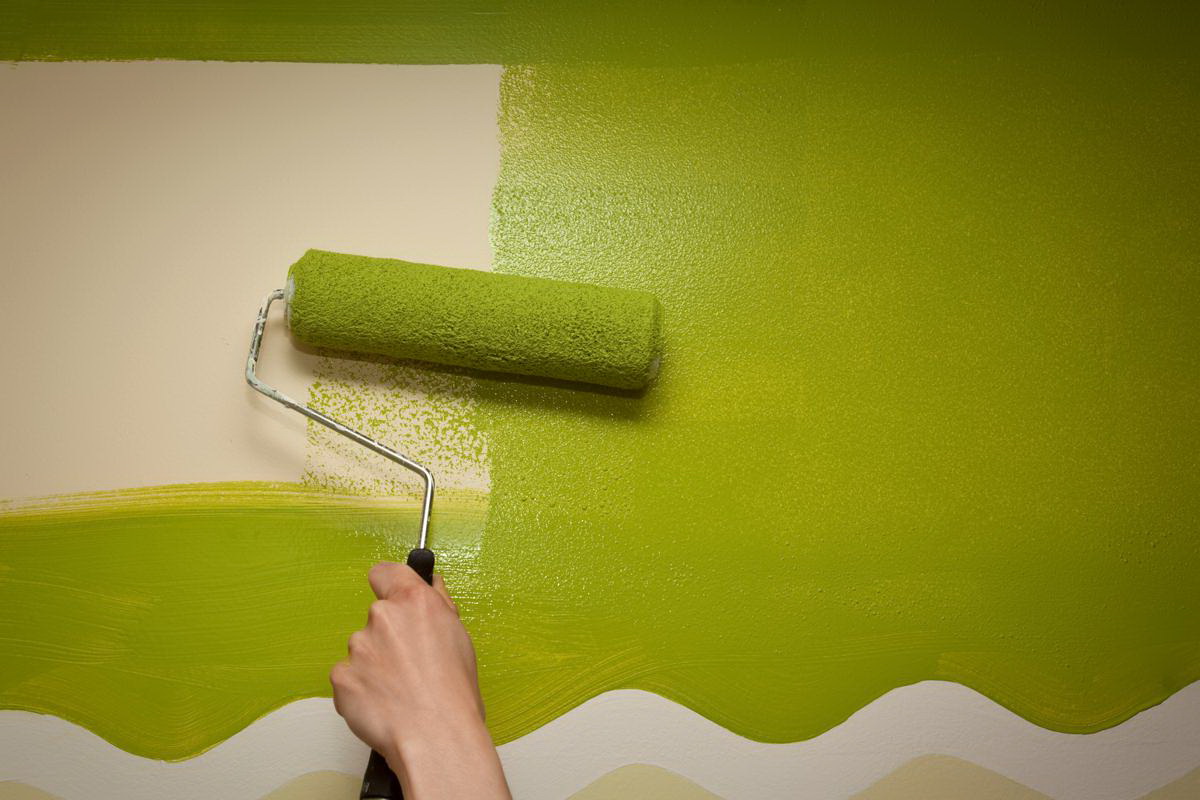
Combination of 2 or more colors
The combination of several close or opposite shades in one room is used in order to highlight zones, to give relevance to a certain style. Some color knowledge is required to create a harmonious contrast. It is necessary to combine shades of the surfaces of the ceiling and walls according to certain rules:
- Have related colors nearby (for example, lilac and gray, blue and mint);
- Use a gradient coloring of the wallpaper - create smooth transitions from a bright tone to a pale one and vice versa;
- You can emphasize the main color with a combination of contrasting shades;
- Use in a large volume, for example, on opposite walls, the ceiling, colors found in nature. It goes well with blue and beige, green and brown.
Of great importance is the area, the location of the painted wallpaper. Depending on the goal and design idea, several models for combining shades are used. For zoning, a vertical color combination is used, more often a gradient. Diagonal, horizontal division is used to visually expand, narrow the space.

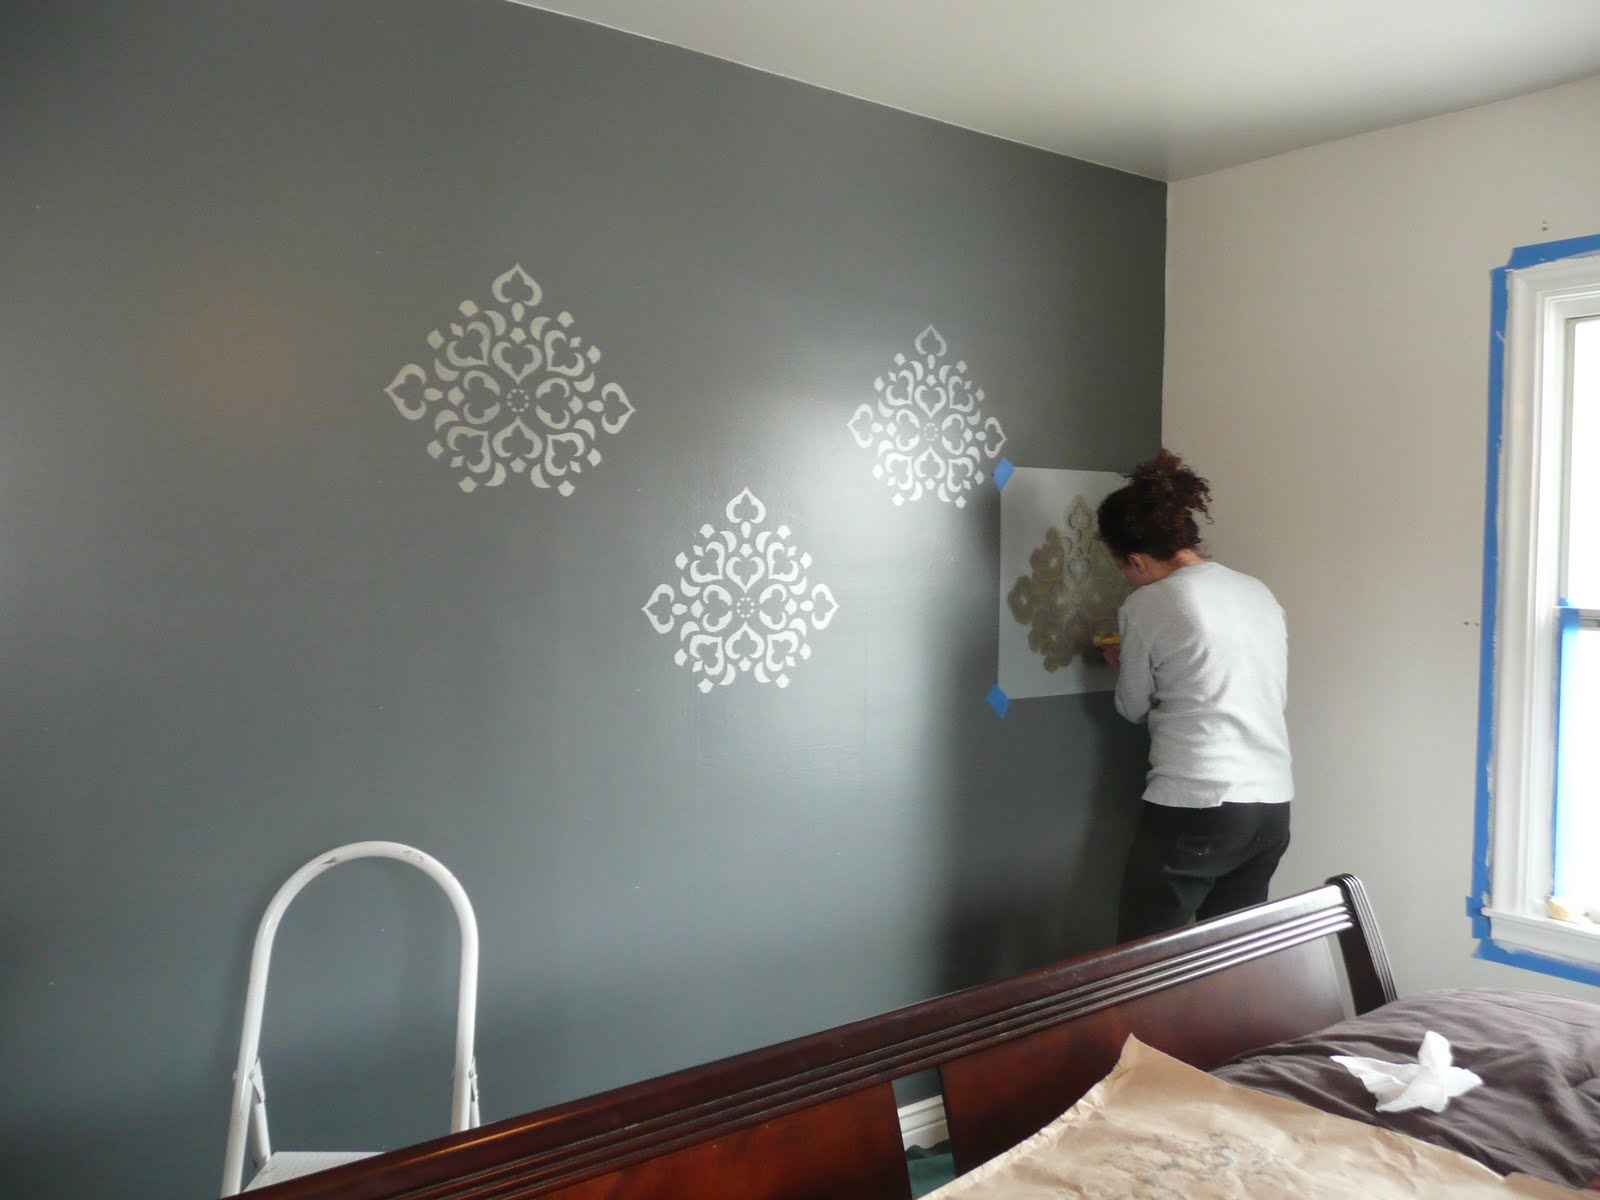
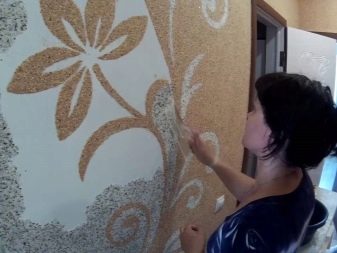
DIY drawing on wallpaper
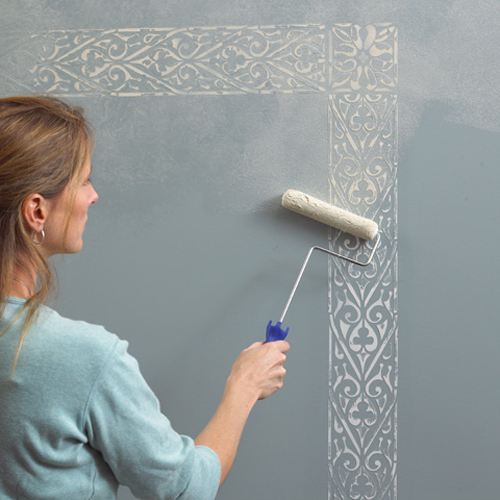
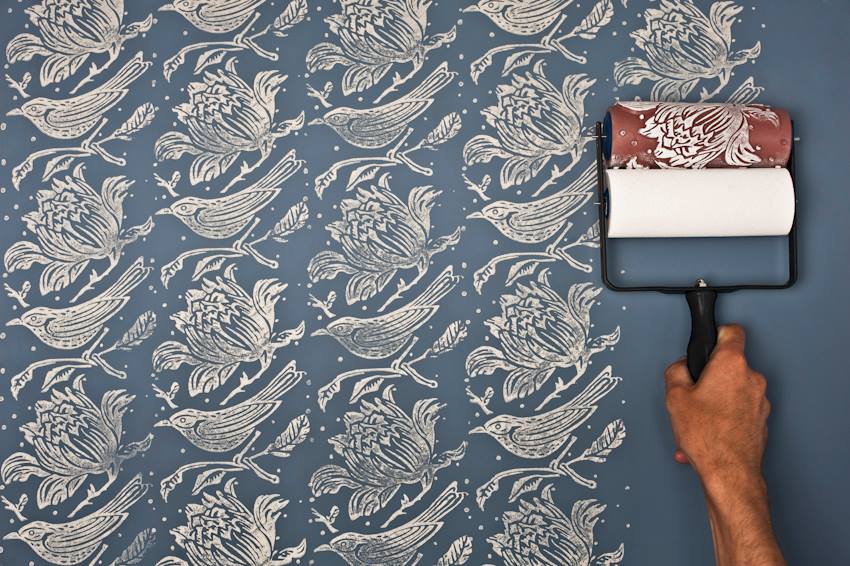
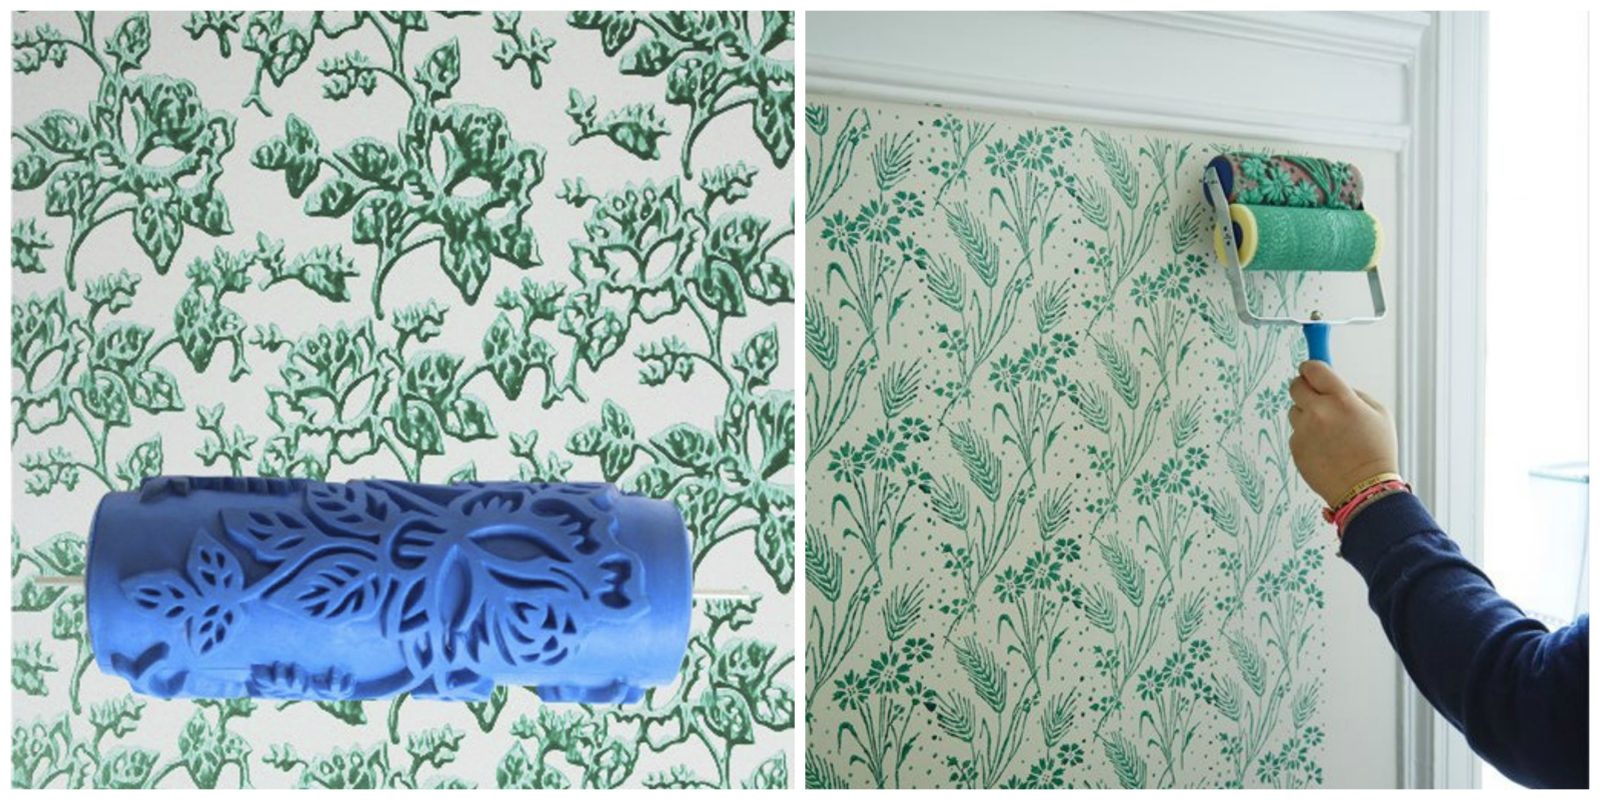
You can create a unique interior using drawings. You can paint the wallpaper using various techniques. Any base will do for this. Simple decoration is done with a brush or a spray gun, complex compositions are realized with a textured roller and other tools. You can decorate a paper surface with your own hands in the following ways:
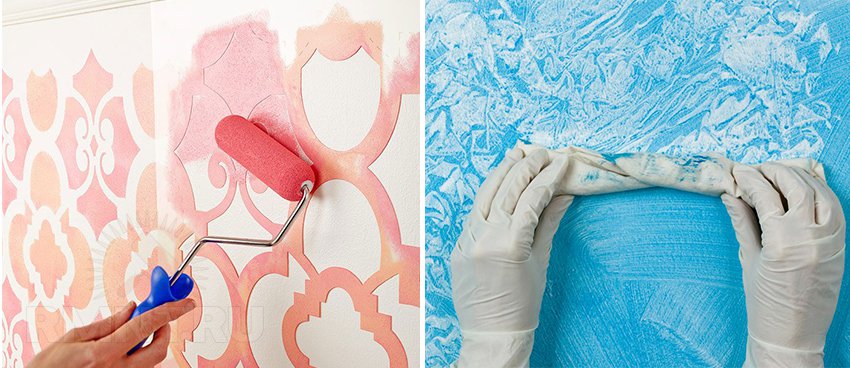
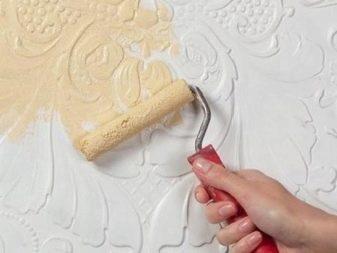
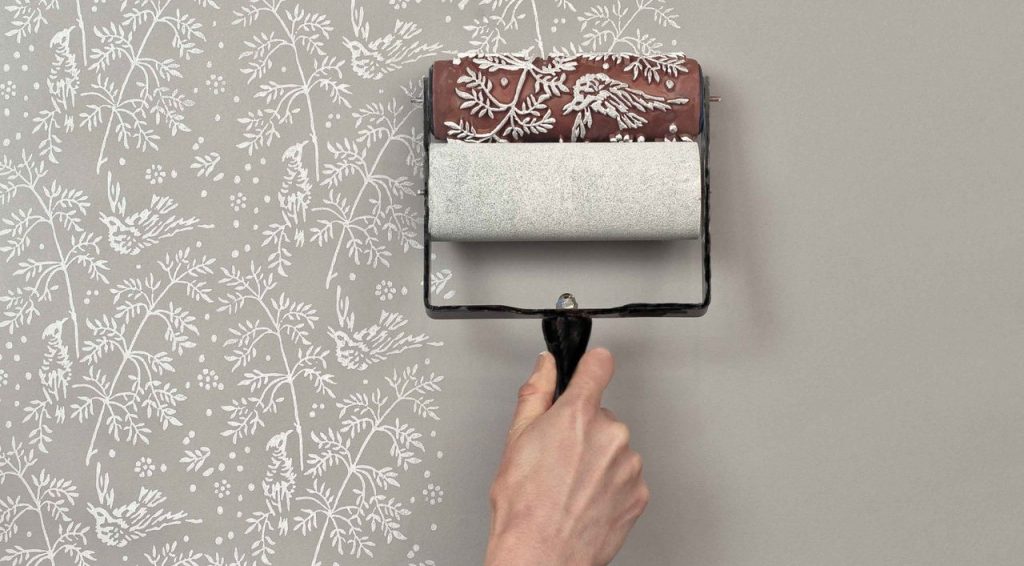
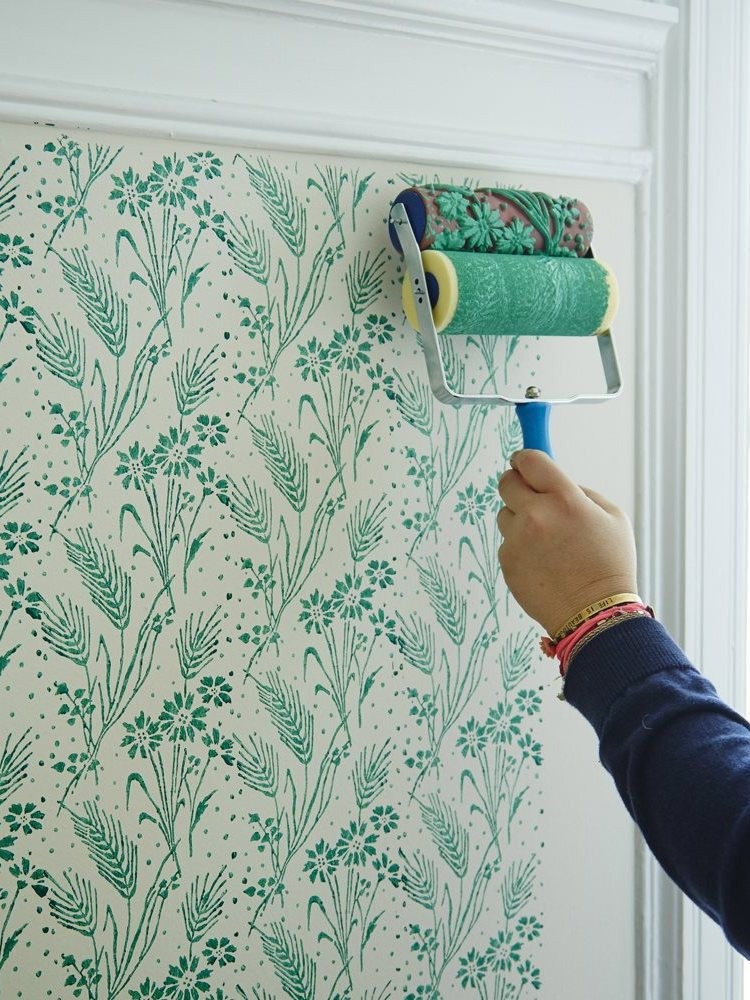
- Using a roller with a convex pattern. The paint application tool consists of two parts - a rubber coil and a textured coil.When self-painting, the wall is broken into stripes, passed with a roller clearly along the line so that the rhythm of the pattern does not get lost, and the pattern does not smear.
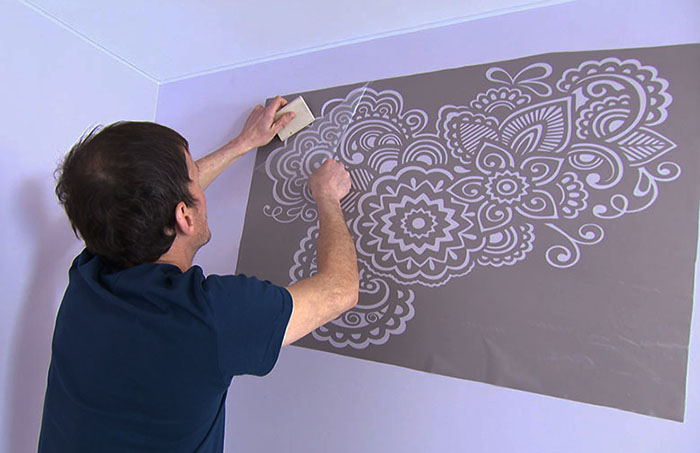
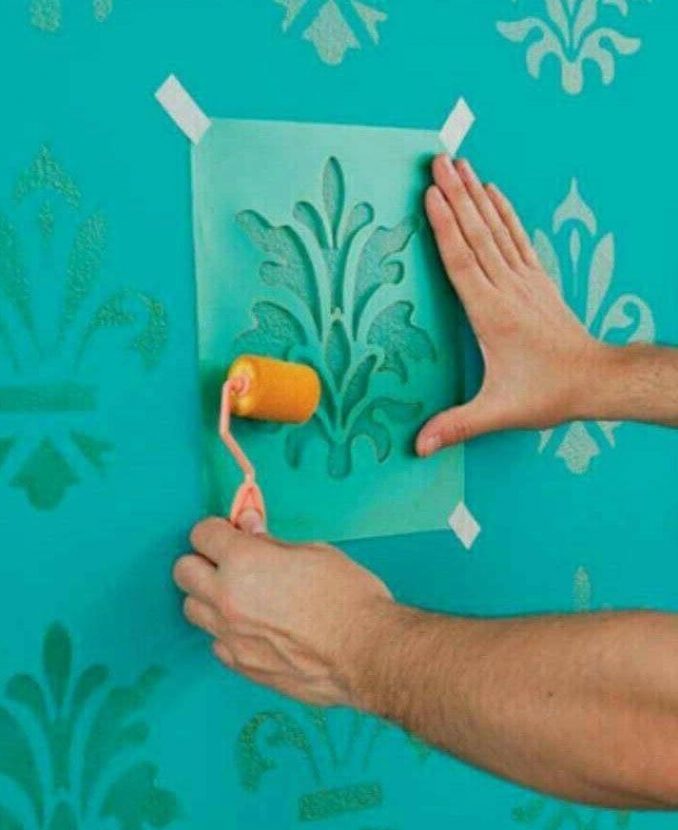
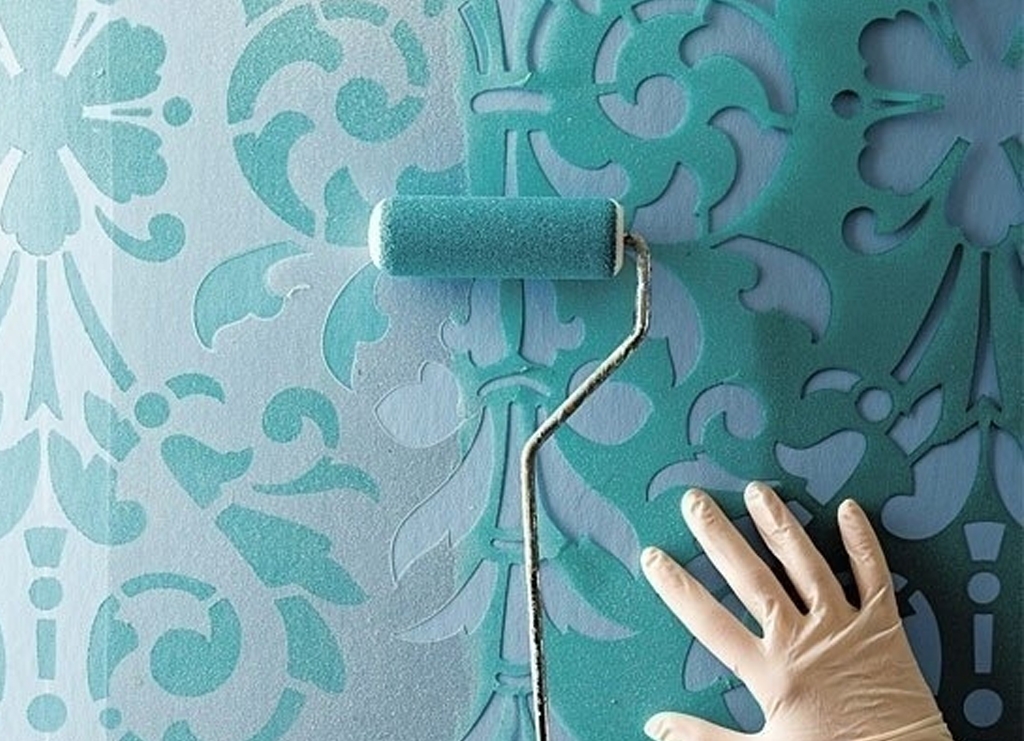
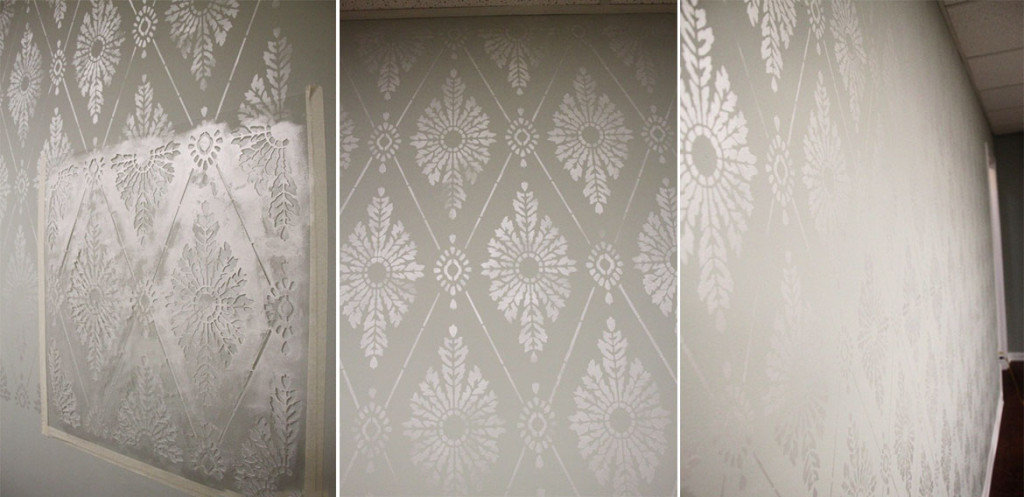
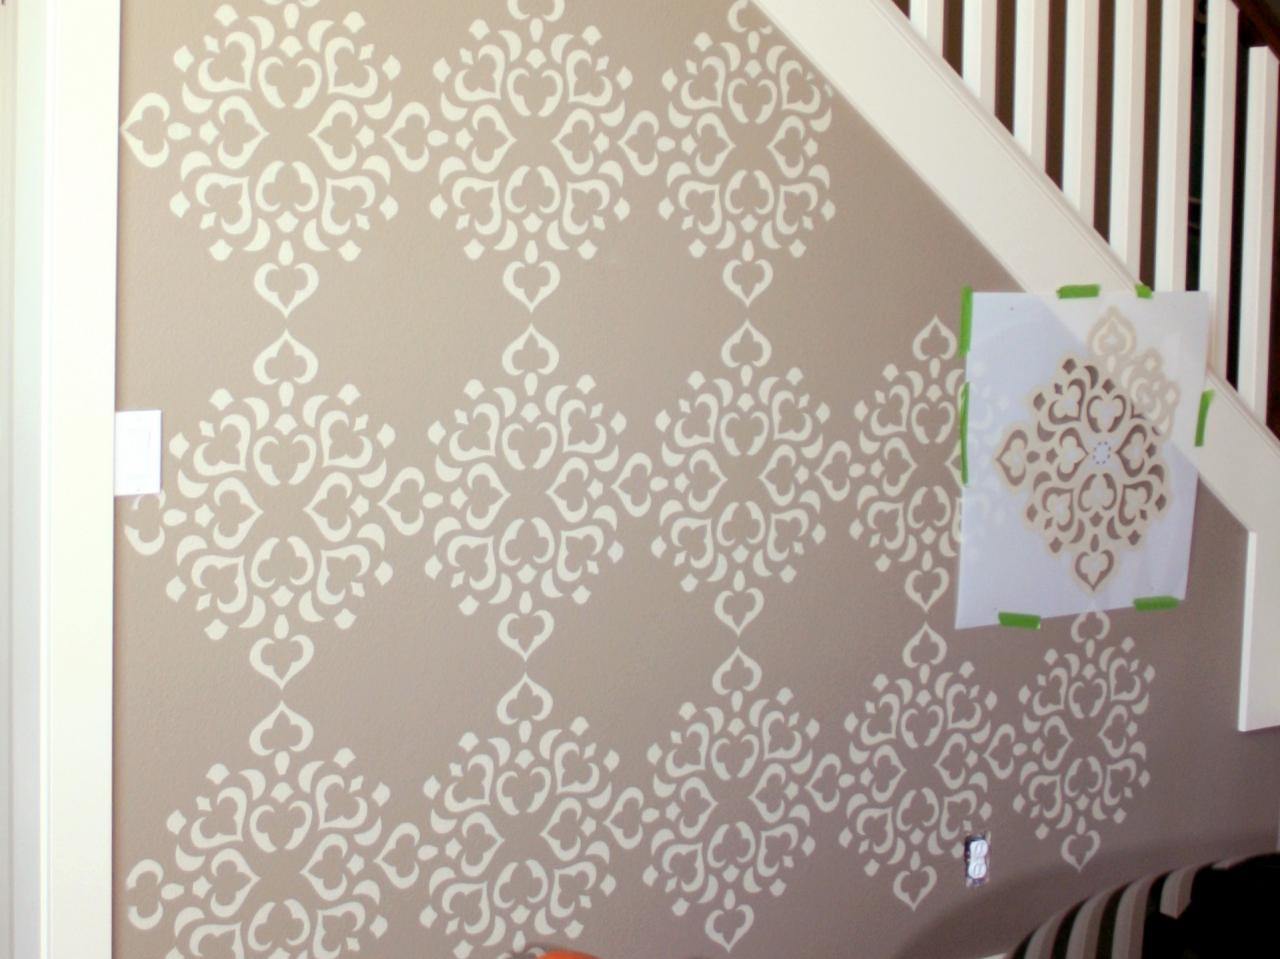
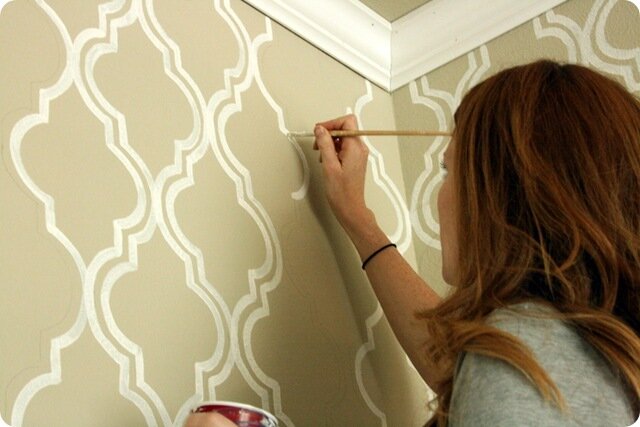
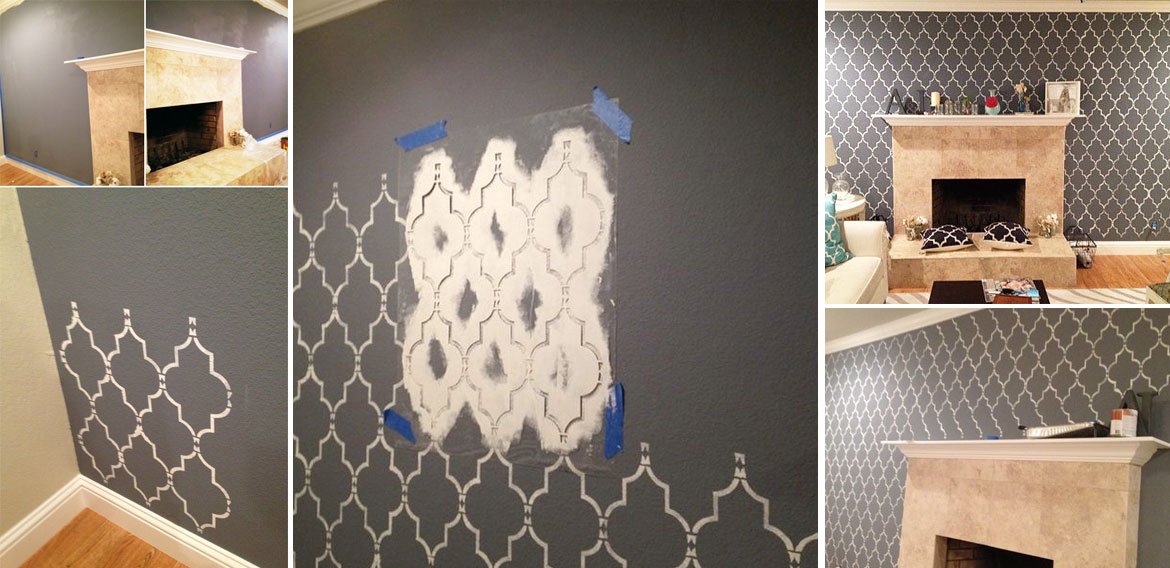
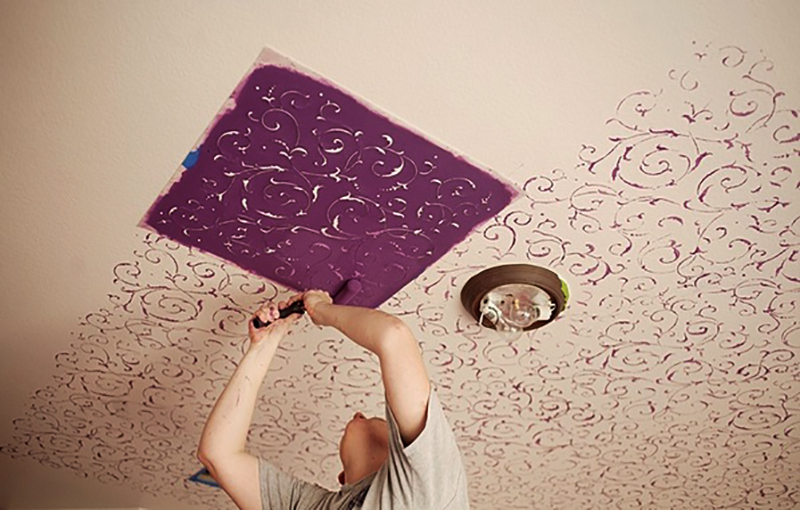
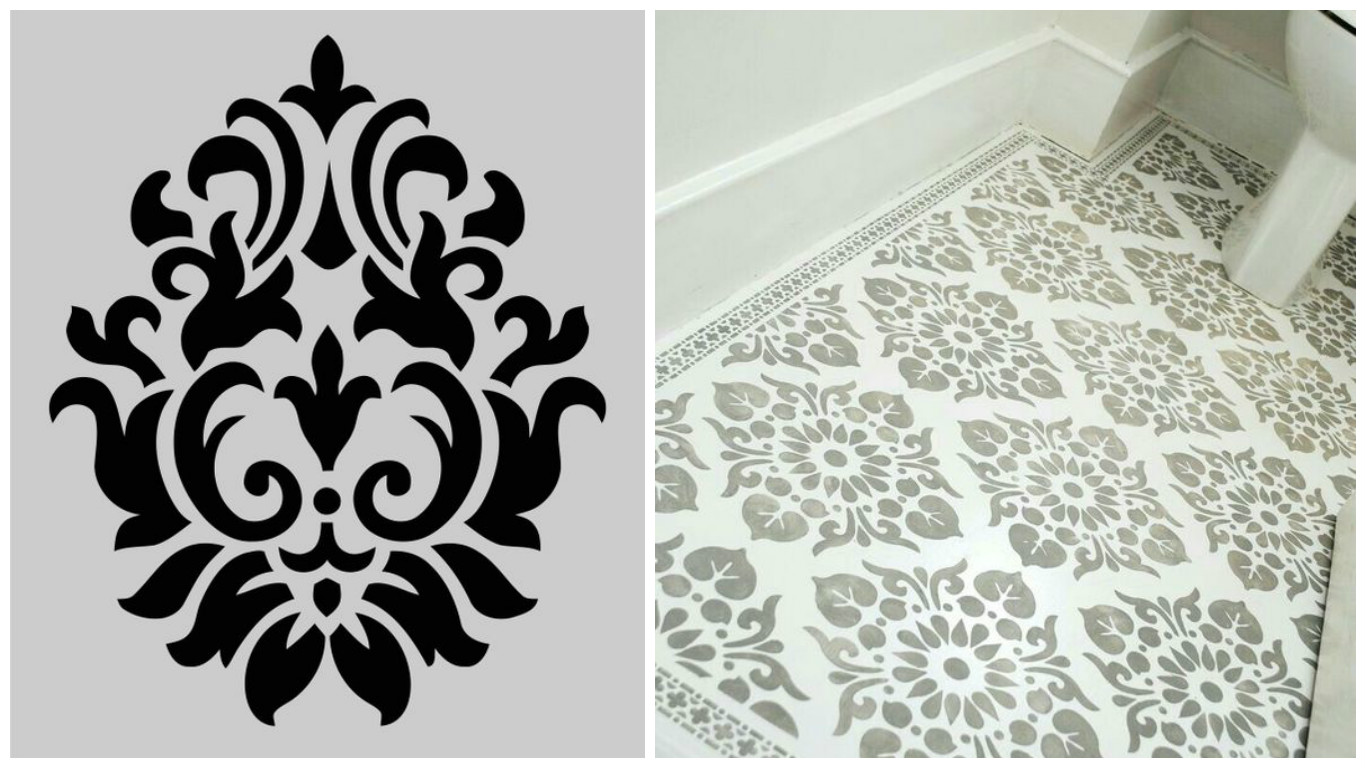
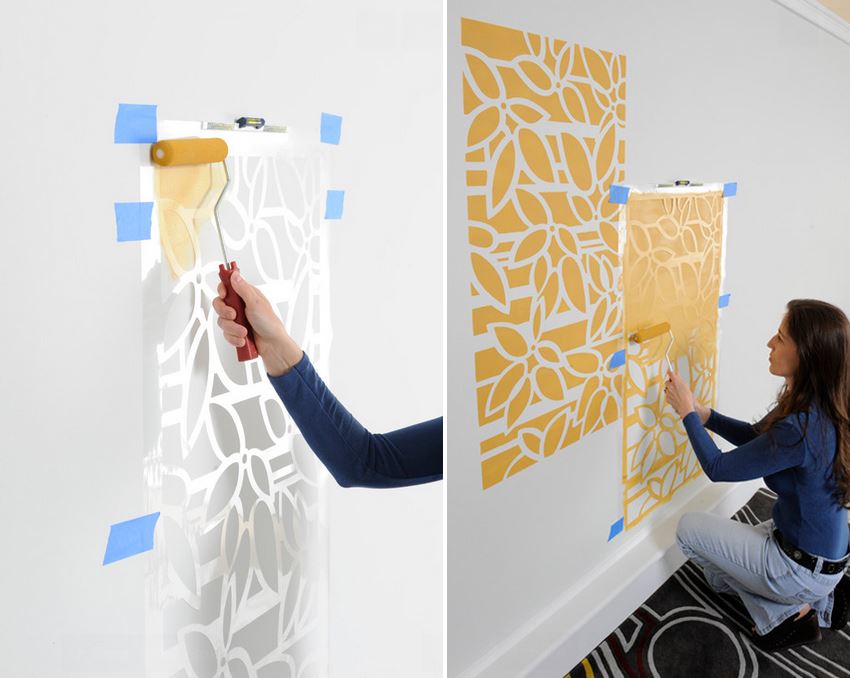
- Using a stencil. You can buy a template in a store or make it yourself from cardboard, plastic or film. The stencil is attached to the wall with masking tape and paint is applied with a foam sponge.
- By stamping method. You can use special devices with a comfortable handle or improvised means (cork stopper, broom, your own palm). The entire surface of the stamp is evenly coated with paint, pressed against the wallpaper. Using a sponge, you can create an abstract drawing by swabbing.
- Drawing of the simplest patterns, painting. Even a master who has nothing to do with art can draw rings, squares, triangles of various sizes on the wallpaper. Difficulties may arise with a complete picture. A projector is used to simplify the task. The sheet with the drawing is brought up to the magnifier and directed at the wall. The picture is outlined with a pencil, the edges are pasted over with masking tape and decorated.