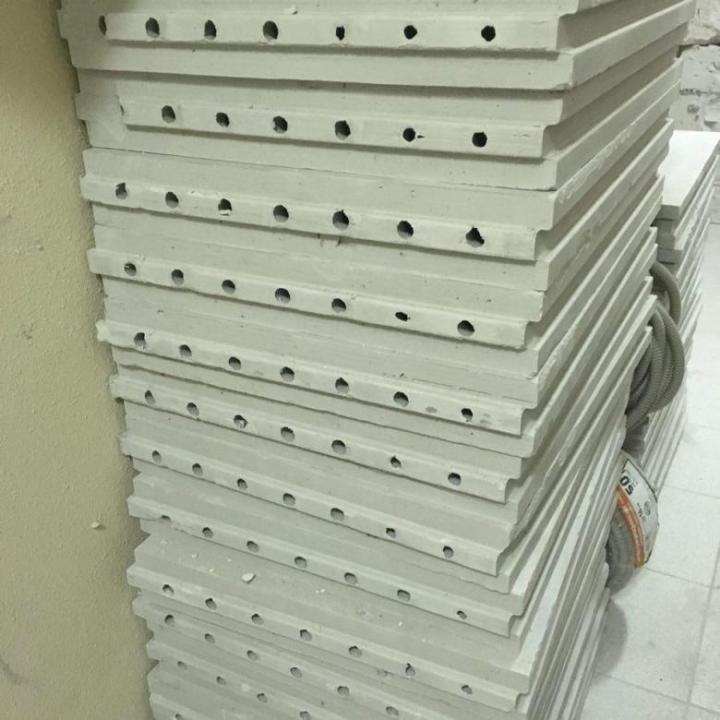
Advantages and disadvantages of tongue-and-groove blocks
The main advantages of products with a tongue-and-groove connection:
- have a high level of vapor and gas permeability;
- can be operated in areas with any climatic conditions;
- the speed of work is increased due to the fixed dimensions of the material;
- are fire-resistant material (they can withstand temperatures of 1100 ° C for 3 hours without losing their bearing capacity);
- are odorless and do not emit toxic gases;
- environmentally friendly;
- not subject to decay;
- do not conduct electric current;
- they are easy to install (dimensions and weight allow, no need to use special equipment);

- there is no need to make finishing plastering of surfaces;
- any kind of finishing is possible;
- have good strength characteristics (tongue-and-groove partitions can withstand furniture weighing up to 220 kg).
The only drawback of these products is the relatively high cost, but the cost of building materials is more than offset by the lack of the need for finishing the walls.
What is better to choose: foam blocks, expanded clay concrete blocks or tongue-and-groove blocks? Decide for yourself, guided by the technical characteristics of each type of product.
Installation features
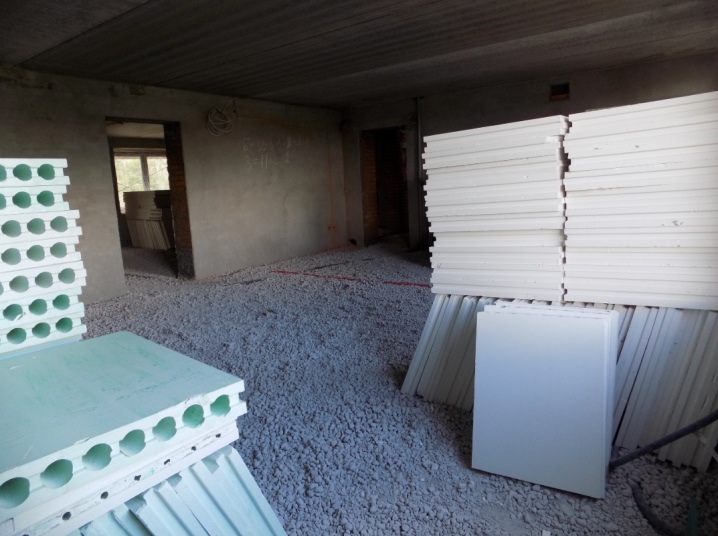
The laying of partitions from tongue-and-groove blocks is carried out after the completion of the installation of the bearing and enclosing structures of buildings, before the start of the installation of a clean floor and finishing work.
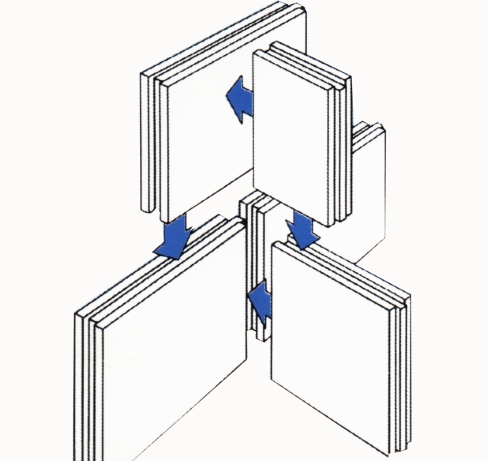
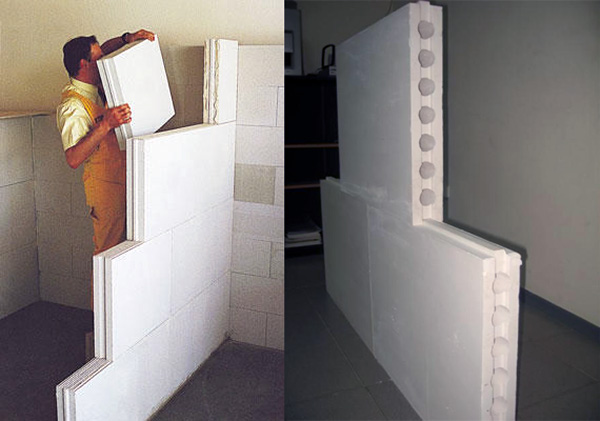
When redeveloping or reconstructing residential and civil facilities, tongue-and-groove partitions can be erected not only single, but also double. The latter option is used in cases where it is required to perform a hidden laying of engineering networks or insulate a partition, one side of which goes into a cold room.
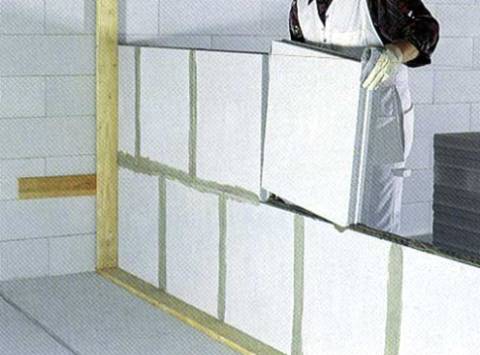
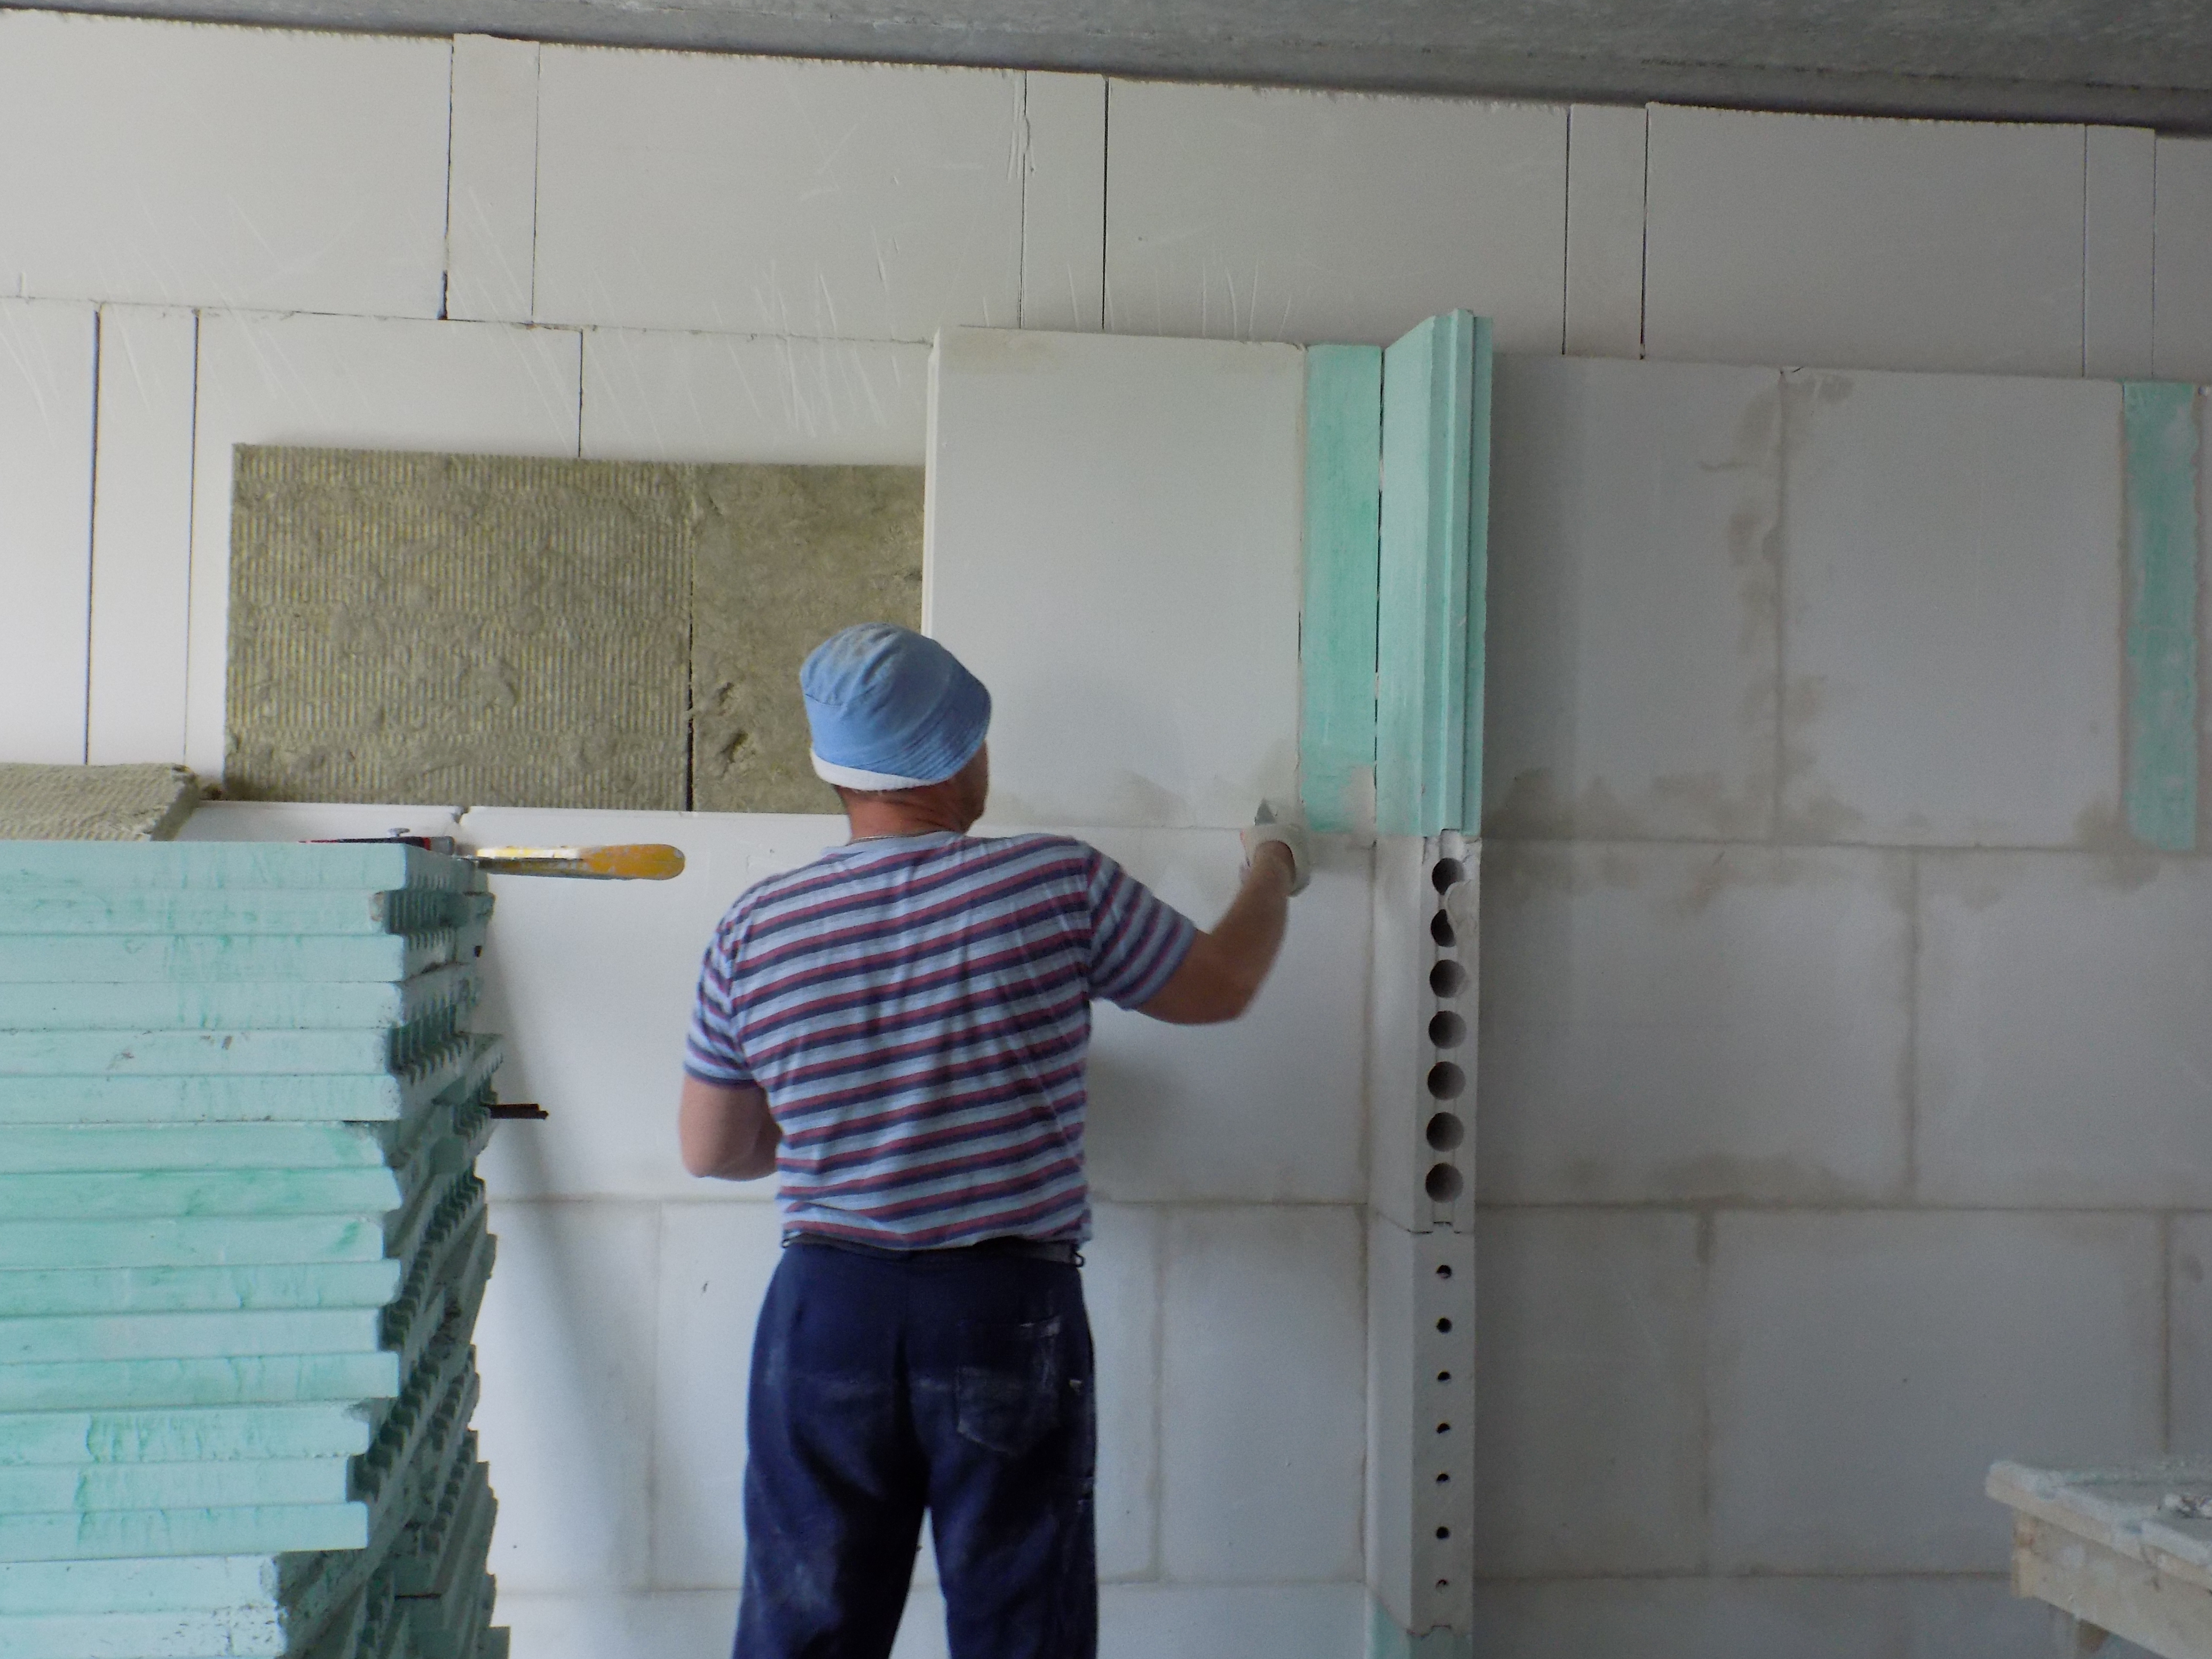
At the facility, the installation of tongue-and-groove plates is reduced to joining along the seams, with periodic monitoring of the verticality and horizontalness of each row. When assembling the interior partitions, the plates are placed both with a groove down and up. The norms recommend that they be laid with the groove up, since in this case the mounting adhesive mixture is evenly distributed in the groove-and-groove space.
Standard aerated concrete glue or Fugenfüller putty can be used as an adhesive base for installation.
Installation sequence
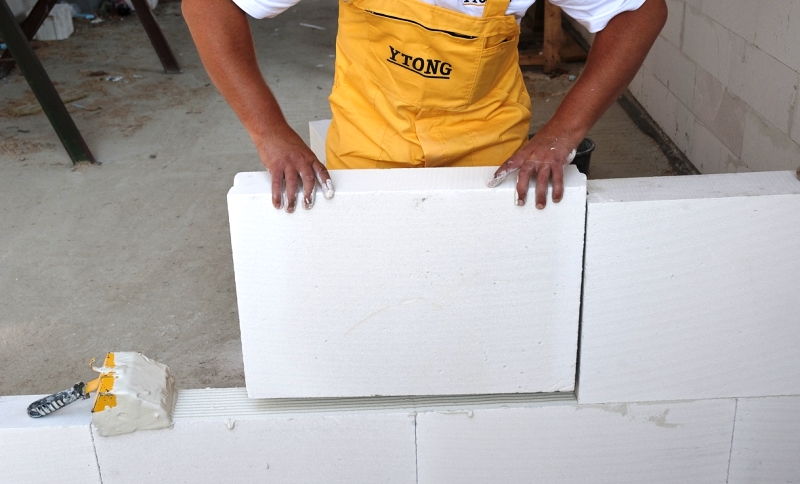
The base for the partition is leveled with a cement-sand mortar, after which the first row of partition plates is placed on it according to the level. Before joining, the surfaces of the groove and the ridge of each plate are covered with an adhesive solution so that the thickness of the seam at the joints does not exceed 1-2 mm.
Installation is carried out with the bandaging of the joint seams. To create an elastic abutment to the enclosing and supporting structures, tongue-and-groove partitions are fastened with special brackets.

The bracket is installed in the groove of the slab and fixed with a self-tapping screw to the floor panel or with an anchor dowel to the enclosing structure.
In addition, in such joints, the standards recommend the use of cork or bitumen felt gaskets, installing them around the entire perimeter of the external joint.
If the width of the doorway does not exceed 80 cm and only one row of tongue-and-groove plates will be installed above it, then the norms allow not to use a lintel. Its role is played by a door frame or retaining structure, which is removed after curing with an adhesive solution (Fig. 1)
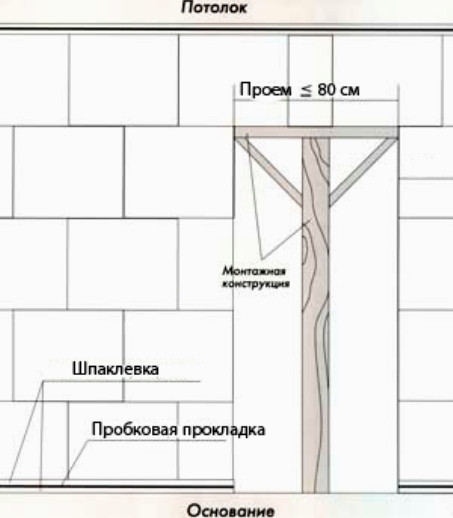 Picture 1
With a larger opening width, the installation of a steel or wooden lintel over it is required (see Fig. 2)
 Picture 2
All contact zones of partitions with load-bearing walls and ceilings are sealed with gypsum mortar.
Reviews of tongue-and-groove partitions are mostly positive. They emphasize not only the simplicity of their installation, but also good soundproofing properties.
A mandatory point that you need to pay attention to is priming the surface of the slabs before finishing. Reliability of adhesion of paint and wallpaper to the surface of the plate depends on its quality.
This work is best done using a deep penetration primer.
Gypsum tongue-and-groove plates
They are made of gypsum grades G-4 or G-5 using casting technology.
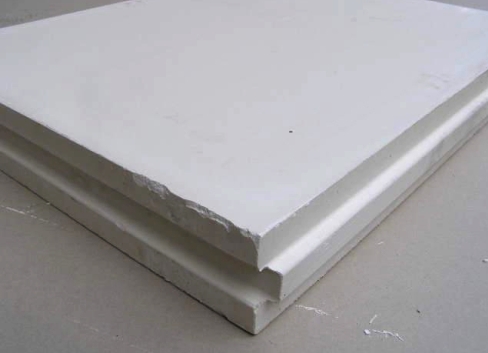
Plaster of paris is an environmentally friendly and breathable material. Therefore, the partitions made of it comply with strict sanitary and hygienic standards governing the quality of finishing materials. To improve the operational and strength characteristics, plasticizing additives are added to gypsum.
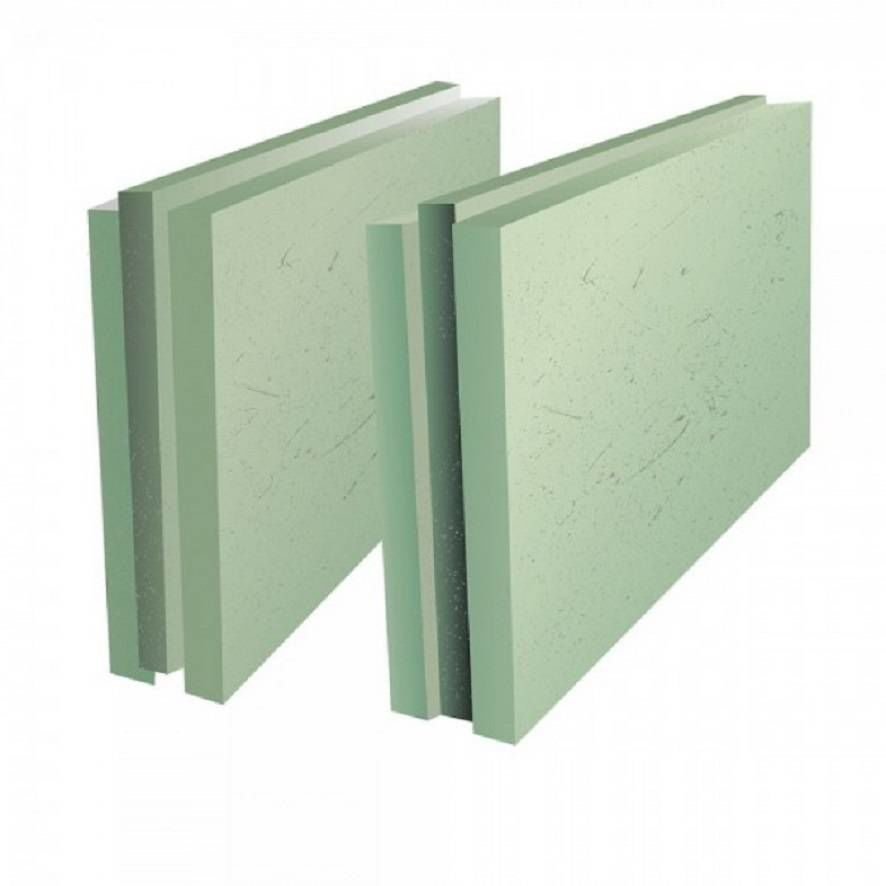
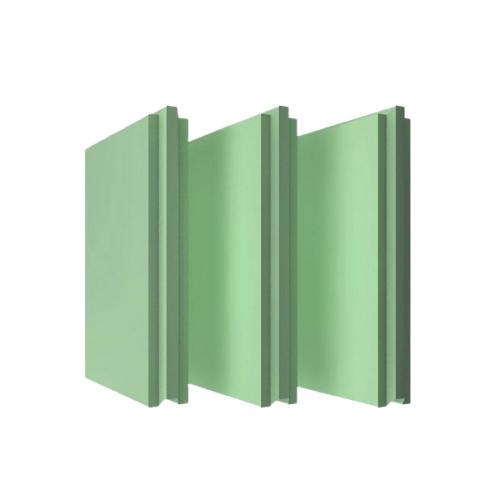
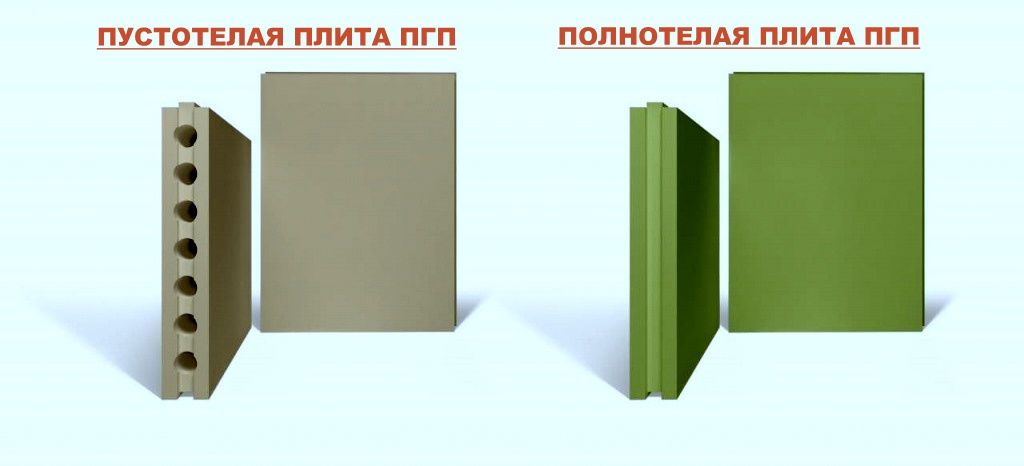
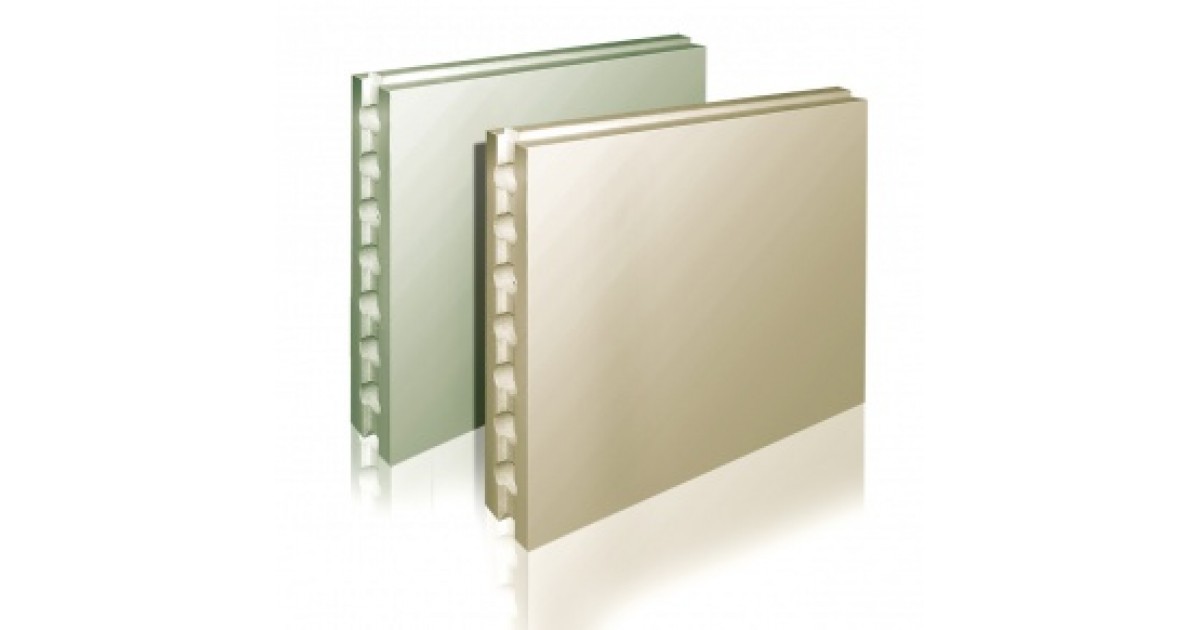
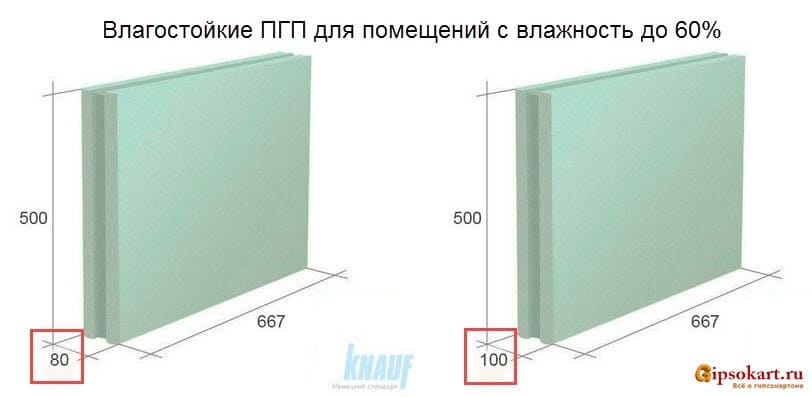
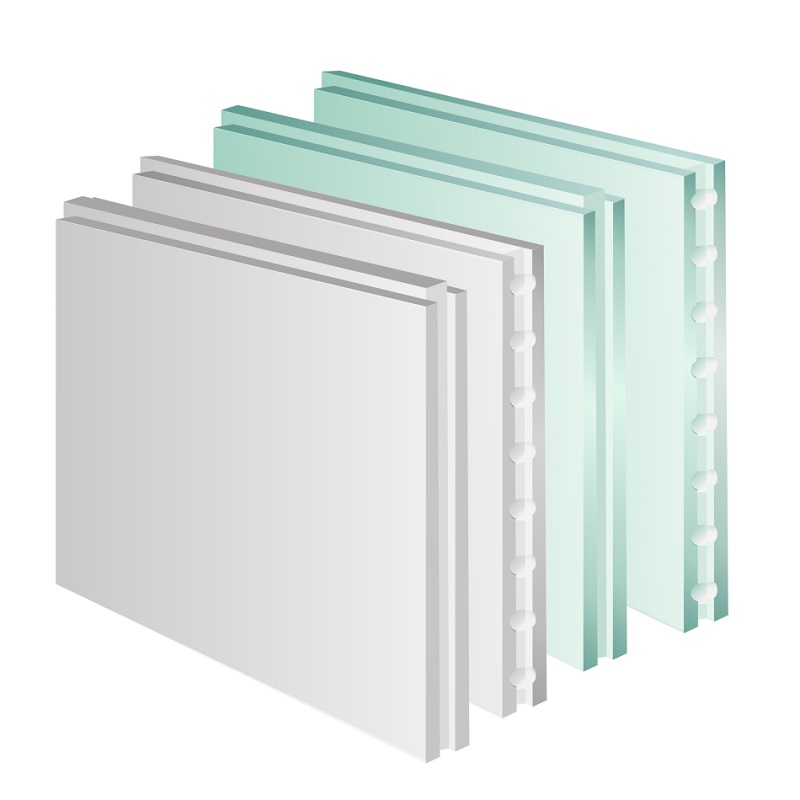
Modern gypsum tongue-and-groove plates, depending on the degree of moisture absorption, are divided into ordinary and moisture resistant. To reduce water absorption, granulated blast furnace slag and Portland cement are added to the feedstock. In order to distinguish such plates from ordinary ones, they are painted green.
Standard gypsum partition blocks can be used only in buildings with dry and normal humidity levels, and moisture-resistant (hydrophobic) ones can also be installed in damp rooms (according to SNiP II-3-79 requirements)
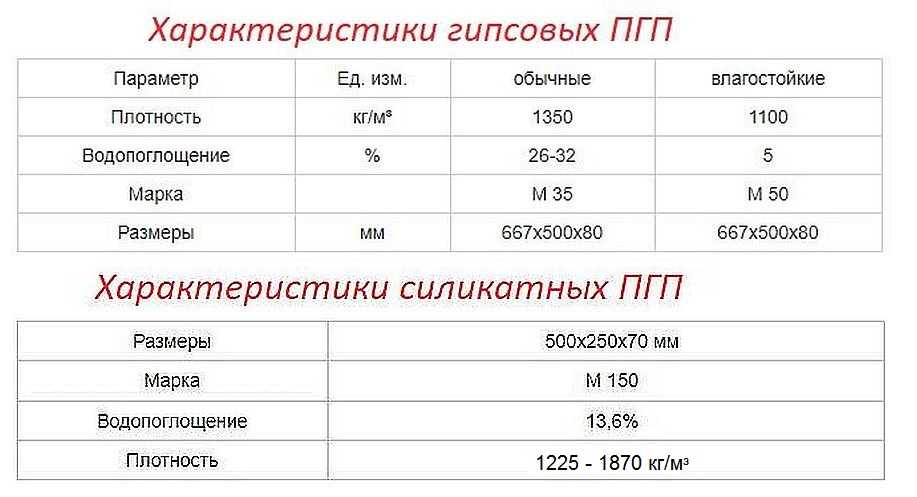
Tab. No. 1 Main technical characteristics of gypsum tongue-and-groove plates
|
Parameter |
Unit rev. |
ordinary |
moisture resistant |
|
Density |
kg / m³ |
1350 |
1100 |
|
Water absorption |
% |
26-32 |
5 |
|
Brand |
M 35 |
M 50 |
|
|
Dimensions (edit) |
mm |
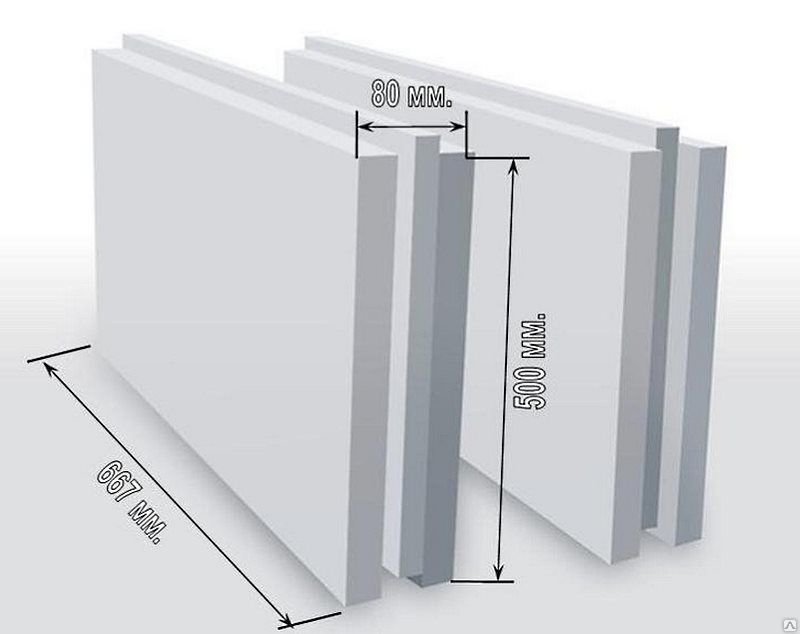
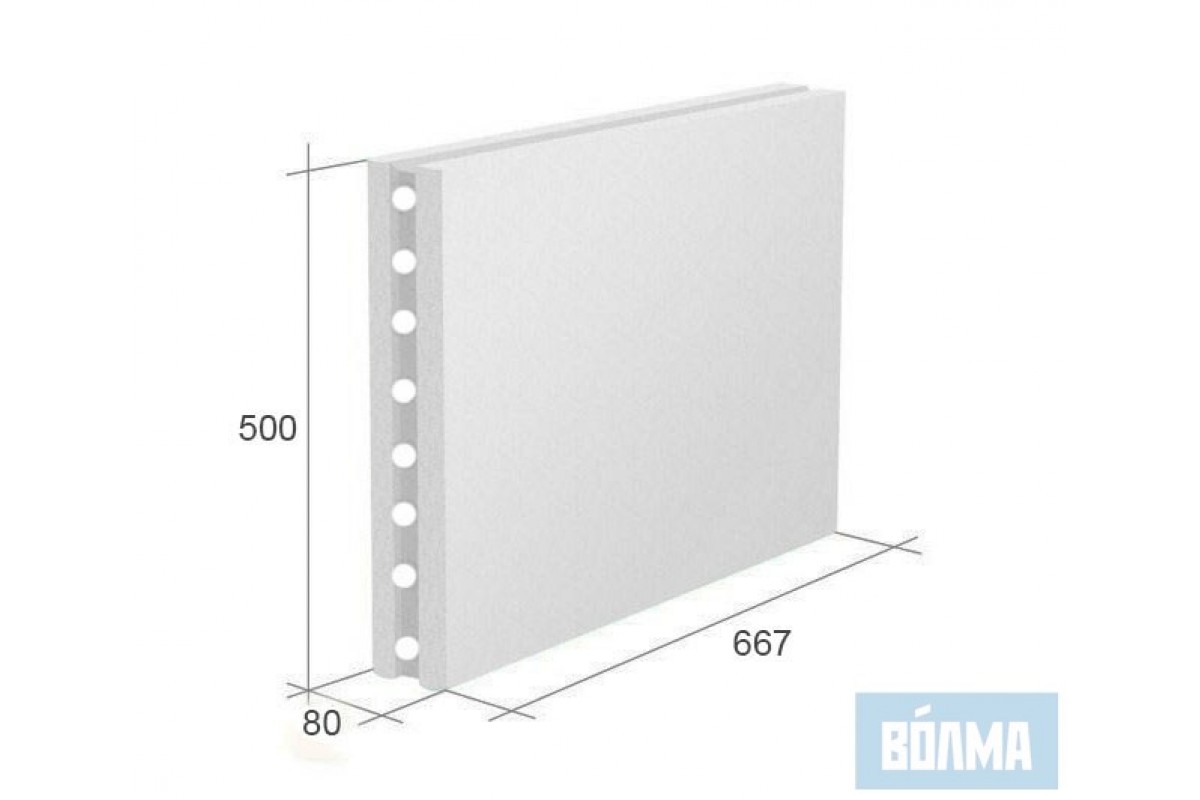
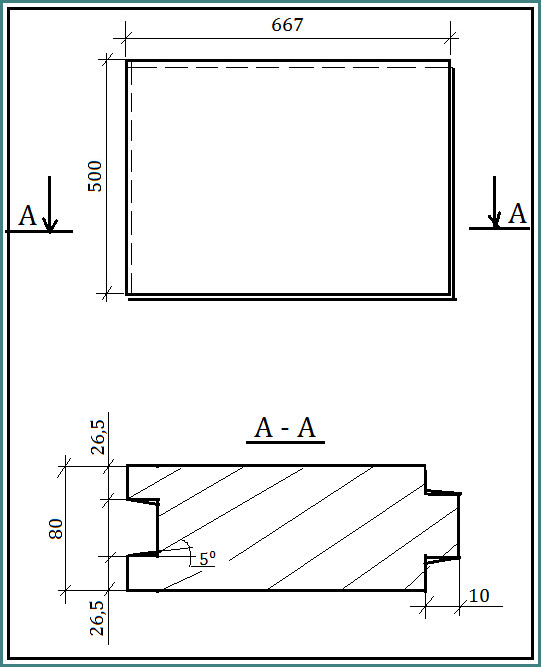
667x500x80 |
667x500x80 |
In terms of thermal insulation, a tongue-and-groove gypsum slab 80 mm thick is equivalent to a 400 mm thick concrete wall. Its sound insulation coefficient is from 34 to 40 dB, which is a good indicator for partition structures.
The fire resistance of solid gypsum blocks is very high. They are able to withstand the direct impact of fire (temperature about +1100 C) for 3 hours without losing their bearing capacity.
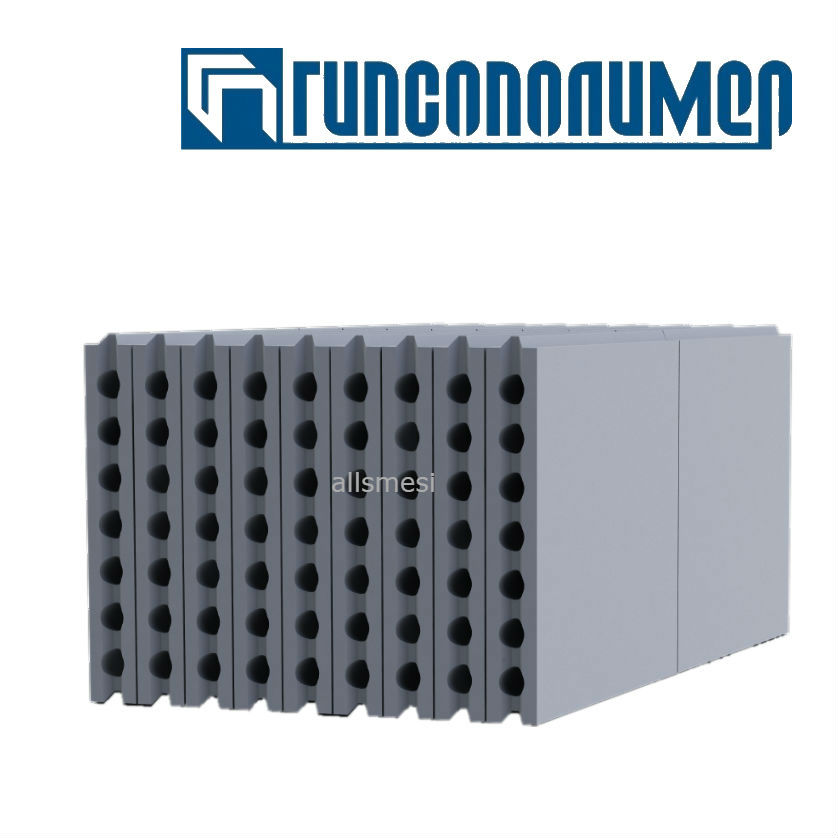
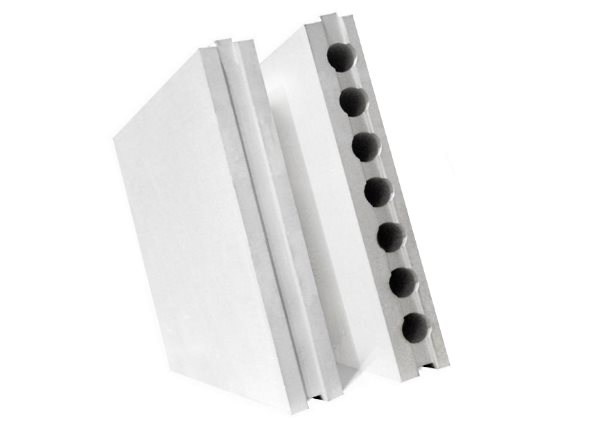
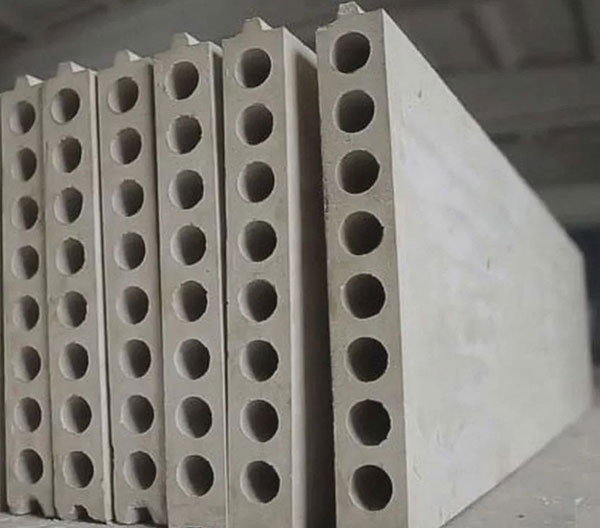
To reduce the weight of the masonry, hollow gypsum boards of the standard size 667x500x80 mm are produced. Their mass is almost 25% less than that of corpulent ones (22-24 versus 30-32 kg).
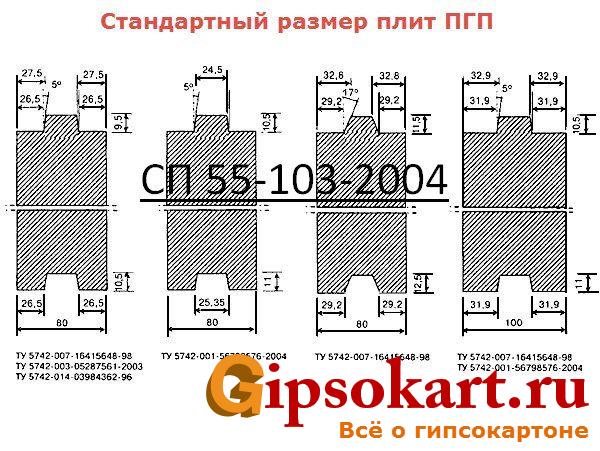
In addition, there is a gradation of gypsum boards depending on the shape of the ridge and groove (rectangular and trapezoidal). However, this parameter does not significantly affect the quality and strength of the partitions.
Use and installation
Today, solid and hollow GWP blocks are widely used in the construction industry. Their distinguishing feature lies in the ease of installation. Of course, it is convenient to invite a bricklayer specialist who will raise the partitions in a short period of time, or you can do the installation of the slabs yourself. The main thing is to know the general requirements for working with GWP plates:
- installation of plates must be carried out before the start of finishing work;
- the room temperature should be more than 5 degrees Celsius;
- Before placing the slabs, they must be primed.


To start the installation process, you need to prepare some tools and materials:
- GWP plates;
- glue mixture;
- primer;
- brackets for fixing the partition to the ceiling and floor;
- self-tapping screws;
- putty knife;
- level;
- container for mixing the adhesive;
- hacksaw;
- drill;
- screwdriver.
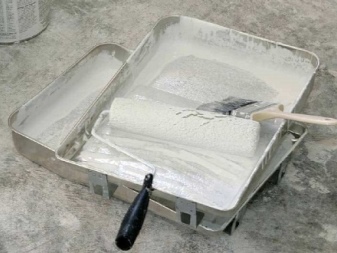

Now you can proceed to the preparatory step of installing the partition. First of all, the marking of the dividing wall is made on the floor. To do this, the floor covering must be cleaned of dust, treated with a primer. The boundaries of the septum are applied with a pencil or marker. A strong thread must be pulled to a height of 30 cm from the side, which will indicate the installation boundaries of the first row of plates.
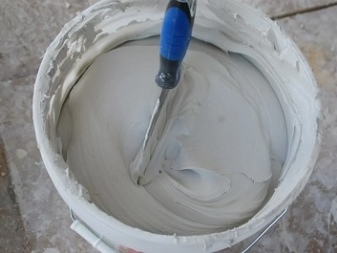
Next, the solution is prepared. The adhesive mixture is presented in dry form.Accordingly, it must be diluted with water in the proportion indicated on the package. A gypsum-based mixture sets much faster. Therefore, it is necessary to knead it in small quantities. A small amount of glue is applied to the base of the board and the adjacent part of the wall. The slab is installed on the mortar with the ridge upwards and is firmly pressed against the floor covering and the wall. The horizontality is checked by the level. An adhesive is applied to the end side of the block, designed to fix the next block.

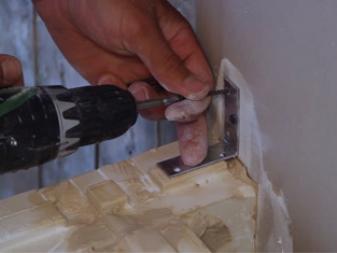
After installing the first row of plates, you can proceed to the second. The installation process in this case is slightly similar to brickwork, where the dressing of the joints is used. Accordingly, the second row is made with an offset of the joint of the masonry slabs. To strengthen the partition, it is necessary to fix metal corners or brackets at the joints of the slabs with the wall and floor. The fasteners are mounted using self-tapping screws.
The entire partition is laid out in a similar way. It is necessary to know the intricacies of sealing the gaps between the assembled wall and the ceiling. It is clear that there is a gap between them.

In the next video, you will see the installation of walls and partitions from tongue-and-groove slabs with your own hands.
What it is?
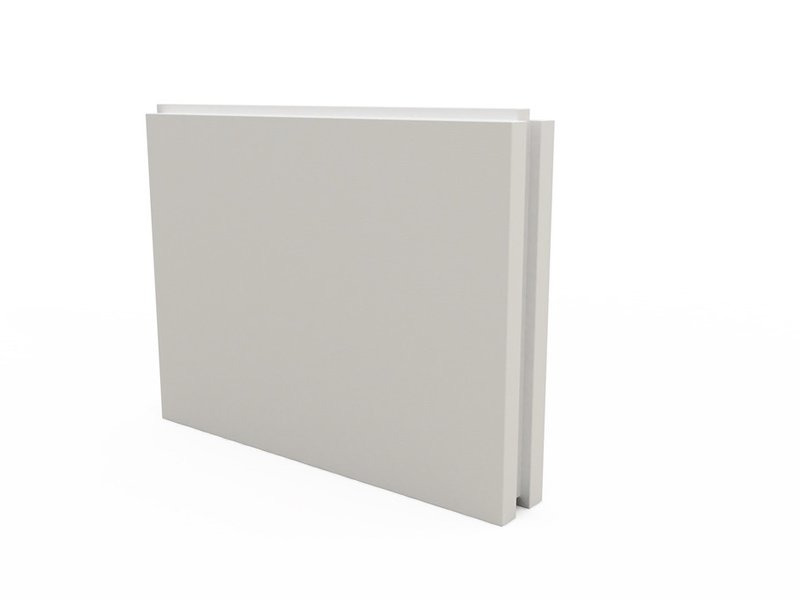
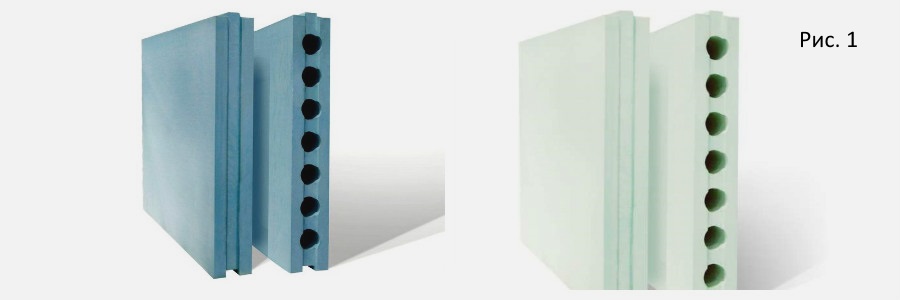
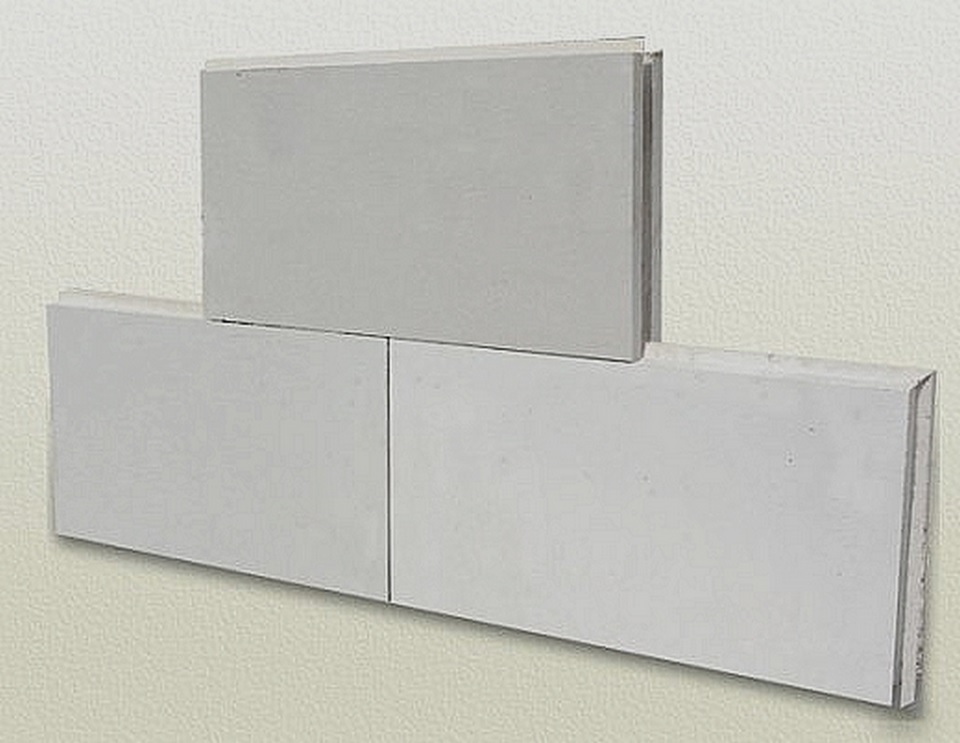
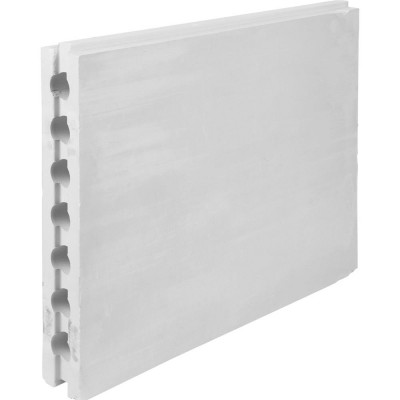
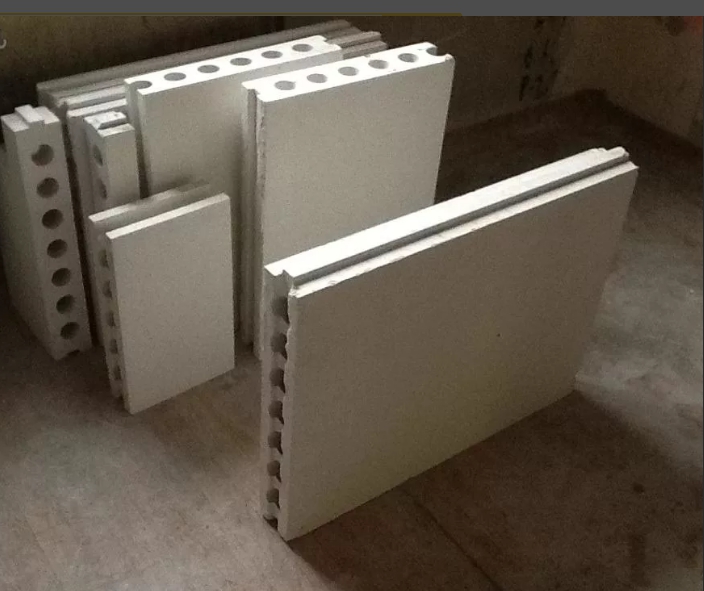
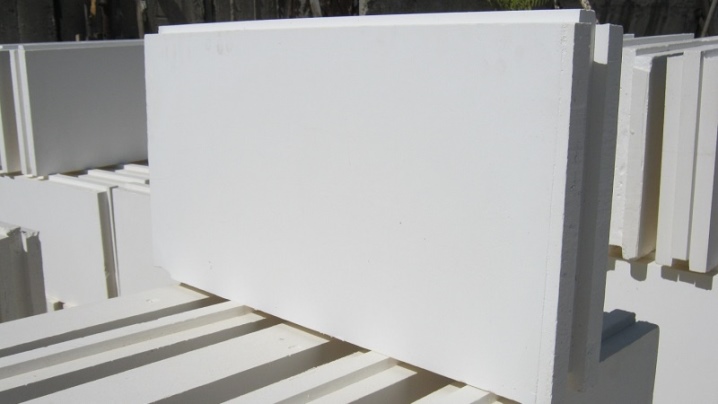
Tongue slabs or, as they are called abbreviatedly, GWP is a wall material used in the installation of load-bearing partitions indoors. A distinctive feature of these slabs is the presence of protruding and falling parts, which serve as reliable fixing elements for partition plates.
In construction, special attention is paid to tongue-and-groove slabs, since this material has a number of significant advantages:
- quick installation;
- the minimum amount of consumable glue for fixing the plates;
- the surface of the GWP does not require the application of plaster;
- environmental friendliness;
- fire resistance;
- high level of thermal insulation;
- excellent sound insulation.
But despite the advantages presented, the GWP material has some disadvantages:
- a high level of hygroscopicity limits the use of GWP in rooms with high humidity;
- partitions installed by GWP have restrictions on the weight of the attached equipment;
- with building settlement and even minimal seismicity, there is a likelihood of cracks and deformation of blocks.
However, modern manufacturers, realizing that partitions are necessary in rooms with high levels of humidity, have developed waterproof tongue-and-groove blocks.
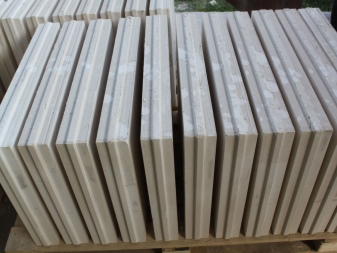

The technology of erecting a partition from GWP
Before installation, the GWP must be brought into the room and left there for some time.
Preparatory stage
We perform the following manipulations:
- We remove dust and dirt from the base base, walls and ceiling.
- In the presence of large irregularities on the base, we equip a leveling screed made of sand-cement mortar (grade not lower than M50).
- After the leveling layer has dried and gained the necessary strength, we mark the location of the partition on the floor.
Important! It is necessary to mark the location of the doorway on the floor.

- We prepare assembly glue for gypsum products: pour dry gypsum mixture into a container with cold, clean water; wait 2 ÷ 3 minutes and mix with a spatula until a homogeneous creamy consistency.
- Along the entire perimeter of the partition (that is, the floor, walls and ceiling), we glue an elastic gasket using assembly glue.
On a note! The prepared mortar mixture of the adhesive putty must be worked out within 30 minutes from the moment the dry mixture is poured into the water.
Main works
The order of work is as follows:
Only after the assembly glue has completely hardened (under the gasket), we begin to apply the adhesive to the gasket and install the products of the 1st row: install the GWP on the large edge with the groove up or down.
Advice! We recommend installing the products with the groove up: then the adhesive solution will be evenly distributed in the groove cavity.To do this, remove the combs from all plates of the 1st row with a hacksaw. Then we process the surfaces with a roughing plane.
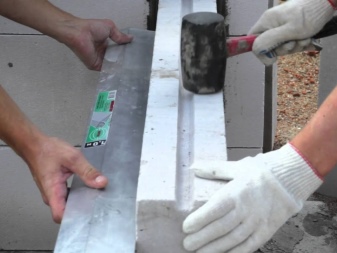
- We plant the GWP with a rubber mallet.
- When joining the blocks, we apply the glue into the groove located in the vertical end plane of the slab.
- We also glue the boards in contact with the wall.
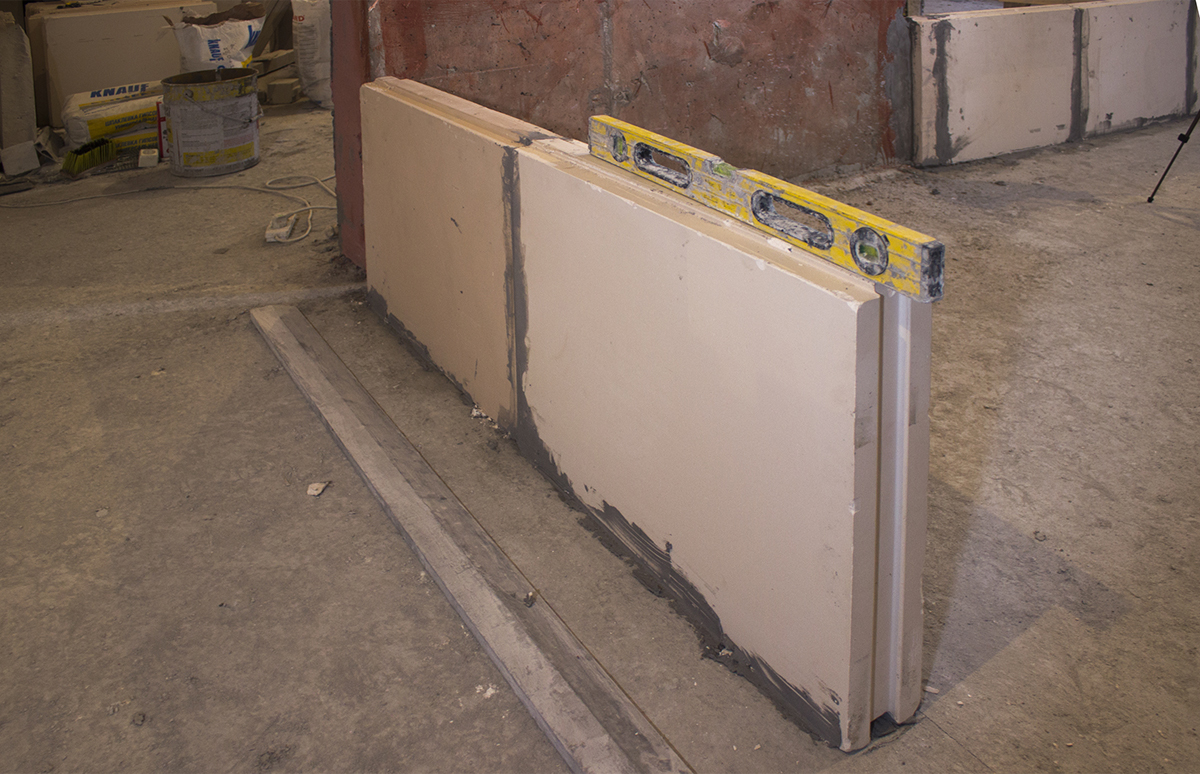
- Using the level, we constantly check the correctness of the installation of the GWP vertically and horizontally.

Important! The presence of vertical through joints is unacceptable
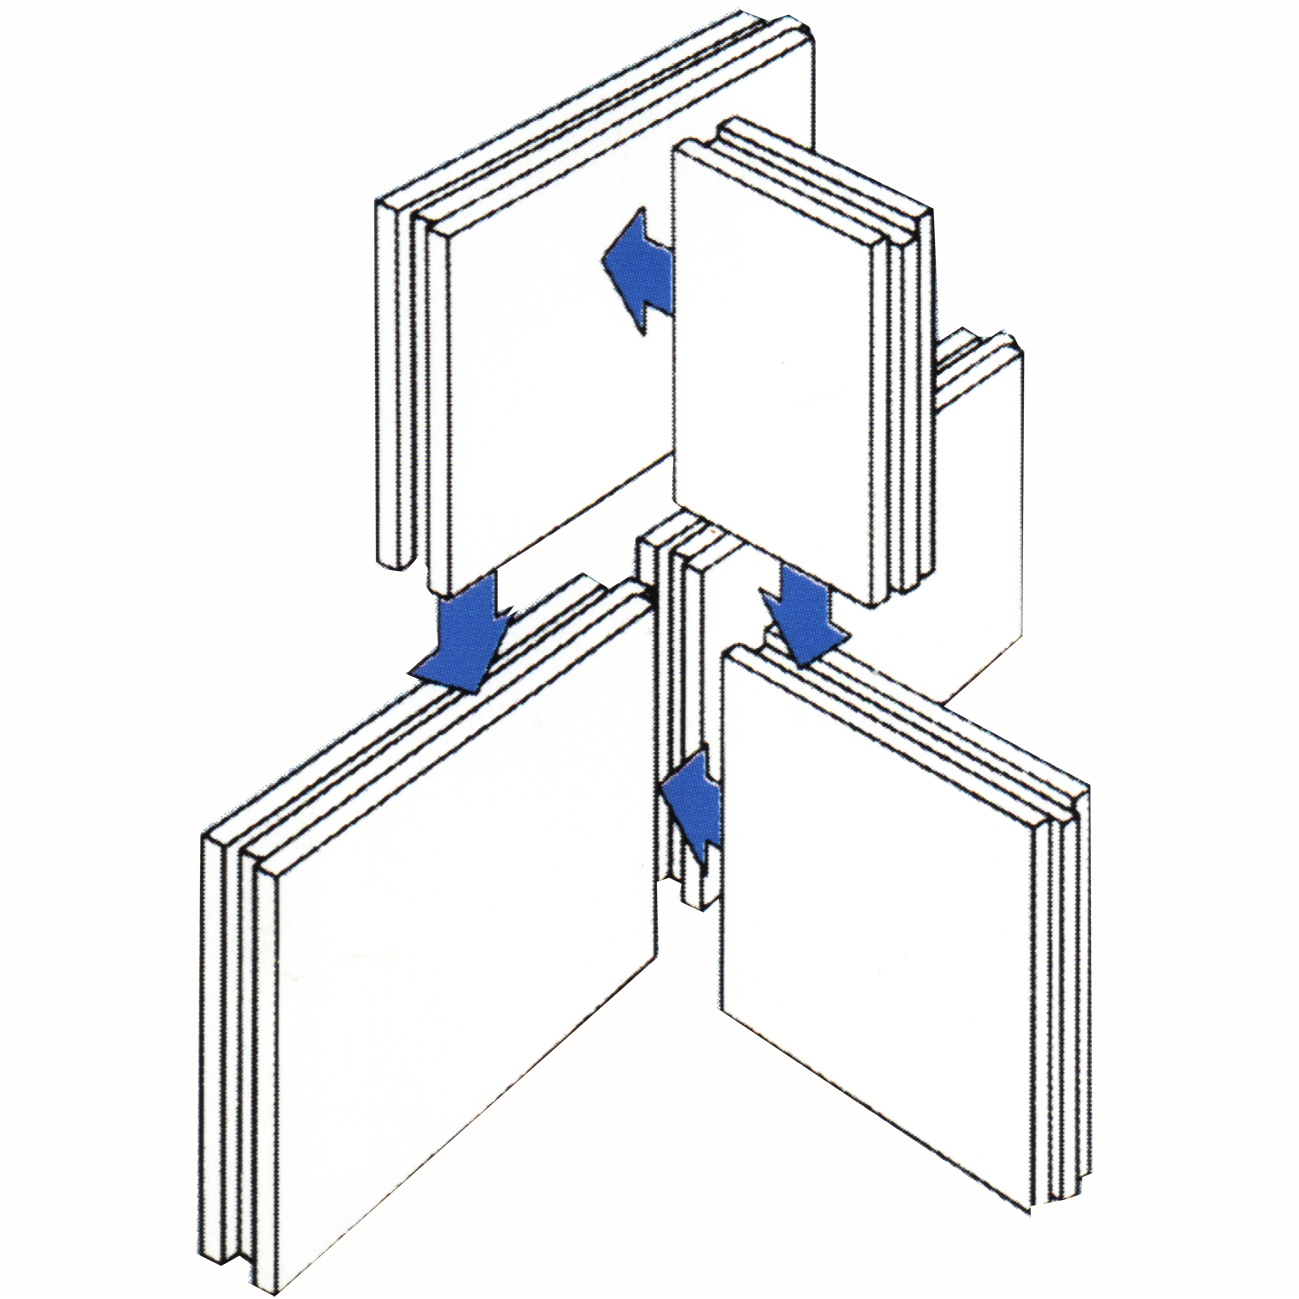
- At the joints of the slabs and where the partitions intersect with each other, we make a transverse groove at one of the slabs using a hacksaw and a trowel (so that the installation of the upper rows of slabs is carried out with overlapping joints of the lower rows).
- Apply glue to the groove of the bottom plate and install the top plate so that the joint of the bottom row overlaps.
Important! We must install the GWP with a breakdown of the end joints.
- We fasten the slabs to the walls using certain brackets. We install the bracket in the groove of the already mounted plate and fix it with self-tapping screws to the plate and anchors to the wall. Then we install the gypsum board on top of the glue.
- When arranging openings for doors and windows, we install a wooden structure that supports the plates in a fixed position until the adhesive solution hardens.

On a note! After the glue has dried, remove the jumper.
We leave a gap (about 2 cm) between the ceiling and the last row of slabs.
Advice! In order to reduce waste, the products of the last row can be laid on a smaller edge (vertical).
The final stage
- After the assembly glue has hardened, we process the surface of the outer corner with a roughing plane.
- Apply a putty to the corner surface, into which we press a galvanized metal profile to protect the corner.
- Fill the gap between the erected wall and the ceiling with glue or polyurethane foam.
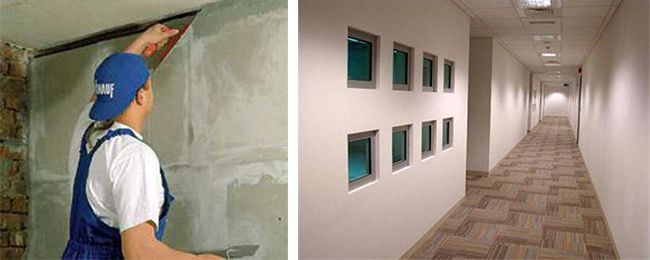
- We putty the joints between the blocks.
- After hardening of the mounting glue that holds the corner profile, we level the corner surfaces with putty.
- We close up the inner corners between the wall and the partition, between the partition and the ceiling: first we apply the mortar mixture on the surfaces of the sides of the corner, then level it (with a spatula for internal corners), lay the reinforcing tape and sink it into the mortar mixture (with a spatula).
- We re-putty the outer corner surfaces with the protective corner.
- After the mortar mixture has dried, we clean and polish the surface of the partition.
- The entire surface of the partition is primed and painted.
Guided by this description of the work, it will not be difficult to build a partition with your own hands.
Reinforcement of a freestanding GWP partition
Frankly speaking, installing a GWP partition without reliable contact with the walls is not the best option. If the decision has already been made, then this structure should be secured from falling with a "clip" from a steel corner installed on the side ends. To attach the corner to the ceiling and floor (to the floor slab), you need to use steel plate thrust bearings. They are fixed to the corner with the help of electric welding.
For a more reliable attachment of the angle to the gypsum board, several holes can be made along its entire length for installing dowels.
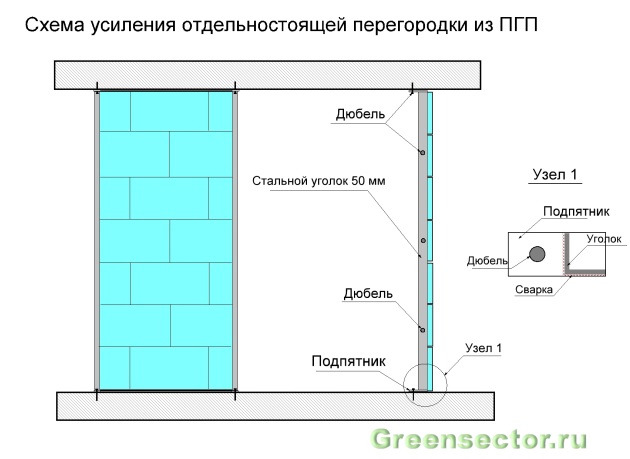
When finishing the laying, pay special attention to the reliability of the contact of the GWP partition with the ceiling. On both sides, it must be fixed with corners or steel pins, hammering them into the floor slab
After that, the seam is sealed with a solution, glued with a fabric tape and putty. The fastening pins protruding to the surface of the partition will be hidden by the installation of a decorative cornice (baguette).
We also note that the best alternative to the free-standing GWP partition is a plasterboard construction. It is lighter than gypsum boards. The required degree of rigidity is provided by the profile frame.
Useful video on the topic:
Comparisons with solid slabs
In addition to hollow slabs, another type of tongue-and-groove structure is presented on the construction market - these are solid slabs. Many inexperienced consumers are wondering what is the difference between these building materials, and which tongue-and-groove is better, which one to give preference to.
Hollow and solid tongue-and-groove slabs differ in several parameters.
- By weight. A hollow slab is much lighter. This is due to the design features, namely: with the presence of voids inside the product.
- The load factor on the base.
- The permissible load that the structure can withstand. In this case, of course, solid slabs are in the lead.

There are still more similarities between these types of building material:
- sound insulation level;
- strength;
- shape and size.
And also the slabs are identical in the method of fastening along the butt edge.

Types and sizes
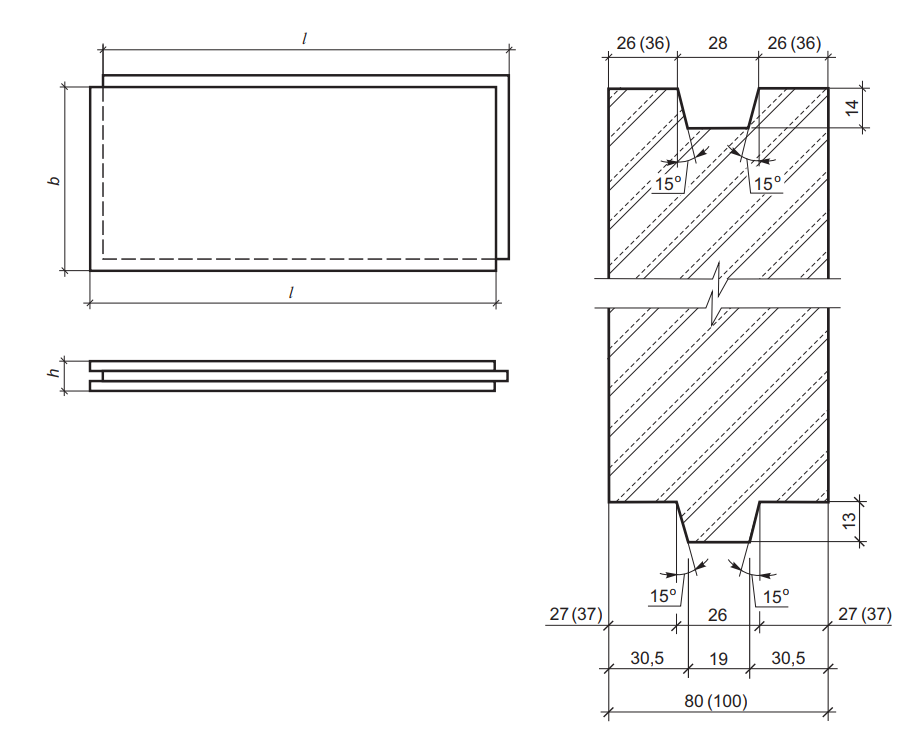
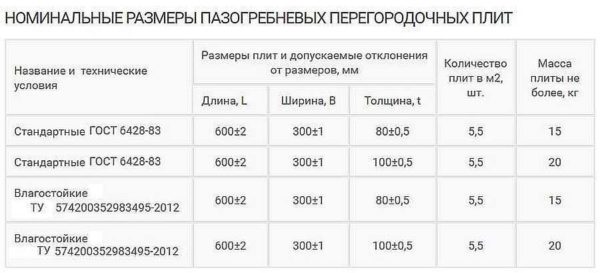
According to the interstate requirements of the standard, each tongue-and-groove plate must have clear dimensions:
- 667 × 500 mm;
- 660x500 mm;
- 900 × 300 mm.
The thickness of the blocks ranges from 80-100 mm. The most common dimensions are 667x500x80 mm. As for the density, this indicator depends entirely on the materials used in the manufacture. Thus, it turns out that the density level for gypsum blocks is 1050-1300 kg / m³, and for silicate blocks the minimum value is 1870 kg / m³.

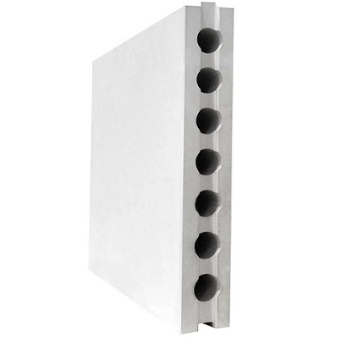
With the stated requirements of the state standard, tongue-and-groove plates differ in several parameters. And first of all it is the composition.
- Gypsum boards are molded. They contain gypsum and a plasticizer. According to the technical specifications, the level of thermal insulation of gypsum blocks is very high. An 8 cm slab is equivalent to a wall covered with a 4 cm thick layer of concrete.
- Silicate slabs are made from quartz sand, lime and water. Their technical characteristics are similar in almost all respects to gypsum blocks.
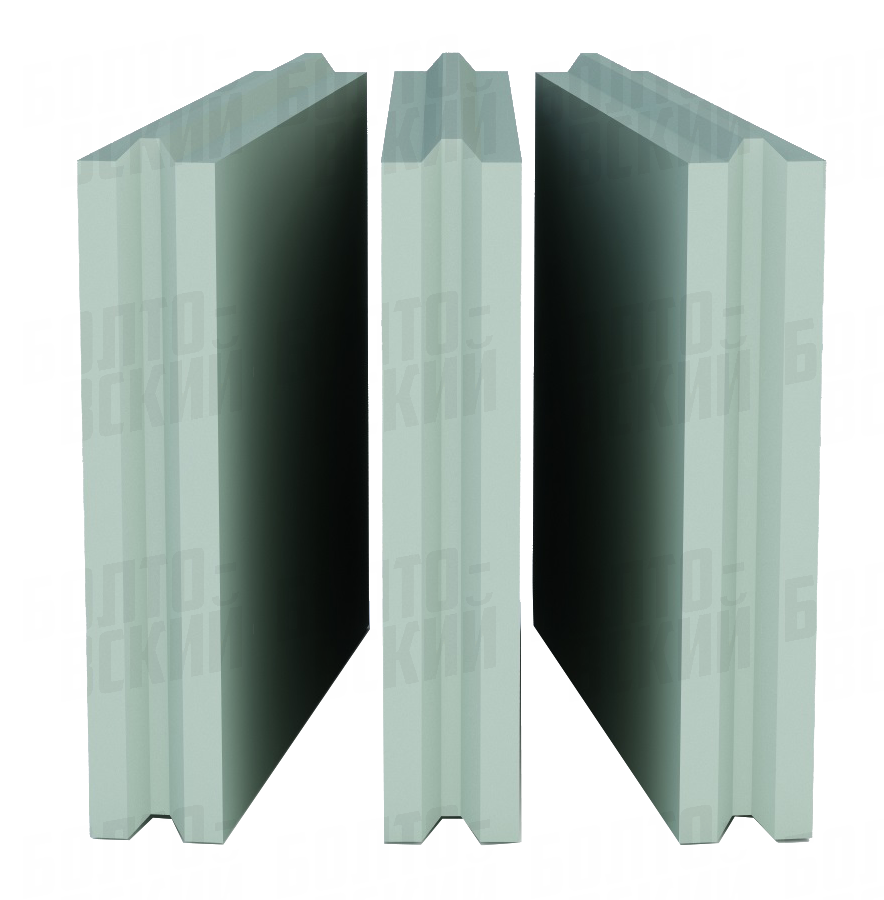
To date, the blocks manufactured by PGP are divided according to the type of fasteners. The groove / tongue can be rectangular or trapezoidal. There is no difference between the strength of the mountings. The question of the choice assumes the convenience of installation for the master himself.

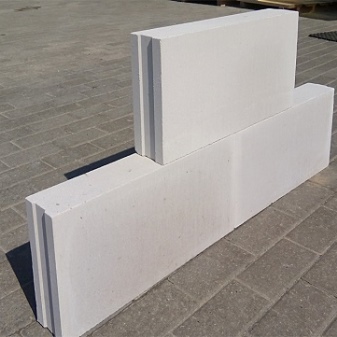
On the construction market, you can find several types of tongue-and-groove slabs.
- Standard. They are used in rooms with low humidity levels. But at the same time, the height of the walls of the room should not be more than 4.2 m.
- Hydrophobized. A more understandable name is moisture resistant. These boards contain special water-repellent additives. You can determine that these are hydrophobized slabs by their greenish tint.
- Shungite. These plates are supposed to be used in rooms where a lot of devices with electromagnetic radiation are installed. These slabs contain coal, which is why they have a black color.
Also, tongue-and-groove blocks are produced in the form of hollow and solid structures. Hollow core slabs are used to create partitions in a home environment. Solid blocks - for wall mounting in industrial and public buildings.


Silicate or gypsum?
If we compare the sound insulation characteristics of gypsum blocks and silicate blocks, the latter, with equal parameters, conduct sounds worse (40-43 dB for gypsum blocks and 48-52 dB for silicate ones). So for better sound insulation we choose silicate.
Dimensions according to GOST and TU
But silicate blocks of the same size have more weight and higher thermal conductivity (they conduct heat better). The key in the choice is weight, since sound and thermal insulation can be improved with the help of additional layers of special materials, but there is no way to reduce the weight of the partition. And if its mass is critical for overlap, nothing good can be expected.
What is this material and its types
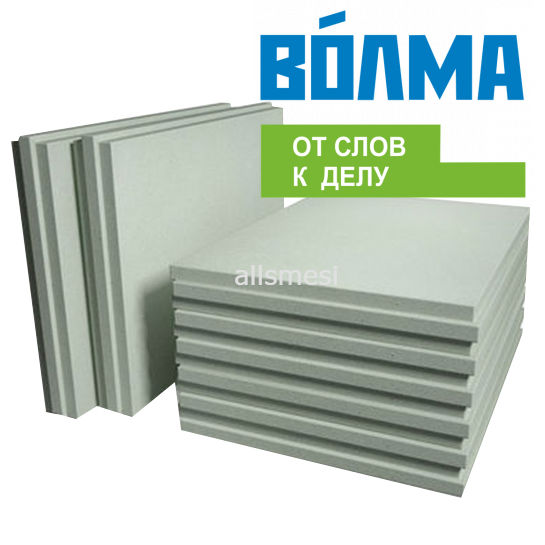
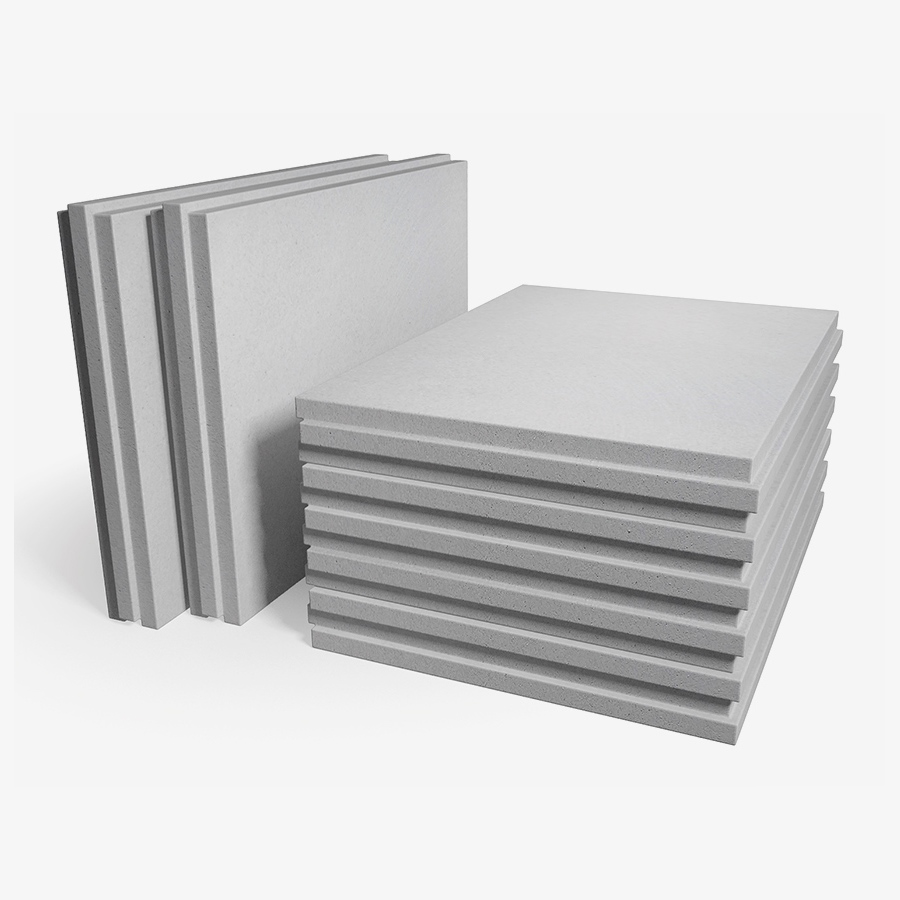
Tongue slabs (abbreviated as PGP) or blocks are large-format building material for erecting partitions in the form of a slab, at the ends of which a ridge (spike) and a groove are formed. Hence this name - tongue-and-groove slabs. They are:
- gypsum-based (cast gypsum);
-
from sand and quicklime, pressed under a certain pressure and steam-treated in an autoclave (silicate).
Plasticizers and hydrophobic (water-repellent) additives are added to the solution to improve the properties. Gypsum GWPs have another name - gypsum boards. It is understandable: the gypsum solution is poured into molds. Here is the "source" of this variant of the name.
Moisture resistance and voidness
According to the area of use, tongue-and-groove plates can be designed for normal operating conditions (normal, standard) or for damp rooms (moisture resistant). Moisture resistant for better identification tinted greenish.

Solid and hollow differ in weight and strength
Both gypsum and silicate tongue-and-groove slabs are solid and hollow. Full-bodied, more durable, hollow due to lower weight, create less load on the floors. The choice between corpulent and hollow must be made based on several factors:
- Soundproofing characteristics. A monolithic material without voids conducts sounds better, so it is used if sound insulation will be made in a separate layer (the best option) or if it is not so important.
- Partition loads. If you need to hang shelves, furniture on the walls, fix some heavy objects, it is better to use a monolith.
- Floor or floor loading. It is better to place less heavy (hollow) blocks on wooden floors or old wooden floors.
Considering several factors, sound insulation is the last thing to consider. It is possible to increase noise protection using a special mounting technology (on vibration damping pads), as well as by making an additional layer of soundproof materials.
Specifications
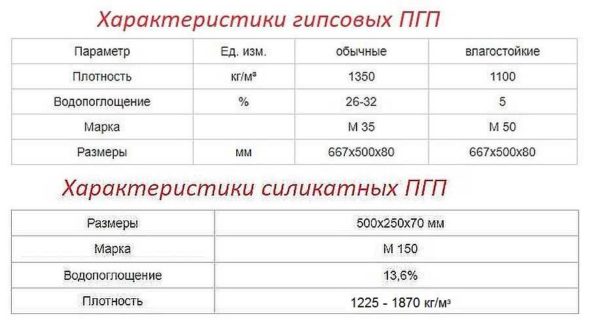
If we compare ordinary and moisture-resistant tongue-and-groove plates, the differences in characteristics are only in water absorption and strength. Moisture resistant, due to the large amount of hydrophobic additives, they almost do not absorb moisture. Because of the large number of these additives, they are more expensive, since these additives are expensive. At the same time, they increase the strength (M50 compared to M35).
By the way, you can check "without leaving the checkout" if you really have moisture-resistant GWP or just standard green-colored ones. Just pour some water on the surface. Standard plates will quickly absorb it, and on water-repellent plates it will stand for a long time in a puddle.
Main technical characteristics of gypsum and silicate PPGs
If we compare gypsum and silicate partition blocks, the increased strength of the latter immediately catches the eye - M150 compared to M50 and M35. That is, the strength of silicate slabs is comparable to concrete of not the worst grade. If you are going to hang something very heavy on the partition, it is better to use silicate. Manufacturers also produce blocks with a thickness of 115 mm, which are called inter-apartment blocks.

Technical characteristics of tongue-and-groove gypsum partition blocks
How else do silicate boards differ from gypsum counterparts? The fact that in the standard version they do not have such a high absorbency. It is not as low as that of moisture-resistant blocks, but this material can be used without problems in any damp room (13% versus 26-32%). The disadvantages of this material are more weight (with equal dimensions) and lower thermal insulation characteristics.

