Dyeing
The first step is to paint over the corners, joints, the surface around the sockets and switches with a brush. It is believed that the entire first layer is best applied with a brush, but it takes too long.
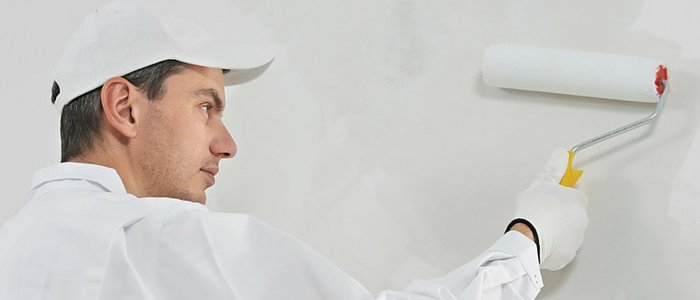
Pour paint into a tray and soak a roller with it, squeeze out excess liquid on a ribbed surface or edge and start painting.
Starting from the top, vertical and horizontal strokes are made alternately. When the first coat is dry, the second can be applied. Material and time consumption will be significantly reduced.
The actual process of painting the walls usually takes no more than a day, so you can often update the kitchen interior in this way, if you wish.
Choosing a color scheme
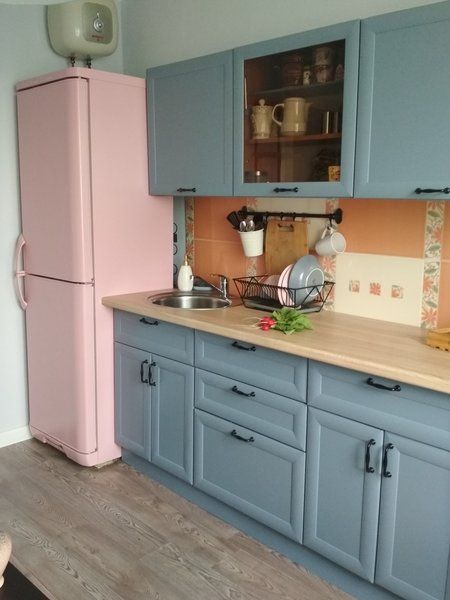
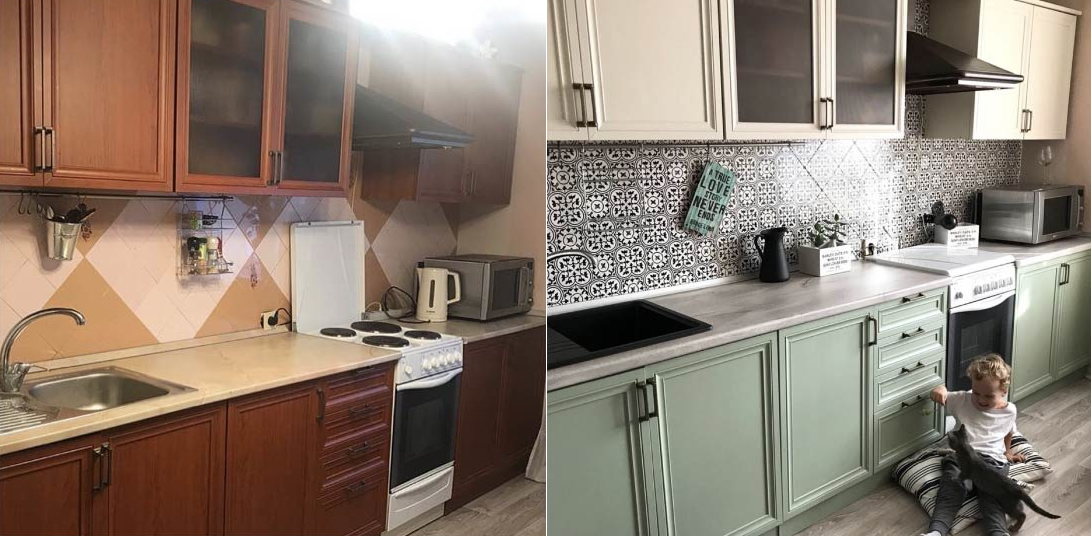
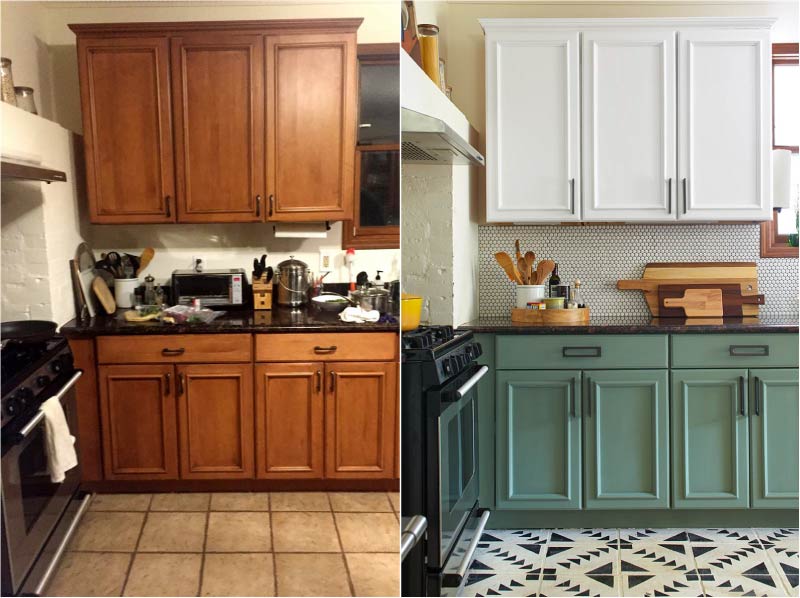
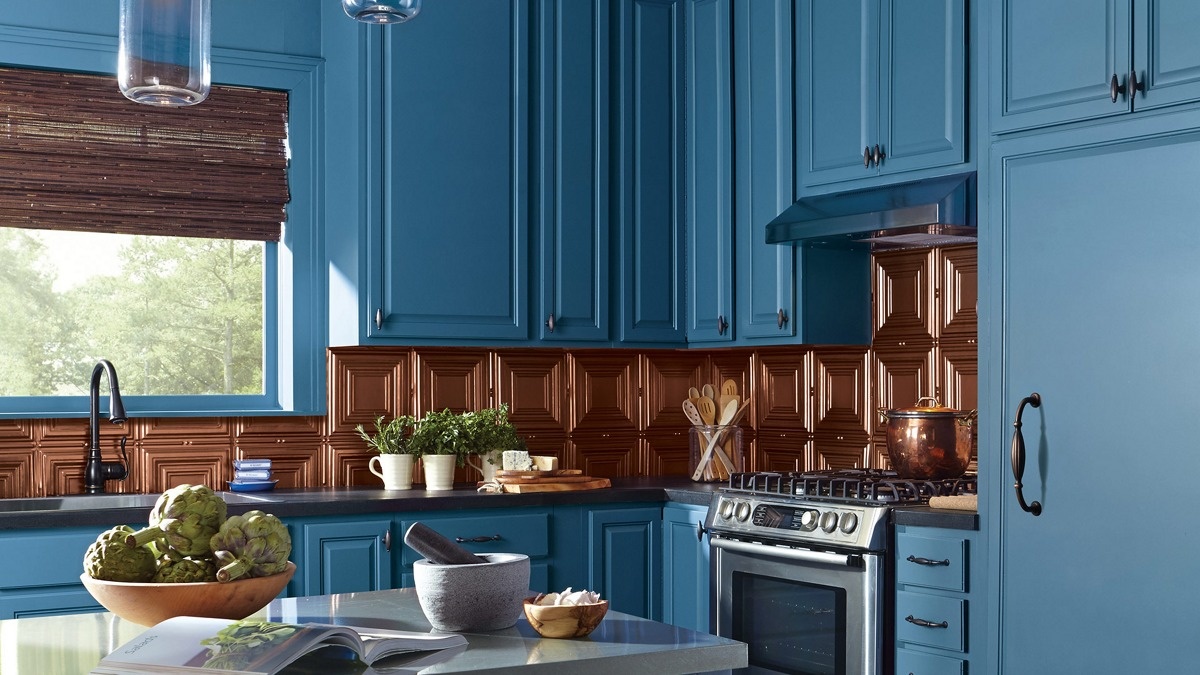
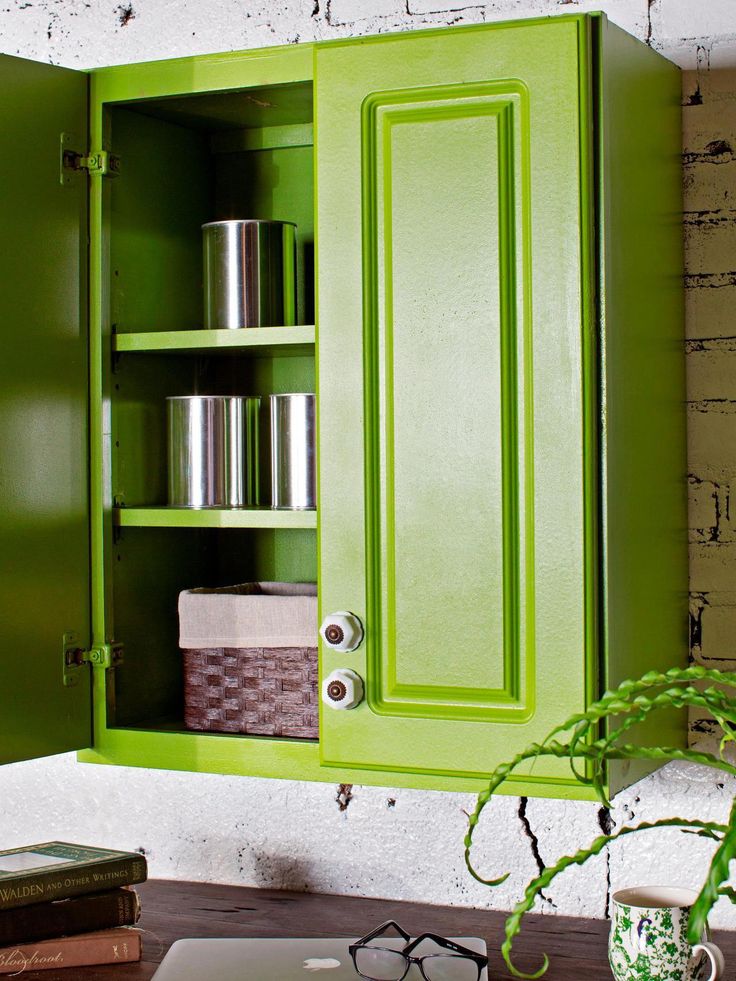
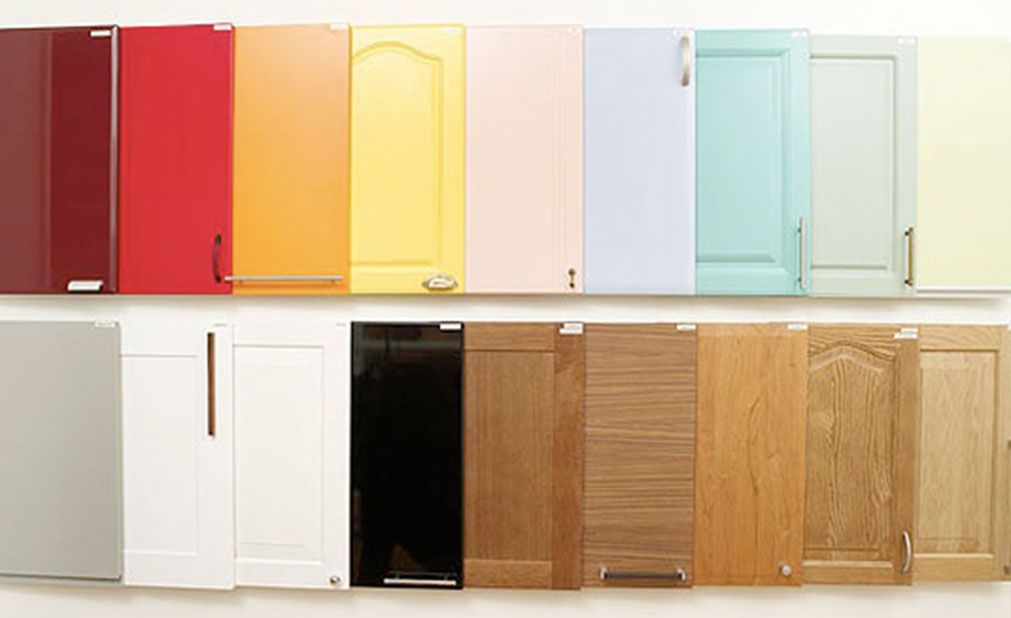
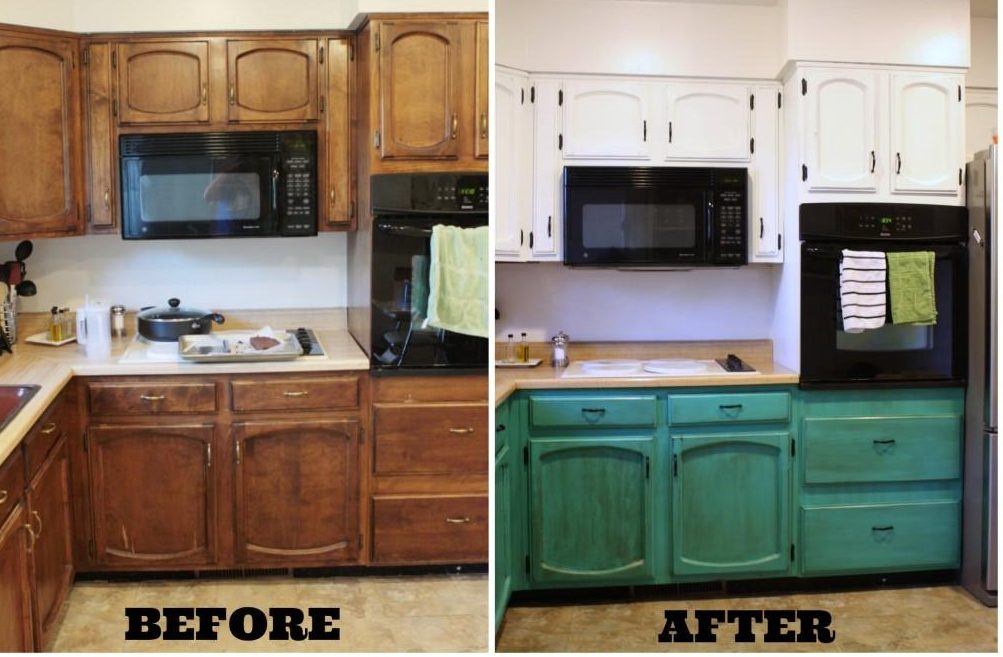
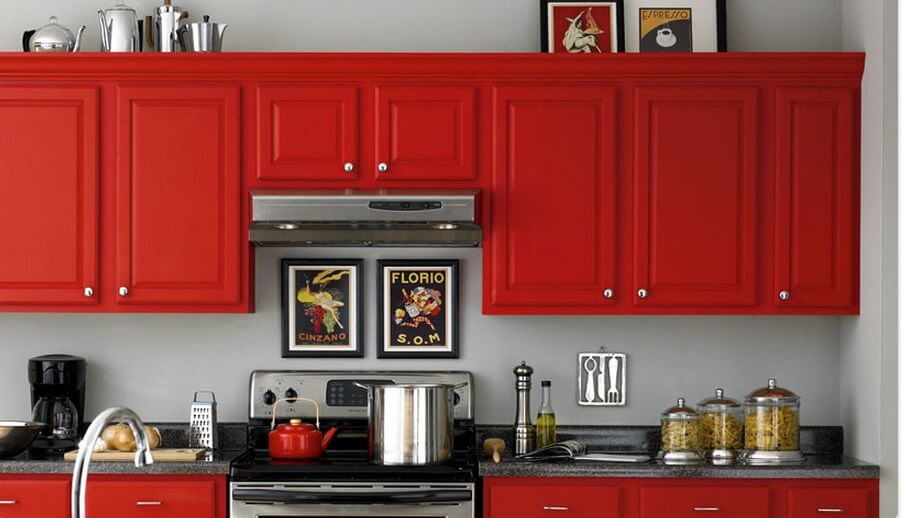
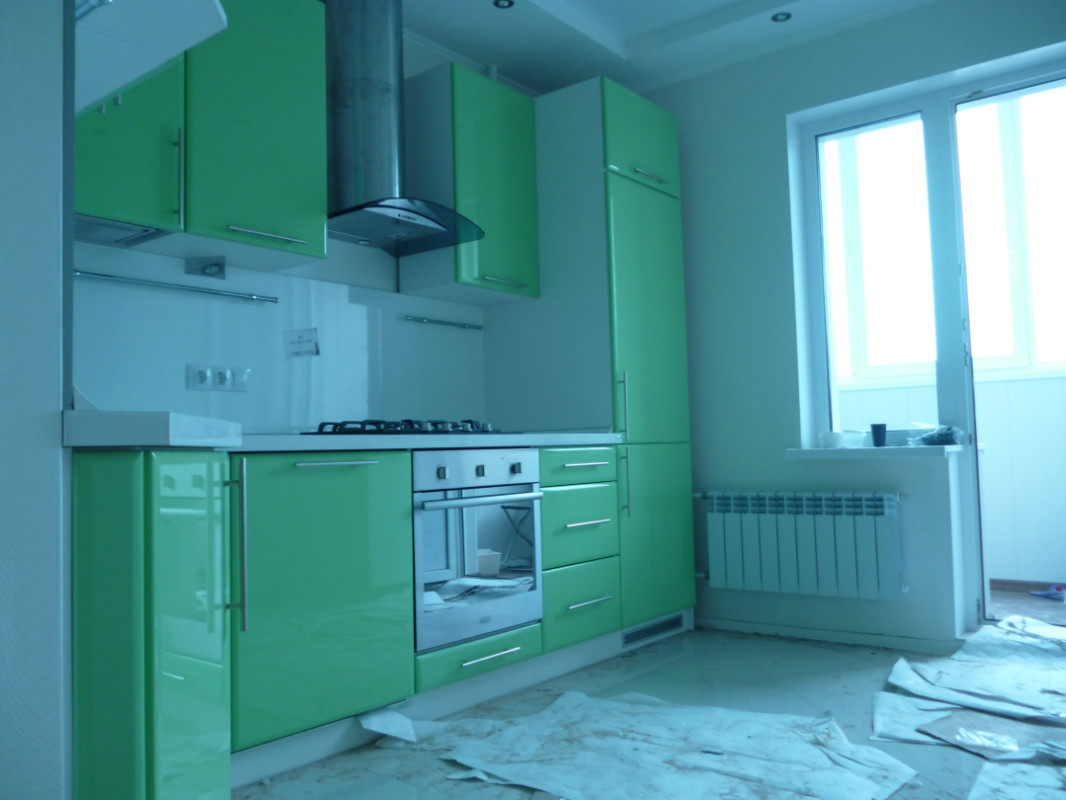
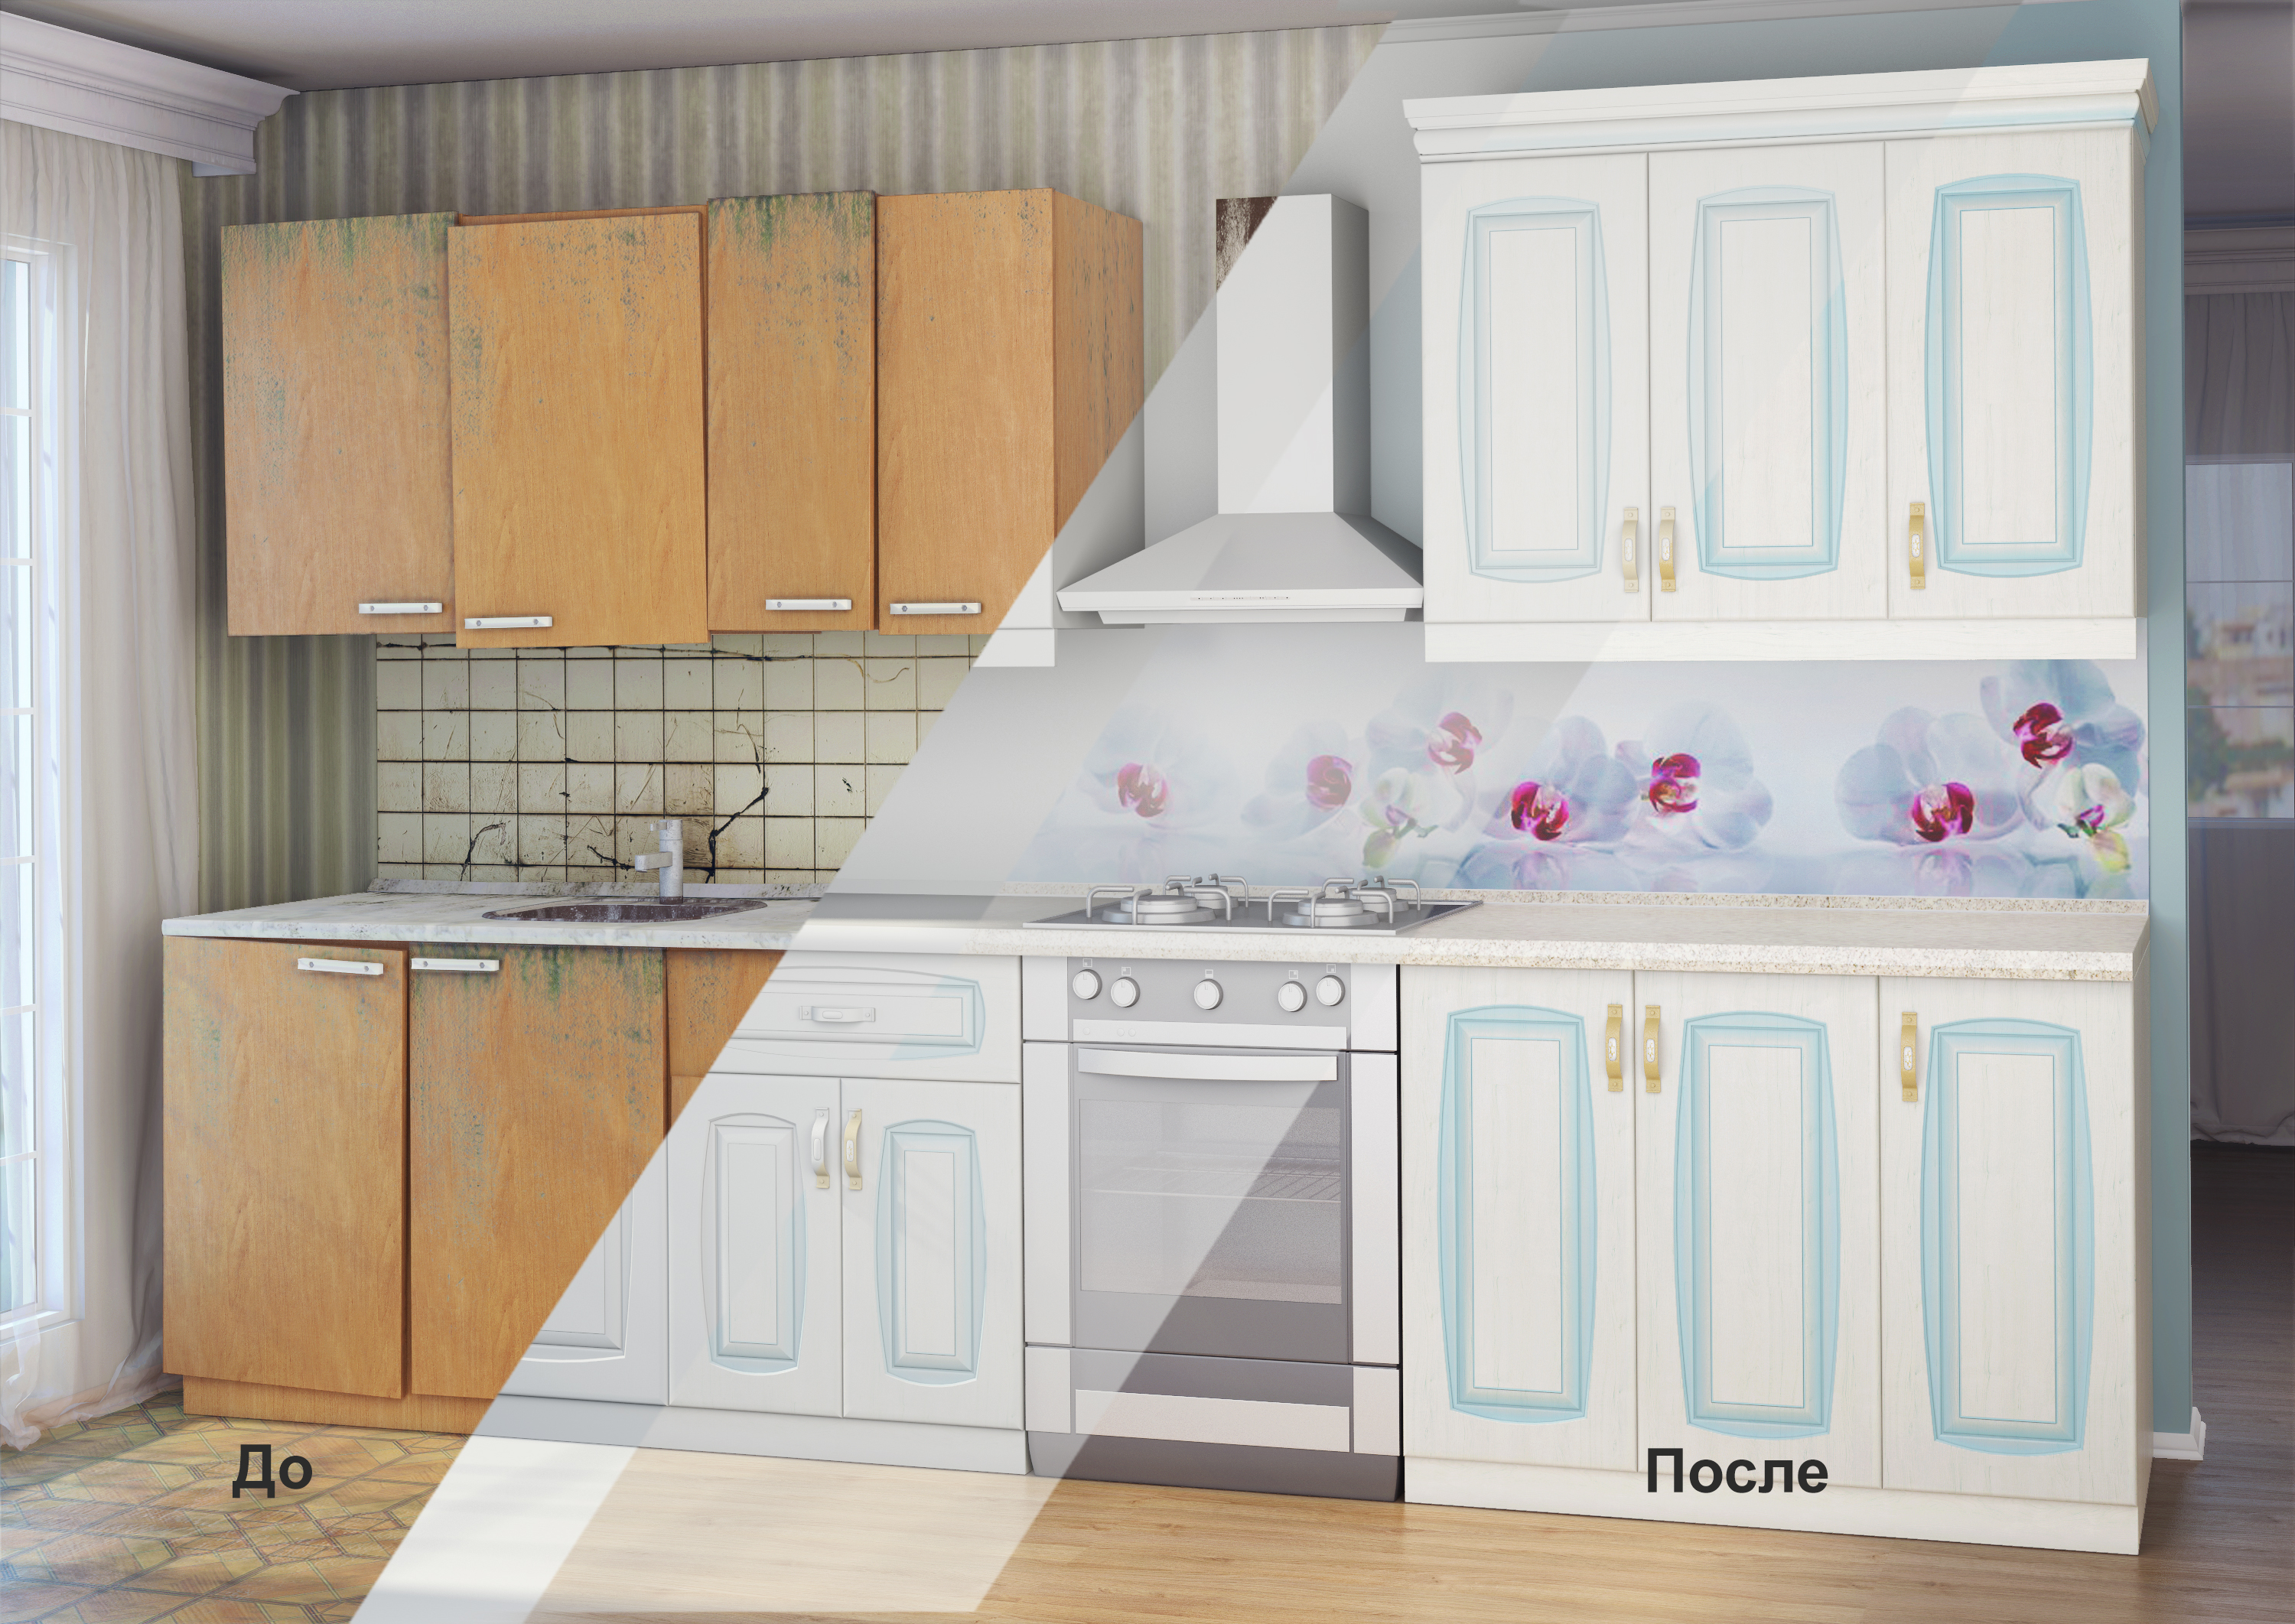
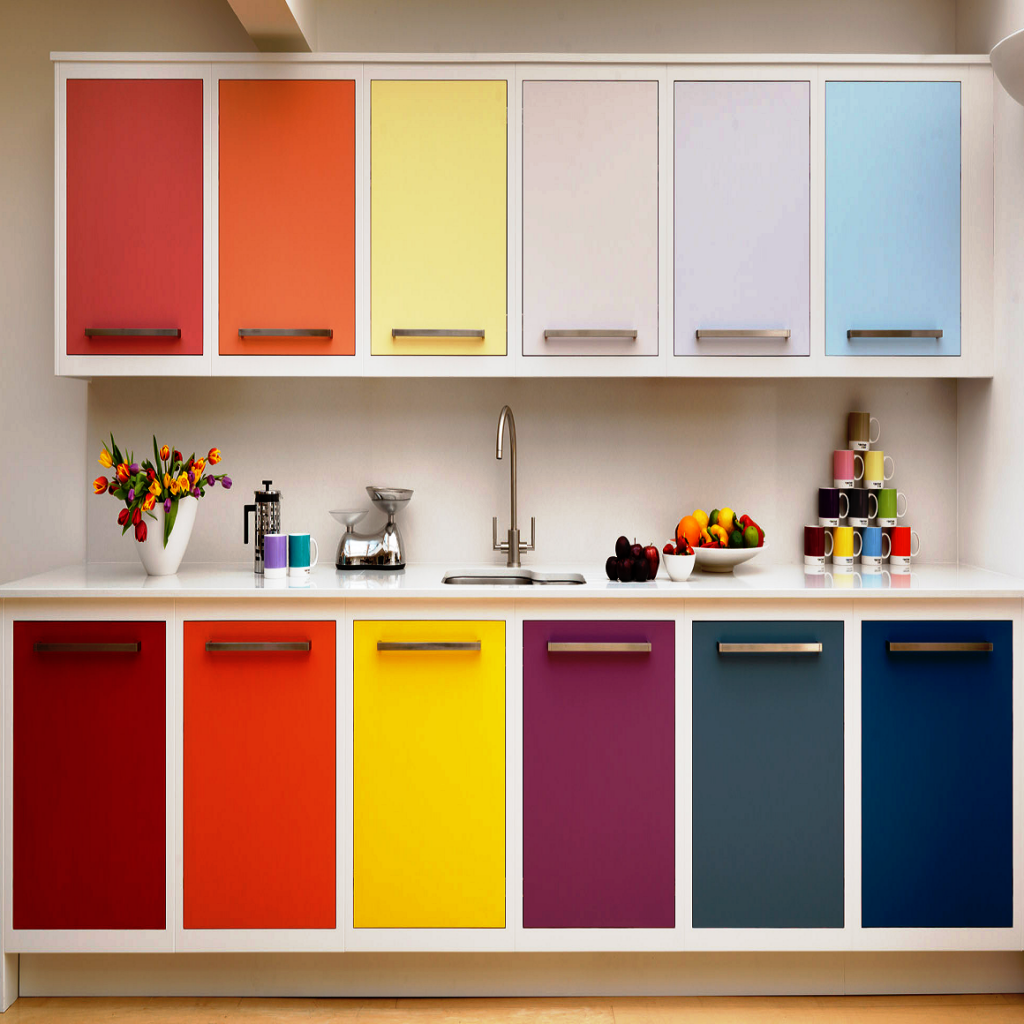
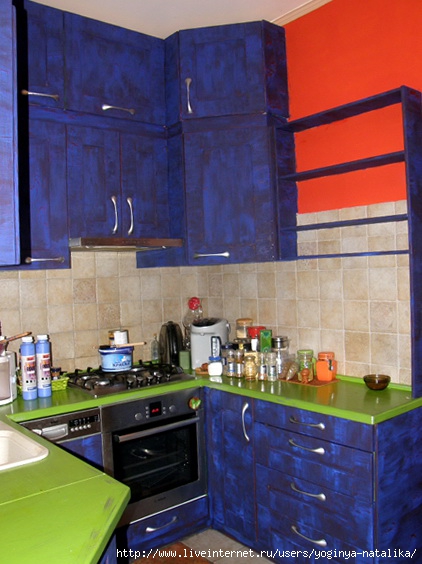
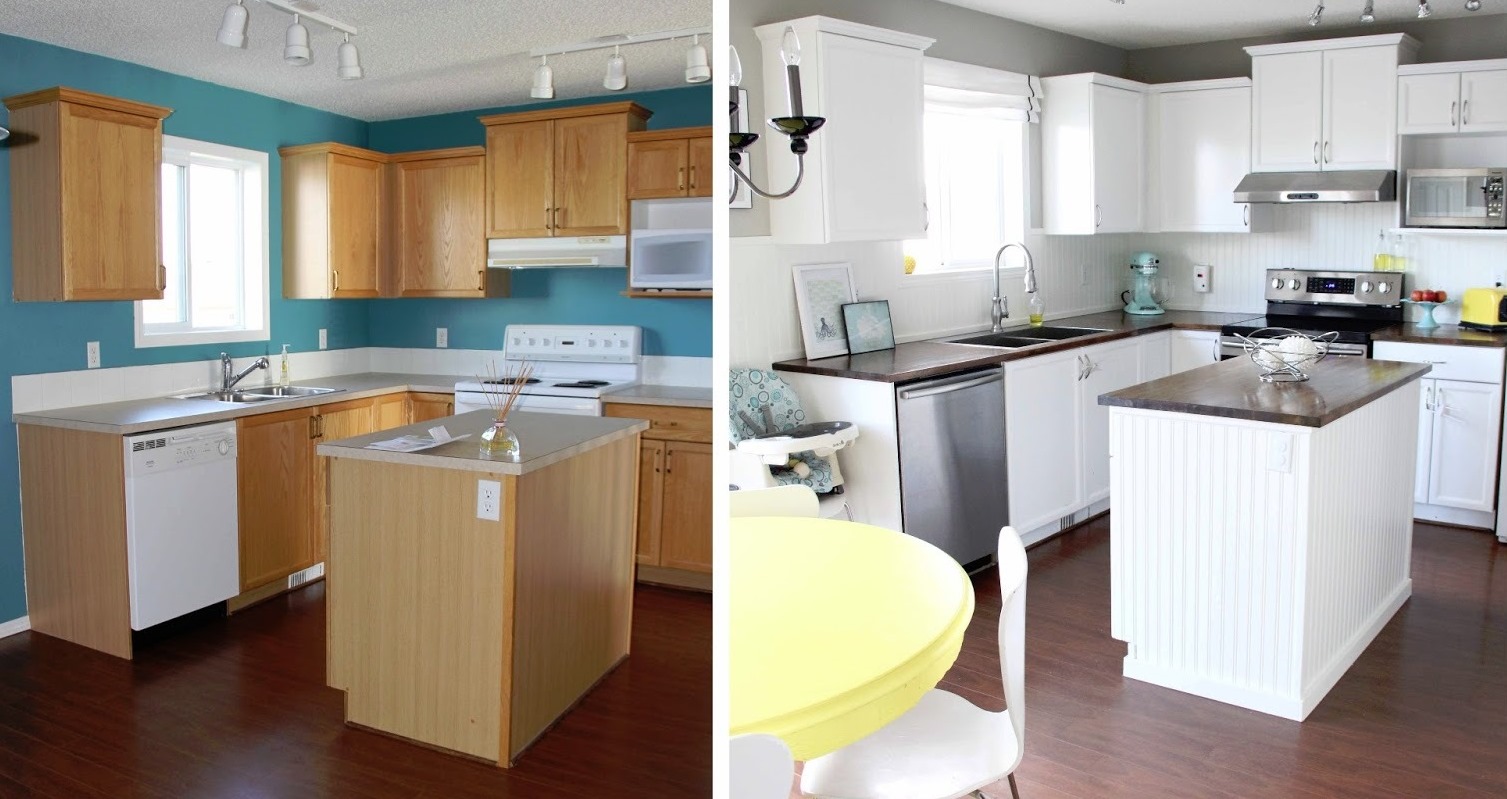
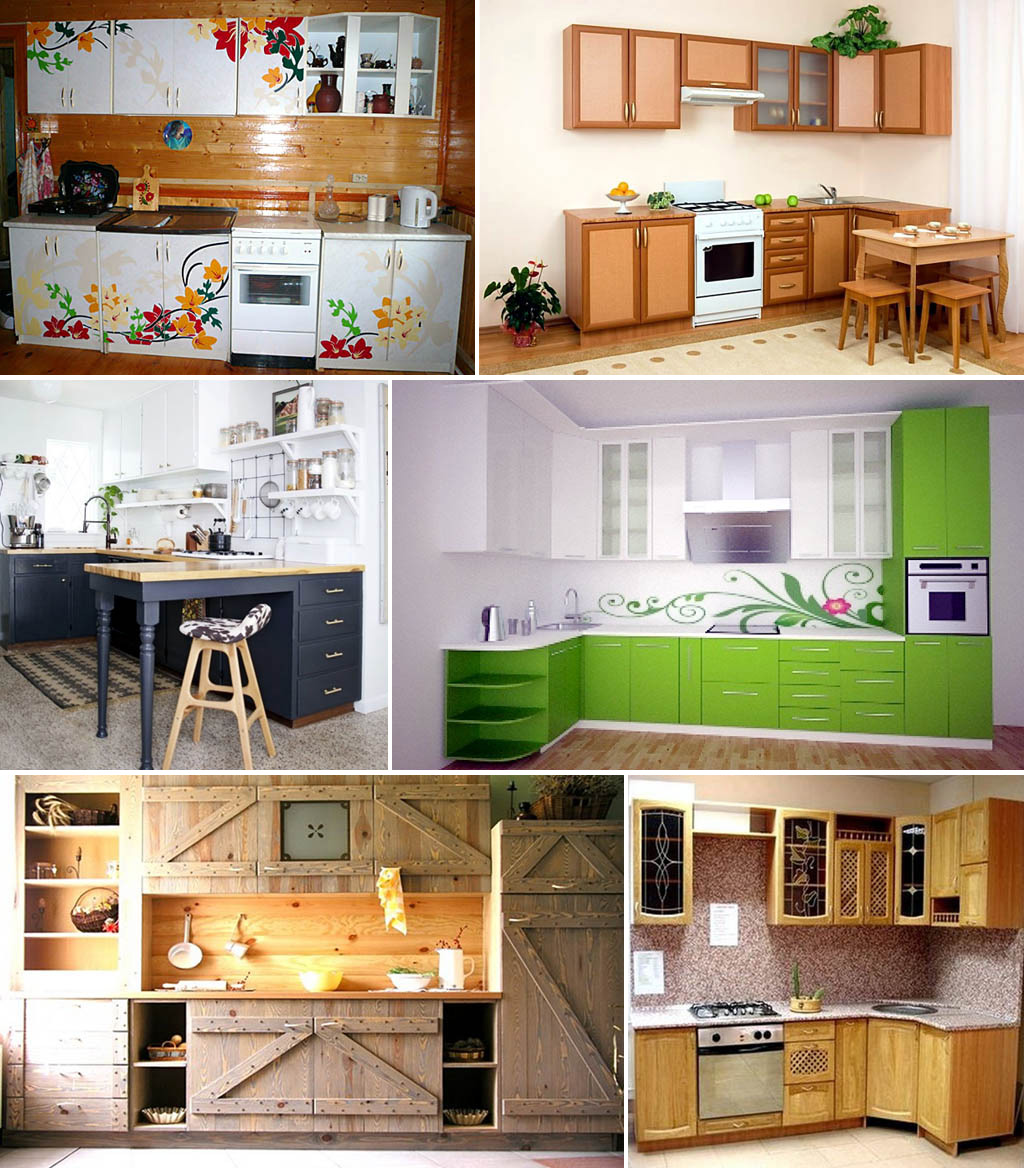
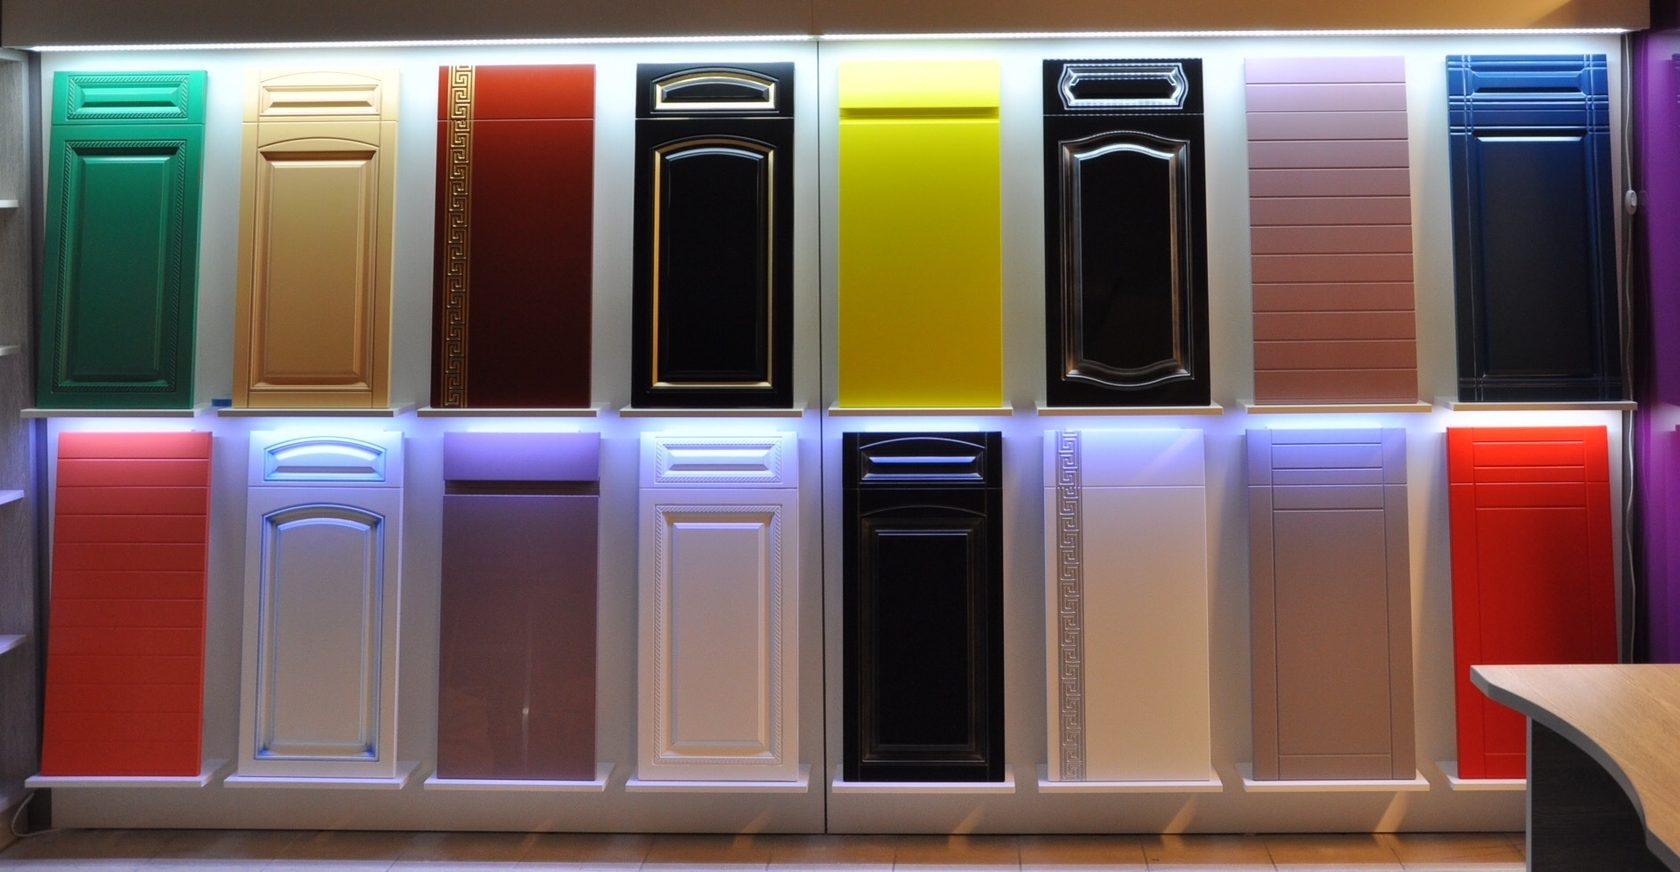
Before you paint the kitchen set with your own hands, you need to decide on the color. Long gone are the days of traditional white kitchen modules with the same dull facades in a small flower, with a woody or other uncomplicated texture. The modern market opens up a wide range of furniture colors to the consumer. You can paint your kitchen any color you are not used to.
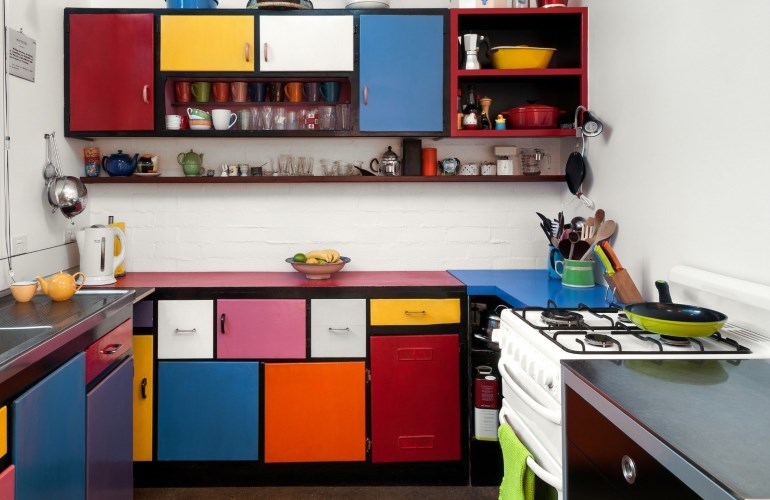
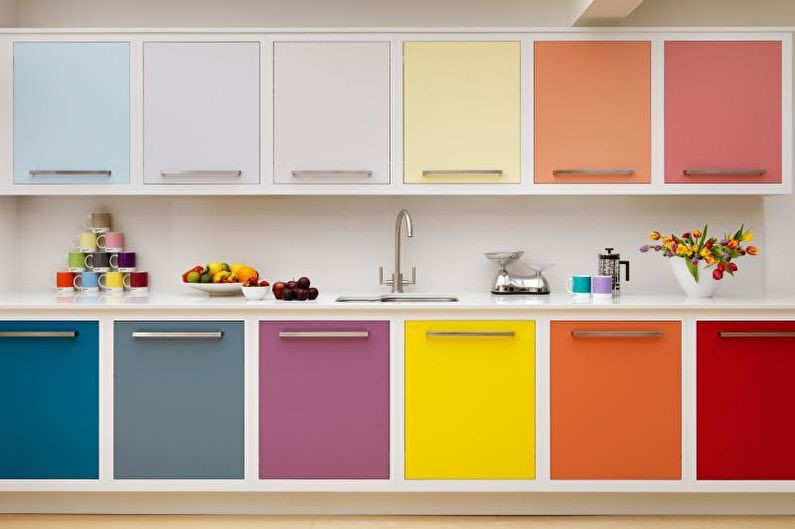
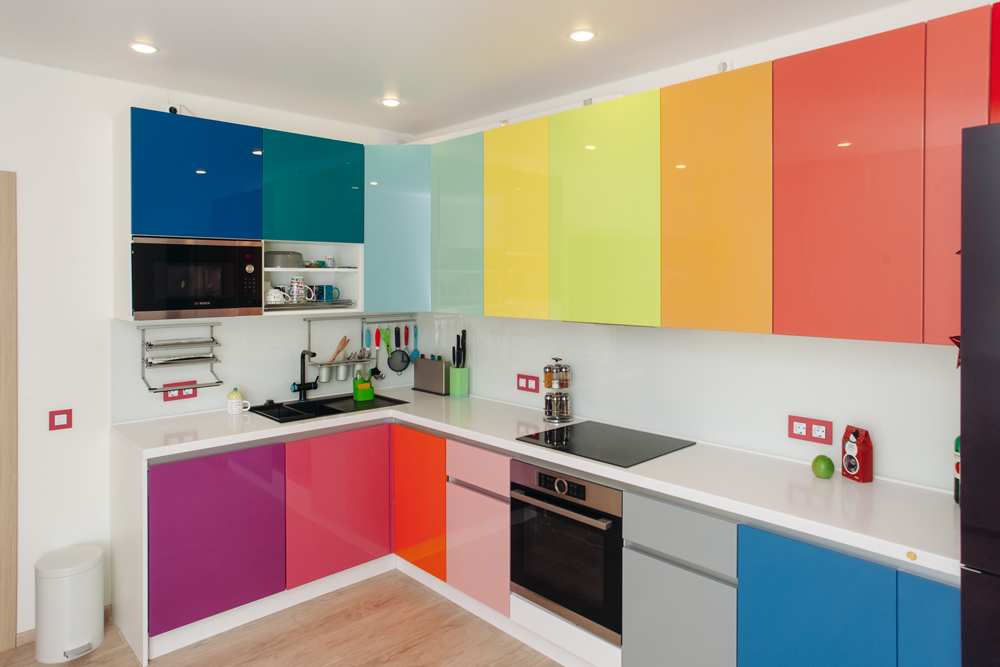
You can choose one or more colors, which is becoming popular lately.
It is important that the color scheme chosen by you harmoniously fits into the overall interior design.
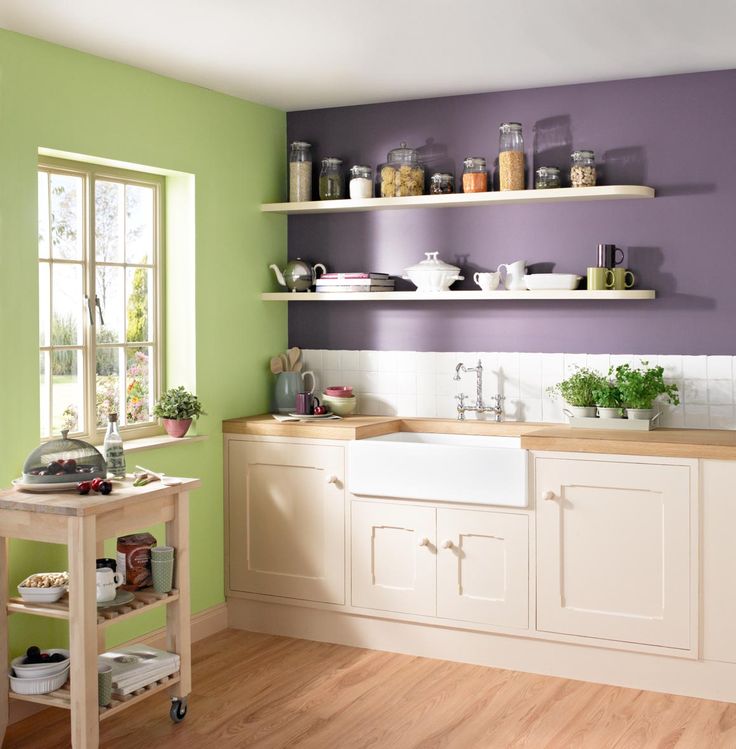
If the walls and ceiling in the kitchen are quite bright, a neutral solution is suitable for the headset. All shades of beige, brown, coffee, white, black and gray. You can choose one of the above shades or combine, choosing up to three colors at the same time.
It is quite difficult to make a mistake when combining neutral shades, it is only important to carefully use dark colors. If dark prevails, the interior can turn out to be rather gloomy.
You should not combine only light or dark colors, forgetting about bright accents and contrasting blotches.
Colors and options for their combinations:
| Main color | Additional shades |
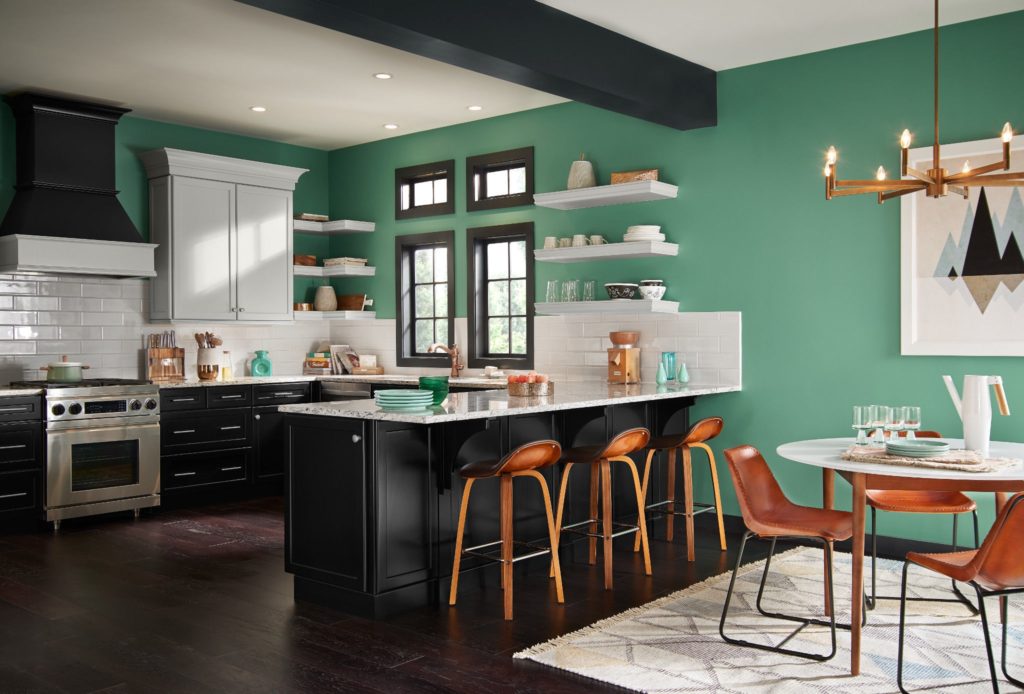
| Black | Light green, red, mint, pink, beige, gray |
| White | Blue, light blue, lilac |
| Beige | Red, brown, black |
| Lilac | Coffee, pink, purple |
| Burgundy | Creamy, white, woody |
| Green | Light green, blue, yellow |
A bold decision is to use two bright or two neutral colors at the same time, but here the main thing is to do everything with taste.
An original interior can be made by combining contrasting shades: lilac with yellow, blue with orange, and red or pink with blue. If you don't like too bright colors, make the interior more calm by combining any chosen color with a similar shade.
For example:
- orange with red or yellow;
- blue with green or blue;
- green with mint, light green or yellow.
The use of several colors at the same time is only gaining popularity and therefore seems bad taste for many. But if you like to experiment, this option may well be acceptable to you. Two soothing tones can be complemented with colorful blotches or different tones can be used for facades.
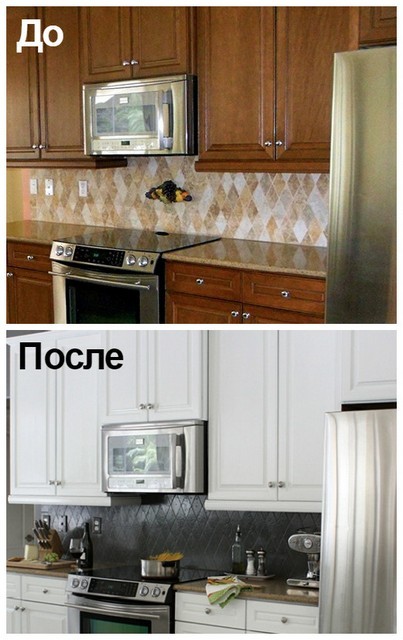
The main thing is to have a competent approach to the choice of colors, then you will be able to give the old headset a new life.
Choice of paint
If earlier the choice of paint was limited only to oil, nitro enamel and emulsion, today the assortment is much wider.
Types of paints not worth choosing:
- Water emulsion is an option that is completely unsuitable for chipboard or MDF. The paint will flow, and the desired color intensity cannot be achieved.
- Oil paint will spread unevenly, leaving unsightly smudges behind.It will be problematic to wash such a set from soot: along with dirt and greasy deposits, the paintwork will also peel off.
- Acrylics are moisture resistant and not resistant to cleaning chemicals.
One of the best options is alkyd spray paint (car paint enamel). The composition is resistant to moisture, chemistry and temperature extremes, and is not afraid of mechanical stress. Some varieties are even dirt-repellent. Such a composition is easy to apply, has no smudges and gives a stable color. A wide variety of colors provides an opportunity to choose the best option for every taste.
Wall color: features for the kitchen in the apartment
There are general rules for choosing colors in the interior:
- for small kitchens, light colors and shades are preferable;
- dark colors look good on large;
- gray color depersonalizes the room;
- in a dark kitchen, it is better to use warm colors;
- the color of the wall covering is selected in accordance with the color of the furniture as the main design element;
- classic wood furniture is combined with peach, white, beige (Zetta kitchens have proven themselves well);
- red, yellow, burgundy wall colors are suitable for traditional white kitchen furniture;
- furniture of unusual design and color of the facades requires restraint in the decor of the walls;
- if the furniture facades are black or very dark, then it is better to decorate the walls with shades of white: milk, cream, cream; do not take white with blue and gray tint;
- in brown, visually narrows the space and spoils the appetite;
- the color of the kitchen also depends on the age of the owners: young energetic people feel better in rooms decorated with bright contrasting colors, this invigorates them and does not have time to tire them, as a rule, such people do not stay long in the kitchen;
- we must also remember that light colors significantly increase appetite, and dark ones reduce it; especially the red color provokes appetite.
The color of the walls during the repair with their own hands is chosen after the installation of the headset and the choice of textiles.
Glass replacement
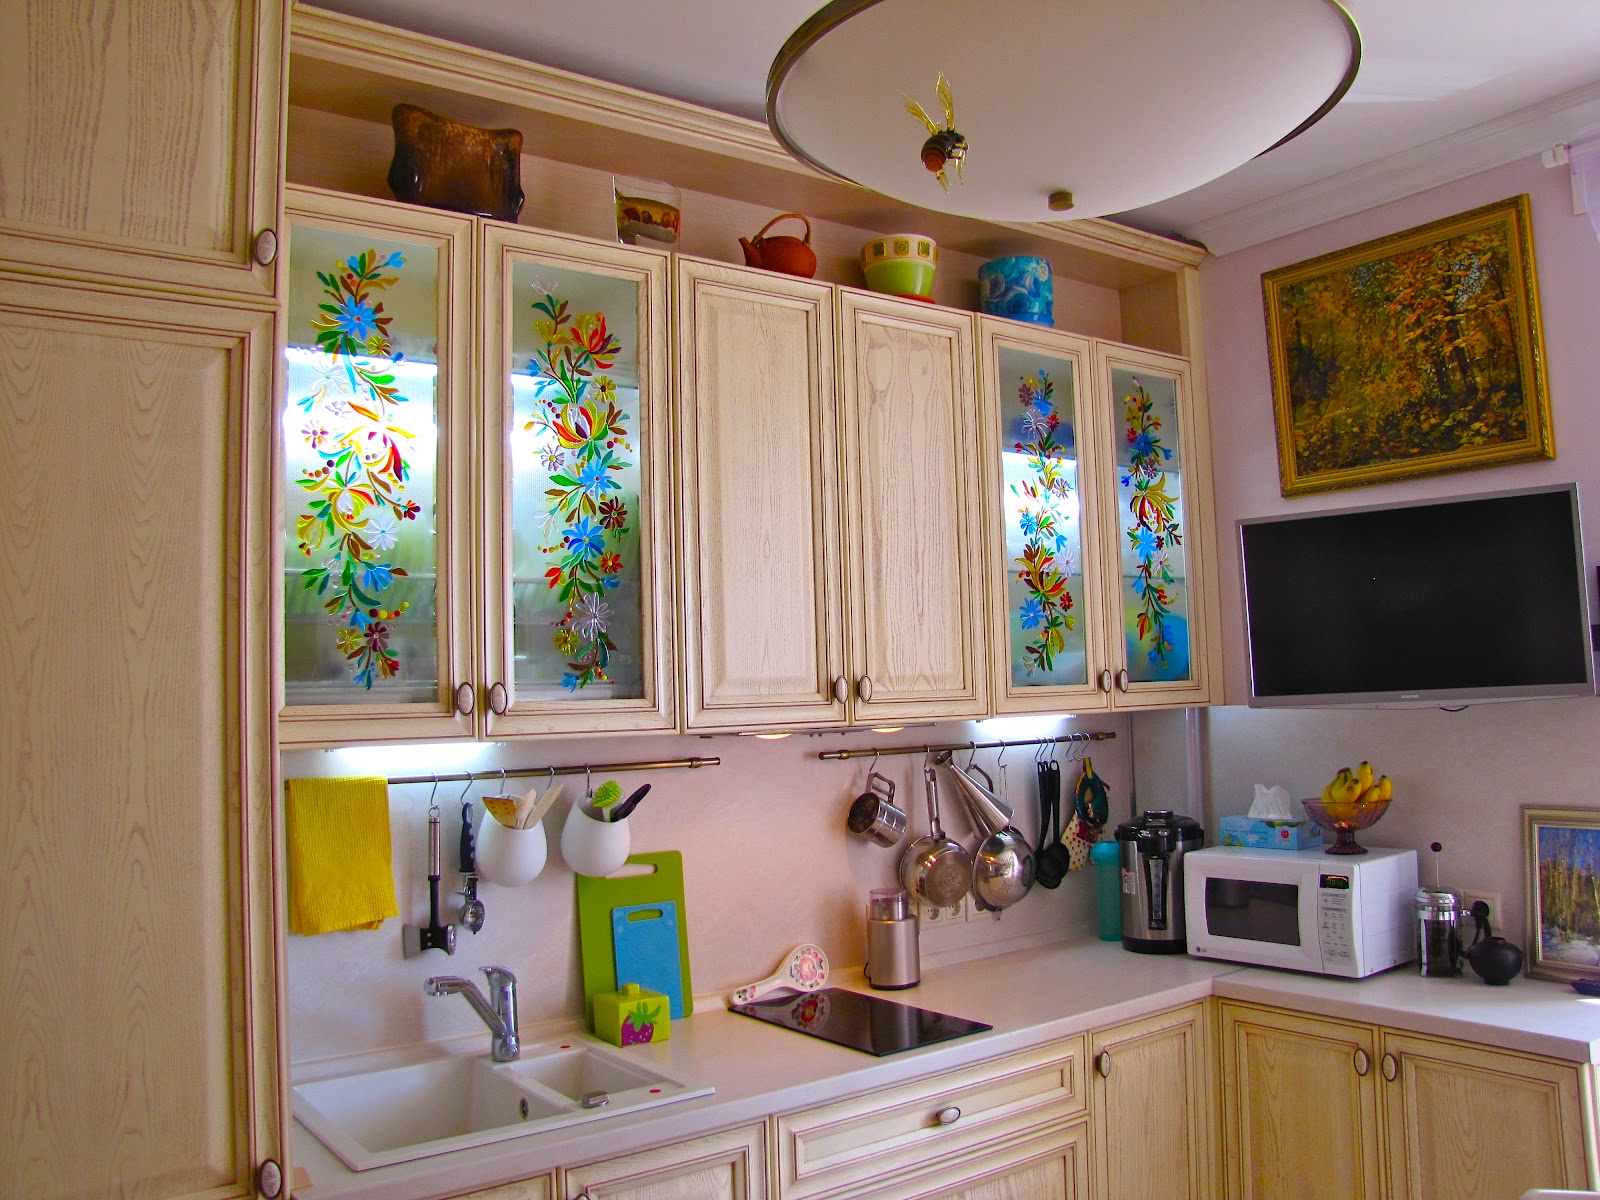
As a rule, glass inserts in facades just need to be washed well to return them to their original ideal appearance. But what if you want something new? You can replace the existing transparent glasses with frosted or colored ones, then the kitchen will noticeably transform. True, glass will have to be made to order, and not everyone can cope with the replacement itself.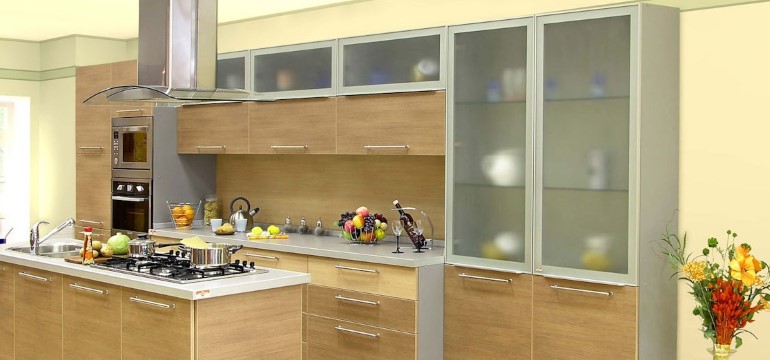
A more budgetary option is to buy a self-adhesive film. With its help, you can give the glasses the desired shade without depriving them of transparency. It will help create a dull effect or simulate a real stained glass window. Anyone who knows how to use a tape measure or a measuring tape, scissors and is able to accurately glue it will definitely be able to cope with gluing the film.
There is also the old old-fashioned method, which involves applying a mixture of chalk powder and silicate glue to glass. In two layers, this material is applied to glass, after which they become frosted.
Stages of painting furniture facades
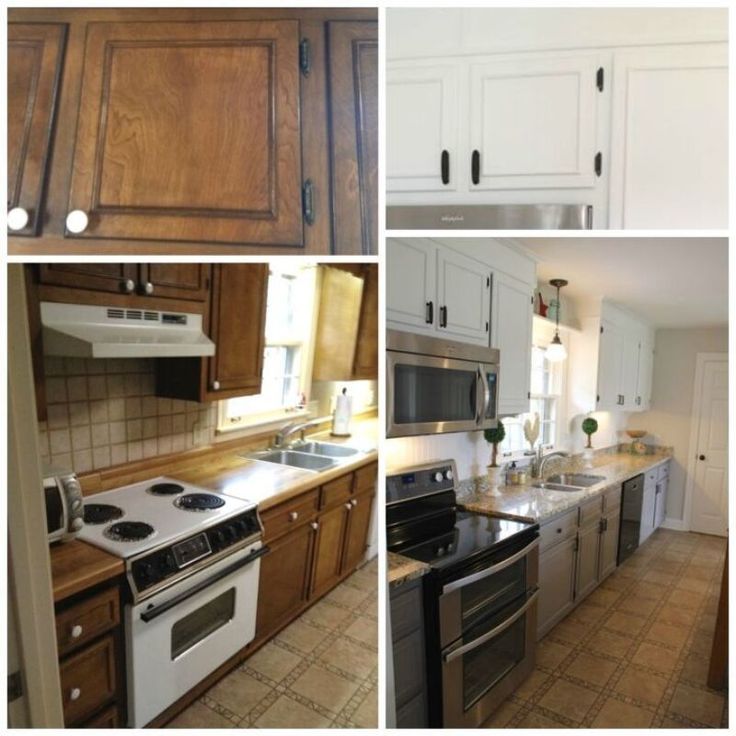
Do-it-yourself painting of kitchen facades from MDF is carried out in stages. Preparatory work includes:
- removal of fittings from doors, glass and inserts;
- removing doors from furniture;
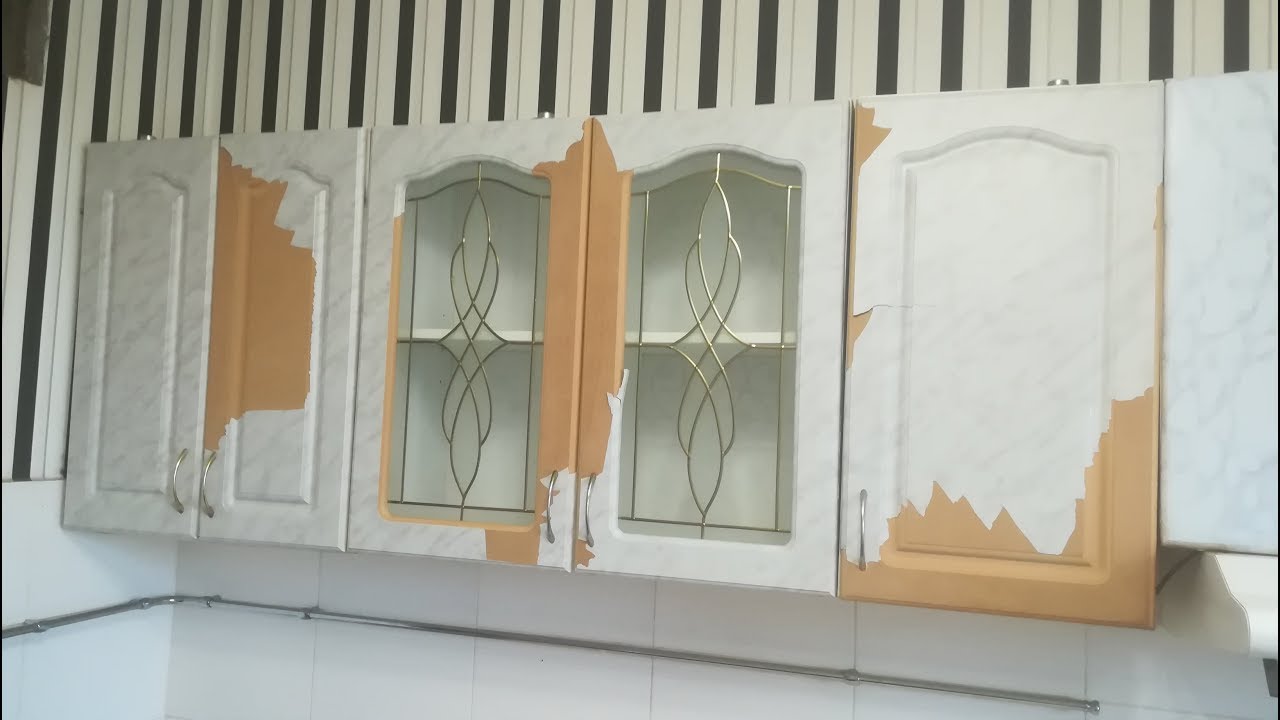
- removal of PVC film, if any;
- cleaning the surface from grease, dust, dirt;
- removal of old paintwork;
- sanding of facades with sandpaper or a sander.
The place where the work will be carried out must be covered with foil. Prepare all materials and tools, protective equipment. Surfaces that do not require painting should be covered with tape. The surface must be clean, dry and free from defects. A solvent and detergent are used for degreasing and cleaning.
If there are significant flaws on the surface of the facades, it is necessary to use a putty or primer.The filling is carried out as an option, the places that have deep damage are processed.
For the treatment of facades, it is more expedient to purchase a putty for cars. After processing and complete drying, the surface is leveled with sandpaper.
After filling, the surface is covered with a primer. You should choose a material suitable for the facade. It can be a regular primer or an aerosol primer. It is applied in one or two layers.
Coloration
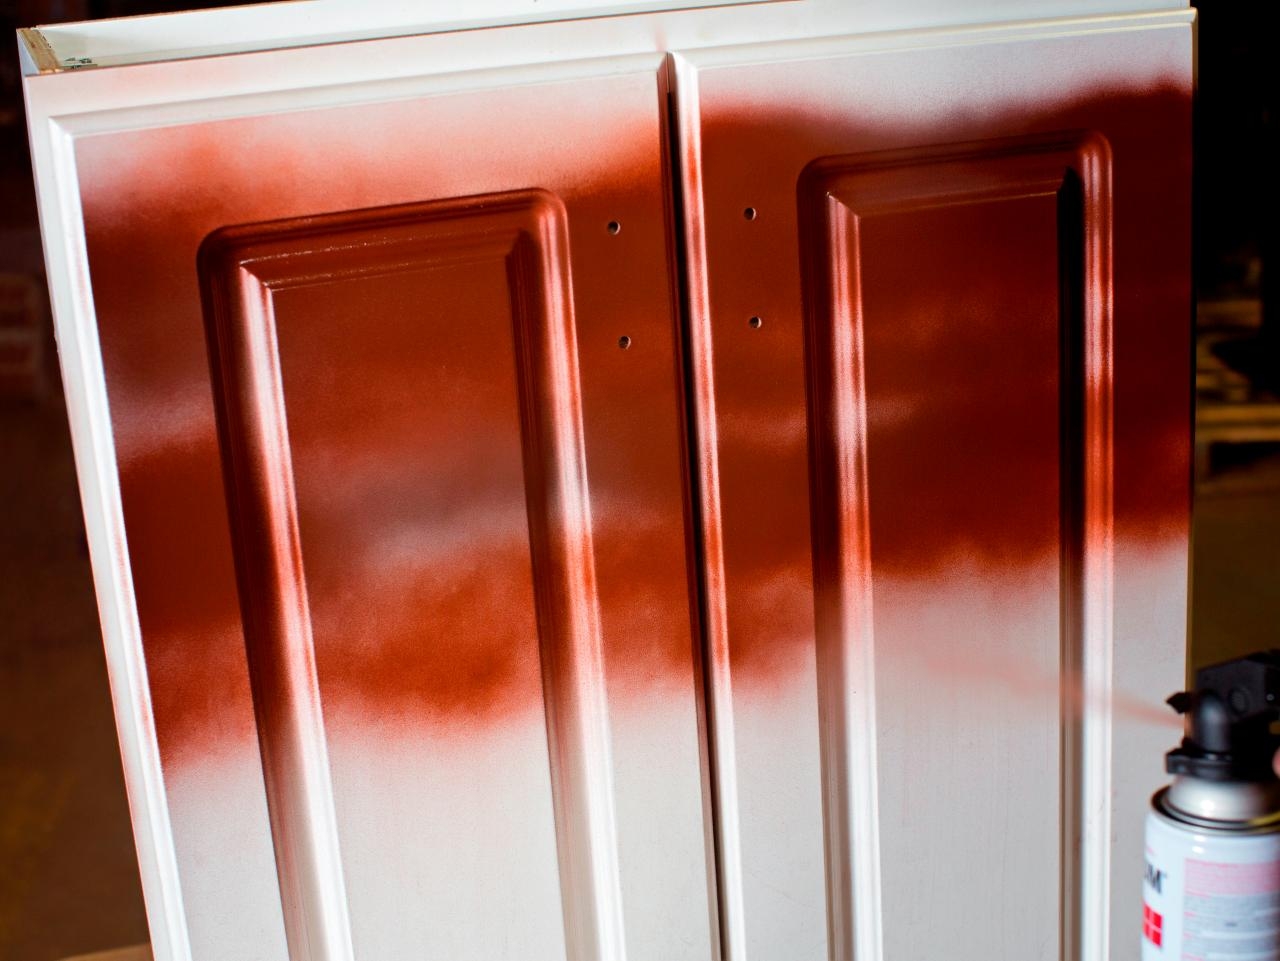
The easiest way is to use spray paint for high-quality painting. The can is shaken thoroughly for 30 seconds, after which the material can be applied to the facades. The container is kept at a distance of 25-30 cm from the surface. It is advisable to make 2-3 layers, observing the rule: each subsequent layer is applied only after the previous one has completely dried!

Painting can also be done with a brush and roller, while the general technology does not differ
There are only a few essential points worth paying attention to.
- The tools must be new.
- It is easier to paint a flat surface with a roller, with a brush you can process all hard-to-reach places, grooves, joints, small parts.
- For even coloring, choose a foam roller.
- You don't need to take too much paint on the tool, then you get a layer without drips and streaks.
- Movement when painting is smooth, in one direction.
- It is more convenient to use a special container for paint.
After painting, if desired, the surface can be varnished or decorated. Finally, the facade dries up within a few hours. As you can see, it is easy to repaint the facades of the kitchen. This is a creative process, and as a result of updating the room with your own hands, it will be even more pleasant to be in it.
Which paint to choose?
When deciding which paint is best to paint the walls in the kitchen, it is important not only to choose the perfect shade; first of all, you should make sure that the material has the appropriate characteristics. Let's consider several options
Oil based paints
These formulations were in great demand during Soviet times, but such popularity was due to the lack of an affordable alternative. Facades, porches, walls of bathrooms and kitchens were painted with oil paint. Advantages:
- low cost,
- ease of application,
- ease of care (easy to clean using any available means),
- abrasion resistance,
- anti-corrosion effect when covering metal structures.
Now, when the requirements for the quality of paintwork materials have increased significantly, the disadvantages of oil paints have greatly weakened the position of these compounds in the building materials market:
- toxicity is the main factor that makes it undesirable to use the material in the decoration of residential premises;
- an unpleasant and very persistent specific odor that can cause an attack or aggravation of allergies;
- long drying time (two days);
- zero vapor permeability;
- the likelihood of rapid cracking of the coating due to the lack of elasticity;
- tarnishing and discoloration over time (drying oil, on the basis of which the composition is made, tends to turn yellow);
- the color scheme does not shine with variety, and the material does not lend itself to tinting;
- extremely time consuming process of removing old oil paint from the surface.
Alkyd paint has about the same properties, which, moreover, is rather difficult to work with.
Considering all the pros and cons, the choice in favor of this material for painting walls in the kitchen is justified only in the case of very limited material possibilities or due to tradition.
Water based paints
These compositions are in great demand among both interior decoration professionals and those wishing to make repairs on their own. Advantages:
- maximum ease of application,
- lack of smell and toxic substances in the composition,
- hypoallergenic,
- vapor permeability,
- the possibility of tinting in any shade,
- short drying time (2 hours),
- easy cleaning of working tools and hands (just wash with soap and water)
- affordable price.
Water emulsion is a good option when it comes to renovating living quarters. To decorate kitchens and bathrooms, manufacturers add latex, silicone or acrylic to the composition of these materials to increase their moisture resistance.
Water dispersion paints
Painting the walls in the kitchen with your own hands will give a good result if you use water dispersions. They are produced on different bases.
PVA (polyvinyl acetate) is not the best component in the composition of a coloring agent for the kitchen; too low moisture resistance and rapid pollution will negate all the efforts made to decorate the room.
Acrylic water dispersion paint is a favorite among other formulations. Pros:
- ease of use,
- environmental friendliness and lack of smell,
- abrasion resistance,
- moisture resistance,
- lack of response to temperature changes,
- fast drying of the painted surface,
- the possibility of cleaning with household detergents,
- tinting in any color,
- affordable price,
- good adhesion to wood, concrete and plaster surfaces,
- long service life of the coating (on average - 10 years).
Choosing an acrylic-based water dispersion as a material for finishing kitchen walls and ceilings, you can get a decorative coating of excellent quality at a low price.
The latex-based water-dispersion compound is distinguished by even greater moisture-repellent properties and wear resistance. In addition, this material is very elastic, due to which it perfectly masks small flaws and cracks on the painted surface.
Important: work with water-based paints should be carried out at a temperature not lower than + 5 ° С

How to paint walls
The selection of paint is only one of the first stages of redecorating a kitchen. If you want to do it yourself, then you need to familiarize yourself with the process in detail.
The paint should be applied to even and pre-cleaned walls. Before painting, clean the walls of all traces of dirt, dust and grease. Be sure to clean the walls from mold and mildew. Also, of course, the wall must be cleaned of all traces of finishing materials.
When painting, the walls must be flat, because their surface will not be covered with anything. Therefore, the walls must be well aligned. This is done using high-quality plaster and moisture-resistant acrylic putty. And in order for the surface to be perfectly smooth, it must be additionally treated with sandpaper after complete drying.
But back to painting. To prevent the paint from spoiling excess surfaces, they should be sealed with masking tape. Stir thoroughly before applying paint.
If necessary, add color to the paint. This can be done independently or directly in the store using a tinting machine. True, it is worth remembering that to obtain a uniform color, you need to knead all the paint at once, and not try to repeat the shade several times.
When choosing a color, remember that the shade will be different after application. It will become less saturated than initially. To get a beautiful saturated color, paint the wall in several layers.
You can paint the walls in the kitchen with a simple paint brush, a velor roller and a tray, or even a spray bottle.
Painting the walls with a roller does not require any special skills. The only thing to consider is that when painting, you definitely need to use a bath. This will save you from the appearance of smudges on the walls, which can occur even with a careful attitude to work. Paint is poured into the tray. Then it is carried out with a roller along the ribbed surface - this way the amount of paint that is necessary for coloring remains on it, and no more.
It is recommended to start painting the walls from the window side.Before painting the main part of the wall, it is recommended to brush over all hard-to-reach places with a brush. This is done with a brush.
The wall must be painted first in the horizontal direction, then in the vertical direction. This is how the paint adheres best. By the way, most often, before applying the first layer, the paint is diluted with water by ten percent. But this does not apply to all types of paint. Whether it is worth planting it or not, you can find out from the instructions.
When painting walls, remember that you can apply a new layer of paint only after the previous one is completely dry. Otherwise, the paint will simply smear, and the wall will look untidy, and the next day you will think about how to remove the paint from the wall.
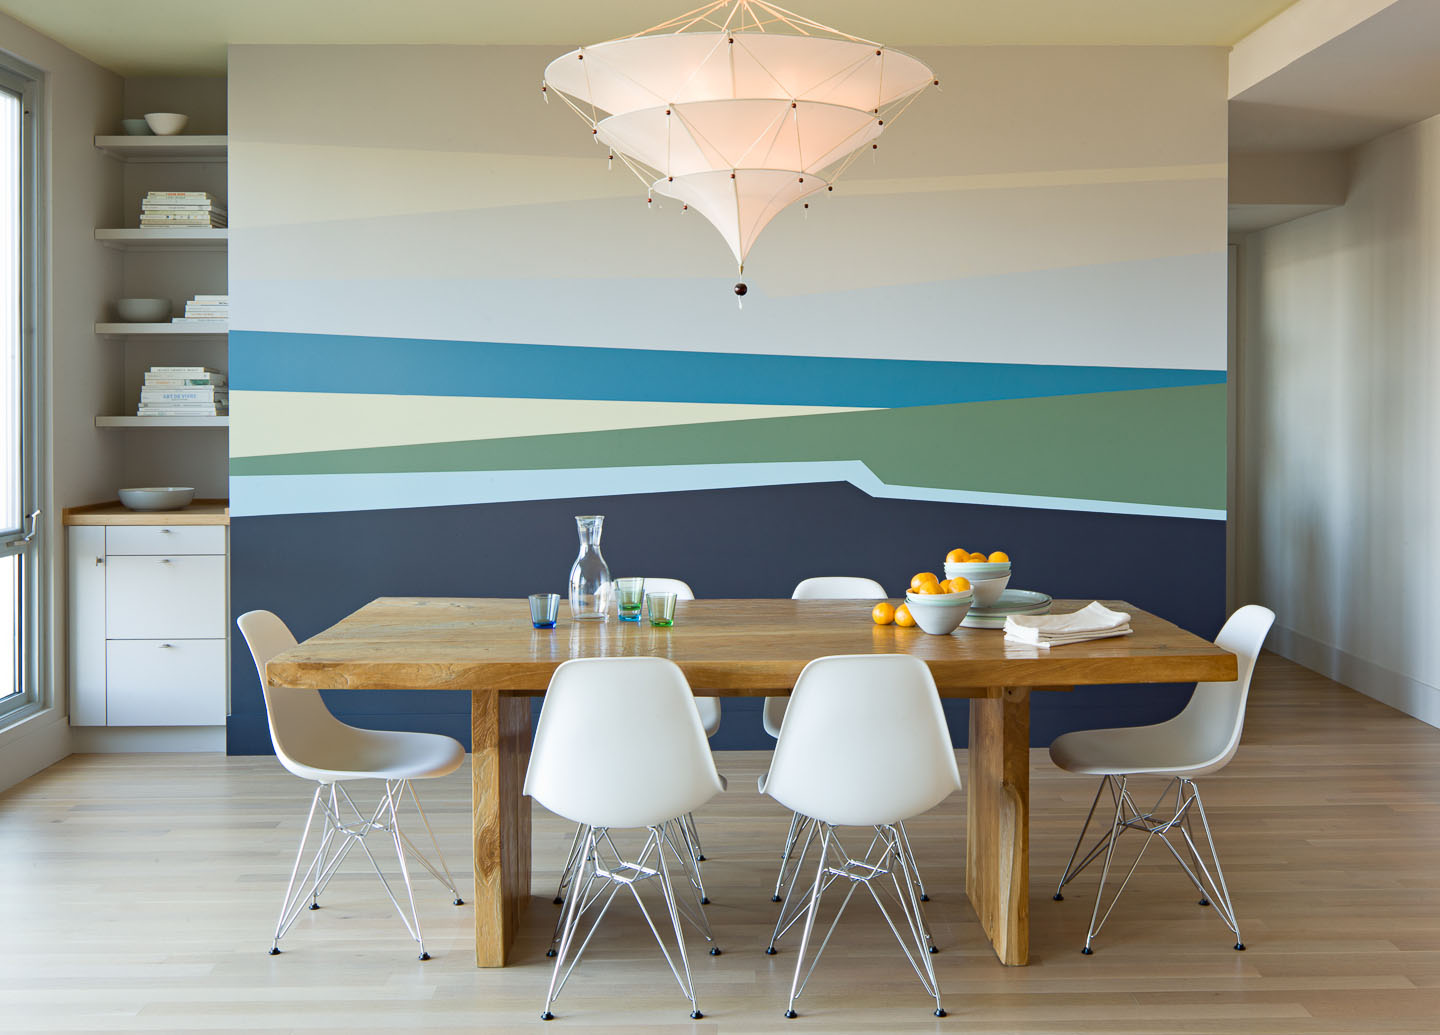
If you decide to create interesting patterns using paint, then textured paint or your imagination will come to your rescue. Walls can be decorated with various geometric shapes using simple paint. In order to decorate the wall with squares or triangles of different colors, you can simply mark the borders with masking tape and paint over the parts of the wall you need. This tape can be easily removed without leaving any residue behind.
If you're good at drawing, you can create interesting designs and patterns on the wall using simple paint and a paintbrush. The process is complex, but the end result is a truly unique and eye-catching picture. To obtain a beautiful drawing, it is advisable to first apply it to the wall using a simple pencil. After that, repeat the pattern created with thin lines, already with the paint itself.
7photos
To make the finished drawing look more voluminous, complement the drawing along the edges with blurred lines. For maximum effect, use water-based paint. In order for the drawing to remain the same as on the first day as long as possible, it should be fixed with a thin layer of varnish or the painting should be covered with transparent acrylic. If you comply with this condition, then the image will remain on the wall for ten to fifteen years.
Thus, without spending too much money, you will make a stylish stone wall in your kitchen. Best of all, a wall with a "stone texture" will fit into a modern or high-tech interior.
Color and lighting
The choice of color for wall decoration directly depends on the lighting.
If the room is dark
In the large kitchen, you can paint the walls red and orange. The yellow color is especially successful: it creates the illusion of being filled with the sun's rays. At the same time, not all walls may be bright red and orange, one is enough, it is better if it is a wall in the darkest part of the kitchen, to make the overall appearance of the room softer, you can add light gray or beige to the red and bright orange colors. You can read more about orange cuisine in the article.
Sunny side
For a sunny kitchen, you can choose rich cold colors: bright blue, bright green, aquamarine. However, they can be combined with softer shades. And to contrast: gray with red, green with yellow, blue with yellow.
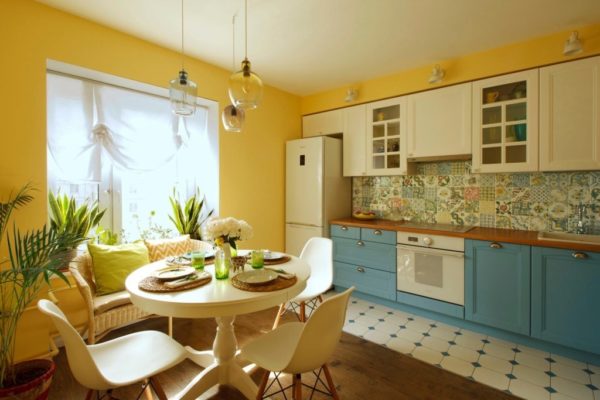
For those who do not wake up well in the morning, yellow is a good color, it will help you finally wake up while breakfast is being prepared.
It is better if the paints are glossy. Reflecting on such glossy bright surfaces, the sun's rays will create an interesting play of glare and play.
How to create lighting in a small kitchen:
Method 3. Decoupage kitchen
Hand painting is very beautiful, but difficult or expensive. But even a beginner can decorate boring facades of a headset or hide local damage (scratches, chips, spots, etc.) with drawings created using decoupage technique. At the same time, the result is guaranteed to be excellent! We suggest you glean ideas for decoupage kitchen in the next selection of photos.
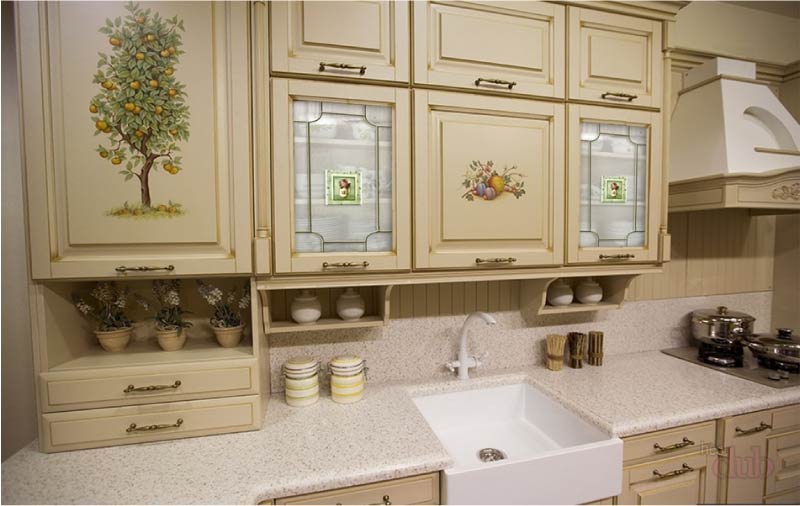
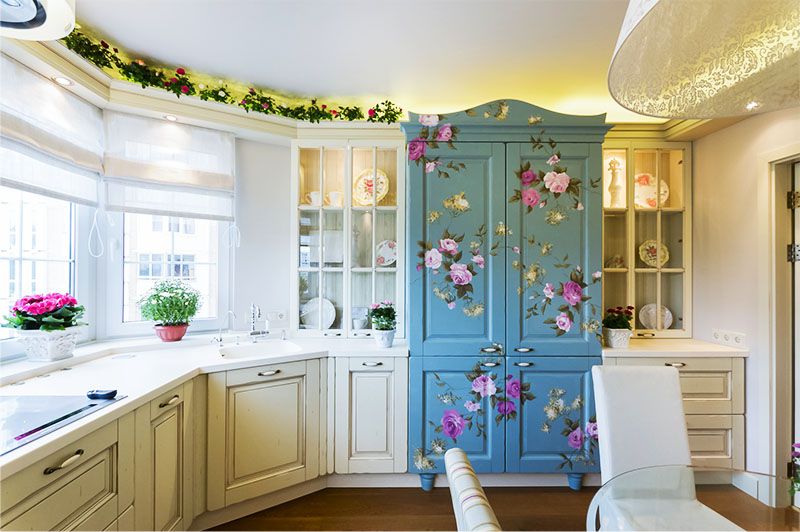
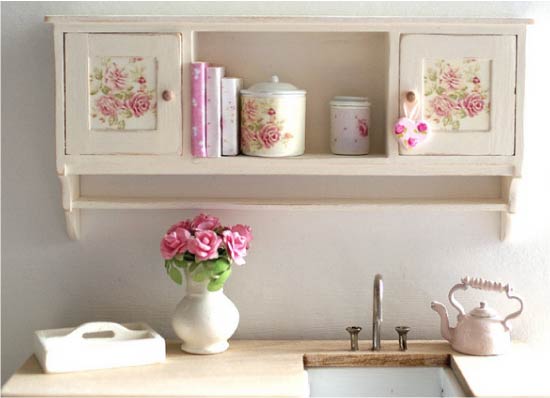
Shabby chic kitchen decoupage
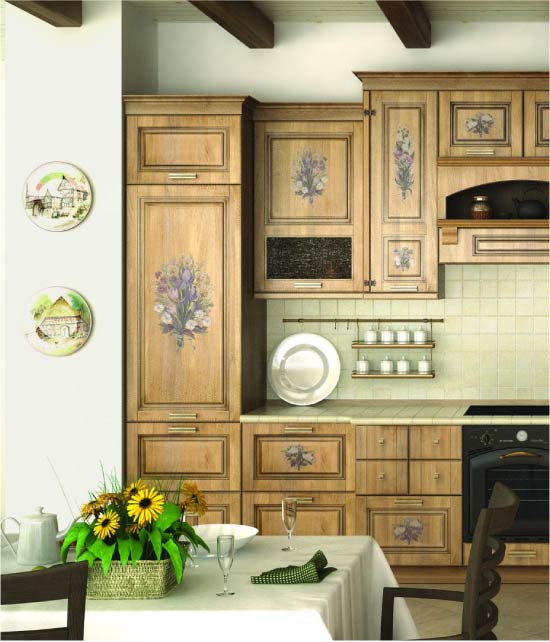
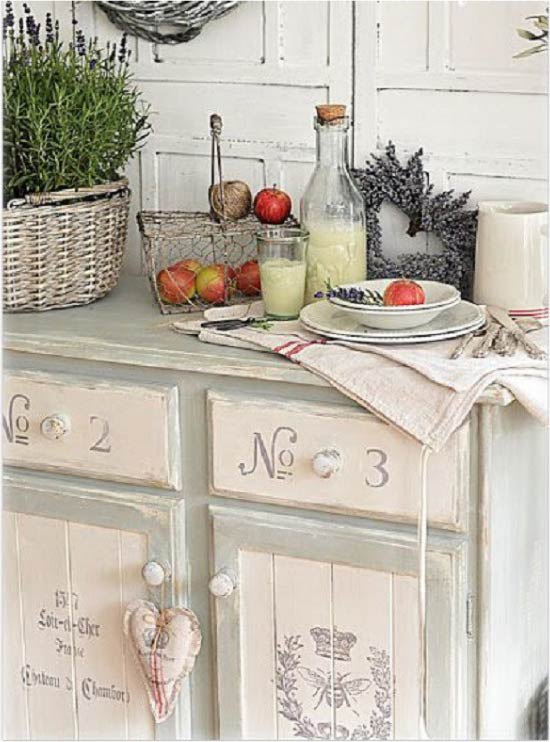
Decoupage kitchen in Provence style
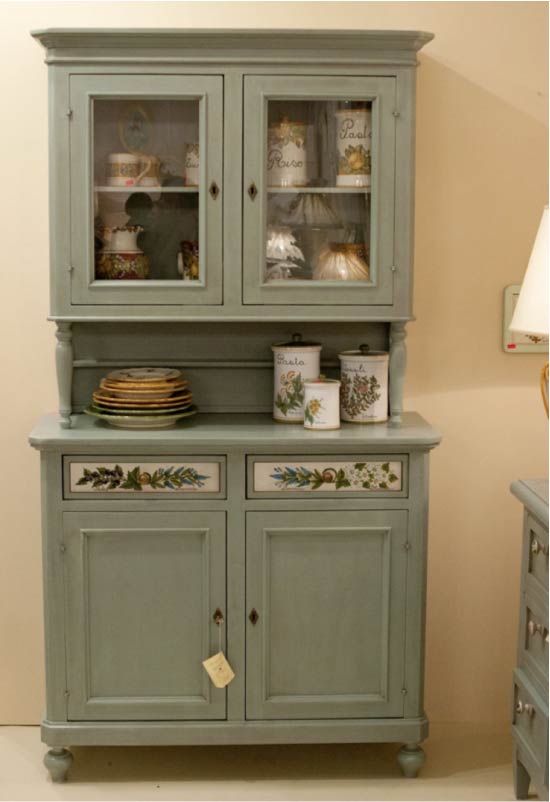
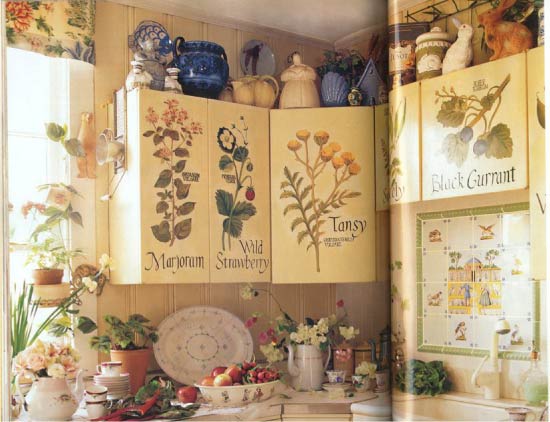
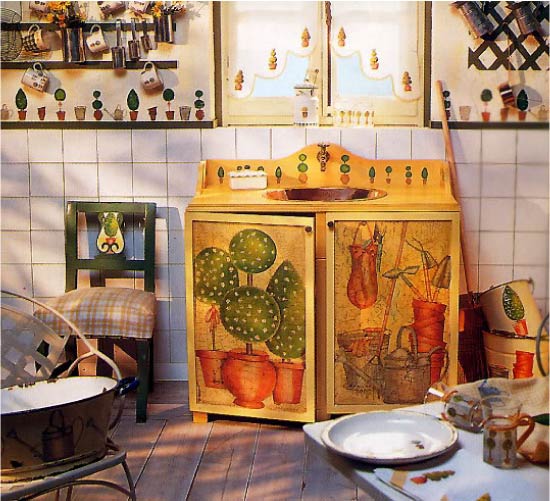

Decoupage buffet
Decoupage will help to decorate not only the facades of the headset, but also other kitchen furniture and even appliances.
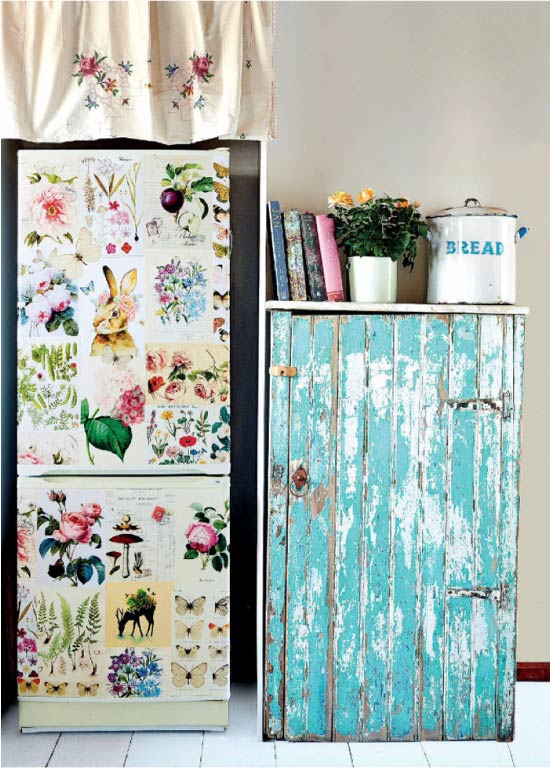
To work you will need:
- Three-layer napkins with a pattern or decoupage cards;
- 2-3 flat squirrel brushes (for applying glue and drawing on glue, as well as varnish);
- Scissors;
- PVA glue;
- Pencil;
- Acrylic varnish (matte, glossy or with craquelure effect).
Advice:
- Decoupage cards are more suitable for decoupage kitchen with your own hands, rather than napkins - the drawings on them are ideally combined with each other and can be large in size.
- The main thing in reworking furniture using decoupage technique is the correct choice of patterns. They should fit into the interior of the kitchen in color and style.
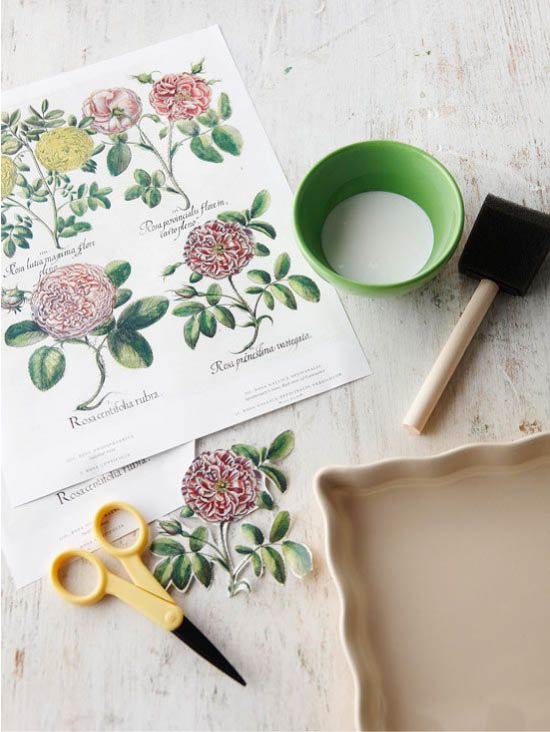
How to transform a kitchen using decoupage technique:
Step 1. First you need to degrease the selected area with alcohol or degreaser.
Step 2
Carefully separate the patterned layer from the napkin, then cut out the desired print from it. At this stage, the drawing can be "tried on" on the facade and at the same time make a note where it should be located
Step 3. Now we grease the back of the cut-out pattern with PVA glue and apply it to the facade in the right place. Next, gently smooth the napkin with a brush, moving it from the center to the edges, and blot the excess glue and remove it with a slightly damp cloth.
Step 4. In the same way, glue all the remaining napkins.
Step 5. If desired, the decoupage of the kitchen can be finished by hand painting. When the glue and paints are dry, the pattern can be sealed with 2-3 coats of acrylic or polyurethane varnish (let the pattern dry completely between the coats).
Methods for painting the surfaces of facades: coloring composition and not only
What paint to choose so that the appearance of the products is flawless, even and smooth?
How is furniture fronts painted?
You can paint the chipboard with brushes, spray guns with oil paints, acrylic paints with a water base, alkyd enamels, drying oil, stain, furniture varnishes. The advantages of aqueous formulations are the ability to correct while they are not dry: change the shade, or dilute the bright color to a delicate shade. But we will get a more beautiful surface using a special aerosol enamel composition.
Painting of MDF facades with plastic is carried out using colored enamels of aerosols for a car. At the same time, painted MDF facades for kitchens are water-resistant, resistant to aggressive detergents and high temperatures, and are durable. Automotive enamel coating guarantees even, non-sagging, layering.
Instruments
Achieving the perfect kitchen surface with painted facades is impossible without the right tools and aids.
When carrying out the work, you will need the following items.
- New brushes, wide and narrow, flat pattern.
- Roller made of velor or foam rubber.
- Masking tape.
- Container for paint.
- Rubber spatula.
- Gloves.
- Soft (lint-free) rags.
- Acrylic, oil paint, or alkyd enamel, varnish.
Enamel and acrylic synthetic compound give a shiny gloss, oil paint and stain create a matte finish. Transparent dyes emphasize the beauty of the natural wood structure.
Learn to use a spray gun - it's not difficult
Technique of solid painting of furniture
You can repaint furniture made of chipboard with your own hands with brushes or a roller. Roller spreading saves paint and spreads it more evenly. Decorative patterns should be applied with a brush.
To paint the chipboard with your own hands, movements on the surface are performed in one direction. The final layer is applied along the entire length. Each layer is applied after the first has dried: water composition - after 30 minutes, acrylic - according to the instructions. If it is necessary to differentiate the color or material of the facade, use masking tape. Do not open entrance doors until dry.
Painted MDF for the kitchen is obtained in the following ways: the dye is selected according to the coating material: for plastic or a wooden surface. When the composition is thickened, dilute according to the instructions.
Then the next layers are applied one, or alternately, with two drying, if the composition has a low hiding power. You can achieve a shiny mirror gloss with an alkyd or acrylic clear varnish.
Gloss effect gives individuality to furniture
Decorative processing
The creation of an exquisite, beautiful surface is achieved with the help of additional materials.
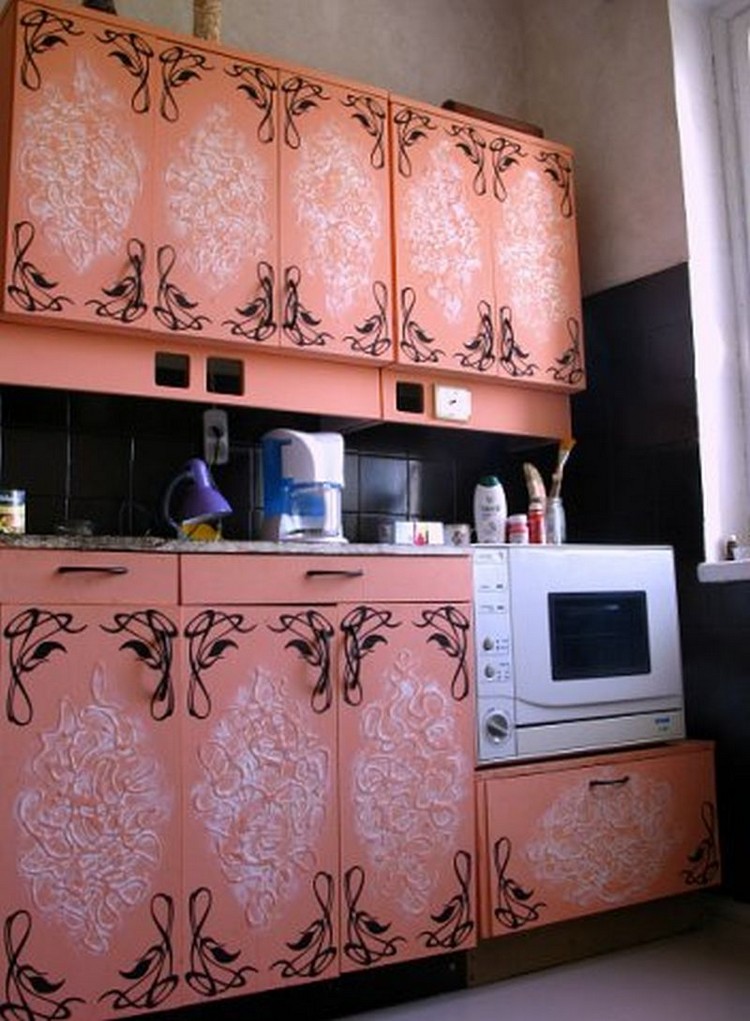
- The lace pattern is obtained using a stencil - lace tulle.
- The technique of creating a relief surface is made using gliza.
- Do-it-yourself two and multi-color painting of kitchen facades is carried out by delimiting the area of the product with masking tape, or by applying stencils.
- Gold and silver patterns are removed with a thin brush and after applying (drying) a varnish layer.
- Artistic 3D painting is carried out according to sketches with an airbrush.
- Marble surfaces are created by overlaying cling film, it is necessary to glaze, highlighting the relief structure and drawing veins.
- The relief graceful structure of the loach can be drawn with a simple comb.
- If you attach a rough canvas or mesh to the surface, you get unique facades for a rustic kitchen.
- The use of the bubble wrap allows you to create an embossing that mimics the skin of the aligator.
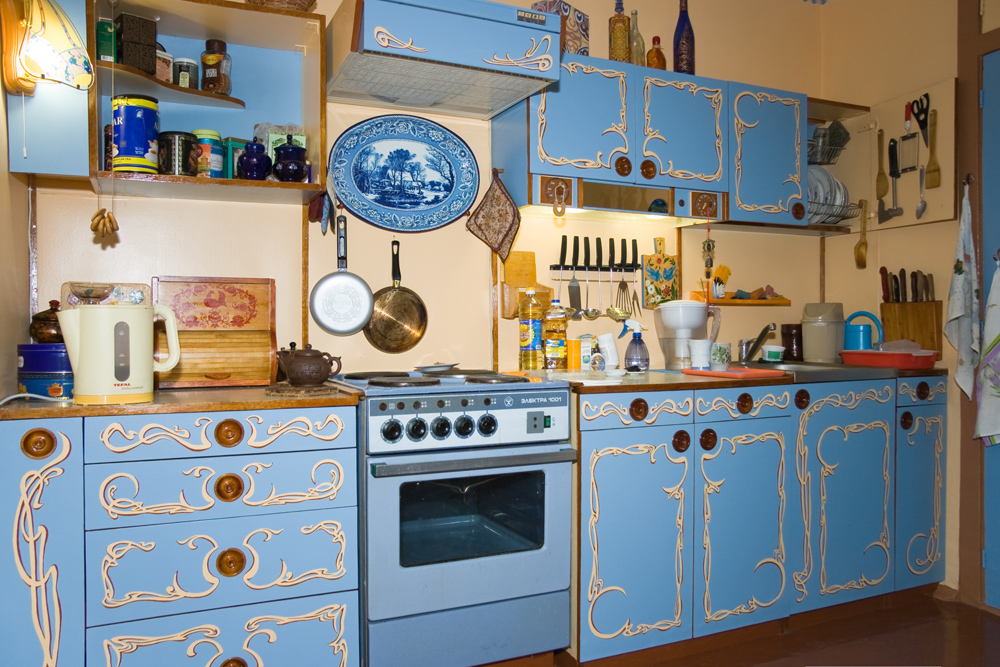
Painted facades for the kitchen can be painted with thin brushes and artistic paints like Gzhel, in the style of Palekh, to depict picturesque flowers, seascapes, cute faces of cats.
WATCH THE VIDEO
Do-it-yourself painting of kitchen facades is a complex but interesting and creative process. The expenditure of time is more than compensated for by contemplating the open mouths of neighbors and acquaintances who have come to the light. In addition, how pleasant it is to have tea indoors, where painted facades remind of the lapping of the sea waves on the southern coast, tropical sultry jungle, wonderful forest forest, if you paint the kitchen set with your own hands. Imagination is limitless, everyone can choose an element close to their hearts. I wish you success in your pleasant creative endeavors of decorating your home decor with your own hands!
Water emulsion, silicone or alkyd?

The end result of your work will depend not only on how you handle the roller, but also on the type and quality of paint.
So, let's figure out what "water emulsions", enamels and "silicones" are.
Water-based
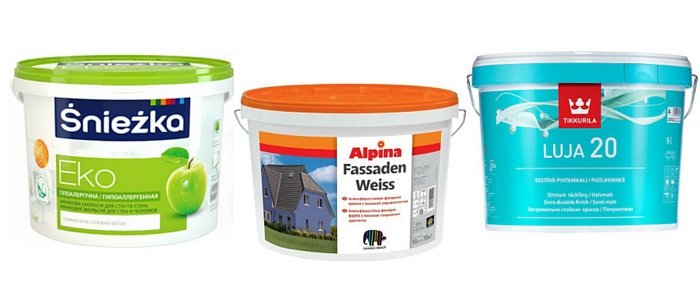
It is also water-dispersive - perhaps the best option for the kitchen, which is very popular.
Advantages:
- practically odorless, harmless, easily washed off from hands and tools;
- easy to apply with a uniform indelible layer;
- dries quite quickly (a couple of hours is enough);
- ordinary water acts as a solvent, and not some smelly and harmful chemicals;
- ideal in terms of price - quality - ease of use;
- a huge range of color solutions: the entire "water emulsion" is sold in white, into which, after you have chosen the desired shade, a dye (pigment) is added and a special machine kneads the final color right in front of you.
A conditional drawback can only be called the fact that the water-based paint should be applied to a completely dry wall. Due to this nuance, the repair time may suffer.
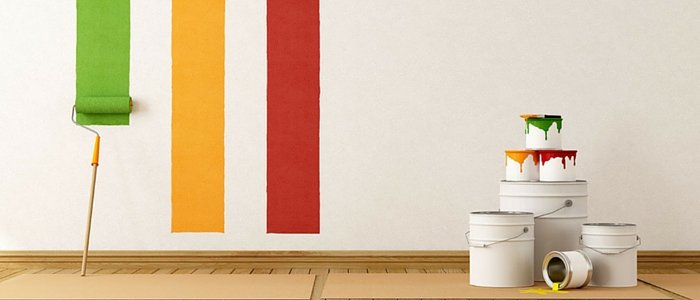
There are two types of water emulsion:
- Acrylic - make up 65% of the range of water-dispersion paints, are universal, represented on the market by a large number of manufacturers;
-
Latex counterparts are more wear-resistant and durable than acrylic ones, but they have a lower vapor permeability index, that is, they can “accumulate” moisture.
Most often, this type is used for painting non-residential premises, and sometimes for exterior decoration.
Alkyd paints
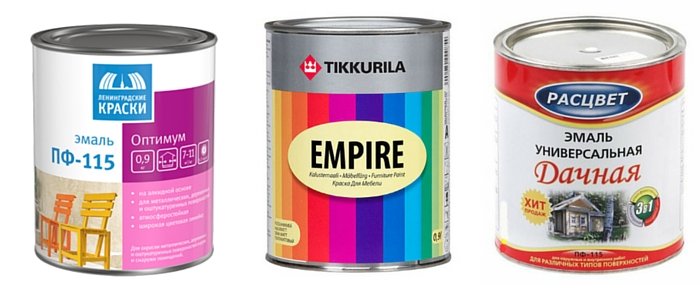
Despite its less popularity, this type is quite often used for painting indoor walls.
Advantages:
- have a high rate of wear resistance, elasticity and strength (in comparison with "water emulsion");
- are not afraid of changes in temperature, humidity, direct ingress of water;
- as a rule, they have a more saturated, juicy color.
The downside is that:
- alkyd base, which has a persistent pungent odor and is fire hazardous;
- diluted with white spirit;
- such paints are sold in a certain color, so you are limited in the choice of halftones.
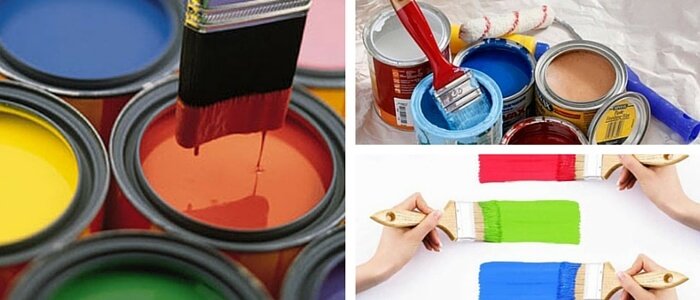
All alkyd paints are divided into two types depending on the type of base:
- pentaphthalic (marked on banks as PF);
- glyphthalic (GF marking).
In addition to the letter designation of the type of base, they put a digital marking on the cans, which indicates the category of enamel.
For example, the GF-230 marking means that this enamel is based on glyphtal, the number “2” means that it is intended only for indoor coatings (walls, ceilings), 30 is the manufacturer's catalog number.
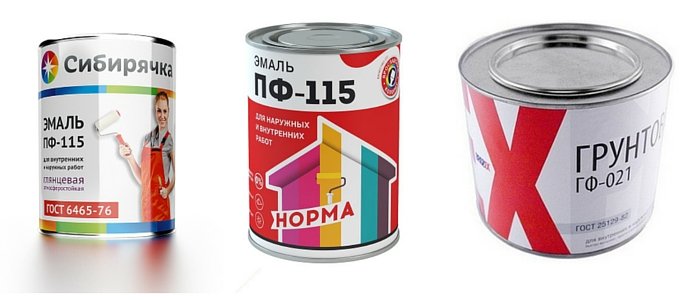
If the first number in the marking is "0", then this is an alkyd primer.
Silicone
They appeared on our market relatively recently and have already firmly occupied their niche, thanks to the following properties:
- excellent water resistance;
- the best indicators for resistance to ultraviolet light, fading, coating;
- resistance to alkalis, which allows them to be applied to a wall that was plastered only a couple of days ago;
- practically odorless and absolutely not aggressive;
- like water-based analogs, pigmentation of any shade is possible.
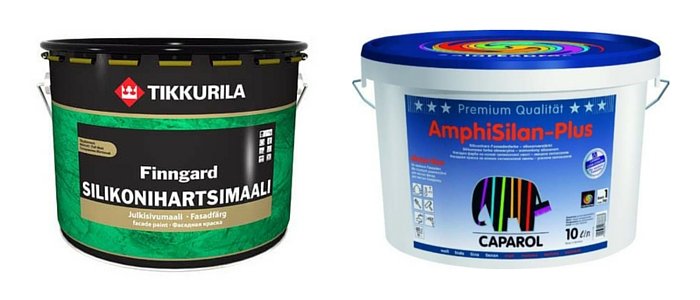
Of the shortcomings, only one can be named - the high price.
But, it is not surprising, all those qualities that they possess make this product worth their money.
There are cheap "analogues" of silicone paints, which are called "siliconized".
They are a composite, a mixture of silicone and acrylic bases. Here are a couple of examples.
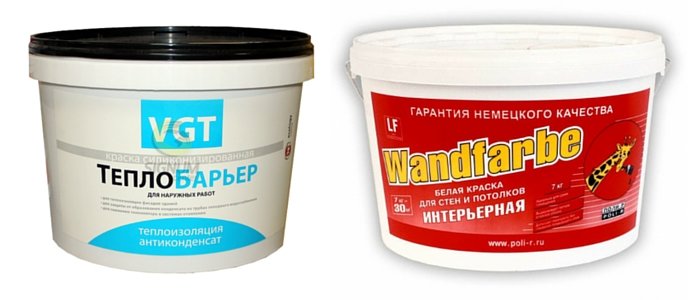
This favorably affects the price of such a product, but affects its quality for the worse.
Therefore, we recommend that you definitely check this point in the store, especially if some model stands out in price among others.
Classification of paints
The paint and varnish material consists of a base, a pigment and a binder. The last component provides adhesion of the composition to the wall and the pigment particles of the paint to each other. The base makes the mixture viscous and allows it to lie flat on the surface.
According to the type of finished coating, all paints are divided into matte, glossy and semi-glossy. Glossy ones are more suitable for the kitchen, since they are easy to clean.
The following types of paints and varnishes are used to decorate kitchen walls:
- water-based;
- alkyd;
- silicone;
- epoxy;
- acrylic.
Consider the detailed characteristics of each type, how they differ from each other, and which paint is best suited for finishing the kitchen.
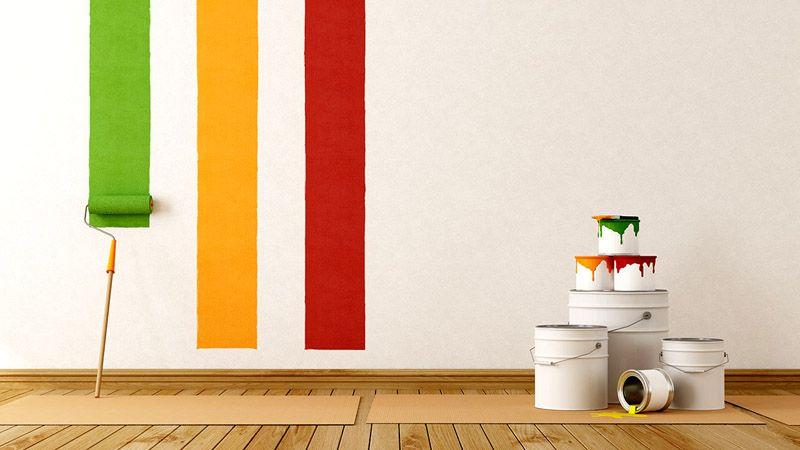
Water-based
The water emulsion has a number of advantages. During painting, you do not need to leave the room because of the pungent odor. Water-based materials dry quickly - as a rule, no more than 2-4 hours. The paint is suitable for all surfaces - be it walls made of concrete, plasterboard, wood. The color palette is extensive; to obtain the desired color, the desired tint is simply added.
Alkyd
Alkyd paints are water-based and varnish. They are even applied to metal and stone. Creates a harder, but less elastic film compared to oil counterparts
Resistant to moisture and chemicals, which is important for the kitchen. Such walls can always be washed without fear of their appearance.
Of the minuses, it is worth noting a pungent smell during painting and a short service life - after a few years, alkyd paints fade.
Silicone
The material is based on silicone resin. It not only gives the surface a rich color, but also masks small cracks
The paint is more expensive than most analogues, but it is highly resistant to moisture, which is especially important for the kitchen. Plus, silicone materials prevent mold and mildew.
Epoxy
Epoxy paints are made from resins. These components form a durable coating layer on the walls. In the kitchen, it is better to use a two-component epoxy paint for concrete, as it is economical and easy to use. In addition, the color gamut of epoxy paints is very wide.
This type of paint creates a variety of effects: matte, glossy, textured. Epoxy paint is an excellent alternative to ceramic tiles: it also contains no hazardous substances, but it is cheaper than tiles. In addition, you can paint the walls yourself, and it is better to entrust the work with tiles to a professional.
The material is durable, less susceptible to external factors. The paint is resistant to moisture, making it perfect for painting walls in the kitchen. Drying time is from 12 to 24 hours - depending on the air temperature. It is also UV resistant.
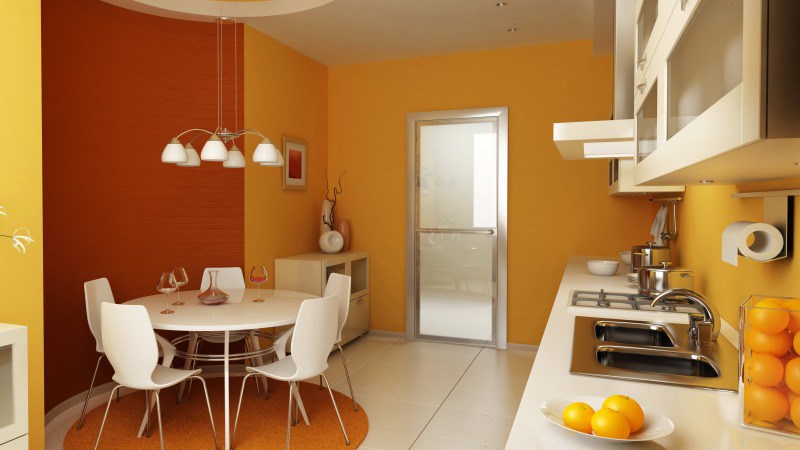
Acrylic
According to their composition, they are divided into two types: synthetic and organic. It all depends on the coloring pigments: in some materials they are of natural origin, in others they are artificial. Organics give soft pastel tones, and artificial compositions make the color of the walls bright and juicy. The advantages of acrylic surfaces include resistance to high temperatures, quick drying, and a variety of colors. In addition, the paint meets all fire safety requirements.
How to paint the walls in the kitchen so that you can wash them? Glossy acrylic paint is suitable for this. This is a safe bet for keeping your kitchen clean. Resin is included in the paint, so that dirt remains on the surface and the walls can be easily washed. The glossy effect visually expands the space, which is especially important for small kitchens. The only drawback of acrylic coatings is the high cost of the material.

