Drying time
Many are interested in the question of how long it will take to glue the wallpaper after priming. This directly depends on the percentage of water in the mixture. Other indicators are also important: the optimal temperature in the room is 20 degrees Celsius, atmospheric humidity is 70%.
It is best to observe the drying times indicated on the label, since with a similar name from different manufacturers, the solution may contain special substances that affect the drying rate. The approximate drying times for different materials are shown in the table.
| View | Surface | Time |
|---|---|---|
| Concrete contact | all | 6 h |
| Latex | all | 40 minutes |
| Universal acrylic | concrete | from 1 to 3 hours |
| drywall | 12 h | |
| brick | from 6 to 8 h | |
| plaster | from 2 to 4 hours | |
| Deep penetration primer | all | 24 h |
| Mineral | concrete | from 2 to 6 h |
| Alkyd | wood | 10-12 h |
| metal | 10-15 h | |
| Glyphthalic | metal | 24 h |
The main mistakes made when drying:
- drafts - open windows and doors will provoke uneven drying;
- the use of a hair dryer or heat gun - the outer layer of the mixture will dry faster than the inner one;
- temperature drops - the lower the temperature drops, the slower the material dries.

Applying a homemade primer
Before starting work, a trial application of the primer to the walls or ceiling is recommended. This will allow you to check the strength of the bond to the base. How to prepare a primer based on PVA glue?
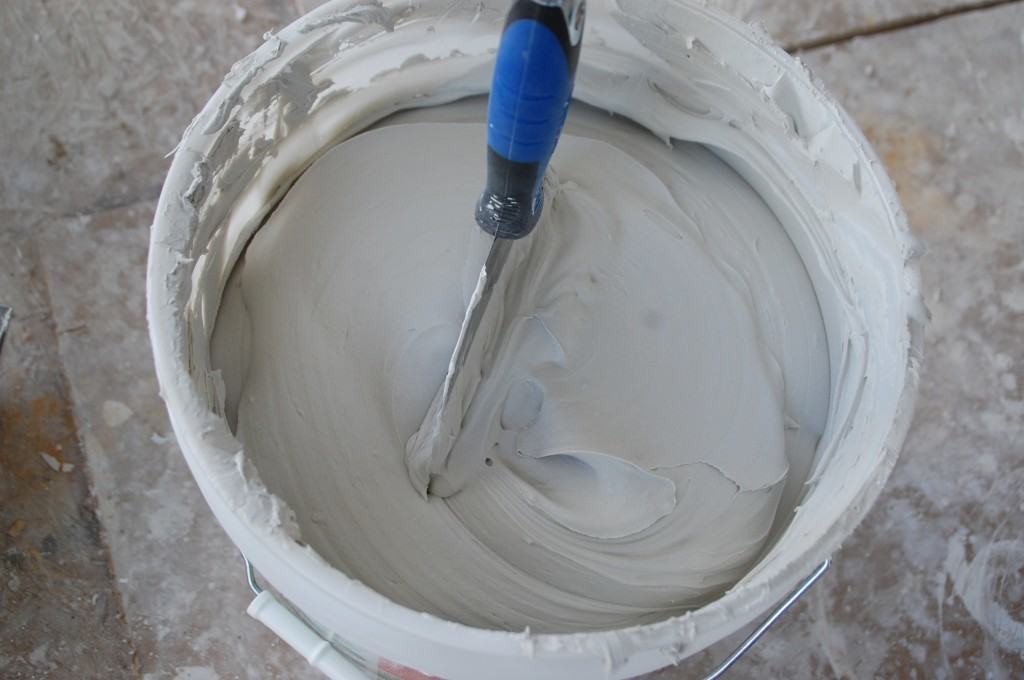
The finished mass should be easily applied to the surface, leaving a white mark behind. If the composition turns out to be thick, you need to add a little liquid and mix thoroughly. When it is possible to achieve the desired thickness of the primer, you should apply a small amount of it to the base area and wait until it dries completely.
No visible film should form on the surface. If there is a film and it can be picked up with a spatula, a sharp object, which leads to flaking, more water must be added to the soil.
It is recommended to apply a homemade base to the surface in 2-3 layers. You need to cook it in small batches. During storage, the soil loses its properties, becomes thicker and more difficult to apply to walls and ceilings. In this case, the risk of flaking increases.
Before starting work, you need to clean the surface, remove dirt and remnants of the old finish. You can use sandpaper.
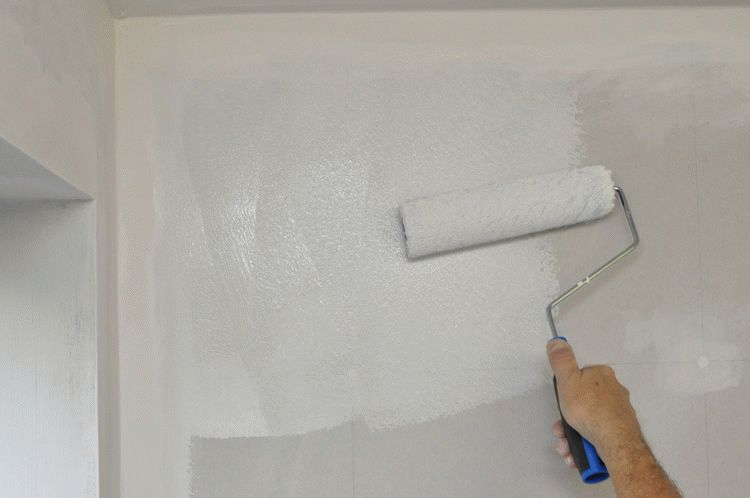
It is recommended to apply primer to walls and ceilings using a standard set of brushes and rollers. Hard-to-reach places and corners are best handled with small brushes, and large and even surfaces with a roller. It is advisable to use a tool with a pile of no more than 1 centimeter, as this contributes to high-quality and complete smearing of the entire surface of the wall.
Sprayers and other construction sprayers are not suitable for this type of work, since the mixture used is not sufficiently liquid. High-quality application of primer on the walls will allow you to avoid further troubles associated with peeling of decorative coatings.
Additional Information:
Working with a brush is not profitable from an economic point of view - the expense becomes higher. Of course, in some places, for example in the corners, it is better to work with a brush, but on large areas, a roller will save a lot. Buy rollers with a short or medium pile, no more than 12 mm, and even better 8-9 mm - manufacturers always write this information on the packaging.
True, this option will be ideal for flat walls, while for walls with a lot of dimples and other irregularities, you will have to use a brush.
Before starting work, a trial application of the primer to the walls or ceiling is recommended. This will allow you to check the strength of the bond to the base. The finished mass should be easily applied to the surface, leaving a white mark behind.
If the composition turns out to be thick, you need to add a little liquid and mix thoroughly. When it is possible to achieve the desired thickness of the primer, you should apply a small amount of it to the base area and wait until it dries completely. No visible film should form on the surface.
If there is a film and it can be picked up with a spatula, a sharp object, which leads to flaking, more water must be added to the soil.
The basis for creating such a homemade primer will be the dilution of PVA glue in water. It is necessary to dilute in a ratio of 1 part of glue to 2 parts of water. However, it is allowed to change the proportions in the event that you need a thicker or more liquid version.
Acrylic latex primer technical characteristics? It is necessary to stir the solution intensively so that the water does not collect on the surface, but quickly dissolves the glue. In this case, glue is first added, and then water is poured into it.
It is economically unprofitable to apply with a brush - this method significantly increases the consumption of material. Without a brush, it is not possible to process hard-to-reach places and corners, but the roller will provide much more savings when processing large surfaces.
To improve the quality of the primer, you can always add crushed chalk or a little liquid resin to the composition. The adhesive is perfect for treating walls that will be decorated with wallpaper, but the correct preparation of the primer, which is based on PVA, can give a pretty good result.
From this list, a homemade primer made of PVA glue can perform only one function - to improve the adhesion of the surface, that is, its adhesion to other materials. However, this is possible only if all proportions are observed - as soon as your primer thickens a little, and you will get a headache in the form of a peeling film. Of course, we must not forget about the advantage of a homemade PVA solution - its extreme cheapness.
Preparation and application
Have you weighed all the pros and cons, assessed your financial capabilities and decided to prepare a primer with your own hands? Then carefully study the information below and try to follow it exactly.
Preparing the primer
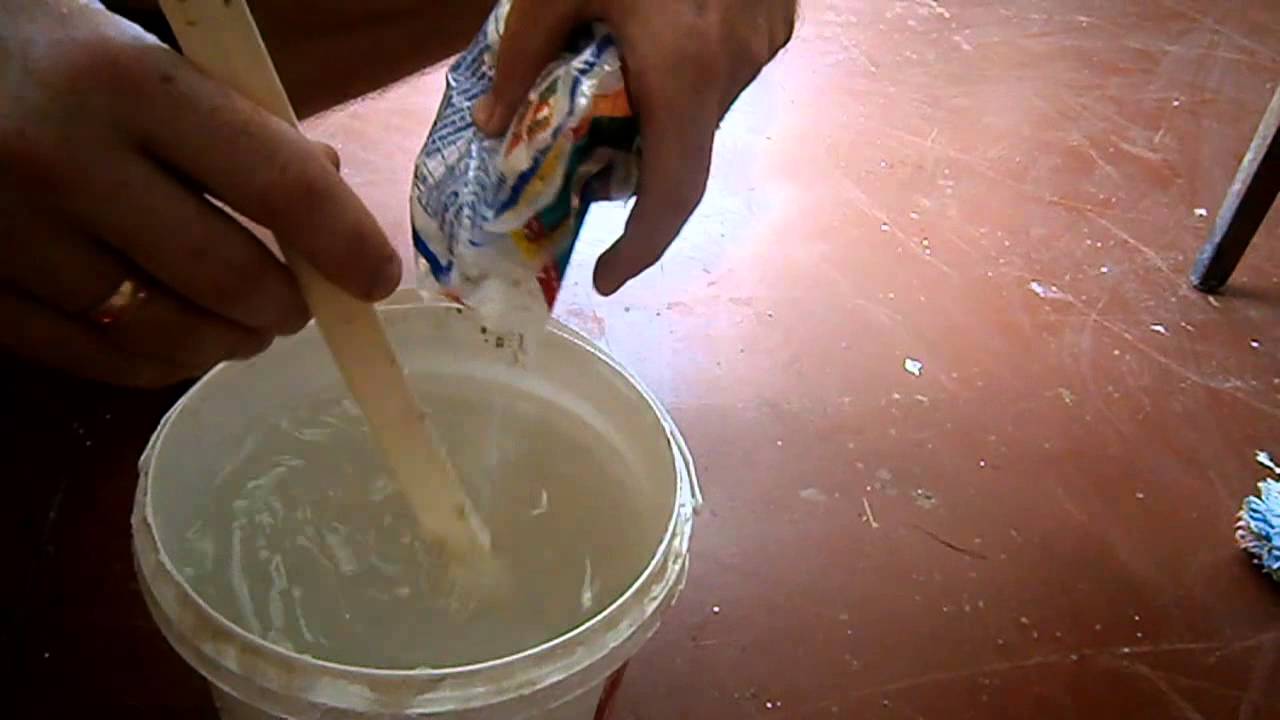
The process of making an adhesive primer is very simple, but you need to approach it responsibly so as not to be disappointed with the result. Instructions on how to make a primer from PVA:
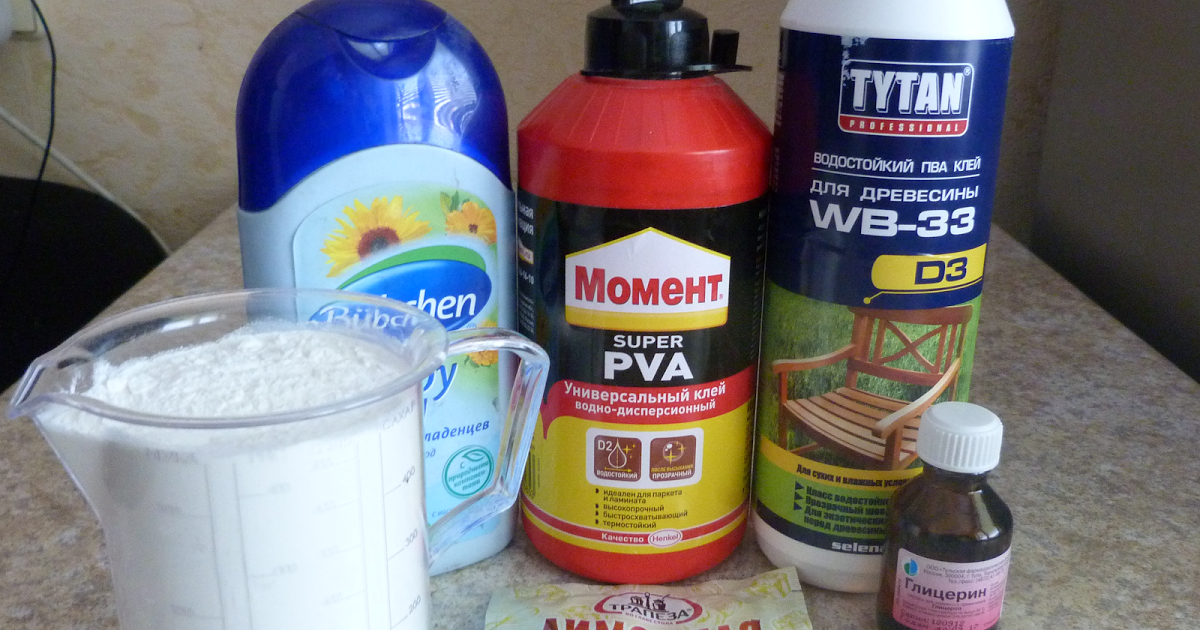
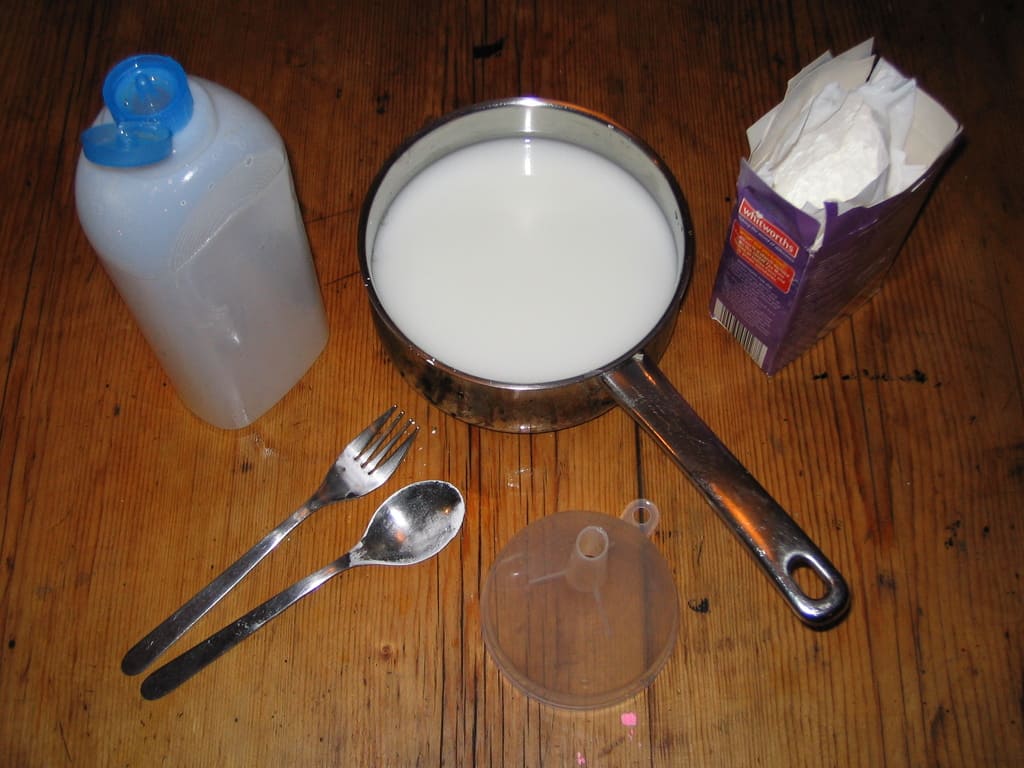
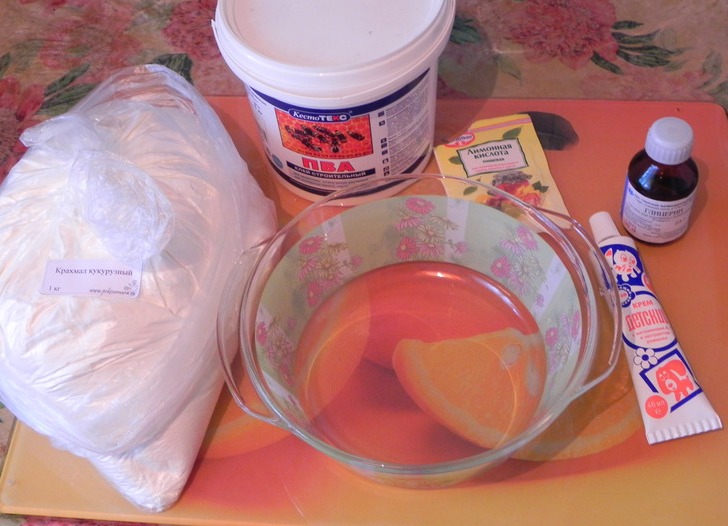
- Prepare clean water, a container of the required volume, a stirring tool and PVA building glue. Although for the treatment of wooden surfaces, you can also use carpentry;
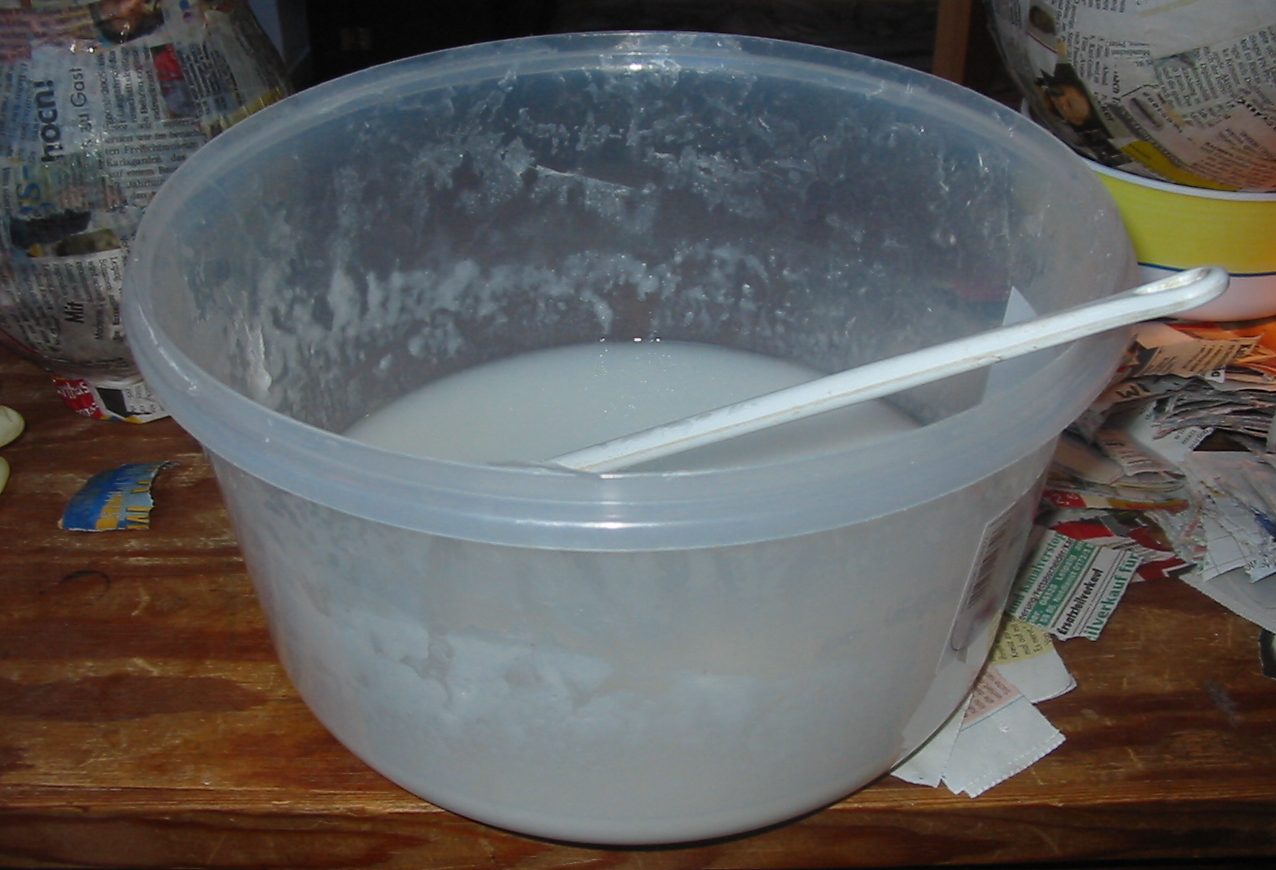
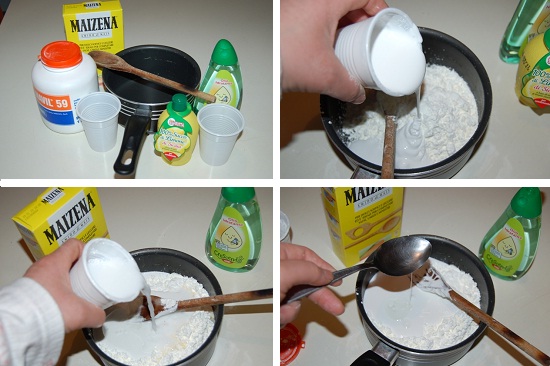
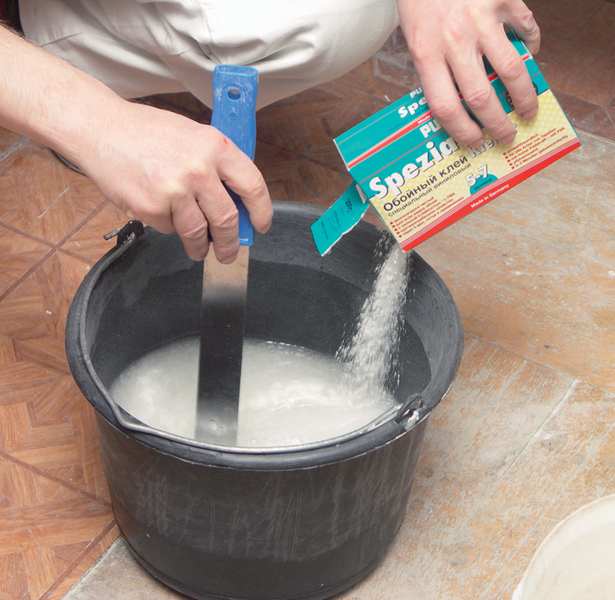
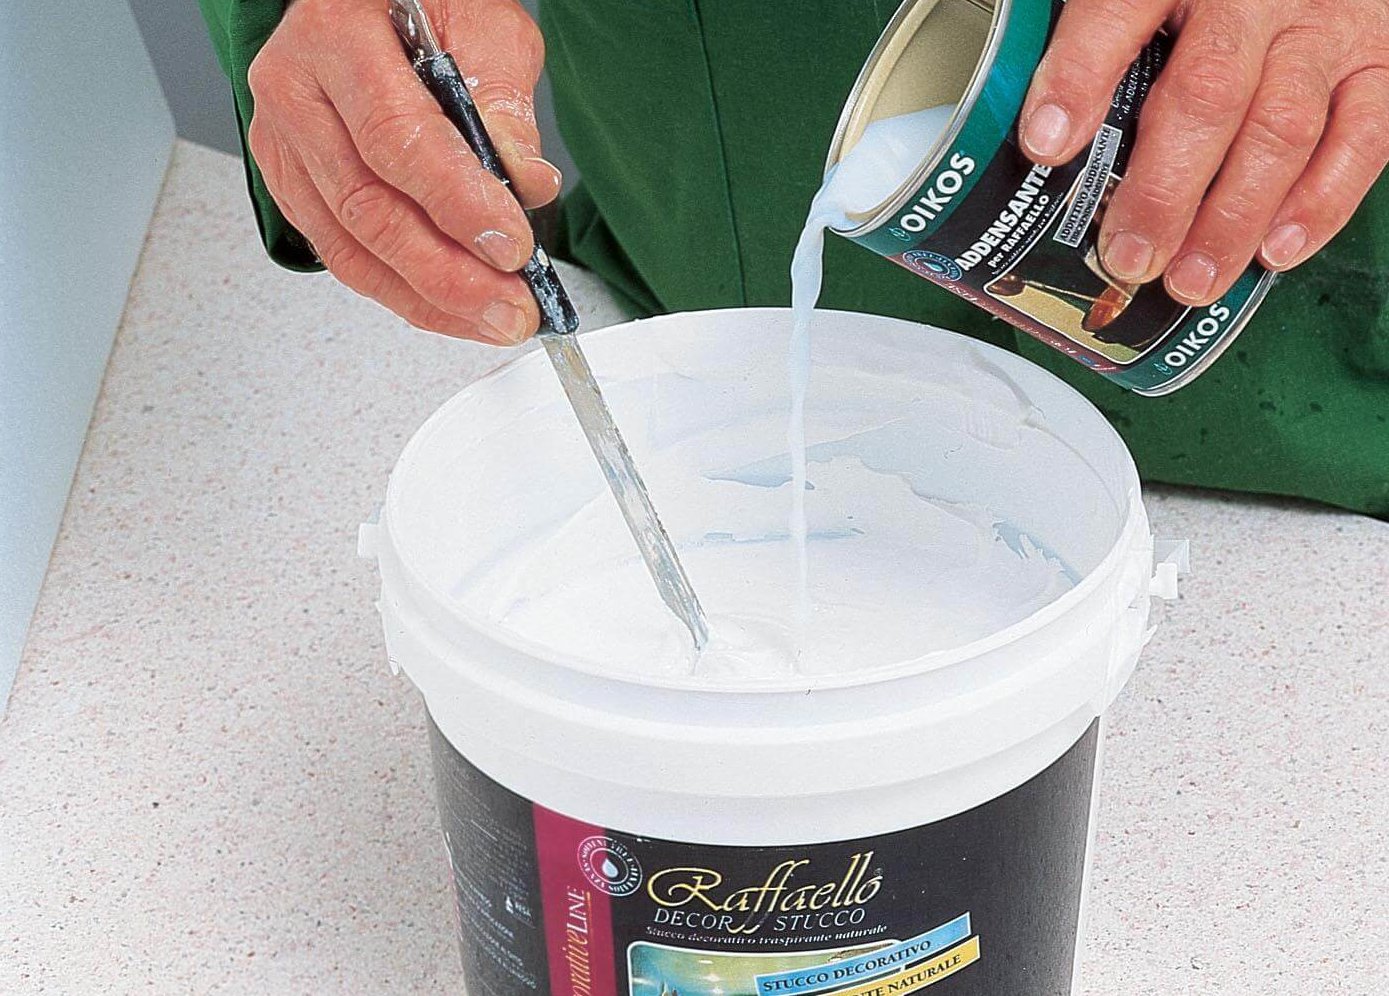
- Pour the glue into the container, then start pouring water into it in a thin stream, while vigorously stirring the mixture with a wooden spatula and making sure that it is homogeneous, without a watery film on the surface;
Advice. It is very convenient to use a construction mixer or a special drill attachment for mixing. This will speed up and facilitate your work, and will allow you to achieve high-quality mixing.

- Standard proportions are two parts water to one part glue. But sometimes more water is required. How to determine this, we will tell you below;
- To improve the quality of a homemade primer, you can add a little liquid resin or powdered chalk to it while mixing.
PVA-based primer loses quality over time, so you need to prepare it immediately before application and only as much as you can or have time to use. This should be done at room temperature, away from open sources of fire.
Trial application
To check the quality of the PVA primer, whether it will peel off the surface, first apply it to a small area. The trace should have a transparent whitish color. If it is too thick, add some more water, stirring the mixture thoroughly again. When the primer leaves a normal mark and is well absorbed into the surface, let it dry completely, then try to pick up the edge with your fingernail or with a spatula. If the film peels off, additional dilution with water is required, if not, you can start working.

If the primer peels off easily, the coating will not adhere to the wall.
Surface treatment
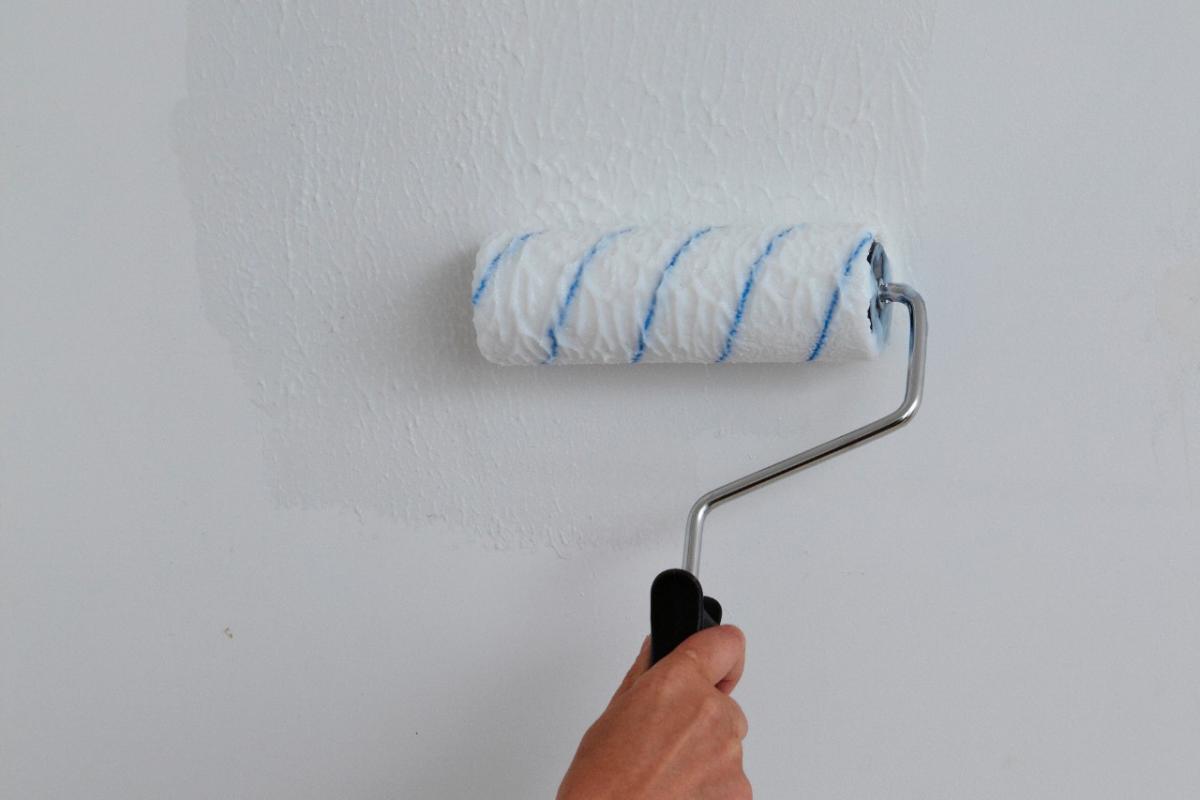
Priming with PVA glue is carried out in the usual way: first, the corners and hard-to-reach places are passed with a brush, then the main plane is processed with a roller with a short nap. If the primer is completely absorbed, wait until it dries and apply another coat.
The whole process is well shown in the video. It is very convenient to use a special bath with an inclined ribbed surface. When the roller is rolled over it, excess liquid is squeezed out of it, and there are no streaks and drops on the wall and floor.

In the photo - the same paint bath
It cannot be argued that the PVA primer is a reliable protection for walls and a high-quality substrate for subsequent finishing. It does not have the properties that special formulations fully possess. But when carrying out budget repairs, this is an indispensable tool for surface preparation, which allows you to save a lot.
Share on social networks
1 Why you shouldn't neglect amateur performances?
Every person faced with the need to carry out repairs knows that priming the walls is one of the mandatory stages of surface preparation. Penetrating into small cracks in the surface, the primer holds it together, and also allows in the future to apply various compositions, be it paint or varnish. It is this option for carrying out repairs in several stages that guarantees the durability of the work.
The composition of a homemade PVA primer helps to reduce the cost of buying paint. Due to the fact that the surface becomes even and interacts well with new layers, it is not necessary to paint in several layers.
What is required?
Before making your own priming mix, you need to prepare the components and tools you will need in the process of creating it.
Firming
The primer mixture for strengthening the surface layer consists of the following components:
- copper sulfate - 100 g;
- wood glue - 0.5 l;
- laundry soap 60% - 1 bar (200 g);
- water - 7 liters.
Deep penetration
Such a primer can be prepared from:
- PVA building glue - 1 l;
- clean water - 8 liters;
- cement - one trowel.


All components must be thoroughly mixed.
Adhesive (wood)
The primer used to strengthen the bond strength of materials consists of:
- alum - 1/4 kg;
- drying oil - 30 g;
- water - 1 l;
- dry paint glue - 200 g;
- laundry soap - 1 bar (200 g);
- chalk - 2 kg.
For painting
To obtain 10 liters of lime paint primer, you need the following components:
- quicklime - 1.8 kg;
- laundry soap - 1 bar (200 g);
- water - 10 l;
- drying oil - 100 g.
Recipe for making a primer for glue paint:
- powdered or crushed chalk - 2.5 kg;
- dry glue - 200 g;
- laundry soap - 200-250 g;
- copper sulfate - 150 g;
- drying oil 25 g;
- water - 10 liters.


Recipes of different types and compositions
When preparing a primer on your own, it is important to observe the correct proportions, as well as take into account the main purpose and type of surface. A special solution is made for wooden surfaces, mixtures for concrete or drywall are not suitable for them
Primers with the following properties are distinguished by purpose:
- for deep penetration;
- strengthening;
- with an increased level of adhesion.


To make a primer, you will need the following tools:
- enameled container;
- scapula;
- mixer with a whisk.
The simplest recipe for a primer solution includes the following ingredients: PVA building glue and water.
Making a primer consists of the following steps:
- It is necessary to pour liquid PVA glue into the prepared container and add water in a 1: 2 ratio.
- Mix the materials thoroughly with a spatula or mixer until a homogeneous mixture is obtained. A watery film must not be allowed to form on the surface.


This recipe is best suited for the treatment of non-residential premises (basements, closets), because it provides excellent moisture resistance, but does not guarantee long-term external beauty.
If you dilute cement or chalk in a simple glue-based composition, you can get a primer with deep penetration. The sequence of actions is almost identical, but now the ratio of glue and water is 1: 8. Add a small amount of cement (or chalk) to the mixed materials and stir thoroughly until smooth.
The strengthening primer solution also consists of glue (you can take a carpentry one), but now 65% laundry soap and copper sulfate are added to it. The proportions of glue, copper sulfate and laundry soap are 5: 1: 2.


Making a reinforcing primer consists of the following actions:
- It is necessary to grind the laundry soap (you can use a regular grater).
- Pour water into an enamelled container and boil it over.
- Then soap is added to the water, and the mixture must be boiled until smooth, stirring occasionally with a wooden spatula.
- Copper sulfate and glue are added. Continue simmering over low heat for about 30 minutes, stirring with a spatula, taking care not to lump.
After 30 minutes, you can remove the solution from the heat, and after it cools down, you need to strain it. After these works, the ready-made primer can be used.


To ensure the best adhesion (adhesion of materials), a suitable mortar can be made at home.
This will require the following components:
- crushed laundry soap;
- dry glue (preferably paint);
- aluminum alum;
- chalk;
- drying oil.


Cooking procedure:
- First, boil 1 liter of water, cool down.
- Then aluminum alum (250 g) is poured with hot cooled water. In an enameled container, it is necessary to dilute dry glue (200 g) and put it to cook over low heat.
- Gradually, aluminum alum, grated laundry soap (200 g) and drying oil (30 g) are added to the glue.
- It is necessary to cook the mixture and mix it thoroughly, then add crushed chalk (2 kg) later. If there is not enough water, then it can be added.
- Boil the primer for another 30 minutes and allow to cool before use.


Choosing a primer for wood surfaces is not easy, as wood is a soft material that is susceptible to moisture. Wood primer should include drying oil, acrylic, glue or shellac
A solution with an enhanced level of adhesion can also be used for wood due to the presence of drying oil in the composition. Also, in the case of a wooden surface, it is important not only to choose the right type of primer, but also to follow the correct technology for applying the solution. In total, it is applied from 2 layers, but preferably 3
Each must dry for an hour before applying the next one.
Types of primers
The priming material has various types. Professionals more often choose soil by composition, and for beginners in construction it is easier to make a choice according to its intended purpose.
Also, the mixtures can differ depending on the additives that can be endowed with special characteristics.
- by composition: acrylic, mineral, alkyd, glyphthalic, phosphate, quartz, etc .;
- by the degree of penetration: normal and deep penetration;
- by purpose: for plaster, concrete, wood, metal, universal;
- at the place of use: indoor or outdoor, versatile;
- by properties: moisture resistant, antiseptic, anticorrosive, antifungal, etc.
It is easier to choose a suitable primer on your own, focusing on the state of the surface and the type of finish. These criteria will help you choose the best squad in this case.
In some cases, when, for example, you need a small amount of the composition or it is important to save money, you can make a priming solution yourself. How to make a primer, consider further
How to make a primer to improve adhesion
The adhesive primer is most often used on smooth surfaces and forms a rough film on them. It is the most suitable primer composition for walls prepared for painting or wallpapering. For self-preparation of such a composition, you will need the following materials: a bar of laundry soap, paint glue - 200 gr., Potassium alum - 250 gr., Powdered chalk - 2 kg, drying oil - 30 ml. If only ordinary chalk is found, it can be crushed to a dusty state. But the main thing is that there are no pieces left, they will worsen the quality of the final work. How to make a DIY wall primer:
- one liter of water is brought to a boil and aluminum alum is added to it;
- in a separate container, a 10% mixture of glue is heated over low heat. Next, grated soap is added to the liquid. While stirring, the composition is brought to complete dissolution;
- then add drying oil and quartz solution;
- it is better to sift the chalk to avoid lumps.
This mixture should be prepared only in an aluminum container. After cooling, the composition can be immediately applied to the prepared surface.

How to prepare soil to increase strength
First of all, such a composition is necessary for the repair and restoration of dilapidated premises. It is also used for insulation. The soil for increasing the strength is able to strengthen the base of the building made of brick, which has begun to crumble. Also, the reinforcing mixture can be used to cover concrete and porous surfaces.
What can replace the primer for the walls? The composition of the recipe: wood glue - 500 ml, copper sulfate - 100 g, laundry soap - 1 bar. Copper sulfate can be found in shops for gardeners and gardeners. To avoid a reaction during cooking, you should cook only in an enamel dish that is not suitable for food. The mixture is prepared according to the following scheme:
- 7 liters of water must be brought to a boil;
- after boiling water, turn down the heat. Stirring continuously with a wooden spatula, gradually pour the grated soap;
- after the soap has dissolved, wood glue is added, and then vitriol;
- this solution should be boiled over low heat for half an hour, stirring occasionally to avoid lumps. If, nevertheless, the lumps could not be avoided, then they are broken with a mixer;
- the finished composition is filtered through cheesecloth and left to cool completely.
The cooled mixture is primed with concrete and brick walls. It not only helps to strengthen, but also prevents the appearance of black mold and mildew.
What to knead deep penetration soil
The simplest and most popular homemade primer is the deep penetration primer. Its main ingredient is PVA construction glue, which can penetrate deeply into pores and cracks. It creates a waterproof film and binds the smallest dust particles without disturbing ventilation. But the main thing is to observe the proportions, otherwise the film from the glue will peel off along with the finishing material.
For cooking, only three components are needed: PVA glue - 1 liter, water - 8 liters, cement - 1 trowel. Powdered chalk can be used instead of cement.
- initially, glue is poured into the dishes, to which water is added and everything is well mixed until dissolved;
- then cement is poured and stirred until homogeneous;
- the final stage is filtering the solution using gauze.
It is better to test the prepared composition in a separate area. After drying, no film should form. If it appears, then the composition is diluted with water. When covering the wall with soil, the material should lie evenly and leave a faint white mark.
PVA glue primer - to be or not to be ...
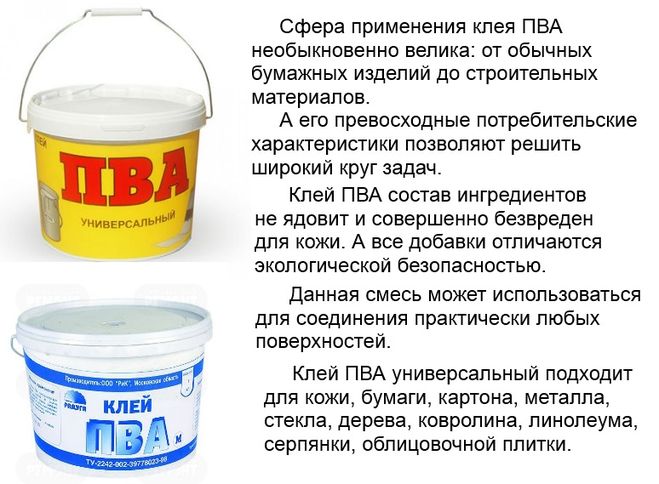
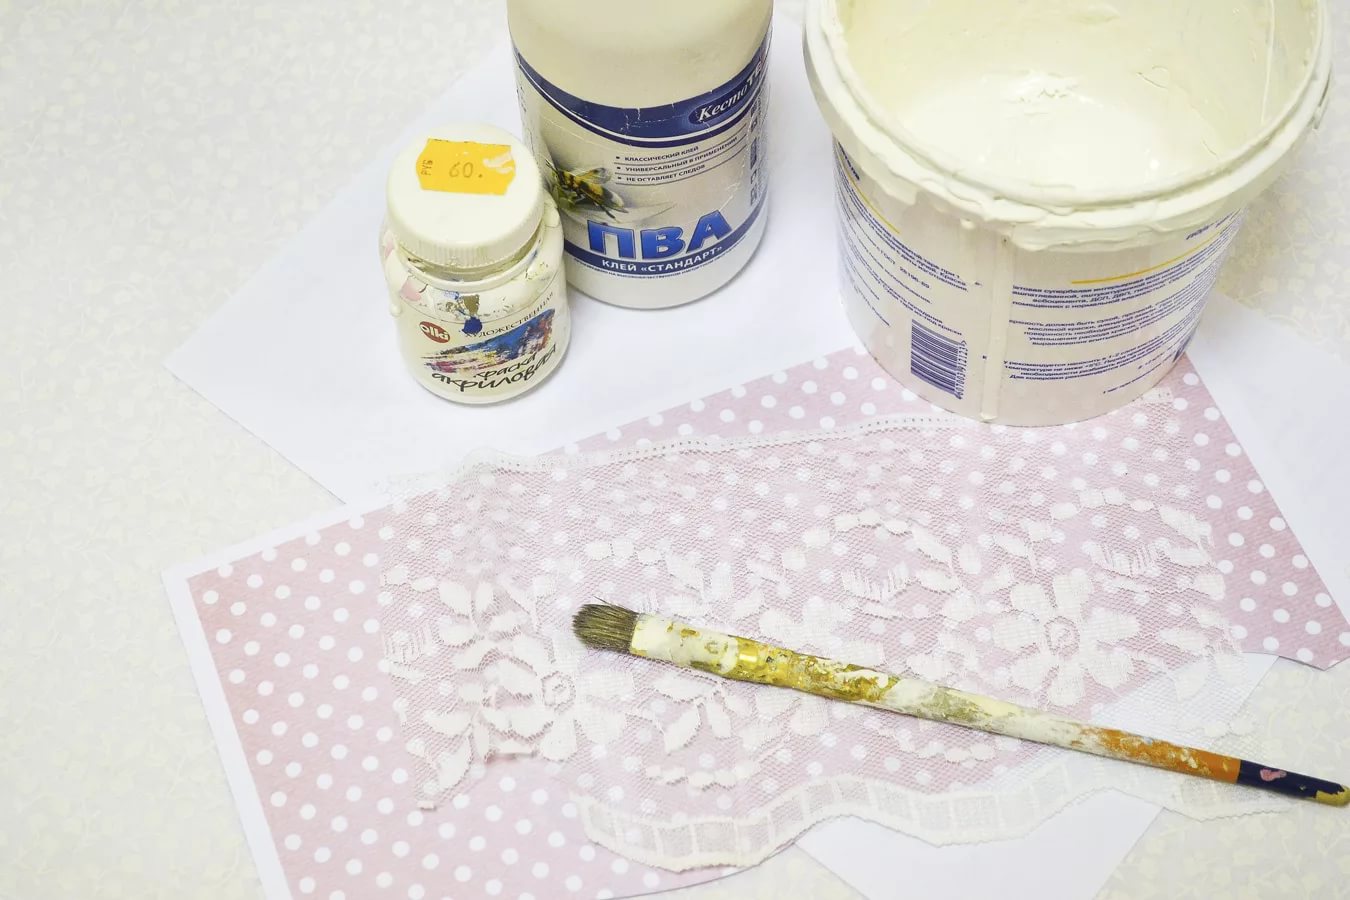
To begin with, let's find out - what is the well-known PVA glue, and how is this abbreviation deciphered? So, PVA is polyvinyl acetate, a solid, colorless and odorless, non-toxic substance. PVA glue, in turn, is a polyvinyl acetate emulsion. It is hardly worth delving further into the origin of this substance - we are much more interested in the ways of its use. There are quite a few types of glue - this is construction PVA, and carpentry, and furniture, on the shelves you will find PVA extra, luxury and universal, and, of course, stationery. Depending on the scope of application, the cost of the glue also fluctuates - from 400 rubles to 2500 with the same volume.
PVA construction glue from this list is the most suitable for creating a primer. It is added to concrete, as well as to plasters and fillers to increase their strength and water resistance, so it would seem that what could prevent us from using it for preparing soil? And our common sense can interfere - construction PVA can and should be used as a component that improves the properties of other materials, but polyvinyl acetate alone can only spoil the business.
Firstly, PVA glue forms a moisture-proof film on the wall, which, precisely because of its moisture-resistant property, can, after a while, begin to peel off along with the plaster that is laid on top of it. Secondly, it is worth not guessing a little with the proportions of water, and such a film will peel off from the walls and ceiling under its own weight. Thirdly, over time, PVA glue turns yellow and may appear as spots under the same wallpaper.
Photo of pva glue for construction, / p>
In the photo - PVA-based putty
Photo of PVA glue for primer,.
In the photo - a wall primer with pva glue,.
Choosing a base for priming
When performing construction work, the importance of priming should not be underestimated. How to prepare a primer from PVA glue and? The special composition penetrates into small cracks, crevices, makes the surface smoother and more even, improves adhesion. After applying the primer, you can use any paints and varnishes, glue wallpaper on the walls.
Thanks to the use of the base, it is possible to achieve savings in expensive paints and enamels.
PVA primer and glue, the same thing? The whole truth about deep penetration soils.
Fields of application of deep penetration primers: It is difficult to imagine modern ...
Professional primers have a number of advantages. They contain additives that protect surfaces from mold. That is why, for some types of work, it is preferable to purchase materials of industrial production. But a homemade base has an undeniable advantage - an affordable price. This primer improves adhesion and prevents moisture from entering the substrate.
This level of protection cannot be called reliable, but using a homemade compound is better than neglecting the priming step.
To prepare the soil, polyvinyl acetate can be diluted with water. It is a solid, odorless, colorless and non-toxic. In its pure form, it is practically not used.
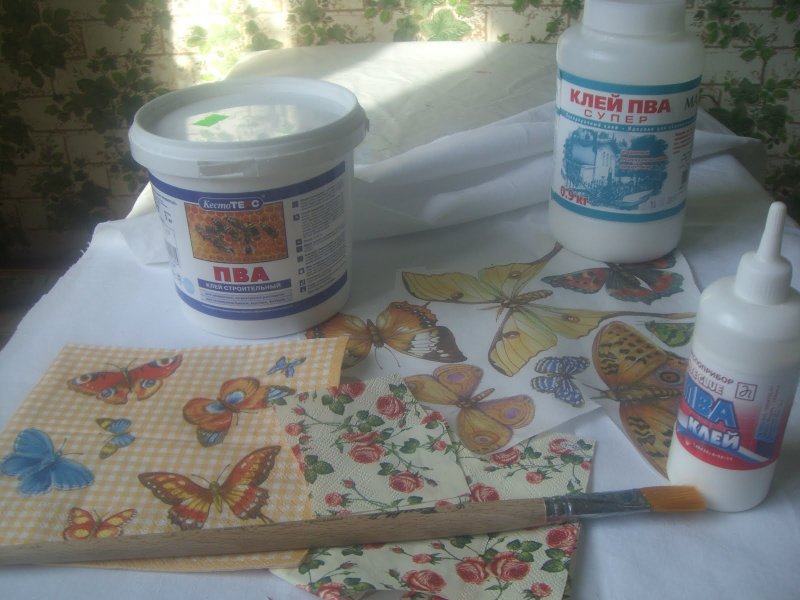
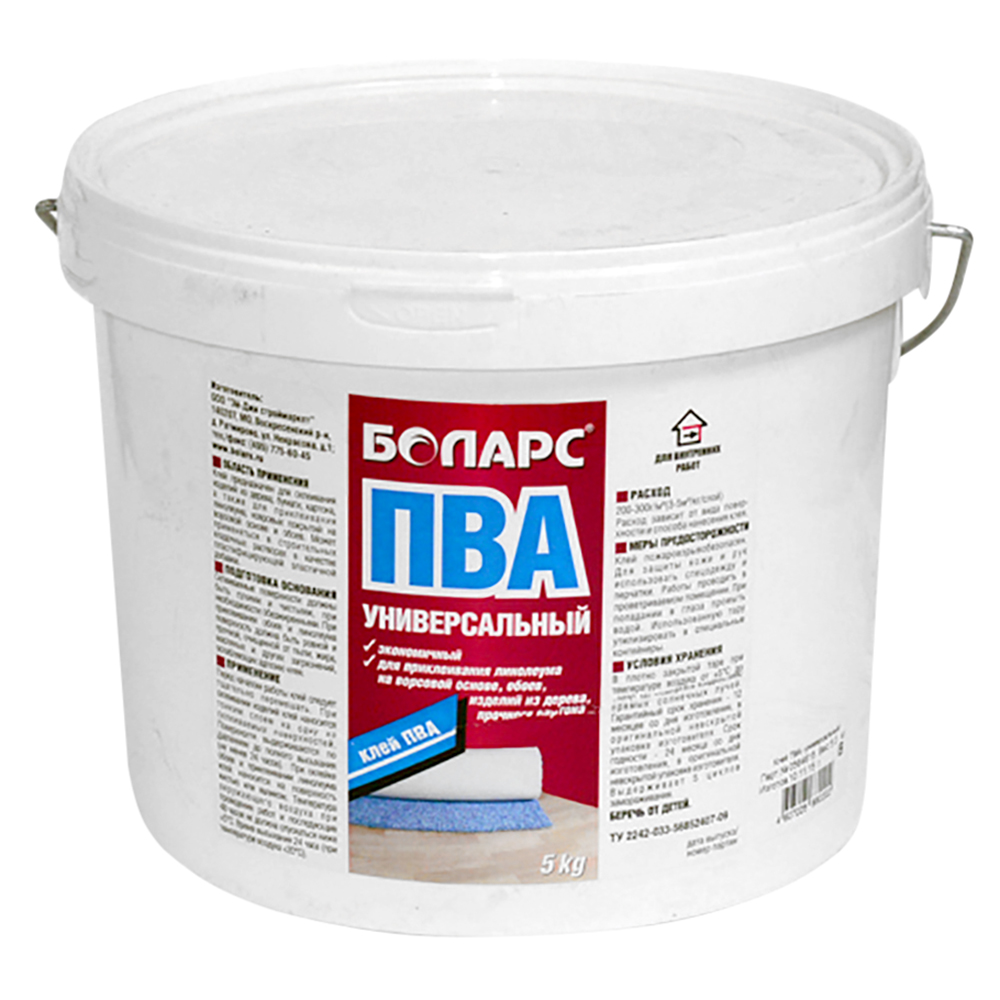
In specialized stores, an emulsion of polyvinyl acetate or PVA glue known to everyone is sold. On sale you can find joinery, construction, stationery, furniture, universal PVA. For self-production of a primer, it is better to choose a construction adhesive.
The joiner type is suitable for the treatment of wooden surfaces.
The use of soil prepared on the basis of PVA is endowed with the following disadvantages:
- lack of anti-fungal and anti-mold protection;
- small depth of penetration into the base;
- increased risk of flaking;
- high probability of yellowing of light-colored material applied to the base.
When choosing a material for priming, it is necessary to take into account all the positive and negative aspects of the homemade composition. The use of PVA is advisable when it comes to budgetary cosmetic repairs, wall decoration in the country, in utility rooms, or when it is not possible to purchase professional primer. This option is not suitable for outdoor work and for those cases when finishing with expensive vinyl wallpaper, tiles, decorative plaster is planned in the future. Saving in such situations is not appropriate.


