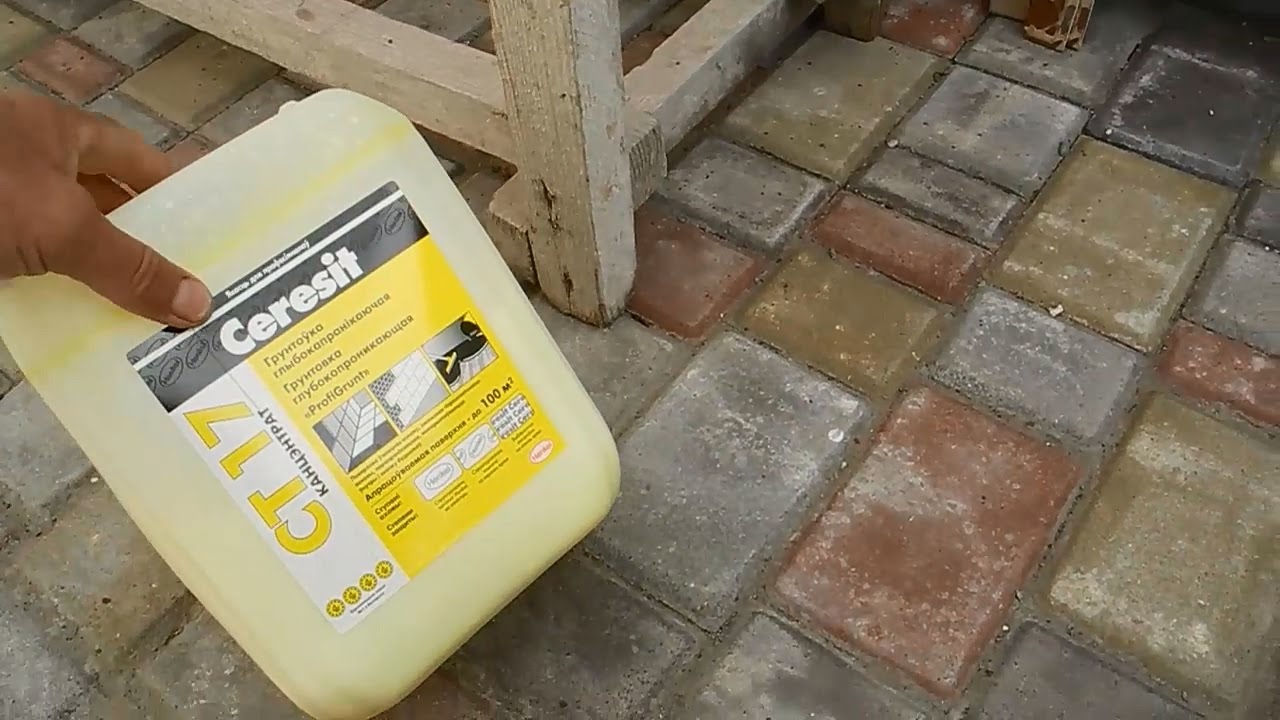
Primer classification
This building material falls into two broad categories:
- universal means (they can be used both inside and outside the room);
- highly specialized, intended only for internal or external surfaces.
Experienced experts insist that it is best to carry out the impregnation of the floor covering using specialized primers. The thing is that this material copes better with loads and the effects of all external factors, that is, it protects the floor better.
This building material can be sold in the form of a concentrate or a ready-made mixture. Sometimes craftsmen ignore the manufacturer's recommendations and use concentrate to impregnate a concrete structure, believing that it will last longer. However, this is a misconception - it is necessary to dilute the liquid according to the recommendations of specialists.
Material for priming the floor differs in what lies at its foundation. There are four types of the most common primers:
- Acrylic. This type of primer is the most common. With its help, it is possible to impregnate not only concrete, but also brick, wood, clay and drywall. The main advantages of this material are fast drying and the possibility of purchasing it in the form of a concentrate. Before using acrylic, you should make sure that all conditions for further drying are met - then this process will take only 4 hours. The soil can be taken with deep penetration or superficial, it is not dangerous for humans and animals.
- Epoxy. It contains solvent and coloring elements. It is usually used for concrete floors or surfaces that are self-leveling. Great before using enamel.
- Alkyd. If the screed will be applied over a wooden floor, then it is best to use an alkyd material. The duration of complete drying will depend on the conditions, but it impregnates and loosens the wood very quickly.
- With polystyrene base. It is used for wood and concrete surfaces, due to which the strength is significantly increased and the adhesion of materials is improved.
If the base of the floor is in poor condition, it is recommended to impregnate it with a deep penetration screed to strengthen the structure.
According to the depth of penetration, a distinction is made between surface and deep primers. The first type is usually used for strong and well-prepared places, their depth does not exceed 2 cm. Deep penetration material is able to fill gaps up to 10 cm, it is also used for strengthening. The second type usually costs much more, but it is also used in the most difficult situations.
Soil types by composition
It is also necessary to select a primer depending on the characteristics of the self-leveling floor. The quality of the repair work depends on how correctly the base and the protective layer are combined.
Epoxy primers
Such a primer is considered optimal for strengthening the concrete pavement. It allows you to increase its strength and thereby significantly increases the service life. The protective compound can also be used for wood.
The suspension consists of a base composition and a hardener due to the characteristics of solidification. Deep penetration soil has a more liquid consistency. And to close small defects such as cracks, creases and irregularities, a thick primer is used. When processing the base under a self-leveling floor, it is recommended to combine an epoxy primer with a similar decorative layer.
Polyurethane primers
This type of soil is combined with concrete, cement-sand screed, wood and even ceramic tiles. It is recommended to apply a polyurethane self-leveling floor over the protective layer, which guarantees a high quality of repair work.
But for the treatment of an old coating that does not differ in increased strength, it is recommended to first use an epoxy primer, and apply a polyurethane primer on top of it.
Acrylic and latex primers
These compounds are excellent for processing wood and plaster base under the self-leveling floor. Thanks to this, the decorative layer becomes ideally smooth and retains all its properties for a long period.
It is not recommended to use these soils to increase the strength of concrete and eliminate minor defects.
Methyl methacrylate primers
This type of primer dries quickly and hardens, and also has a high level of adhesion. But methyl methacrylate primer in terms of penetration depth is significantly inferior to polyurethane and epoxy compositions.
This type of suspension is often used only for emergency repairs of certain sections of the floor due to the increased cost.
Range of primers
There are a great variety of primers on the market from different manufacturers. Let's take a look at some of them.
Primers from the Bamard company
 Primers of the manufacturer Bomard of the UZIN-PE line
| Name | Properties | Purpose | Consumption (g / m2) |
| UZIN-PE 260 | White color. High level of grip and water protection. Drying time: from 2 hours to a day. | Dispersion composition. They process: screeds - magnesite and asphalt, bases - made of wood and particle boards. Do internal work. Used for interior work. | 100-150 |
| UZIN-PE 260L | Black color. Electrical resistance property: 5 ohm. Drying time: 2-12 hours. | Dispersion composition. Covered for subsequent gluing on textiles and conductive PVC. | 100-150 |
| UZIN-PE 317 | Red color. Frost resistant and deeply penetrating. Drying time: 30 to 60 minutes. | Adhesive composition. A solvent for internal use was taken as a basis. They process wood, gypsum, cement, concrete and moisture-sensitive screeds before laying the leveling mixtures. | 100-200 |
| UZIN-PE 360 | Strengthens and improves grip. Drying time: 2-24 hours. | Dispersion type. Suitable for plaster, concrete, brick and cement screed. | 100-150 |
| UZIN-PE 440 | Light blue color. Afraid of frost. Drying time: 2-12 hours. | Two-component epoxy compound. Used to coat non-absorbent substrates. Internal work. | 100-200 |
| UZIN-PE 450 | Yellowish in color. Strengthens. Resistant to chemically active substances. Drying time: 12-24 hours. | Two-component epoxy compound. They process old stone, concrete and cement bases. stone, cement, terrazzo. They are used inside and outside. | 300-400 |
| UZIN-PE 460 | Transparent. Strengthens, protects, replaces waterproofing. Resistant to acids and alkalis. Drying time: 12-24 hours. | Two-component epoxy compound. Strengthens mineral substrates and provides vapor barrier. External and internal use for covering wood, ceramics, potassium-sulphite and cement screeds, concrete, wood terraces. | 200-400 |
| UZIN-PE 630 | Pasty, dark gray color. Fills cracks and smoothes the surface. It is applied in a thin layer (no more than 1 mm). Drying time: 1-2 hours. | Two-component dispersion-cement composition. They treat parquet and wood floors, old ceramic coverings. Internal use | 200-600 |
Primer consumption
It is impossible to name the exact consumption of the primer without knowing the features of the object. The final amount of the composition is influenced by:
- temperature and humidity conditions;
- base porosity;
- the need for re-processing.
The second or third treatment will require 20 - 30% less consumption than the first layer.
The approximate consumption is shown in the table.
| Primer type | Consumption g / m2 |
| Alkyd | 100 — 130 |
| Acrylic | 120 — 150 |
| Perchlorovinyl | 60 — 100 |
| Concretecontact | 200 — 500 |
Correctly chosen and correctly applied primer before and after applying the concrete screed will make the surface stronger, remove dust, and improve the adhesion of adhesive and paint materials. The materials are relatively inexpensive, and the result without primer applied can be negative.
Cement screed primer: making the right choice
Depending on the type of room, its functionality and the microclimate present in it. Therefore, you need to figure out how to prime the self-leveling floor.
When repairs are made in an apartment or a private house, the main source of aggressive effects is humidity, therefore, the floor primer must have water-repellent properties.
Biocidal primer for cement screed
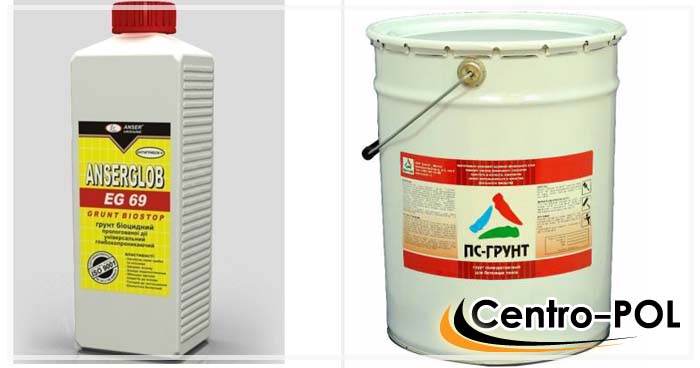 Biocidal and polyurethane primer
When there is a basement in the house, and a room that will be renovated is located above them, then there is a high percentage of mold and mildew on the floor surface. Therefore, for surface treatment, a biocidal primer should be used, it has dual properties, namely:
- Deep penetration and protection against moisture penetration;
- Antiseptic properties (protection against mold and mildew).
Polyurethane primer and epoxy paint
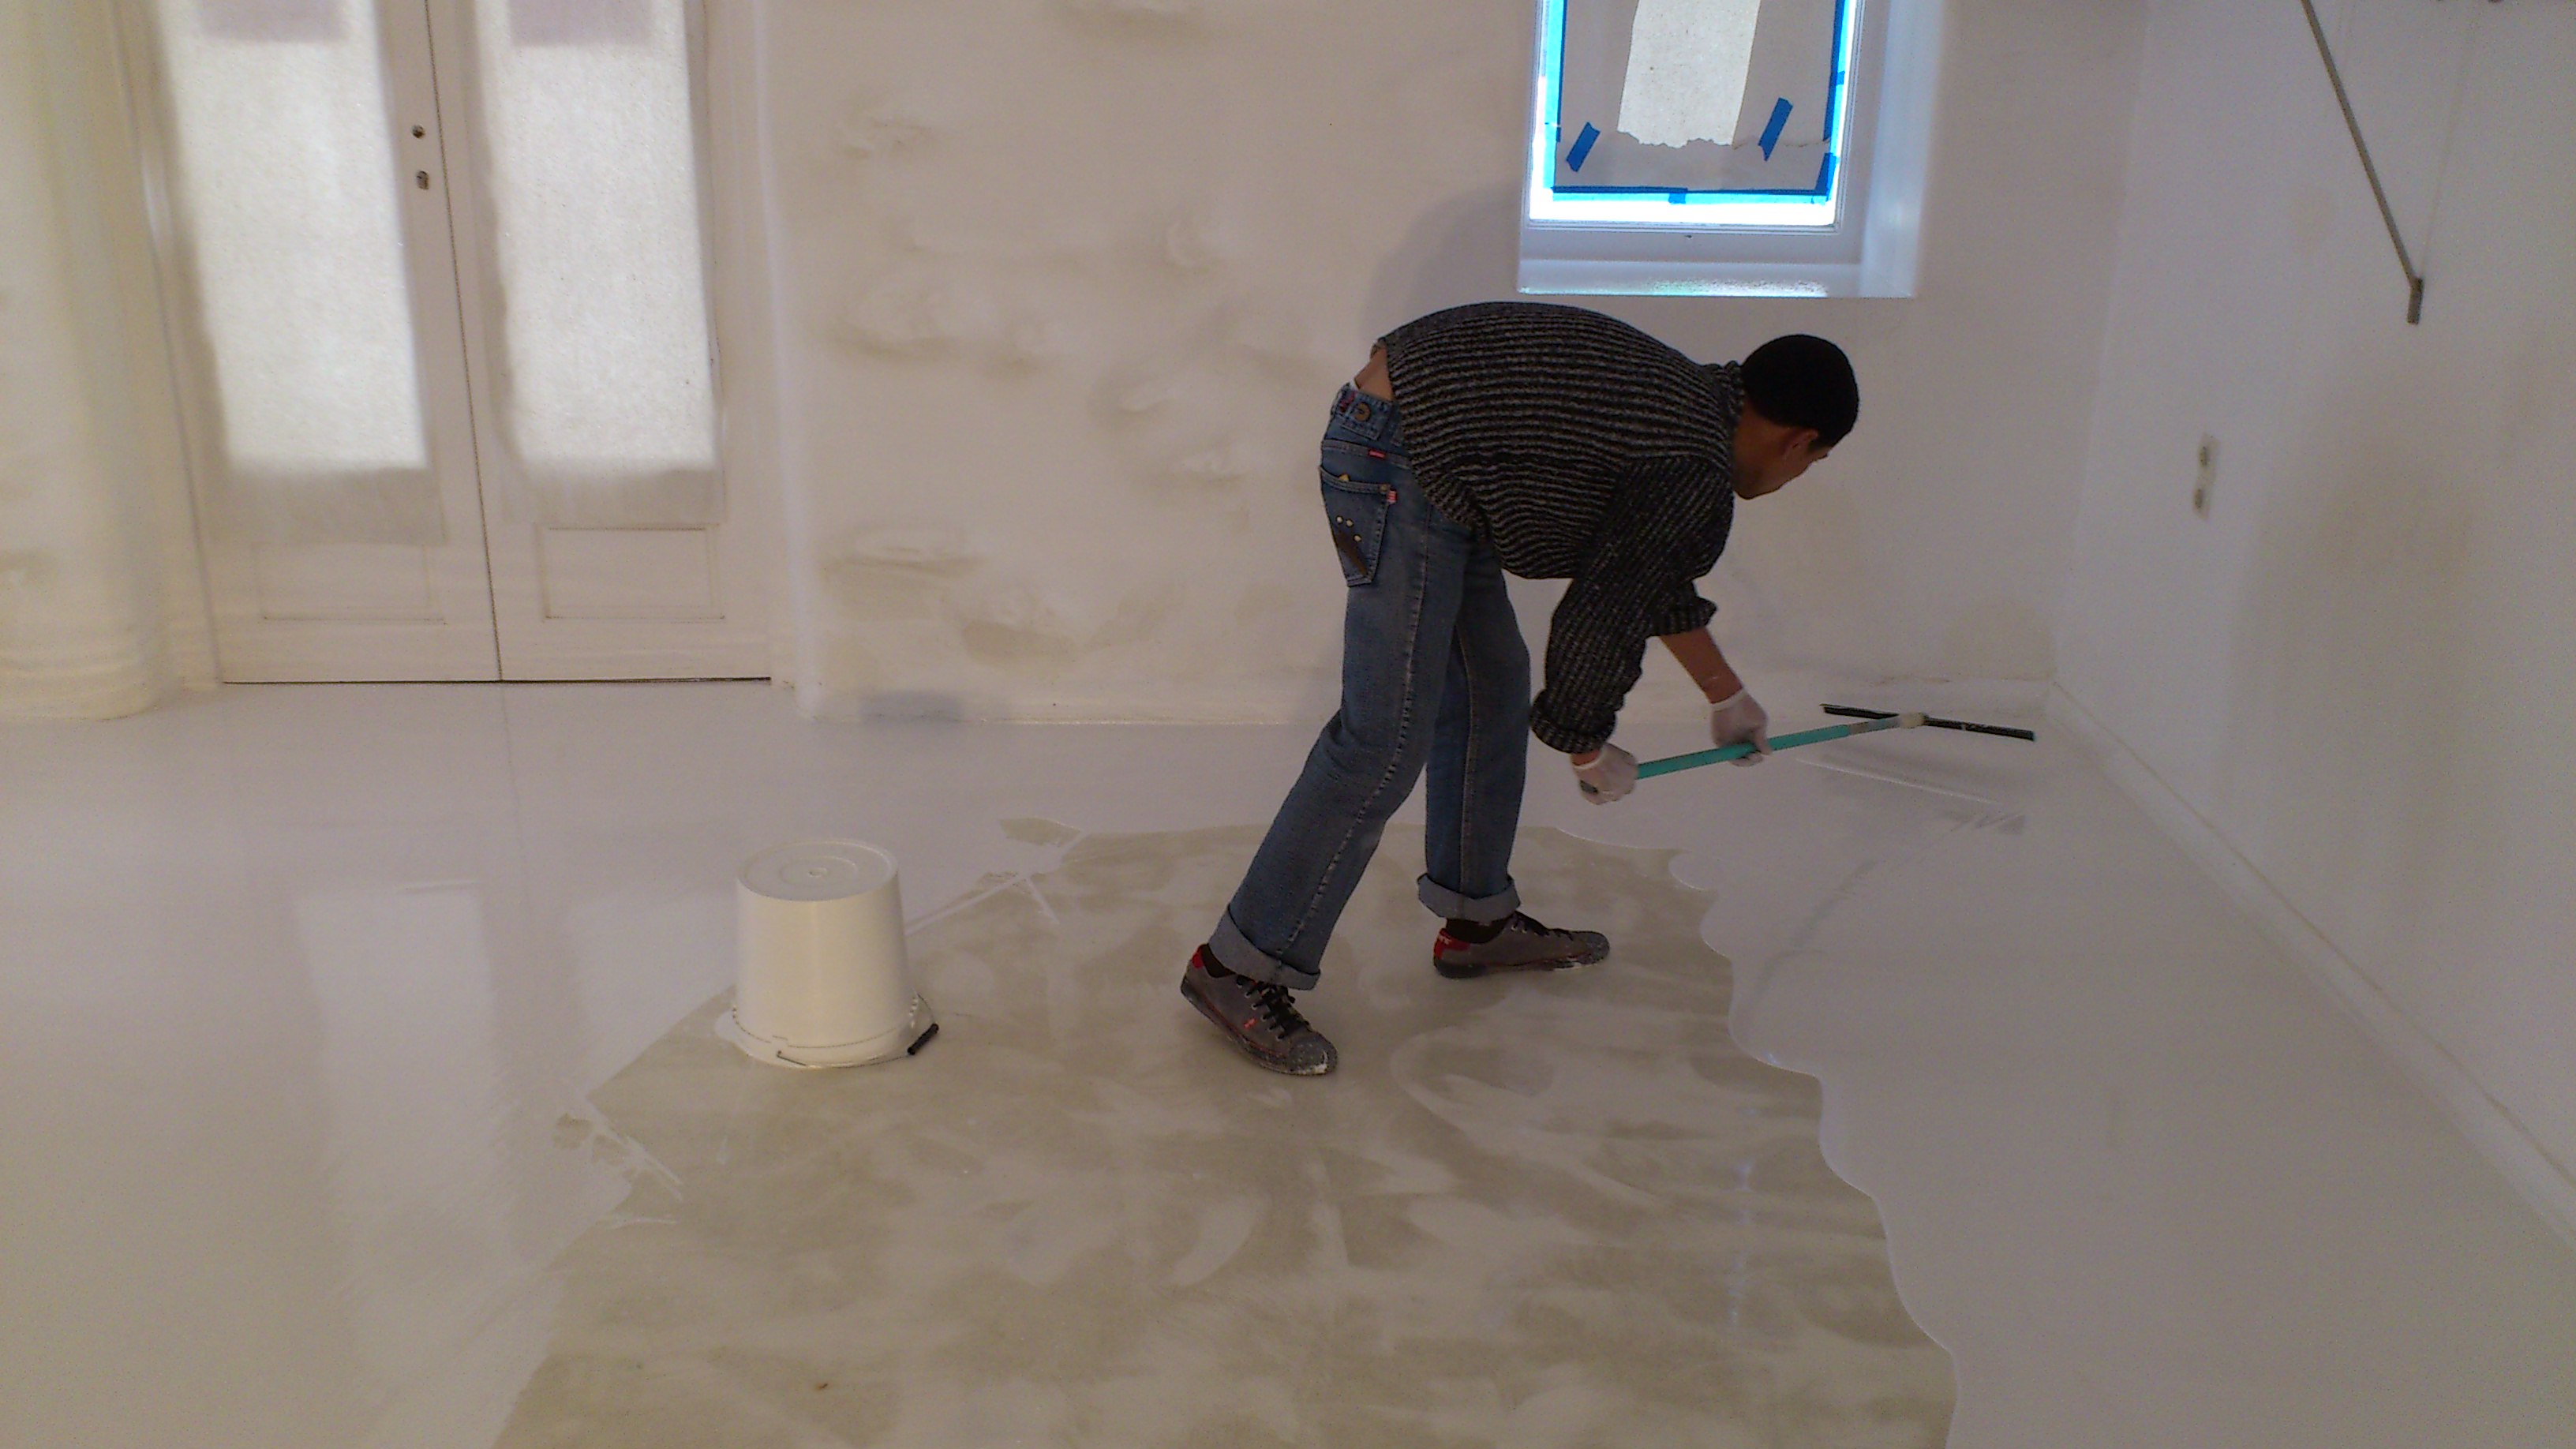
If a self-leveling concrete coating is created in a garage, then various aggressive agents (oils, solvents, gasoline, etc.) will act on its base. In this case, a primer for self-leveling floors based on polyurethane will be simply irreplaceable. And when the floor covering, in addition to protection, needs to be given a decorative look, then epoxy paint can be used.
Primers with increased adhesion and hydrophobic properties
Hydrophobic primers have excellent adhesion properties, but do not tolerate the alkalis in concrete. Therefore, a place not processed after priming will have to be re-primed for a certain period of time. It is rather difficult to answer the question of whether it is necessary to prime the self-leveling floor with hydrophobic mixtures, because there are a huge number of them and, moreover, with different characteristics.
But, nevertheless, when choosing which is the best primer, you should pay attention to the following type
Silicone primers
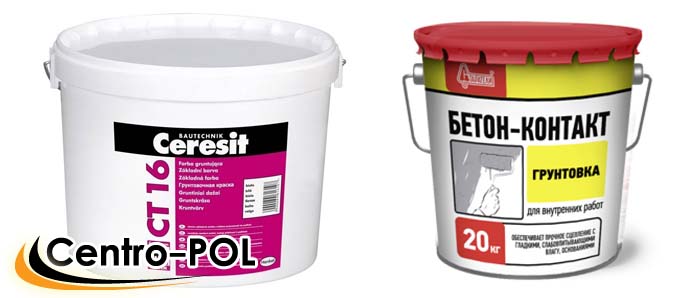 Silicone Primer and Concrete Contact
This type of waterproofing primer has excellent moisture resistance due to its properties. The applied composition penetrates deep into the concrete coating, displaces the moisture present there and protects against reappearance, and also prevents the development of mold and mildew.
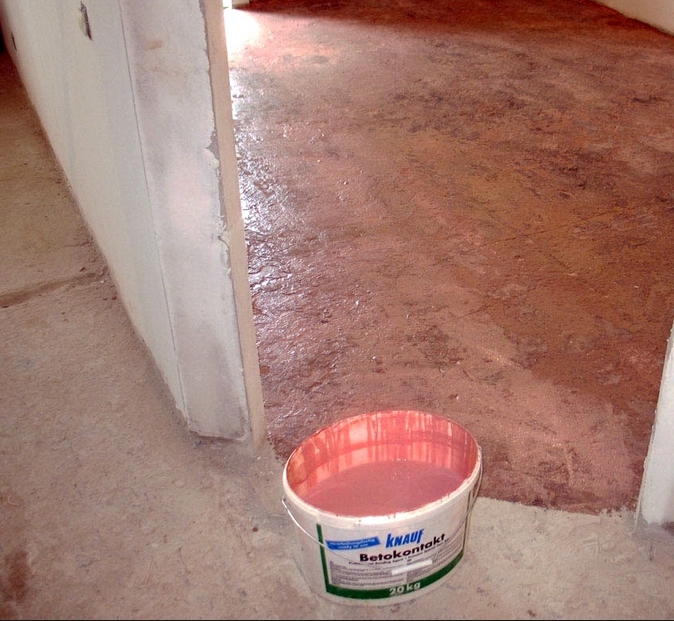
Primer "Betonokontakt"
This type of primer is crystallizing and has excellent adhesion properties. But, unfortunately, its use is limited only to rooms with a normal microclimate, because it does not have protective properties against moisture penetration and the formation of mold and mildew. The purpose of this type of primer is to create a special bonding film on the concrete surface.
With the correct selection and application of the primer, the self-leveling floor will serve "faithfully" for decades, so its use is mandatory, especially in rooms with a special microclimate.
You cannot save on primers, because the final result of the repair depends on this, and in which case it will be much more expensive to redo the entire coating. Therefore, you need to remember the saying "The miser pays twice" and start renovating the premises.
We also recommend that you learn about epoxy self-leveling floors, areas of application and how to fill with your own hands.
Priming technology
The priming process requires preliminary preparation. Initially, you should purchase the necessary mixture, depending on the base material.It is also worth taking care of the tools in advance so that they are at hand during work. In addition, it is worthwhile to familiarize yourself with the rules of the procedure in advance in order to exclude possible errors.
Preparation of a concrete floor for linoleum
Initially, you will need to take out all the furniture from the room and remove the old skirting boards. When restoring an old floor, you need to remove the old coating by hand or with a special grinder.
Attention!
If traces of oil are found, it is recommended to treat them with a solvent.
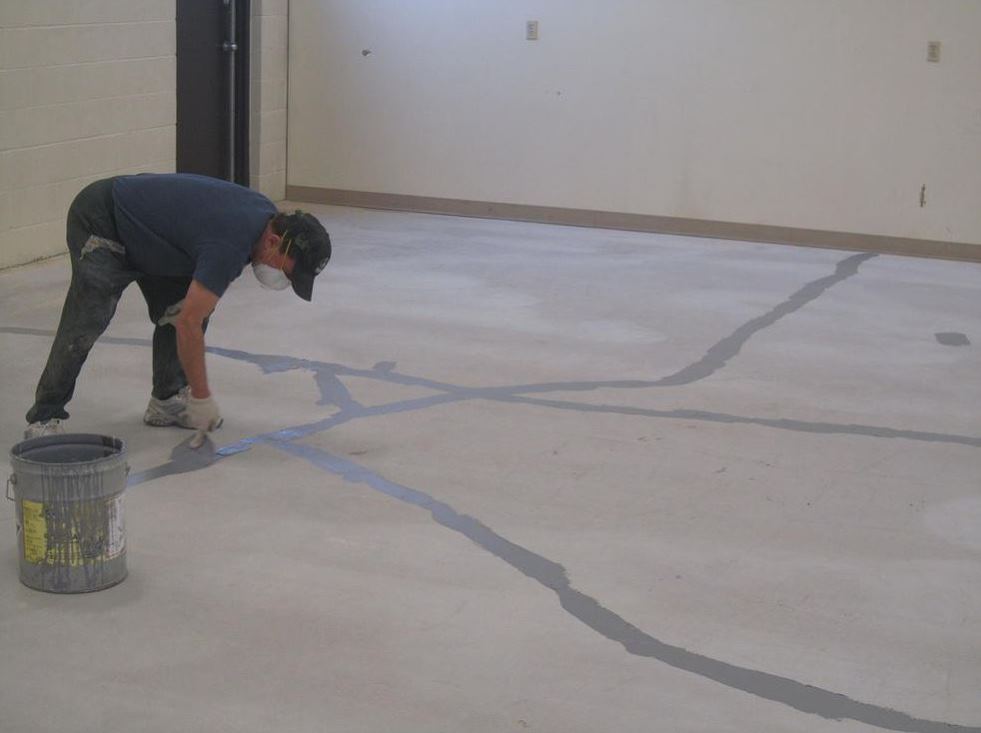
Expand deep cracks, treat with a primer and seal up with cement mortar. At the end of the preparation of the base, you need to carefully walk over the surface with a vacuum cleaner.
What is required for priming a concrete floor before laying linoleum?
It will not be possible to apply a protective layer without the use of special tools, so they should be prepared in advance.
Would need:
· Brushes - for processing corners, hard-to-reach places;
· Rollers - for uniform application of the mixture to the base;
· Roller tray - promotes uniform wetting;
· Spray gun - significantly speeds up the application process.
The order of work
Before laying linoleum, you need to analyze the condition of the surface. If the floor consists of a standard concrete floor with a seam between the slabs, then you will need to do several preparatory steps.
The order of work.
1.Clean up dust and debris.
2. Apply a cement screed to the base, having previously eliminated all cracks, chips and crevices.
3. Lay the insulation or waterproofing layer on top.
4.And from above, lay the linoleum on double-sided tape.
Leveling the concrete floor
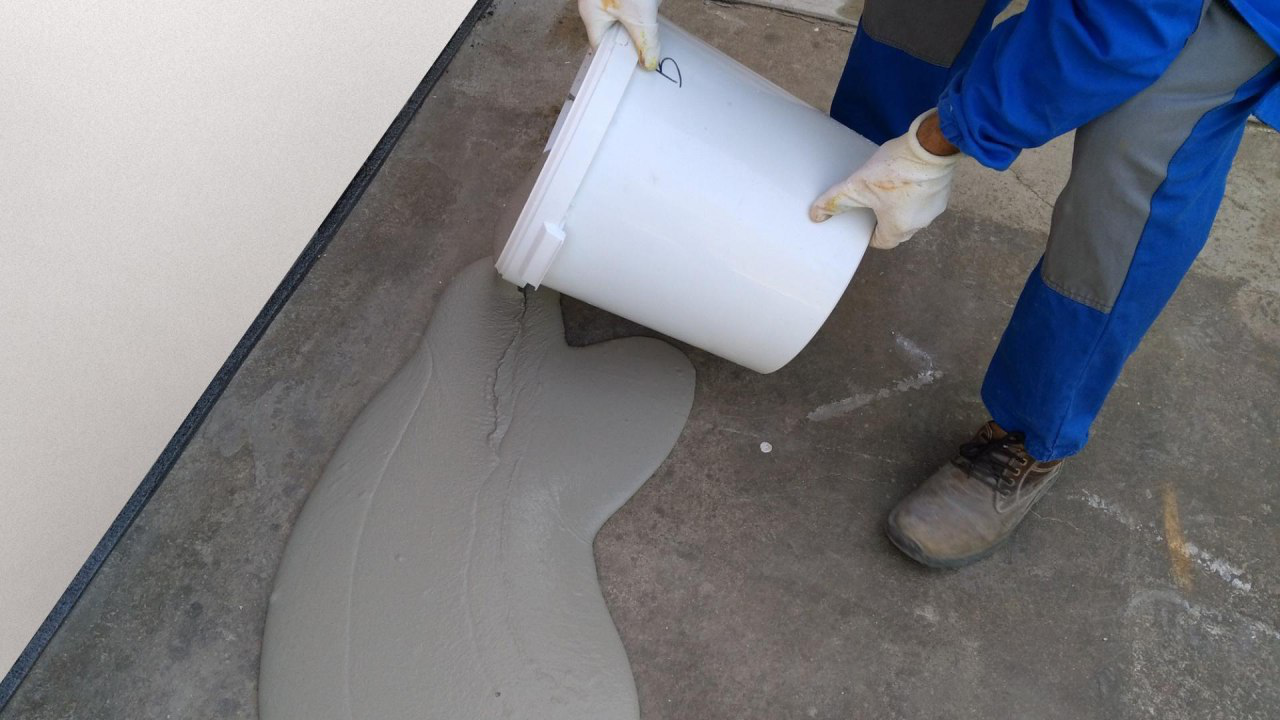
This step will help you achieve a flat floor surface. The easiest leveling method is to use a cement-sand screed. It will eliminate differences from 3 to 7 cm.
Procedure.
1.Clean and prime the base, if necessary, lay a waterproofing layer.
2. Place beacons, focusing on the zero level.
3.Around the perimeter of the floor, stick the damper tape.
4. Prepare a solution of their cement and sand in a ratio of 1: 2.5-3.
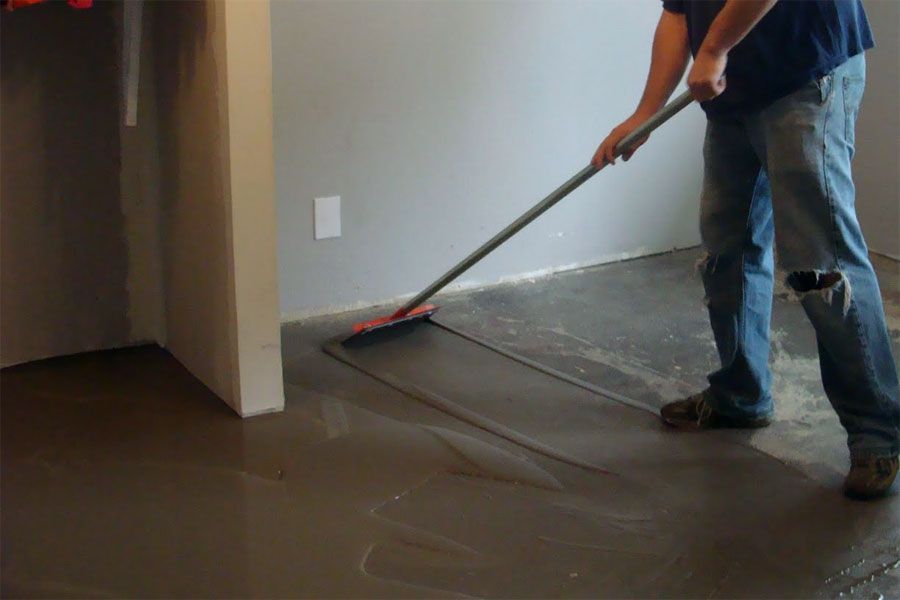
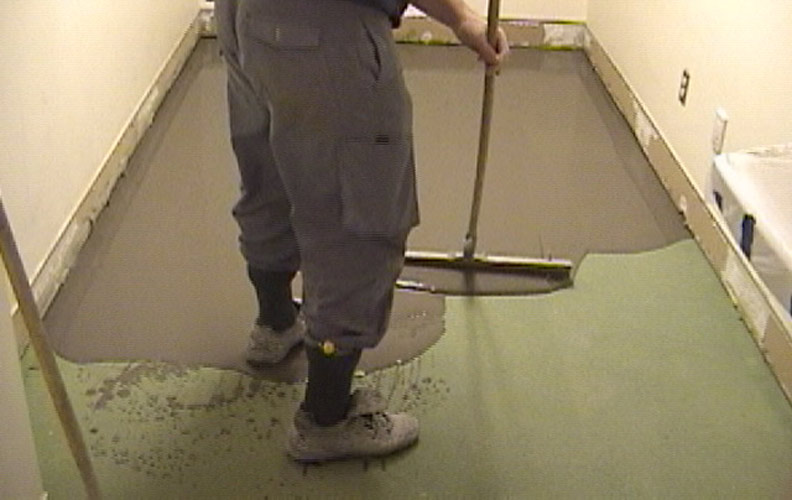
5. Pour the floor and level the mortar.
6. In a day, it is necessary to remove the beacons and wipe the formed depressions.
7. During the next 2 weeks, the surface should be evenly moistened 2 times a day or covered with plastic wrap to avoid cracks during the drying process.
8.After that, allow the base to dry for 14 days, without shelter.
The finished screed must be primed, and then linoleum is laid.
Using underlays to level the floor
To eliminate small differences in the floor, you can use special underlays. They can be made of polyethylene foam, expanded polystyrene, polyurethane, fiberboards. This method allows you to eliminate the difference in height from 2 to 5 mm.
Substrate must be placed on the substrate after priming.
Applying a primer to the floor
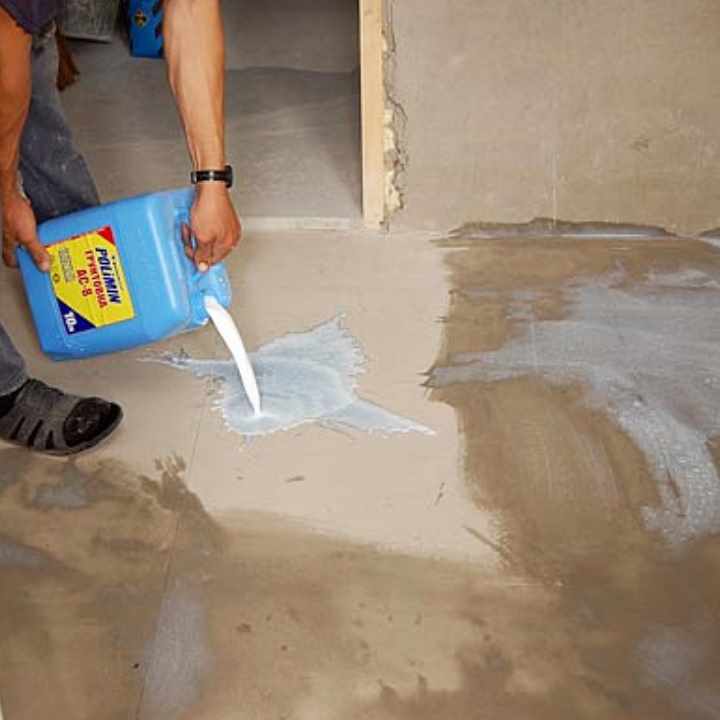
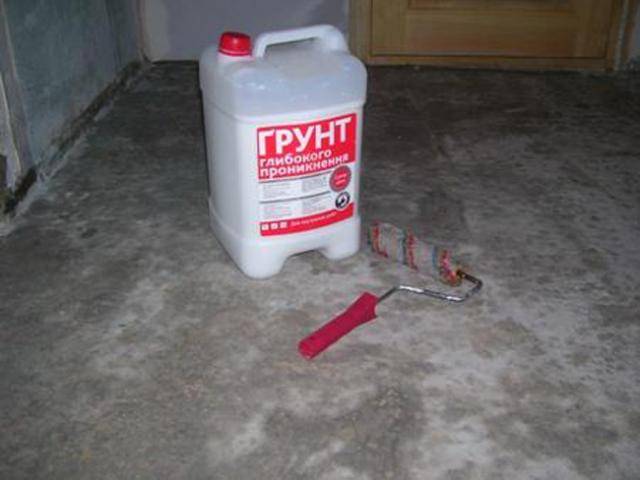
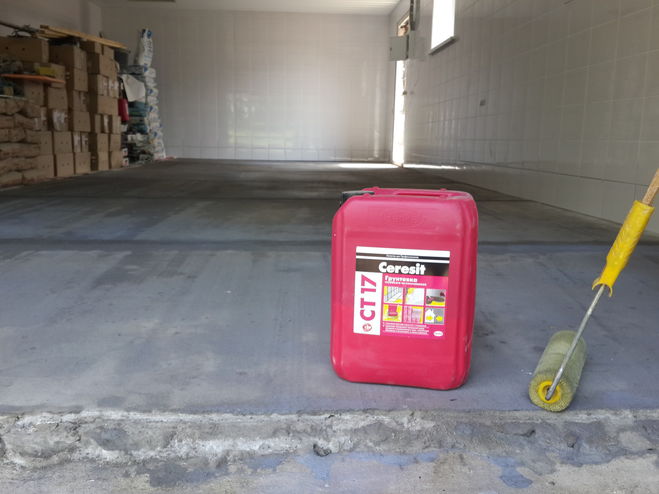
Stir thoroughly before applying the primer. The better the processing is done, the less the likelihood of possible problems in the future.
Procedure.
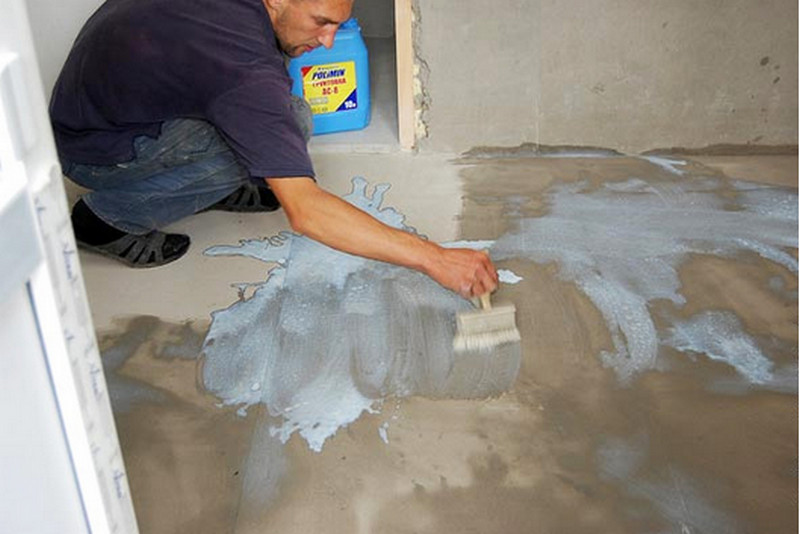
1. Need to brush the edges and seams.
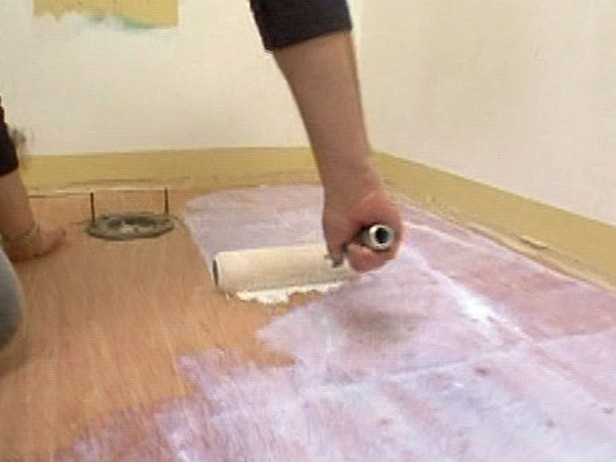
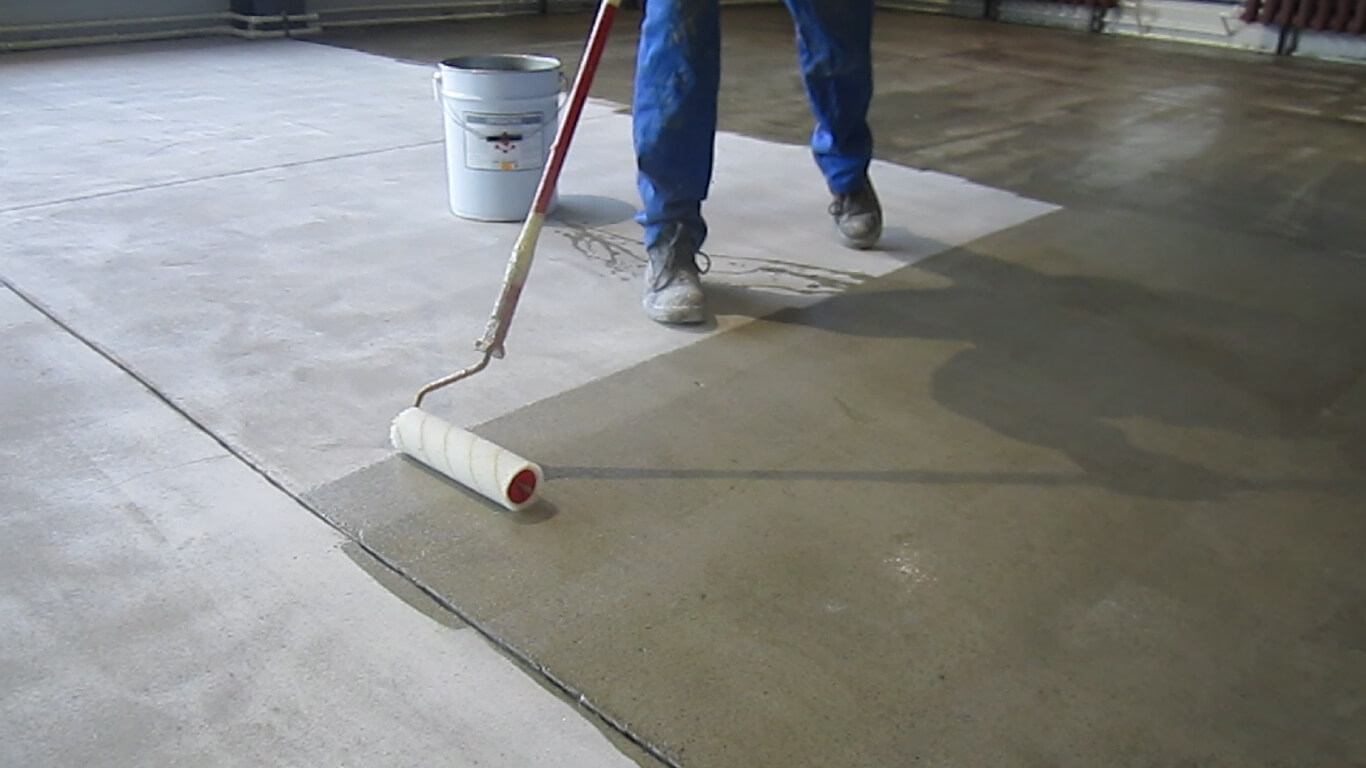
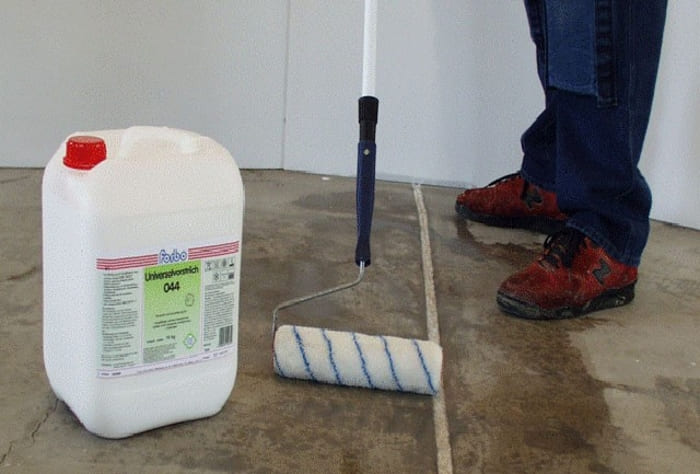
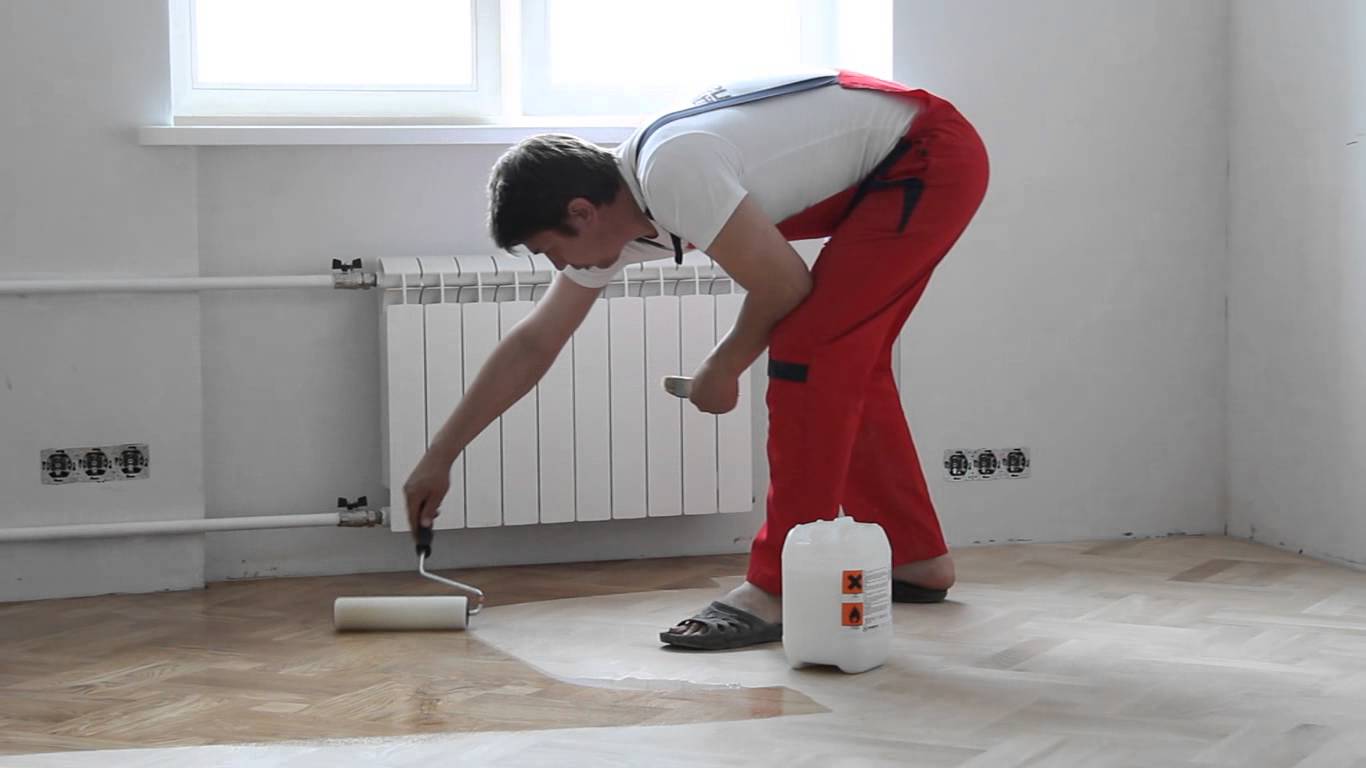
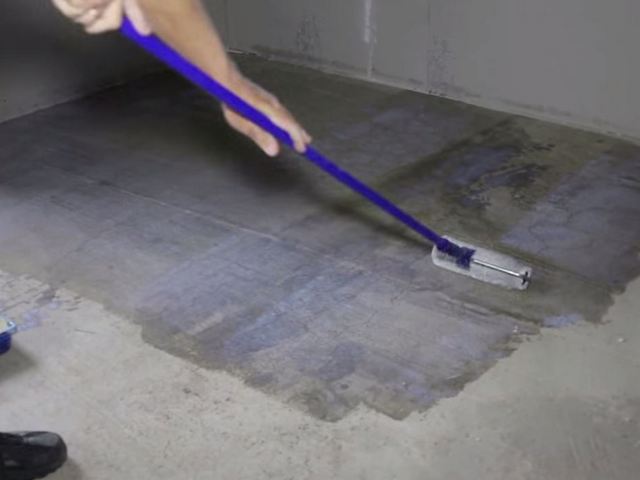
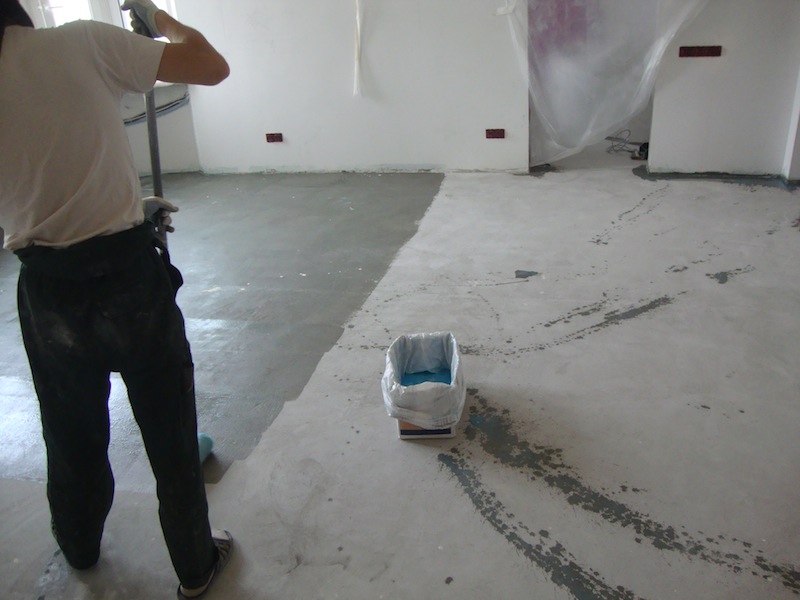
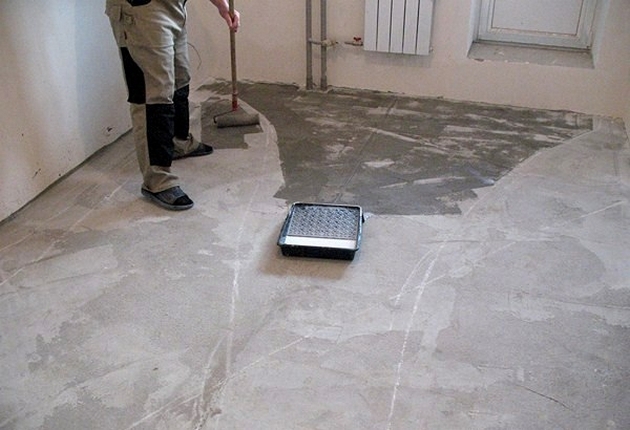
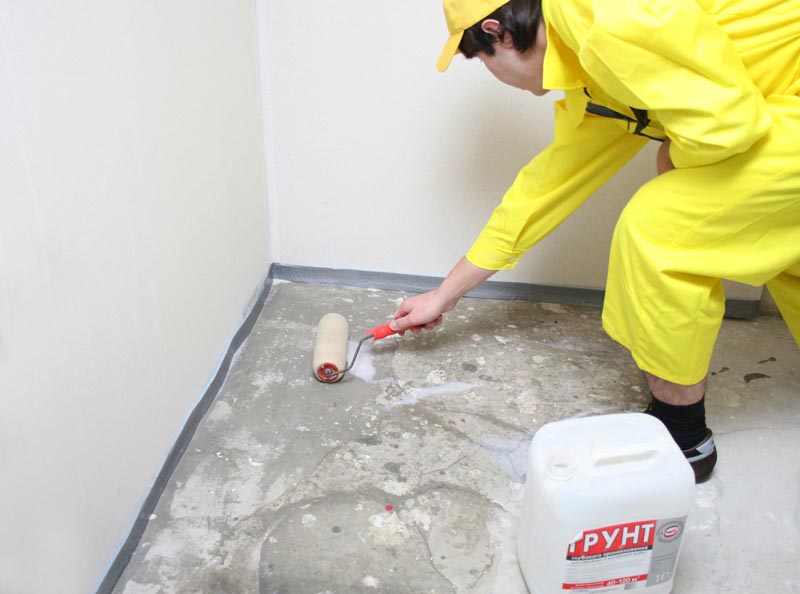
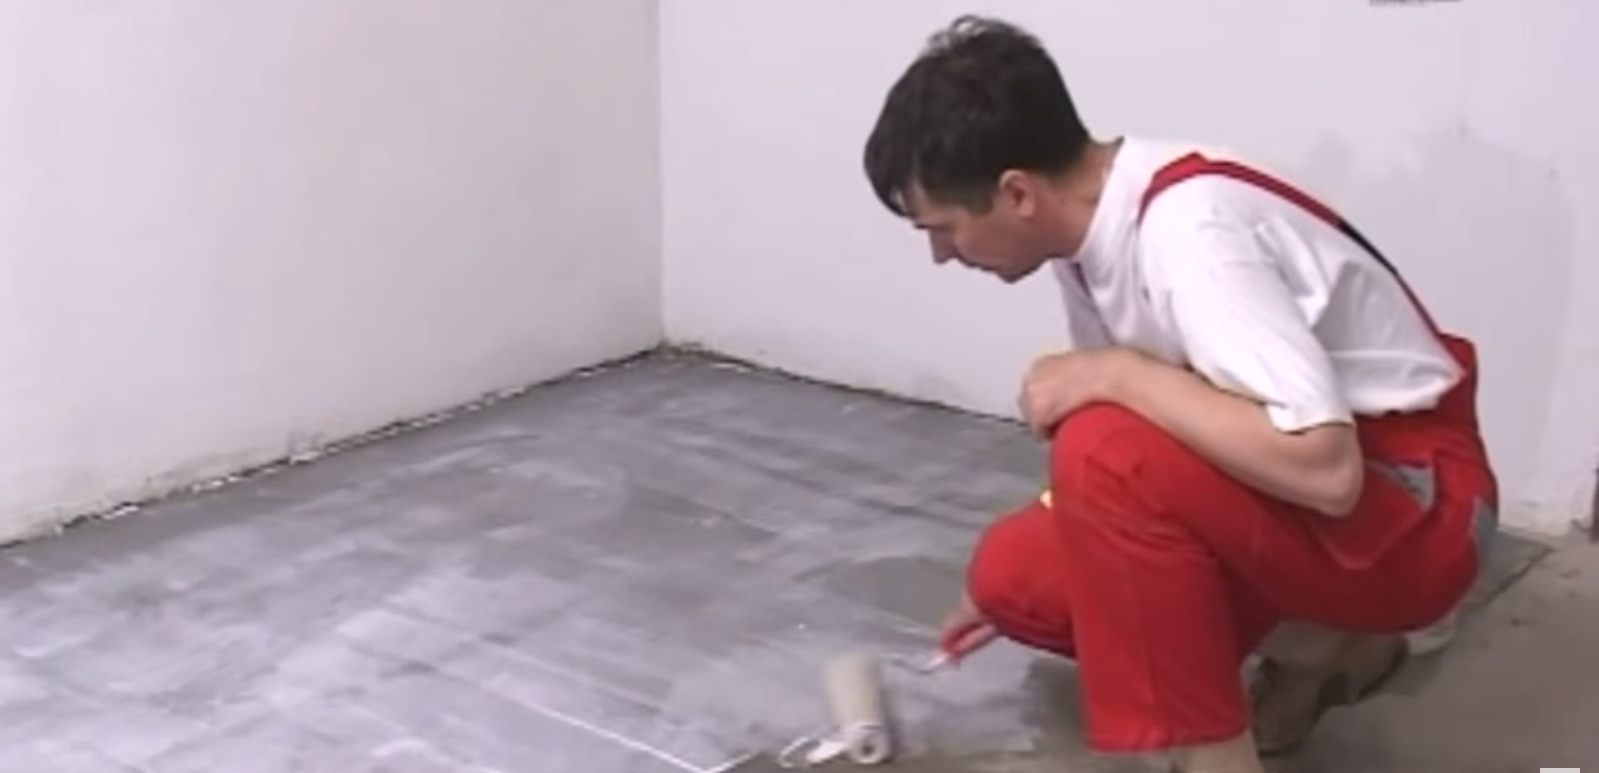
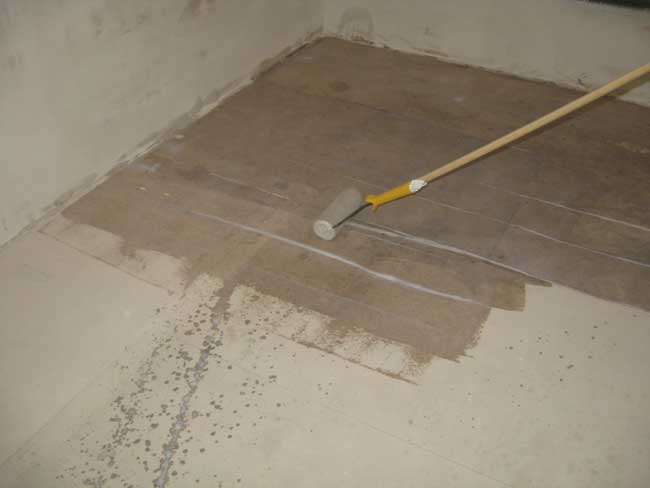
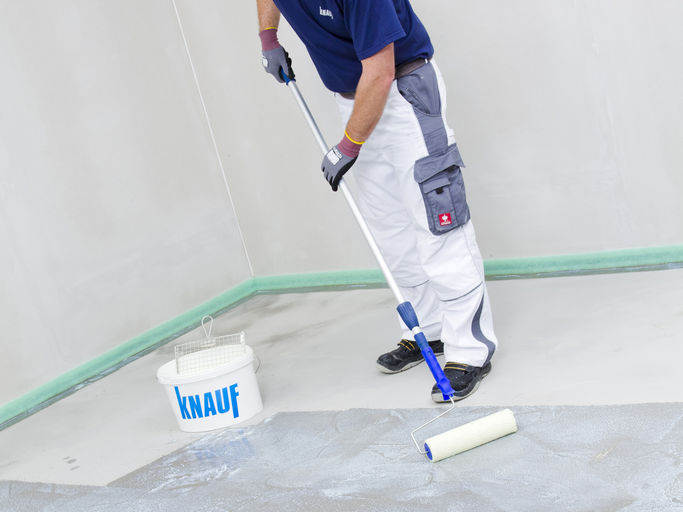
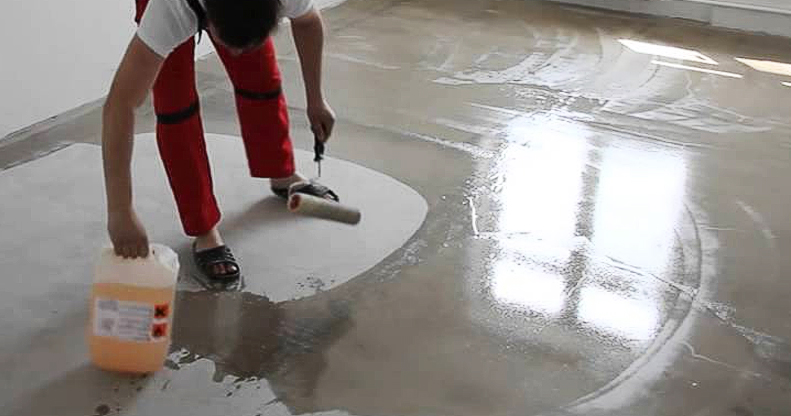
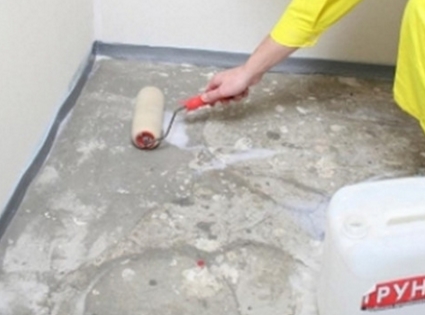
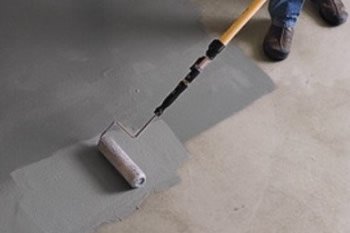
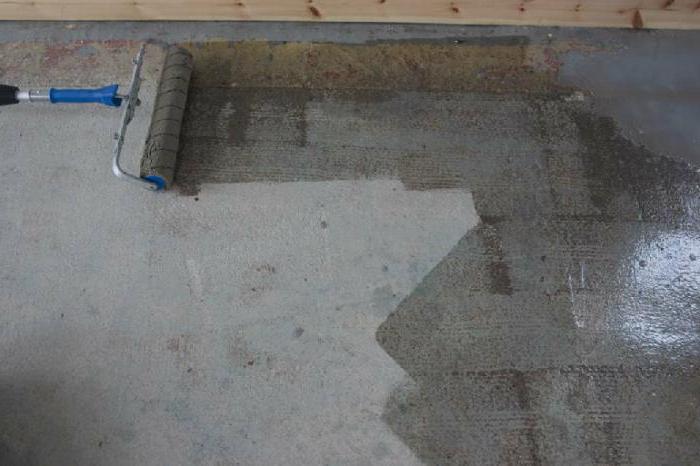
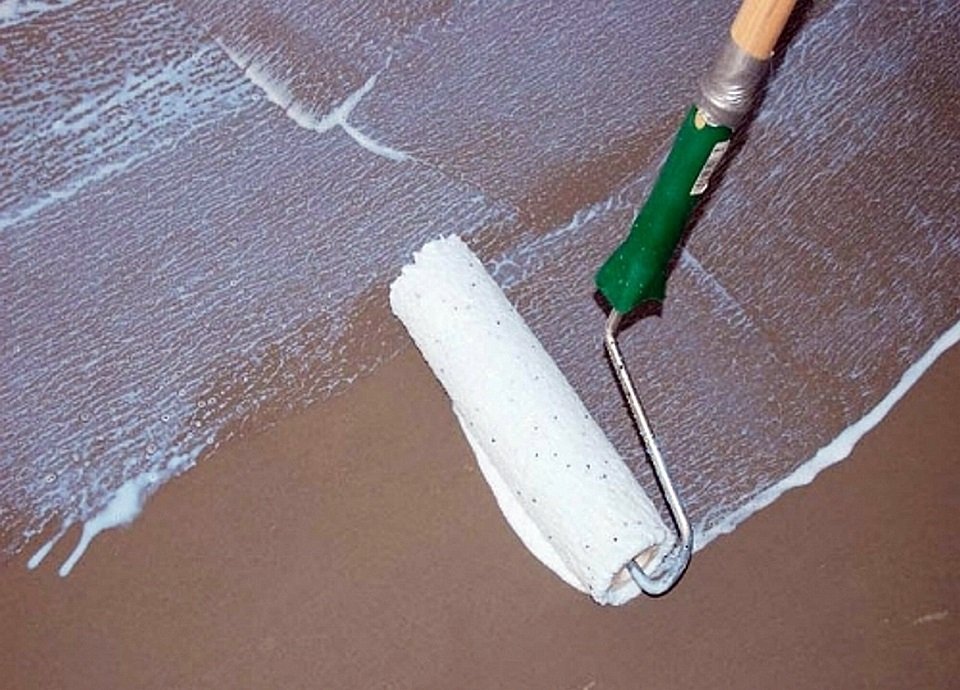
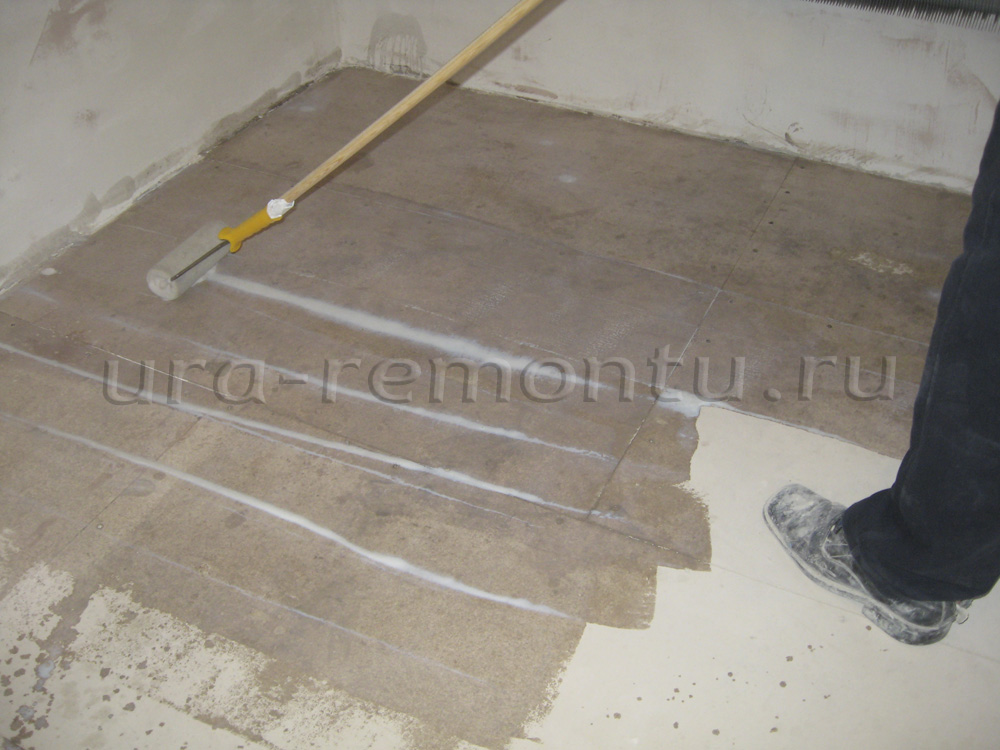
2. Using a roller, apply the working solution to the surface, starting from the far corner of the room.
3. Allow the primer to dry within the specified time on the package.
4. After 2 days, repeat the treatment if necessary.
The primer is applied only on a dry basis.
Application technology
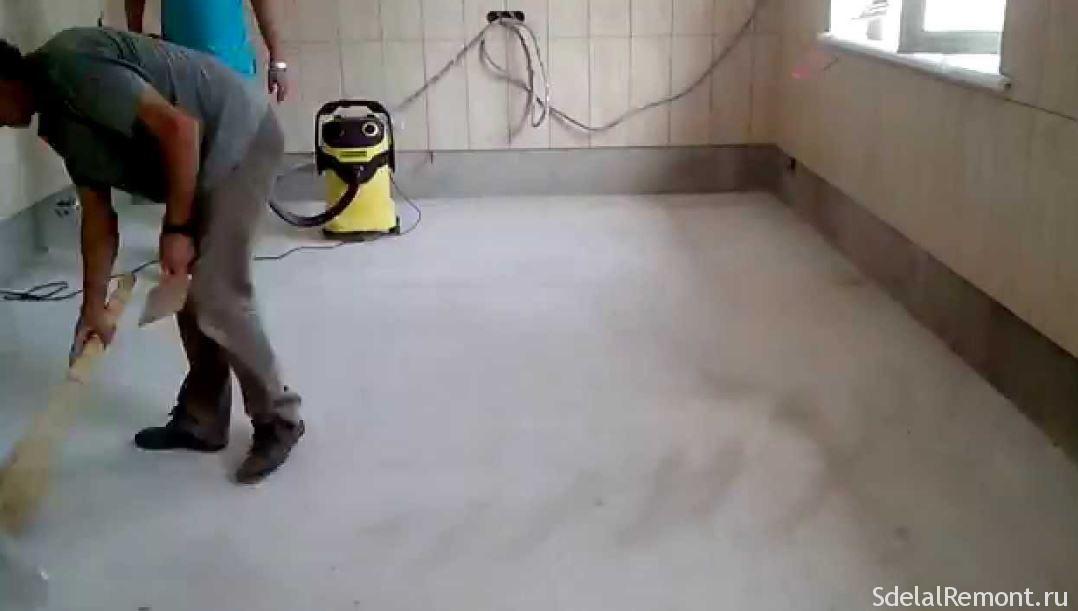
First, the surface is vacuumed to remove all debris. Oily stains are wiped with a solvent. The surface is completely dry.
Apply the first coat of primer and wait until it dries. Then only the second coat of paint is applied. If the surface is too porous and loose, a third coat may be needed.
Preparatory process before laying laminate
The concrete floor is cleaned of debris, remnants of the old coating and paint stains. If there are cracks in the floor, then they should be cemented. In the presence of concrete influxes, you must first break them with a perforator.
The surface is primed to improve the adhesion of the mortar to the floor. Using the level, it is determined where the lighthouse rails are located. They are fixed with a solution. The cement mortar is prepared from M-400 grade cement. It should be thick for better leveling of the surface.
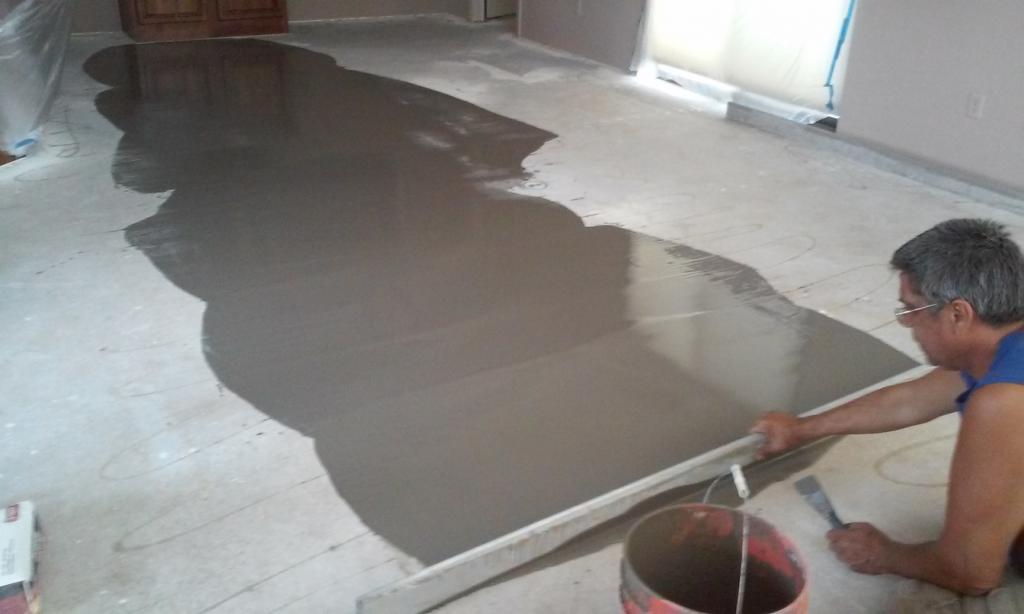
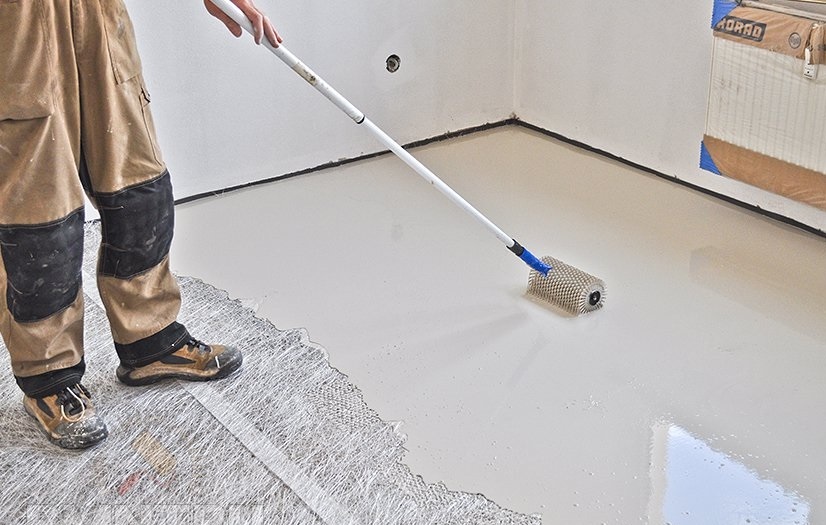
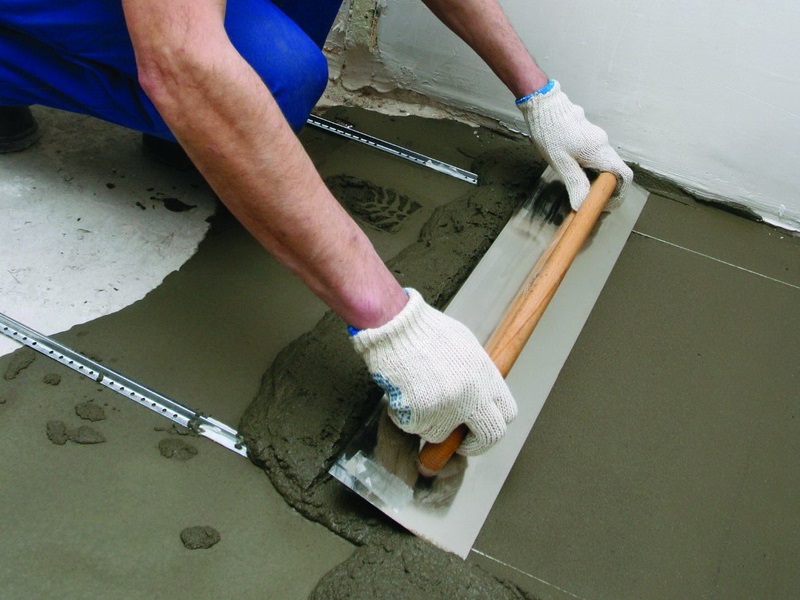
Using the rule, the solution on the floor is leveled along the beacons. To remove air bubbles, a needle roller is used to process the surface. When the solution dries up a little, the lighthouse slats will need to be removed. The voids after them are filled with a solution.
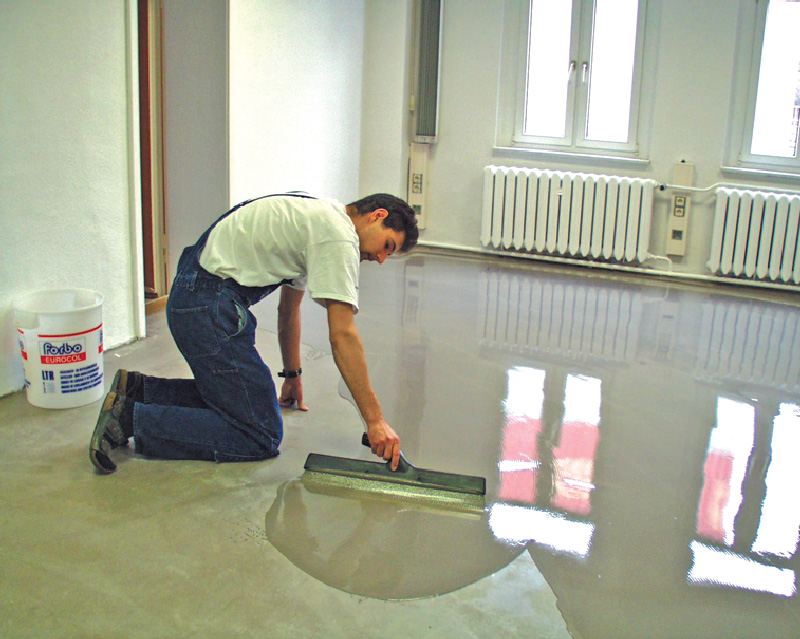
After the rough base is completely dry, a self-leveling mixture is poured onto the floor surface. It is also passed through with a needle roller to eliminate bubbles. The base is ready for laying the laminate.
Preparation of a wooden floor without significant differences in level consists in scraping. The surface is treated with a scraper and a hand-held scraper. Before this procedure, it is necessary to deepen the nails with a dabber. Laminate can be laid on the leveled surface.
With significant differences in level, the floor is leveled with plywood or chipboard. Before laying them, you need to remove the rotten fragments of the old coating and fix the loose boards with self-tapping screws. Sheets of plywood or chipboard boards are laid with an offset for reliability. There should be a minimum distance between the sheets. Fix them with secret screws.
Priming the floor before laying the laminate
The primer is applied on an even, thoroughly cleaned and dry surface. First, the first layer follows, and after it dries, the second. For the first coat, the primer is usually diluted. It must be liquid in order to easily penetrate into all pores and fill microcracks.
PVA will help save money. It is used instead of a primer, diluted with water in a ratio of 1: 2. Usually, 2 liters of water are taken for 1 liter of glue. The composition is thoroughly mixed and used as a primer.
Appointment
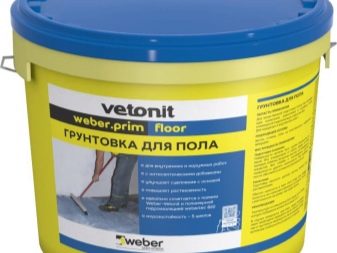
The primer is one of the most widespread and demanded finishing materials. It is used for a variety of purposes. Let's consider them in more detail.
- A good quality primer can be used to level the surface of the subfloor. Many finishing materials (for example, porcelain stoneware, laminate, parquet, tiles or linoleum) must be laid on a prepared base. To achieve the desired effect, you simply cannot do without a primer.
- The primer is often laid on a cement screed. Due to this tandem, cement substrates become more flexible in work. It becomes much easier to lay other coatings on them.
- Finishing floor materials that have been laid on a base covered with soil have a longer service life. This effect is achieved by increasing the degree of adhesion of the coatings. Due to this feature, the finish is not prone to cracking, chips or delamination.
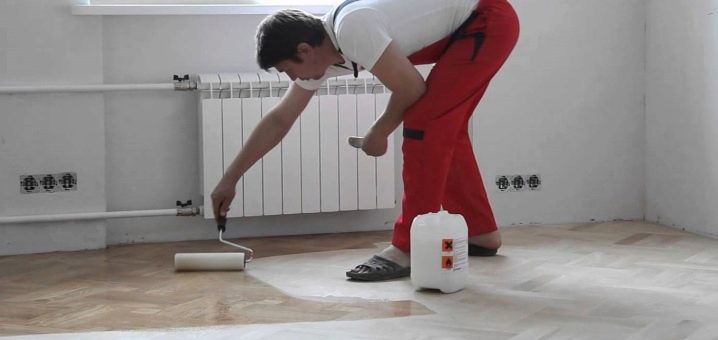
- The concrete surface of the floor becomes more durable after soil treatment. Therefore, many consumers are in a hurry during repairs to strengthen the floor bases with a high-quality primer. Without it, concrete can deteriorate over time.
- The primer is designed to protect the subfloor from aggressive chemicals. Few people know that dampness and substances dissolved in it are able to penetrate the putty on different bases. This often leads to chemical reactions that have a detrimental effect on the finishing materials. With the help of a high-quality primer, you can forget about such problems.
- The primer allows you to significantly save on subsequent finishing materials, since it closes the pores in the base structure.
- It is necessary to maintain the natural moisture level in the substrate. The surface that has not been finished with primer, as a rule, is too dry or too damp, and this has a very detrimental effect on the durability and strength of the floor base.
- Special primers with a high degree of moisture resistance are often used if there is a "warm floor" system in the room. Such mixtures are often used before laying tiles in rooms with a high level of humidity (kitchen, bathroom, toilet).
Types of primers
They are divided into liquid, dry. The latter must be diluted with water, the liquid ones are ready for use.
According to its composition, the soil is divided into:
Cement (mineral). It is used as the first layer for pronounced irregularities. Suitable for concrete, expanded clay and aerated concrete.
Alkyd. It is used on tiled, wooden, metal, plastic substrates. Cannot be used on plastered, plaster surfaces.
Acrylic. Created for wood, plaster as a finishing layer.
According to their properties, they are divided into:
Universal
Their basis is water, solvents, solvents. Designed for high-quality preparation and subsequent finishing. Reduce absorbency, thicken, strengthen. If the composition contains organic solvents, then until completely dry they have an unpleasant odor, are toxic, and quickly ignite. It is undesirable to use them in residential premises.
Strengthening
Used to eliminate pores, increase strength. It contains polyurethane, polymers, acrylates, additives. On their packaging you will find the note “For loose base”. Often, coloring pigments are added to such a primer, which helps to see the untreated areas. Dries quickly - only 0.5-2 hours.
Adhesive
Such formulations are made by all manufacturers. Consist of quartz sand, polyurethane resin, pigments (concrete contact). Due to the presence of a mineral filler (sand) in the composition, the solution has a roughness, and the composition adheres well to a rough finish. It can be used on most surfaces, except for highly absorbent ones.
Multi-soils
They are made only by some manufacturers, so it is not so easy to buy them. The primer can be applied on bituminous, stone, iron, wood, gypsum, ceramic, mineral substrates, as well as with glue, paint residues, putty. The composition contains various polymers and resins. They are difficult to use, so only professionals work with them.

Primer application technology
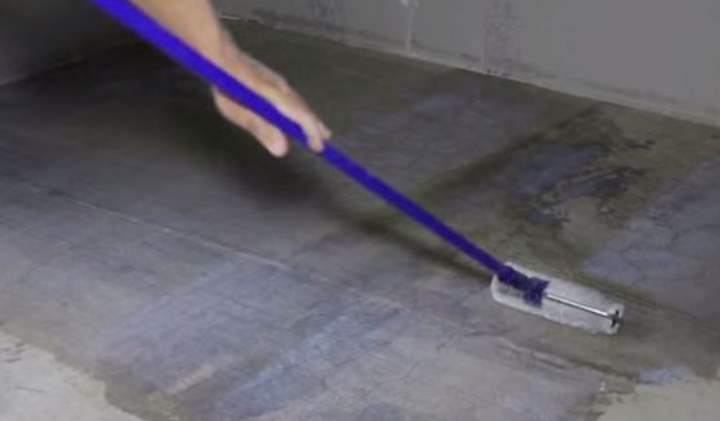
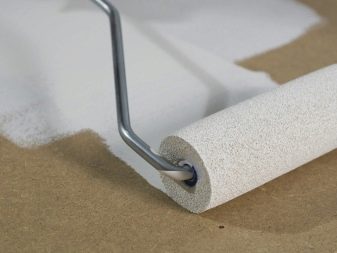
In the presence of penetrating surfaces, the primer is applied with a roller, which makes it possible to make a thin layer. On non-penetrating surfaces, the mixture is conveniently applied with a swing brush.
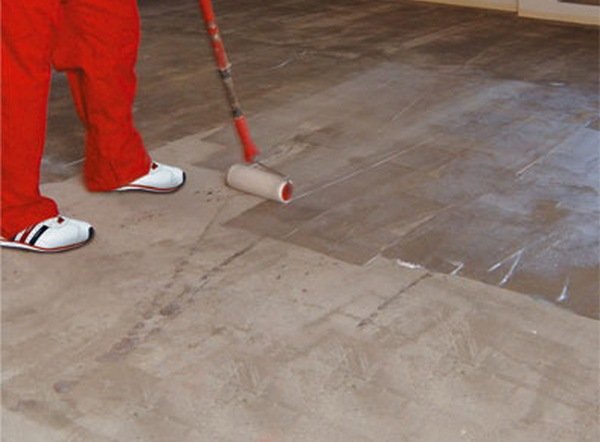
Surface preparation for tiles
The furniture in the room must be removed so that it does not suffer during the finishing work. The old floor covering must be dismantled.
Floor preparation is carried out in several stages:
- The floor surface is carefully inspected for the evenness of the base so that the tiled coating does not break or peel off during operation.
- Found chips, cracks, pits are carefully sealed with cement mortar or putty. This will help reduce primer consumption.
- Bumps, protrusions, nodules are removed with a hammer, emery paper or a grinder.
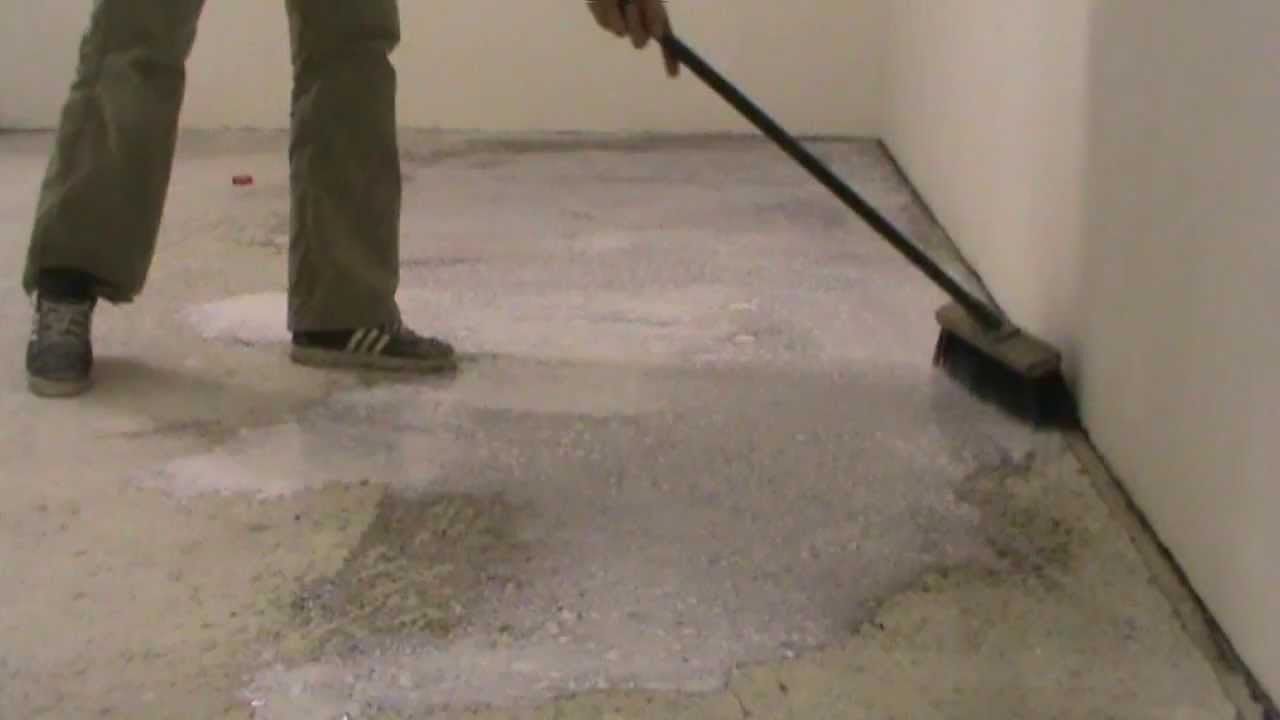
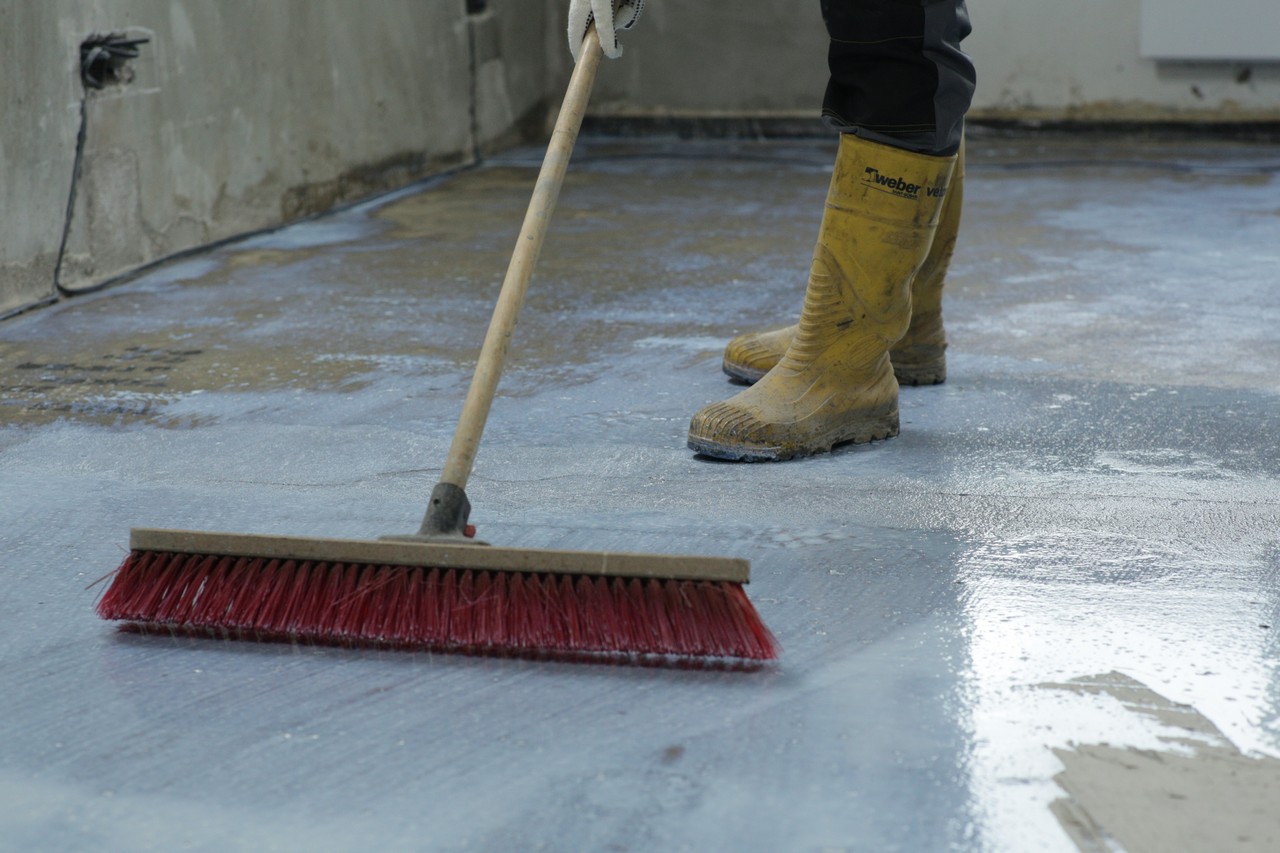
- Garbage is removed. You can use a stiff brush or broom slightly moistened with water; dust is easily collected with an industrial vacuum cleaner. Then you can walk with a damp cloth and then dry the base well.
- Small notches are made on the concrete floor, 3 centimeters apart, so that the tile holds better. An ax or a chisel and a hammer are taken from the tools. Advice! Dust from the notches is removed with a damp brush.
- Surfaces in rooms with high air humidity are treated with a water-repellent primer in two layers, the second one being applied after the first one has completely dried.
- The baseboards, jambs and lower sections of the walls are glued with masking tape so that the soil composition does not fall on them.
- Tools are being prepared: a wide roller, a brush for applying the mixture in hard-to-reach places and along the walls, a tray for soil mixture, into which it will be convenient to dip the roller.
Mixing process
Primers purchased in concentrated or powder form must be diluted with water in the proportion indicated by the manufacturer on the packaging. If the technology is violated, the quality of the composition will decrease. It is not required to immediately dilute the entire package of the mixture with water, at first it will be enough to prepare a small amount, and then stir more as needed.
Priming procedure
The layer of the mixture should not be too thick, so that later it does not delaminate.
Main steps:
- Processing should start from the farthest corner of the room in relation to the front door.
- Brush on hard-to-reach areas without leaving empty areas.
- Dry the first layer.
- Start applying the second coat and after finishing work wait for it to dry completely again.
- Apply a third coat when the surface is overly loose.
The quality of the coating is checked as follows: the palm is carried along the floor, if there is no trace left on it, then everything is in order.
What is a primer, what primers are
A primer is a liquid that prepares the surface for the next coat. It is clear that the "surface" is different, with different characteristics and problems. And "next layer" is also a very general name. The purpose of the primer is to improve the conditions for laying the next layer. To solve various problems, compositions of different properties are needed. Therefore, there are many soils and they act in different ways.
To choose the right type of primer, you need to imagine what you need it for, what problem it will solve
It is necessary to select a primer based on what tasks need to be solved. And this means that you need to have at least a general idea of their types, how they change the properties of the treated surface. According to the properties of the primer, they are divided into three groups: adhesive, filling and deep penetration. More about what happens to the surface after processing with each of the compositions is further described in more detail.
Adhesive
The adhesive primer serves to increase the "adhesion" of the two layers. After drying, it forms a sticky film on the surface, therefore it can also be called a film-forming one. It often contains sand of different fractions for better "adhesion" of layers. Scope - low-absorbent bases.
Weakly absorbent substrates are metal, glass, tiles, smoothed (fermented) concrete. One of the most famous examples of an adhesive primer is BetonoKontakt. I advise you to use it almost everywhere, but it is needed only on very dense substrates that almost do not absorb moisture. In other cases, it is irrational to use it.
The most popular composition of adhesive primers - Betonokontakt
There is only one example of using Betonokosntakt for the floor: if you put new floor tiles on the old one. In an amicable way, it should be removed. But sometimes you need to raise the overall floor level. And after removing the tiles and glue, you lose the desired height. Removing the tiles, then pouring the screed is expensive and time consuming. If the old tile on the floor lies "tightly", the floor is even, then you can go through the old coating once or twice with Concrete Contact, and then lay a new floor tile. It's all. There is no other use for this type of primer on concrete floors.
Filling
Filling impregnations, on the other hand, are applied to highly absorbent substrates.They clog some of the pores, reducing and leveling the absorbency of the surface. It makes sense to apply them on loose surfaces. In the case of concrete floors, fill-in treatments can be applied before:
- Painting or varnishing. To reduce the consumption of paints and varnishes.
-
Under the tile adhesive. In case it is necessary to extend the "lifespan" of the glue. Due to the fact that water will be absorbed less, it will remain mobile for longer. This will give more time to bring the tiles into the level.
- Before gluing the floor covering directly onto the screed. Some coatings (linoleum, parquet board, carpet) can be glued directly onto a flat concrete floor. To reduce the consumption of glue, you can walk through the filling primer.
If you are preparing a concrete floor for painting, so that less paint wasted and it lay smoother, it makes sense to cover it with a filler primer. A diluted paint and varnish composition is often used as this primer before painting. This gives the primary color, reduces absorbency. After all, any floor paint clogs the pores, and therefore fulfills the task of a filling primer.
Deep penetration
Deep penetration primers are used on surfaces that are constantly dusting and crumbling. Soil components penetrate through the pores deep into the material, bind (glue) unstable particles together. Thus, the material becomes denser and less dusty. This composition has almost no effect on the amount of absorbed moisture. Deep penetration primers are also called penetrating or strengthening.
This is how deep penetration primer works on concrete floors
Actually, strengthening is a special subspecies of this type of soil. They contain more adhesive components. So when processing with a deep penetration strengthening primer, due to the adhesion of material particles to each other, it becomes less dusty or free-flowing. If you want the concrete floor to be almost free of dust, it can be treated with a deep penetration reinforcing primer. The effect is the same as when painting, only without changing the color.
Do I need to prime the self-leveling floor .. and other nuances.
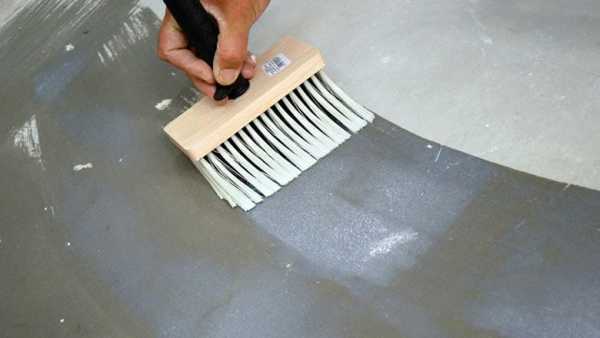
The primer is a specific liquid material that is designed to significantly improve the adhesion of a variety of coatings. It is easy to understand whether it is necessary to prime the floor, because after the appropriate procedure, you can lay various coatings with confidence in the durability. In addition to its main function, the primer is able to slow down the process of water absorption. As a result, the screed will maintain its own uniformity for as long as possible, and will also reduce the likelihood of its subsequent cracking.
The primer is suitable for:
- monolithic concrete;
- epoxy screeds;
- cement-sand bases;
- wood coatings, etc.
Experts clearly know whether it is necessary to prime the self-leveling floor, but at the same time they also carry out the correct selection of the mixture. It is imperative to take into account the surface material, because it can be concrete, brick, wood, metal, drywall, plaster, and so on.
The working process
The importance of the primer lies in the versatility of the respective mixture. It is ideal for a wide variety of situations
Regardless of the chosen flooring, such a preliminary layer will improve its subsequent qualities and prolong its life. It is very important to take the time to apply the primers. The floor surface must be completely dry before using the finishing materials. Disputes about whether the floor should be primed before laying the laminate is also inappropriate, because without applying a primer, the corresponding coating can be too seriously affected by external factors.
The floor should be primed using special tools that are available to any average citizen. A roller, brush, or regular brush will help here. In some situations, it is possible to use a spray. It should be understood that the mixture can still adversely affect human skin, which is why it is better to use rubber gloves during work. Having examined all the advantages of this process, it is easy to determine whether it is necessary to prime before filling sex and other types modern coverage.

Combination with floor coverings
Each person has their own taste preferences. During repairs, many people quite actively use tiles, with which you can decorate a wide variety of surfaces without problems. In this case, it is necessary to figure out whether it is necessary to prime the floor before laying the tiles and how to act in this situation. Primer mixtures in this case are applied to significantly improve the adhesion between the cladding and the base. Of course, you can lay tiles in the old fashioned way on cement mortar, but practice shows that the corresponding method is clearly inferior in many respects to modern soil mixtures.
Linoleum and laminate flooring are quite common today. In this case, you also cannot do without preliminary preparation of the base. It is not enough to know whether it is necessary to prime the floor before laying linoleum, because you still need to correctly approach the corresponding process. Linoleum is known to have an attractive appearance and low cost compared to other coating options. Thanks to the pre-primer, the material in question will also experience a significant improvement in its own technical parameters.
Primer before screed
This topic also needs detailed study. During the execution of work, you cannot do without professionalism and strict adherence to technology. The easiest way is to figure out whether it is necessary to prime the floor before the screed, because it is much more difficult to regulate other nuances. First of all, in this case, one should start from what kind of coating will be applied later. An acrylic primer is best for wood floors. Thanks to the use of an appropriate mixture, the top layer of wood will be efficiently cured, which will make it possible to apply a layer of paint on it without any problems.
For the purpose of impregnating the concrete base, it is better to give preference to an epoxy soil mixture. As a result, the surface will be reliably protected from the penetration of excess moisture. It is quite possible to apply the primer even on wet substrates. However, experts recommend still waiting for a while and letting them dry.

