After the steps of the stairs are ready, the installation of the stair railings can be done. If you did not have any special problems with the installation of the steps, then questions will surely arise when attaching the balustrade.
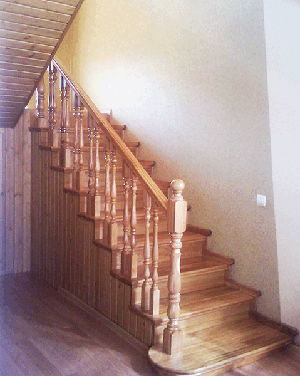
After all, its installation with your own hands is much more difficult:
- here you need to be especially precise;
- provide a sufficient number of attachment points;
- at the same time make everything invisible to the eyes.
Preparing the tree
All parts must be prepared in advance: sanded, the irregularities are putty, and the surface is varnished. All wall decoration work must have already been completed, and if it is planned to install a video camera on the staircase, a chandelier or other electrician, this must be done in advance.
Sanding can be done by hand or belt sander. Carved curved elements will need to be hand-sanded. Defects are repaired with a special wood putty. After it dries, you need to sand this area again.
Next, you need to cover the parts with varnish, impregnation, paint or stain. From a good choice of color, the entire staircase can be transformed.
Required tools
To work, you need the following tools and materials:
- Drill;
- Drill guide;
- Milling machine;
- Hand grinder;
- Emery;
- Wood putty;
- Paintwork;
- Studs and spare parts bolts;
- Square and pencil;
- Next, you need to make even holes for fasteners in the balusters and pillars, parallel to the direction of the parts. To make them even, you can assemble a homemade machine from a drill attached to a table. To center the drill, screw an oak or beech block to the table and make a hole in it for the drill.
- Then screw on the rail from the baluster bar. Now you can make a hole in the balusters exactly along their axis.
Drilling holes
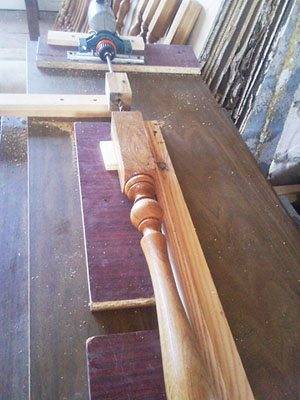
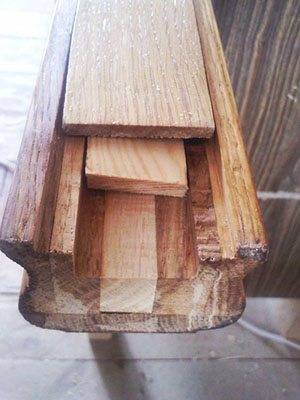
- To fasten the handrails, cut grooves in the shape of an inverted letter "D" in the lower part with a milling machine, as shown in the photo below. By the size of this groove, you will need to cut a rail, which will then be screwed to the balusters. Another rail should be the size of the upper part of the groove, it is better to make it from a beautiful material, since it will be visible.
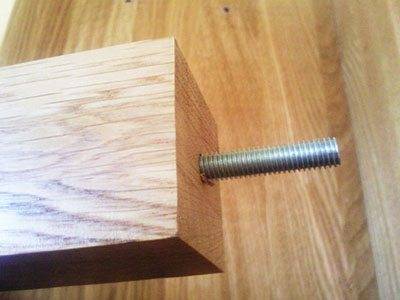
- To mount the posts and balusters, we screw special pins with a diameter of 8 mm into their lower part (for posts it is better to use 10 mm), and 10 cm long.
Note!
This mounting method is only suitable for hardwoods.
To conveniently screw them in and not damage the threads, screw on them several nuts, which are removed after screwing in.
- Then a 7 mm hole is made in the tread of the lower step of the stairs and a pillar is screwed into it. After that, the pillar is removed from the stud, and it remains in the step.
- We fasten the step to the floor on an anchor bolt, which will then disappear with a column.
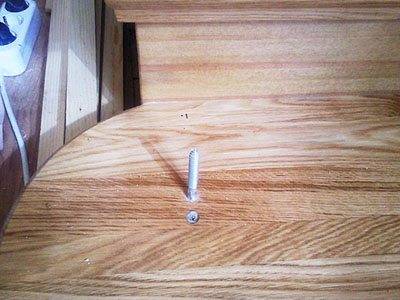
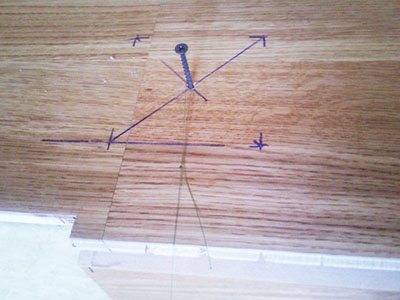
- We make markings for the upper pillar on the last step. You need to screw in a self-tapping screw exactly in the center, and pull the thread between it and the hairpin. So that all the supports stand in one row, use a square to mark a line at each step under a stretched thread.
- We mark the center for the baluster at each step and drill a small thin recess. Next, we put the drill guide on the drill and make holes for the installation of balusters with a 5 mm drill.
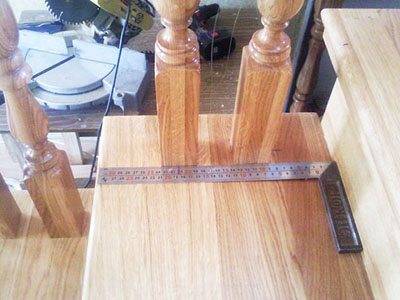
- We screw the studs into the balusters and then we screw them to the steps. We use a square to control the evenness and alignment of the installation.Before screwing them in, it is advisable to coat the installation surface on the tread with silicone in order to displace the air and fasten the parts more tightly. Thus, we collect the entire march.
- If the installation of the ladder balusters is not on the steps, and you want to make the same distance between them, 15 cm will be enough for thin parts, about 20 cm for thicker ones.If you have small children, then their fastening should be done so that the child could not fall between them. The height of the columns is chosen at your discretion, depending on the height. They are usually sold in lengths of 50 or 60 cm.
Fastening the handrail
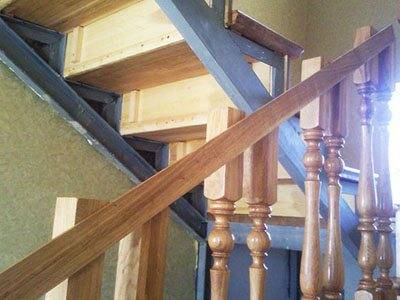
- We cut off the extreme balusters at the required angle. We expose them strictly vertically in level and glue a flat rail on the tape, which is needed to mark the rest. We apply marks along the bottom line of the rail to cut off all the balusters.
- We cut them off and fasten the cut-out railing rail to it.
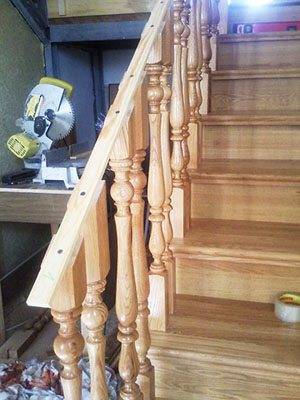
- We put the handrail on the rail, and cut its edges at the desired angle, for a tight fit with the posts. After that, we fasten the handrail to the rail with screws from the bottom.
Advice!
To avoid chipping the ends of the pieces when trimming with a miter saw, wrap them with tape.
Fastening the handrail to the post
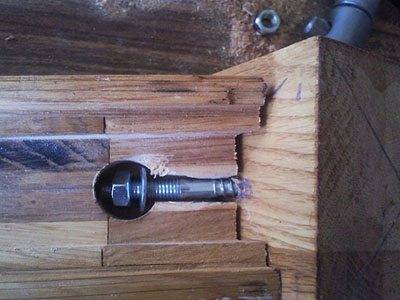
One of the options to fasten the handrails to the extreme posts is to use special spare parts for the installation of stair railings, the price of which is 100-300 rubles per piece. Sometimes you can't do without them, especially if you need to connect the railing with a turn, as the video in this article shows.
Another option, more complicated, that we will use - mounting on euro screws.
- For this, several recesses are made in the handrail from the bottom side with a feather drill. To avoid accidentally drilling through holes, place a metal sheet under the bottom.
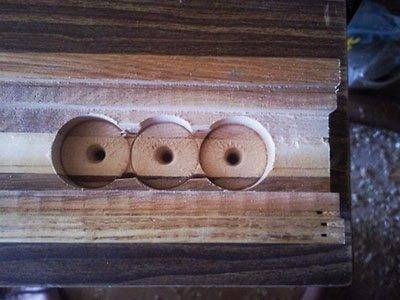
- We remove the extra walls with a chisel to get a rectangular depression with rounded corners. It should fit our euro screw and hexagon.
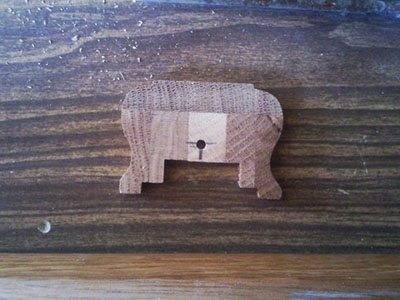
- The edge of the handrail is cut and a stencil is made for drilling the hole. Using it, you need to mark the drilling point at the end of the handrail and make a hole with a thin drill from the end to our recess. Then you need to expand it with a thicker drill.
- Attach the handrail to the post and trace around it. Then attach a stencil and mark the position of the hole.
- We drill a hole, tighten the euro screw into it and then unscrew it immediately.
- We put the handrail on the rail and pull it from below through the hole made by the euro with a screw to the post.
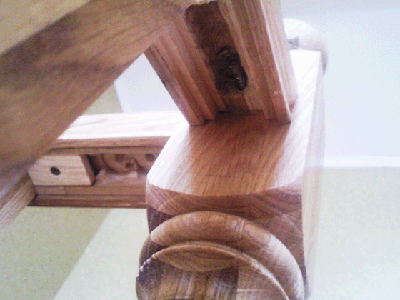
- The lower posts can be simply screwed onto self-tapping screws or euro screws at an angle.
Balustrade
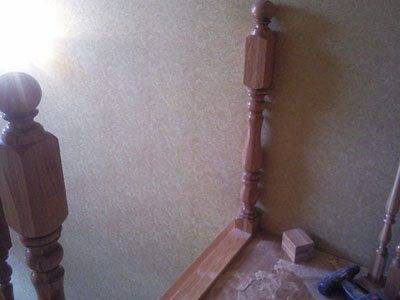
After that, the installation of the partition on the landing can be done.
- To do this, we screw in the post and additionally fix it to the wall with an anchor.
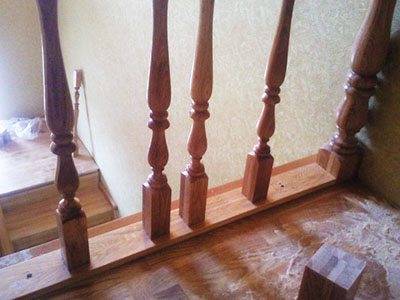
- We cut out and lay the lining between the pillars so as not to fix balusters straight to the floor and it was more beautiful.
- Intermediate balusters with euro screws are screwed to this rail from the seamy side. The last ones must be attached to the floor through the lining on the anchor bolts.
- Then the railing rail is screwed on, and as described above, the handrail is screwed onto the self-tapping screws from below.
The final touch
It remains to hide the traces of fastening. To do this, close the bottom groove with a decorative strip. We cut it to size and glue it to the handrail.
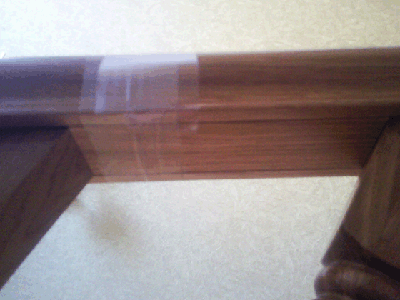
Until the glue dries, you can put the slats on the tape. If then there are traces of scotch tape, they can be wiped off with acetone, alcohol or white spirit.
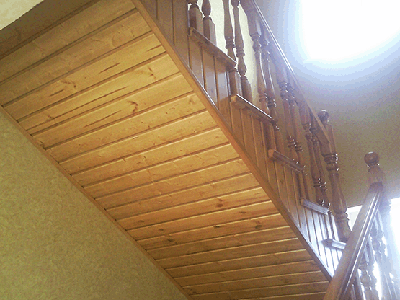
Now let's decide how to arrange a place under the stairs. We decided to do this using clapboard cladding, coated with a colored oak impregnation and protective varnish.So that the space under the stairs is not empty, we make a door there, we get a small pantry.
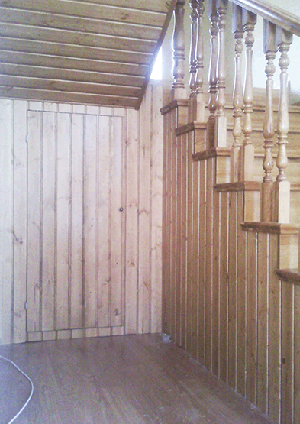
The lining is fastened to a frame made of wooden bars 3 * 4 cm, which, in turn, are fixed to metal profiles.
We direct the final marafet: closes the joints with a decorative corner in the color of the tree. We decorate the joint with the wall with a rail of the same color.
Conclusion
These instructions will allow you to make a fence that is strong enough to stagger when you walk. A dedicated ladder test rig can help you make sure of this. And the video in this article will give answers to the remaining questions, let's watch!


