Any staircase that has more than three steps should be equipped with fences to increase the safety of movement. There is even a GOST for a flight of stairs, but usually, if standards are met, then with great violations (for example, the required height or width between the racks is not adhered to).
At the same time, one should not confuse the main racks, which are installed along the edges of the flight of stairs (in the center, if the march is large), and balusters that perform a decorative and protective function.
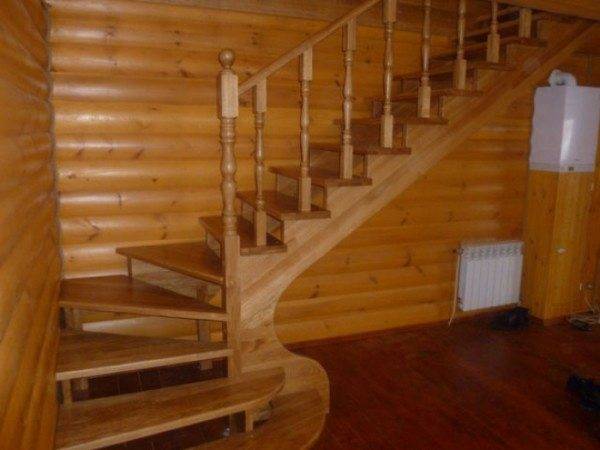
What requirements are attached
It is necessary to understand that before how to install balusters on a wooden staircase (as well as any stair hardware) all standards that apply to this design should be met. This is not a whim and not a desire of manufacturers to take as much money from consumers as possible, but a norm that allows you to protect yourself, especially children, from accidental injuries.
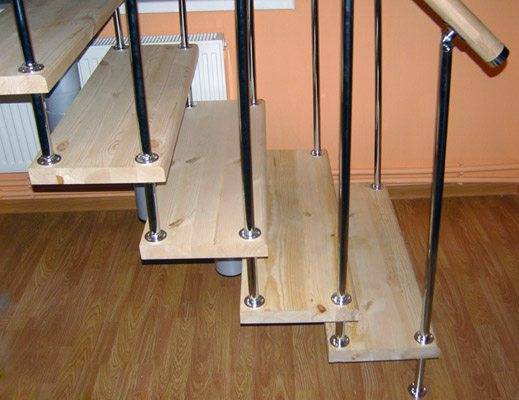
- The height of the fence should not be less than 900 mm, measured from the surface of the step to the top edge of the handrail. Customizable, of course, but it's in your best interest to make the stairs a safer place for the kids.
- The distance between the uprights should not be more than 15 cm, otherwise, the child will be able to stick his head in there, and this is very traumatic. If it is not possible to comply with this requirement by placing one baluster on one step (support), it is necessary to install two balusters on the same plane.
For your information! Such problems do not arise when wooden stairs with forged balusters are installed, the absence of gaps makes the structure the safest.
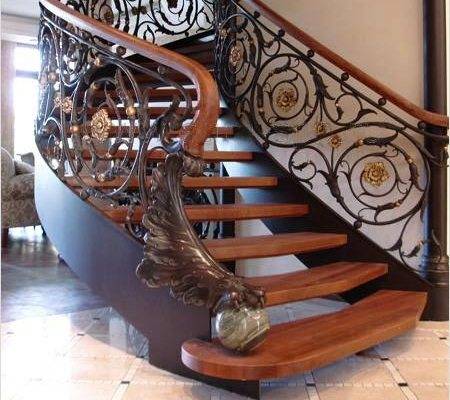
- The installation of metal balusters should be carried out on special fasteners, and in the case of wooden posts, self-tapping screws or dowels and glue can be used.
- The pillars can have various shapes: flat, square, round, oval and others, this parameter does not affect the design component. On the other hand, it is very important what material the balusters will be made of.
In our article we will tell you how to fix balusters on a wooden staircase with your own hands, saving on calling expensive specialists. The instructions will be described step by step using different methods.
Available methods for installing balusters
First, let's take a look at what a wooden rack consists of:
- central part - decorative component.
- Base - plays the role of a support, in the case of a wooden baluster, this element is made a little larger than the planned fence. This is necessary to adjust the desired height.
- Handrail support - attached to the railings themselves or under the rail.
Now that you know which elements you can disassemble the baluster, we proceed to study the method of installing the racks:
Hairpins on a bowstring
One of the most common options is when the balusters of wooden stairs are fixed without using self-tapping screws.
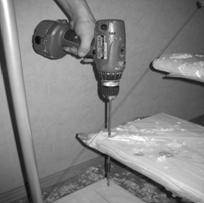
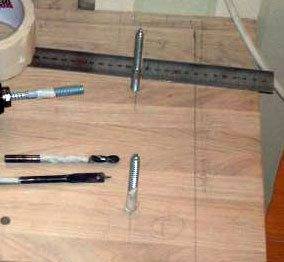
- The first step is to make a shallow hole in the middle of the wooden post, at the bottom end. Hole diameter 12 mm, and the depth -no more than 80 mm - depending on the studs used.
- Now you need to cut the baluster at an angle, it is better to use a cross-cut saw with the ability to set the desired angle.Measurements are taken for each step, especially if there is a large difference in height in the structure.
- M6 threaded studs need to be inserted into the drilled holes, it is better to use galvanized products to avoid rust.
- Using PVA glue, fix the studs so that they protrude 5-7 cm.
- Now you need to drill holes in the string, diameter 13-14 mm, and a depth of about 80 mm.
- When all the holes are ready, you can put the balusters in place by inserting the studs into the finished grooves.
Note! In this process, the accuracy of the marking is very important, therefore it is better to use a laser level, which allows you to determine a single line without unnecessary problems.
You just need to fix the handrail on the balusters for stairs made of wood, this is done by gluing it to the sub-rails attached to the racks. In turn, they are also mounted to the balusters with glue, although self-tapping screws can also be used.
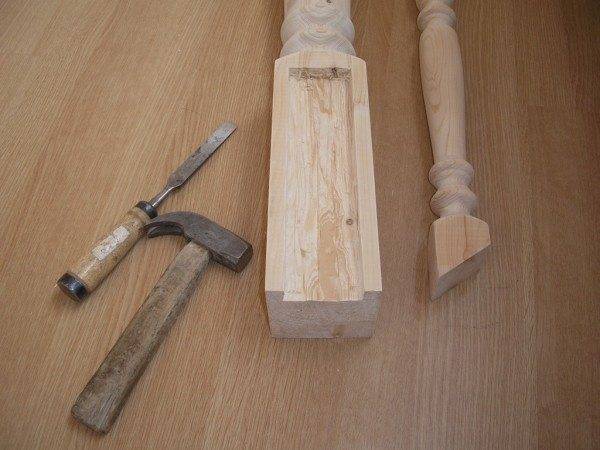
Dowel fasteners
Since the balusters, for the most part, practically do not experience any load, the entire weight is distributed between the support posts, they can be installed on wooden dowels.
- First you need to mark the steps and the bottom of the balusters.
- After that, holes of the same diameter and depth should be drilled into them.
- Fill the holes on the steps with PVA glue, insert the dowels and leave in this position for a few minutes.
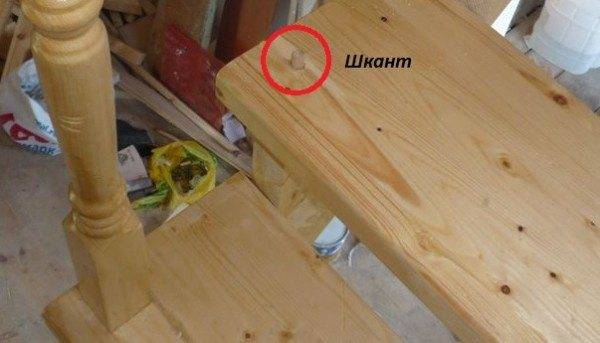
- After - install the baluster, the recess of which is also filled with glue.
- Wait 2-3 hours, so that the glue completely seizes, only after this time, you can start installing the railing.
The railing is attached in the same way to the dowels, here it is very important to drill the holes correctly, otherwise, the structure may be slightly uneven. Alternatively, technological holes will appear.
Important! At the time of cutting the balusters, do not forget that a certain part of the rack will be recessed into the grooves of the railing and the bowstring, the height of the fence may change.
Installation on self-tapping screws
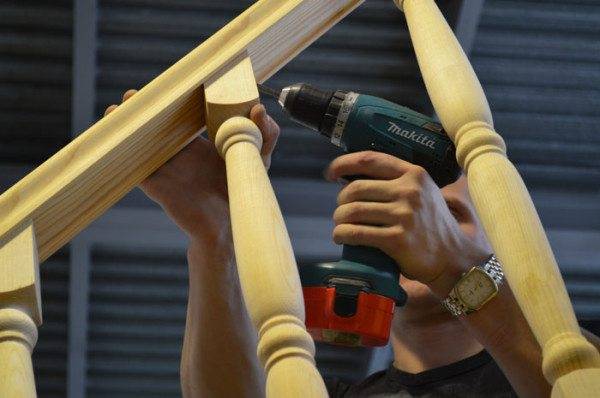
The easiest way to install wooden balusters for stairs is to use stainless steel screws for wood. They securely pull together parts of the fence with steps or support.
- First you need to screw the self-tapping screw into the post so that its sharp tip sticks out a few millimeters.
- Having prepared all the balusters in this way, starting from the very first rack, you should put a post, measure the level and screw the self-tapping screw to the end.
- Decorative balusters are set according to the markings that are made with these sharp tips.
Note! It is better to screw the self-tapping screw at an angle and slightly recessed the cap. The depression is then sealed with wood wax.
The beginning of the ladder - support post
We did not tell you about how the main part of the fence should be fixed, which will take all the load - support leg.
To fix it, two methods will now be described:
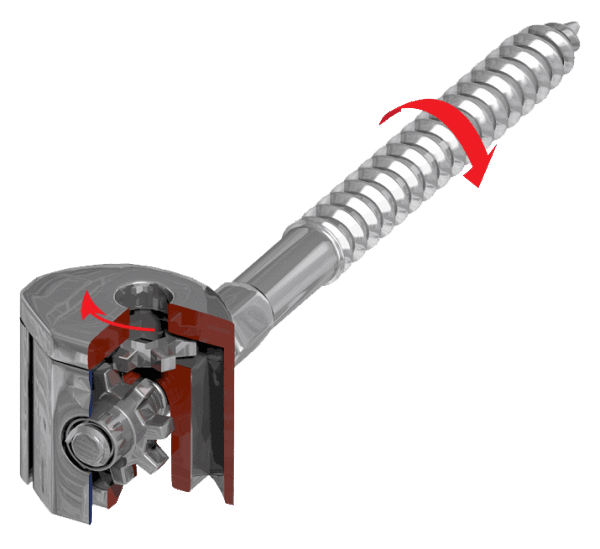
- Capercaillie - first you need to make a groove at the bottom of the rack. A "wood grouse" is screwed into the prepared hole (it is a hardware with a thread and a head, like a screw or bolt), its diameter depends on the size of the baluster. The complexity of this method lies in the preparation of a groove, which should have a non-standard shape with an oblique angle and at the same time not violate the strength of the rack.
- With bayonet nut - everything is much simpler, just a cutout is made and a nut is inserted into it. You just need a special tool - a segmented washer and a wrench.
The price for both methods is different, but it is not possible to call any of them the most affordable and low-cost, in terms of labor.
Features of balusters and the installation process
We have already said that there are certain norms and standards for fencing, while we listed them earlier, but there are also moments that you will only learn about during work:
- Wooden stairs with forged balusters must be carefully treated with various protective equipment, otherwise, there is a possibility of damage to the natural material.
- Plus, do not forget about the permissible load that will be carried on the supports and steps - too massive handrails can cause deformation of the structure.
- Check the integrity of the fastener before purchasing it. Even seemingly “stiff” things like wood screws can have a certain service life and often such a product is sold as a reliable hardware.
In the video presented in this article, you will find additional information on this topic.


