Each of us wants to make our home unique, not like everyone else. And one of the ways to stand out and cause quite natural envy of guests and neighbors can be automatic staircase lighting.
Of course, making it is not easy, but if you follow the recommendations given in our article and take a responsible approach, you will be able to cope with this task.

Preparatory work
Planning a lighting system
Before you start drilling walls and laying wires, it is necessary at least in general terms to sketch out a diagram of our future lighting.
And there are only two fundamental questions here:
- what will we use as a light source;
- how will the adjustment of the on and off lighting of the staircase steps be carried out.
With regard to the first question, it is worth choosing from the following options:
- Staircase LED Strip - is located under the eaves of the steps, provides an even and sufficiently bright light. Differs in economy, reliably protected from moisture.
- LED lamp. They are mounted in the thickness of the wall along the steps, equipped with special grilles to redirect the light flux. The key disadvantages are the complexity of installation and the relatively high cost.
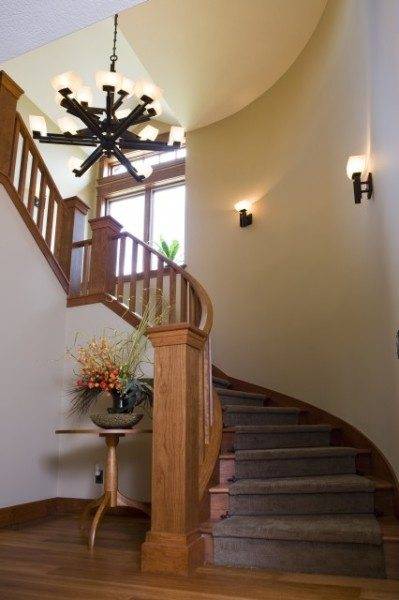
- Wall and ceiling lights. They are used in the simplest options for lighting staircases, since they do not require the installation of a special controller.
As part of our article, we will consider the installation of the first two options, since this process contains several nuances that are not obvious to a beginner.
As for the circuit diagram, the lighting for the stairs can be implemented as follows:
- The easiest way is to install two switches at the top and bottom, which will ensure the activation of lighting devices... This will allow us to use the highlight only when we need it.
- The system of automatic switching on of light elements by a "command" from a motion sensor is arranged somewhat more complexly.... To implement it, we need a controller with programmability, a driver chip for LEDs, and sensors.
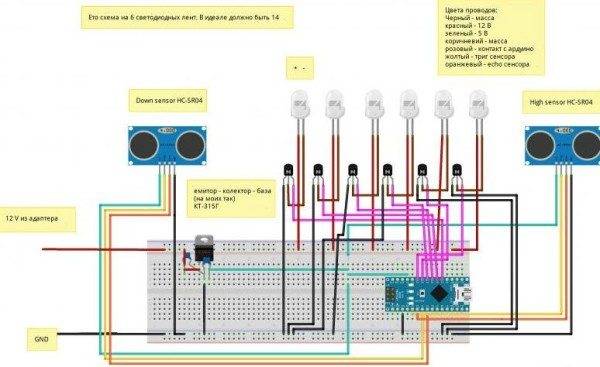
- The most complex design involves the presence of sensors at each stage... You take a step, the sensor is triggered, and the illumination of the next step lights up, illuminating your path. On the one hand, this system looks very impressive, but it is much more difficult to implement it. And to be honest, it's not so convenient to use it.
Below we will show you how to make a controller-controlled staircase lighting. As light elements of such a system, you can use either LED strips or recessed luminaires.
Light strips
It is worth starting the purchase with the most significant part of the estimate - with the purchase of lighting devices.
As we noted above, there can be two options here.
- LED strip is a strip of elastic polymer material, provided with a thin conductive coating. LEDs are fixed on it at regular intervals, which, when voltage is applied, emit a sufficiently bright light.
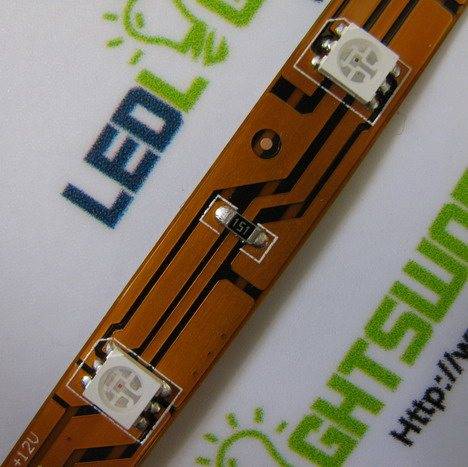
- By design, the tapes are divided into two categories - open and waterproof. We need models with a sufficient level of waterproofing to avoid water droplets getting on conductive elements when cleaning floors.
- The vast majority of models are attached to the surface using a self-adhesive layer.If it seems to you that the glue has dried a little, you can strengthen the fastening by fixing the backlight on double-sided construction tape.
- As for the type and configuration of the diodes themselves, the SMD 3528 model is quite enough to ensure comfortable movement along the steps in the dark. SMD 5050 have a brighter light, and therefore they should be used for general lighting of the room.
Note!
If you need colored staircase lighting, then you need to purchase the so-called RGB tape.
To adjust the color change, you also need to install a special controller.
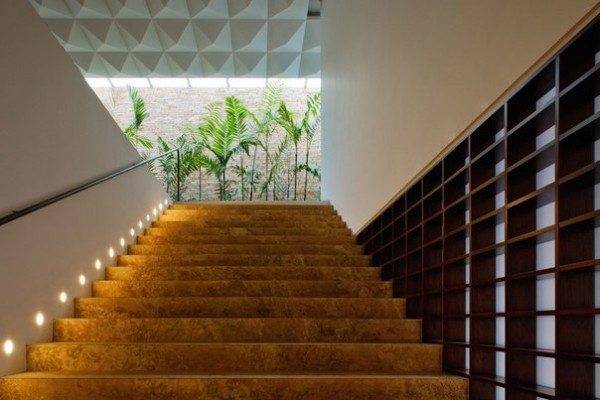
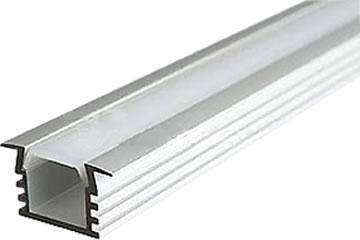
- To prevent the light from the tape from scattering, a special aluminum U-shaped profile can be attached to the lower part of the overhang of the stair step. Also, instead of installing a profile, the lighting of a wooden staircase can be mounted in a groove made under the step.
Staircase luminaires
Luminaires differ significantly from tapes:
- Most of the models on the market have an enclosure designed to be built into the wall. Preference should be given to devices with a cylindrical case, since standard socket outlets can be used for their installation.
- The main part of the market is made up of white light lamps, however, if you wish, you can find both yellow ("warm") and colored models.
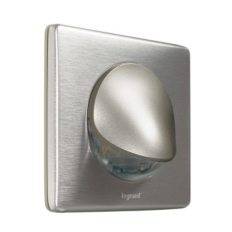
- Often these luminaires are sold in sets of several, united by one controller. The use of such a kit greatly facilitates the installation of the backlight control system.
Note! When purchasing a backlight, pay attention to the design of the protective grill. It must provide a directional flow of light, otherwise, when turned on, you will blind your eyes. A plus will be the ability to adjust the reflective casing.
Control elements
So we come to the most difficult part of our system - the controls.
To ensure that the sensors are triggered and the lamps or tapes turn on, we need:
- The microcontroller is the core of the entire system. The best option, from the point of view of experts, would be the Arduino staircase lighting, since this series of microcontrollers allows for fairly simple programming by connecting to a computer.
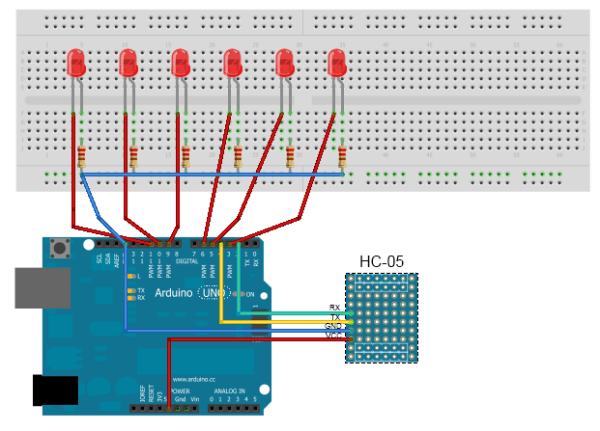
- An LED driver or similar device can be used to make the system run more efficiently. In the simplest versions, a 74HC595 chip is used. The price of such parts is not high, but they significantly expand the range of capabilities of the system.
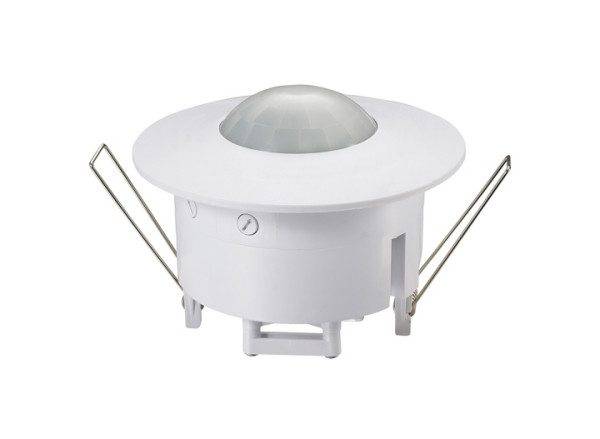
- To register movement, you need to install two sensor motion sensors. They can be either ultrasonic or infrared.
- In order for the system to turn on only in the dark, you need to connect it to a light sensor on a phototransistor.
Naturally, for the operation of the entire control circuit and the backlight itself, a 12V power supply is required. We will also need wires to connect all the elements, and some other little things - we will talk about them during the description of the installation process.
Making the backlight
Assembling the control module
We begin to equip a staircase with illumination with our own hands by assembling a system that will regulate the switching on and off of the light:
- Arduino staircase lighting is installed on the printed circuit board with parallel fixing of controller microcircuits. One of the options for the connection diagram of all elements is given in the article.
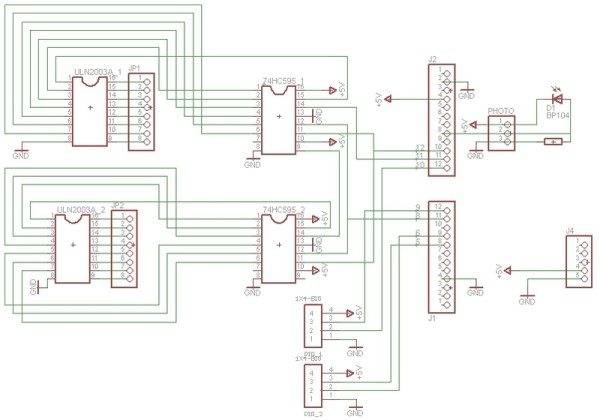
- The board is placed in a plastic case with a cover. On the one hand, the case should be made sufficiently reliable, and on the other, its design should provide relatively free access to the "stuffing" for repair and adjustment.
- We connect the Arduino controller to the computer and load the firmware into it to control the system.The program for the firmware can be written independently, and the simplicity of the development environment and a fairly detailed instruction allow even a person who has not previously encountered programming to do this.
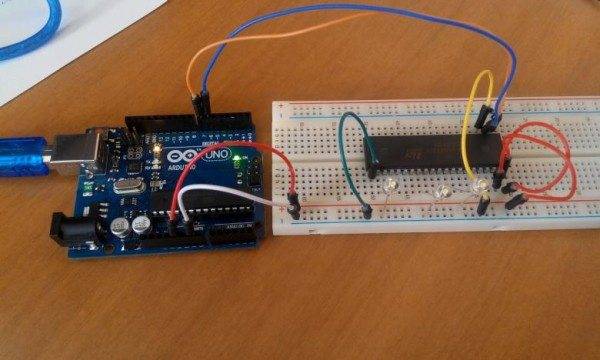
- If you don't want to mess around for a long time, you just need to download a software module from the network, since it is quite easy to find it.
- On the surface of the case, we fix the connectors for connecting LEDs and power supplies, after which we connect them to the contacts of the controller.
Advice!
It is worth testing the system in advance to identify possible problems before installing it.
Lighting installation
If the circuit is assembled, tested and works, you can congratulate yourself on the end of the most difficult stage. The next step is the most laborious part - installation and connection of lighting.
Installing tapes is quite simple:
- Using scissors, cut off a piece of tape of the required length according to the markings.
- On one end of the fragment we put on a special connector, to which we attach two wires.
- Degrease the surface of the step on which the installation will be carried out using acetone or a similar solvent.
- After removing the protective tape, we apply a self-adhesive layer of LEDs to the bottom of the step.
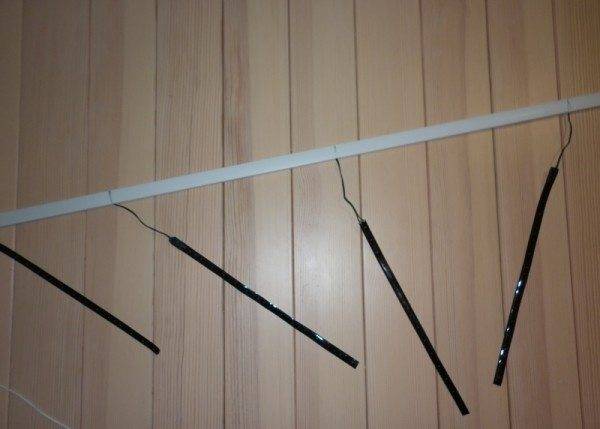
- We start the wires under the stairs through a small hole in the riser.
Built-in lamps are somewhat more difficult to install:
- In the wall, using a perforator, we make nests for housings and grooves for wiring.
- We install socket boxes or special covers included in the set of lamps in the nests.
- We mount the lamps, fixing them with clamping screws.
- We lay the wires in plastic cable channels, sealing the grooves with cement mortar.
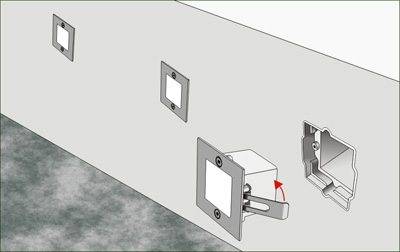
The installation of sensors on the upper and lower steps of the stairs is carried out in the same way.
Backlight assembly
Our motion sensor lighting for stairs is almost ready.
It remains only to collect all its elements together:
- To begin with, we install and calibrate the photocell, which will be responsible for activating the system at night. We put the wires from the photocell under the stairs.
- We fix the power supply unit and the box with the installed control circuit in such a way that it is not conspicuous, and at the same time, it is accessible for maintenance.
- We collect the wires from the lamps and motion sensors into a bundle, tighten them with plastic clamps and put them in the cable channel. We fix the casing with wiring on the wall under the stairs or on the side surface of one of the stringers.
- We connect the wires to the corresponding connectors of the controller.
- We connect the power supply to the electrical network. A residual current device (RCD) can be installed for safety, but is usually not needed.
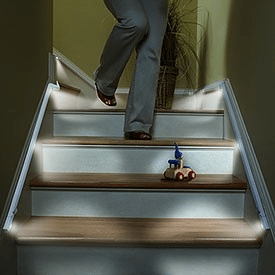
We test the assembled system in the main operating modes. If necessary, we make adjustments to the program (this is not difficult to do), eliminate the detected problems, and then close the case of the control circuit.
Output
The illuminated staircase, equipped according to the above scheme, is very convenient: in the daytime nothing catches your eye, but at night you can go up and down with maximum comfort. And the power consumption of LED backlighting is low, so it is guaranteed not to hit you on a budget. In the video presented in this article, you will find additional information on this topic.

