Staircase lighting with LEDs can be a rather original interior solution. On the one hand, we will provide ourselves with a comfortable movement around the house at night, and on the other, we will radically transform the interior by adding lighting effects.
Kits of equipment for LED backlighting can be easily purchased today, but if we assemble the system with our own hands, it will cost us much cheaper. How to do this - we will tell you below!

Illumination system
Schematic diagrams
Staircase lighting with LEDs can be implemented in several versions:
- The simplest scheme assumes the presence of a switch... Either an LED strip or special small lamps is placed under the eaves of the steps or on their side surfaces. The backlight is switched on using a button located on the wall, and is constantly on in the dark.

Advice!
To optimize the performance of the system, a time relay can be installed in the system.
Then the lighting will start working on the clock, helping to save energy.
- Intelligent circuitry based on the relationship of sensor and controller... Sensors of the sensor type are installed opposite the upper and lower stages, and when motion is detected, the LED controller is activated. As a result, the light elements are gradually activated, illuminating the path for the descending or ascending person.

Of course, each circuit can be modified. For example, if you install multi-colored LED lights for a staircase, then the appearance of the structure will only benefit.
Also, as a modification, albeit more complex, it is possible to provide each stage with sensors. In this case, the backlight will move in sync with you.
What do we need
Despite all the seeming simplicity, we need a lot of details to assemble such a circuit.
We will try to outline an approximate list of the necessary equipment in this section:
Note!
This list is indicative and is for informational purposes only.
When planning work, you can replace parts according to your idea.
- The key element of the whole circuit is the controller, which will control the operation of the LEDs, i.e. ensure system start-up on a signal from the sensor and the gradual switching on of the belts under the steps.
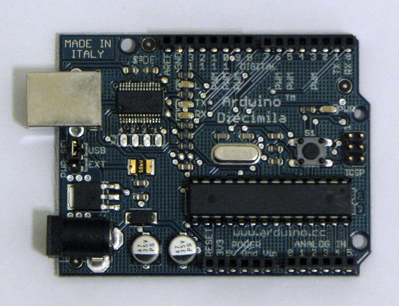
- Many experts recommend Arduino devices as a controller. For example, the Arduino Mega 2560 model is equipped with 15 outputs, which is enough for most standard single-flight ladders.
- To install the controller, you will need an appropriate board, but you can do without it.
- In addition to the controller, the full operation of the system is carried out by the LED driver. The driver is a small microcircuit that will need to be connected to the controller outputs.
- Sensors of the sensor type are responsible for turning the system on and off.

Note!
If there are animals in the house, then it is better to abandon ultrasonic sensors in favor of infrared ones.
On the other hand, a working ultrasonic device sometimes scares off rodents.
In general, the choice is yours.
- To save energy and save the resource of the system, it is worth installing a photocell so that the LED staircase lights do not light up during the day.
In addition, we will need wires to connect all the elements: 2x0.12 for connecting LEDs and 4x0.12 for connecting sensors. A 12V power supply will be responsible for the operation of the system.
LEDs
It is easiest to use self-adhesive LED strips as a light source:
- The tape is a strip of flexible polymer on which LEDs and resistors are fixed at regular intervals. These elements are interconnected by means of a thin conductive substrate.
- The most common tapes are based on SMD 3528 diodes. They provide a fairly bright glow with a wide angle of light flux (up to 1600).
- For brighter illumination, you can use strips with SMD 5050 elements. Also, these diodes make colored illumination of stair steps, which is controlled by means of a special RGB controller.
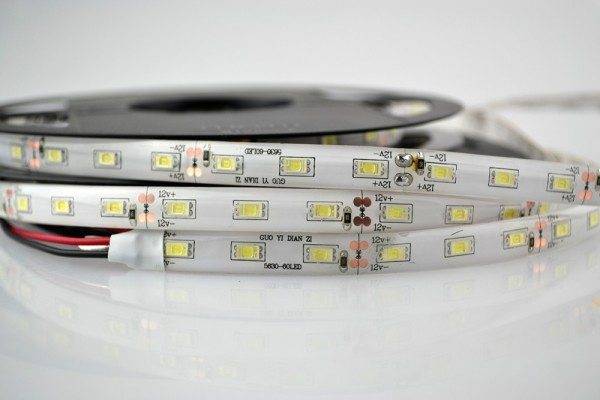
- An important indicator when choosing an LED strip is the number of LEDs per meter. Comfortable LED staircase lighting can also be provided using options containing 60 elements, but for other purposes, models containing from 90 to 120 diodes are produced.
- Since we are planning to make our light strip on the stairs, it is worth taking care of moisture protection as well. To prevent our lighting from being damaged during cleaning, it is necessary to install models with an IP67 or IP68 index. The silicone layer of these tapes reliably protects conductive parts from water droplets and short circuits.
Special recessed luminaires can serve as an alternative to tapes. They are installed either in the plane of the step, or recessed into the side surface of the wall next to the staircase.
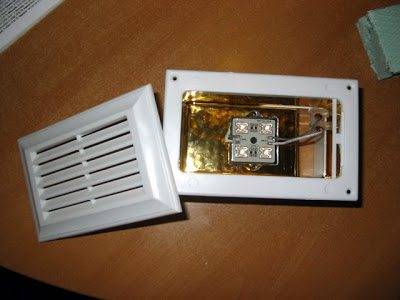
To protect the eyes from bright light, these lamps are often equipped with a special protective grill.
However, these devices have a number of disadvantages compared to tapes. First of all, this is a rather complicated installation, because for each lamp you need to make a socket in the wall, and even gouge channels for wiring. In addition, their price is very high.
System assembly and installation
Putting together an electrical circuit
First, we need to build and test a circuit that will control the on and off of our backlight.
It's easier to do this when all the parts are disassembled - this way we don't have to run up the stairs when setting up each element:
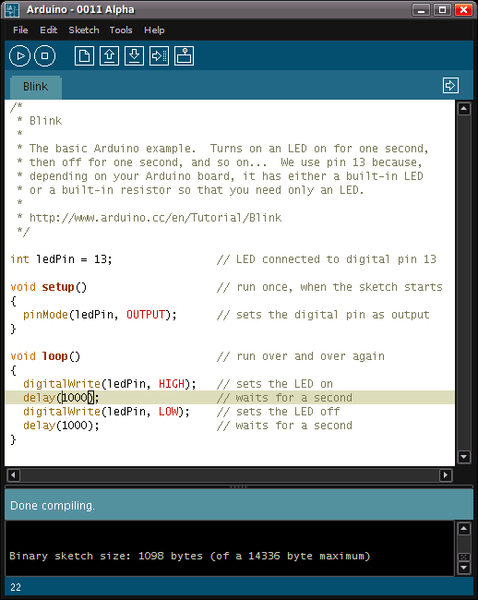
- We connect the controller to the computer and load the control code into it. In principle, if you have programming skills, it is quite easy to understand the principle of work and write your own scheme, but if this is included in the list of your skills, it does not matter. Standard "firmware" for controllers in the network is quite enough.
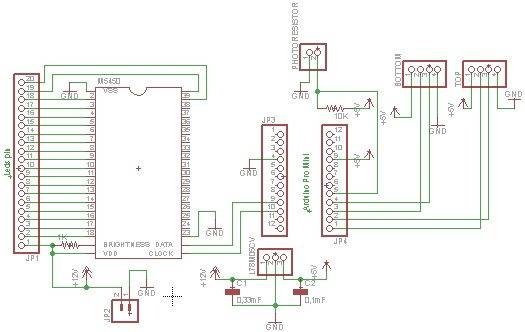
- Next, we install the programmed controller on the board, connect it to the LED drivers and connect it to the outputs on the tapes.
- Separately, we connect two outputs for sensors that will control the inclusion of the system.
- If a photocell will be used, add one more pin.
Advice!
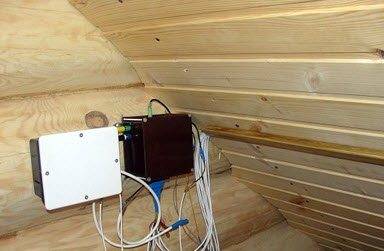
It is better to place the control module together with the power supply either in a special electrical cabinet in the wall, or in a plastic case under the stairs.
The main thing is that the case protects the components from dust and moisture, but at the same time - provides free access.
In addition to all this tricky automation, experts recommend adding a simple switch that will make it possible to de-energize the system in case of malfunctions or malfunctions, or transfer it to permanent mode.
Assembly of parts
When the system is assembled and everything is working, you can start installation.
DIY LED staircase lighting is assembled in the following sequence:
- Cut off the required number of fragments of the required size from the tapes. We use scissors for cutting, making sure that the cutting line does not pass through a diode or resistor.

- We put on special connectors at the ends of the tapes. You can, of course, solder the wires, but this will make the connection more reliable. And the speed of work will increase.
Advice!
If you do the installation with your own hands, then the wires from "+" and "-" are best done in multi-colored.
This will make it much easier for you to assemble all the elements into a single scheme.
- Having degreased the surfaces of the steps with acetone, we glue the LED strips to them. We put the wires on the back side of the risers either through the holes made, or simply through the gap to the honey with a step and a wall.
- To form a directed luminous flux, tapes can be mounted in special U-shaped profiles.
- An alternative to the profile can be a groove made in the lower part of the step, but it is better to implement this option directly during the construction of the stairs. Otherwise, you will have to cut the channels with a router, curling under the steps.
- We make holes in the wall opposite the upper and lower steps. We install socket outlets in the holes and recessed sensor sensors in them.
- We put the wires from the sensors along the grooves under the steps to the lower side of the stairs.
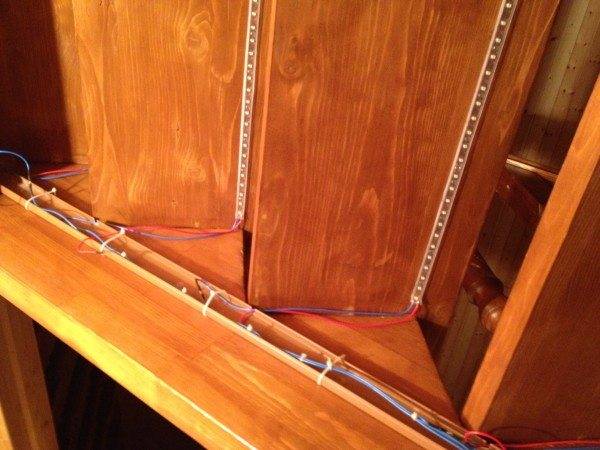
- On one of the stringers we attach a cable channel. Plastic cable ties can be used to temporarily secure the cables.
- We fix the box with the control module in a place hidden from prying eyes.
- We connect all the conductors and connect the cables to the connectors on the board.
Then you can carry out a test start of the system. If everything is working properly, then it's time to close the cable channel with a lid.

Output
Taking into account today's abundance of affordable "smart" electronics, we can say that LED staircase lighting is just a godsend for the owner of the house. They can provide a very attractive and effective backlight, while the costs are quite "elevated". In the video presented in this article, you will find additional information on this topic.




Personally, I did not bother with motion sensors and other crap, I managed on / off switch.
The most difficult thing was to find an LED strip in our backwoods))