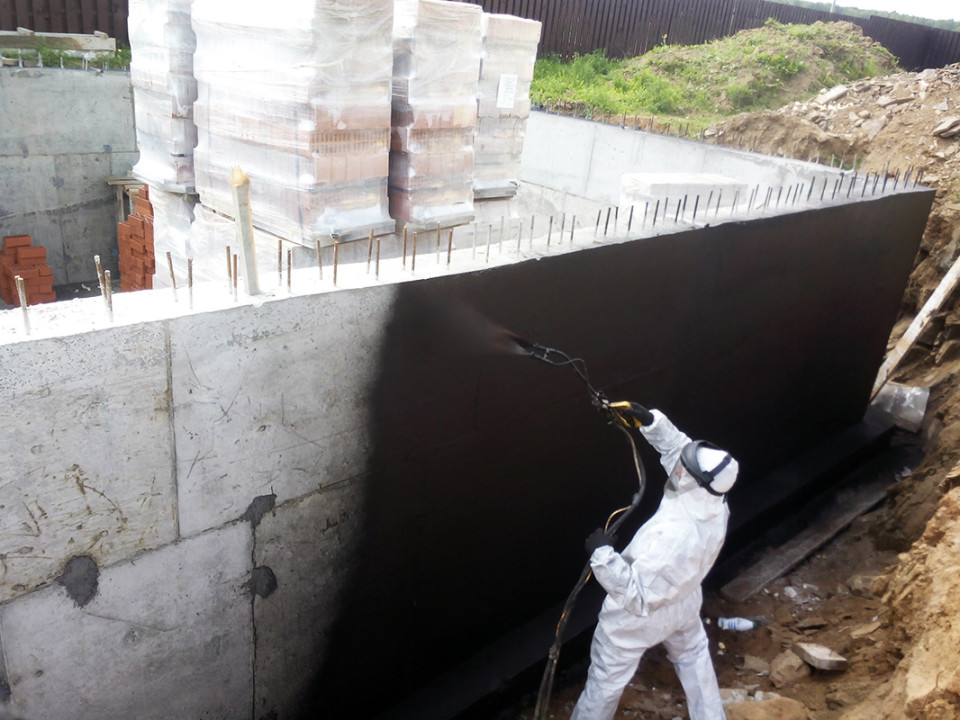
Advantages and disadvantages of plaster waterproofing
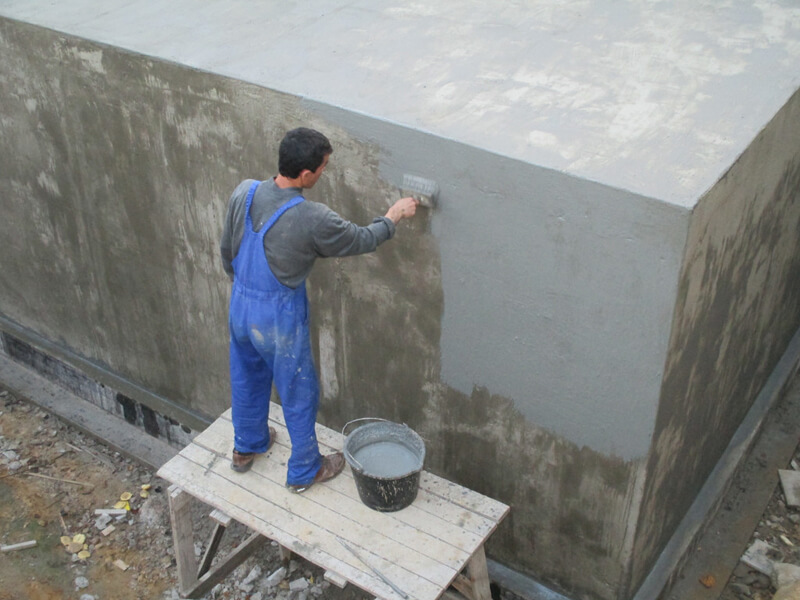
 The waterproofing mixture can be used as a leveling layer of the base
This natural waterproofing material can be made by yourself at the construction site:
- It is resistant to mechanical stress.
- Prevents moisture penetration.
- It can be used as a binder for insulation.
- The plaster can be used as a primary leveling layer or to protect thermal insulation, as well as in a complex.
- The service life is up to 30 years.
- Over time, cracks may appear on the coating.
- Clay is not resistant to sudden changes in temperature.
On the market for waterproofing materials, you can also order not only plaster, but also special clay screens and locks. These are universal sheet materials of large thickness, which are laid around the foundation and perfectly protect it from moisture penetration. A clay castle, if properly installed, is able to withstand the powerful pressure of storm water, therefore, it is suitable for foundations of residential and utility structures.
Screened slab waterproofing also consists of clay, but is mounted like foam sheets. To do this, special fixing nails are hammered into the concrete with a pneumatic hammer, and the mats are glued with an overlap using plaster or special glue. But it is recommended to use them only for non-residential buildings because of their great thickness or in combination with other types.
Why use roofing material for waterproofing foundations?
- It has excellent water resistance;
- Waterproofing the base of load-bearing walls and foundations is economically beneficial because the material is inexpensive and you can choose its various types;
- High durability in the absence of direct sunlight;
- Small weight;
- It is an environmentally friendly material;
- You do not need to have special knowledge for styling;
- The quality of the coating does not depend on the material, but solely on the laying technology.
- It has insufficient elasticity, fragile structure;
- This is a combustible material, because the composition contains bitumen, rubber and polyethylene (or cardboard);
- When exposed to ultraviolet light, the roofing material loses its waterproofing qualities, and the service life of the coating sharply decreases. This problem occurs especially often when waterproofing the outer surface of load-bearing walls.
- Such a base has better water-repellent properties than bitumen;
- No need to heat roofing material;
- Significantly lower consumption;
- Roofing material adheres better to rubber;
- The quality of the base is higher than in the case of bitumen;
- Great durability of the base;
- Provides reliable protection for all types of strip foundations.
Dimensions of the insulated blind area
First of all, you need to decide on the width and angle of inclination of the blind area.
Depending on the material of the top layer, the slope will differ:
- For concrete or asphalt, a "tape" should be made with a slope of 3-5%.
- If you are using cobblestone, then increase the slope to 8%.

If we talk about the width of the blind area, then the minimum allowable indicator is 700 mm. In order not to be mistaken, be guided by the eaves overhangs - the blind area should go 20 cm beyond them.
The thickness of the "tape" should be about 90-100 cm (if you are laying a wide blind area on which cars will drive, then increase the depth to 150 cm).
Types of foundation insulation
Even if a concrete mixture with waterproofing additives was used at the stage of construction of the supporting base of the house, there is still a problem of creating additional insulation of the base of the house from the effects of a humid environment.Such a protective durable structure, which does not require repair during long-term operation, will be the horizontal and vertical insulation of the foundation. The protective insulating layer can be applied in the form of a coating layer for vertical waterproofing or made of cushioning insulating material for horizontal insulation.
Foundation horizontal waterproofing scheme
Horizontal insulation
The very name "horizontal waterproofing" indicates a method of protection against moisture ingress on load-bearing structures. It fits on critical sections of the foundation in the horizontal plane. To counteract the ingress of groundwater, protective insulation is placed under the sole of the supporting structure of the base.
To protect the load-bearing walls of the house from the ingress of capillary moisture, waterproofing protection is laid at the junction of the walls and foundation. Typically, the cross-section of the foundation is usually rectangular or square, so a dense roofing roll material is ideal for installing an interlayer waterproofing. The most optimal type for horizontal insulation will be laying roofing material under the foundation.
Insulation of the foundation surface with roofing material
Sequence of horizontal insulation work
Laying of the pasting insulating waterproof horizontal layer is carried out in the following sequence:
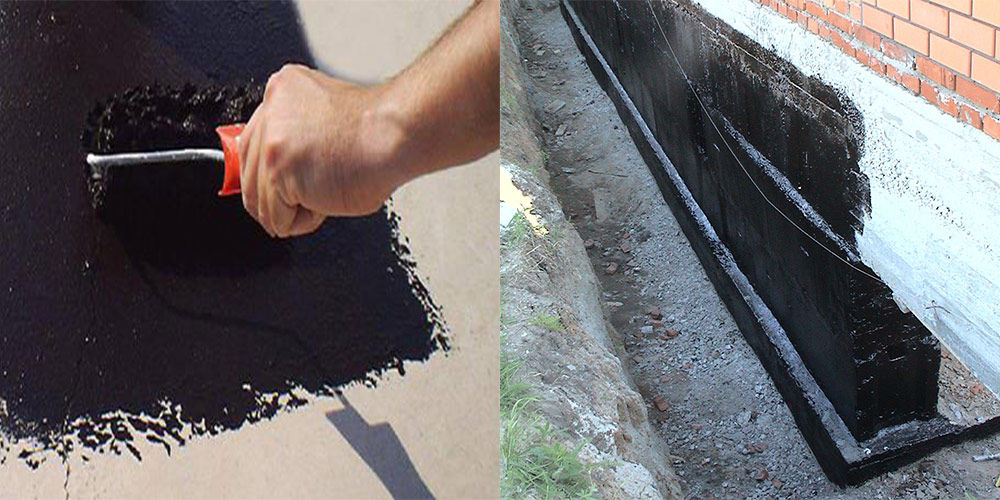
- The horizontal surface of the foundation is carefully leveled with a cement-sand mixture and, after drying, a primer layer is applied with a wide brush, which is called a primer. It is a ready-made bituminous mastic, which is commercially available in any hardware store.
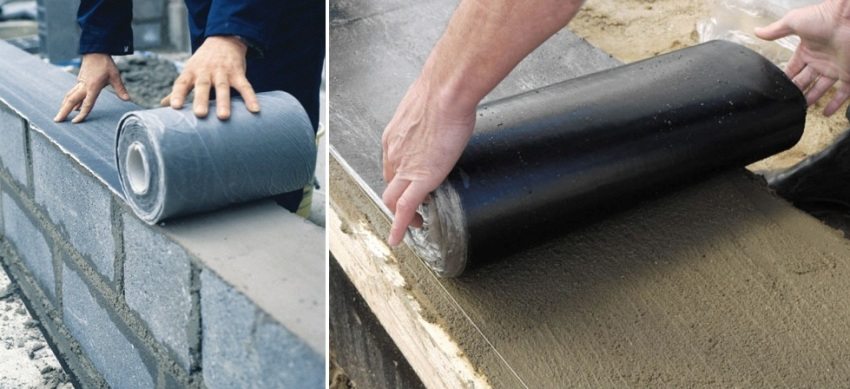
- After the priming layer has dried, roll roofing material is laid. Currently, for these purposes, a weld-on euroruberoid is used, which must be heated with a gas (propane) burner from the back side and glued to the prepared base.
- The second layer of waterproofing is glued in the same way.
- After curing the roll coating for one day, further construction work on the construction of walls can be carried out.
When laying horizontal waterproofing under the base of the strip foundation, roofing material in two layers is glued to the concrete preparation under the base of the building. When performing reinforcement work, you should carefully monitor so as not to damage the waterproofing layer.
Advantages of roofing felt protection
At present, pasting insulation of the foundation with roofing felt belongs to the most common type of protection of load-bearing structures from moisture ingress. The following indicators can be attributed to the positive characteristics of roofing material as insulation:
- The service life of a roofing material waterproofing, if properly installed, reaches 50 years.
- Relatively cheap and affordable material.
- Elasticity and high strength.
- Versatility and economy.
- Resistance to aggressive environmental influences.
- Ease of installation.
The disadvantages of roofing material waterproofing include the flammability and fragility of the material.
The choice of roofing material for pasting insulation of the foundation
In order to better understand which roofing material for waterproofing the foundation will correspond to the existing construction conditions, it is necessary to familiarize yourself with its technical characteristics and indicators. Roll insulation material can be divided into two categories:
- Roofing.
- Interlining.
Horizontal foundation insulation
To reduce the cost of horizontal waterproofing of the basement and foundation, you can use a dense roofing felt with a density of 350 g / m2 for the top layer, and use a cushioning insulating material with a lower density of 200 - 300 g / m2 for the lower layer.
During the installation of waterproofing pasting of the foundation and the basement of the building, roofing material of the RKP-350 brand is most often used, which means: roofing felt roofing with dressing and a density of 350 g / m2.
Materials for insulating the blind area and foundation
The purpose of the blind area is to prevent rain, snow and condensation (dew, fog) from entering the walls of a private house. In addition to this function, the blind area is often constructed for:
- Protecting the base of the house from atmospheric water and moisture;
- Compliance with cleanliness around the base;
- Creation of a pedestrian zone in the form of a sidewalk path;
- Protecting the soil from freezing.
 Blind area slope
Work on the construction of the blind area requires compliance with some rules, requirements and parameters:
- The material of the blind area must be waterproof and durable for wear, therefore, paving slabs of an arbitrary configuration, asphalting or concreting of the surface are most often chosen;
- The width of the blind area is not an arbitrary parameter. The tape should be 15-20 cm wider than the width of the cornice overhang on dense soil, and 100 cm wider - on shrinking soil;
- Brick or gravel (crushed stone) blind area is made with a slope from the wall ≥ 5, the concrete tape should have a slope ≥ 3;
A blind area can be omitted for buildings on a columnar foundation, but in this case, a system of gutters should work, diverting water from the walls by more than 1.5 meters, and a waterproof coating should be laid in places where water is collected from the roof.
Also, the basement is insulated from the outside in order to protect it from the effects of low temperatures, which turn water into ice, destroying the building material of the blind area. In the spring, thawed ice can contribute to deformation and displacement of the soil.
 Insulated blind area scheme
Penoplex occupies a leading place among heaters in the construction of a house due to the high efficiency of heat conservation and environmental friendliness. According to the principle of implementation, the insulation of the foundation and the blind area with penoplex is a simple laying of sheets of insulation in one or more layers, depending on the requirements and design of the structure. Standard sheets are 100 mm thick.
Material advantages:
- Low moisture absorption;
- High thermal insulation properties;
- Strength and durability due to the high density of the material;
- Temperature stability over a wide range;
- Passivity to chemicals and fungal infections;
- Ease of installation and ease of machining.
Disadvantages of Penoplex:
- Fire hazard;
- Fragility;
- High price;
- Additional waterproofing.
Roofing material - characteristics and features
This material has been used in construction for a long time and is often used. It was first heard about it at the end of the 19th century, when in the USA it began to be produced in the form of square sheets of cardboard impregnated with bitumen. Then they were used for roofing work. This was the underlying temporary layer. Now the use of cardboard impregnated with bitumen and protected on both sides with dressing has increased. It is used as a waterproofing material for roofs, foundations, roads, etc.

Roofing material - sheet roll material. In translation, the word means rubber and the like. As in the past, it is made from a cardboard base impregnated with bitumen and other materials that make the waterproofing waterproof. Today there are many varieties of products that differ in their composition. The advantages of the material are its low cost, excellent waterproofing properties, light weight and ease of installation. If we talk about the minuses, then this is a short service life and a weakness for high temperatures. Since it is produced from petroleum products, the risk of ignition is high.

To create a modern roofing sheet you need:
- cellulose fibers;
- non-woven fabric;
- polyester fiberglass.

The basis of the roofing material, which is polyester fiberglass, is highly tear resistant, copes well with extreme weather conditions and withstands rigid elements. Another creation option is the use of cellulose fiber. Such roofing material is completely organic.
As for the types of roofing material, they differ in composition. There are 4 main types:
- Euroburoid, which is made on a synthetic basis. It is usually used as a waterproofing roofing material.
- Rubemast - roofing material for the foundation. At the heart of the sheet is cardboard. The cost of production is small.
- Glass roofing material based on fiberglass, which makes the material durable and tear-resistant. It is most often used for the installation of upper and lower roofing layers.
- Roofing paper, an ordinary cardboard sheet impregnated with bitumen. The material is protected on both sides with sprinkles. Most often used for a temporary waterproofing layer.

Why insulate the blind area
A correctly executed blind area performs its functions quite successfully. Keeps the soil dry and even lowering the temperature to negative temperatures does not lead to catastrophic consequences Therefore, the question arises - is it necessary to insulate the blind area around the house?
In the following cases, it is imperative to lay a layer of thermal insulation when constructing a protective strip:
The building was built on heaving ground.
When the temperature in the soil drops to freezing temperatures, the moisture contained in it freezes. The density of ice is less than that of water, so it takes up more volume. This leads to heaving of the soil and uneven distribution of loads on the foundation. Some types of soil - clay, loam, sandy loam - always contain moisture and are called heaving. The smallest particles of clay prevent water held in numerous pores from seeping and going into deeper layers. When constructing a structure in an area with such soil, the layers adjacent to the foundation must not be allowed to freeze.
Consequences of frost heaving of soil
The depth of the foundation is less than the depth of soil freezing.
Temperature drops, freezing and thawing of the soil lead to its uneven subsidence under the base of the building, the appearance of moisture and the same heaving. Therefore, a shallow foundation after a while begins to experience loads that can lead to the appearance of large cracks. Such defects make the building unusable.
However, even if the building is built on dense and solid soil, practically not subject to seasonal fluctuations, and the foundation is buried below the soil freezing zone, the insulation of the blind area around the house quickly pays off.
- House heating costs are reduced. This is especially beneficial in the presence of a heated basement room - heat losses are reduced by almost a quarter.
- The durability of the blind area itself increases. Temperature fluctuations inside the "pie" become minimal and do not drop below 0 degrees even in cold weather. Therefore, the coating does not deteriorate and serves as a reliable protection of the foundation for many years.
- There is almost no displacement of the blind area relative to the base in the vertical direction (in the absence of thermal insulation, it is a frequent occurrence). This protects the covering of the blind area and the walls of the foundation from cracking.
- The waterproofing of the protective strip is increased.
- The depth of the foundation can be reduced. Considering the cost of building a foundation and arranging a warm blind area around the house, this will even reduce construction costs.
- Thanks to thermal insulation, basements are protected not only from external moisture. Since there is no sharp drop in external and internal temperatures, the walls remain dry - there is no danger of condensation and, accordingly, mold and mildew. And this is a significant savings on repairs.
- construction - reducing the depth of the foundation;
- repair - the absence of high humidity and condensation allows it to be carried out much less often;
- heating - reducing heat loss.
Insulation of the blind area removes the boundaries of soil freezing outside of it
Insulation of the blind area with penoplex
Warming is carried out so that the soil around the house does not freeze and does not swell when thawing. To install external thermal insulation, you will need the following building materials:
- Penoplex sheet;
- Portland cement, crushed stone (gravel), sand;
- Wooden slats and plastic wrap;
- Bitumen and mastic, construction foam;
- Drainage pipes;
- Material for the assembly of formwork;
- Trench and plastering tools.
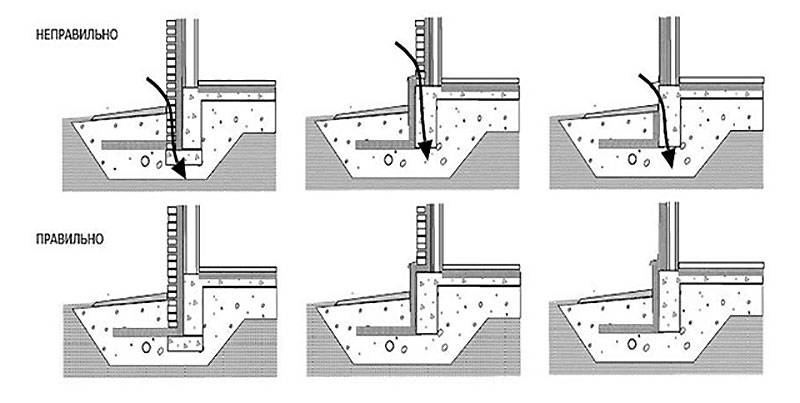 The scheme of insulation of the blind area with penoplex
Warming step by step:
- External preparatory work is being carried out - clearing the area around the house along the entire perimeter, digging a trench ≈ 30 cm deep, and removing sod to the width of the blind area;
- Arrangement at the bottom of a trench 12-15 cm thick, moistening and tamping sand;
- Arrangement of a crushed stone pillow with a layer of 8-10 cm, tamping;
- Thermal insulation is laid on the crushed stone - in 2-3 layers with overlapping sheets, a reinforcing frame is mounted. Joints and space between the walls of the trench and foam sheets;
- Installation of formwork, which should be 10-15 cm above the ground level;
- A layer of asphalt, asphalt concrete, concrete, or paving slabs is laid on an insulation with a slope of 10. When pouring any solution, it is necessary to make cuts in the layer of the working mixture after 2 meters. This is done by laying wooden battens embedded in the mortar. After the mortar has set, the slats are removed, the seams are filled with hot bitumen, tar or bitumen mastic. Such installation of the blind area ensures the integrity of the surface and internal layers of protection of the base during freezing and thawing of the foundation blind area, since the material can deform during temperature changes and cause cracks;
- A drainage system is arranged along the edge of the blind area. For this, you can use a concrete half-gutter or asbestos-cement pipes.
 Drainage of the blind area
Recommendations:
- Preparation of the foundation for the arrangement of the blind area: cleaning from debris, oils, rust. Leveling the surface with mortar, filling cracks and grooves;
- Waterproofing the outer walls of the foundation with bitumen mastic, bitumen or tar;
- Penoplex sheets with an adhesive are attached to the walls of the foundation - always in a checkerboard pattern.
If the house is on a strip foundation, the insulation is attached a little differently. Insulation sheets are laid on the tape, and a polyethylene film is glued to them. Formwork is mounted on top, reinforced and poured with concrete mortar. After the concrete has hardened and the formwork has been dismantled, the base is again insulated on the sides, and again poured with a concrete solution. The top layer of the solution is leveled, and for decorative purposes, the blind area can be laid out with tiles, artificial stone or other materials.
 Blind area for strip foundation
The advantages of insulating the foundation blind area consist in its high thermal insulation properties, thanks to which the foundation of the house can be made shallow. Protecting the foundation with a warm blind area will prevent it from freezing and beginning to collapse during thawing, which means that the tape or monolith can be laid at a much shallower depth. Also, the insulated blind area will reliably protect the basement from heat and frost, rain, snow, dew and wind, extending its service life. Even the saving of energy resources spent on heating the building is positively affected by the warm blind area.
The process of creating a warm blind area requires preparation and adherence to certain rules, building technology and the use of high-quality materials - after all, all building materials will work in the ground, at different temperatures and humidity.And the choice of insulation depends not so much on the family budget as on the operating conditions of the foundation and housing.
The process of waterproofing the foundation with roofing material
Before starting work on waterproofing the foundation, it is necessary to prepare the surface. To do this, perform the following actions:
Foundation waterproofing stages
- They inspect the surface, identify damage and determine ways to eliminate them.
- The grinder rounds off sharp corners and protrusions that can cause damage to the sheets of waterproofing material.
- The surface is cleaned from dust and other contaminants.
High-quality protection involves the processing of all sides of the foundation, therefore, vertical and horizontal waterproofing is performed.
Protection of vertical foundation surfaces
Waterproofing of the side parts of the foundation is carried out according to the following scheme:
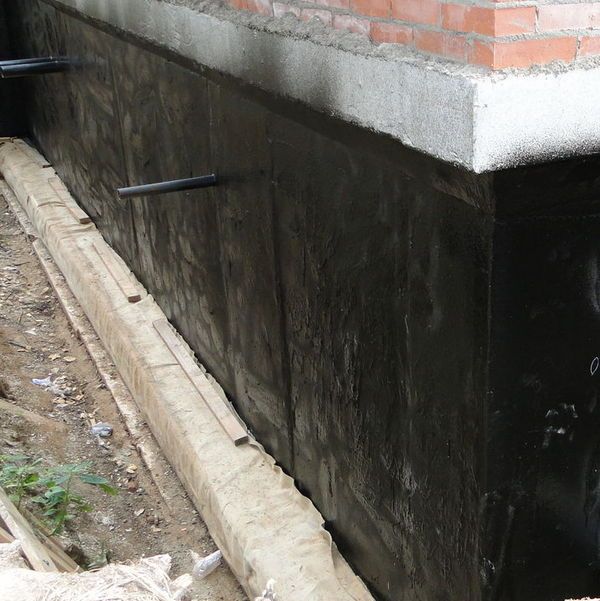
Vertical waterproofing
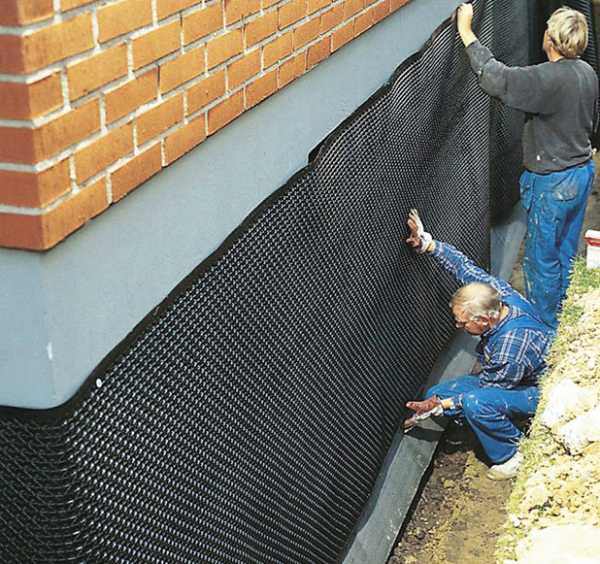
- Using a brush, apply one layer of deep penetration primer to the surface and wait for it to dry.
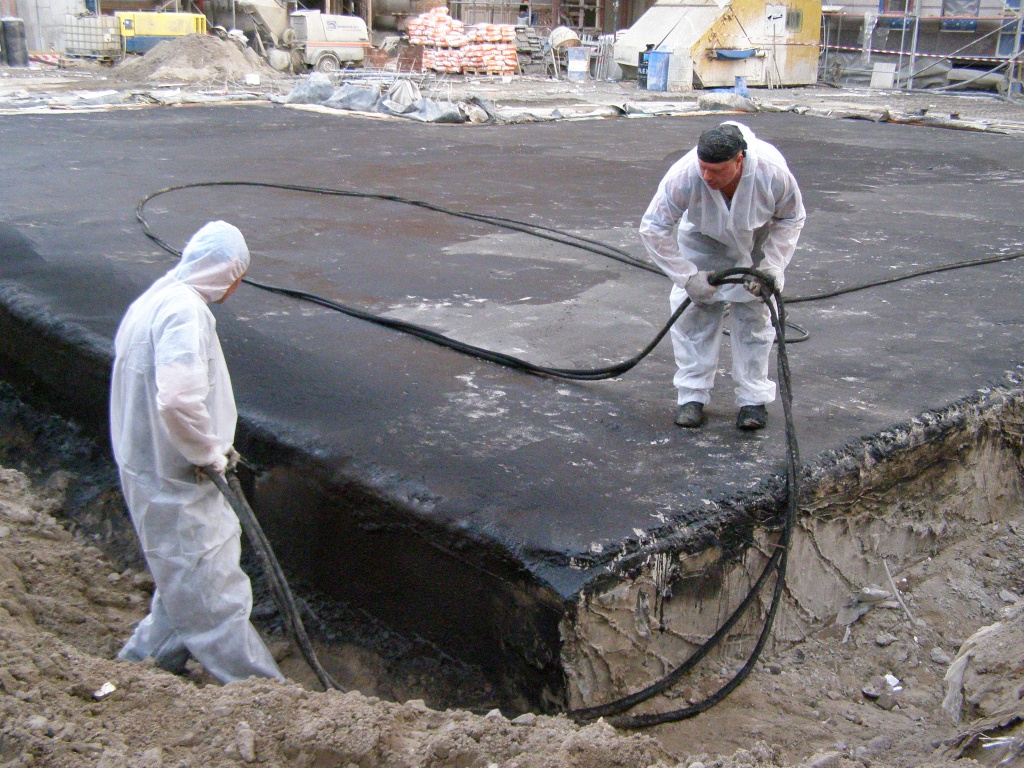
- Bitumen is melted to a liquid state and applied with a brush to the side parts of the foundation. In this case, the movements must be vertical, and each next layer must be superimposed on the previous layer.
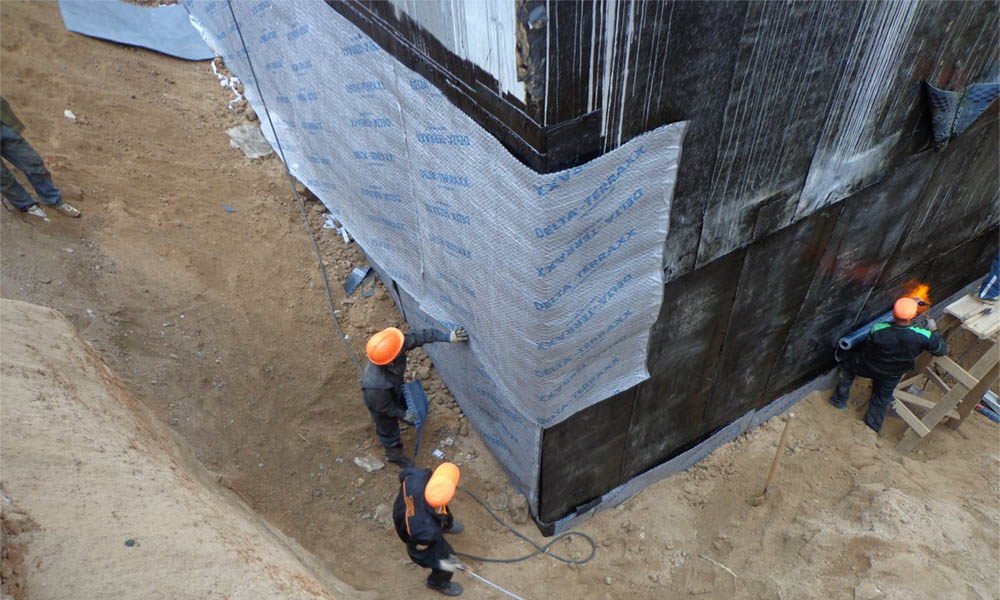
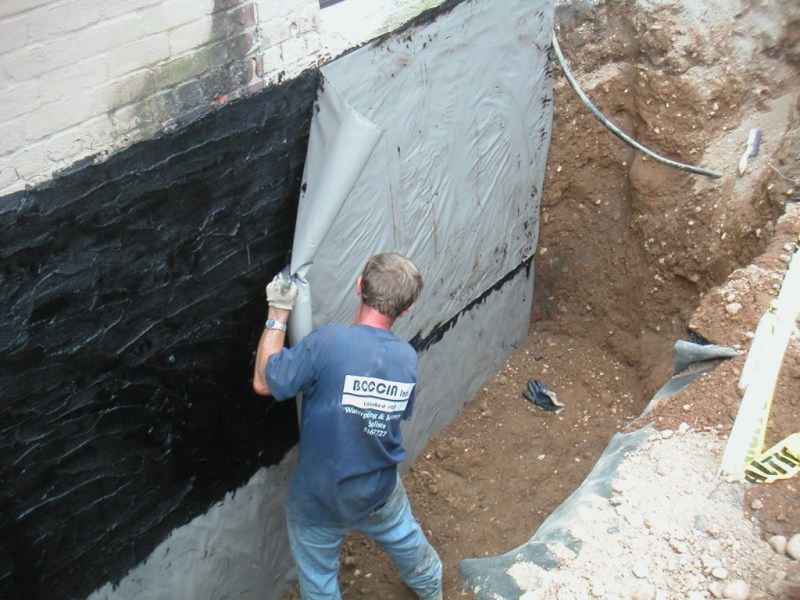
- The roll is applied to the surface with the side on which there is no sprinkling, heated with a torch or blowtorch, rolled out and pressed against the wall.
- The edges of each next strip are additionally coated with mastic, applied to the wall, making an overlap on the adjacent canvas, and pressed tightly.
- After pasting all the vertical surfaces of the foundation, the roofing material is covered with some dense material and backfill is performed. Read more in our previous article on the rules for backfilling a foundation.
Horizontal waterproofing
If vertical protection of the foundation from moisture can be performed at any stage of construction, then horizontal waterproofing is carried out in the process of laying the foundation. In this case, the protection is supposed to be double: the first layer is laid between the soil and the foundation, the second - between the foundation and the walls of the house.
The waterproofing of the lower level is carried out in the following order:
- The bottom of the pit is covered with a layer of fatty clay and carefully tamped.
- Concrete made from high quality cement is poured on top. The surface is aligned horizontally.
- After the screed is dry, it is coated with molten bitumen. Find out how and how you can dilute bitumen for the foundation.
- Roofing material is immediately laid with an overlap on adjacent sheets of 15-20 cm. The joints of the strips are heated with a blowtorch or gas torch and pressed tightly. The edges of the canvas should have a protrusion of up to 20 cm.
- Roofing material is again coated with bitumen mastic and another row of waterproofing material is glued. In this case, the canvases should be located perpendicular to the first row.
- After the bitumen hardens, another layer of concrete screed is poured.
To waterproof the foundation on the second level, you must perform the following steps:
- The horizontal surfaces of the foundation are poured with a cement screed for complete leveling. See details on how to properly align the top of the foundation and side faces.
- After the cement hardens, the surface is coated with bitumen mastic and a layer of roofing material is laid. In this case, it is necessary that some part of the laid canvases hang from the wall.
- Another layer of mastic is applied to the roofing material and covered with a sheet of waterproofing material.
Waterproofing the foundation with roofing felt belongs to the category of simple processes available for independent execution. The main thing is to choose the right material and apply it in accordance with the waterproofing technology.
This can be helpful:
- Roll waterproofing for foundation
Additionally, we recommend reading:
Tags: Waterproofing
The process of laying the insulated blind area
A standard step-by-step instruction for insulating a blind area begins with a listing of the necessary tools and materials:
- cement;
- sand;
- fittings;
- geotextile for waterproofing;
- penoplex;
- polyurethane foam;
- formwork;
- shovels and containers for mixing cement-sand mixture.
After that, the territory is marked with the help of pegs and a rope stretched along the perimeter of the future blind area (the step between the rods is about 2 m). Further, guided by the marks, it is necessary to dig a trench at the desired angle.
Important! The trench for the blind area should be dug close to the house. After you have removed the topsoil, debris and tree roots, carefully inspect the basement
If there are cracks, chips and other damage in it, they must be repaired with cement or a special adhesive solution. After that, it is recommended to cover the foundation with bituminous mastic.
After you've removed the topsoil, debris, and tree roots, take a close look at the plinth. If there are cracks, chips and other damage in it, they must be repaired with cement or a special adhesive solution. After that, it is recommended to cover the foundation with bituminous mastic.
At the next step of the step-by-step instructions, we will consider laying the layers of the "pie" of the base encircling the house, relying on the following scheme for insulating the blind area with penoplex.

Formwork installation
Before starting to lay all the layers of the "pie", it is necessary to prepare the formwork. For this, it is most convenient to make a removable structure from standard edged boards or thick plywood sheets.
The formwork boards can be connected to each other using self-tapping screws or additional boards, which are overlapped on the outside of the structure. The height of the timber frame should correspond to the edge of the future blind area.
Healthy! The length of the board with a thickness of 250 mm is 6 meters, so you can easily calculate how much lumber you need for formwork.
Underlying layer of blind area
To make a blind area with your own hands, you need to lay a layer of waterproofing (geotextile, polyethylene or roofing material) on the bottom of the trench. In this case, the material must necessarily go to the walls of the house. If you secure it with an overlap, then protect the gap between the wall and the layers of the blind area from moisture entering it.
Healthy! The density of the geotextile should be at least 100-150 g / m2.

Advice! If the groundwater level at the site is high, then it is recommended to lay clay with a height of about 5-15 cm in front of the sandy layer.
Further, it is necessary to lay out crushed stone with a height of about 6 cm on the geotextile. After that, sand (20-30 cm) is poured and compacted. For a better compaction of the layer, moisten it with water (preferably from a spray).

After that, according to the step-by-step instructions, the insulation is laid.
Penoplex layer
Lay the sheets of insulating material joint-butt, trying to avoid the formation of large cracks. To do this, you can use a conventional cutter, adjusting one sheet as tightly as possible to the other.
When insulating the blind area, it is important to check several times that there are no gaps in the EPP, it is recommended to cover the formed indents with pieces of foam, after which the seams of the "canvas" must be smeared with polyurethane foam
In the same way, EPP shields are laid on the walls of the basement.

After that:
- Cover the thermal insulation with geotextiles.
- Place the pipes of the drainage system on the surface, connecting them together with special "corners".
- Lead out the water drainage pipe into the ditch.
- Lay another layer of crushed stone and coarse sand on top of the pipe.
Healthy! If the blind area is subject to heavy loads (people will walk on it, cars will drive, etc.), then it is recommended to lay a reinforcing mesh with 10 x 10 cm cells on top of the insulating layer.
After preparing the insulating layer, you can safely proceed to pouring concrete and laying the finishing coating of the blind area (paving slabs, artificial stone, asphalt and other materials).
Penoplex features
The operational and technical characteristics of the penoplex make it possible to call it the most effective of the insulation materials available on the market today.
It is, in fact, an improved foam made by extruding polystyrene. During the production process, polystyrene granules with the addition of porophores are placed in a high-temperature chamber. The mixture melts and foams due to the fact that the porophores, when heated, emit a large amount of gases - carbon dioxide, nitrogen and others. Through the molding nozzles, the mass resembling whipped cream is squeezed onto the conveyor, solidified and cut into panels.
The result is a porous material. But, unlike foam, it has a single fine-cellular structure that does not disintegrate into granules. Each cell is filled with gas and completely insulated, which provides high thermal insulation values. Penoplex is characterized by a higher density and greater strength than polystyrene.
EPS insulation is lightweight, cuts well, does not crumble. The sheets have a thorn-groove connection, which does not allow even the slightest cold to seep through. It is convenient to use it for self-insulation of any building elements.
Several types of penoplex are available. Grades 35, 45 and "Foundation" are suitable for thermal insulation of the blind area and basements.
Dense fine cellular foam structure

