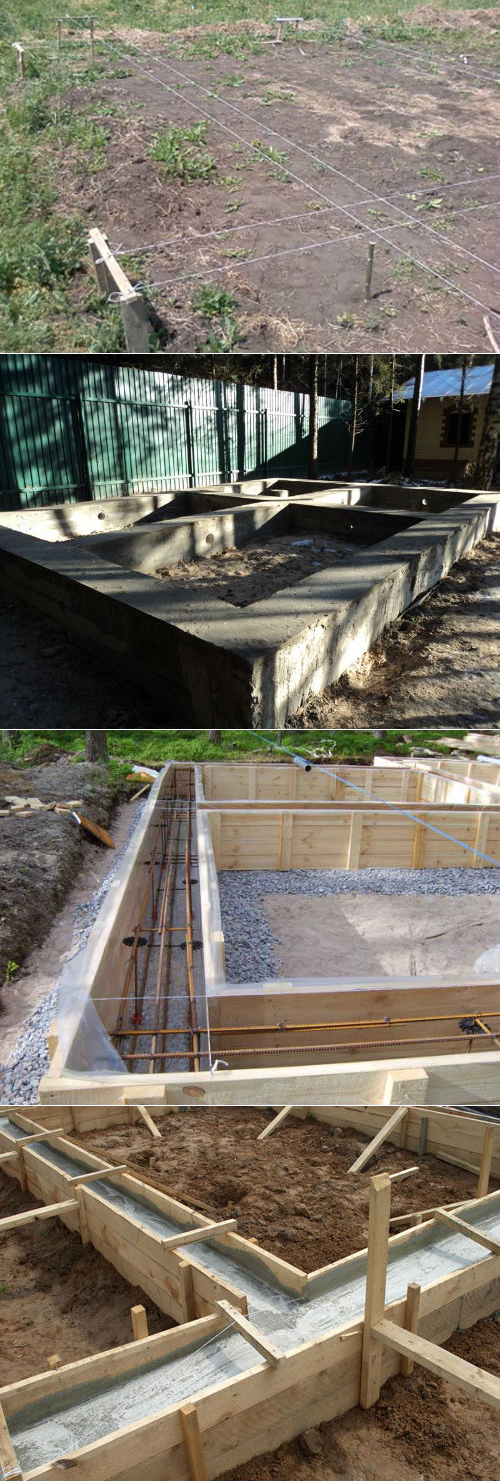
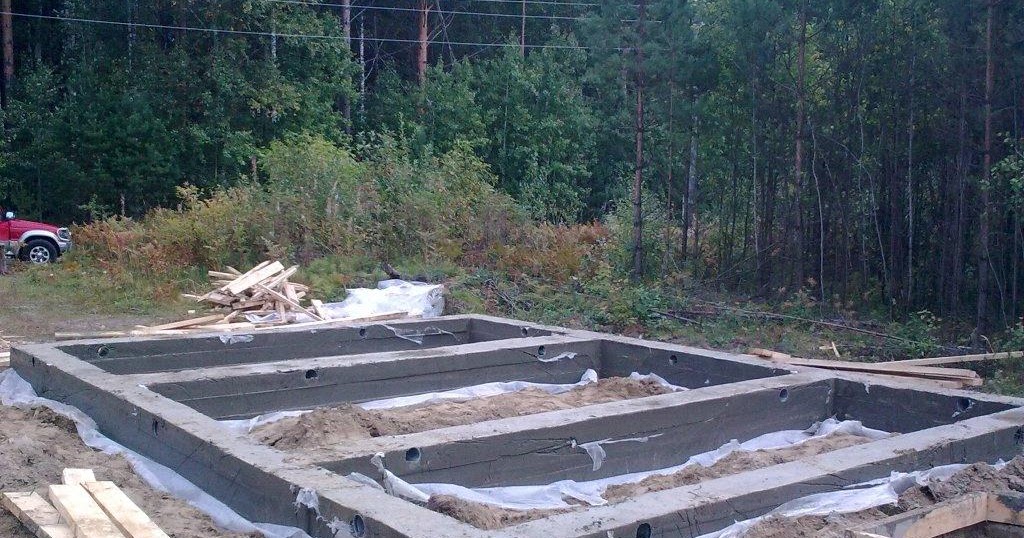
Slab foundation: scope and benefits
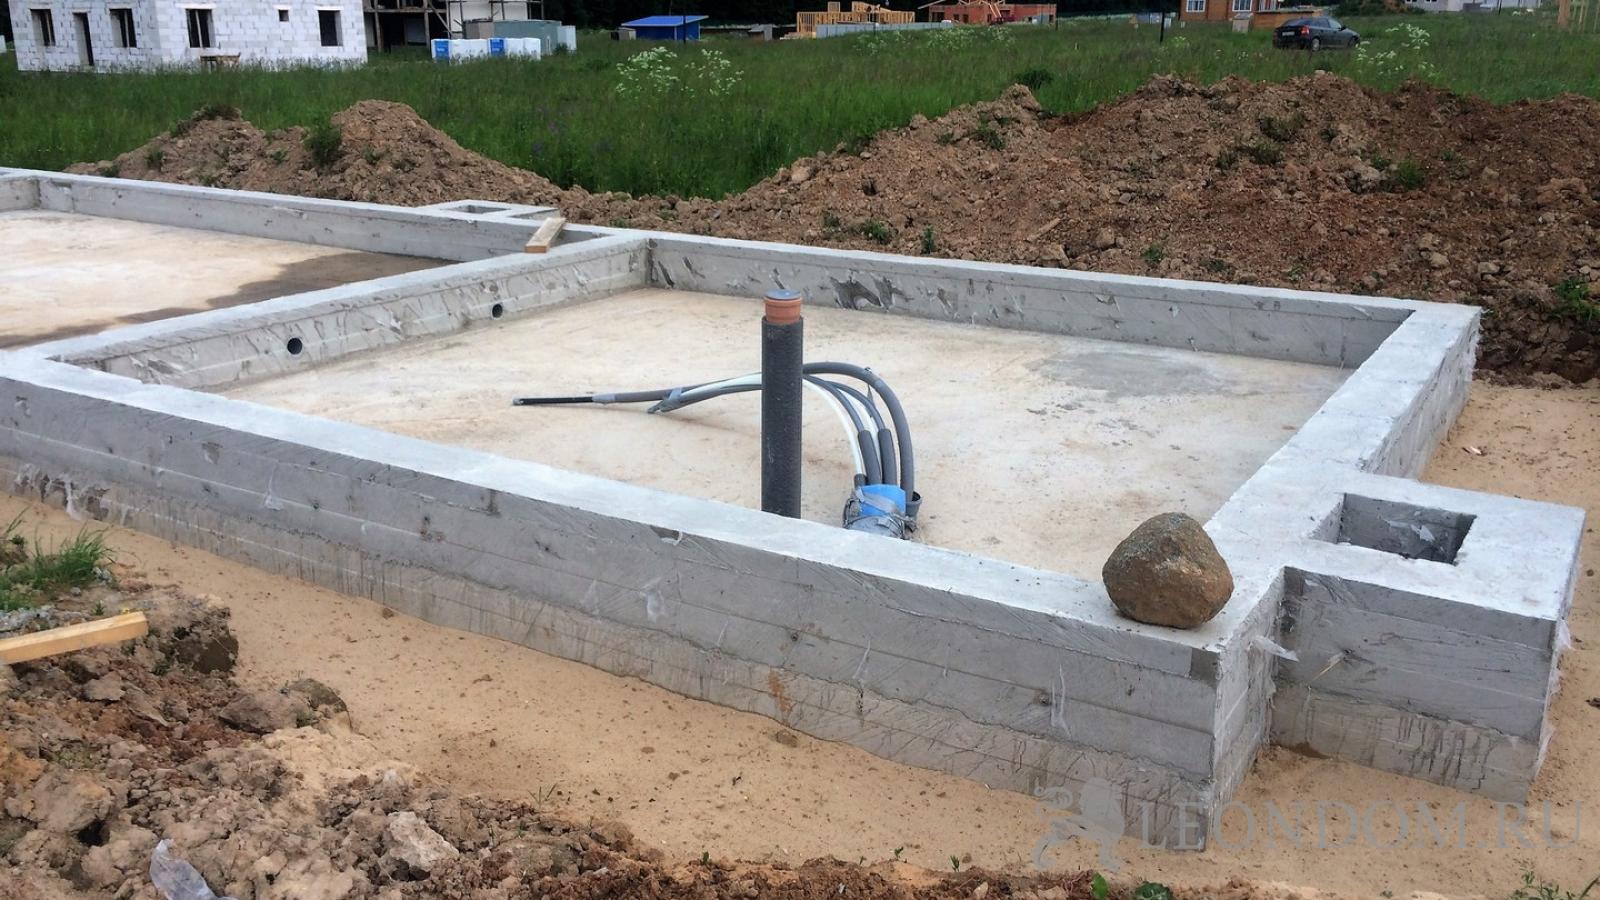
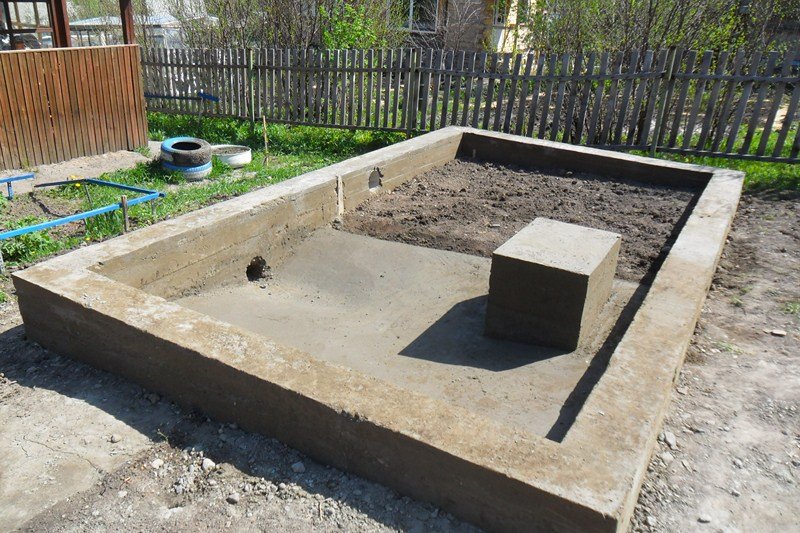
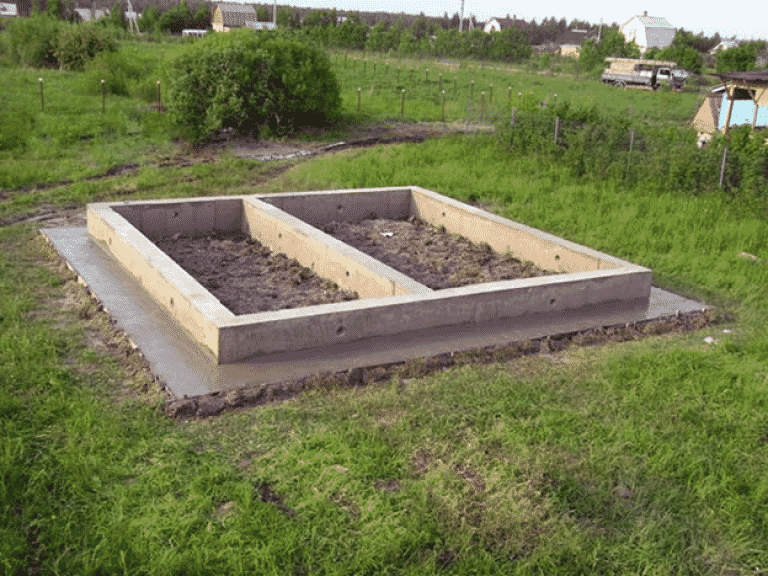
The slab foundation refers to shallow structures and is, in fact, a special type of strip base. Unlike the latter, when building a house, it is not a foundation tape that is equipped, but a monolithic platform made of reinforced concrete. A base of this type can be made in the form of a solid rectangular parallelepiped with a thickness of 20–40 cm or consist of several slabs, the surface of which is poured with a layer of concrete. The supporting structure is laid on a prepared sand and crushed stone pillow with a thickness of 20 to 40 cm. In some cases, the slab is supplied with stiffening ribs, which significantly improve its strength characteristics.
A monolithic reinforced concrete slab will cope with any alternating loads arising from movements and swelling of the soil
Since the reinforced concrete base occupies the same area as the structure, the weight of the latter is evenly distributed over the entire surface. Due to this, as well as due to the small degree of deepening, the foundation is suitable for construction on weak soils:
- movable;
- flooded;
- heaving;
- sandy;
- saturated clays;
- peat bogs.
Depending on the depth of the laying, the slab foundation is:
- shallow,
-
not buried.
The first ones are laid to a depth of no more than 30 cm, while non-recessed structures are often called a floating foundation - they are mounted at least 10 cm from the surface of the construction site.
The design features endow the slab foundation with a lot of advantages:
- the possibility of using it on moving, medium-grained soils;
- simple technology for the construction of a reinforced concrete slab - the solution can be unloaded directly from the mixer, without the use of an expensive concrete pump, and the work can be performed by low-skilled workers;
- high bearing capacity, which the slab has due to the large support area;
- the possibility of construction on so-called difficult soils - where it is difficult or expensive to carry out earth-moving work. Thus, a "floating" foundation makes it possible to reduce labor costs and budget when erecting buildings in permafrost conditions, with a high level of groundwater, etc .;
- thanks to a rigid, monolithic slab, the building does not undergo local deformations even under heavy loads during the process of soil freezing and thawing. The foundation is great for walls and columns, which are made of brick, stone, cinder block, etc .;
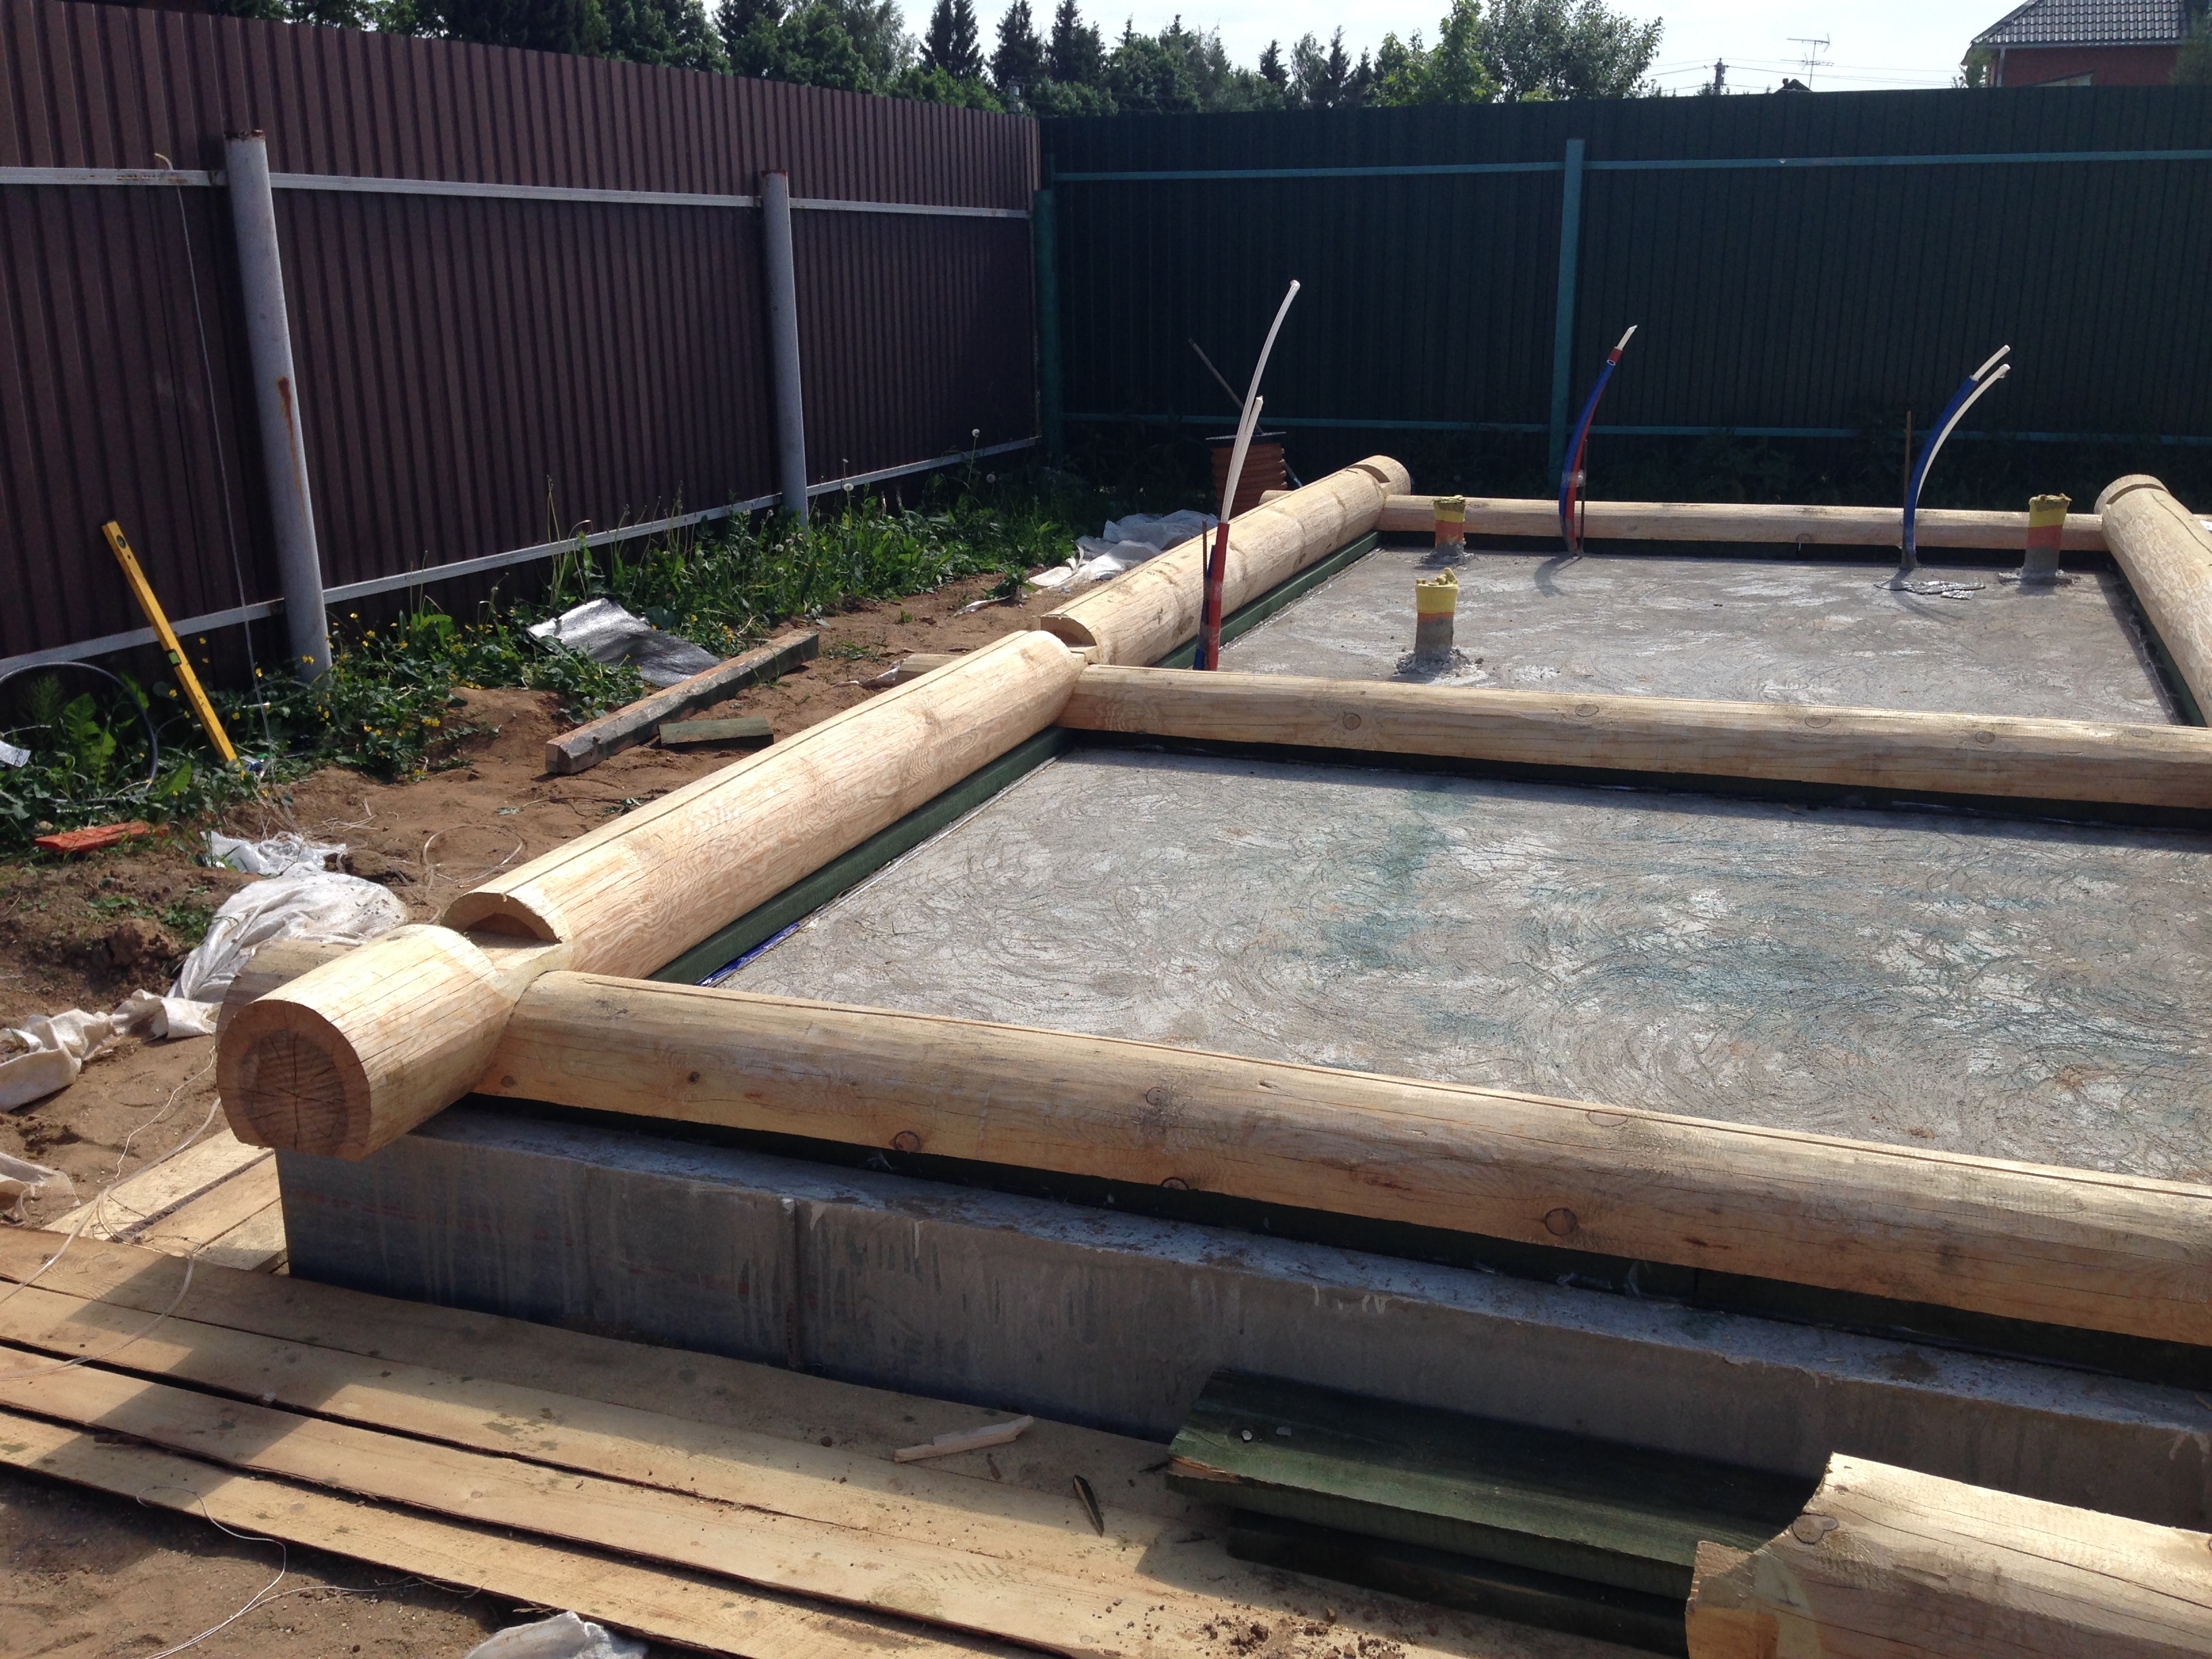
- the ability to use the surface of the slab as a subfloor, as well as for arranging a floor heating system;
- improvement of thermal insulation of the base, protection from excessive moisture.
At the same time, the base plate also has disadvantages:
- the complexity that arises when it is necessary to equip the basement;
- high cost associated with significant consumption of building materials;
- labor intensity of work and the need to use construction equipment;
- low maintainability;
- the complexity of the arrangement on sloping surfaces.
Although the construction of a foundation slab requires more materials than a strip or columnar base, during its construction it is possible to save on lumber for formwork and special equipment for excavation. If you get acquainted with the estimates of residential buildings, which are widely represented on the network, then we can conclude that the slab foundation is an excellent option for low-rise buildings with a small area in the plan, that is, for individual construction.
The formwork of the foundation slab has the simplest device, so any home craftsman can build it.
Preliminary stage
The construction of a bath, like any other building, begins with laying the foundation. How to fill the foundation for a bath with your own hands? A simple foundation for a bath is selected and equipped taking into account several parameters.
The first thing that is taken into account is the materials with which the construction of the facility will be carried out. The second point to be reckoned with is the peculiarities of the soil in the area where the bathhouse will be located.

These are important parameters, since the concrete consumption depends on the depth of the base.
When building a bath with a size of 4x6 meters, it is necessary to be guided by the regulations laid down in the project documentation.
The construction of such a volumetric concrete structure is being erected only according to a previously developed project.
Long-term practice shows that when developing a plot purchased or allocated for individual housing construction, a bathhouse is first of all erected on it.
In order to choose a specific type of foundation, it is necessary to correctly determine the characteristics of the soil.
It is enough to know that soils are:
- clayey;
- sand and gravel;
- rocky.
We must also imagine what is the depth of the groundwater. How to properly fill the foundation for the bath? Before pouring the foundation for a bath with your own hands, you need to get reliable information about this.
According to the current SNiP, it is necessary to carry out geological surveys at the site. In reality, in the place where the foundation for the 4x6 bath will be laid, several holes need to be dug.
Their depth should be from half a meter to one and a half meters. Visually assessing the structure of the soil, you need to make a final decision.
The video below shows material on how to make a foundation for a bath.
Video:
For a bath, cut from logs measuring 3x3 meters, you can fill in a shallow base. But this option is allowed on sand and gravel soil.
On shaky soil, more massive foundations should be made. Considering that the material from which the bath is built has a certain weight.
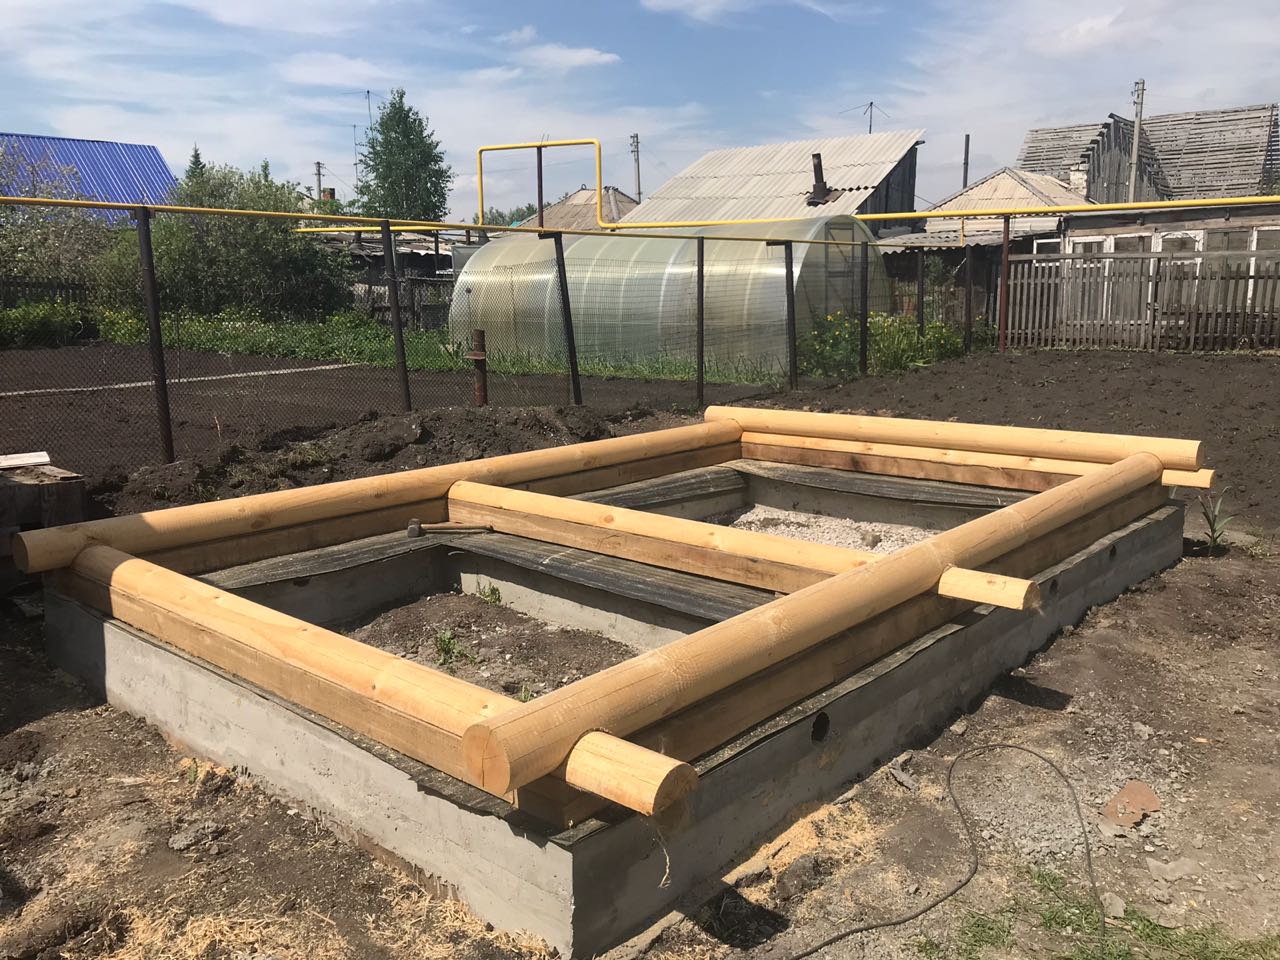
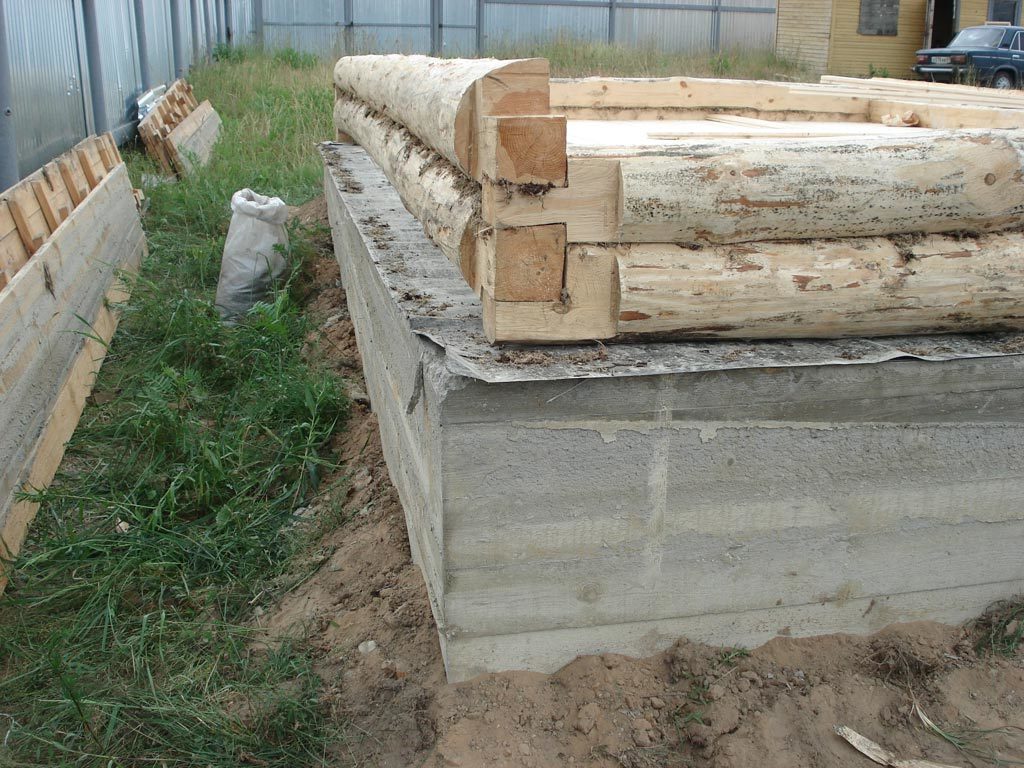
If you plan to cut down a bathhouse from logs or fold it from a bar, then you can lay the foundation of the columnar type. How to build a foundation for a log bath?
The foundation device should be carried out in such a way as to save concrete consumption, and at the same time comply with the requirements for the reliability and stability of the structure.
In order for the work to be carried out in a timely manner and with the proper quality, a clear schedule is drawn up. After the next stage has been passed, it is necessary to make the appropriate mark.
This is especially important at the first stage of construction - before making the foundation for the bath
Preparatory stage

Preparatory stage
First, let's figure out what needs to be considered before choosing the type of foundation and how to prepare the site.
The method of laying the base under the structure depends on the following indicators:
- the type of soil and their moisture content;
- the level of soil freezing;
-
the size of the bath.
Let's start by defining the type of soil. To do this, you need to dig a hole and study the soil.
Try to make a ring from the soil abundantly moistened with water. It can only turn out from clay. It is generally impossible to make a ring out of sand. From sandy loam, your creation will quickly collapse into small parts, and from loam - into 3 fragments.
If the size of soil particles reaches one and a half millimeters, then the soil is sandy.
Place some soil in a glass of water and stir
Severe turbidity indicates that you are dealing with soil with a high clay content.
It is also important to know the moisture content of the soil and the level of occurrence of groundwater. It is better to check the presence of water in the soil in the autumn period by rolling a ball
The ball will quickly crumble if it is made of slightly moistened soil.

Soil types
To find out about the GWL, you can talk to your neighbors. Plus, if you've built a house, you've seen it before.The most accurate way to find out how deep the water goes is by drilling the ground with a garden auger. Such a well should be deep enough, at least 2-2.5 m. The easiest way will be to build a foundation where the groundwater level is one and a half meters deeper than the point of zero soil temperatures.

Determination of soil type
Knowing the type and characteristics of the soil, it is easier to choose a foundation option.
- For arranging a small bath on clay and loamy soils with a deep groundwater level, a columnar foundation is suitable.
- A universal option for medium-sized buildings is considered to be a strip base, a particular case of which for moist soils is a monolithic foundation.

Soil types
There are other types of foundations, but still the most popular and often self-built are tape and columnar.
When constructing any foundation, at the preliminary stage, it is necessary to mark the area for the construction of a bath.
How to mark the foundation for a bath with your own hands? Complete markup instruction
After you have completely decided which foundation is right for you, move on to the markup. It will be to mark the outer and inner walls. As an example, I will cite a shallowly buried strip foundation.
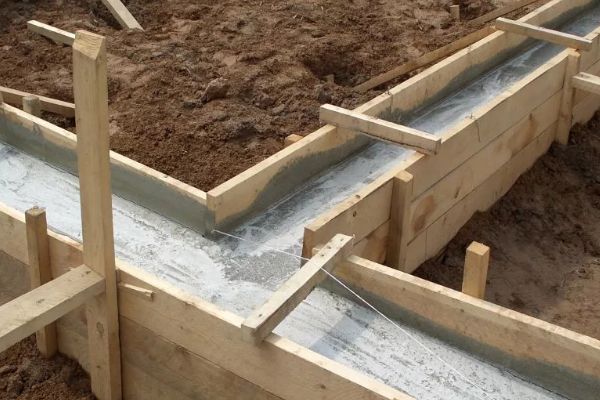
For this we need:
- Shovel shovel;
- Bayonet shovel;
- Nylon cord;
- Roulette;
- Level;
- Pegs;
- Hammer.
1. First you need to remove the top layer of soil and level the place for the construction of a bath. You may need a technician.
2. We drive in a stake from where you will start the markup.
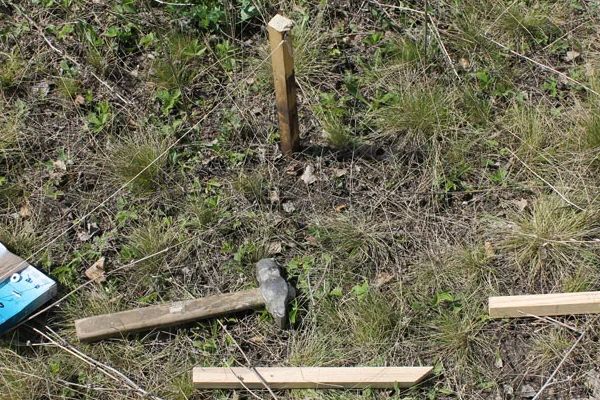
3. Thus, we drive in all 4 corners in the future design. Next, we pull the thread along the perimeter of the pegs and measure the diagonal, also look at the angle along the Pythagorean triangle.

4. Pull the cord to the height at which the formwork will be exposed. To check the level of the cord, you need to use a level. Of course, it can be used directly when you put up shields.
5. We also mark the inner side, only together with the partition. Now, to start digging a trench, we need to move the pegs beyond the strip foundation. We also note the places where the partitions will be located.
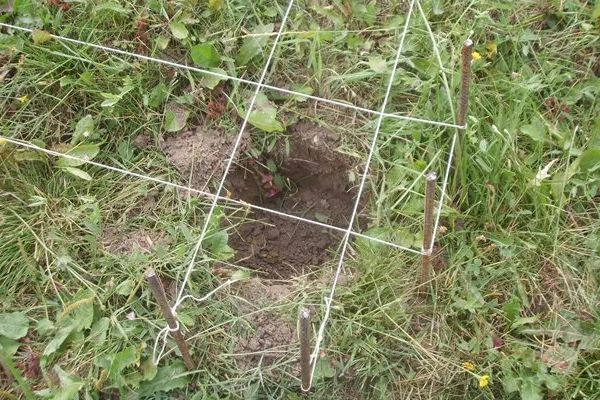
6. When the markings are marked, start digging a trench. After it has been dug out, you need to tamp the soil well and fill in a layer of sand. For a shallowly buried foundation, 10 cm will be enough. For a deep one up to 20 cm. We spill water so that the sand settles and wait until it dries, but for now we proceed to the next stage.
Column foundation
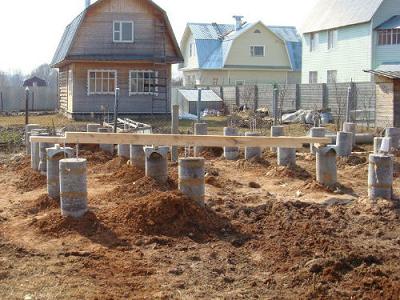
Column foundation
If you decide to build a wooden bath and the soil allows, then you can make a columnar foundation, which will significantly save money at this stage of construction.
The material for the columnar base of the bath can be different: brick posts, logs, steel or asbestos pipes filled with concrete.
It is the last option, which is most popular, that we will consider.
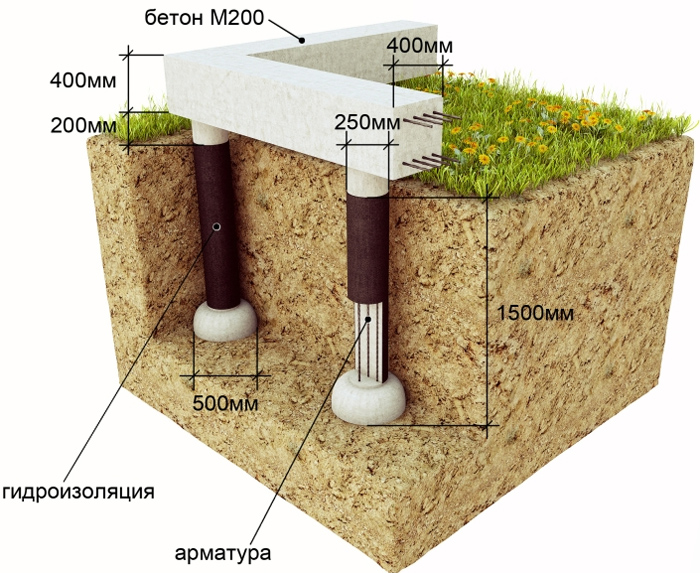
How to fill a columnar foundation
Step 1. In the designated corners, a one and a half meter tunnel is drilled with a garden drill, the diameter of which is usually 5-10 cm larger than the diameter of the asbestos pipe prepared for the installation of the foundation.
Step 2. Pipes are inserted into the wells, which should rise above the ground by 0.4 m. Most often, products with a diameter of 200 mm are used.
Step 3. Align the pipes using the spirit level.
Step 4. Backfill around the pipes. In the process of filling, the earth is tamped.
Step 5. The cement mortar is poured into the pipe about half a meter. It is not worth saving on cement.
Step 6. Raise the pipe slightly in the hole to allow the cement to drain slightly to the bottom of the hole.
Step 7. Continue pouring cement, leaving 15 cm of the top of the pipe unfilled.

Column foundation
Step 8. While the cement in the pipe is not frozen, a reinforcing bar is immersed in it.
Step 9. Now you can pour the cement up to the edges of the pipes.
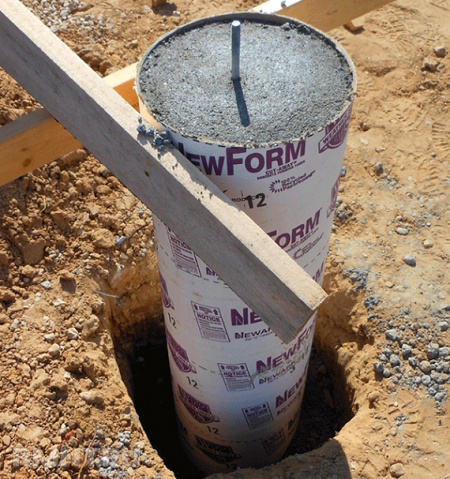
Column foundation
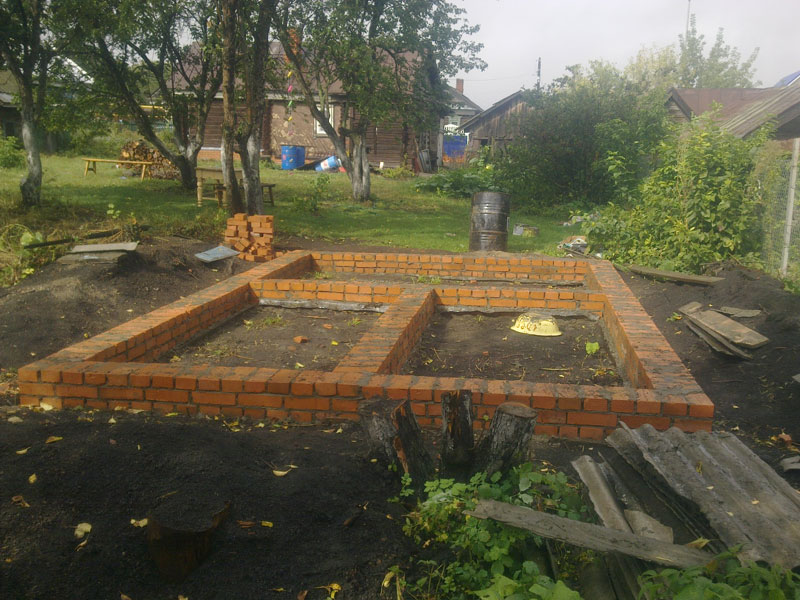
Step 10. Between the pillars, brickwork is made half a brick wide.
Step 11. The resulting base is leveled with cement and covered with roofing material.
A simple and solid foundation for a wooden bath is ready.

Strip foundation

Strip foundation, diagram
For the construction of such a foundation, more labor and material resources will be required. But it is more versatile. And the principle of its construction is quite fast.
Step 1. Within the marking, dig trenches under the sides of the foundation. The depth of the ditches depends on the load on the foundation, the type of soil and the depth of soil freezing. Usually the bottom of the ditch is 0.2 m below the freezing point of the soil. Trenches should be 10-20 cm wider than the foundation walls. In crumbling soils, the ditches look like an inverted trapezoid. At the end of the digging, it is necessary to level and tamp the bottom, remove the collapsed soil from it
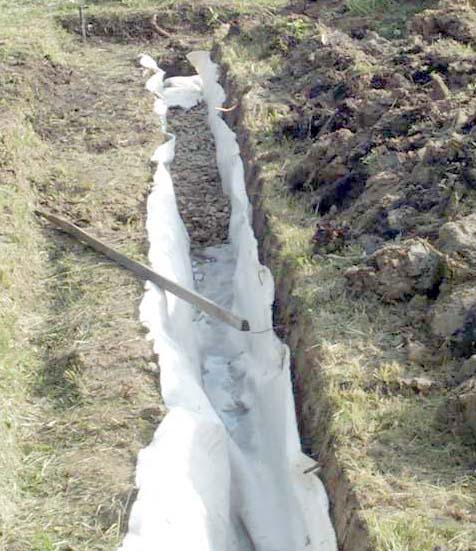
Shallow strip foundation - trench
Step 2. A cushion of sand and gravel is made in the trench. First, a ten-centimeter layer of sand, preferably a fine fraction, is poured, then it is poured with water and covered with gravel, also with a layer of 10 cm. The procedure is repeated until the middle of the trench is reached. The last layer should be sand.
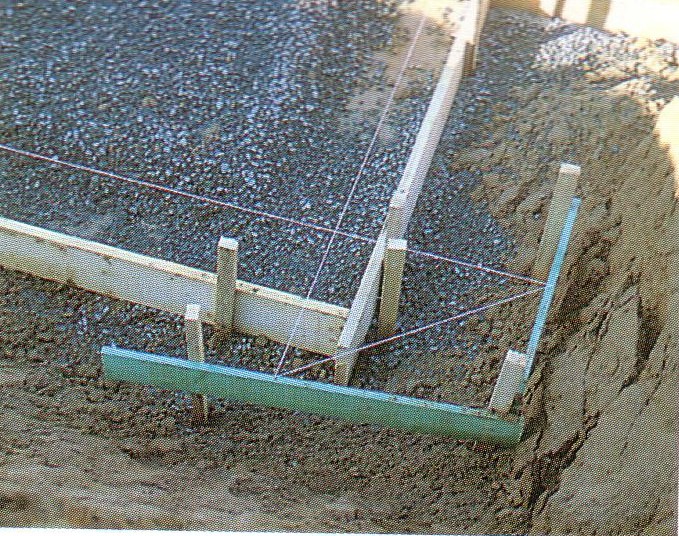
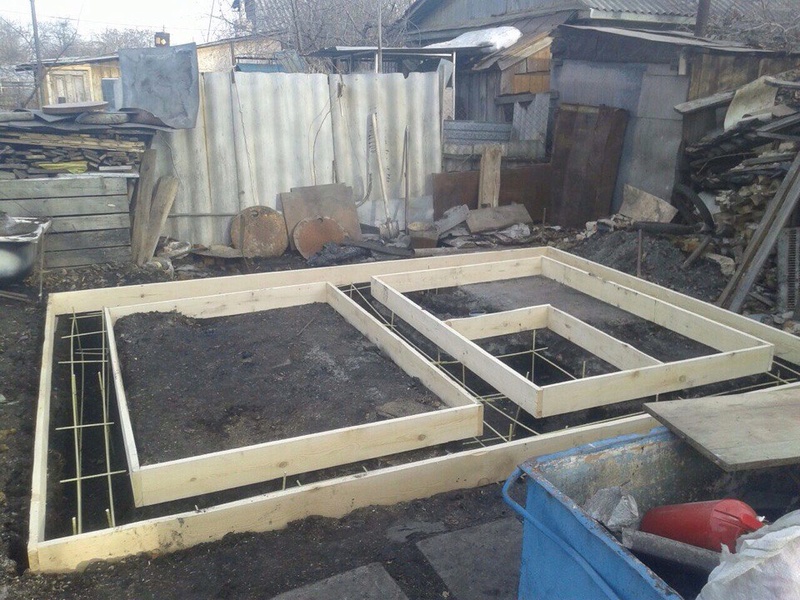
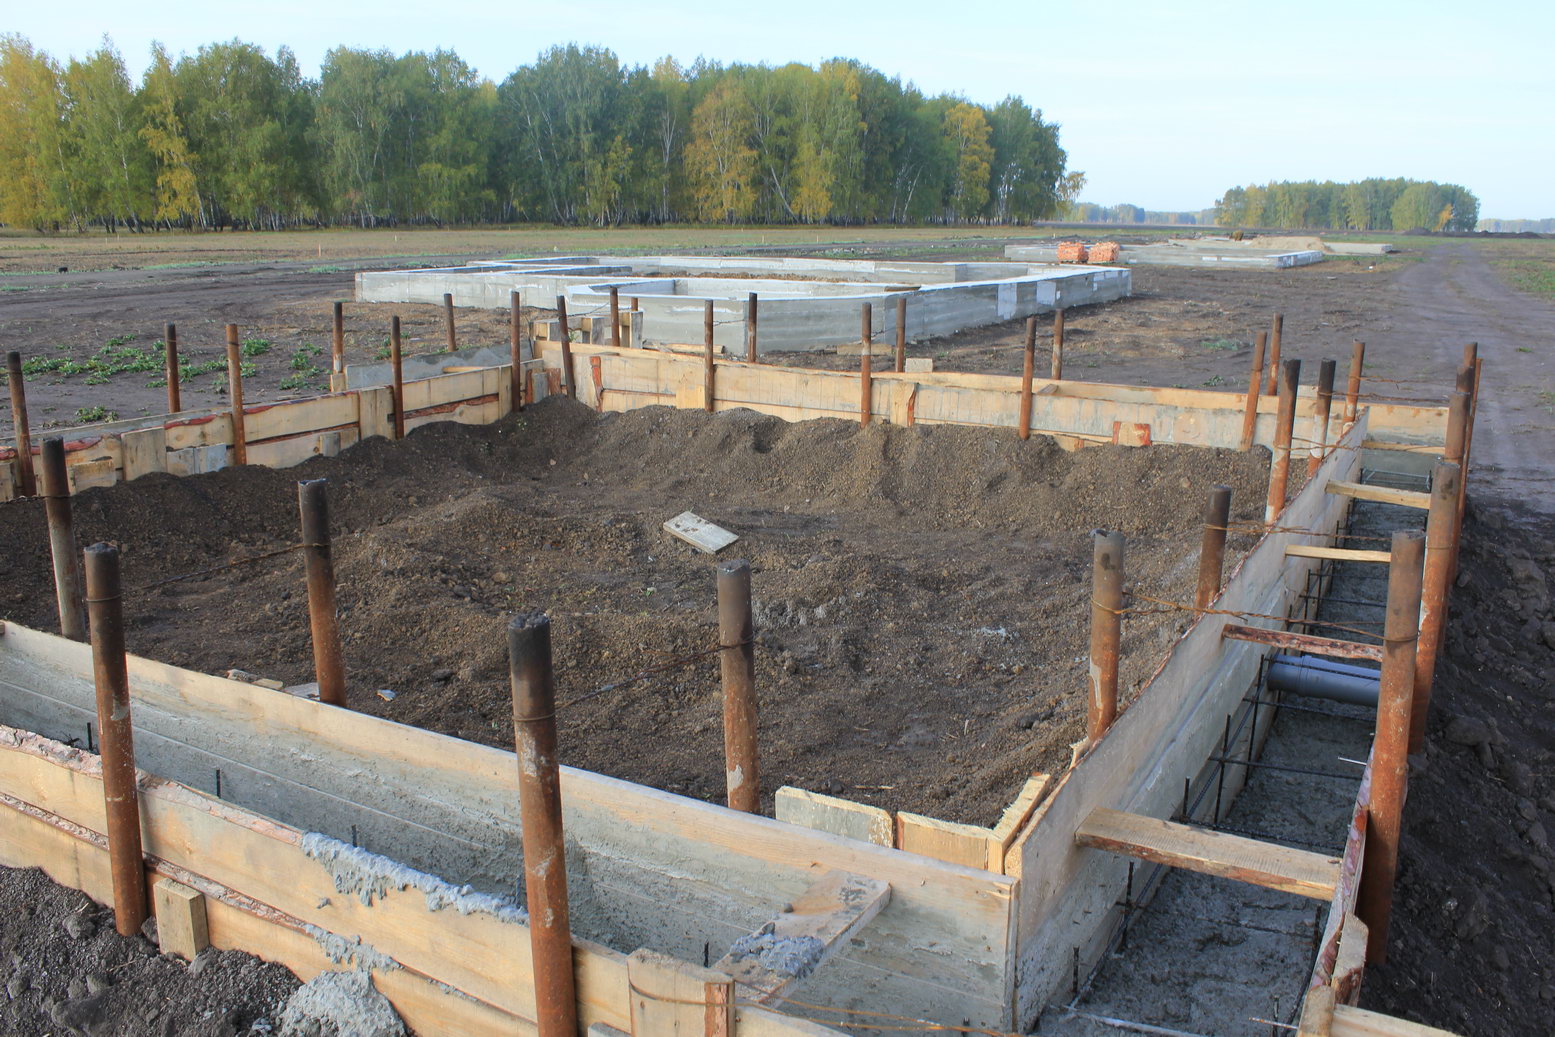
Installation of slab foundation formwork
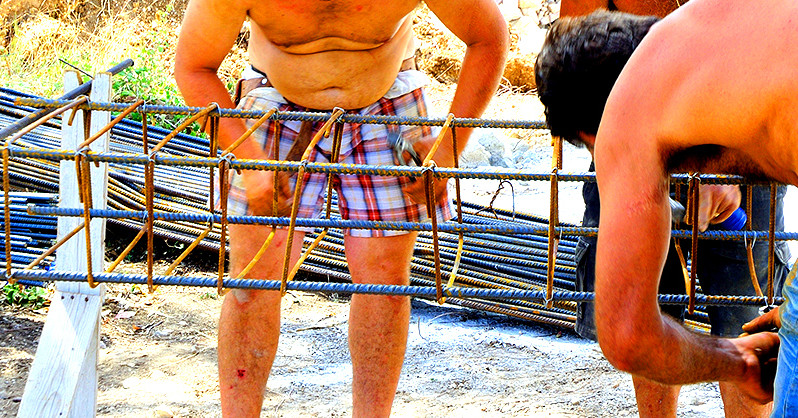
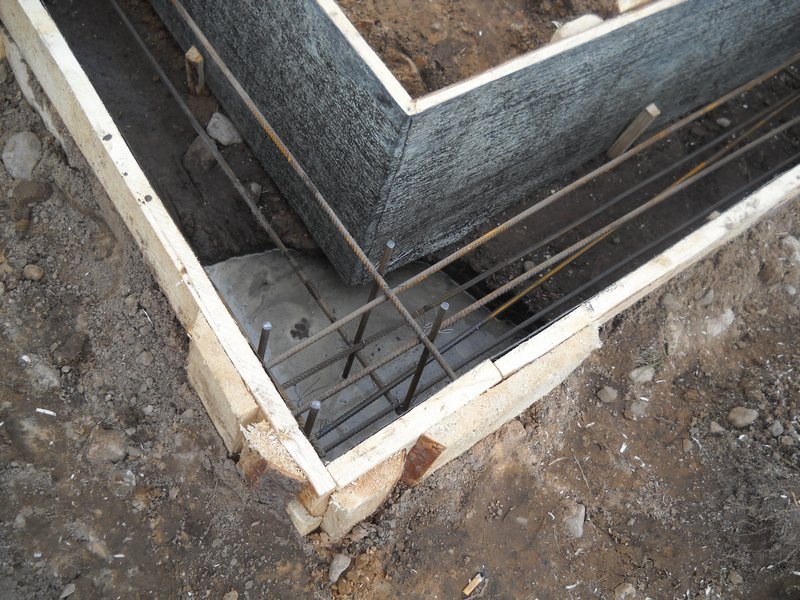
Reinforcing frame
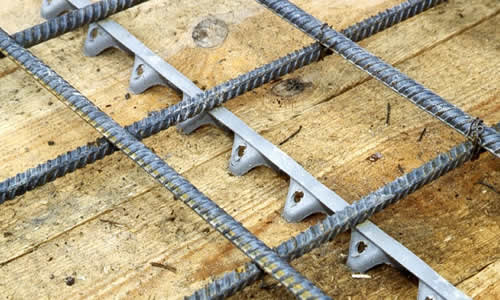
Reinforcement of the strip foundation

Assembling the reinforcing frame
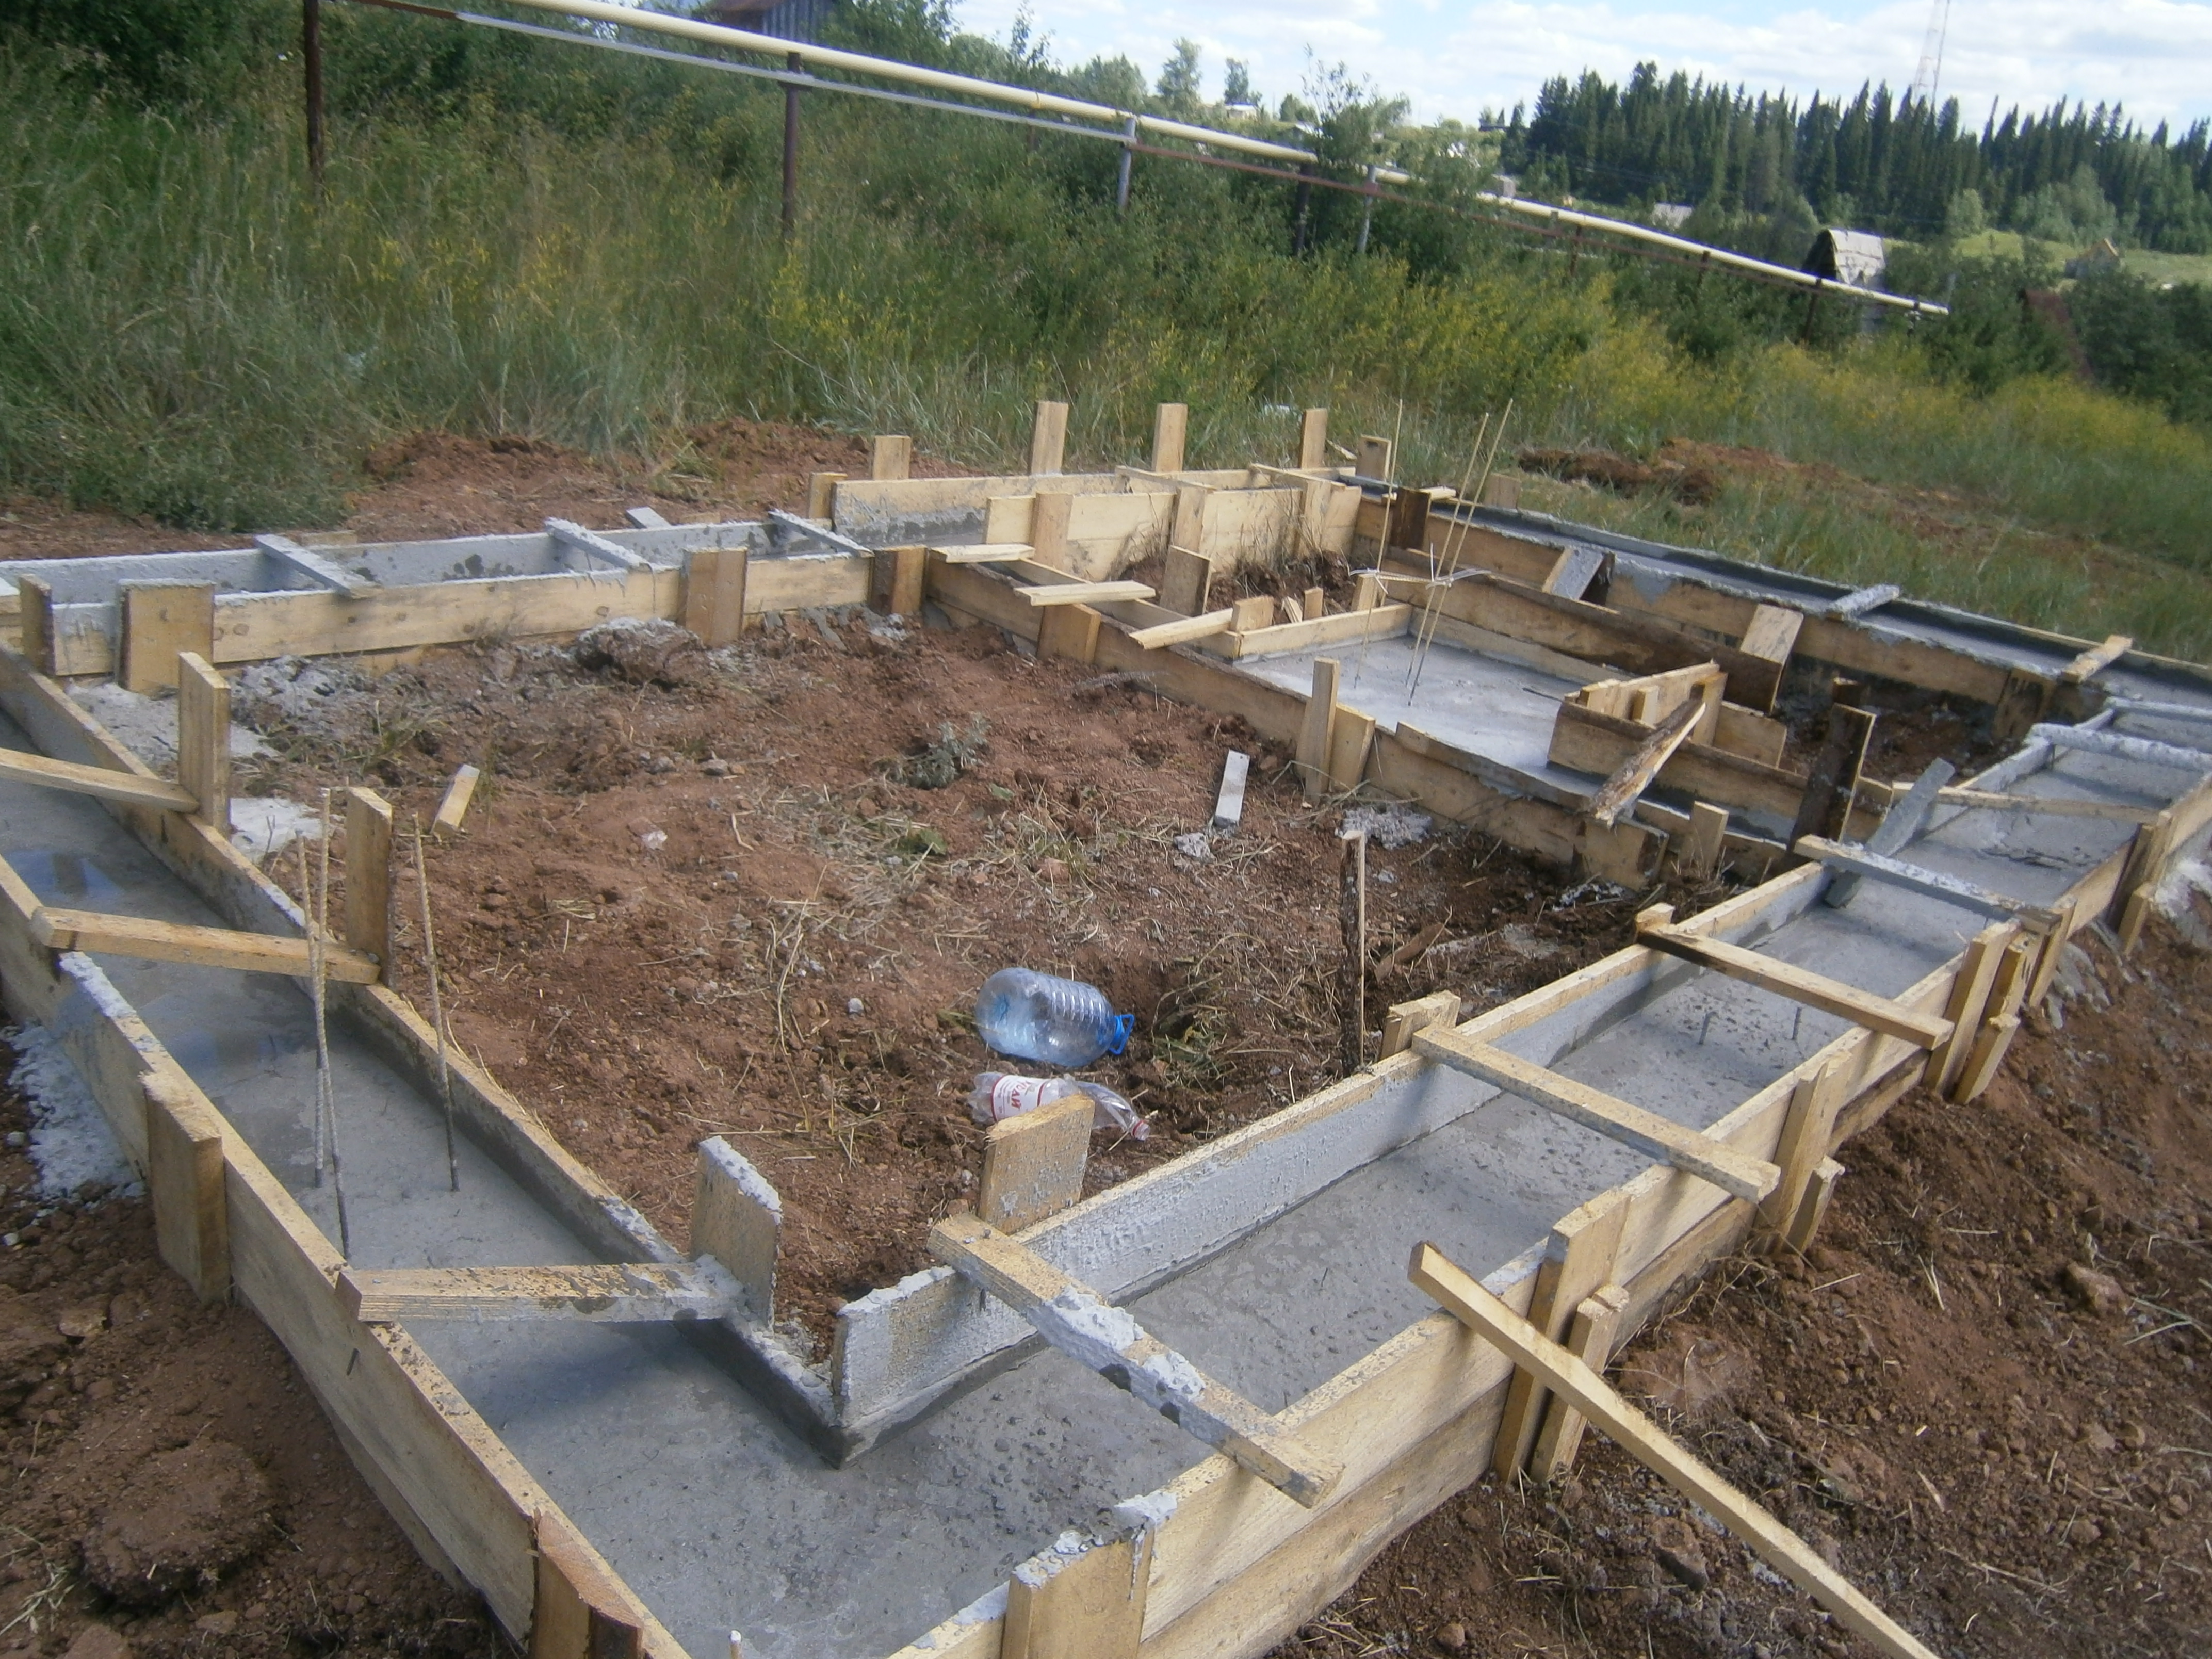
Formwork and reinforcement
Step 3. The top of the pillow is covered with one brick layer, which will serve as a support for the reinforcement and exclude its sagging.
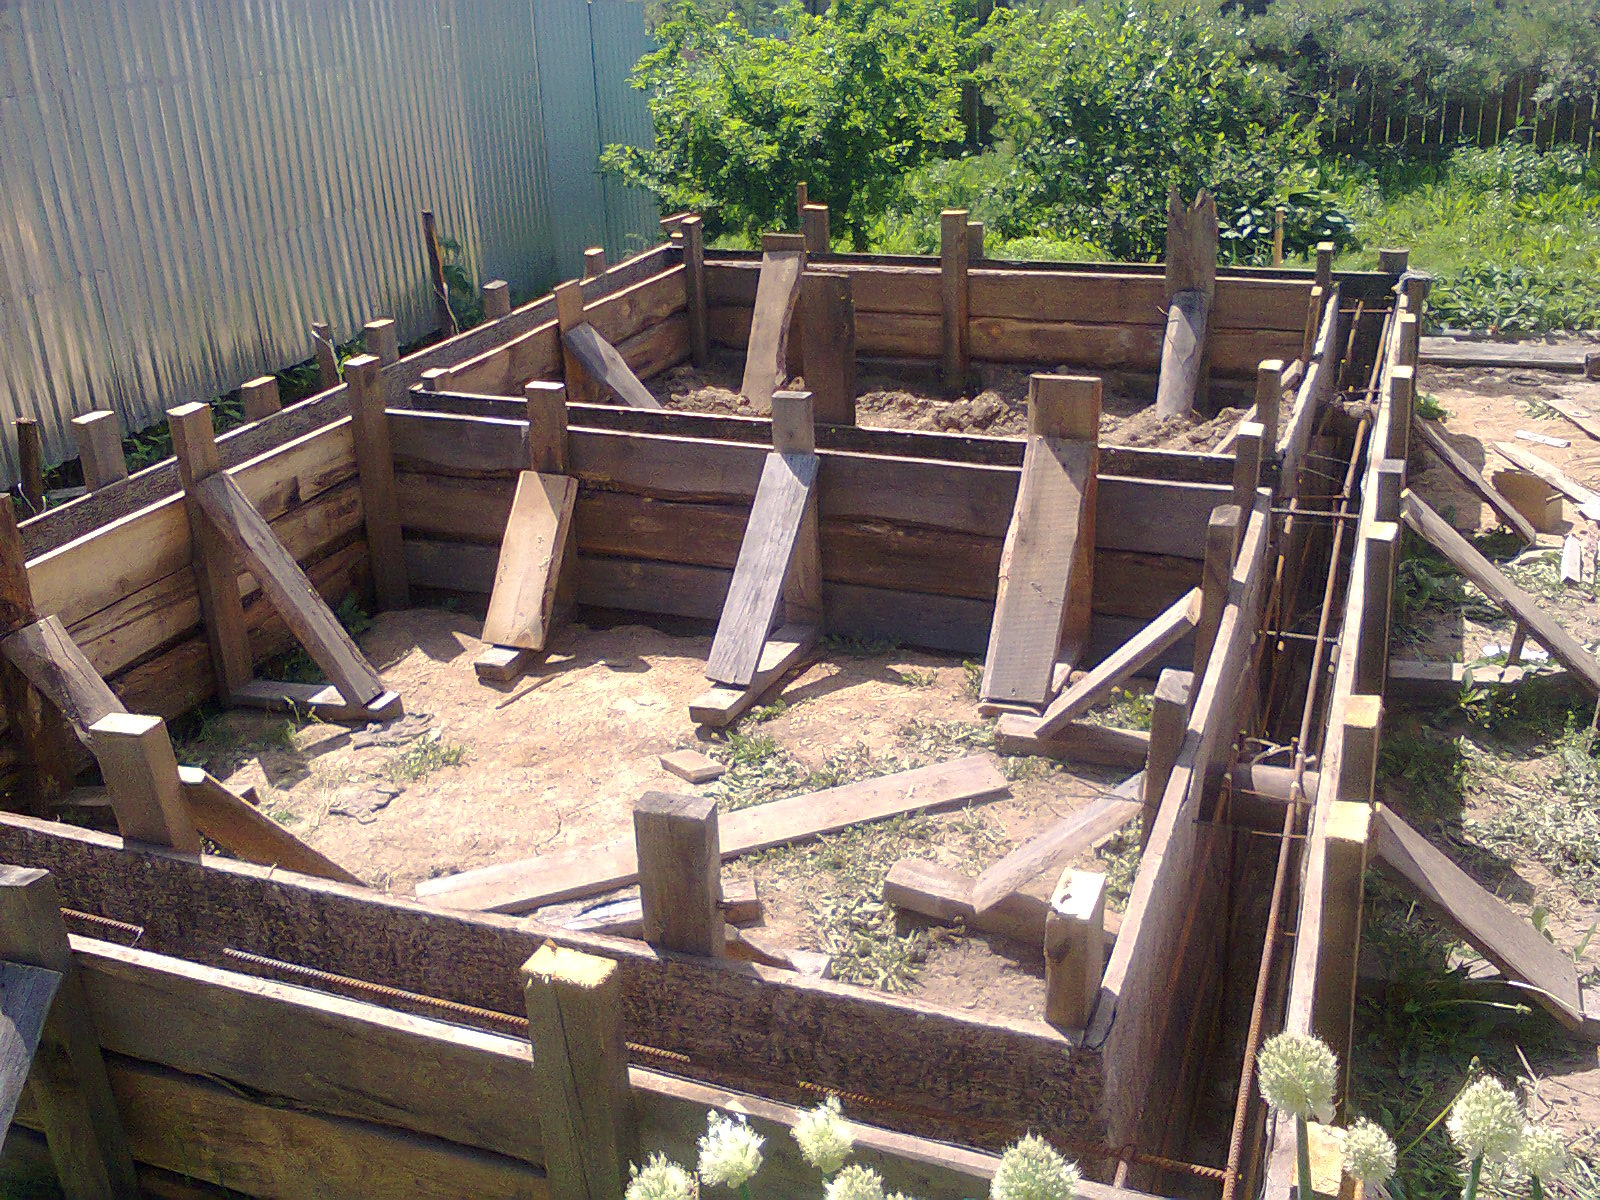
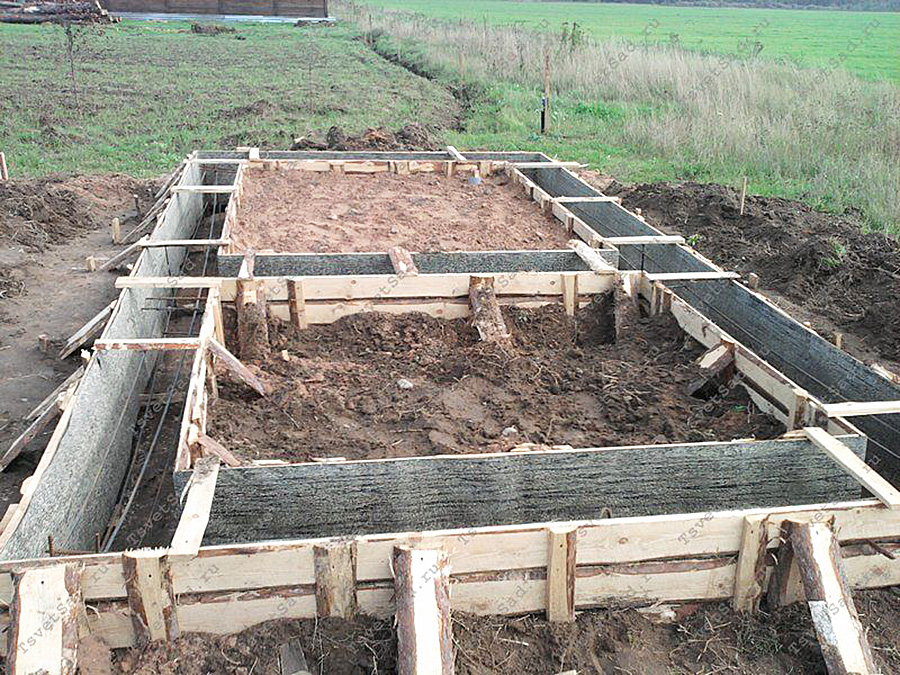
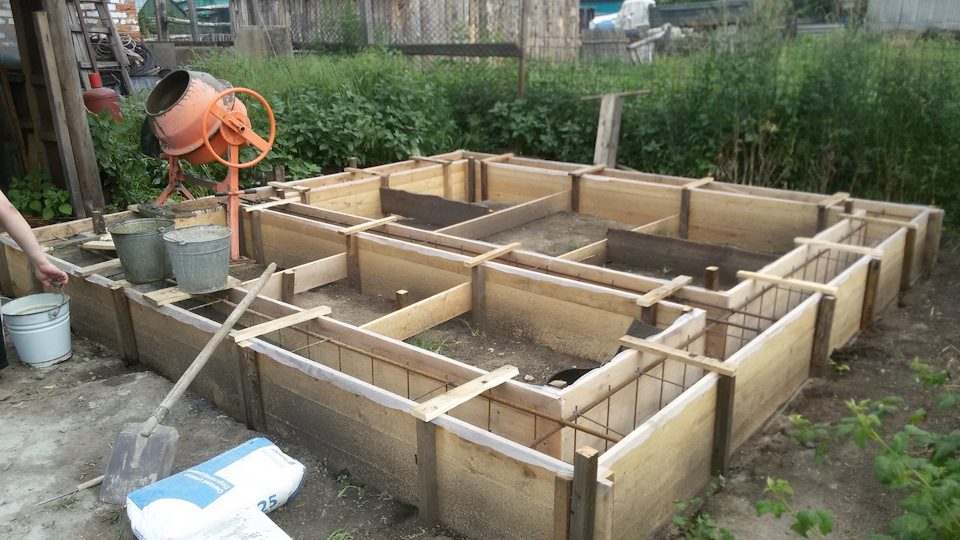
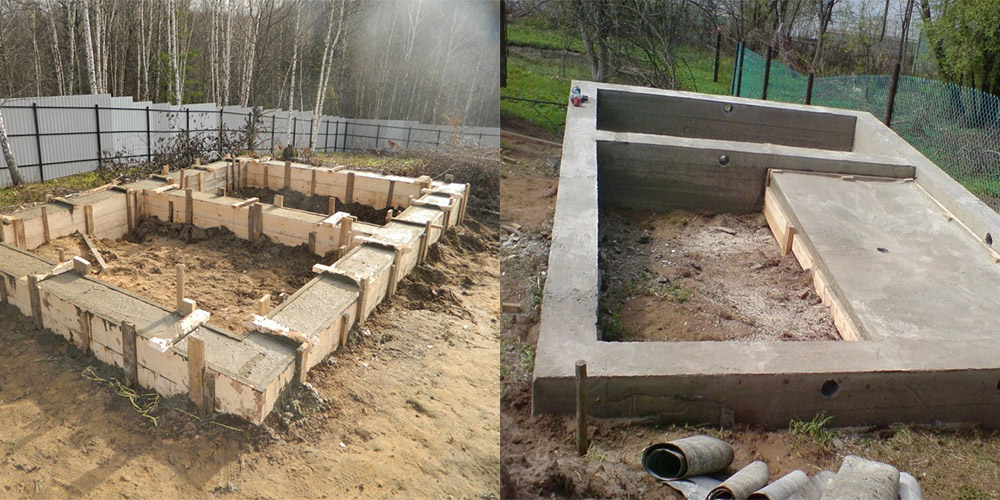
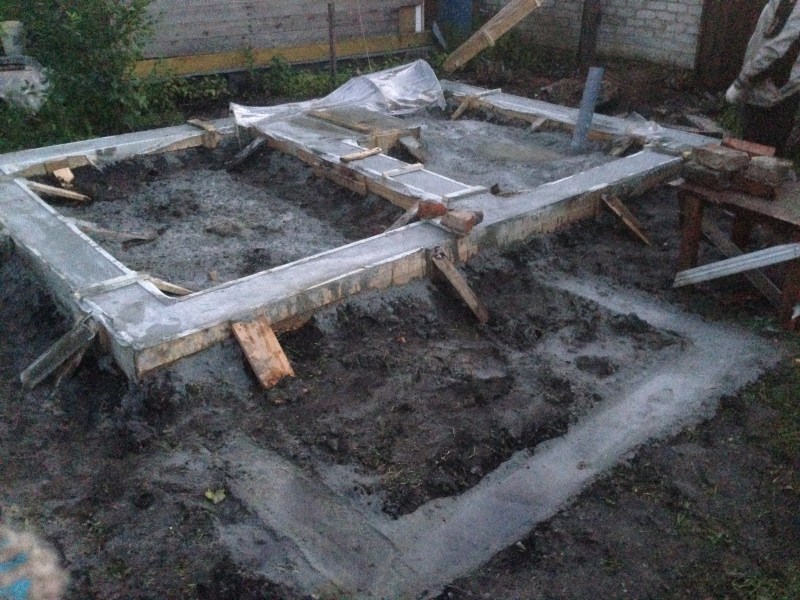
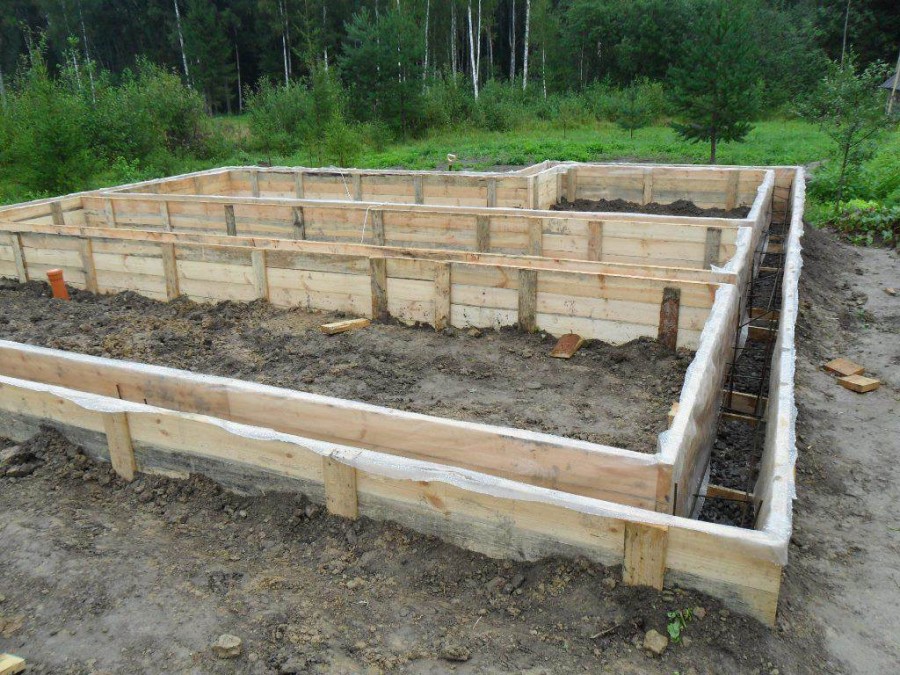
Step 4. Install the formwork. At this stage, you need to take care of the outlet of the sewer pipes. For this, inlet and outlet holes are made in the formwork and a piece of pipe is pulled through them.

Formwork
Step 5. Prepare a cement solution. To do this, first mix the required amount of sand and dry cement, then add gravel to this mixture and mix. Add water.
Step 6. Reinforcement bars are laid out perpendicular to each other inside the formwork. The intersections of the rods are not fixed by welding, but by wire strapping. This will give strength and, at the same time, flexibility to the future foundation. From the edge of the rods to the reinforcement should not be less than 50 mm.
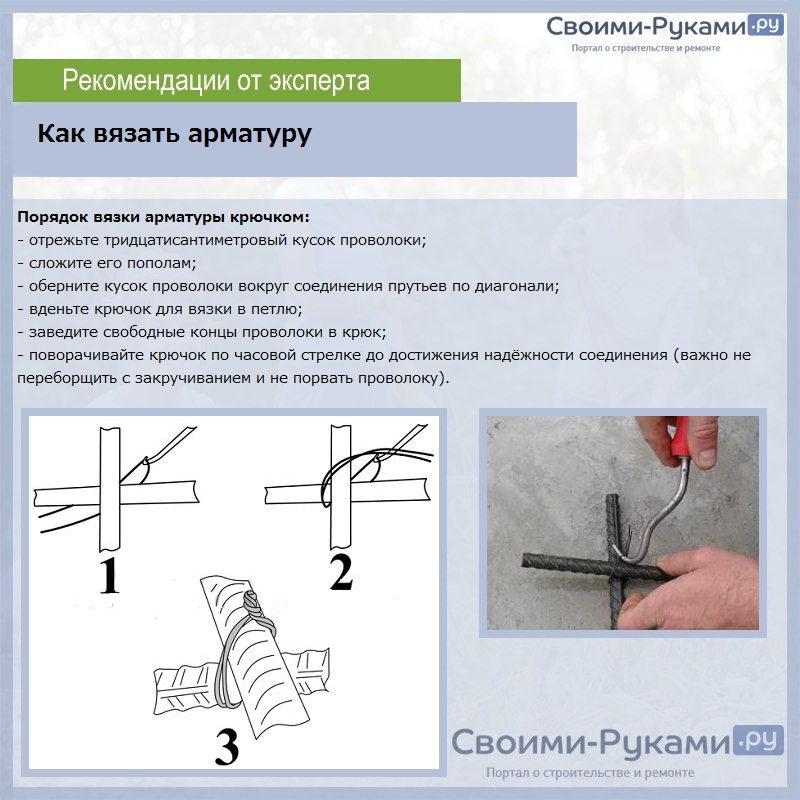
How to knit reinforcement
Step 7. Now you can pour the cement in portions. The height of each layer, which is carefully leveled and tamped, should not exceed 0.15 m.
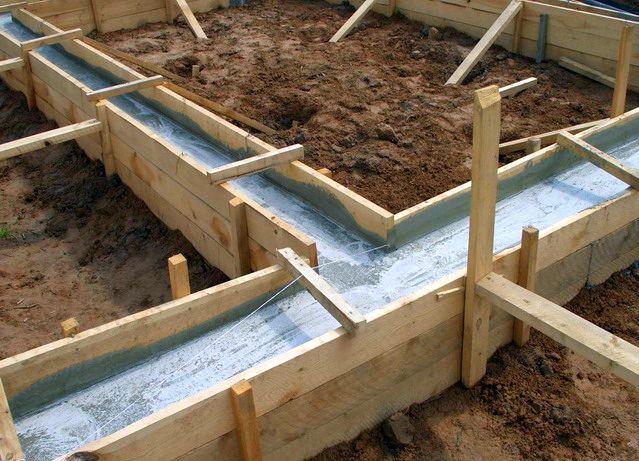
Fill
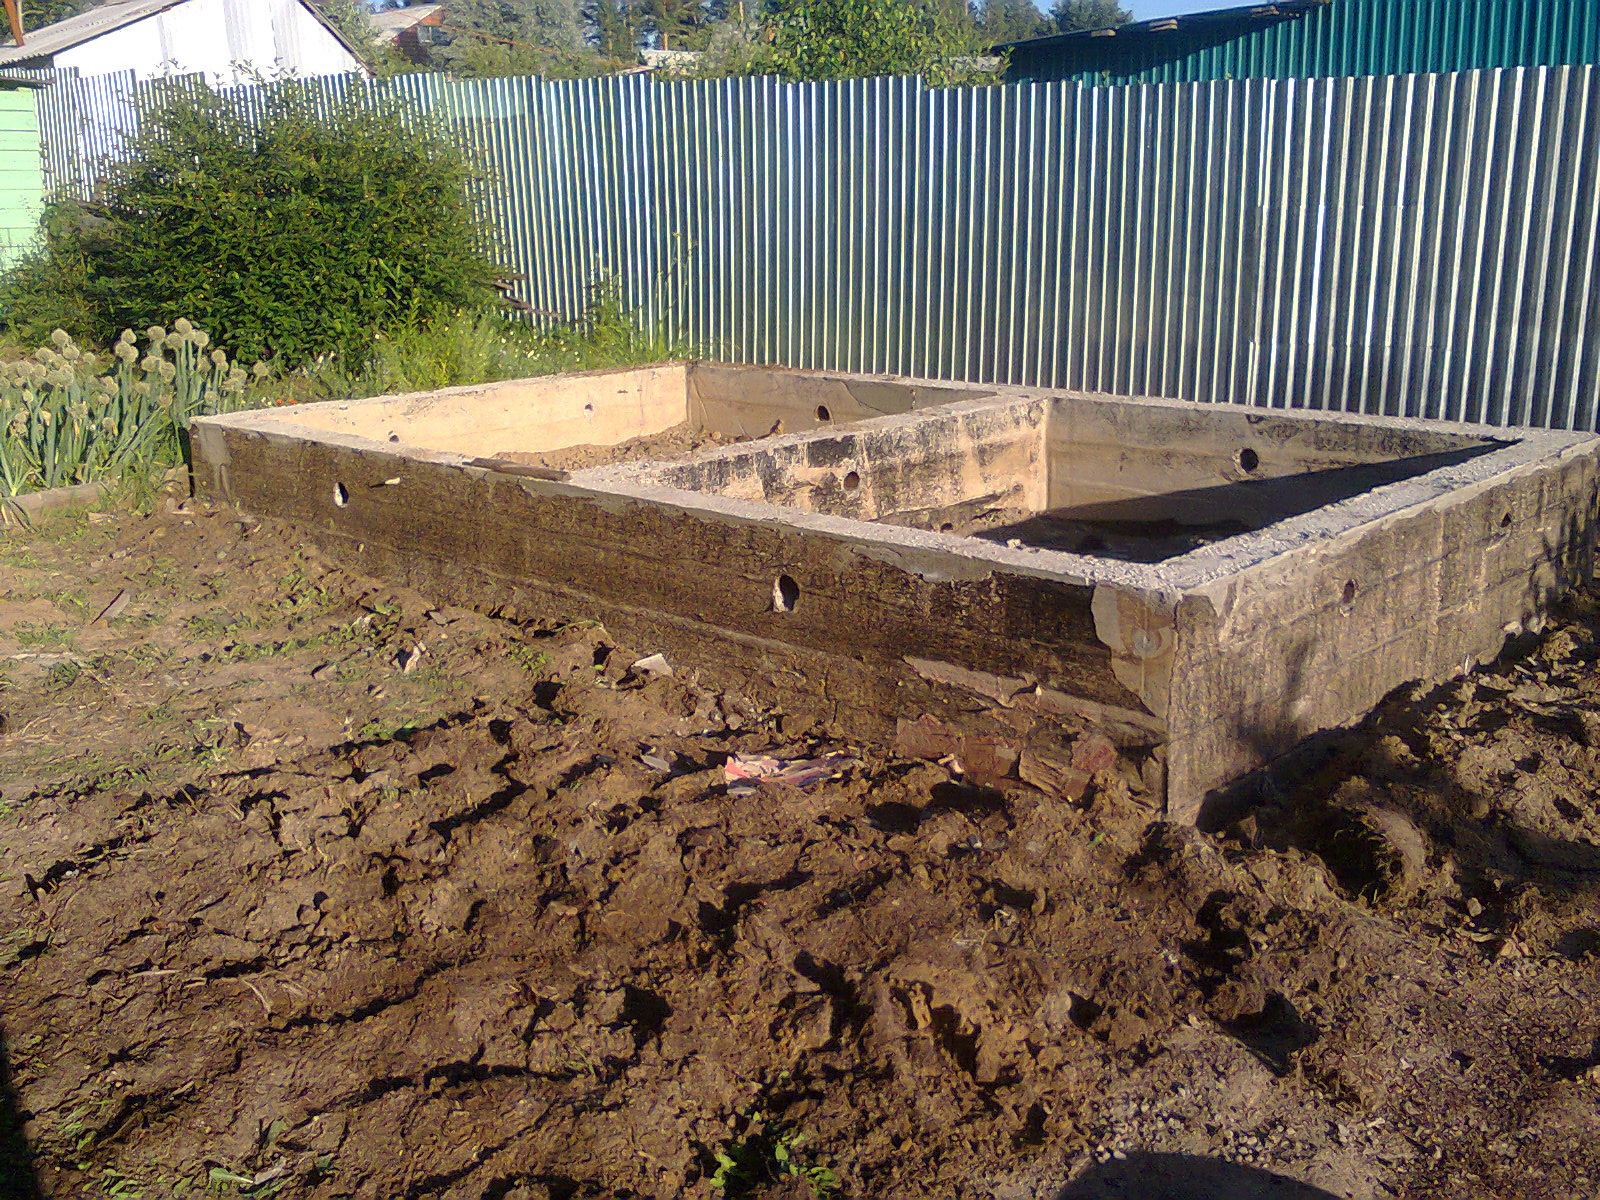
Pouring cement is best done in a dry period. For another week, the foundation will need to be watered every four hours. Keeping the base moist must be carried out for another 2-3 weeks, covering it with polyethylene. The formwork is removed after about a month. But in some cases, it is retained for thermal insulation of the foundation.

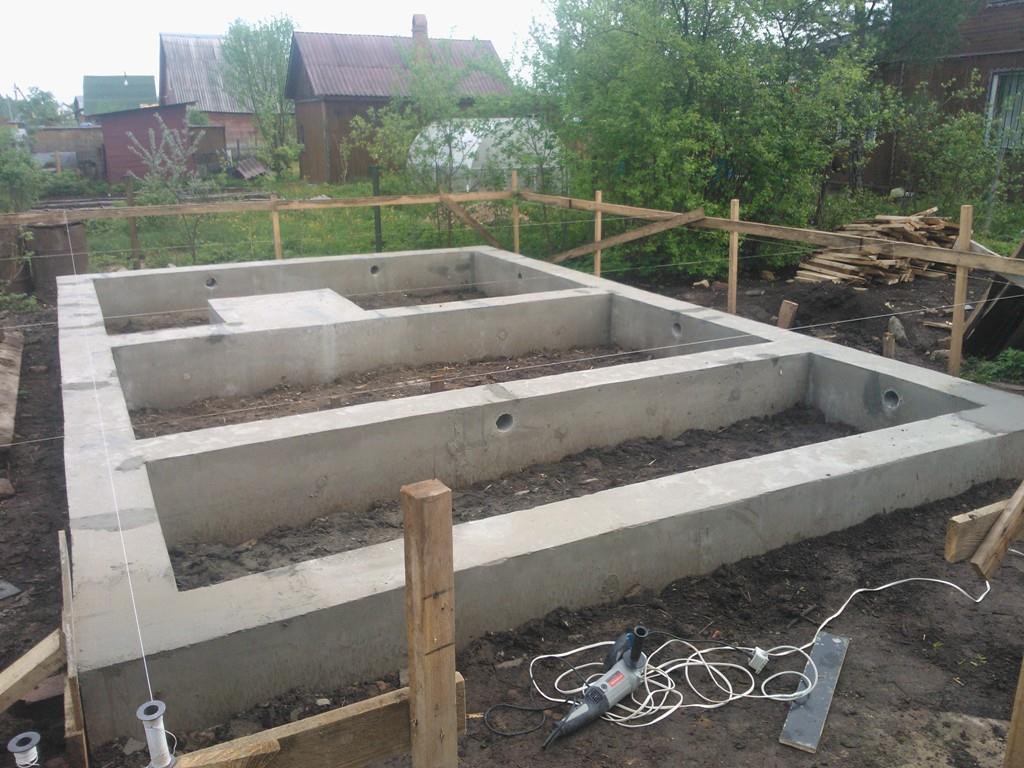
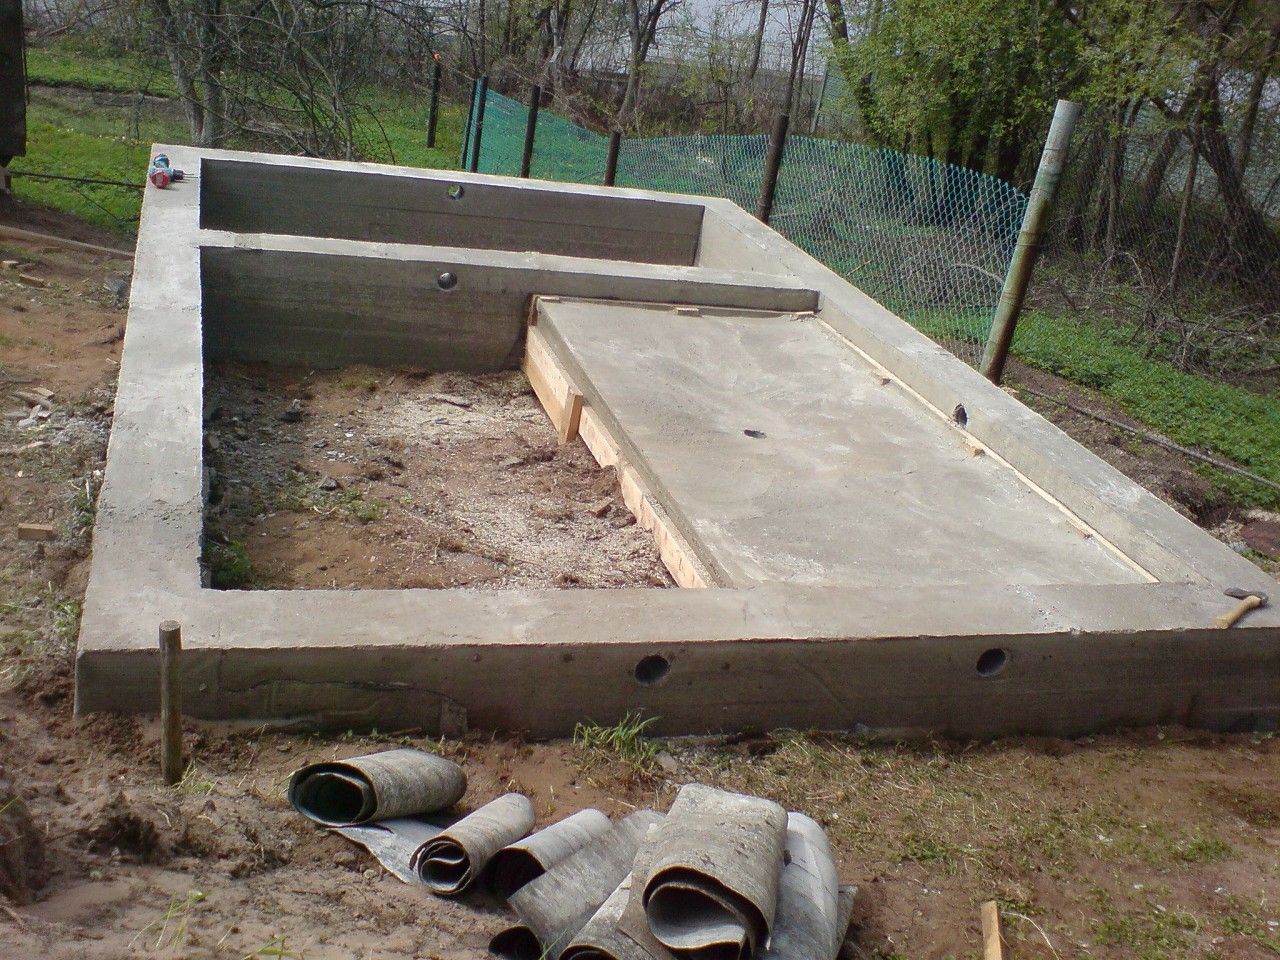
Ready-made foundation for a bath
The base for the bath is ready. For large baths, a columnar-strip foundation is often built in. In this case, a strip base is made under the outer walls, and a columnar base under the inner ones.
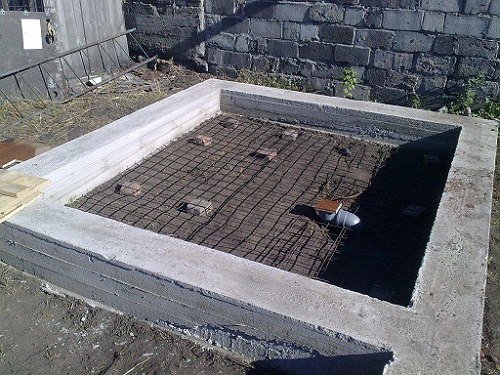
Foundation
Monolithic base for a bath
Considering the question of how to fill the foundation for a bath, it is worth noting that in a monolithic version, foundation bases of two types can be erected: a strip and a monolithic slab. It is these constructions that will be discussed in this article.
Do-it-yourself monolithic slab
- The slab foundation is most often arranged in areas with problem soils.
- There is a high level of groundwater in the development area.
- Significant freezing of the soil.
- The geology of the site is represented by silty sands, clay, peat bogs.
 Bath on a monolithic slab
Soils with a weak bearing capacity, subject to wetting and freezing, expand significantly in winter, pushing underground foundation supports to the surface. In the spring, the soil rapidly thaws, unevenly settling along with the building. As a result of uneven settlement, the building itself and individual structures receive significant damage (surface cracks structures, chips and deep faults).
The best way out in this case is to erect a slab foundation made of monolithic reinforced concrete under the bath. The entire building is located on a slab, which, moving under the influence of frost heaving forces, does not cause destruction and damage to the bath.
Technology for the construction of the slab base of the bath
All work on the construction of a monolithic slab for a bath can be easily done by hand. To begin with, you should carefully prepare the building site:
- Clean it from vegetation, debris, old building materials.
- Fill up all holes in the area where the foundation slab is being built.
- With your own hands, level the hillocks and embankments, and lay out the site. If the area of the site allows, planning work can be performed using specialized equipment.
Earthworks and formwork
Then you can start digging a pit under the slab. The dimensions of the pit are provided for wider than the dimensions of the bath in the plan, so that the built bath fits completely on a monolithic foundation (the slab must have a margin of at least 10 cm on each side).
 Bath pit
On the site, markings of the future support structure are carried out, with the help of pegs and a construction cord, the perimeter of the bath under construction is marked.
Digging a pit can be done with your own hands, especially since very often the slab foundation is deepened to an insignificant depth. It is necessary to dig a pit carefully, keeping an eye on the evenness of the walls and bottom; it is always easy to correct flaws with your own hands and achieve a perfectly flat surface.
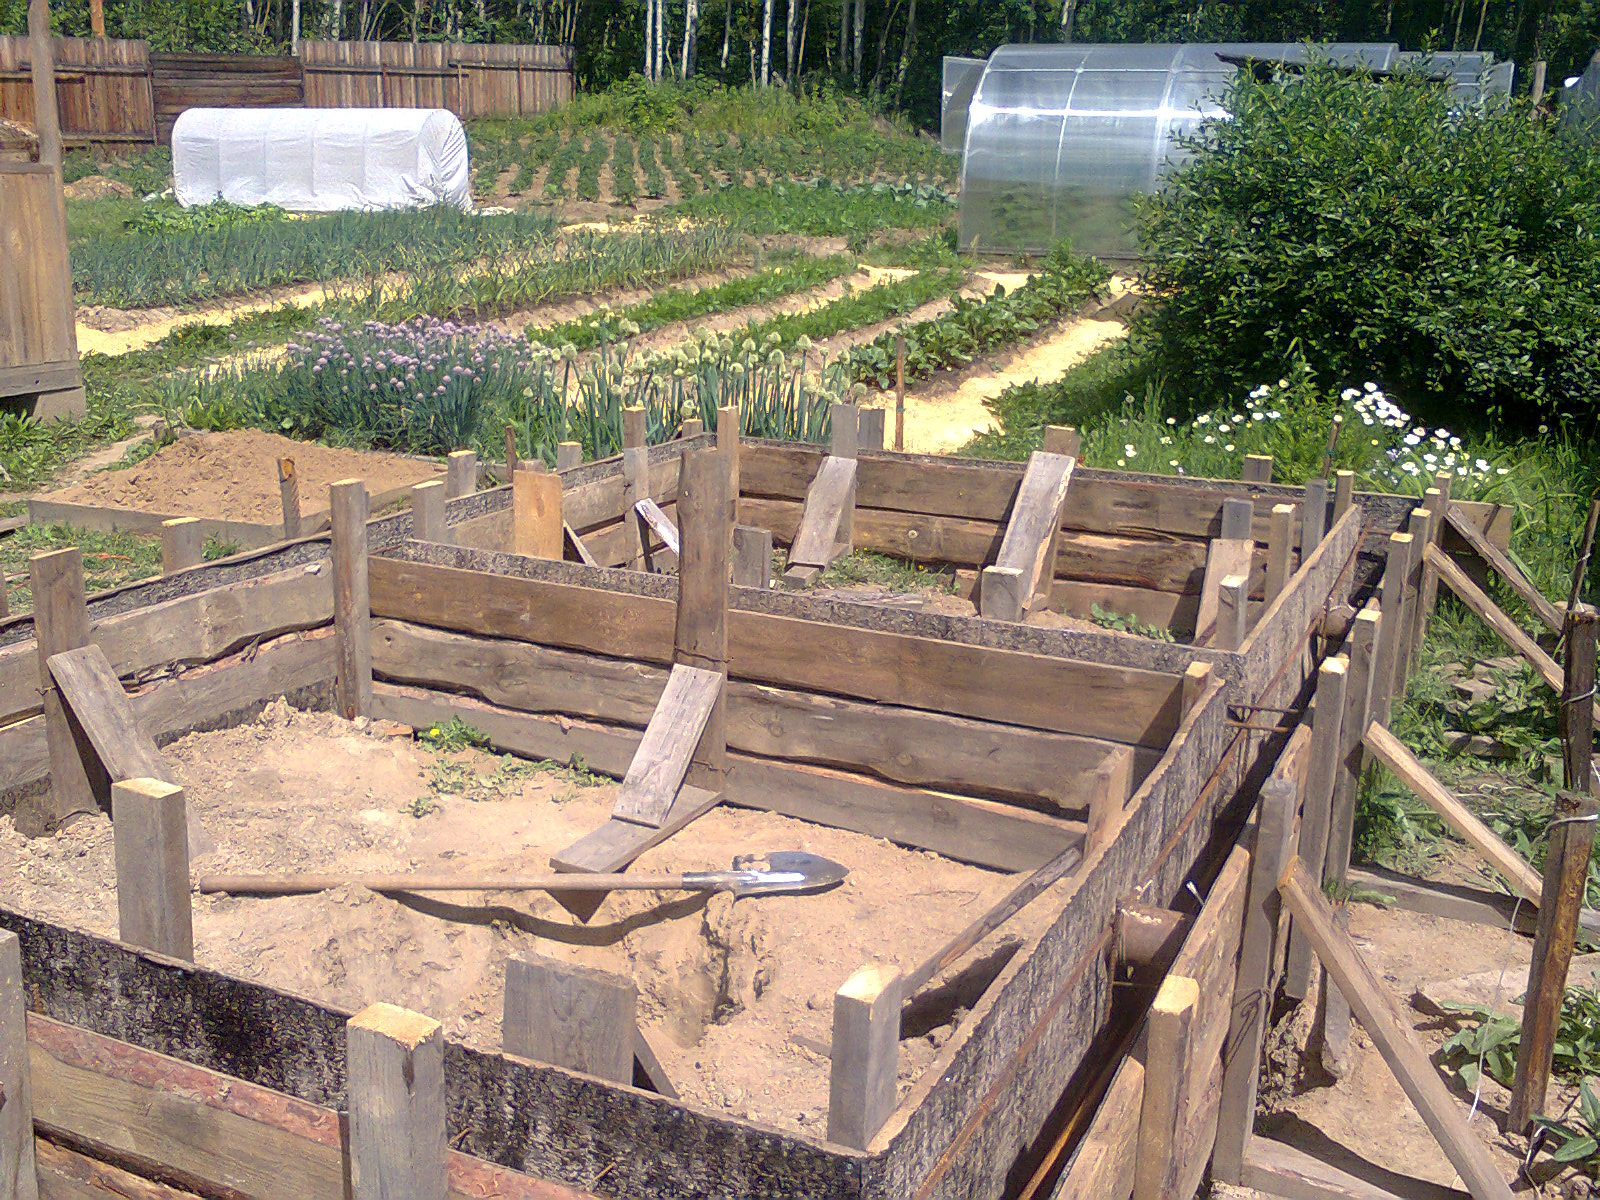
Formwork made of wooden panels or plywood is placed along the perimeter of the pit.
A layer of sand, crushed stone and waterproofing is laid on the rammed bottom of the foundation. The sand and crushed stone pillow should be thoroughly tamped, if necessary, pouring water.
Reinforcement and concrete pouring
A spatial frame to ensure the rigidity of the slab can be made with your own hands from a reinforcing wire with a cross section of 10 cm.The structure is welded using a welding machine - these works can be performed only with the skills of a welder and the machine itself. The second option, more accessible to do it yourself, is the connection of reinforcing bars using a knitting wire. The finished frame should not touch the bottom sole of the base of the foundation slab, the structure is lifted on sections of the metal profile and leveled.
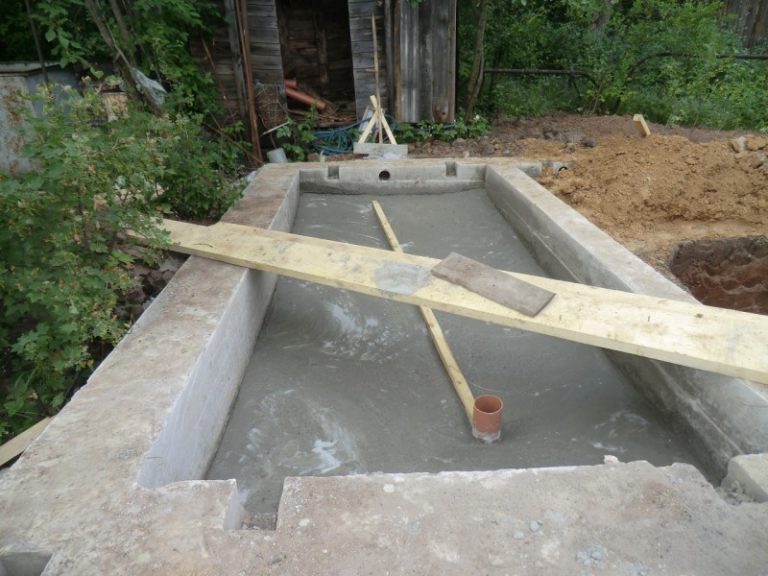
Pouring the formwork with concrete must be carried out simultaneously from two opposite sides. The concrete mix is tamped with a vibrator, the upper surface is carefully leveled. Watch a video on how to pour a monolithic slab.
The strength of the slab base will gain 28 days. Careful care will be required for the concrete surface - it is sprayed with water several times a day, covered with plastic wrap to prevent premature drying.
Practical advice
It is possible to determine what grade of concrete is needed for the basement of a bath without weighing and complex calculations. The method is based on the observance of the condition under which the most durable material is obtained. The cementitious binder must fill all the free space between the solid fractions of the mixture.

To do this, take a measuring container and a bucket with a volume of 10 liters. The sand-gravel mixture is poured into a bucket and poured with water, measuring the volume, in a measuring cup. When the water rises to the surface of the mixture, record the measured volume of water. This will be the volume of cement that needs to be added to the solution.
If it was possible to pour 2 liters of water into a bucket with a filler, then a bucket of sand and gravel mixture and 2-liter measurements of cement are mixed to obtain concrete. The proportion of the cement-mixture will be 1/5. Water is added to the dry mixture in portions until a plastic mass is formed.
How to properly fill the foundation for a bath: what needs to be done before pouring
Before pouring the foundation, it is necessary to carry out a number of works that will provide high-quality preparation and facilitate the pouring process in the future.
Preparatory work
 It is worth starting, first of all, by determining the place for your building.
You need to choose wisely and taking into account the requirements of urban planning norms: taking into account the necessary indents from the boundaries of the site, ditches and other buildings.
If the site has vegetation, then it must be cleaned of all plantings at the proposed site for the construction of the foundation and the adjacent territory.
Foundation markings
On the selected and cleared area with the help of scrap materials:
- pieces of reinforcement, wooden stakes and other means that can play the role of anchor points;
- twine, nylon cord, signal (guard) tape, etc.
Key points are determined, marked with stakes, which are connected with a rope along the perimeter, thus marking for the foundation is carried out. External boundaries are marked corresponding to the estimated size of the bath, or exceeding them. Internal boundaries are marked for tape, columnar and other types of foundations, except for monolithic ones.
Excavation
It is necessary to remove the entire fertile soil layer, or to carry out peat extraction. This stage consists in the excavation of soft layers of soil that may have mobility. Such excavation, as a rule, is carried out before hard soil layers. In addition, this serves as a guarantee for the removal of most organic elements and substances under the bath.
Pillow
After removing the soft soil layers, a significant depression appears in the place of the foundation, which in some cases will be filled with water. Therefore, it is necessary to arrange a pillow under the foundation. Most often, the pillow is poured from sand or gravel, or in layers (first sand, then gravel). It is recommended to spill the sand cushion with water, or treat it with a vibrating plate to increase the density of the cushion being created. The pillow should be level.
REFERENCE. It will not be superfluous to lay a layer of geotextile before filling the pillow, this will provide additional fixation of the soil, and also ensure that the filling will not "go" underground or wash it out with rains.
Formwork installation
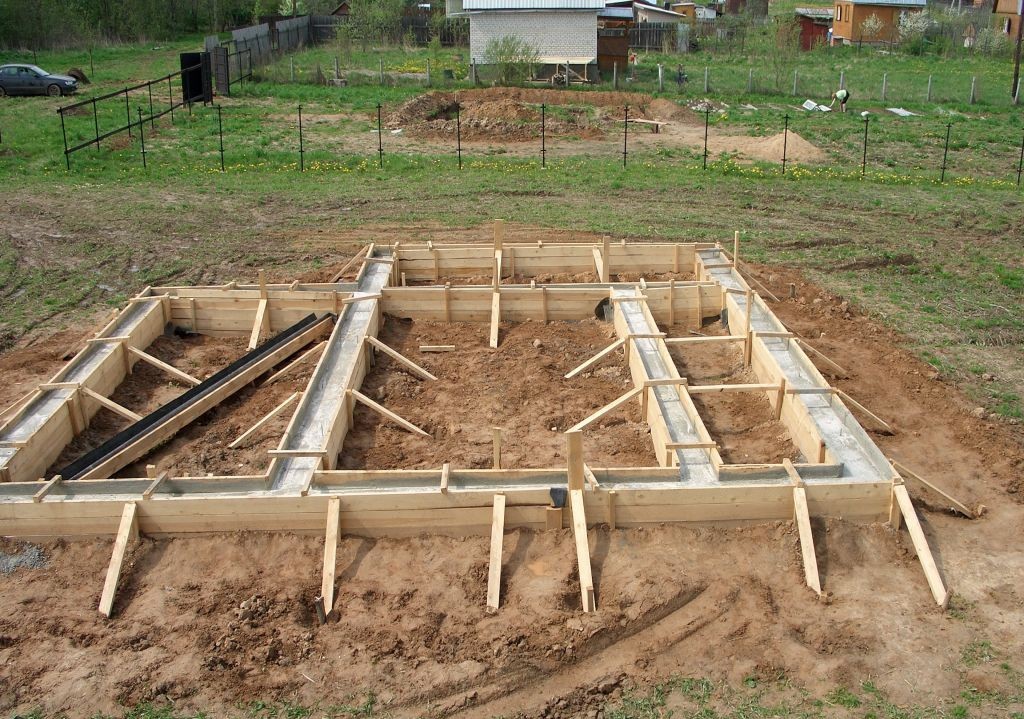
The formwork is a frame (most often made of boards, it is allowed to use slate and plywood) for casting the foundation, to create the outer boundaries of the foundation according to the previously prepared markings. It guarantees the correct shape of the foundation for the bath, and will also prevent the overflow of concrete to the outside of the structure. The height of the formwork must not be lower than the level of the intended concrete pouring.
ADVICE. It is recommended after the installation of the formwork to lay a layer of polyethylene or other dense material on the bottom, or to make the formwork with the bottom.
Reinforcement
The reinforcing frame is made of metal reinforcement by initial installation of vertical uprights into the ground and further laying of horizontal reinforcement (stacked in 2 or more layers, depending on the thickness of the foundation). The rods are subsequently fastened perpendicularly, knitted with a wire.
Welding of reinforcement, as a rule, is not used, since the structure must be sufficiently ductile.
Video
Watch a short video of how the formwork for the pile-grillage foundation is made. At the same time, you can see how the reinforcement cage is correctly connected:
IMPORTANT! It is not allowed to install horizontal bottom reinforcement directly on the pillow, all reinforcing structures must be immersed in concrete from all sides.
Bath foundation device
The choice of the type of base for the bath depends on the characteristics of the soil. The top layer is removed in the soil and visual and tactile analysis is carried out:
- when forest, garden or swamp soil is found, a strip foundation is chosen;
- the presence of coarse clay or sand in the ground determines the choice of the base on the piles;
- the presence of fine-grained sand and rocky rocks in the soil allows the construction of a columnar or tape-type foundation.
The choice of the type of base, in addition to the composition of the soil, is determined by the material from which the walls of the bath will be erected. The log walls of the bath are laid on a columnar foundation, brick or wooden beams - on a strip base.
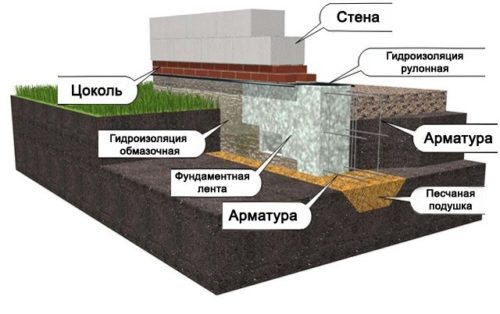
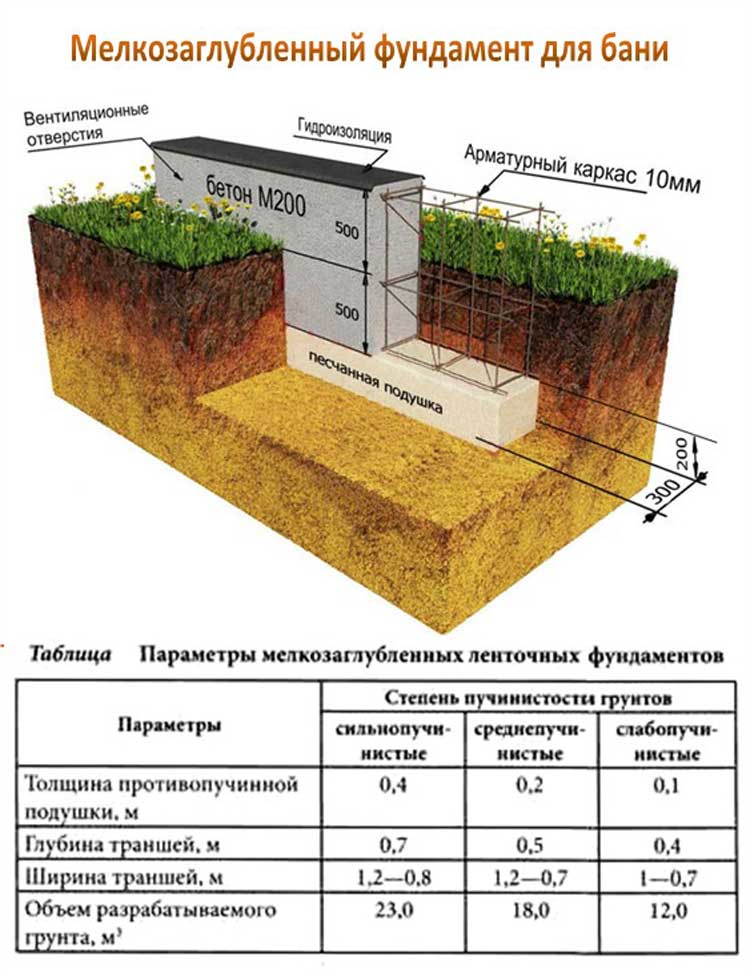
The foundation is laid on a sand and gravel cushion, reinforced with reinforcement, covered with a waterproofing layer
Stages of construction of a strip foundation:
- Clearing, leveling and marking the site. The base is deepened by 50 cm. Sand and crushed stone are poured in layers.
- Formwork is mounted from plywood or boards for pouring with concrete.
- Reinforce the formwork with a brace.
- Reinforcement for concrete from reinforcement is installed inside.
- Fasten the rods with a steel wire strapping.
- Strengthens corners and transitions well.
- Pour the solution, adjusting the height with a shovel.
- The surface of the concrete foundation is leveled with a trowel.
- Sprinkle sawdust or burlap on the base, moisten well, cover with polyethylene and leave to get stronger for 2-3 weeks. Dismantle the formwork.

Stages of construction of a strip foundation for a bath
Attention! The width of the finished foundation for the bath should be 10 cm more than the width of the bath wall. It is imperative to provide a base for the sauna stove.
Determining the type of foundation
Based on the composition of the soil, its resistance to loads, general recommendations look like this.
- On fluid and fluid-plastic soils (sandy loam, loam, clays flow down an inclined surface, do not roll into a bundle, stick) with a plasticity index JL from 0.75 to 1.0 and more: slab base.
- Tightly plastic and hard soils (sandy loam, loam, clay crumble upon impact or are kneaded with difficulty). JL 0 - 0.5: strip, columnar foundation;
- On sandy soils - screw piles.
- On peat soil more than 3 m thick - driven or screw piles.
Where there is no soil and rocky, coarse-grained rocks come to the surface, they themselves can serve as a foundation.
Engineering and geological surveys require financial costs, specifically for the bath they are carried out infrequently. They use the results of studies of their own, neighboring areas. If there is a gas pipeline, the operators have a survey report.
Before choosing, a preliminary calculation is carried out. The main values that are used: the depth of the foundation for the bath and the load.
Depth of laying
Seasonal freezing of the soil is the main indicator that must be taken into account. Its dependence on the level of groundwater and snow cover is standardized by SNIP 23-01-99 (Construction climatology). Then the load, the depth of the foundation of the adjoining structure, the occurrence of engineering communications are considered.
| Depth of seasonal soil freezing, in cm | |
| Omsk, Novosibirsk | 220 |
| Tobolsk, Petropavlovsk | 210 |
| Kurgan, Kussentai | 200 |
| Sverdlovsk, Chelyabinsk, Perm | 190 |
| Syktyvkar, Ufa, Aktyubinsk, Orenburg | 180 |
| Kirov, Izhevsk, Kazan, Ulyanovsk | 170 |
| Samara, Uralsk | 160 |
| Vologda, Kostroma, Penza, Saratov | 150 |
| Tver, Moscow | 140 |
| Petersburg, Voronezh, Volgograd, Guryev | 120 |
| Pskov, Smolensk, Kursk | 110 |
| Tallinn, Kharkiv, Astrakhan | 100 |
| Minsk, Kiev, Rostov on Don | 90 |
| Frunza, Almaty | 80 |
| Kaliningrad, Simferopol, Sevastopol | 70 |
The map and tables of freezing in the cities of Russia will also help determine the desired indicator, and depending on the type of soil. Where frosty swelling of the soil and its sediment during thawing are possible, for the design of the foundation it is necessary to be guided by Chapter 14 of SNIP 2.02.01-83. The bathhouse is a building with irregular heating. This must also be taken into account when calculating: a shallow type with an insulated base and a blind area will not save when heaving.

Loads
The prefabricated load consists of the weight of the base, the structure and its contents.
- The weight of a monolithic strip foundation is equal to the volume of reinforced concrete multiplied by its density: 2500 kg / m3.
- Weight of walls, partitions, plinths, stoves, floors, roofs, gables. It is defined similarly.
- Temporary loads: people, water, snow on the roof. In areas with strong winds, this indicator should be added.
The resulting value is divided by the area of the base of the foundation. This is R - the calculated resistance is 1.55 (conventionally) kgf / cm2, 15.5 tf / m2, 155 kN / m2, 155 kPa. It is multiplied by the reliability factor - 1.3.
The design resistance of a particular soil is determined using tables in SP 22.13330.2011. So, for loam it is 1.8 - 2.8 kgf / cm2. Sand of different fractions - 3 - 5 kgf / cm2. If the calculated indicator is lower than the calculated standard, the decision is correct. Above - the subsidence of the base, and with it the structure, is inevitable.
Technology for the construction of a strip foundation for a bath
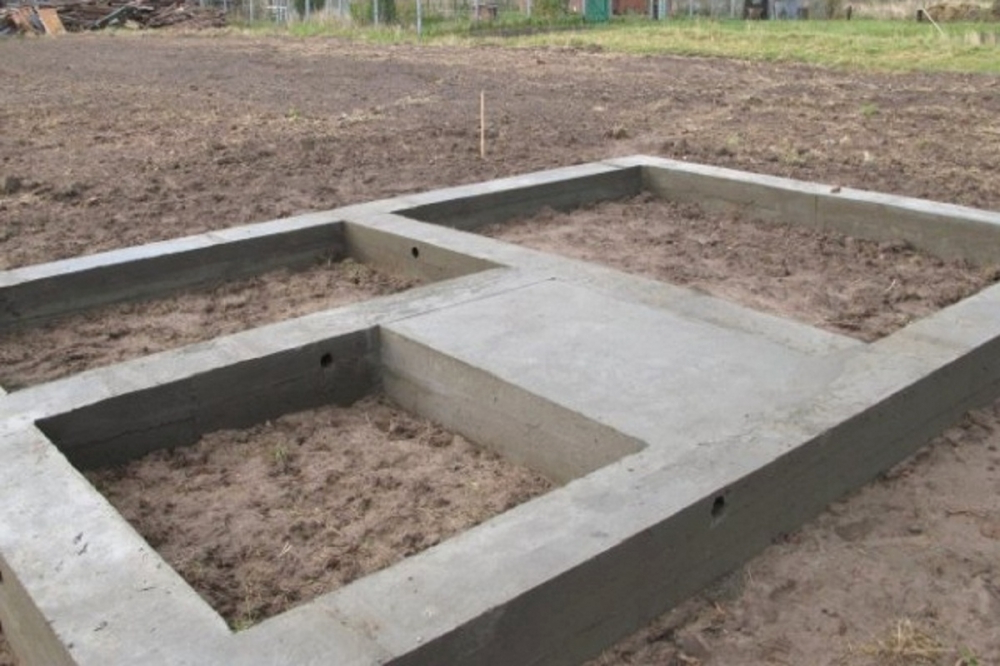
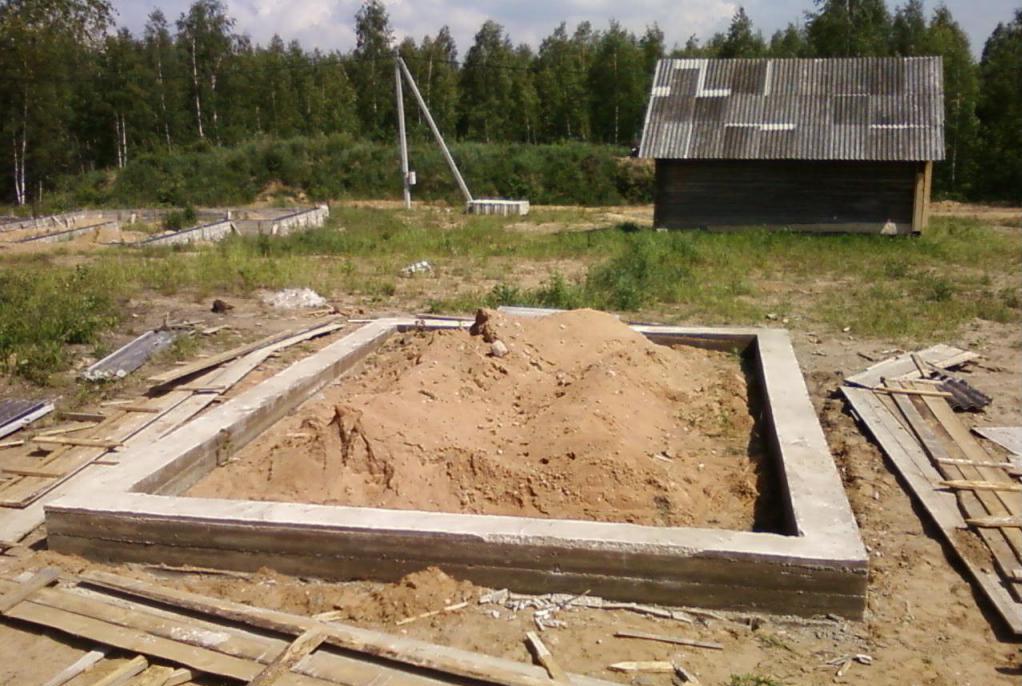
On strong soils with good bearing capacity, it is easy to build a strip foundation for a bath with your own hands. This construction of the foundation foundation for light buildings has become widespread. Almost all work on the construction of a concrete tape is easily done by hand.
The strip foundation usually runs along the perimeter of the building, has several lintels. For the installation of the base for the bath, you will have to perform the same preparatory work as for the installation of a monolithic slab. With the help of pegs, the foundation is marked on the site, a cord is pulled along the sticks.
A trench should be dug under the strip foundation of the bath, the depth of which is provided depending on the depth of freezing of the soil (from 40 to 70 cm). The bottom of the trenches should be cleaned with your own hands so that the strip foundation has a flat support surface, which is important for even distribution of the load. Formwork panels are exposed using the same technology as formwork for slab foundations.
Shields from the boards are knocked down with their own hands, making sure that there are no significant gaps between the individual boards. Watch the video on how to assemble the formwork for the strip foundation
Formwork panels are exposed using the same technology as formwork for slab foundations. Shields from the boards are knocked down with their own hands, making sure that there are no significant gaps between the individual boards. Watch the video on how to assemble the formwork for the strip foundation.
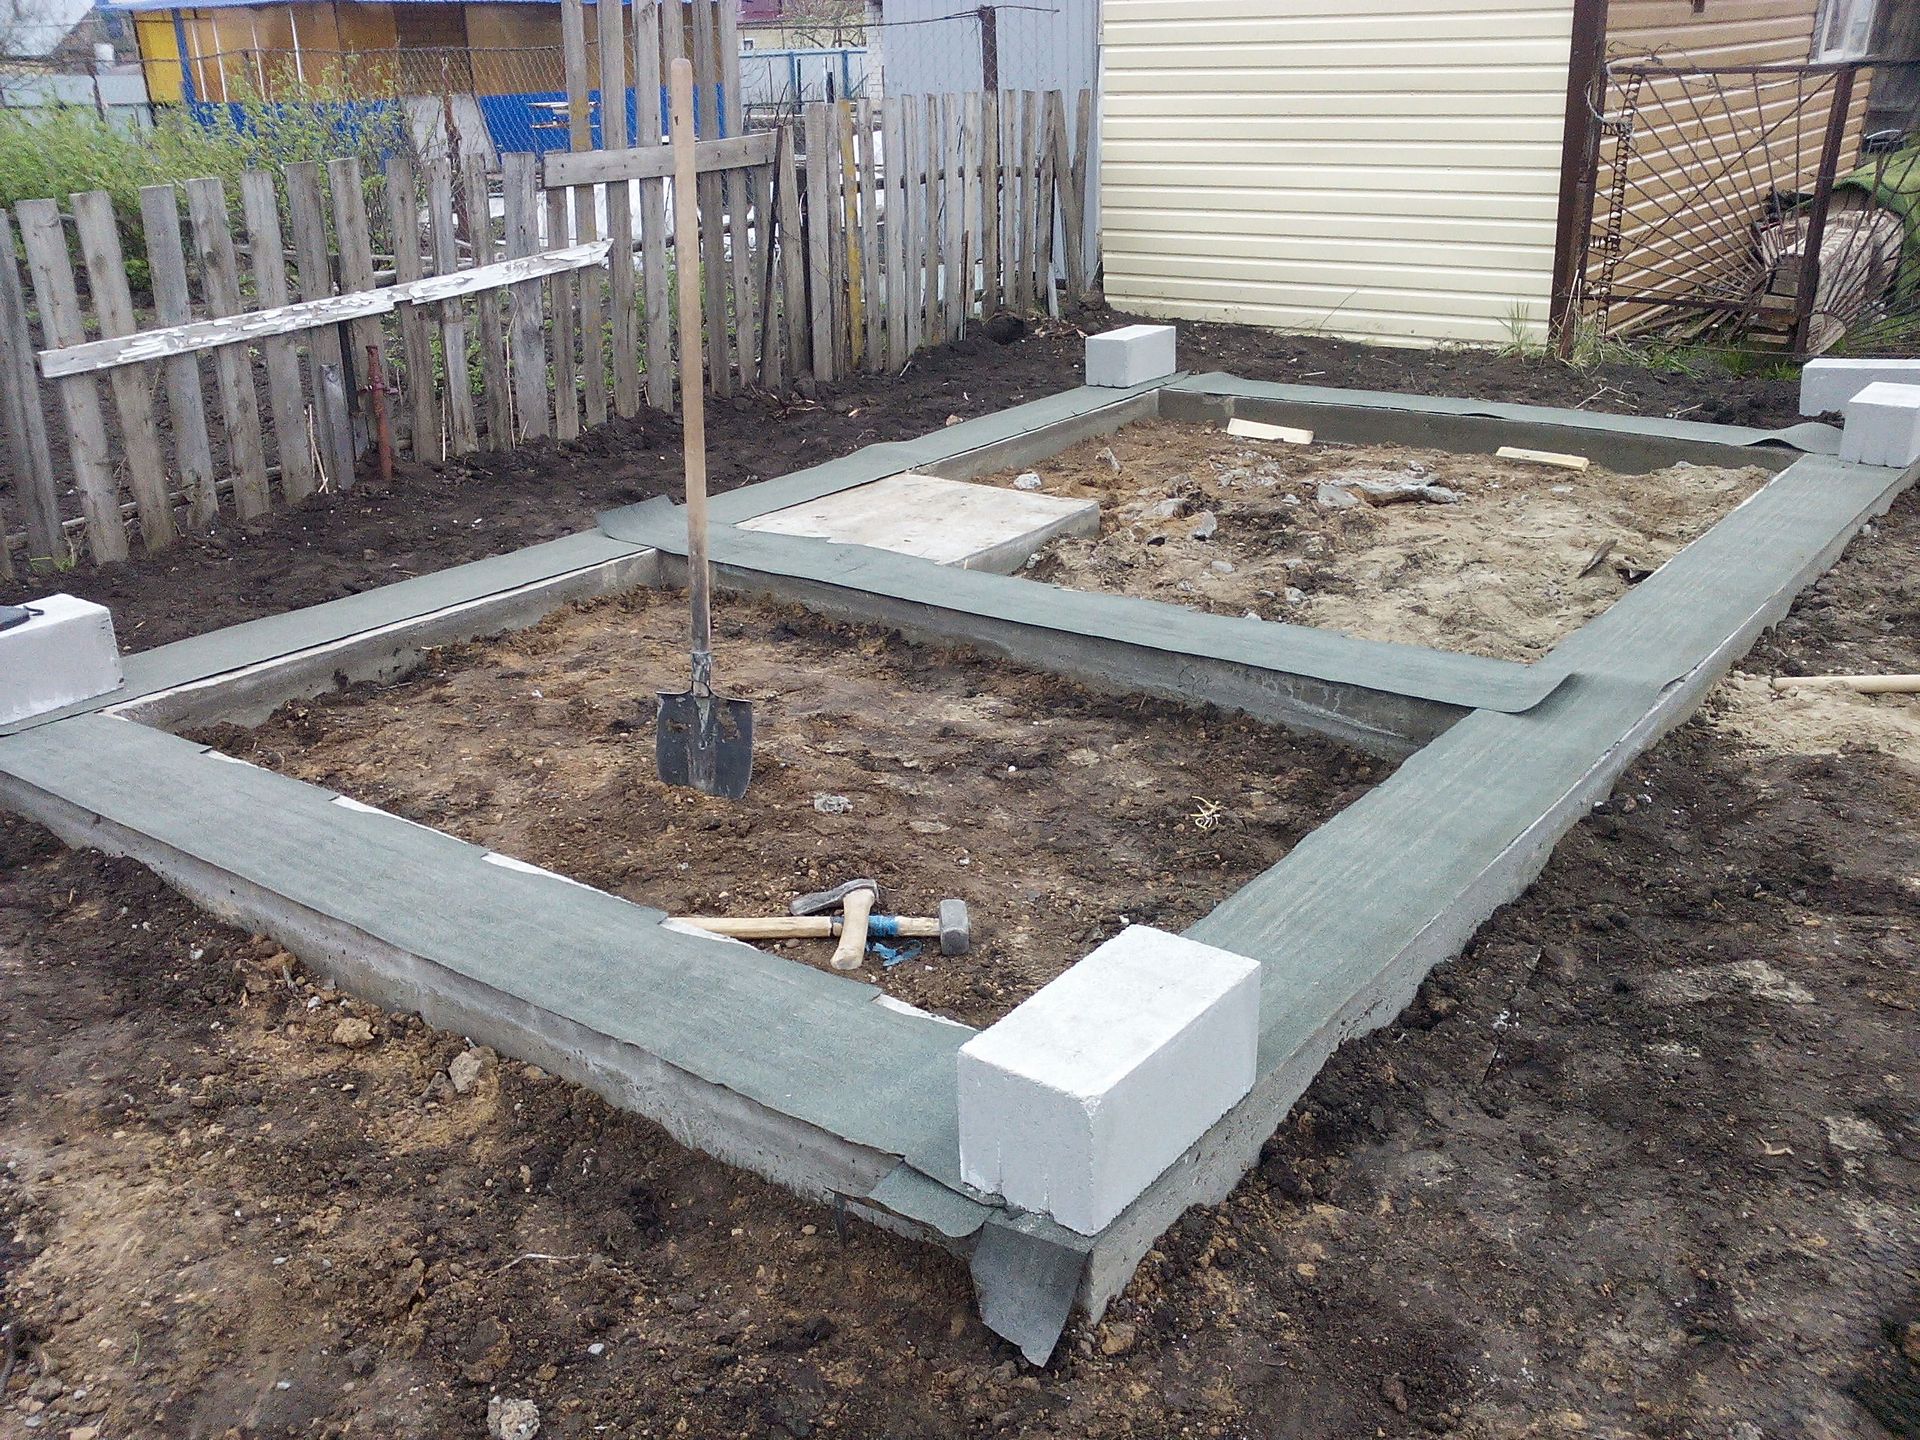
 Hydroizol for foundation insulation
To protect the foundation from moisture, it is required to provide waterproofing made of roofing material, waterproofing or other materials.
After that, the frame is welded, which should be placed in the formwork in such a way that the metal does not come to the surface anywhere, and the concrete mixture is poured. The strip foundation for the bath has several corners, where the welded corners of the frame fall - in these places the concrete mixture should be tamped with a deep vibrator especially carefully so that a shell and voids do not remain in the support body. Areas not filled with concrete weaken the bearing capacity of the foundation; in this case, the strip foundation will unevenly transfer loads to the ground.
The foundation support for the building is ready after a full set of strength - you can start installing the walls.

