Slab foundation construction
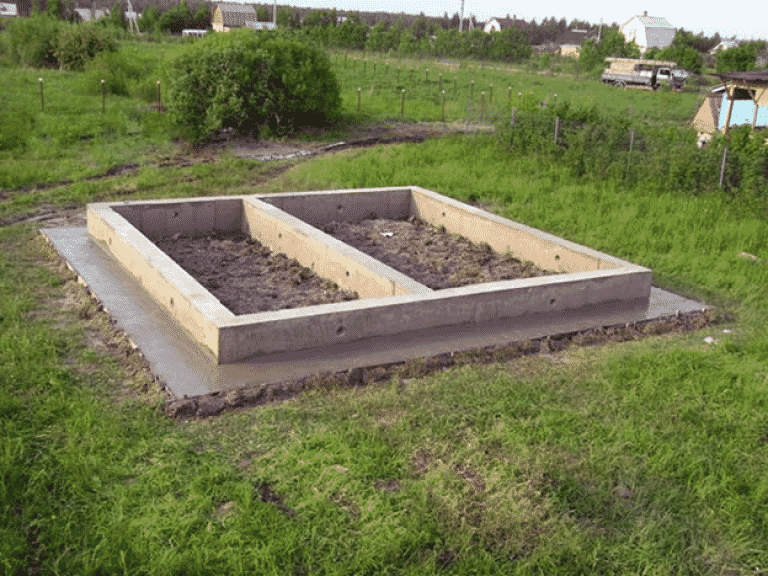
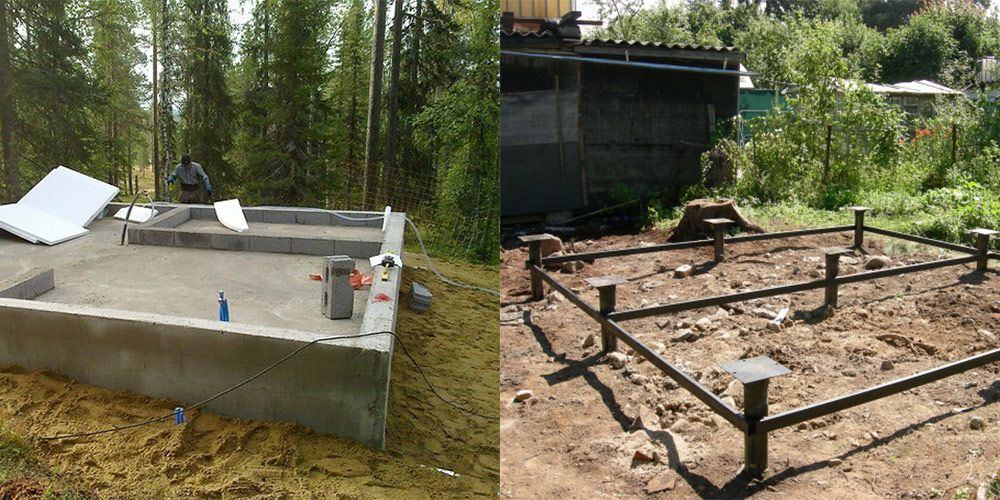
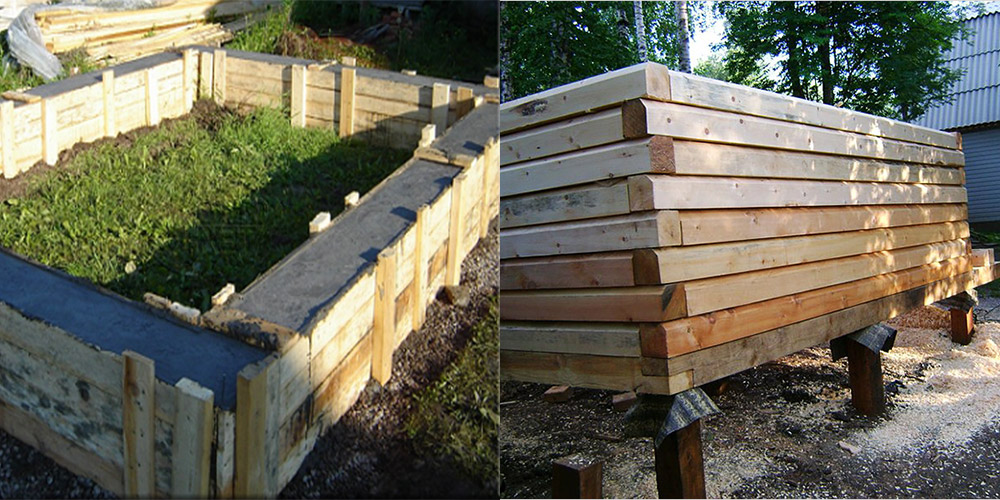
All work on the construction of a floating foundation begins with marking. All dimensions of the future structure are accurately marked. Then a pit is pulled out 1-2 meters larger than the future building in each direction. These "extra meters" are needed for the convenience of further work. The depth of the pit can be different. It all depends on the specific conditions: the type of soil, the size and weight of the structure, the level of occurrence of groundwater, and so on. But practice shows that the depth of 50-100 cm is often used by private developers.
The next stage in construction is the filling of the drainage and expansion cushion. They do it in order to eliminate or smooth out the deformation of the soil under the foundation. It is also a kind of groundwater drainage element. First, a layer of gravel is filled and leveled. After that, a layer of sand is brought in and also leveled. On clay mobile soils, this layer can reach 30-40 cm, and on lighter soils, 15-20 cm is enough. It will be a big plus if this sand is well shed with water and tamped.
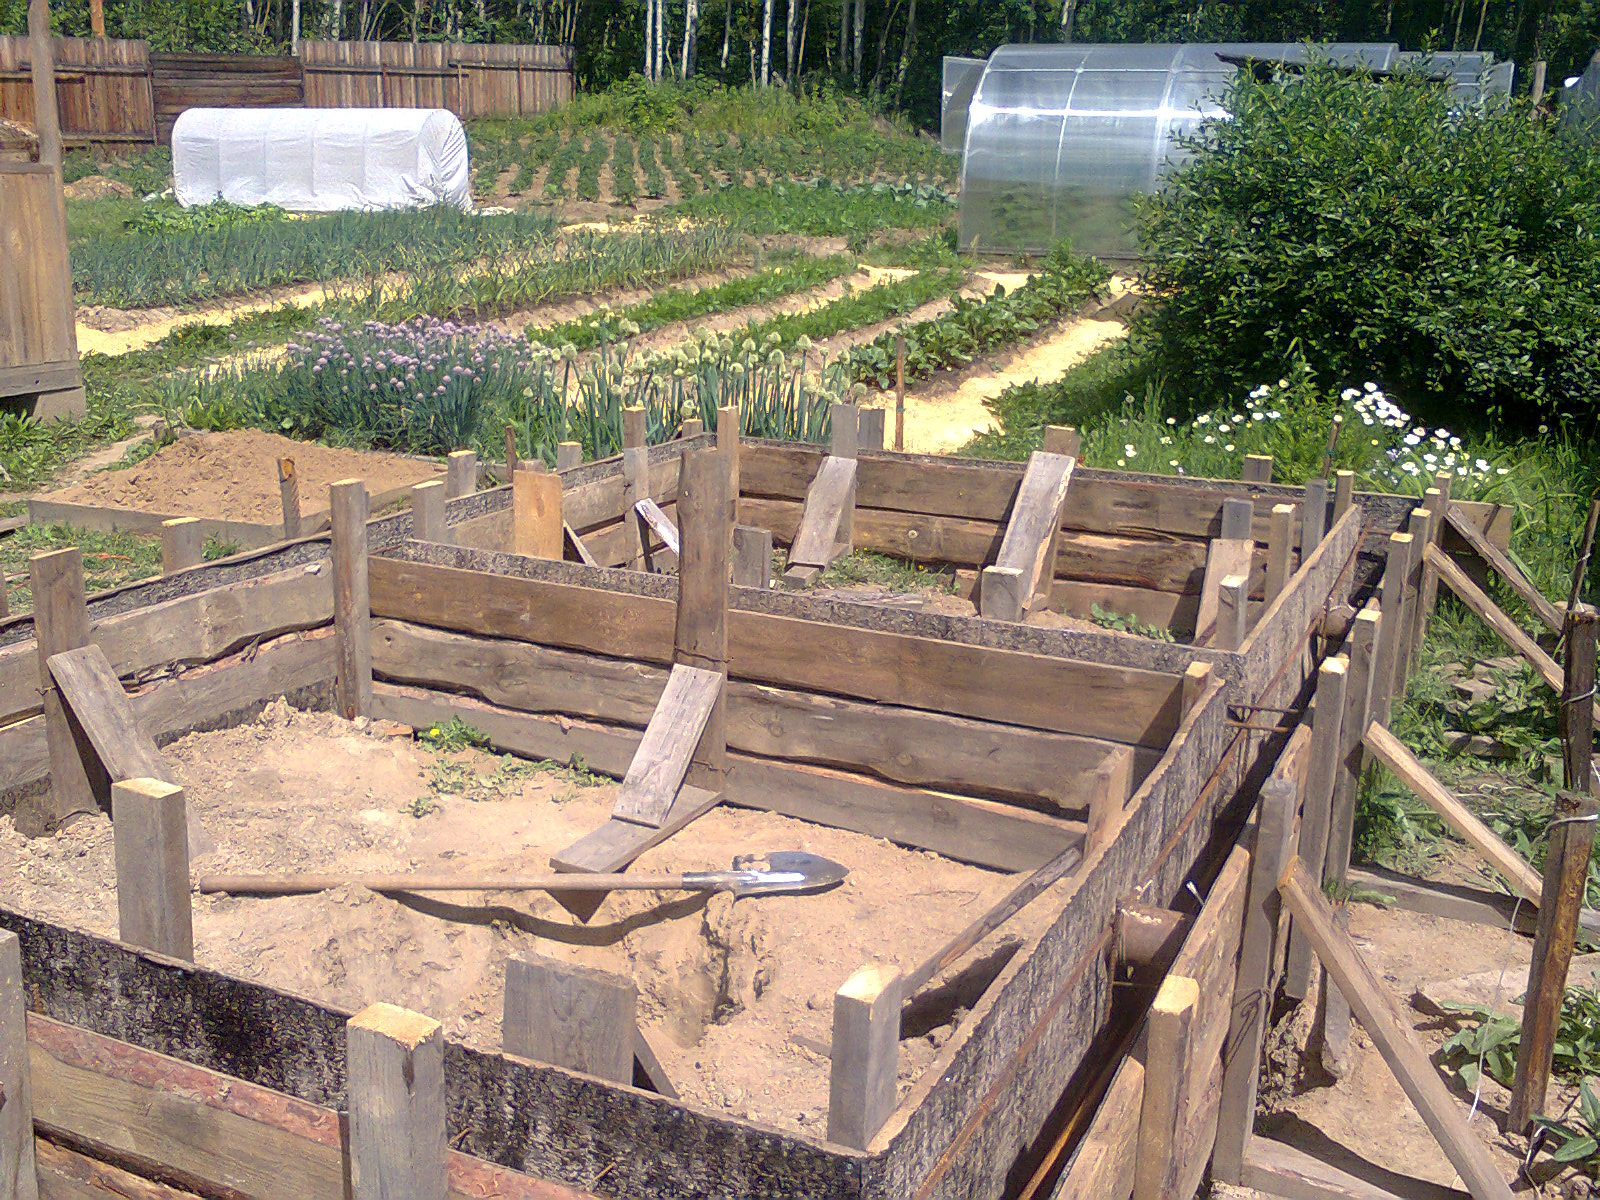
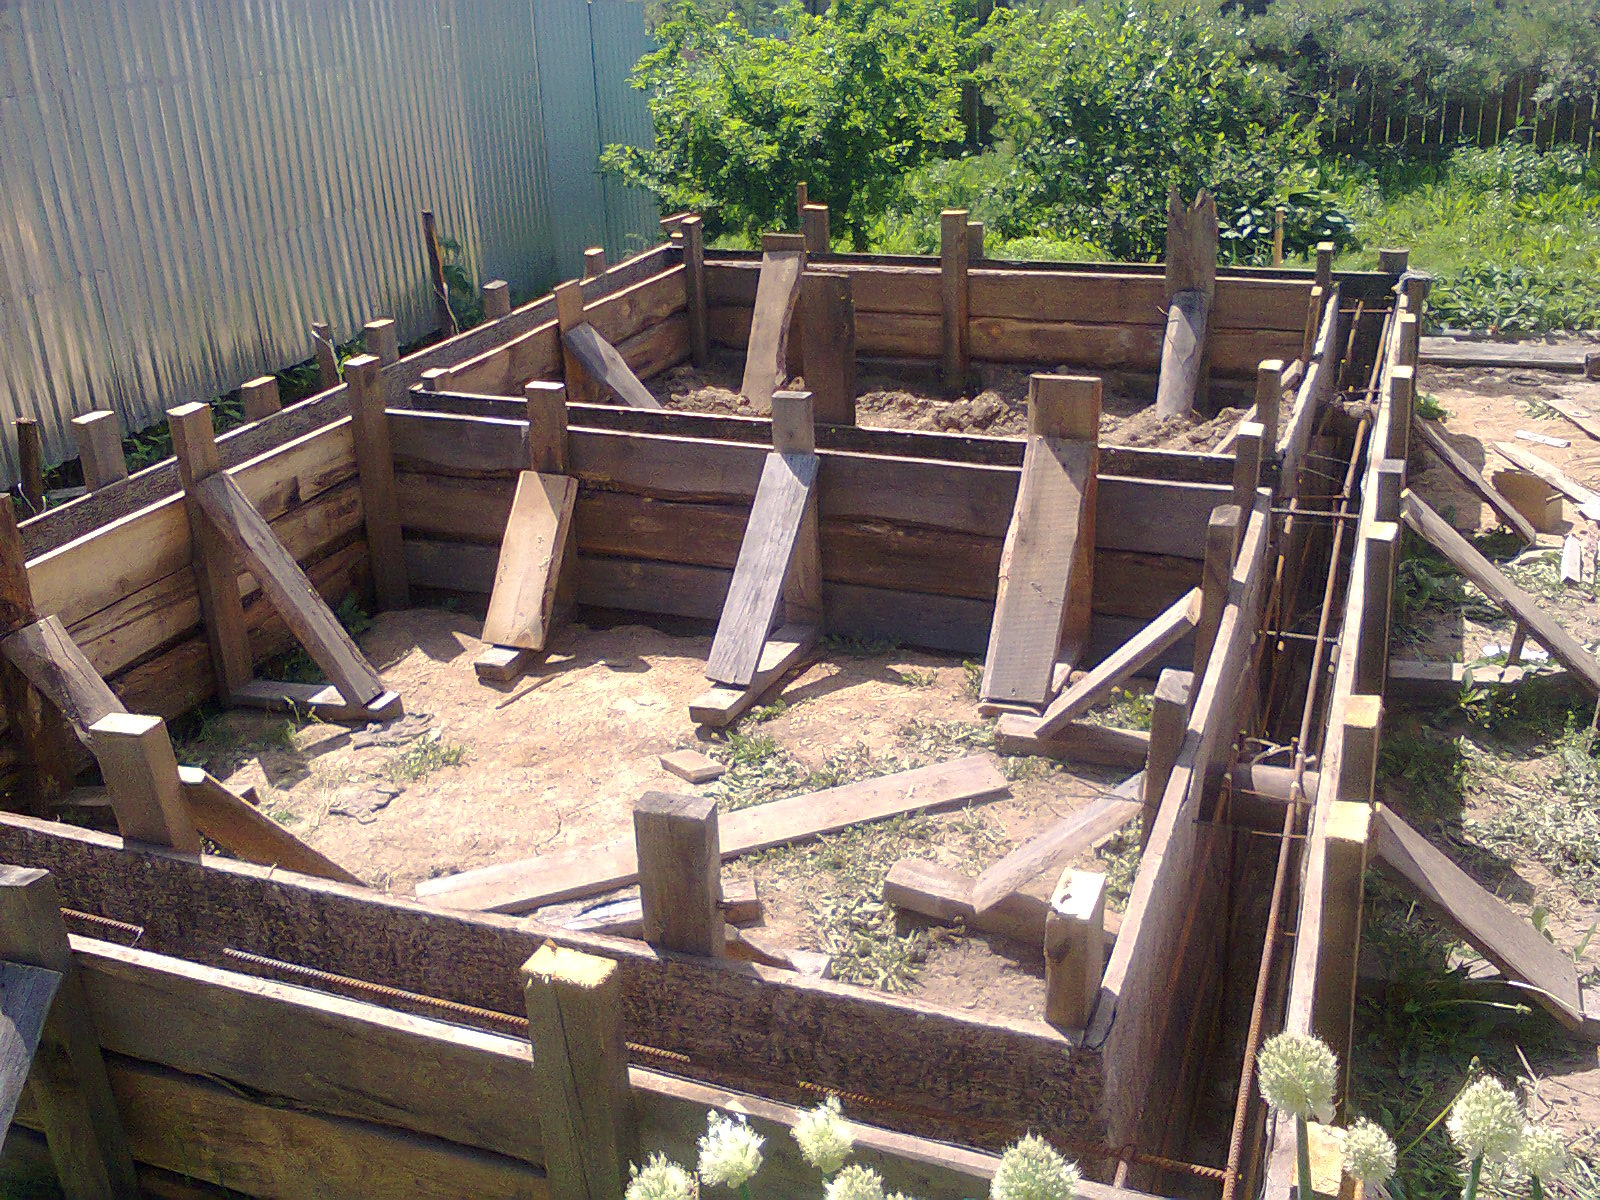
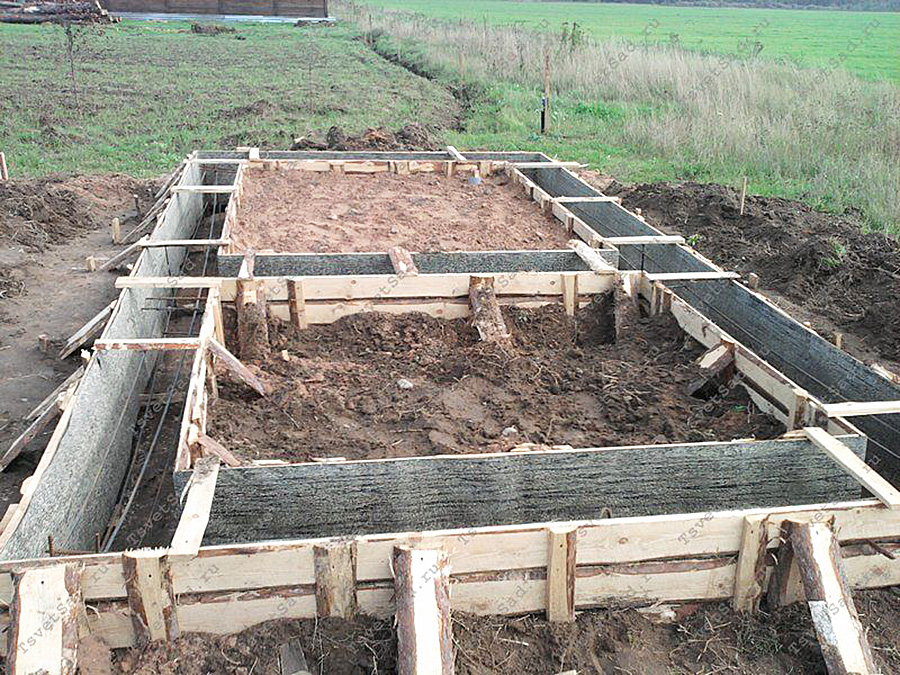
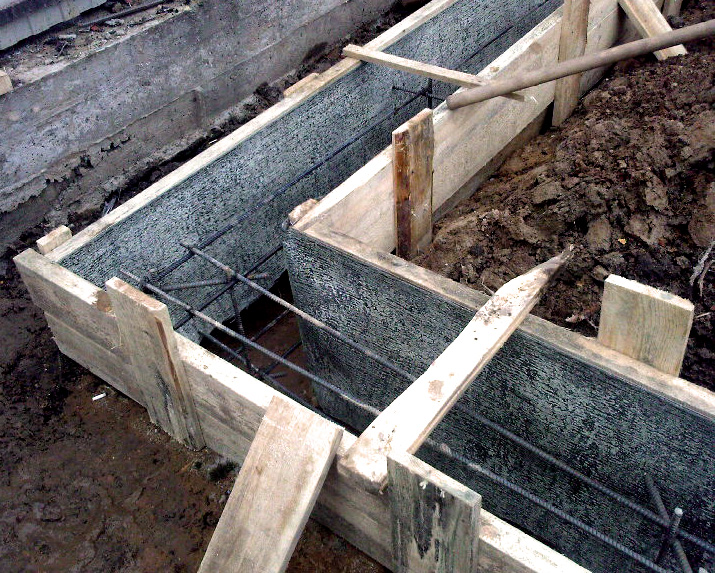
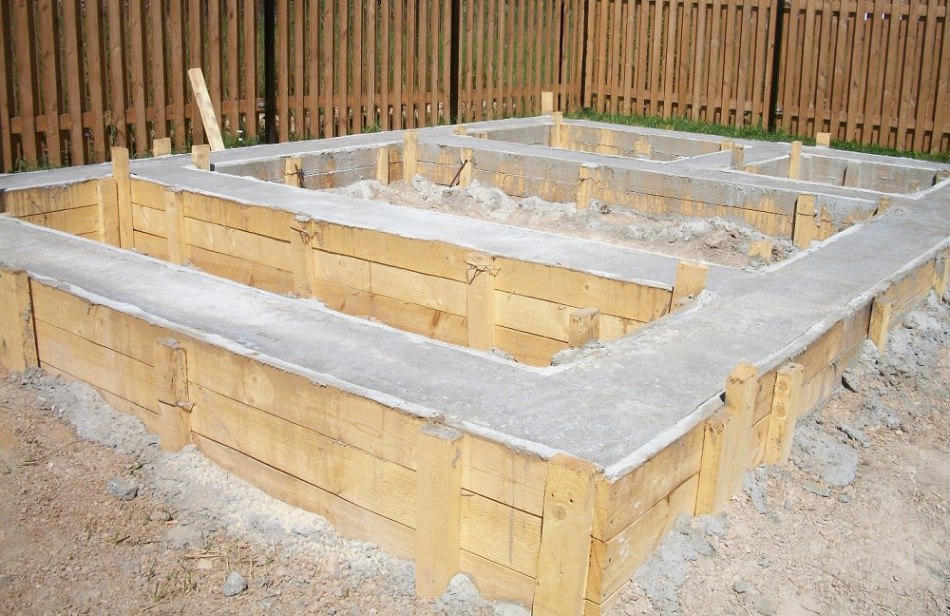
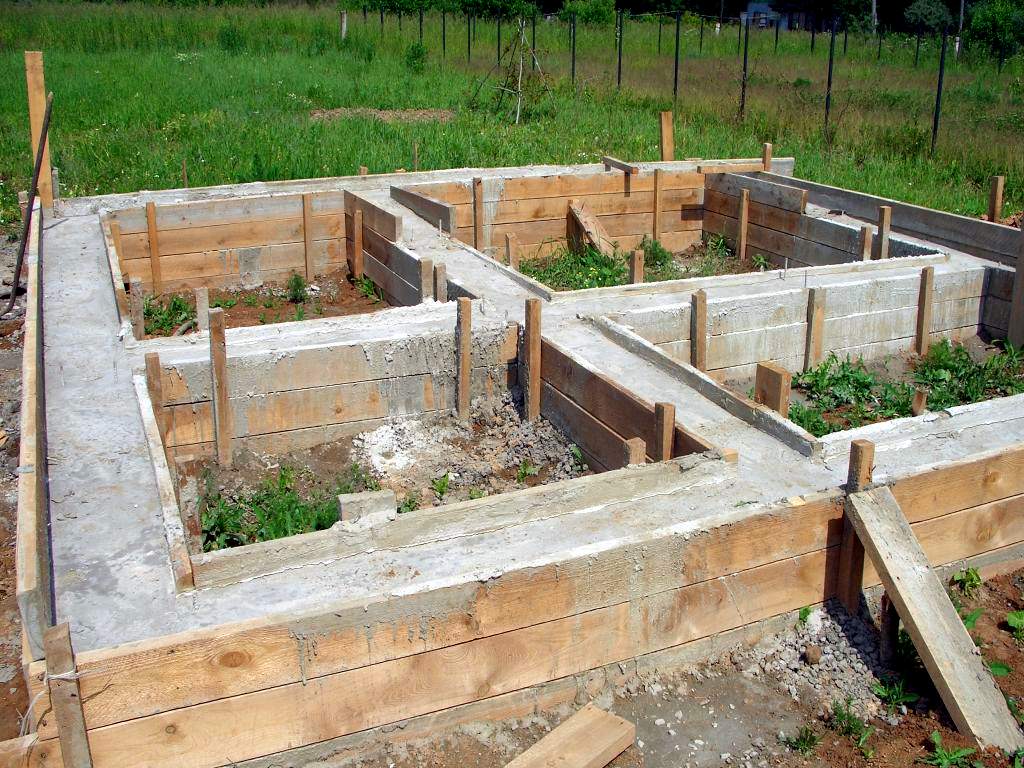
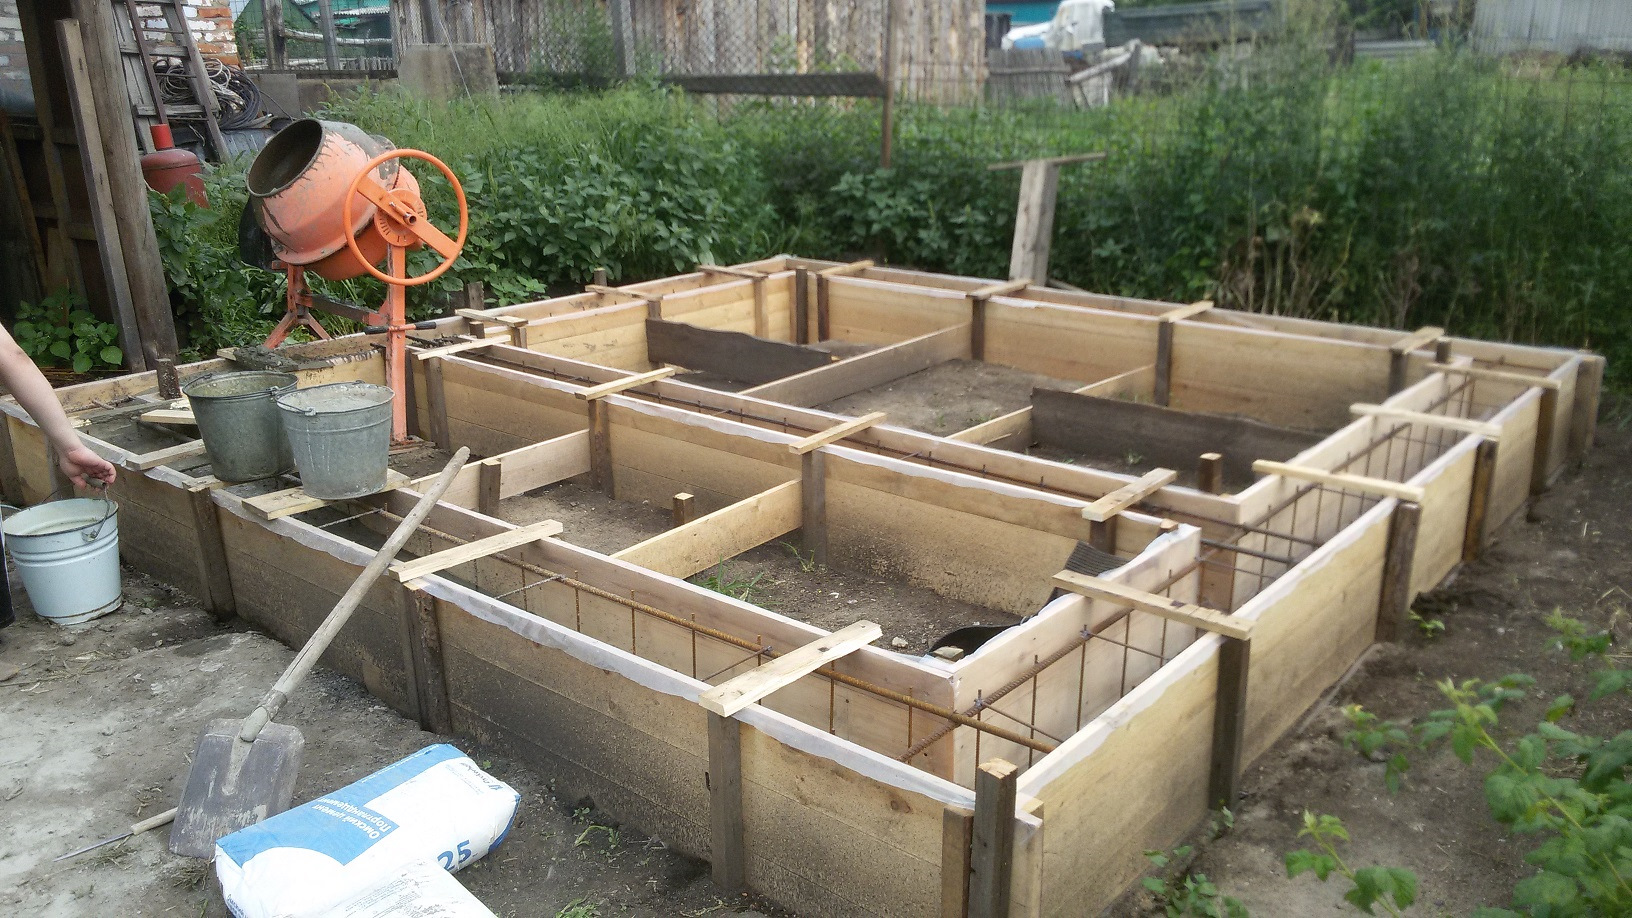
After the pillow is poured and well rammed, you can proceed to the installation of the formwork. It is made from edged boards or ready-made boards. It should be borne in mind that the mass of the mortar to be poured is decent, therefore all formwork fasteners must be reliable. Often with beginners, you can see how the "mixer" comes in, starts feeding the concrete and the formwork falls apart or partially displaces under the onslaught of a large weight. You should not make such mistakes, but immediately do it reliably and conscientiously.
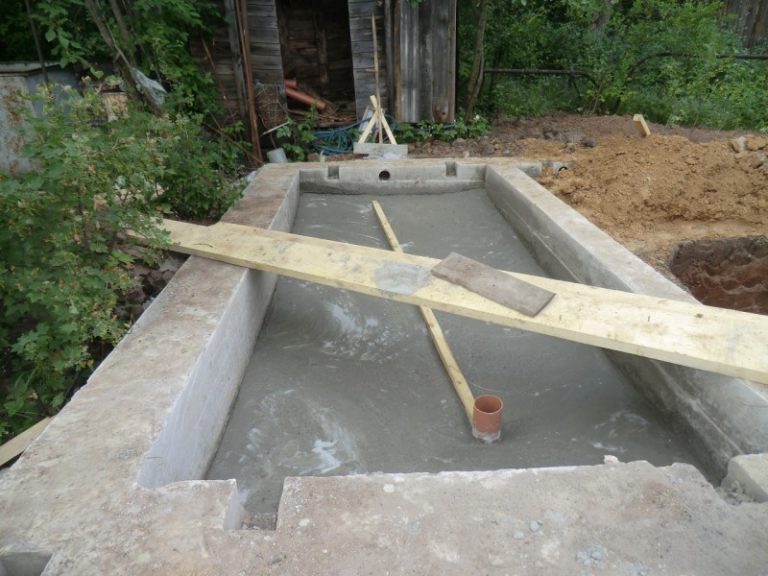
Don't forget about communication. They also need to be mounted at this stage. Sewer pipes, maybe a channel for an electrical input, a heating system, cold water supply are installed in the places established by the project.
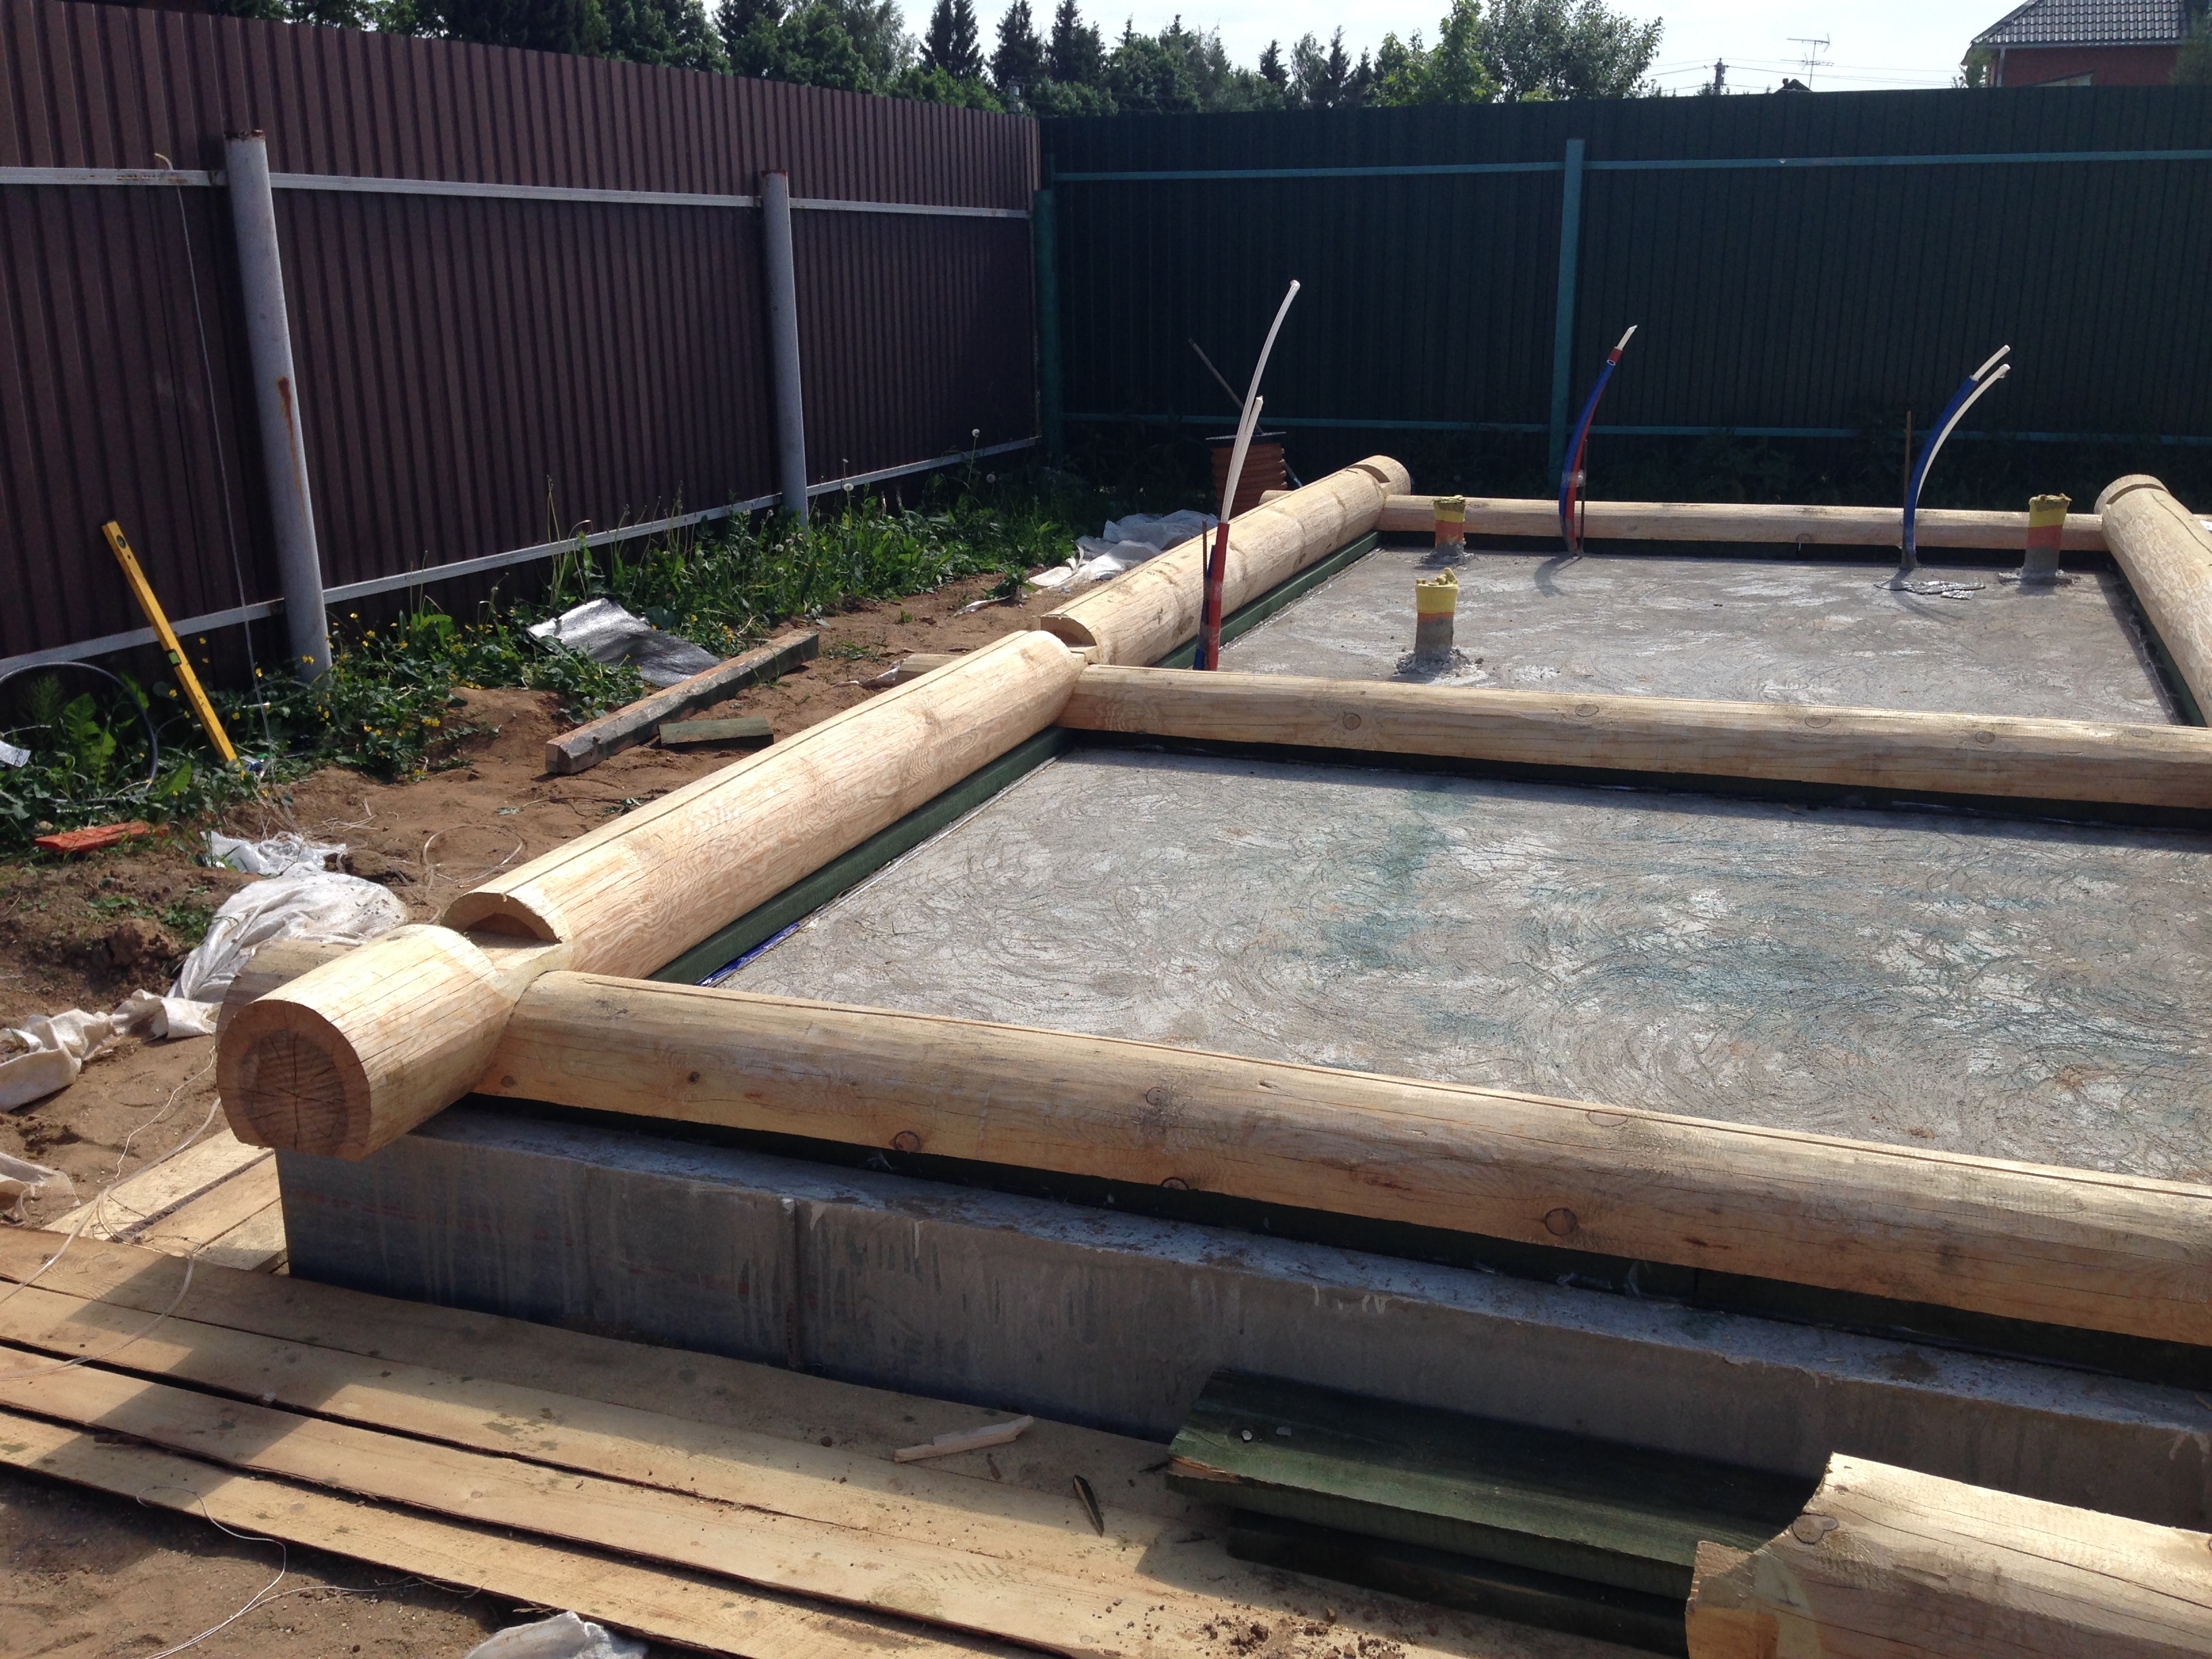
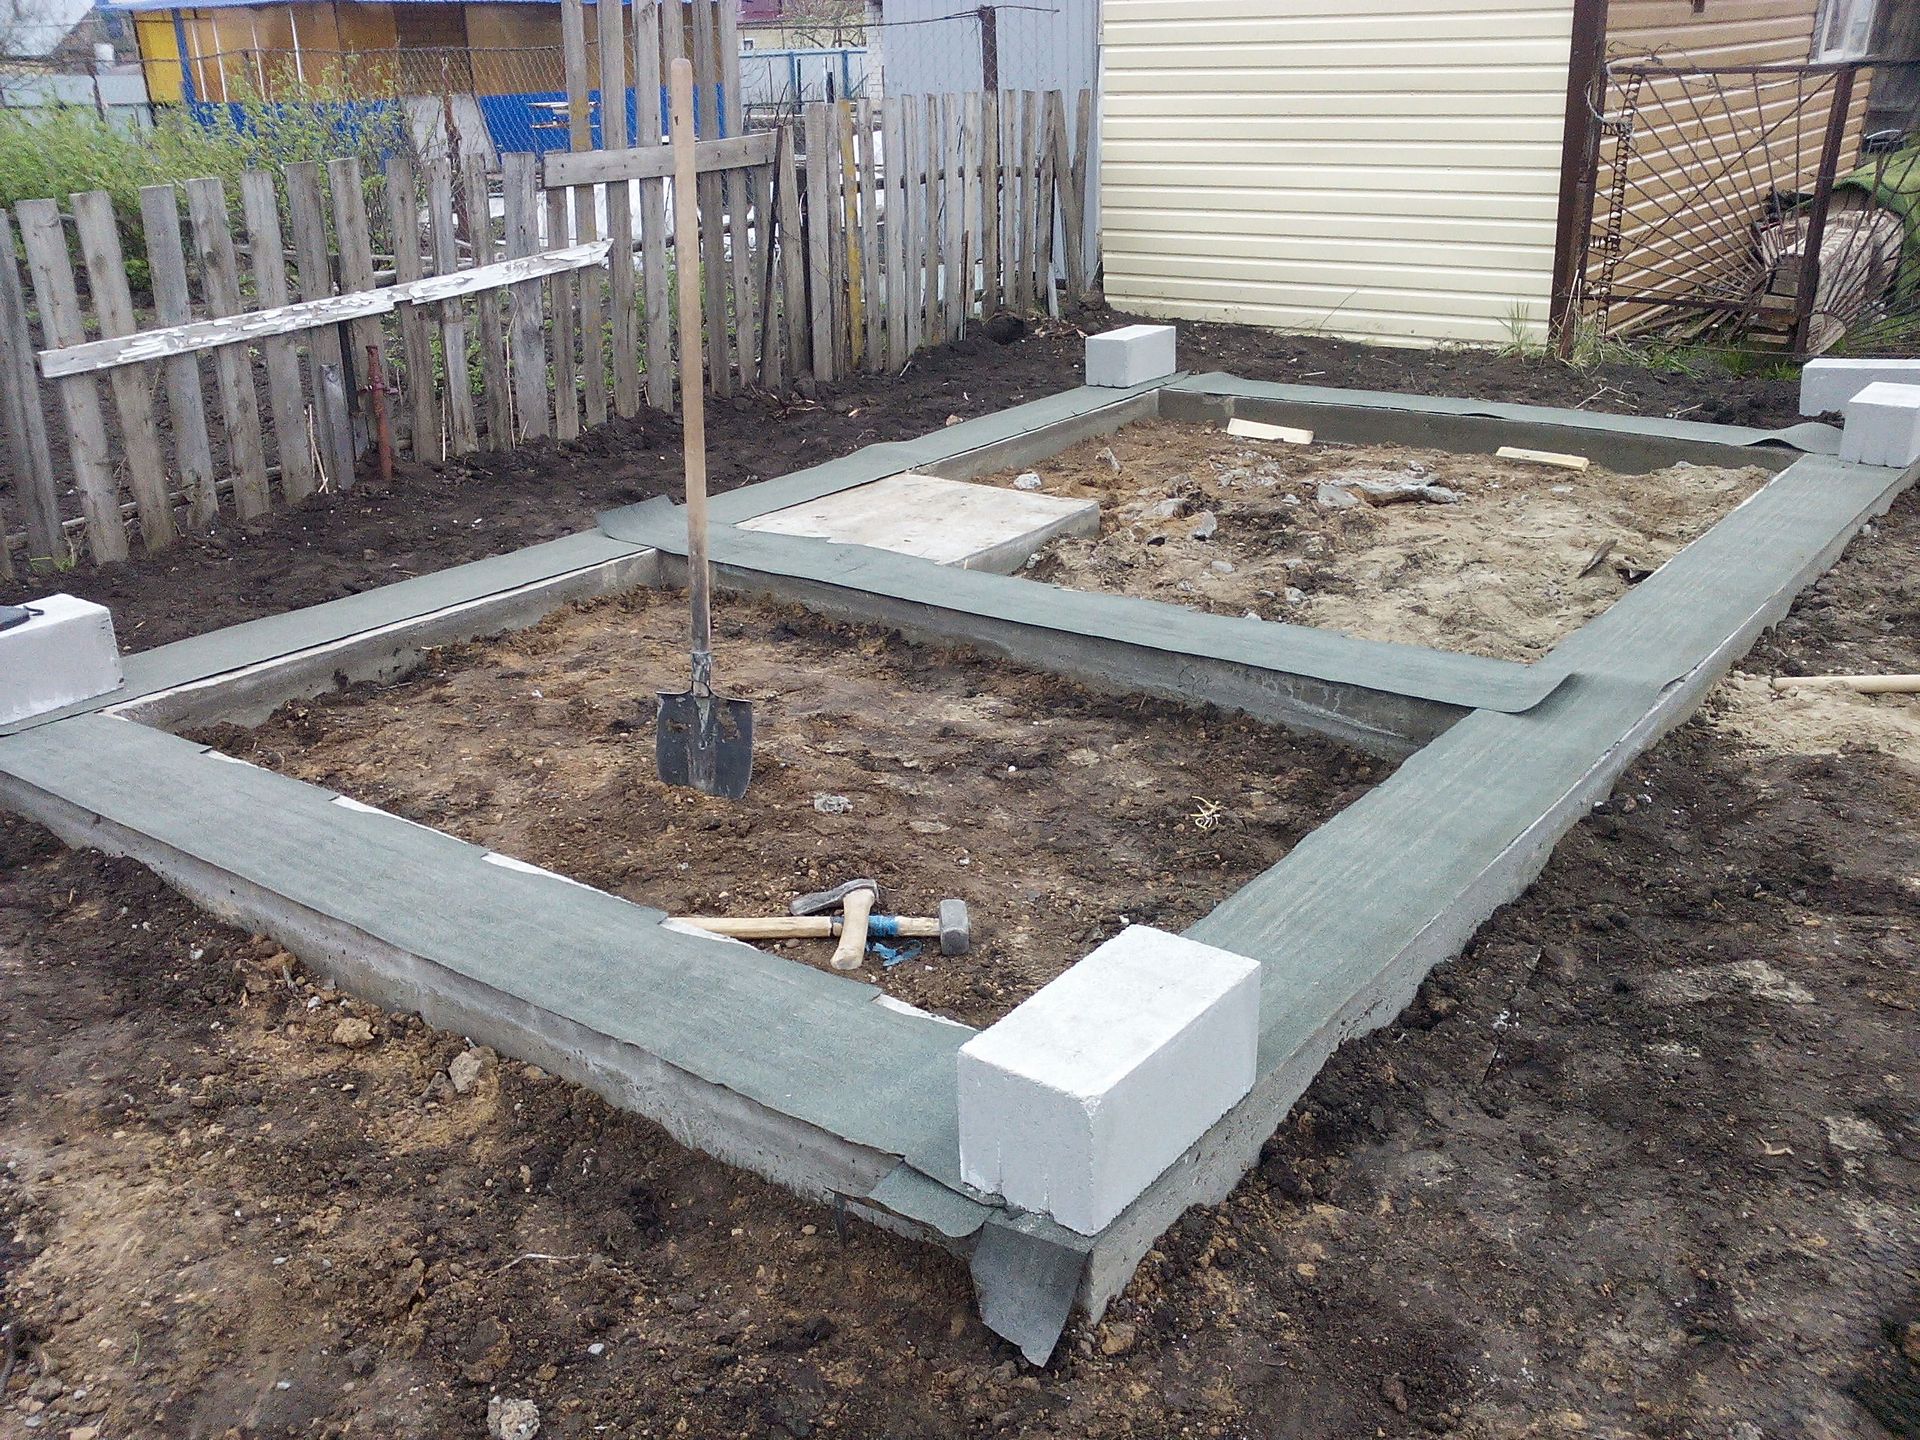
Foundation waterproofing work is the next stage of work. It is carried out with ordinary roofing material, plastic wrap or geotextile. The best option would be to use materials in two layers, with an ascent to the formwork (later to protect the ends of the slab).
In order to insulate the slab foundation, a layer of insulation is laid on the waterproofing. For these purposes, as a rule, extruded polystyrene foam (penoplex) is used. It is advisable to make foam insulation on the vertical ends of the slab as well. But this is already the field of how the foundation itself will be ready.
It is quite possible to make warm water floors in the slab foundation. To do this, it is enough to lay the appropriate pipes and take care of the reflective thermal insulation. You can read more about this in this article. Here is a specific description: how the warm water floors were made in a small bath with a slab floating foundation.
This is followed by work on the reinforcement of the slab, or rather - the manufacture of a reinforced frame. Both classical metal fittings and polymer ones are used here. For small buildings, it is advisable to purchase ready-made reinforced nets with a cell of 100-120 mm. But for large and heavy structures, it would be better to make a reinforcing frame yourself.
It is very important that the entire mesh is immersed in the concrete. To do this, it is installed on special guides or gaskets are placed under it.
Reinforcement should be given special attention, since the reliability and durability of the future foundation, and therefore the entire building, depends on it.
If the monolith is made with stiffening ribs, then you should not forget about them. Backfilling, drainage, waterproofing, reinforcement of dug trenches are also carried out in accordance with all the rules.
The thickness of a monolithic slab for a one-story building can be 20-30 cm. For a more solid building, it already increases and reaches 50-60 cm. The entire concrete base must be poured at one time - the monolith must be a monolith. So, it is best to order concrete ready-made in the required quantity, and not knead it yourself.
Type selection
In order to correctly determine the type of foundation, which is guaranteed to last a long time and will perform all the functions assigned to it, first of all, it is necessary to determine the type of soil prevailing at the construction site.
If this procedure has not been carried out before, then in order to independently determine this issue, you need to drill a hole at the site of the proposed construction with a drill up to one and a half meters deep and carefully consider those fractions that occur in the cross-section of the soil.
-
- The presence of a large number of peat inclusions, moist loose sand indicates the problem of the soil. Such a foundation is unstable and in the off-season it will undergo heaving, which will lead to horizontal shifts of soil layers relative to each other. In this situation, it is necessary to build a monolithic or pile foundation, the depth of the supports of which will lie below the depth of soil freezing. It is also permissible to use a heavily buried monolithic tape with reinforced reinforcement, while its depth should also be lower than the depth of freezing of the soil in winter.
- The content of fragments of clay, gravel, dense dry sand in the soil indicates a soil of medium mobility. It is these types of soils that are found in the vast majority of mid-latitude regions, and their density is sufficient for the construction of a monolithic or columnar belt. In this case, the use of a monolithic slab foundation with a base for the entire structure is impractical and unprofitable.
- If the studied soil contains a high content of dense fine sand, rocks, quartz and there is no clay and loam, then the developer is very lucky. These types of soils are the most elastic, they are not subject to heaving and seasonal shifts, ideal for the construction of any structures. However, it is not recommended to use a pile foundation on such soils, since it will be very difficult to drive or screw piles into such a dense soil, this process can lead damage to the supporting structures themselves. An excellent solution would be to use a columnar and tape base of any type.
Important! For a more effective analysis of the soil structure on the building site, it is recommended to dig several holes in different places on the site. This will allow you to better understand the composition of the soil.
Information
With the dimensions of the bath, exceeding on each side the linear length of the building material, for example, the length of a wooden beam (usually 6 m), it will be most practical to construct a buried strip foundation with reinforced reinforcement.
A monolithic support in the form of a slab will be irrational due to the high consumption of material.
And when using a columnar base, there is a high risk of skewing of individual supports and, as a result, a tilt of the bath in one direction.
The choice of the type of base, materials and dimensions should be taken especially seriously, otherwise the whole construction can go down the drain.
Views
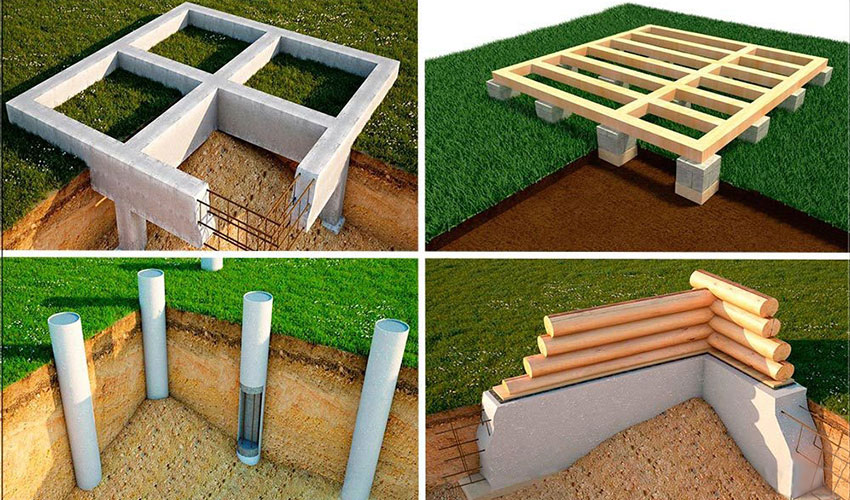
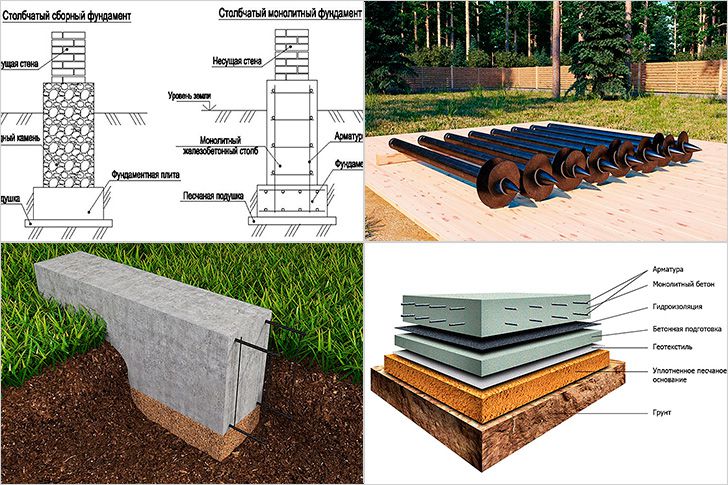
The pile (made of screw piles) foundation is excellent for the construction of various types of baths:
- log;
- from a bar;
- based on frame-panel construction.
The spiral design of the support prevents it from changing its position even under the influence of heaving forces. And thanks to the compaction of the adjacent soil, the bearing capacity of the base increases, it can range from 600 to 12000 kg. In terms of dimensions, the smallest foundation is 55 and the largest is 350 cm.
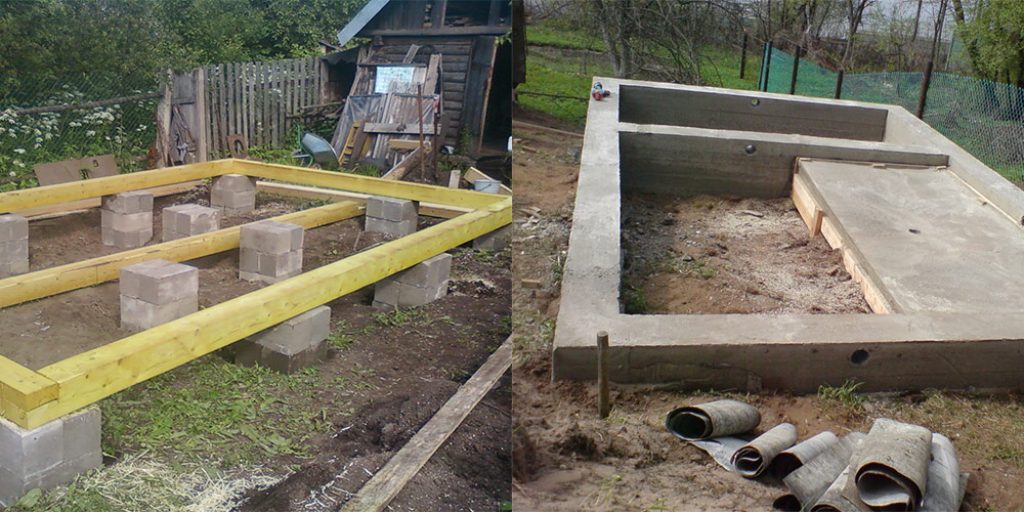
When constructing a columnar foundation, it is possible to provide increased strength and reliability of the structure.It is laid mainly under lightweight buildings, but there are times when such a foundation is chosen for a heavy brick structure. The main reason for this choice is the need to deeply embed the support. Pouring the tape to the required depth can turn into fabulous costs, and the poles are a real salvation.
Such a structure is capable of supporting even two-story buildings, if only they are not too bulky. Due to the specifics of the configuration, it is possible to reduce the heat loss down - that is, this type of foundation is also energy efficient.
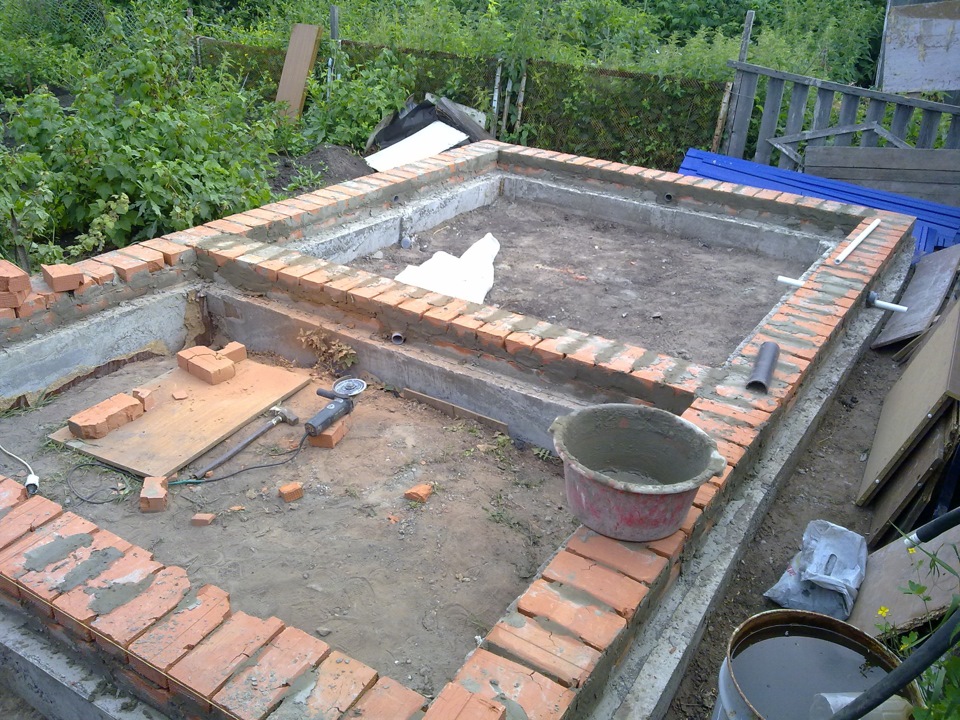
Basements and cellars are easily equipped under the tape, but at the same time it will not be possible to build it in a short time. And the material costs will be quite high. Regardless of the type of foundation chosen, the site must be prepared for work - garbage is removed from it, the relief is leveled and everything is carefully marked. Since we are talking about the construction of a bath, all bases must be with a drain of proper quality.
Water-draining grooves are formed with a slope of 20 mm per 1 running meter. m .; in the depth of the trench they reach 0.5–0.6 m.
When choosing the type of external sewage system (directly affecting its interaction with the foundation), the following are taken into account:
- frequency of washing in the bath;
- building area;
- soil characteristics;
- freezing point;
- the ability to connect to a central drainage system.
A special foundation is supposed to be made for the furnace; installing it on the same foundation as the entire building is a gross engineering mistake.
A brick stove can reach a mass of 500 or even 700 kg, which requires a very strong and stable support. Steel structures "pull" by 150-200 kg on average, which is also a lot. The pit is made 100–150 mm wider on all sides than the oven itself. The excess space is then saturated with coarse sand or gravel.
If a steel hearth is placed, rectangular pits are used for its installation, the bottom of which is filled with rubble at least 0.25 m.When a cement screed is created, it is required to put roofing material for waterproofing (in the form of a pair of layers). It takes 5-6 days to set the concrete to the required condition, otherwise its parameters will not allow solving the task. For brick ovens, a sand cushion is formed at the very bottom of the "cake".
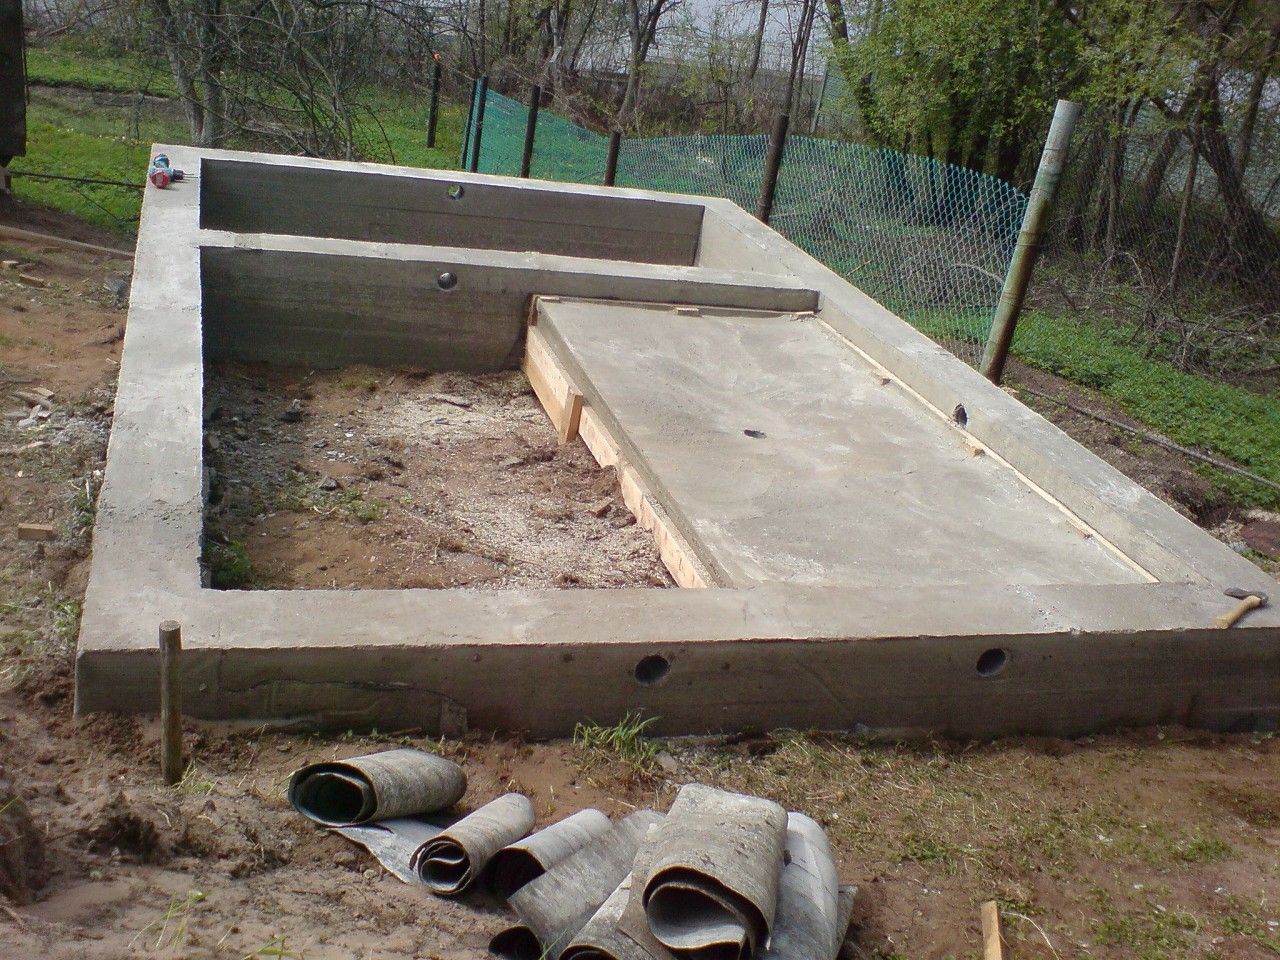
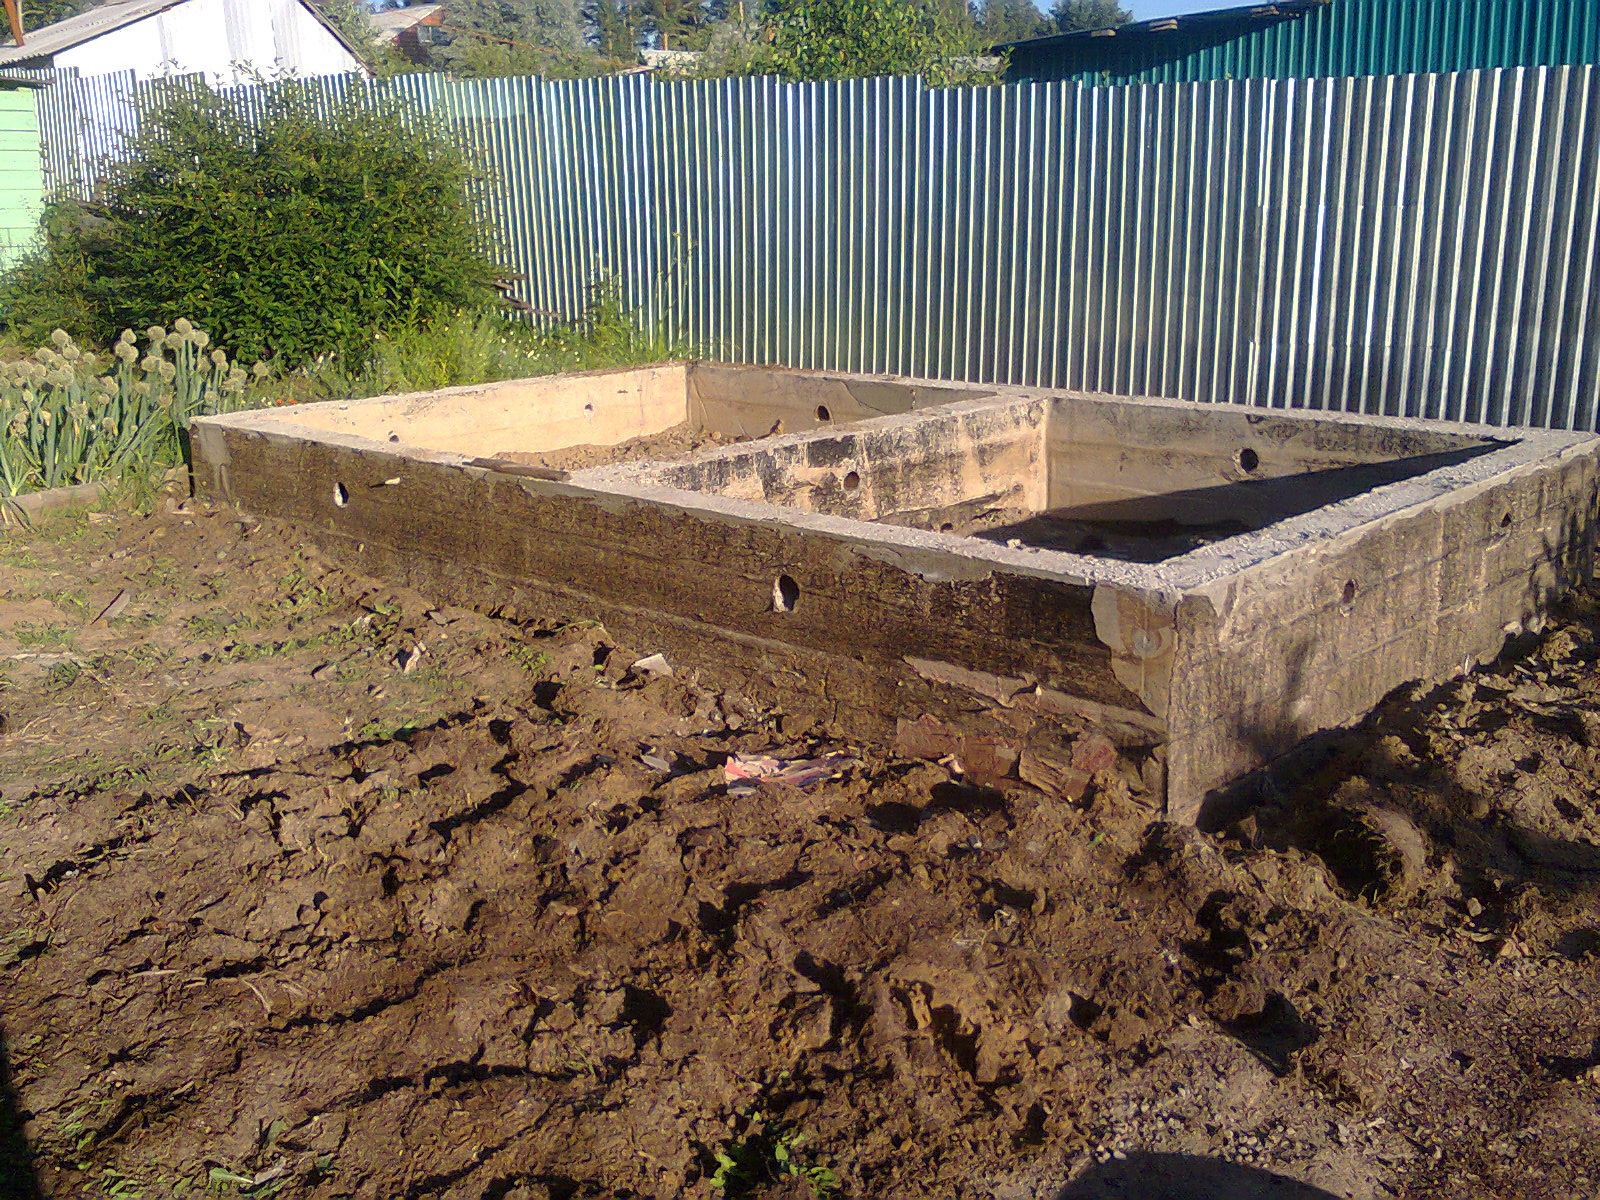
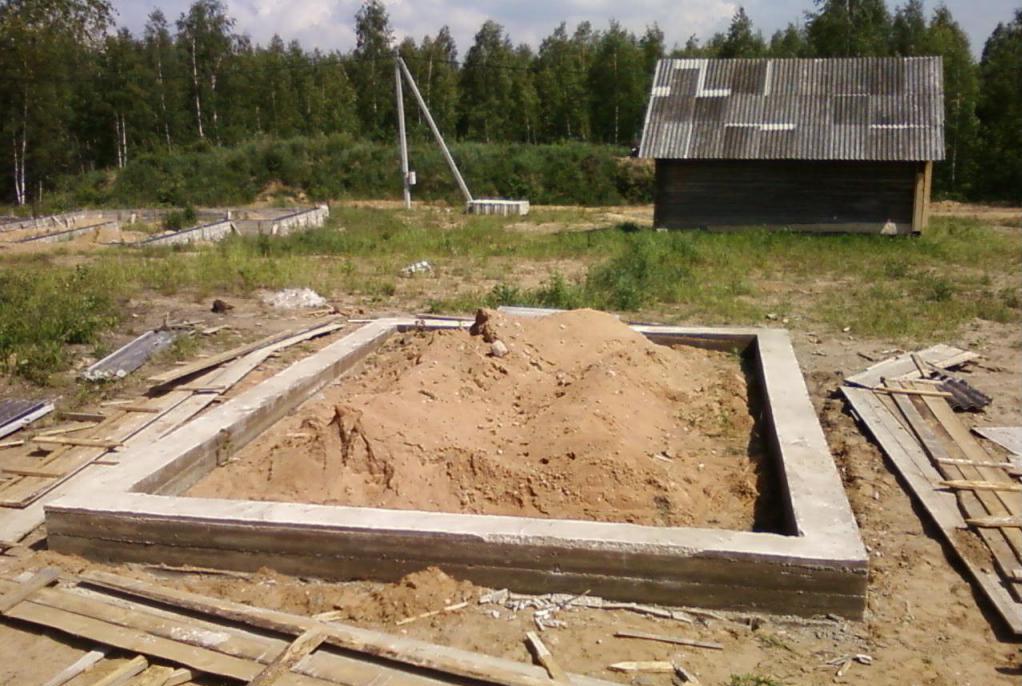
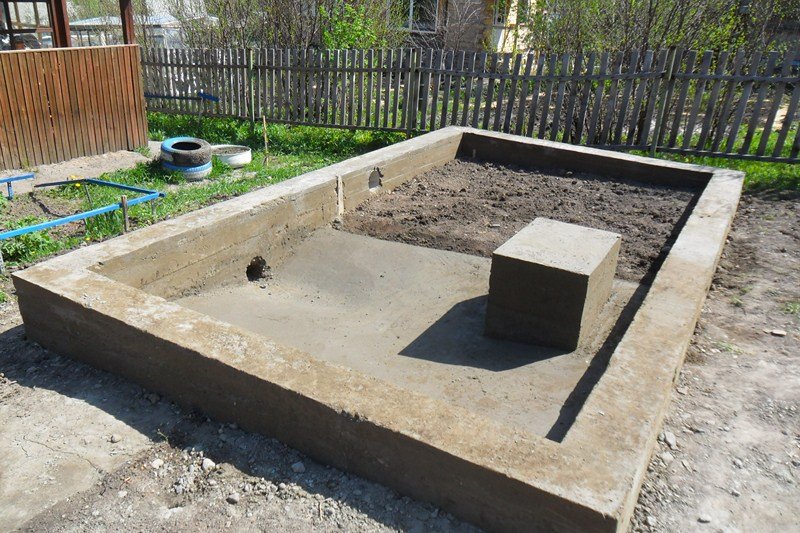
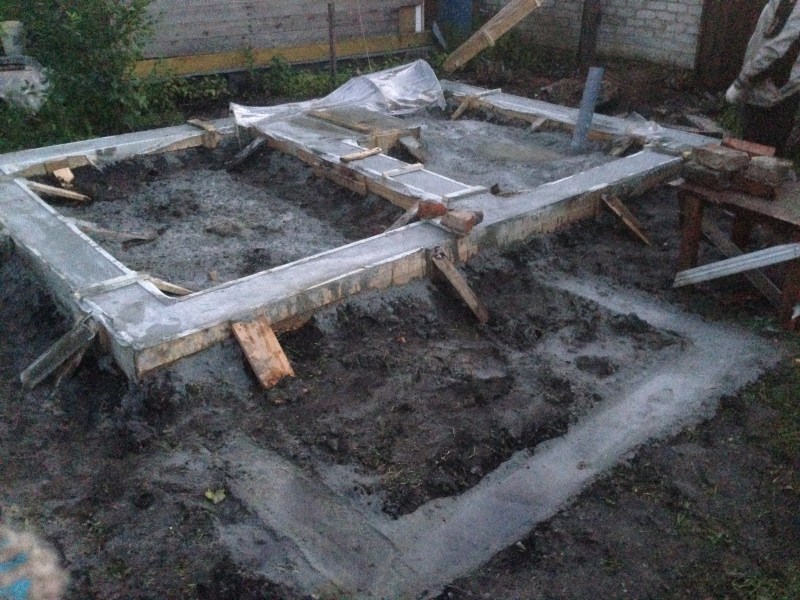
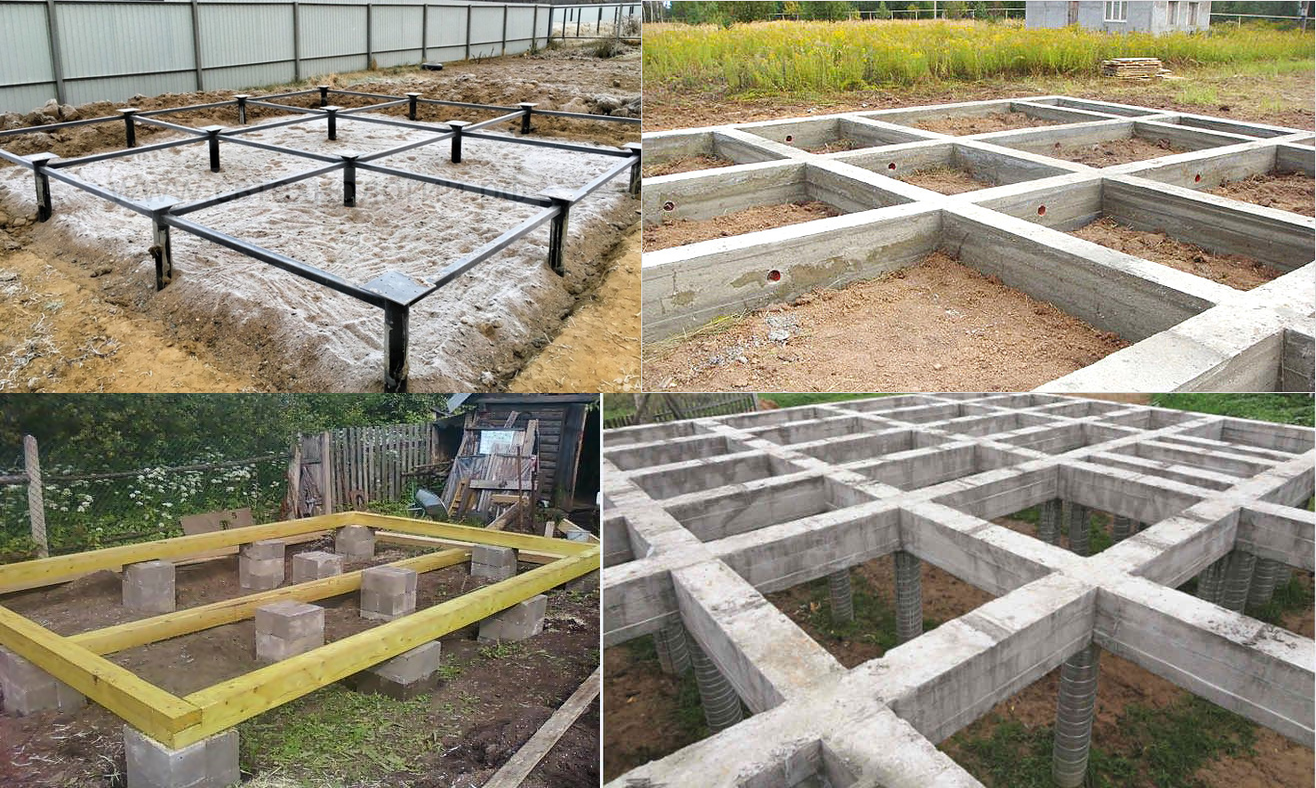
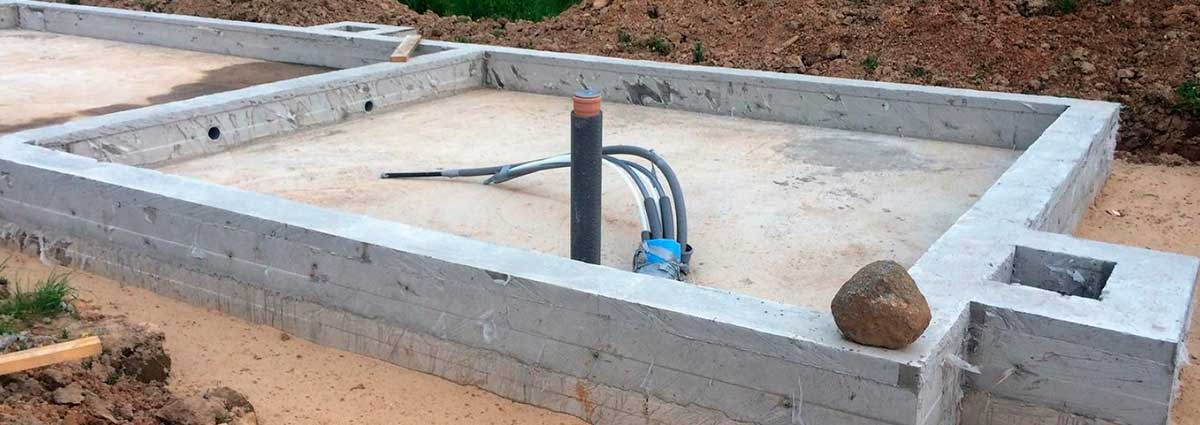
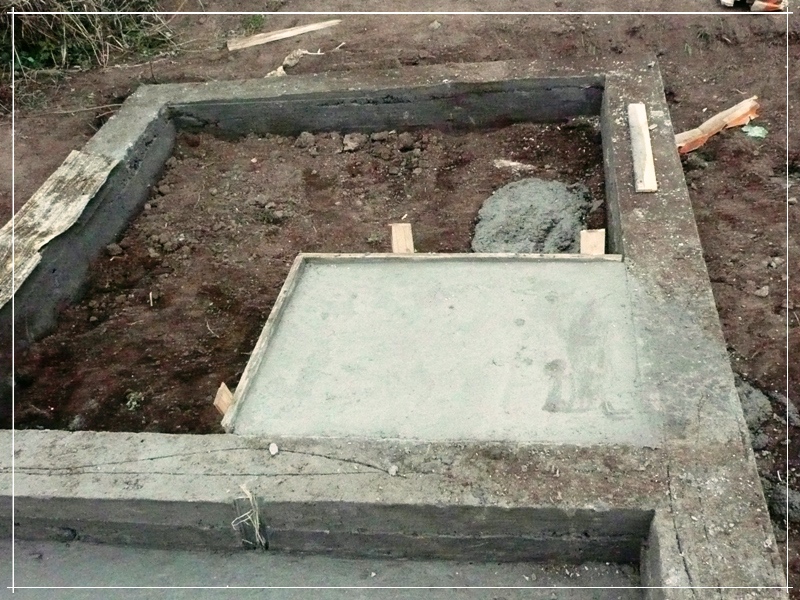
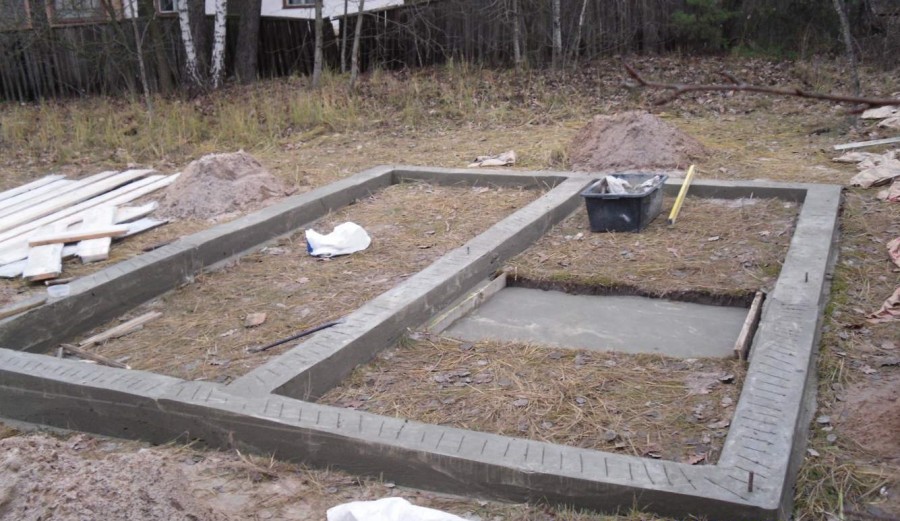
Slab foundation (made of reinforced concrete slab) is the most durable and reliable. After all, this is a monolithic construction, which greatly simplifies subsequent work. Even actively moving soil in an area where significant precipitation constantly falls or sudden temperature changes occur will not become an obstacle.
Manufacturing from pipes
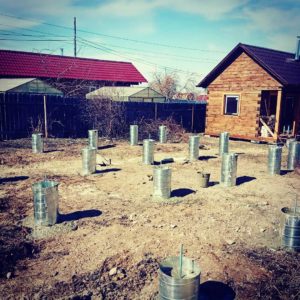 To independently make a base from metal or asbestos-cement pipes, you need to prepare the construction site, tools, and apply markings.
Preparation and design
Before starting construction work, you need to draw up a project. To do this, you need to draw a drawing of the future foundation, building. It is necessary to indicate the exact location of the individual supports, indicate the distance between them.
After making the drawing, you can start preparing the site. To do this, you need to level the construction site, cut off the unevenness of the soil with a shovel. Remove construction waste.
Tools and materials
 After creating a drawing, preparing space, you can prepare tools, consumables:
- metal rods;
- shovels - shovel, bayonet;
- container for mixing cement mortar;
- concrete mixer or perforator with a special attachment;
- nails, boards.
If the pipes are metal, you will need a grinder with metal discs.
Layout and placement of pillars
The next stage is the marking of the construction site. To do this, you need wooden pegs, a dense white thread that will be clearly visible. The pegs need to be hammered in the corners of the building, connected with a thread. Check the diagonals with a tape measure.
Sand cushion and reinforced frame
 After applying the markings, you need to start digging holes for supports, connecting pits. Hole sizes:
- At the depth of the pit, there should be 30 cm more pipes. This distance will be filled with a sand cushion.
- The width of the fossa should be 10 cm larger than the pipe on each side.
Pits need to be dug between the individual pits, which will connect them to each other.
At the bottom of the holes, you need to fill up a sandy pillow 30 cm thick.Further work:
- The pipes in height should be 40 cm higher than the ground level. They are inserted into the pits strictly vertically.
- After installing the pipes, you need to make a reinforcement cage. This requires cutting metal rods 10–15 cm larger than the tubes. Insert them inside the tube, tie them together with a knitting wire.
- When the metal frame is ready, you need to start mixing the concrete solution.
- Fill the gaps between the pipe, the earth with fine gravel, tamp it.
- Fill less than half of the pipe with cement, raise it. Wait until the solution spreads along the bottom of the pit.
- Fill the rest of the pipe with cement.
It remains to wait until the cement dries. This will take about 10 days.
To dig holes for the supports, it is recommended to use a special hand brace.
Waterproofing and thermal insulation
 To prevent metal pipes from collapsing under the influence of moisture, they need to be waterproofed. To do this, you can cover them with a layer of mastic or glue them with roofing material.
Zabirka
When designing the base, you need to decide whether you need a basement room. The construction process of the intake:
- Dig a trench between the individual supports, 30 cm deep.
- Pour a layer of sand or fine gravel 10 cm thick at the bottom.
- Fasten the posts together with beams, in which holes are initially made for securing the boards.
- Fasten the boards in the grooves. Treat the wood in advance with a special impregnation against the destructive effects of moisture.
- Seal the lower part of the filling with expanded clay.
Additionally, you need to make a concrete outlet for water with a width of 40 cm.It is necessary so that moisture does not get into the basement during rain. To insulate the pick-up, you need to perform several steps:
- On the outside, fix the corrugated board - metal or plastic.
- Fasten mineral wool inside the wooden frame. Cover the top with a layer of boards or chipboards.
You also need to leave holes for ventilation so that the basement room is constantly ventilated.
A columnar foundation for a bath can be called a universal solution for small buildings, since it is suitable for different types of soil. You don't need to spend a lot of building materials on the construction.
Materials (edit)
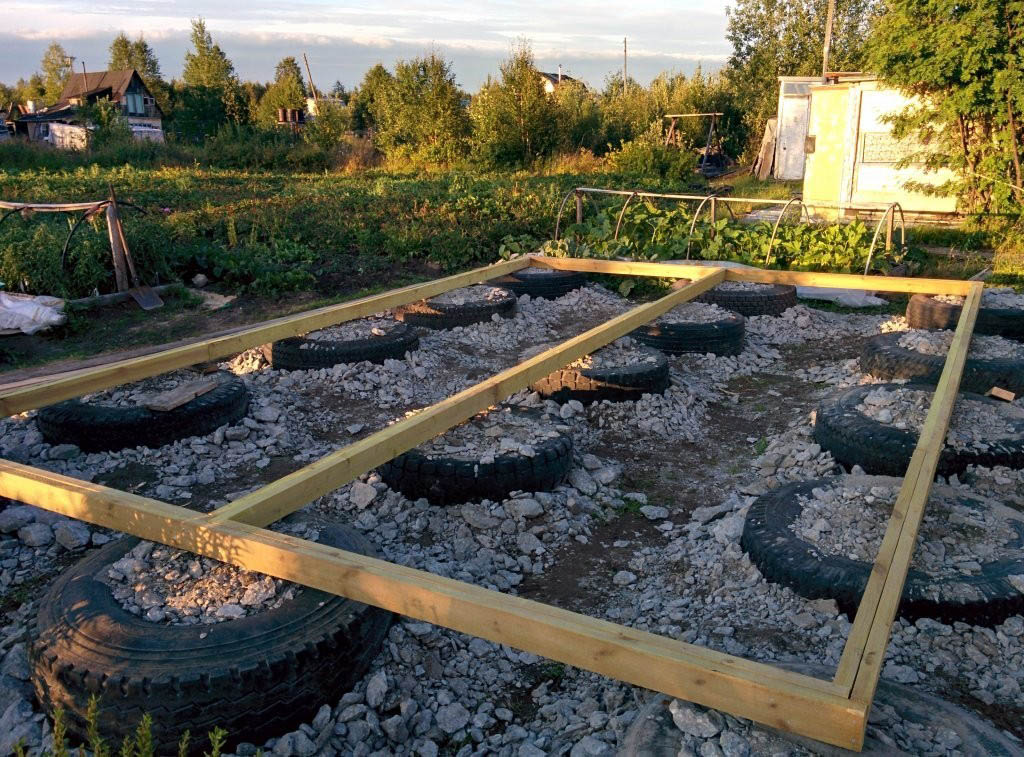
Having chosen exactly the type of foundation to be mounted, you also need to figure out the materials that will be used for the base of the bath. Tire foundations perform well in swamps - even where slab structures are unreliable. Sometimes they are pushed up by the force of frost heaving. But even this formidable, almost omnipotent element retreats when using car tires. The tires should be buried because this will prevent them from going down and displacing the surrounding soil up.
The pressure from the column should be evenly distributed; to solve such a problem, tires filled with sand or gravel are used. The increased (in comparison even with flawless belts) bearing capacity and support area allows them to carry significant loads without tipping over and without provoking soil subsidence.
If the product is only partially filled with earth, the rubber body takes over the bulk of the load. It turns out a kind of imitation of springs, which ideally manifests itself on soils with weak heaving. But it would be much more correct to insulate the blind area and fill the tire by 100% in order to guarantee the same quality of all supports.
Of course, most developers do not use such original solutions and prefer traditional ways. They build a foundation for a foam block bath, since such a technique does not require complex equipment. There is also no need to fasten the reinforcement, to knead a huge mass of concrete. This does not affect the bearing qualities in any way, even more so - the speed of construction increases.
But the blocks show themselves ideally under buildings from:
- bricks;
- foam concrete;
- just under the large baths.
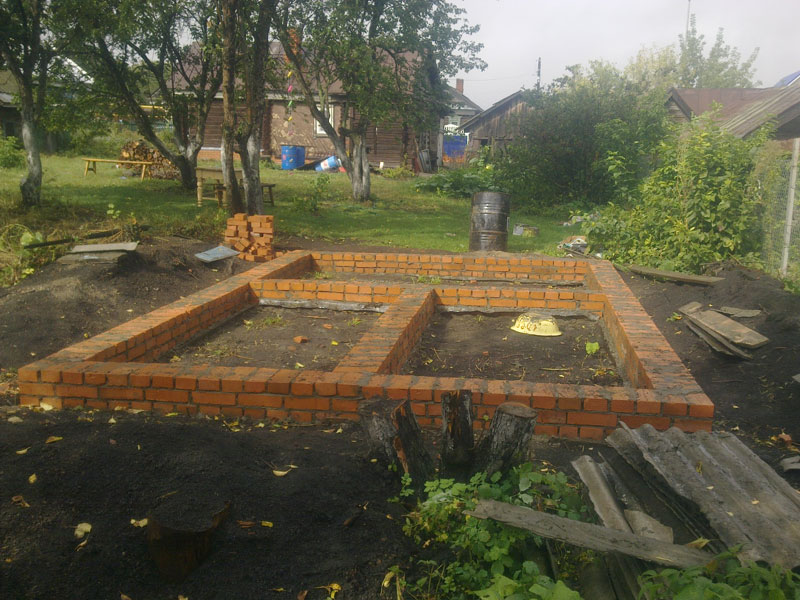
The solid concrete structure has dimensions of 39 x 19 x 18 cm, while the weight of one element is approximately 30 kg. With shallow deepening of the pillars formed by the blocks, 3 or 4 strips of masonry are enough - and there are 6-12 foam blocks per pillar. The monolithic slab must be poured into the permanent formwork. To obtain this formwork, most experts recommend using slate.
Which foundation is best for a bath depends on the soil
While we looked at the types of foundations, you have already met some recommendations for different types of soil. Let's put this knowledge in order.
Gristly
 This is the name of the soil located on a rocky base and consisting of sand with pebbles.
It is ideal for construction, because water does not erode it, it is filtered through it, and deep freezing does not occur. The soil itself is quite strong, there are few subsidence rocks in its composition, so it is able to withstand heavy loads.
On such soil, you can build the cheapest columnar foundation. Other types are also possible, but it is unnecessary to use them.
Sandy
Water is not retained in it, therefore groundwater usually lies deeper. In winter, the sandy soil freezes no deeper than a meter. It's good for building too
But it should be taken into account that when moistened, it becomes strongly compacted, there are a lot of subsiding rocks in it, and this is fraught with soil displacements both vertically and horizontally
Both reinforced columnar and strip block foundations can be laid on the sand.
Rocky
 A rock without cracks is the strongest foundation, which makes the foundation itself superfluous. If we are talking about rock debris, then in this case it is still worth making a foundation with a minimum depth of laying.
Such soil practically does not freeze, heaving is not characteristic of it, there are almost no subsiding rocks in it. Any foundation can be made, but tape with negligible deepening is more profitable. It will come out quite inexpensively.
Clayey
 Clays are capable of absorbing and retaining water, while swelling strongly. And when they dry, their volume decreases and they crack strongly.
When, in winter, moisture in the soil turns into ice, this increases its volume, forcing the soil to swell - move both vertically and horizontally.
At the same time, heaving also occurs unevenly - some areas rise higher, others lower. And this has an extremely negative effect on the foundation and structure.
Swelling is neutralized by dredging and replacing it with a sand-gravel mixture, on top of which either strip or slab foundations are usually made.
Peaty
 Peat soils are among the unfavorable for construction. They contain many organic impurities and are highly compressible. In addition, peatlands are usually saturated with moisture. The soil is unstable and not every foundation suits it.
If the peat layer is small, then the best solution would be to remove the peat layer and replace it with sand and gravel. But when the peat layer is too large, the building has to be erected on either pile or slab foundations.
***
In addition to the type of soil, you should be interested in: the depth of its freezing (it can be found in the tables of geologists) and the height of groundwater at the site.
And here is a sensible video about the types of foundations and the rules for calculating the depth of their laying, depending on the soil.It will answer the question of which foundation is best for a bath.
What foundation to choose for the construction of a bath using frame technology
Frame structures are basically presented in the form of lightweight structures, consisting of small racks (maximum length 3 meters), internal and external cladding in the form of panels or boards, as well as insulation located in the walls.
As a result, any one-story frame bath will have a small dead weight that can withstand any type of foundation. In this case, the choice of a concrete base depends only on the level of occurrence of groundwater and the characteristics of the soil.
Options for a wooden foundation for a light frame bath
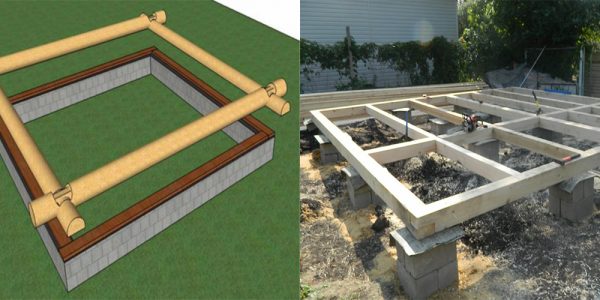
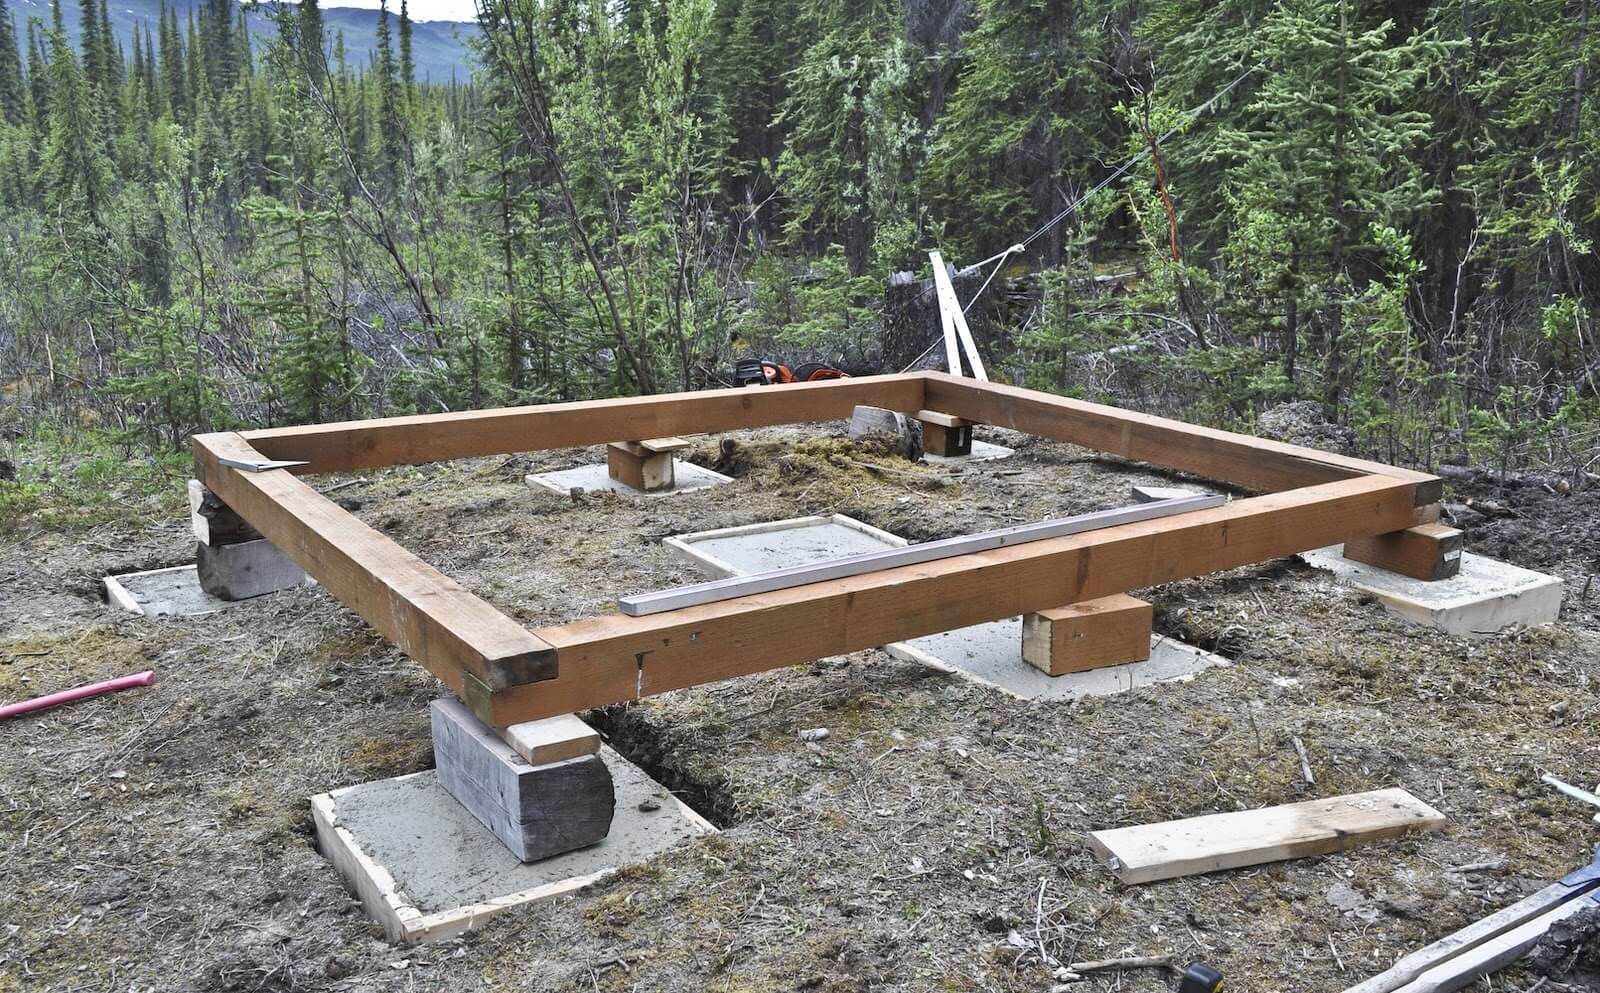
The use of a wooden lumber concrete base is possible only for mini-baths, the area of which does not exceed 12 sq.m. The most important thing here is to correctly calculate the diameter of the timber and to level the surface with your own hands.
To build a simple wooden foundation, you only need to put up several beams at one level, which will be fixed with stakes from the sides. This base has proven itself well in the construction of small frame structures, especially in clay soil conditions. Despite the seasonal mobility of the soil, the base will not leave under the bath and will last for many years.
Columnar foundation option
Column foundation for a bath
Columnar concrete base is set up if there is a high level of groundwater in the area. In addition, he will confidently hold the bath even in the case of uneven distribution and uneven soil composition. To build such a foundation with your own hands, you do not need to hire additional equipment or a construction team.
The whole set of necessary materials comes down to renting a good drill, buying a few asbestos or plastic pipes and 8-10 bags of cement along with 10 bags of sand. Laying the columnar base is divided into stages:
- It is necessary to level the ground under the site.
- It is necessary to mark the place where the future pillars will be located.
- Drill holes with a diameter of 10-15 cm and perform waterproofing from roofing material at the bottom of each pit.
- Knead the concrete with your own hands and carefully pour it into the hole in which a plastic pipe must first be installed.
- At a height of 20-30 cm from the ground, you need to fix the pipe and wait for the concrete mixture to harden. Don't forget to reinforce the pillars.
- Arrange a small grillage using a wooden bar. It will directly connect all concrete pillars, and serve as the base for the floor.
The device of the pile-screw foundation for the frame bath
This type of foundation is used only in difficult soils, where the groundwater is close and the average value of the soil freezing depth does not reach 0.5 meters. Metal piles, in turn, allow you to get to the base layer and stand firmly on the ground. Watch a video on how to arrange a pile foundation for a bath with your own hands.
To build a pile-screw base with your own hands, you need a team of up to 5 people. The work is as follows:
- On the previously cleared area, the places of the future location of the piles are marked.
- With the help of a drill, holes with a diameter of up to 40 cm are dug for the length of the pile, which is calculated after exploration and obtaining complete information about the soil.
- Metal piles are screwed vertically into the ground.
- The foundation structure is secured with a welded grillage and secured with strapping.
Erection of a strip foundation for a frame bath
The strip base option is assumed only in the presence of reliable soil (sandy loam, sand, etc.). In addition, the tape is not afraid of heaving soils and it comes out much more economical in terms of costs, in comparison with previous options. Watch a video on how to equip a strip foundation for a bath with your own hands.
To build a tape with your own hands, follow the plan:
- On a pre-selected construction site of a frame bath, a 40 cm trench is dug along the contour of the future construction, the depth of which is no more than 0.5 m.
- Further, sand cleared of impurities is poured into the trench, which is carefully and layer by layer compacted.
- Above the trench, a formwork is placed, which is reinforced with welded metal pipes from below, and is fixed in width with rods.
- After reinforcing the entire tape, it remains only to pour the concrete in one pass.
- On top of the formed foundation structure, lay a strip of roofing material - this will protect the frame walls of the future structure from moisture.
As a result, regardless of which base you choose for the construction of a frame bath, the main thing is that it creates the most reliable and durable support and does not sag at any time of the year and on any soil.
Stages of building a frame bath with your own hands
After purchasing all the necessary materials and bringing them to the construction site, you can start the main work on the direct construction of a frame bath with your own hands.
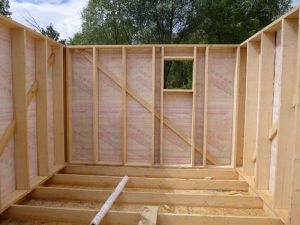 Assembling a frame bath
When building with your own hands, be guided by the following action plan:
- Clean up the future site for the foundation,
- Lay the concrete base chosen according to the calculation;
- Conduct the construction of walls using frame technology;
- Make a roof device;
- At the end of the work, carry out the internal installation work (installation of the floor, complete decoration and installation of additional structures in the room).
You can easily do each of the points presented with your own hands and find a lot of useful information on the Internet. In the article, we will consider the most important stage in the construction of a bath - the choice and laying of the foundation.
conclusions
So, we have considered all the factors on which it depends on what foundation it is better to put the bathhouse.
The first conclusion from the above: you need to have an idea of the geology and hydrology of your site. You may have already done your research while building your home. As a last resort, ask your neighbors - this will not give accurate information about the layers in your area, but you will get an idea of the dominant soil on the ground.
Second conclusion: the results of geo- and hydro-surveys, calculation of the load on the foundation almost always leave us a choice. For example, even before the construction of the foundation, you can try to improve the soil - to divert water, to reduce heaving. Is it advisable? Find out prices and decide.
The third conclusion: it is worthwhile to soberly assess the service life of the bath and compare it with the theoretical service life of one or another foundation. Plated, for example, promises to stand for 200 years - which bath will live that long?
PS. What else is worth considering from the section of the foundations for the baths: about the depth and height, how to do it right, how to do it yourself, whether you need a base for the stove.


