What is an extension to a house
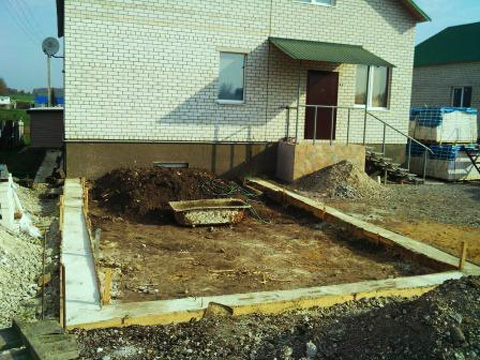
This is a good solution for increasing free space in any kind of home. Construction work can be done without the help of a specialist, but this requires skills and understanding of the work technology. But there is nothing complicated in this matter.
The support of specialists may be needed only at the stage of designing an extension, as well as during communications.
Problems often arise when there is a need to legalize a structure in the control authorities.
What material do you like the most about the house?
Log house
25.51%
Brick house
19.17%
Log house
15.07%
House of aerated concrete blocks
14.46%
Canadian technology house
11.96%
Rounded log house
4.28%
Monolithic house
4.02%
House of foam blocks
2.75%
House of vulture panels
2.79%
Votes: 2760
The purpose of the wooden extension
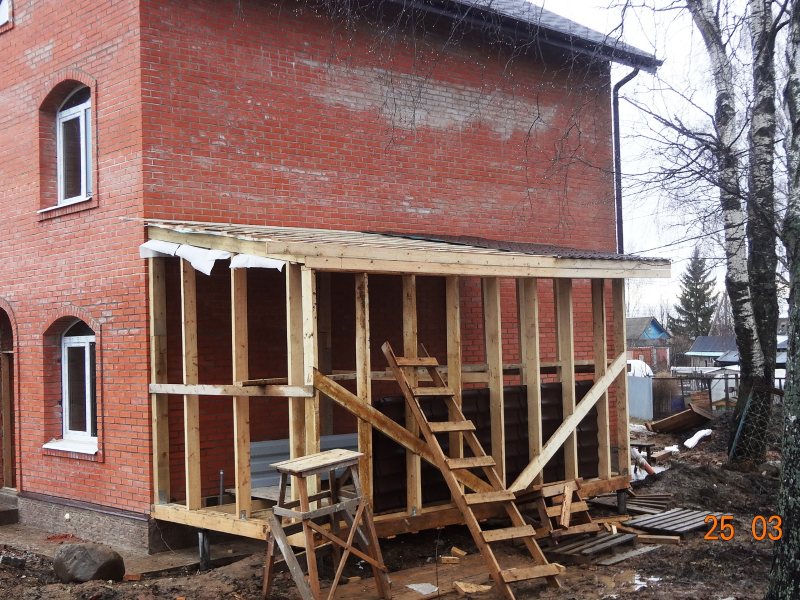
You can significantly increase the usable area of the house, quickly conduct the light and heating system. In this case, a hand-made wooden extension to a brick house will complement the existing interior and exterior. In this case, the integrity will not be violated.
The need for an extension also appears in the case when, in the process of planning a house, the need for a room was overlooked or there was not enough money for the construction of additional premises, a bathhouse or a garage.
An extension will be needed for:
- expansion of the area;
- garage;
- verandas;
- baths;
- utility room.
When the purpose of what will be built is determined, you need to determine the following points: additional foundation, type of roof, additional doors, water supply, lighting.
Types of foundations
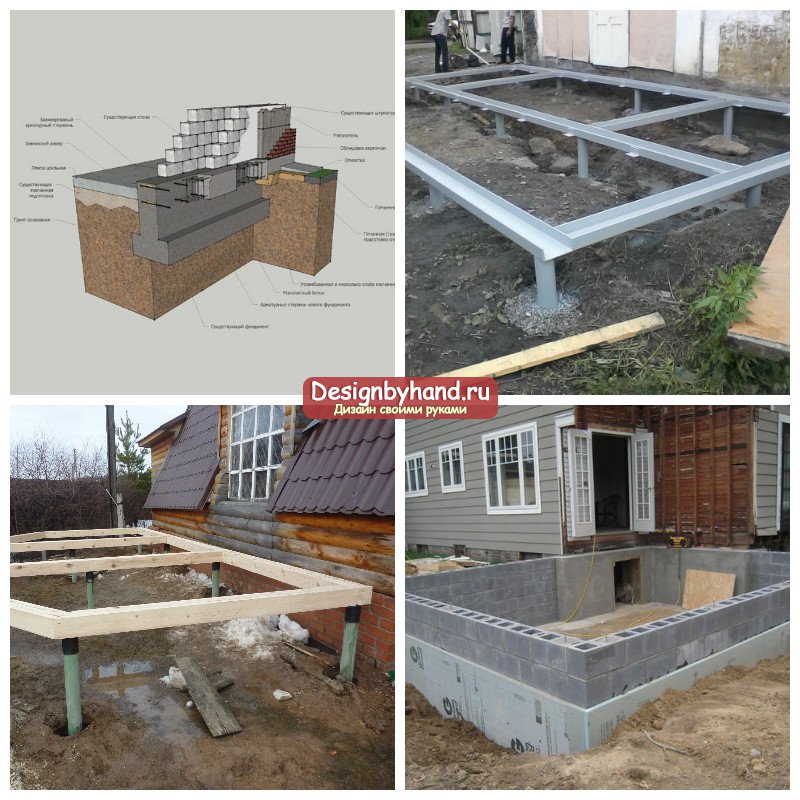
To avoid problems during the operation of the extension, it is necessary to choose the right type of base. Several types of foundations are most popular with private developers:
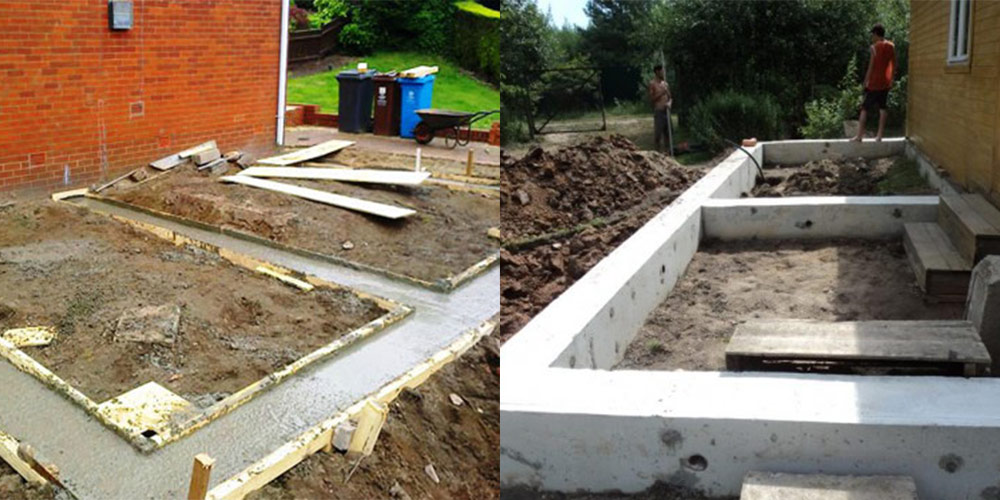
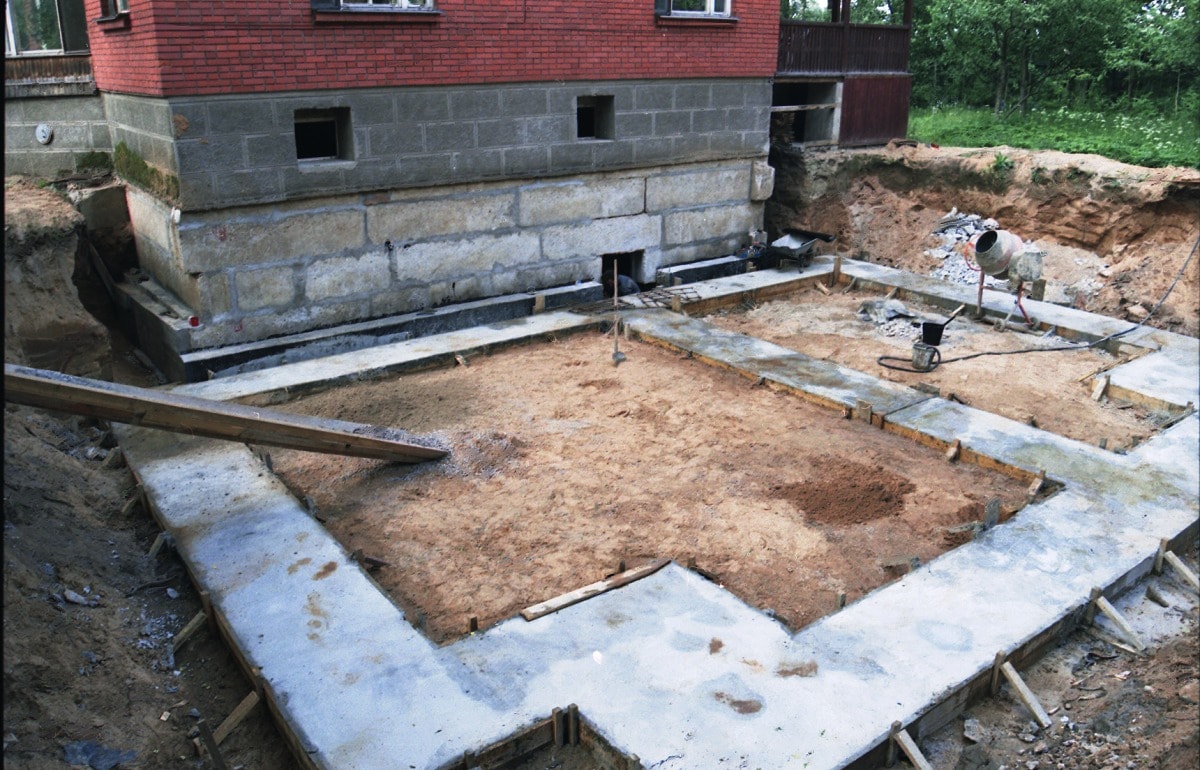
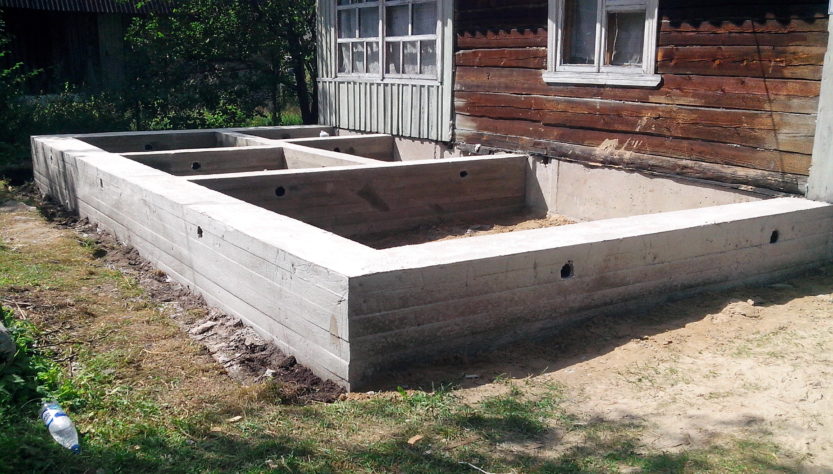
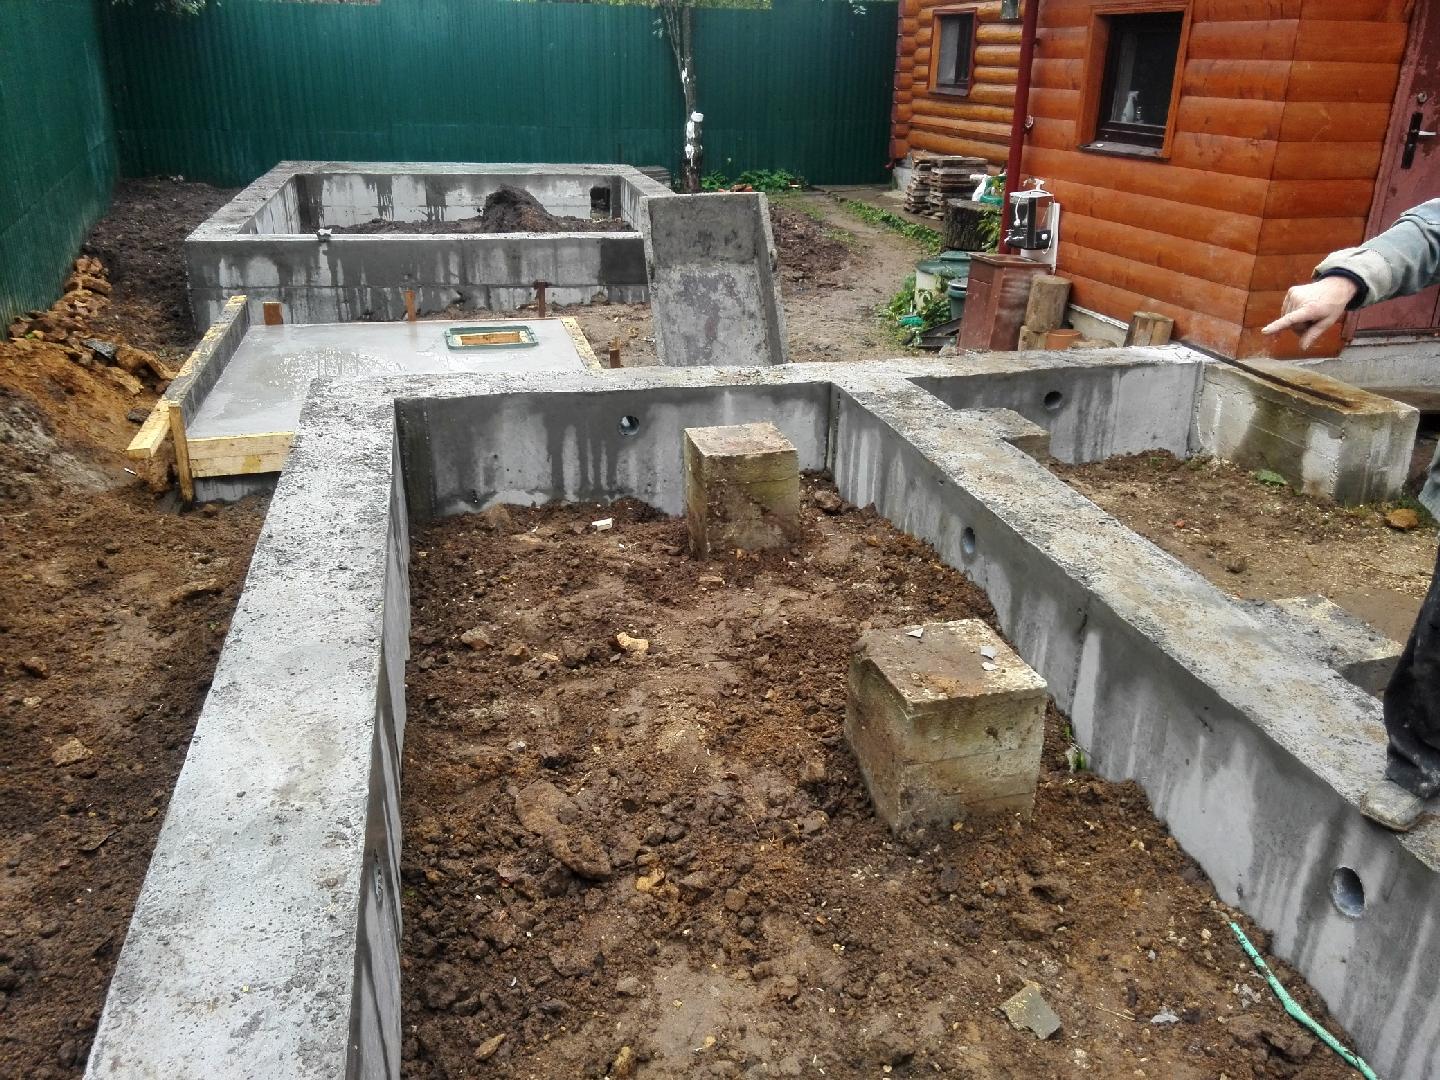
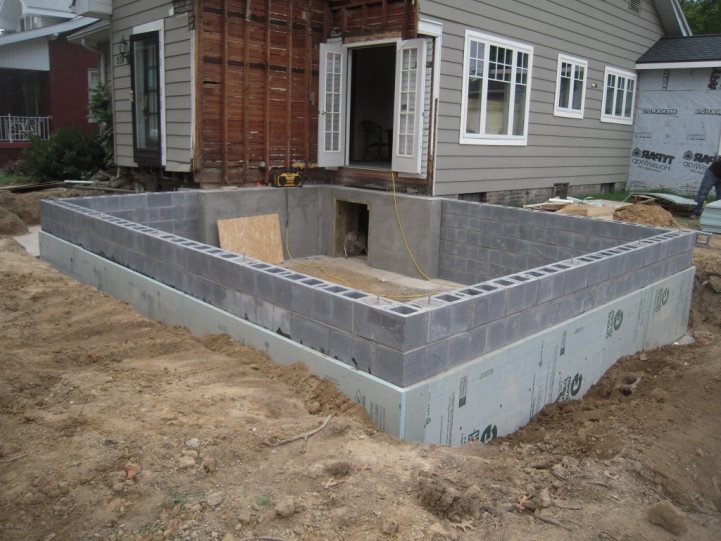
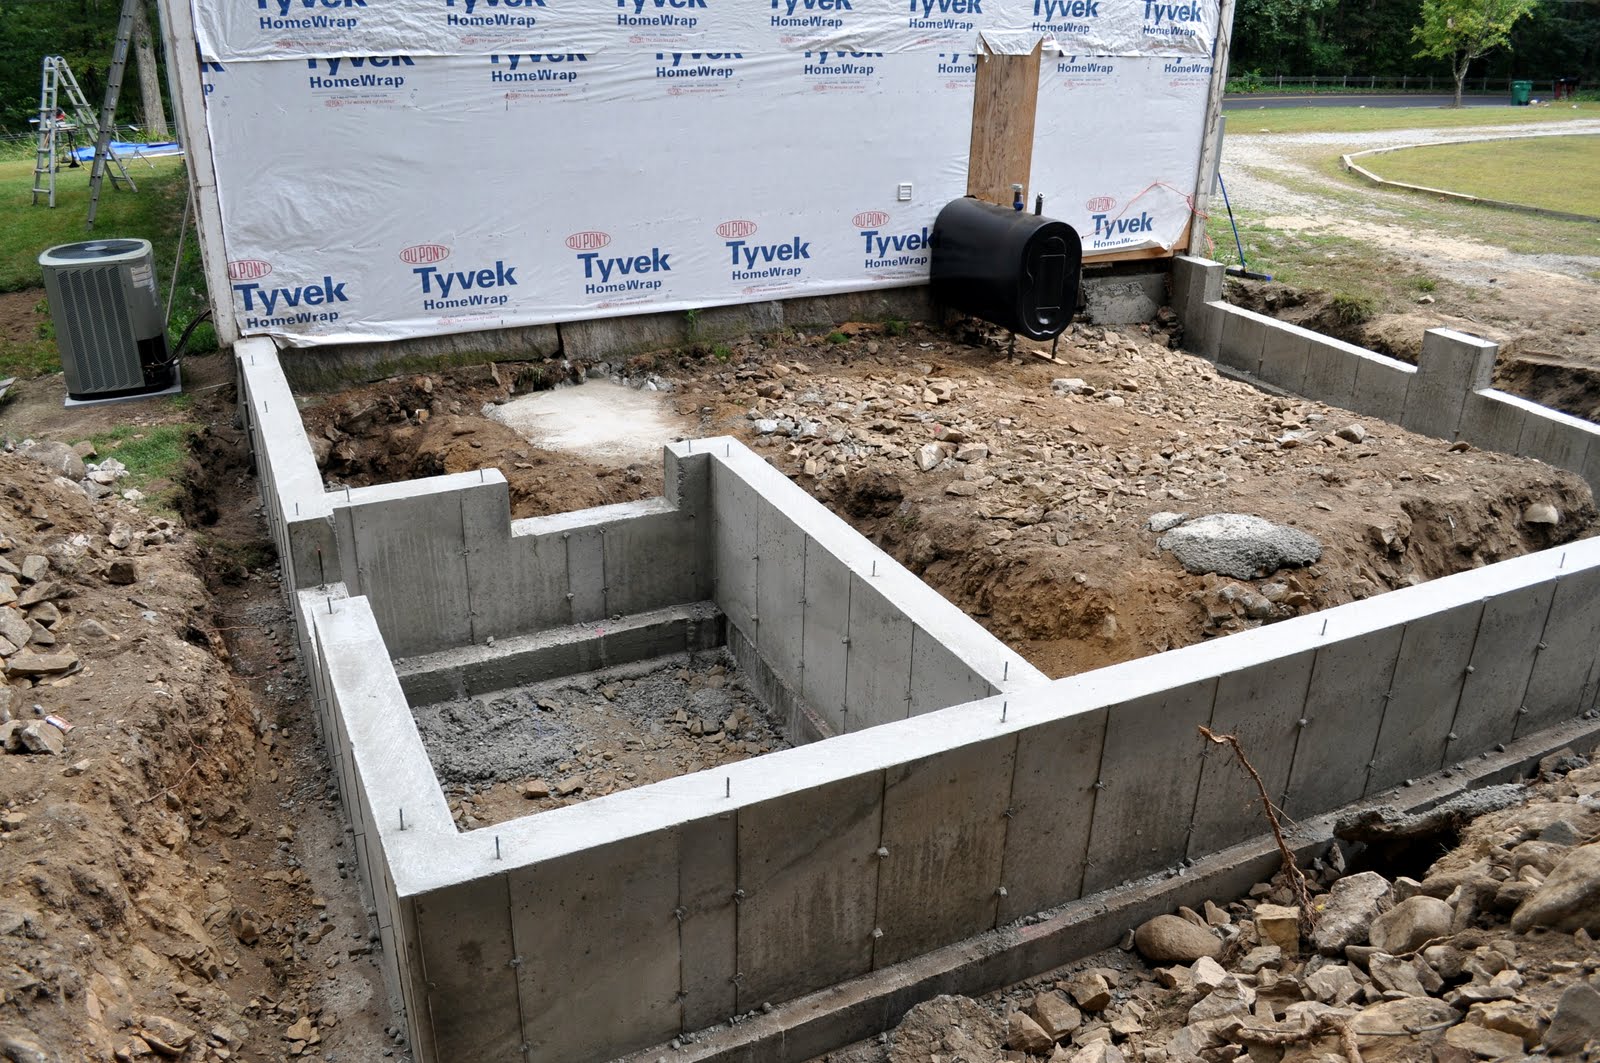
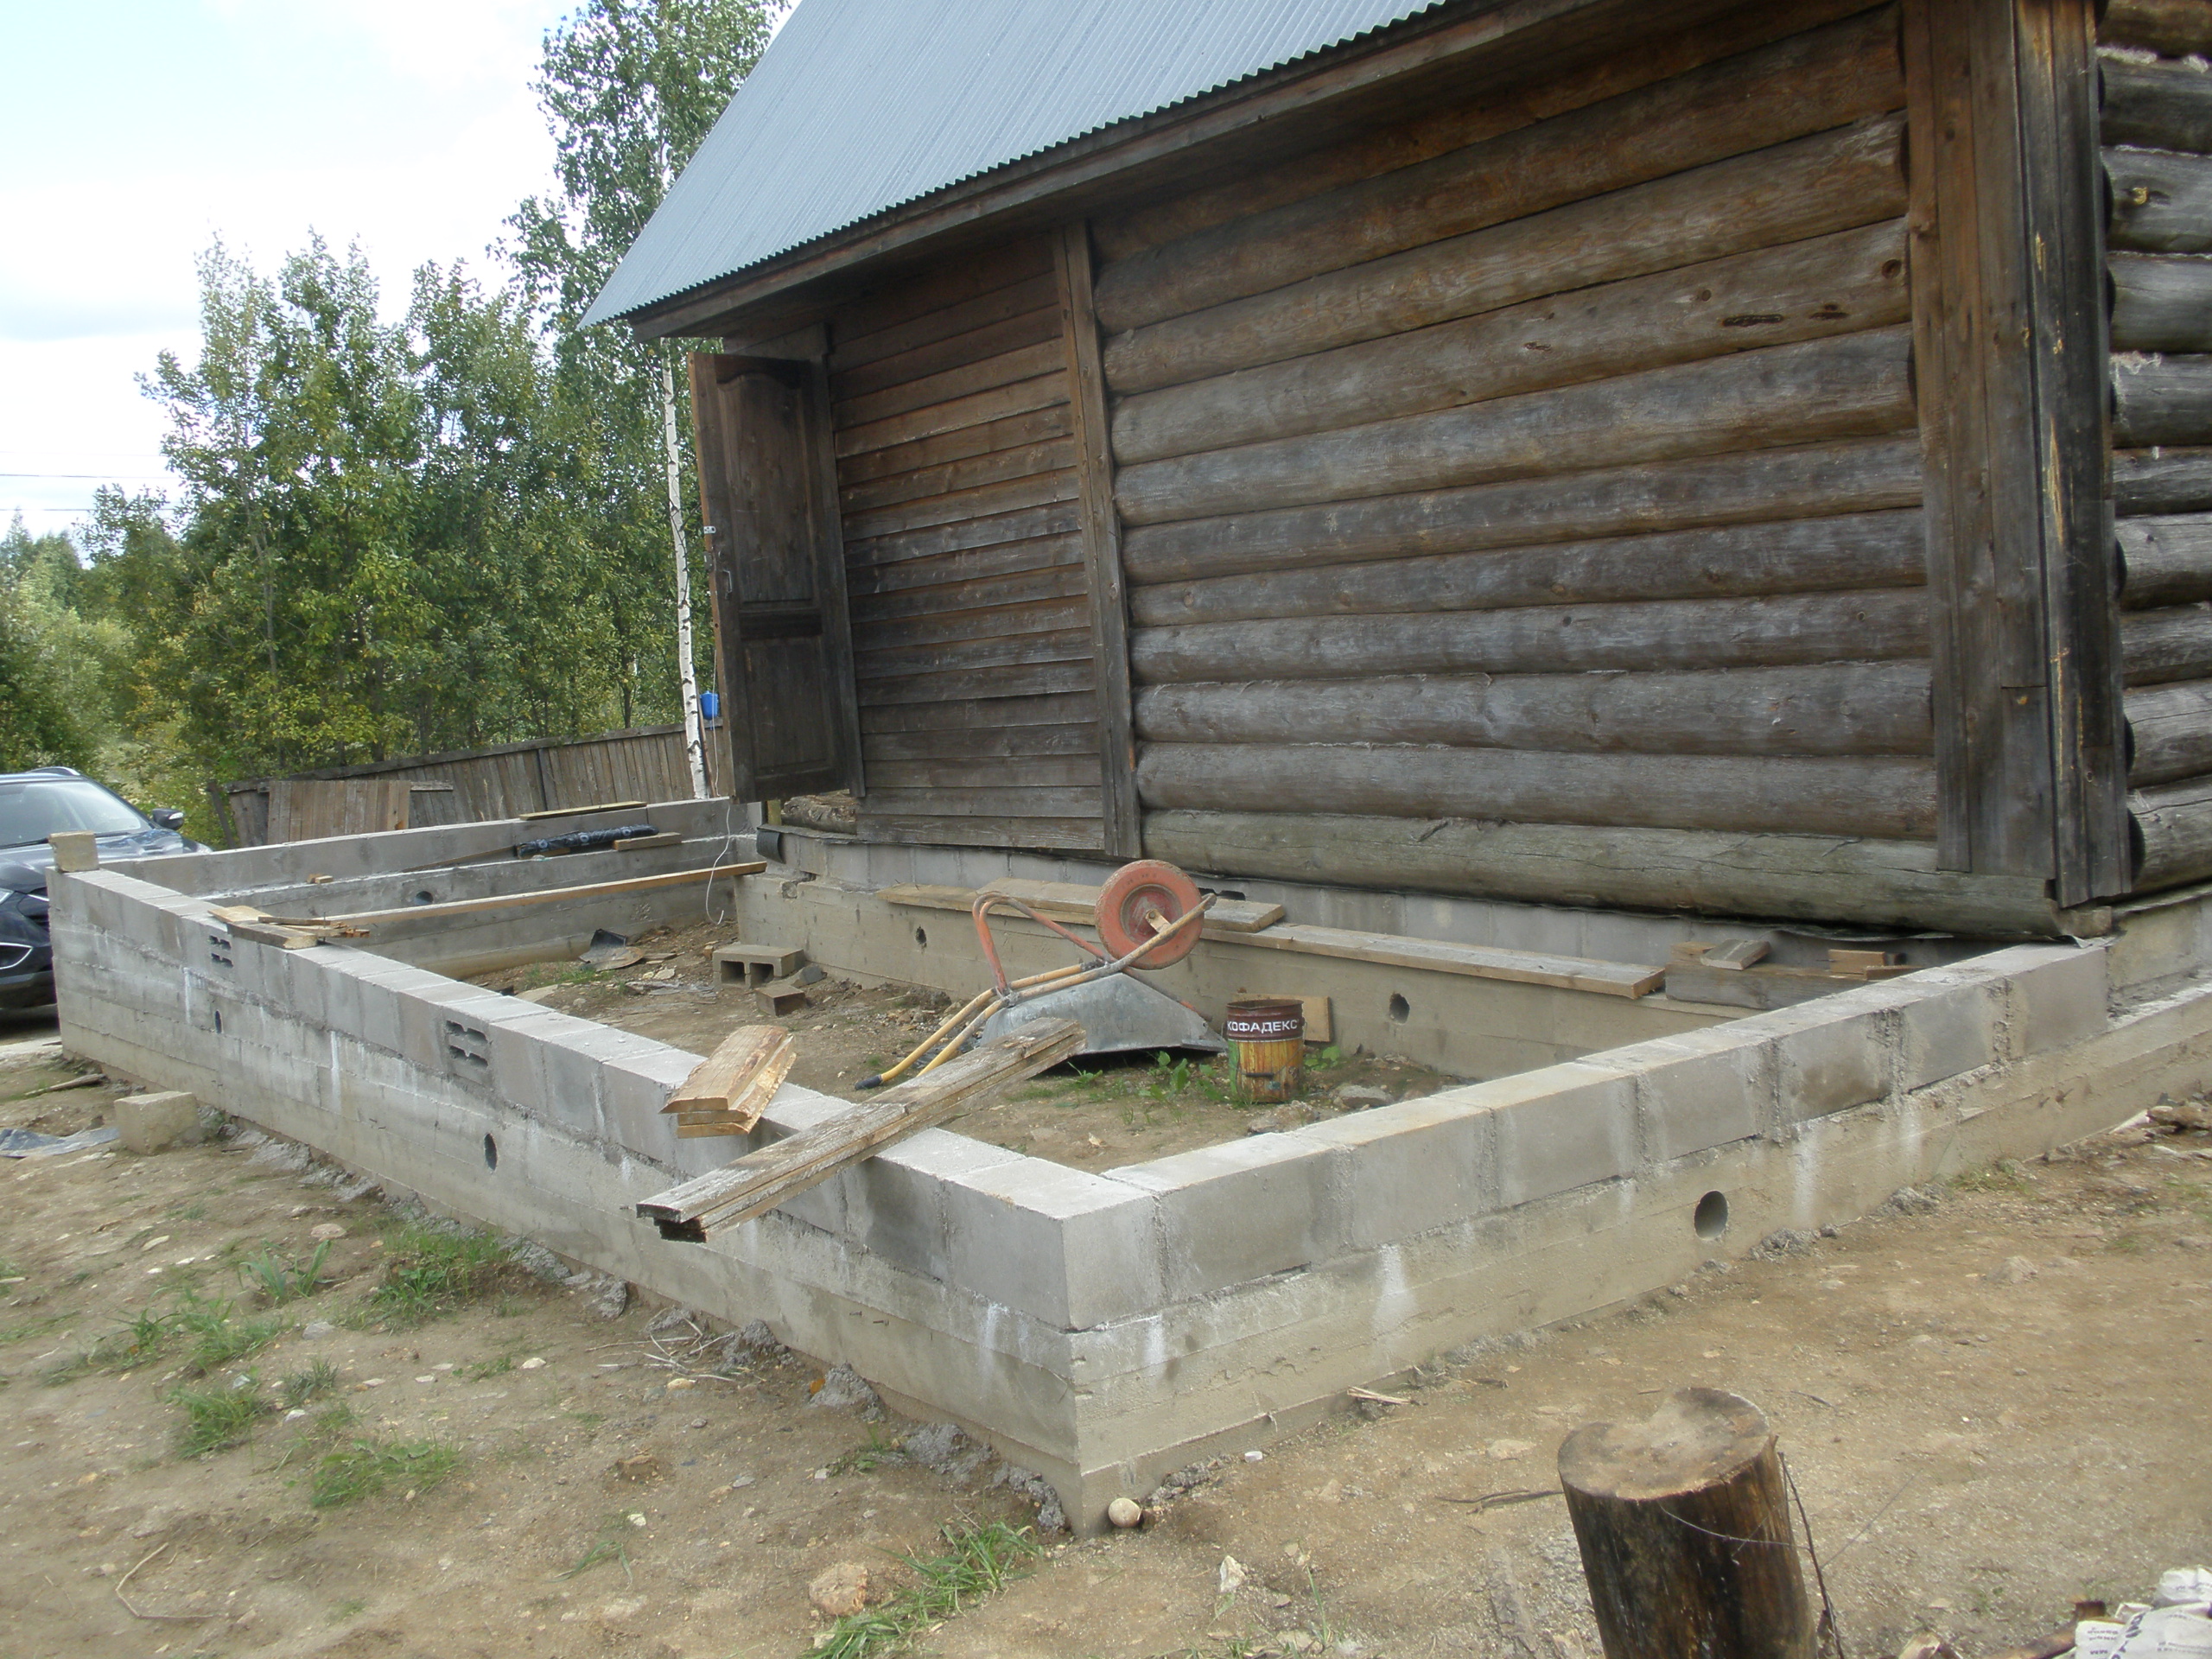
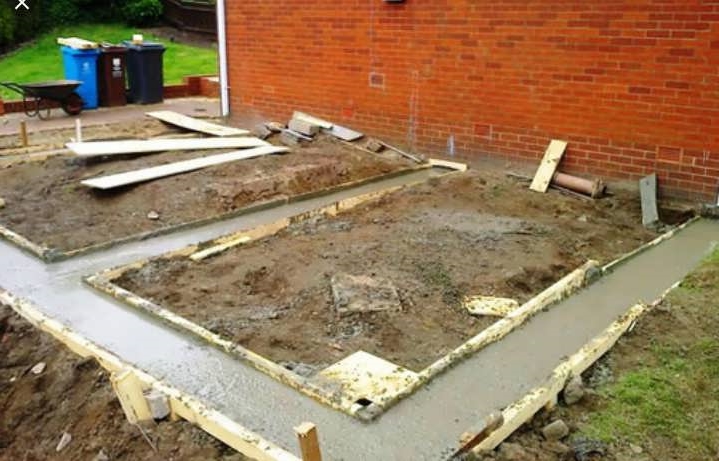
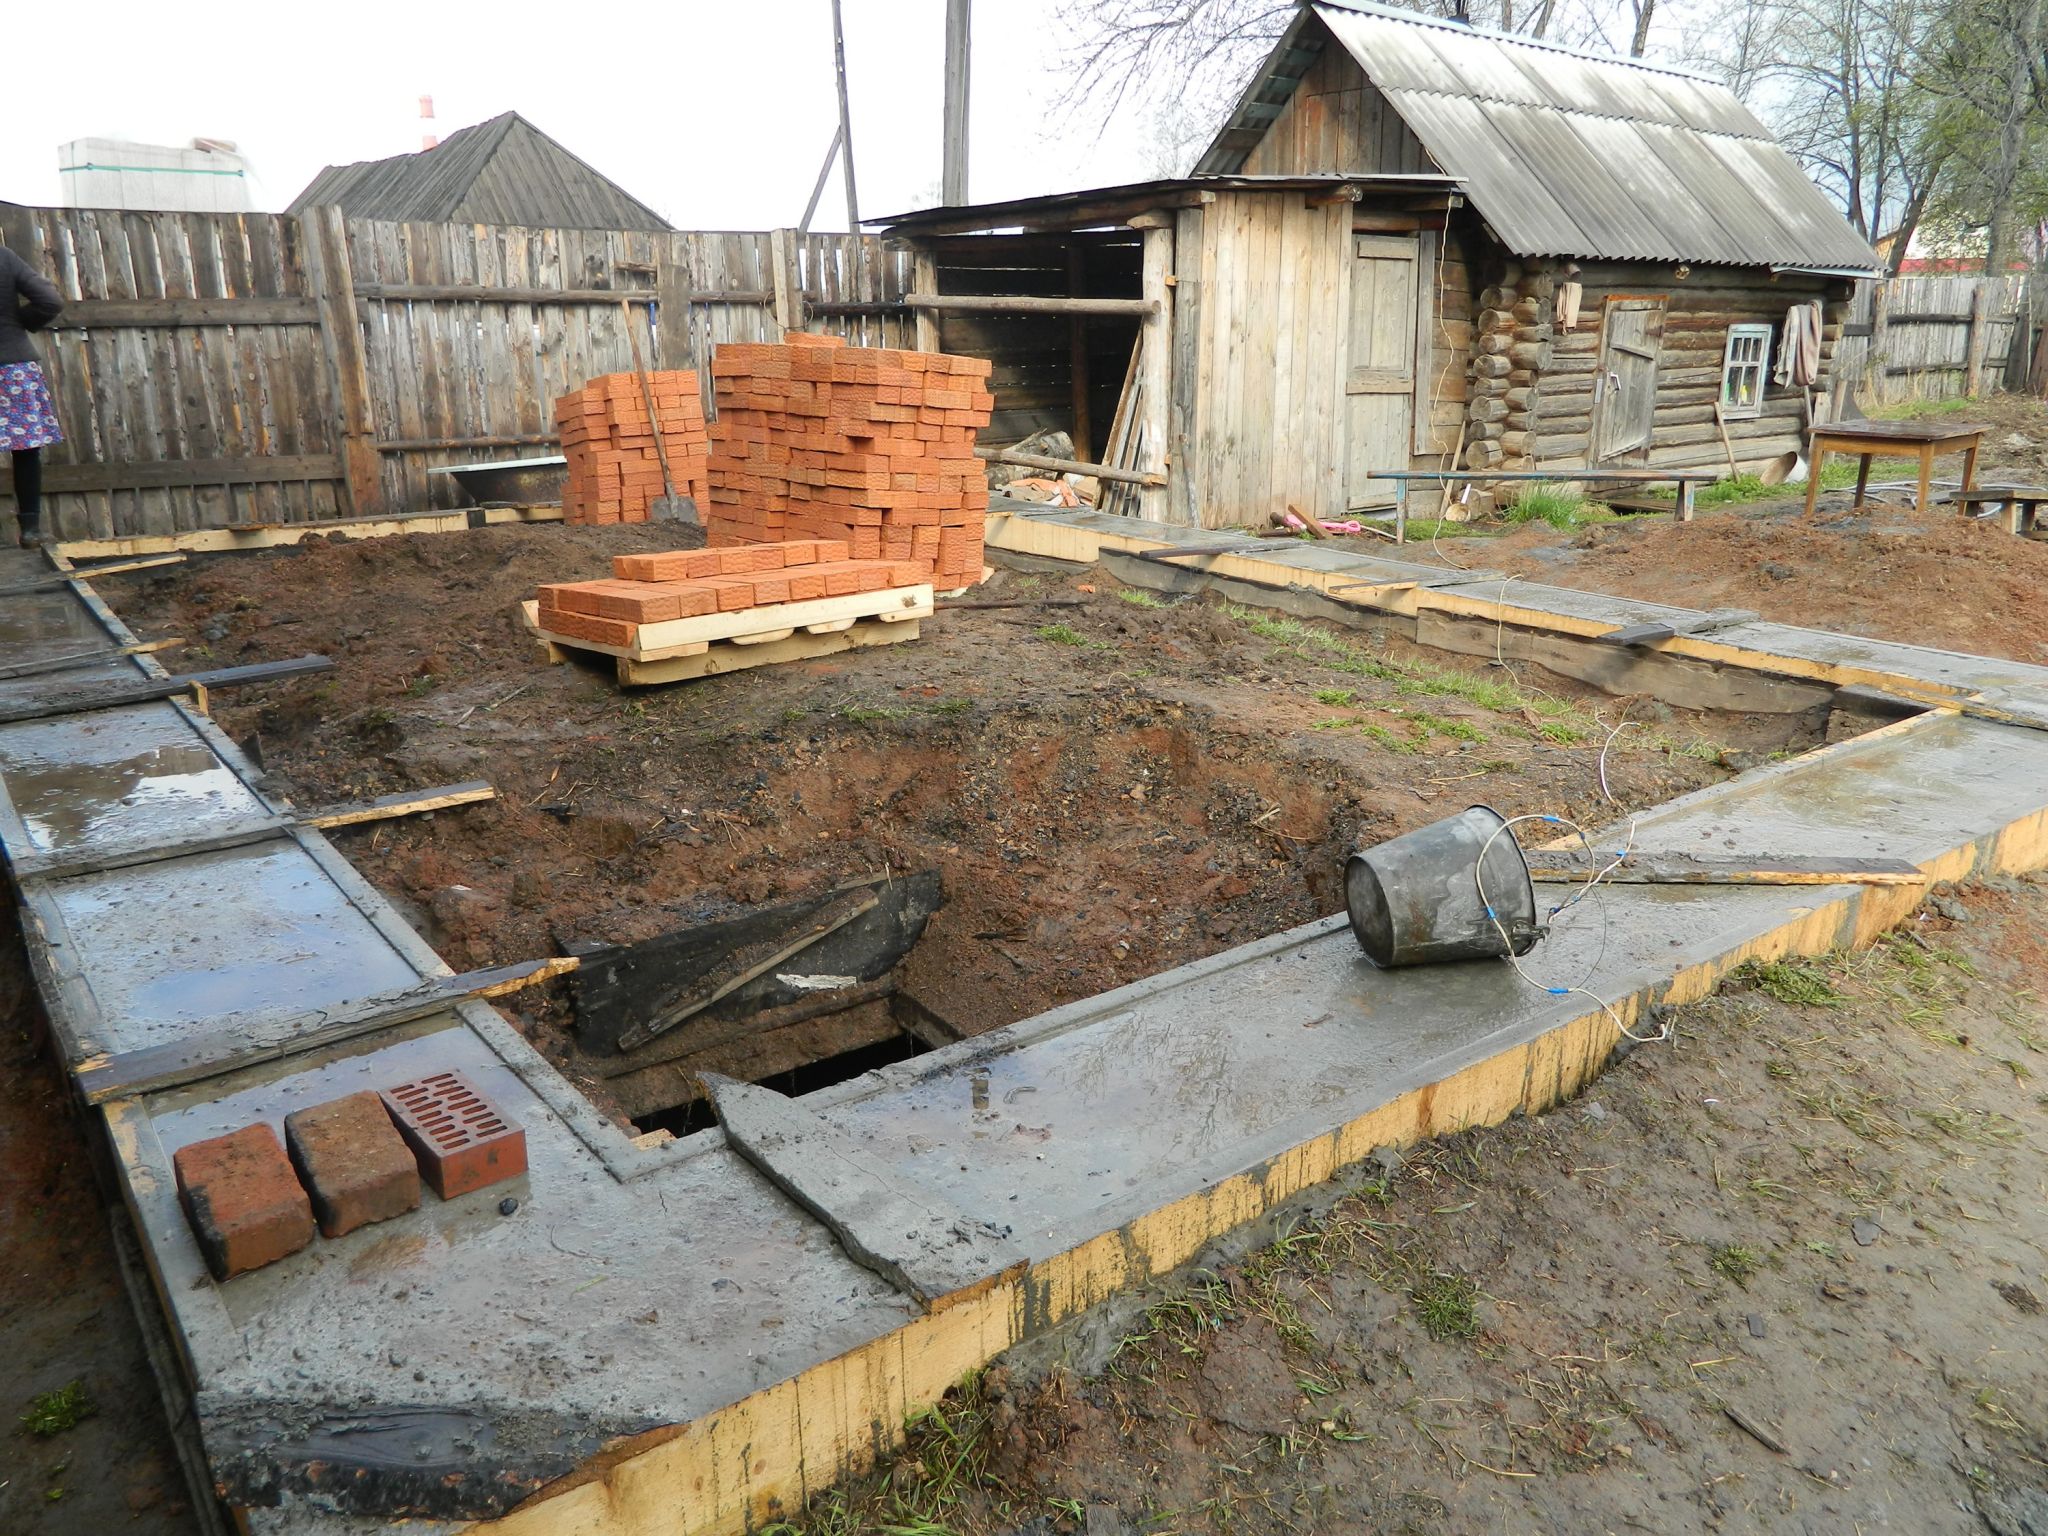
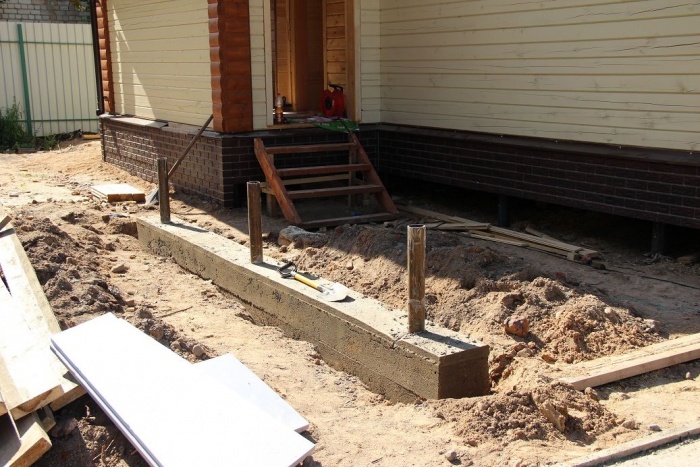
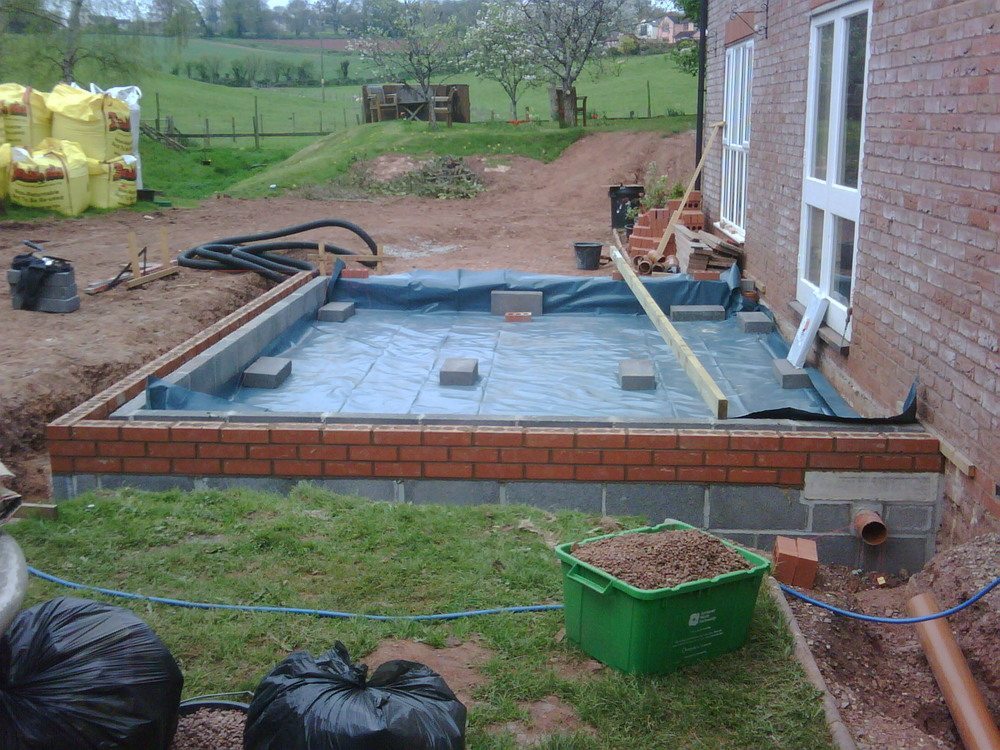
- Belt type. Such a base is universal, as it can be adjusted to a structure of any complexity and severity. The use of a closed base construction scheme prevents subsidence of the structure.
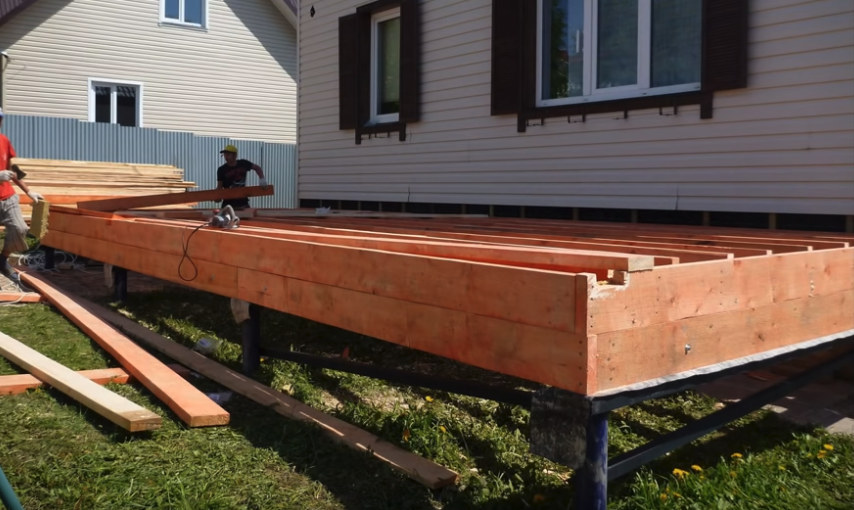
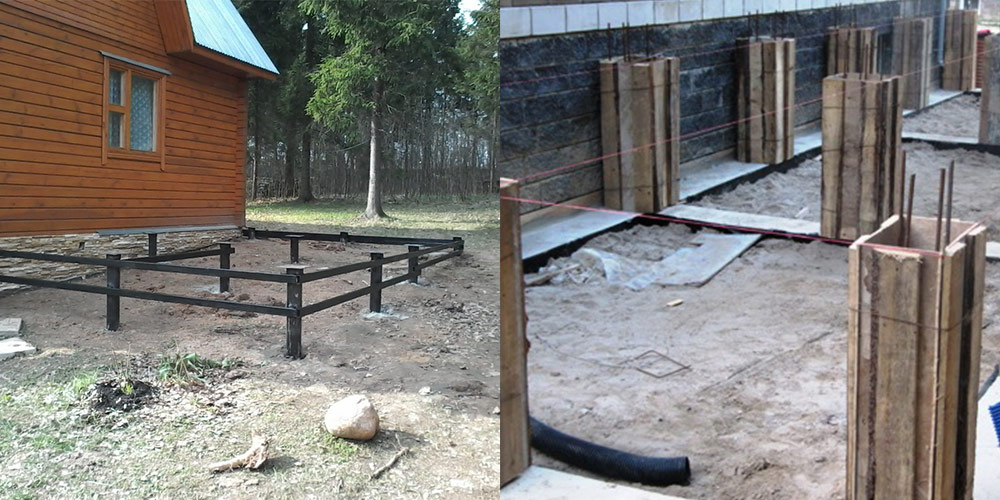
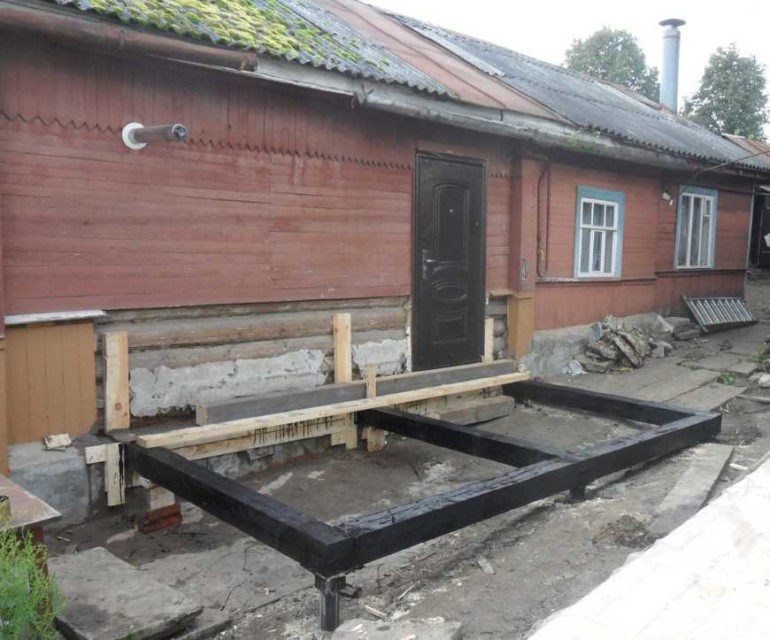
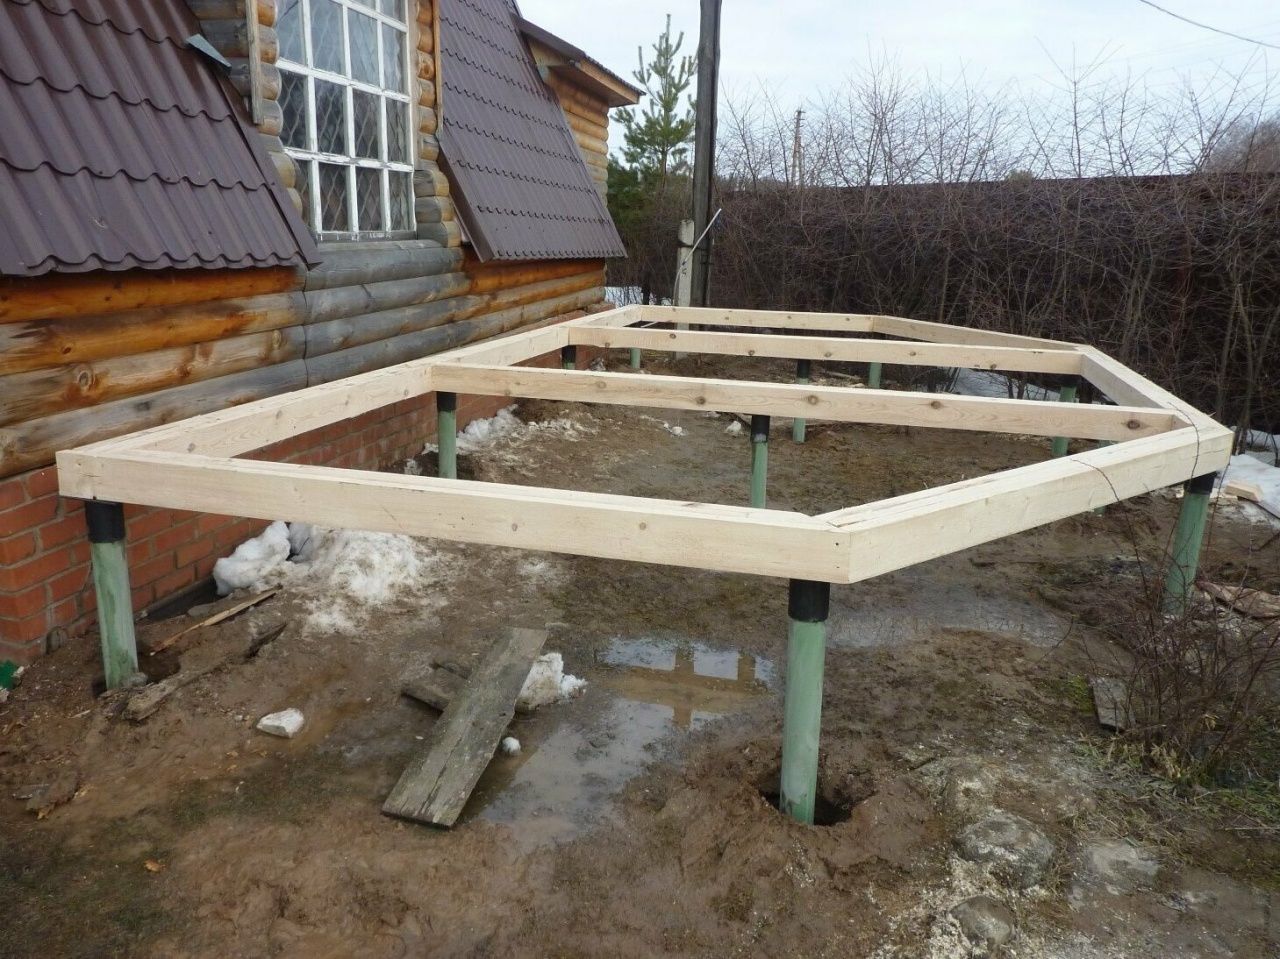
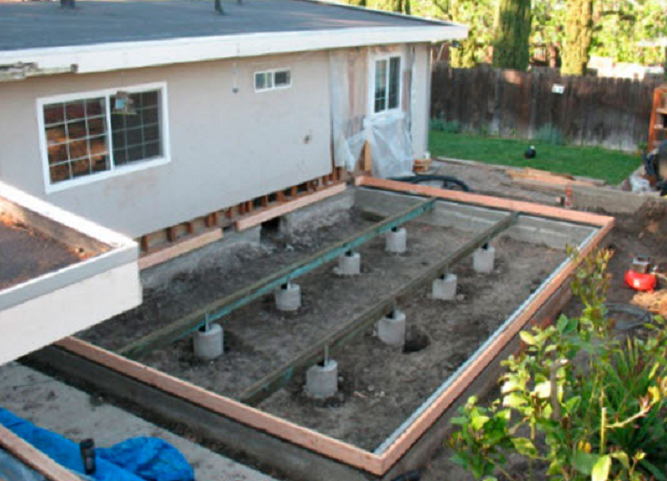
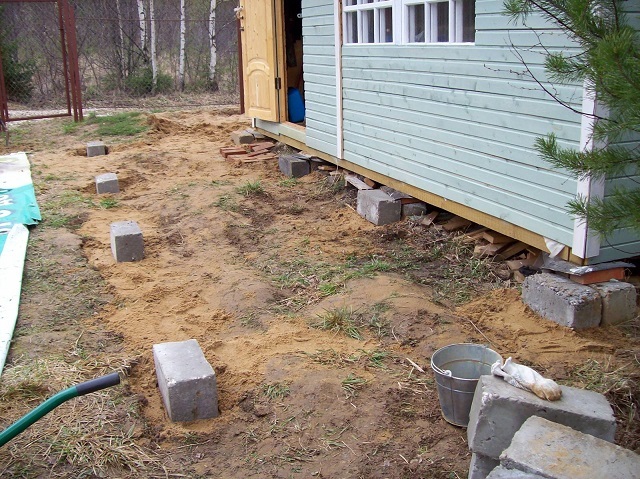
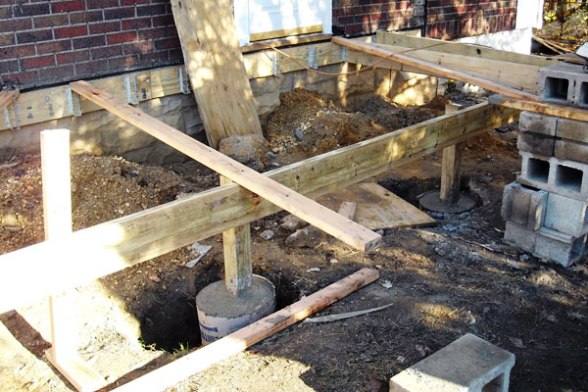
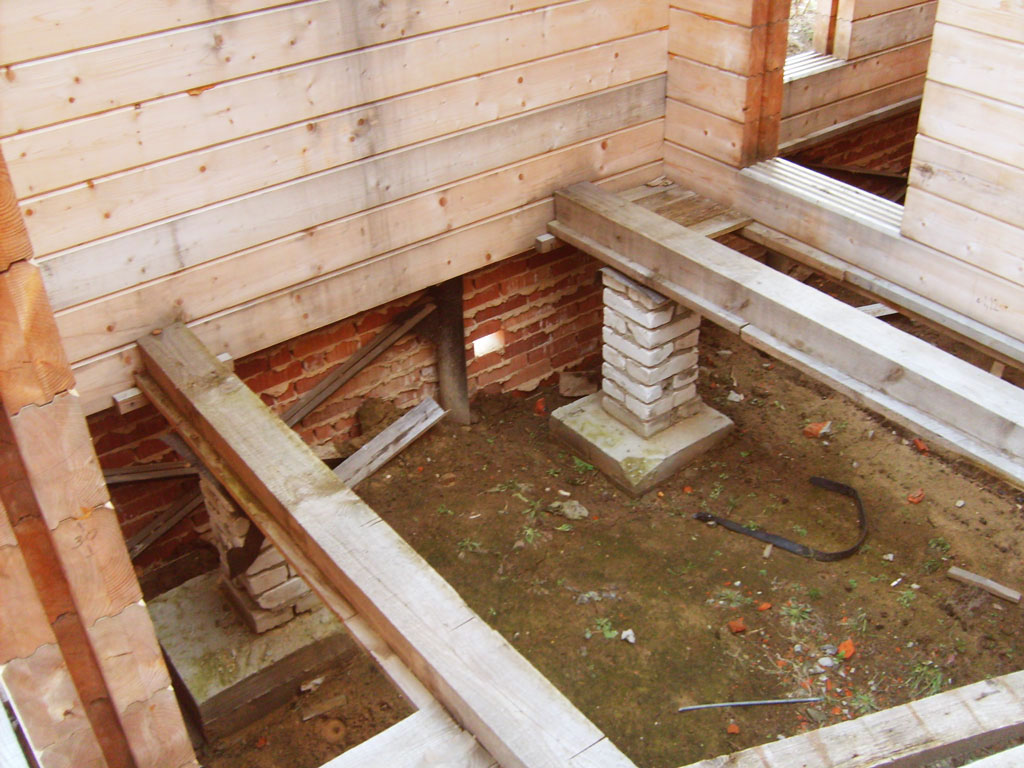
- Columnar type. This foundation is characterized by reliability and an affordable price. It is considered an ideal base for lightweight buildings. The foundation is based on pillars that can be made of wood, brick or reinforced concrete. An important point is the location of the pillars. The distance between them is determined by the design features of the building and can be from 1.5 to 3 meters.
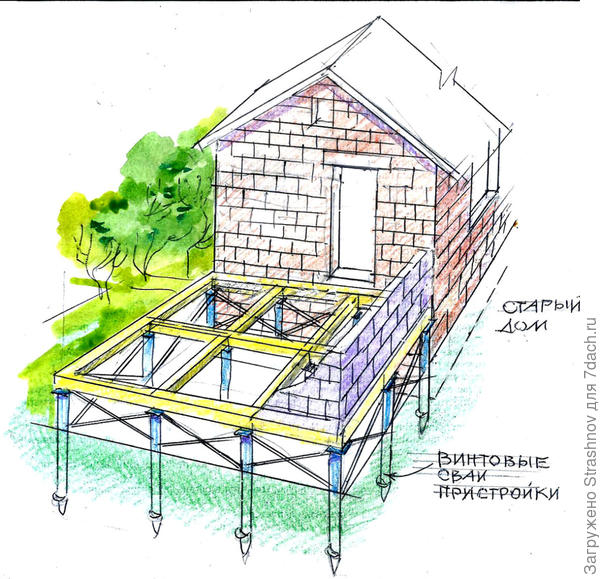
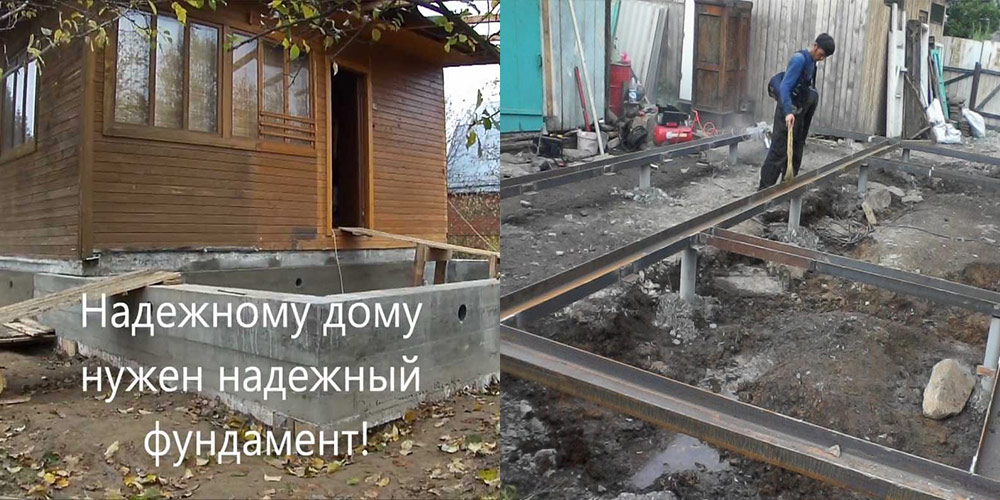
- Pile type. The structure consists of piles made of steel, reinforced concrete or asbestos, connected by a grillage. Such supports are ideal for construction in areas with a predominance of soft soil or for the construction of massive structures.
How to make a foundation for an extension to a house - a step by step diagram
Step 1: choosing a base
The new foundation must fully correspond to the type of the old foundation. In addition, the load and soil type are taken into account. For example, if we are talking about a massive extension to a brick house, then it is necessary to lay a tape or make a pile foundation. But if the additional room is adjacent to a wooden dwelling, then it is possible to get by with a cheaper columnar option.
Step 2: Calculations
Regardless of whether you give preference to a rigid type of connection or a separate base, the depth and width, as well as the dimensions of the base pillars, if any, should be the same as the foundation of the house. Determining these parameters is quite simple. It is necessary to dig a hole next to the wall of the housing and measure the dimensions of the base.If there should be no questions about how to measure the depth of the structure, then in order to measure the width, you should take a rod, bend one edge of it 90 ° and push it horizontally under the foundation. Then we turn the rod until its bent part rests against the back side. After that, you need to make a mark on the bar and pull it out. By measuring the distance from the hook to the mark, we know the width.
Step 3: preparatory work
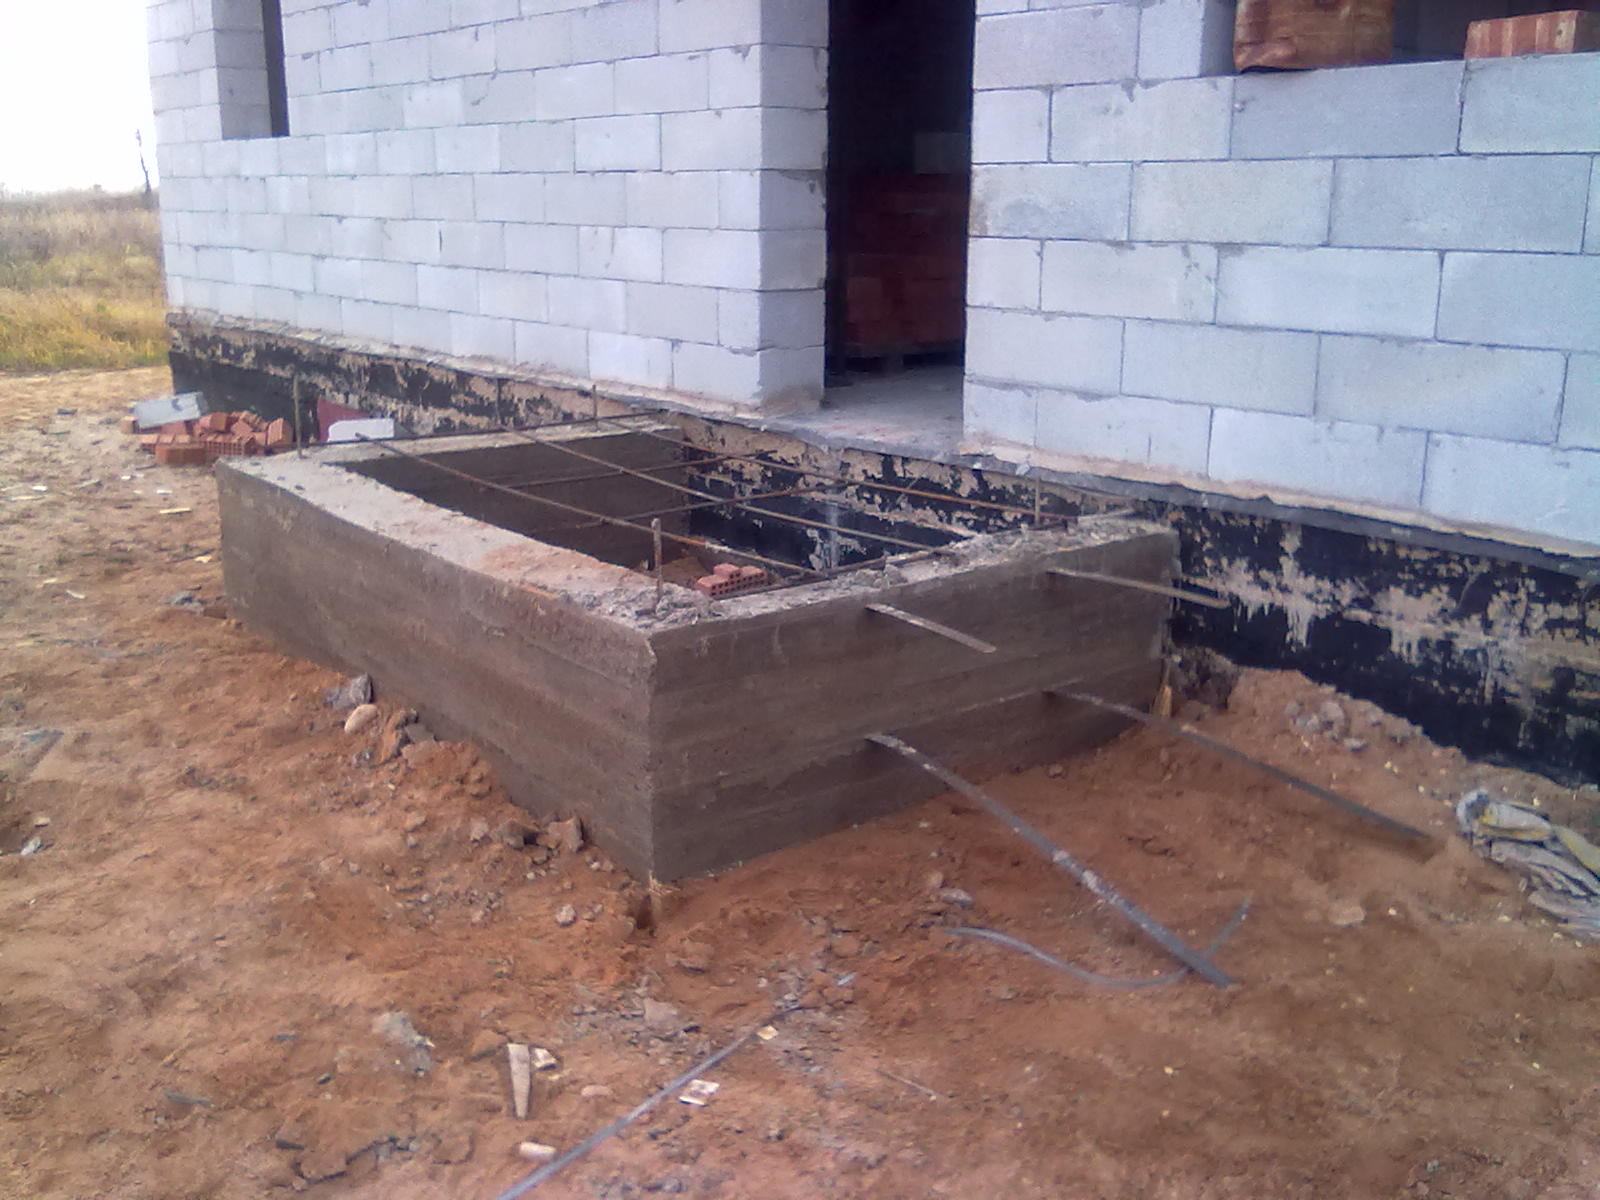
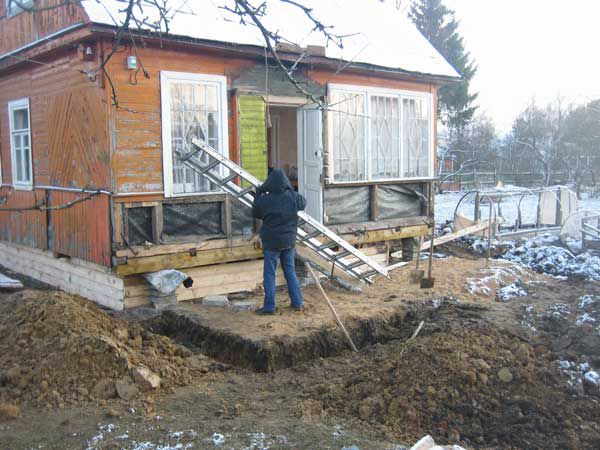
Before pouring the foundation for the extension, it is necessary to carry out preparatory work. If you decide to give preference to a rigid connection, then we dig a trench of a given size and drill a hole in the already existing base. Moreover, their diameter must exceed the thickness of the reinforcement. You should also prepare metal rods. It is necessary to make a longitudinal slot at their end and insert a special wedging insert into it.
Step 4: shaping the framework
We drive the reinforcement with wedges into the prepared holes. The number of rods is taken at the rate of 20 pieces per square. Thus, the frame of the future foundation is formed. To ensure a reliable connection of the following parts, it is necessary to leave the edges of the reinforcement with a length of about 300 mm, which will subsequently need to be welded.
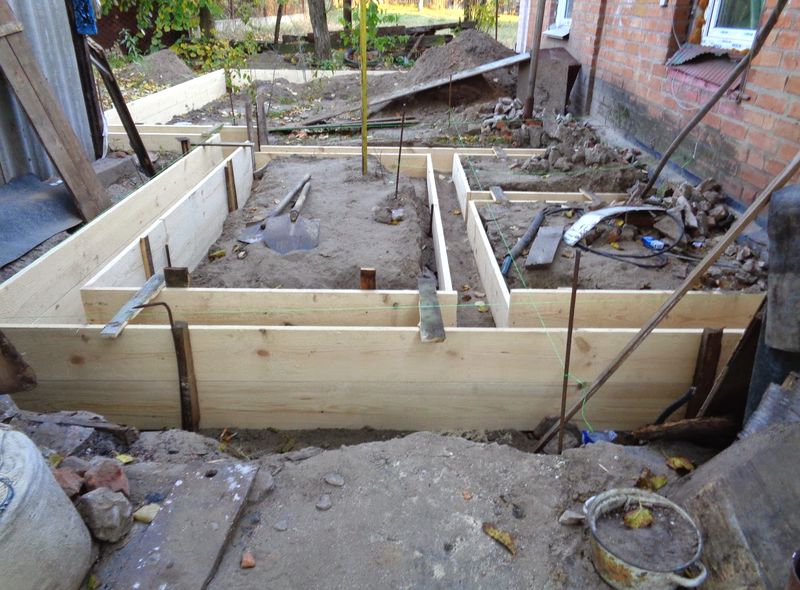
Step 5: Formwork installation
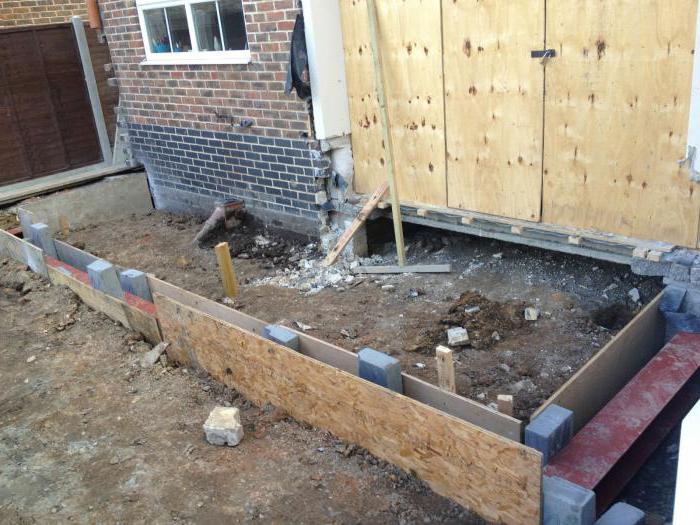
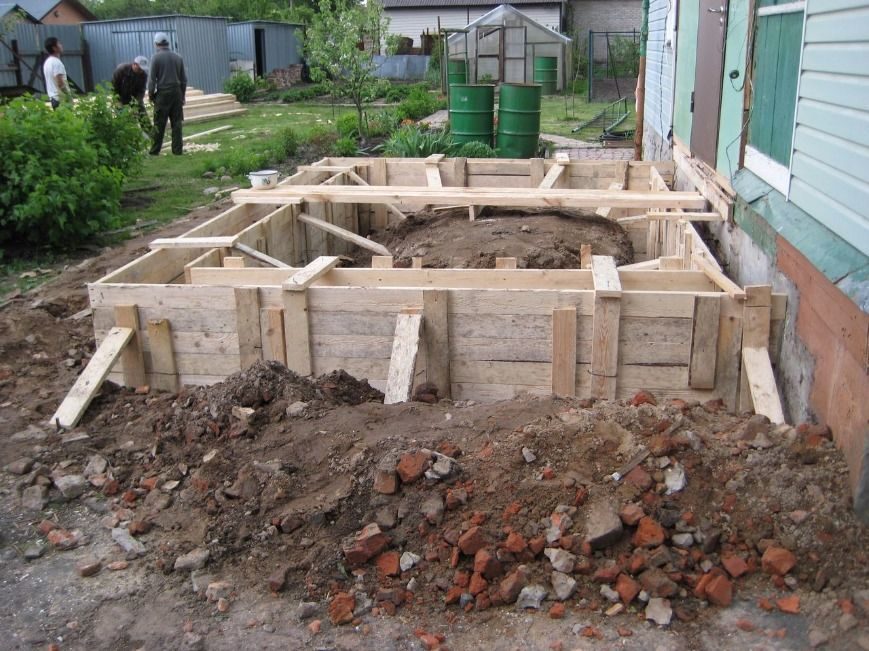
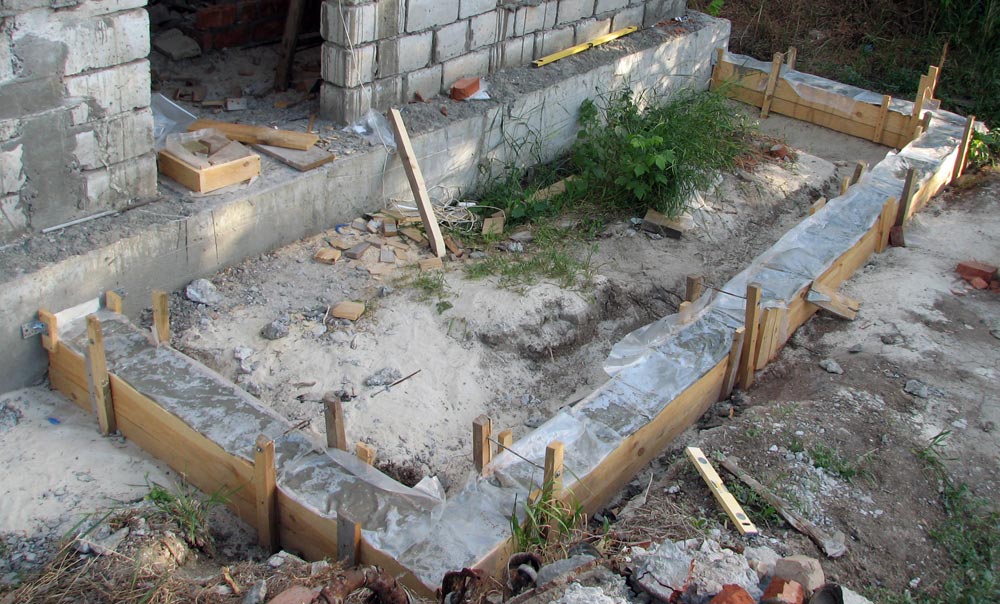
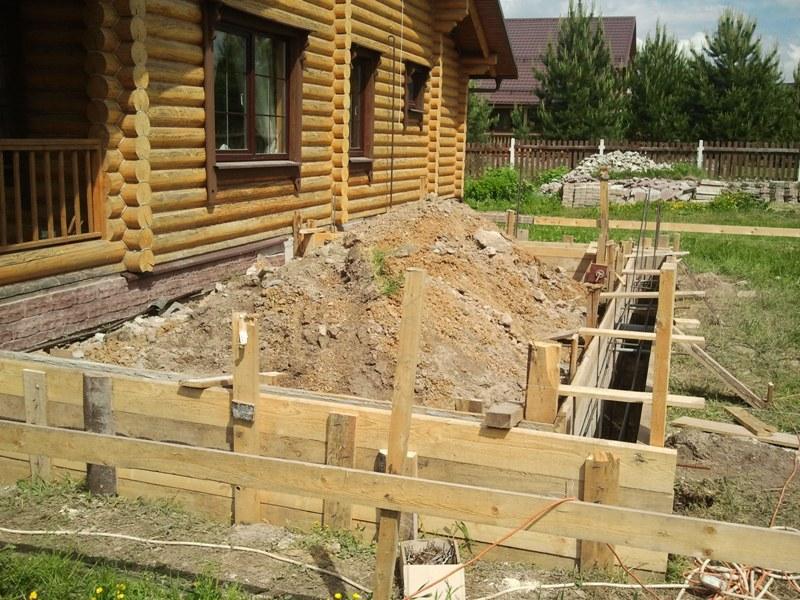
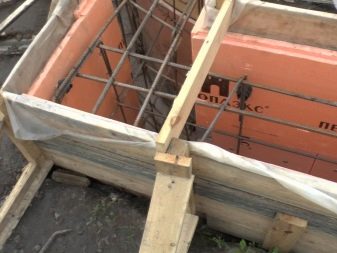
Now you need wide wooden planks. We form the formwork of the specified dimensions. We securely fix its walls by means of supports, earth, cinder block, etc. You can close the inside of the formwork with polyethylene. The latter is especially true if you are pouring only part of the foundation and you have to reuse these boards.
Step 6: pouring the mortar
We prepare a mixture of cement, sand, crushed stone and water
It is very important to keep the proportions correctly. For example, for M300 you can take 10 kg of cement, 30 kg of sand, 40 kg of crushed stone, mix everything well and pour 40 liters of water
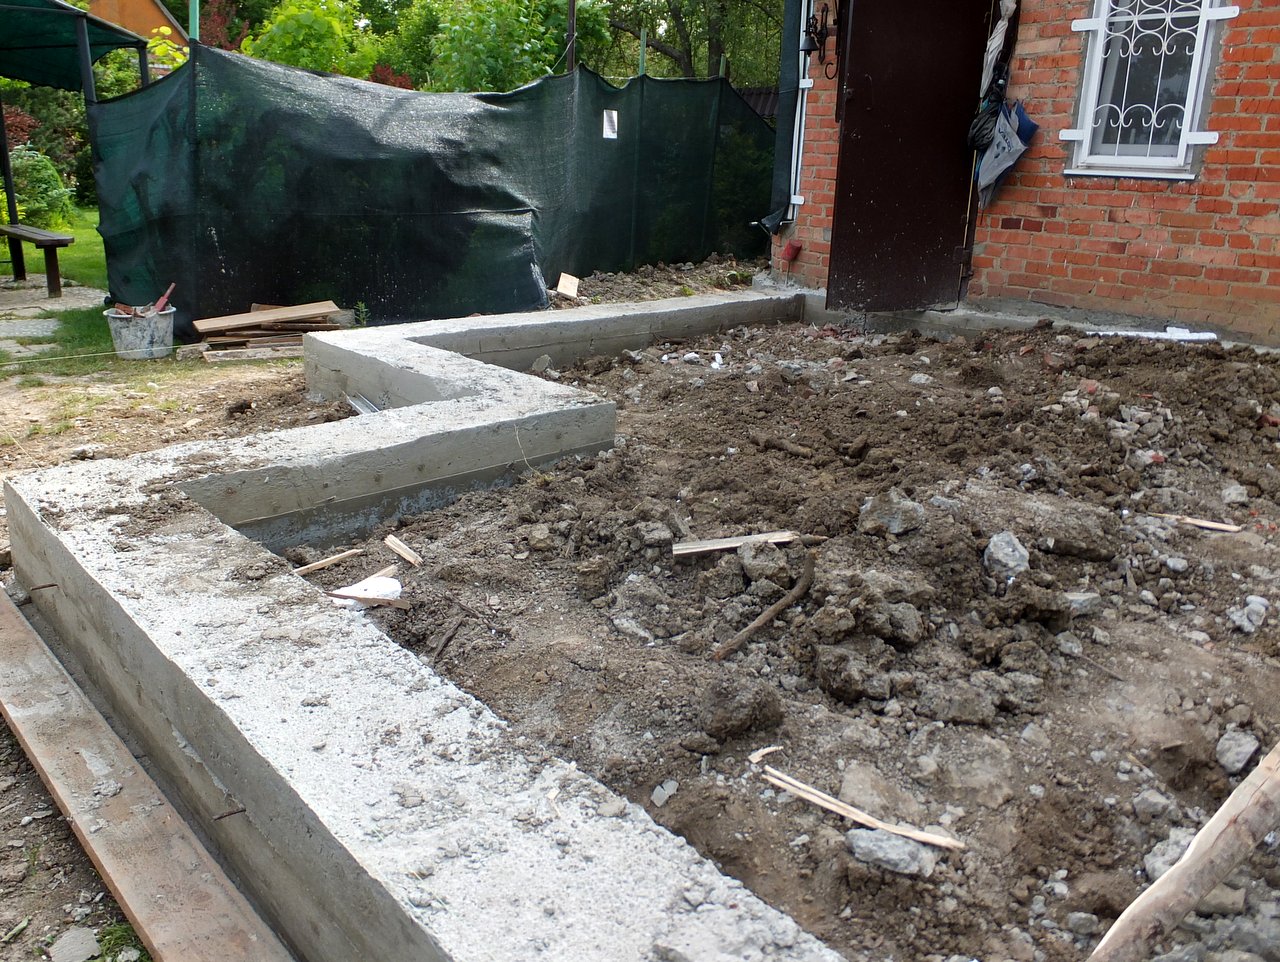
If the concrete turns out to be too dense, then you should dilute it with liquid, but only add it in small portions so as not to spoil the solution. We pour concrete into the formwork and wait a few days until it completely hardens. Moisten periodically, otherwise cracks may appear.
Step 7: shaping the columnar foundation
It is important to make such a base when a lightweight extension is adjacent to a wooden house. We drill wells so that they are below the level of soil freezing. We form a sand cushion and install fiberglass reinforcement. This material has excellent properties and does not need additional treatment with waterproofing compounds. Also, a formwork of a given size is formed and poured with concrete. This foundation for an extension is the easiest to implement, and everyone can create it with their own hands.
Step 8: erect a separate foundation
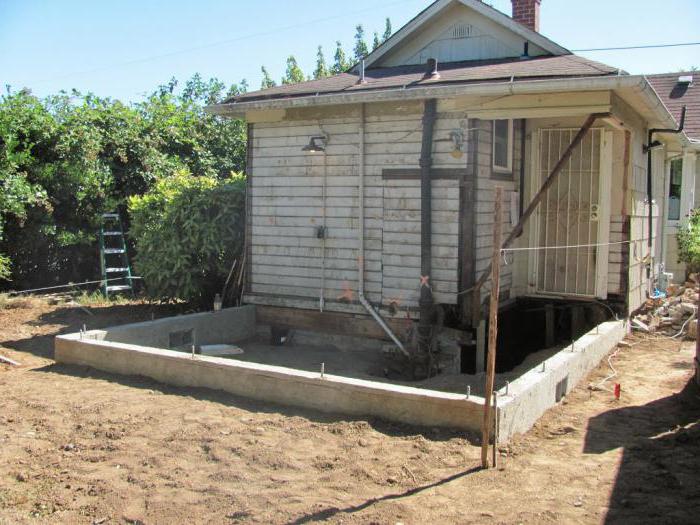
But when the number of storeys of the main and adjacent housing is different, then a separate foundation should be made in close proximity to the previous one. The distance between the two bases ranges from 2 to 5 cm, depending on the number of storeys in the new building. The higher it is, the wider the seam is selected. We fill this gap with thermal insulation materials or tow. Then a special decorative overlay is attached to the wall of the housing.
In this case, it is very important to correctly mark the base. To do this, we pull the cord on pegs around the perimeter of the future site and check if the diagonals are equal
If a heaving type of soil prevails on the site, then the floor of the extension must be made so that it is not lower than the flooring of the main housing by the amount of possible deformations.
Preparation and start of work
When deciding how to make a foundation for an extension to the house, which will become a reliable foundation, it is worth taking care of the high-quality performance of the preparatory work. They include:
- clearing the territory of the future construction site;
- accurate markings;
- excavation.
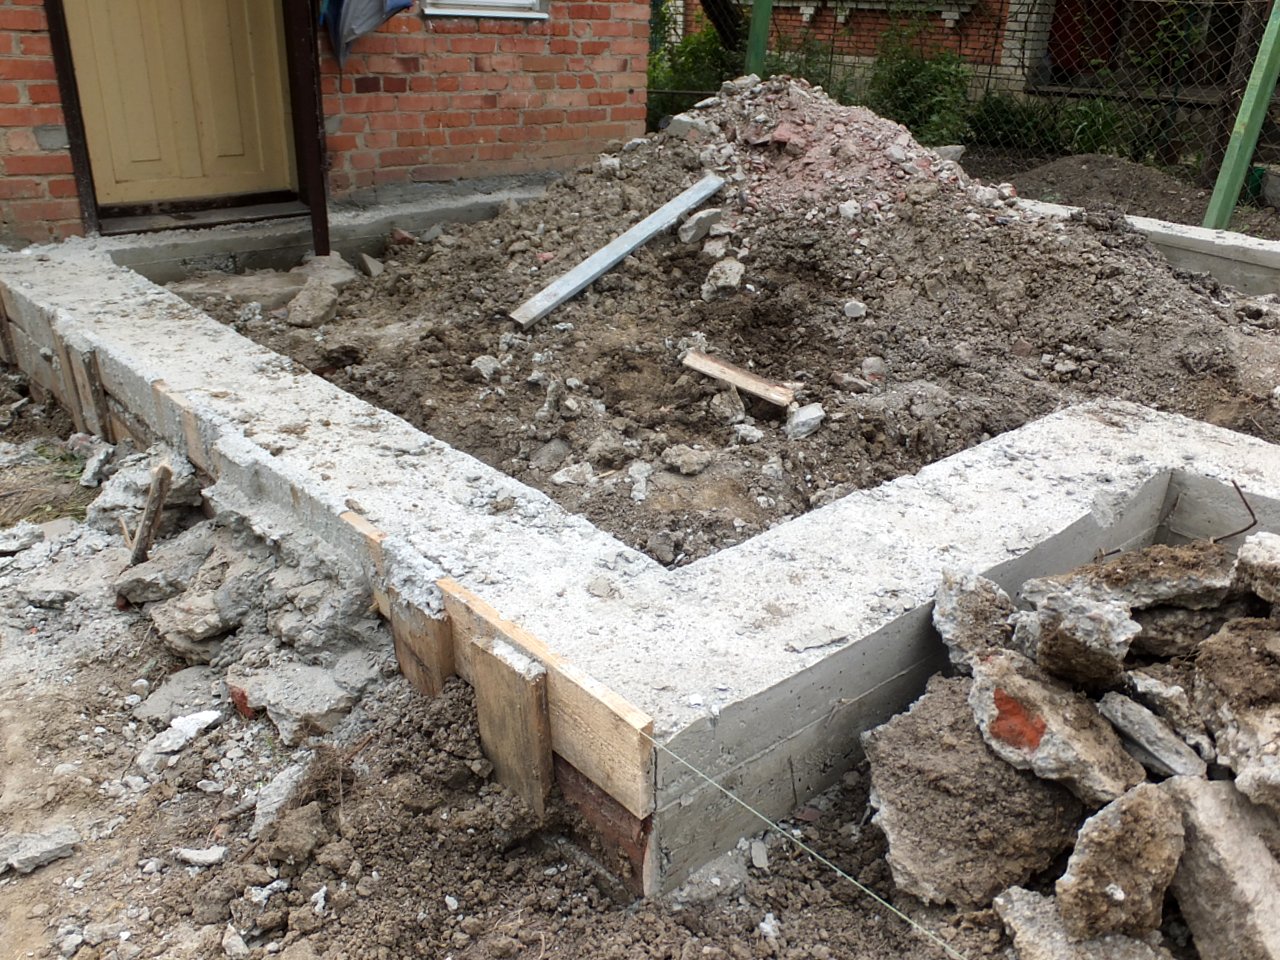
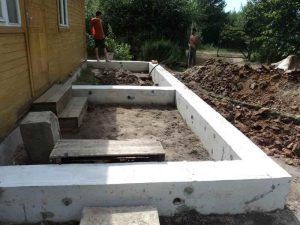 Consider a way to tie the new foundation to the old foundation
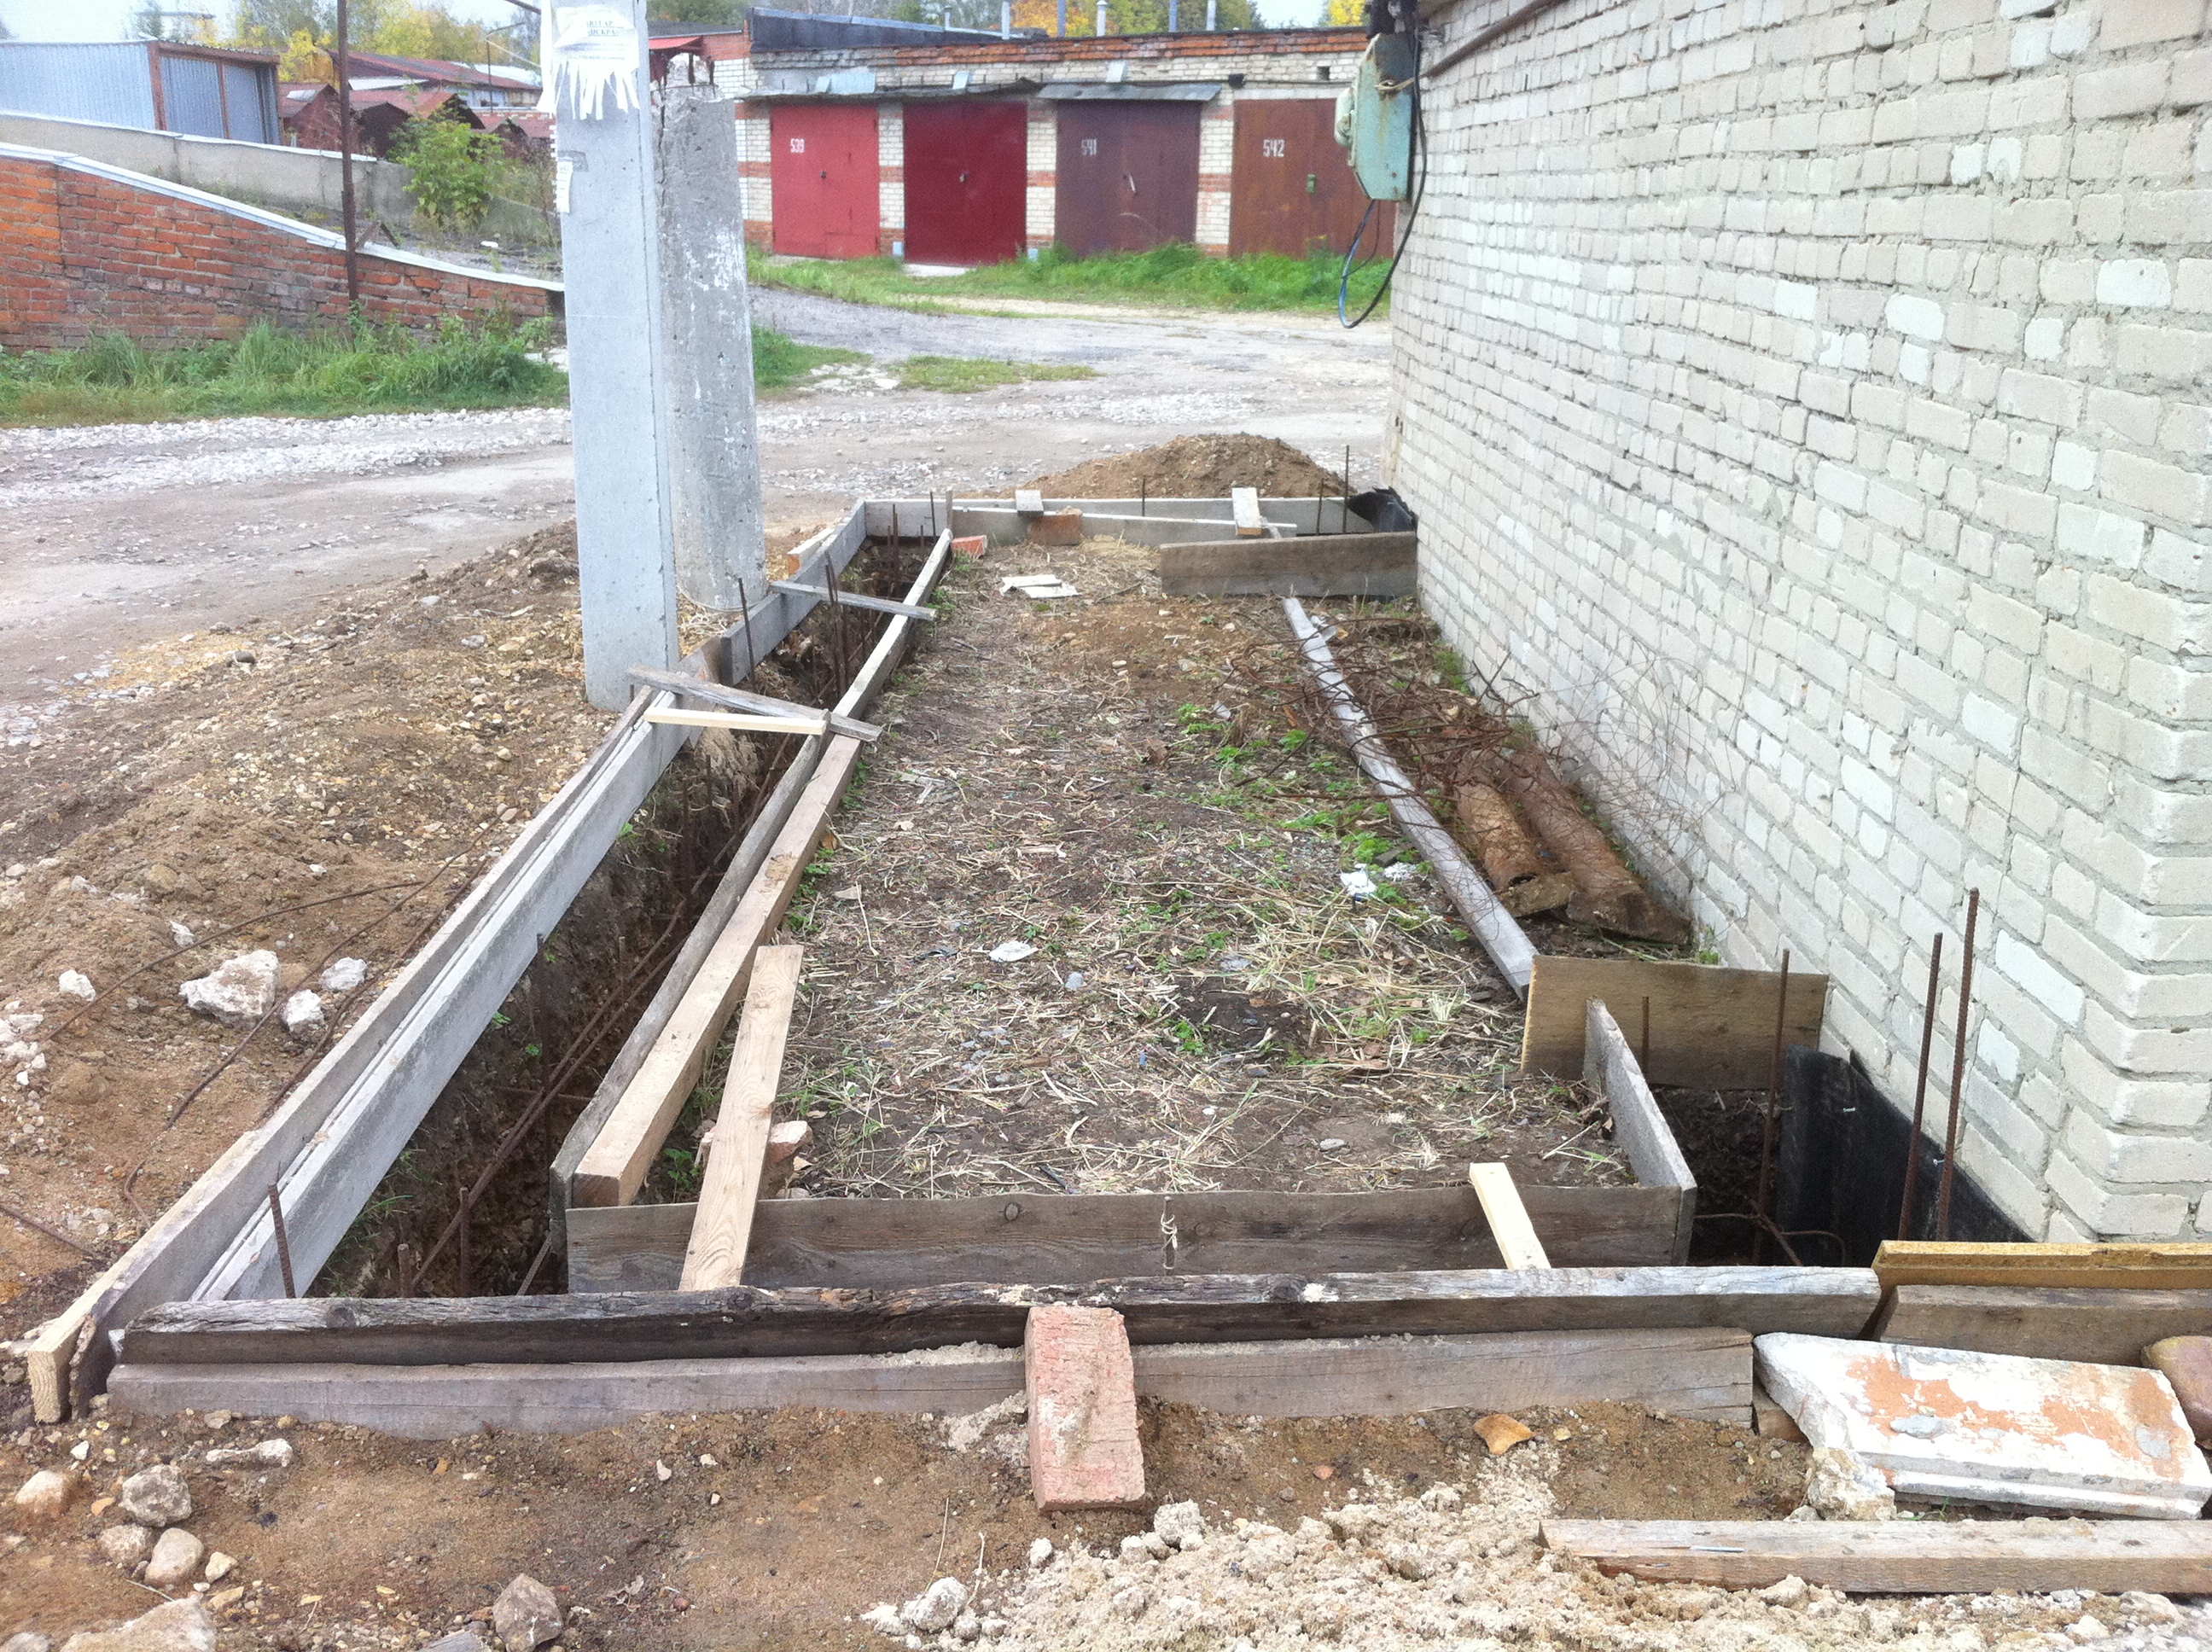
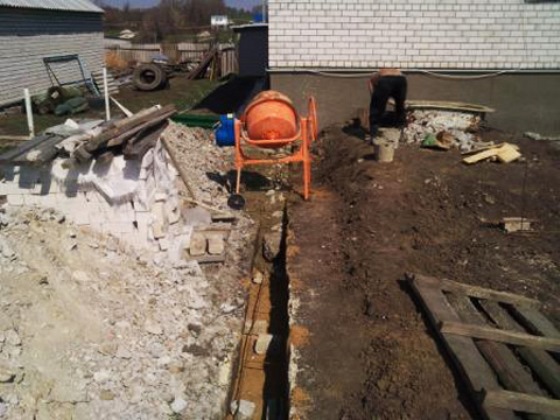
Having completed the markup, you can start digging trenches for the foundation of the extension.
They will contain the connected reinforcement structure necessary to strengthen the future foundation.
It is necessary to attach an additional structure to a brick house, taking into account the need to tie a new base to an already existing supporting structure.
Doing all the work with your own hands, you need to take care of effective reinforcement and proper deepening.
A rigid connection is necessary if the extension will be located under the same roof as an existing low-rise building. Holes are drilled in it, corresponding to the diameter of the reinforcing bar, with a depth of at least 35 cm. Then, reinforcement is driven into the resulting technological hole with an outlet of the same length. There is a wedging at one end of the rod, and a washer is welded on the other. The number of rods is at least 20 pieces per one square meter of the structure. For a detailed video on how to attach a new house to an old one, see this video:
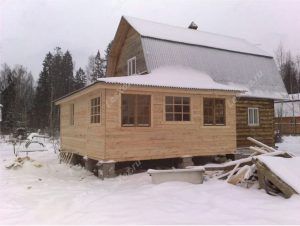 If the extension is built adjacent to a multi-storey building, then the creation of an expansion joint will be more effective. To do this, you need tow or wooden blocks soaked in resin. At its core, an expansion joint is a heater that is placed in the gap between the main and self-constructed foundations.
The width of the gap when working near a multi-storey building reaches 5 cm, if construction is carried out near a one-story building, it is quite enough to ensure the presence of a seam with a thickness of 2 cm.It is possible to put foam plastic or boards wrapped in waterproofing material into it.
How to make an extension to a house so that it does not leave
So that the extension does not move away (extension from the house) over time, you need to remember the secrets of the old masters and build it with a pre-planned slight bias towards the main structure. We lay the slope of the walls vertically within 1 cm per meter of the height of the annex. The slope can be laid already at the stage of foundation construction.
For example, for an annex with a width of 3 meters, the foundation for the outer wall will be 3 centimeters higher than the foundation for the inner wall adjacent to the main building. Visually, the slope will not be noticeable, but you will get a guarantee that the annex will never move away from the building.
Materials (edit)
An extension to a wooden house can be built from different materials. Based on this parameter, we can talk about the operational characteristics of the building, its reliability and the complexity of construction. Let us consider in detail what characterizes structures made of different building materials.
Foam blocks
Many homeowners opt for foam blocks. It is quite simple to work with this material, and it is not too expensive. The wall blocks are lightweight. They can be used to build structures of various shapes and sizes.
Thus, it turns out to build a high-quality extension, quite stable and without unnecessary internal bridges. Due to such actions, the wooden house will, as it were, increase in length.
Beams
From the point of view of technology, the construction of such a structure turns out to be more complicated and time-consuming. Making an additional room out of bricks or gas blocks / foam blocks is many times easier and easier. The same can be said about log buildings. For their construction, the owners will have to spend a lot of time and effort.
An extension from a bar will need a very strong and high-quality foundation. Experts strongly recommend making the same foundation base for the timber extension as for the wooden house itself.
You will also need to take into account the shrinkage of wooden walls. The building will definitely shrink, even if it is made of the highest quality materials and performed in accordance with all the rules. This process will take at least a year.The owners will need to keep under control the condition of the expansion gaps on the walls and in the roof truss system.
Brick
Often, homeowners use bricks to build an extension. The structure turns out to be strong and durable, but it takes more time to build it. The result is a capital building. It is undesirable to place it in the foreground, because brick structures do not go well with wooden ones. This applies not only to brick, but also to stone extensions, which also take a very long time to build, in addition, this entails large financial costs.
Gas silicate blocks
Quite good structures are obtained from gas silicate blocks. The material attracts buyers with its non-combustibility, as well as environmental safety. True, in conditions of constant temperature jumps and with prolonged negative external influences, the structures from the gas block wear out faster and become more fragile. In addition, the blocks under consideration cannot boast of sufficient hydrophobicity.
Arbolit
This is a special wood block, which is one of the lightweight types of concrete with organic filling. Arbolite blocks are different: large-format masonry, hollow, heat-insulating.
They include water, wood chips, cement and special chemical additives.
Arbolite is characterized by high vapor permeability, low water resistance, low weight. The material does not need additional reinforcement and is easy to process.
SIP panels
Good extensions are obtained from SIP panels. This material is considered versatile, most often it is used in the construction of frame buildings. Differs in good thermal insulation characteristics, sufficient noise insulation, low weight. From SIP panels, you can quickly make a warm extension, following all the necessary technologies. In addition, the building material in question is environmentally friendly and safe.
OSB panels
Oriented strand board is often used for the construction of outbuildings. This is a special multilayer material that has an affordable cost, but at the same time is characterized by high reliability. OSB panels look neat and attractive, and are lightweight. It is easy and convenient to work with them.
OSB panels are different. Materials with varying degrees of strength and density are on sale. But it should be borne in mind that these elements do not tolerate sudden changes in humidity levels, since they are based on wood components.
Sandwich panels
Another building material with a three-layer structure. Sandwich panel extensions are built very quickly. The material boasts environmental safety, hygiene, and also a low load applied to the foundation. In addition, sandwich panels are characterized by excellent sound insulation properties.
Self-production
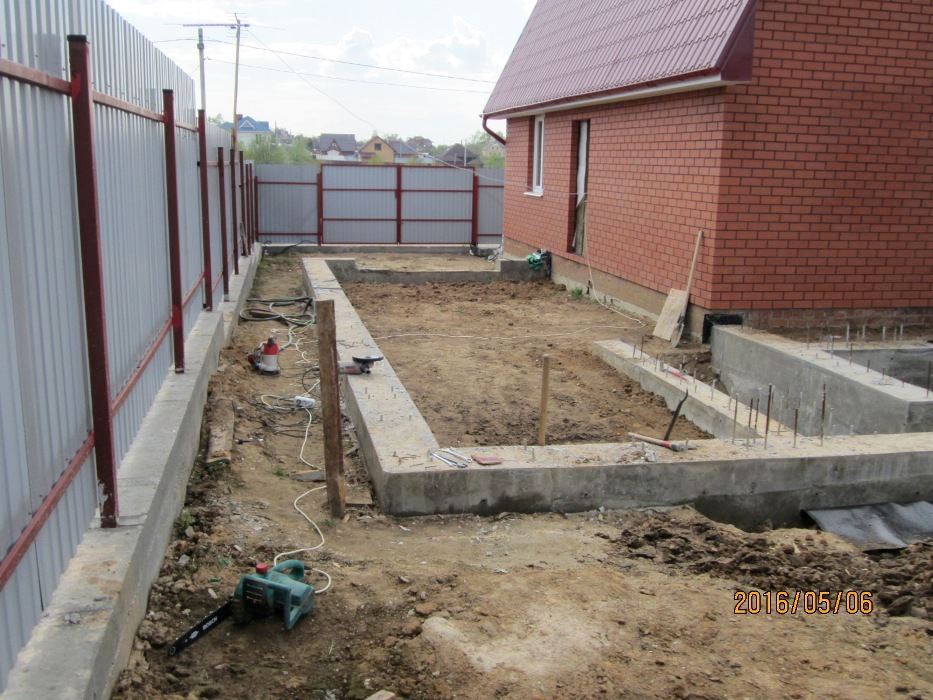
The most common is the strip foundation, which can be used for the construction of a veranda and an extension to an existing house of any design, from a light gazebo to a heavy two-story one. It can be linked to an existing foundation.
To properly fill it with your own hands, you need to study the technology and complete all stages of the work.
- Make markings with stakes and rope, drive in the pegs around the perimeter of the extension, pull the string.
- Dismantle the existing blind area, remove the insulation, if it has been laid.
- Dig a trench using the rope marks and the target depth.
- As drainage, you need to make a sand and gravel pillow, tamp it carefully.
- Mount the formwork from the boards, support it on the outside with special supports, and inside with spacers to prevent displacement during pouring.

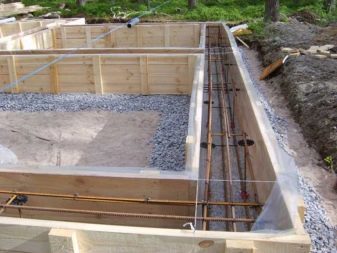
- Install reinforcement in the trench, connect it with wire in the form of a lattice, which should be 20 cm above the ground.
- Drill 35 cm long blind holes in the finished foundation of the old house to connect the bases.
- Lay the reinforcement in the holes, wedge the rods at the ends and tie them to the new frame. Thus, make a rigid coupling of the foundations.
- If it is decided to make an expansion joint, then wide sheets of heat insulator are laid between the bases.
- Pour the solution, the drying time and curing time is 3-4 weeks. During this time, it is necessary to moisten the soil next to the formwork, then the concrete will dry evenly, without cracks or deformations.
- After the concrete has dried, a layer of waterproofing is laid, then the walls are erected.

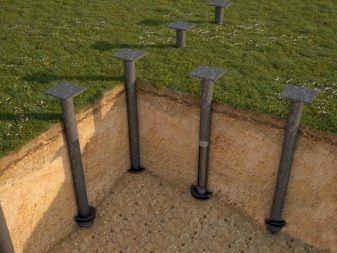
If the soil on the site is weak, and the veranda or gazebo is rather heavy, then it makes sense to make a pile foundation. A massive fireplace built into the wall, a pool, a two-story building can give a big load.
The pile foundation is made as follows:
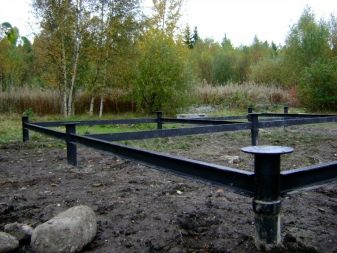
- screw piles are buried in the soil so that their upper part protrudes above the surface;
- special support pads are attached on top;
- using a bar or frame beam, they combine all the screw supports into a single structure;
- Careful control of height differences when installing screw piles is very important.
In the case of an extension of a pavilion with a swimming pool, you must:
- mark the dimensions of the veranda and the pool itself;
- dig a pit under the bowl, adding 1 meter each to the length and width for arranging the side cushions and allowing the builders to pass;
- the walls of the pit are dug with a slight slope for strength;
- a drainage cushion is poured at the bottom, waterproofing and thermal insulation of the bowl is laid;
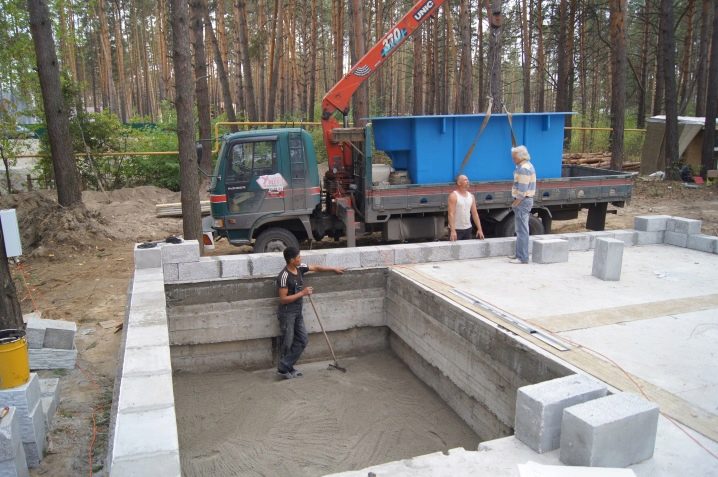
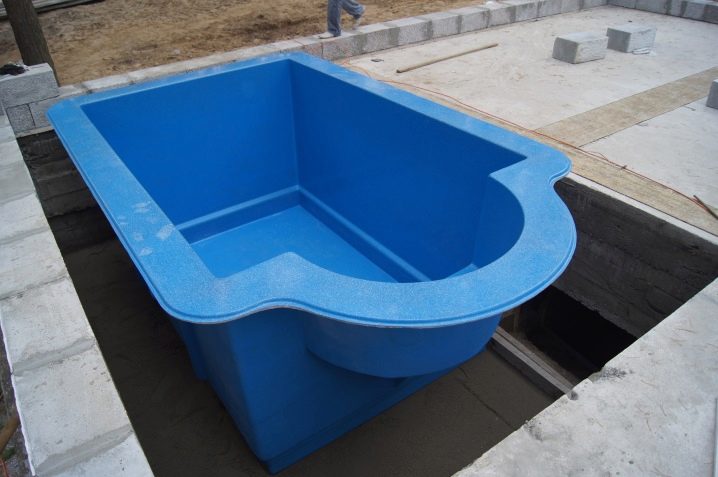
- a bowl is installed, for example, made of fiberglass, then communications are brought in and elements are installed that will not be accessible in the future;
- then the embedded elements of the pavilion supports and the reinforcement of the monolithic foundation slab are mounted. Inside the reinforcement, wiring and pipes are laid under the drain ladders;
- pouring is done with concrete M300;
- an expansion joint is laid at the junction with the old house.
Tools and materials for creating a frame annex to the house
Permission has been received from the BTI. Now you need to prepare tools and materials for construction. You will need:
- cement mortar;
- wooden boards;
- sand;
- small stones;
- OSB plates;
- insulation;
- waterproofing;
- putty;
- paint for OSB boards;
- material for the roof device;
- wooden or metal door (at the request of the owner);
- a window in a plastic or wooden frame (if necessary);
- linoleum, ceramic slabs or laminate flooring;
- puncher;
- construction mixer;
- rollers and brushes;
- nails and screws;
- polyurethane foam;
- construction stapler;
- shovel;
- metal pipes with a diameter of 15-20 cm, a length of 2.7-3 m.
The cement mortar is sold in packages of 25 kilograms each. Terms of use are indicated on the packaging of the goods. Price - 700 to 2 thousand rubles, some of the best manufacturers - "Silka", "Maxil", "Mapei".
The base of the extension must be strong and stable, so choose high-quality cement for the foundation, not a cheap mixture
Wooden boards will be needed first to create the foundation formwork. Then they can be used to cover the cement-filled floor to insulate and soften it. For such purposes, spruce, pine, oak are best suited. The thickness of the board is at least 5 millimeters. Choose the length depending on the area of the frame extension to the house.
Choose an OSB with a thickness of at least 7 millimeters with dimensions of 100 × 100 centimeters. The slab itself should be smooth and solid. This indicates the high quality of the product.
Mineral wool or expanded polystyrene can be used as insulation. The first option is cheap, but the material quickly deteriorates. Expanded polystyrene has a long service life (up to 20 years). It is realized in the form of slabs, the size of one is 200 × 100 centimeters.
Choose products from 10 millimeters thick from the companies: "Penoplex", "Extrol", "TechnoNicol".
Expanded polystyrene for warming an extension to the house is preferable to mineral wool. It does not absorb liquid, is not afraid of temperature changes
Waterproofing is required. As such, you can use a polymer roll material. Thickness - at least 5 millimeters.
The price per square meter is about 500 rubles. Among the firms, users recommend giving preference to the following: "Bolars", "Penetron", "Polylen", "Zubr".
Putty and paint are needed for exterior and interior decoration. You can learn more about choosing a paint here.
You can put metal tiles on the roof. It is durable and weather-resistant material that will last a long time, moreover, it looks stylish and is inexpensive.
You will pay 200-400 rubles per square meter. The thickness of the tiles must be at least 5 millimeters.
Important: the easiest way is to create a frame annex to the house using OSB. Such a room will be warm and durable if it is properly insulated.
Of course, you can build walls from bricks, foam blocks or wooden beams. But it is much more expensive and more energy consuming.
How much material to take for walls and floors? What are the costs? It all depends on the size of the outbuilding itself.
The drawings below will help to determine the type of premises:
Using such a drawing, you can create a simple annex to a house with a pitched roof. Use your own dimensions
Such a drawing of an extension to the house will help you easily and quickly build an additional room or, for example, a storage room.
How to attach a foundation for an extension to a standing house with your own hands: basic solutions
In any case, you need to deepen to the level of the already existing base, even a little higher - providing for future shrinkage. A sand cushion is required.
Rigid connection
This option is relevant when the soil on the site makes it possible to predict the settlement of the structure, that is, it is slightly porous or non-porous. It is not easy to make a full rigid connection, but for the construction of a multi-storey extension, this is the best choice.
Docking "tape-tape"
Two strip foundations are connected into a single new contour after several stages:
- Dig a trench about 2 m long to the depth of the base of the building and equip a sand cushion.
- Drill holes in the base of the house corresponding to the diameter of the reinforcement being laid. The depth of the holes for the middle part of the tape is equal to ¾ of its width (in a checkerboard pattern), for the corner nodes - 0.5 m.
- A reinforcing bar with a longitudinal section is driven into the holes in the middle part, into which a wedge is inserted. Reinforcement of a periodic profile with a diameter of 14 mm is driven into holes of 0.5 m. The release of the pins for the bundle should be within 40-50 cm.
- Using the outlets of the inserted fittings, a frame is formed for the foundation for a capital extension to a brick house or cottage. Steel rods are held together by welding in the process.
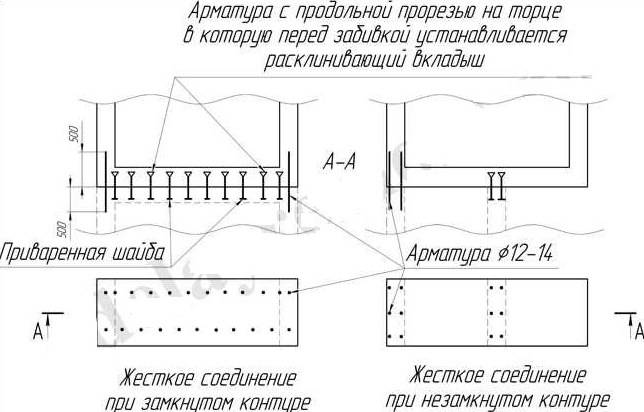
The technology is also suitable for an open circuit, with the difference that the pins are driven in a little differently. In the places of contact of two bases, their number should be greater than that of a closed analogue.
Slab-to-slab docking
The implementation of a rigid joining of two monolithic foundation slabs is possible under several conditions:
- The thickness of the base of the building is more than 40 cm.
- The presence of a slab protrusion from the base of the house.
- The slab must protrude at least 300 mm.
The listed conditions will make it possible to independently expose the slab reinforcement and associate it with the frame structure of the new base.
The most economical foundation is columnar
More economical is another popular type of foundation - columnar. Along with the low cost, it attracts with the simplicity of the structure. Even a novice builder can make it with his own hands for an extension.
The foundation consists of a certain set of pillars in the form of supports that transfer the load from the object to the ground. It is used on dense soils. It is not used on sandy soils, peat bogs and similar unreliable substrates.
One of the drawbacks of the columnar base is the blown space underneath. Eliminated by arranging all kinds of protective shields.
Pillar foundations are suitable for wooden, frame extensions to the house. Sometimes they are built under heavy brick walls, when it is necessary to deeply deepen the foundation, and it becomes unprofitable to fill the tape.
It can be used on very heaving soils, since less forces press on the supports than on the tape. It is not recommended to use (except for weak soils) foundations on pillars with a height difference in the area of more than 2 m.
Outcomes
Wishing to increase the area of suburban real estate or suburban buildings, it is necessary to take a responsible approach to the performance of work, to analyze all the factors in order to avoid mistakes associated with the shrinkage of the building. Remember that the implementation of such a serious project as the completion of the foundation requires a clearly developed action plan, correct calculations and special construction preparation. Guided by the recommendations given, you can independently perform the work, which will save financial resources. However, in the absence of self-confidence, use the services of professional builders. Good luck!

