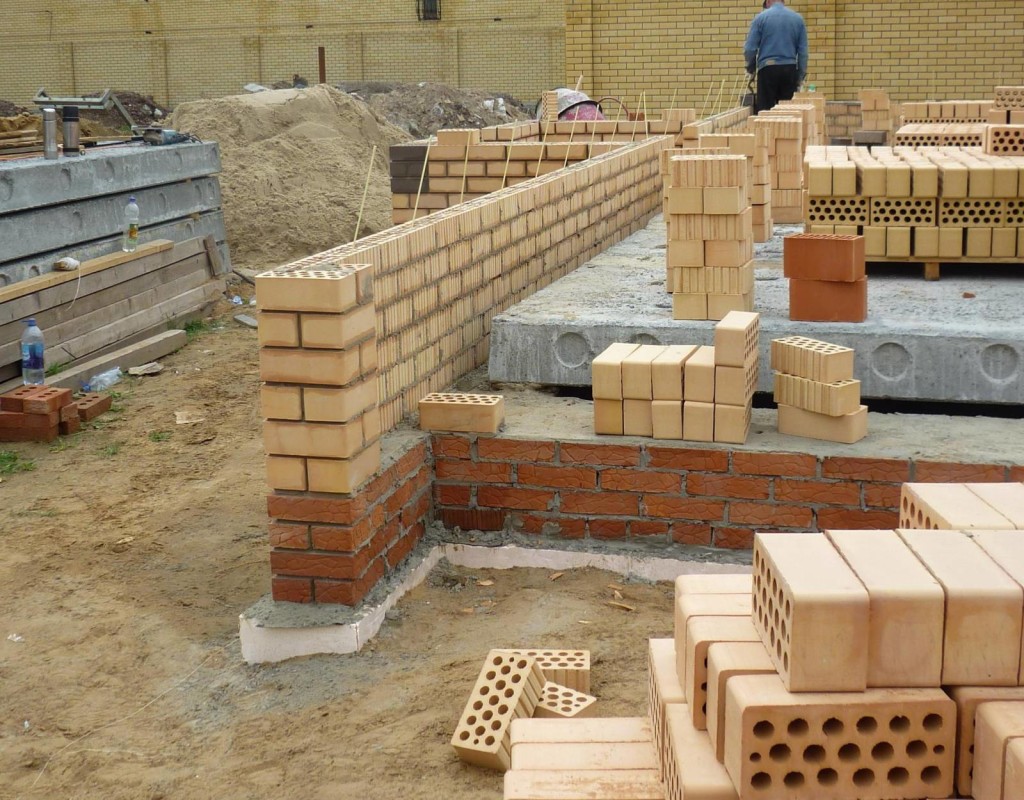
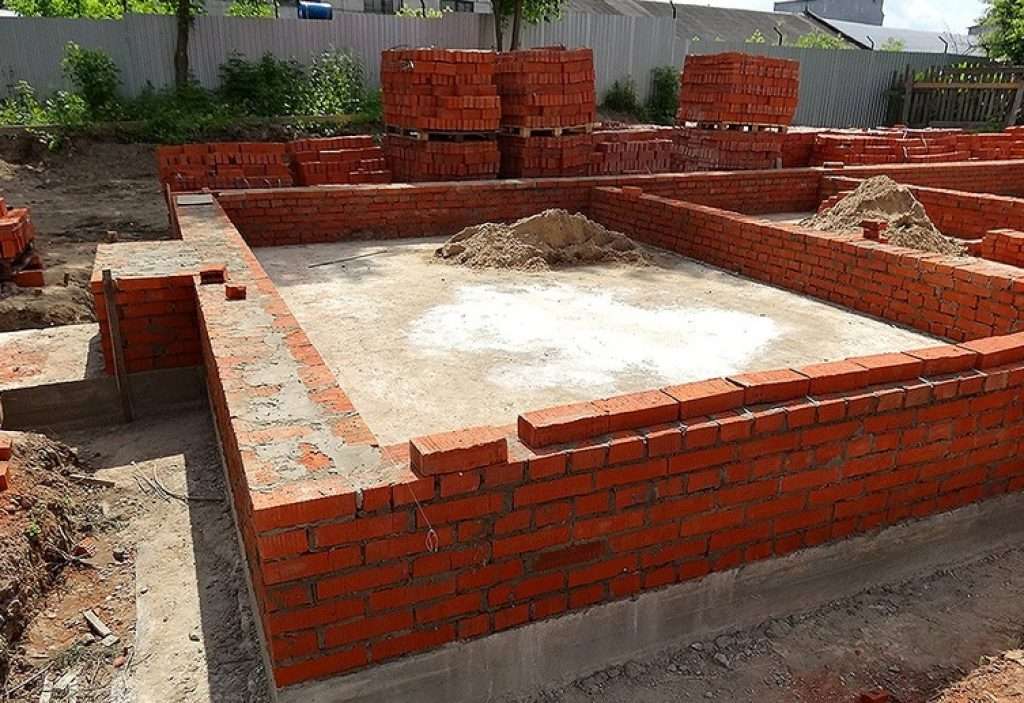
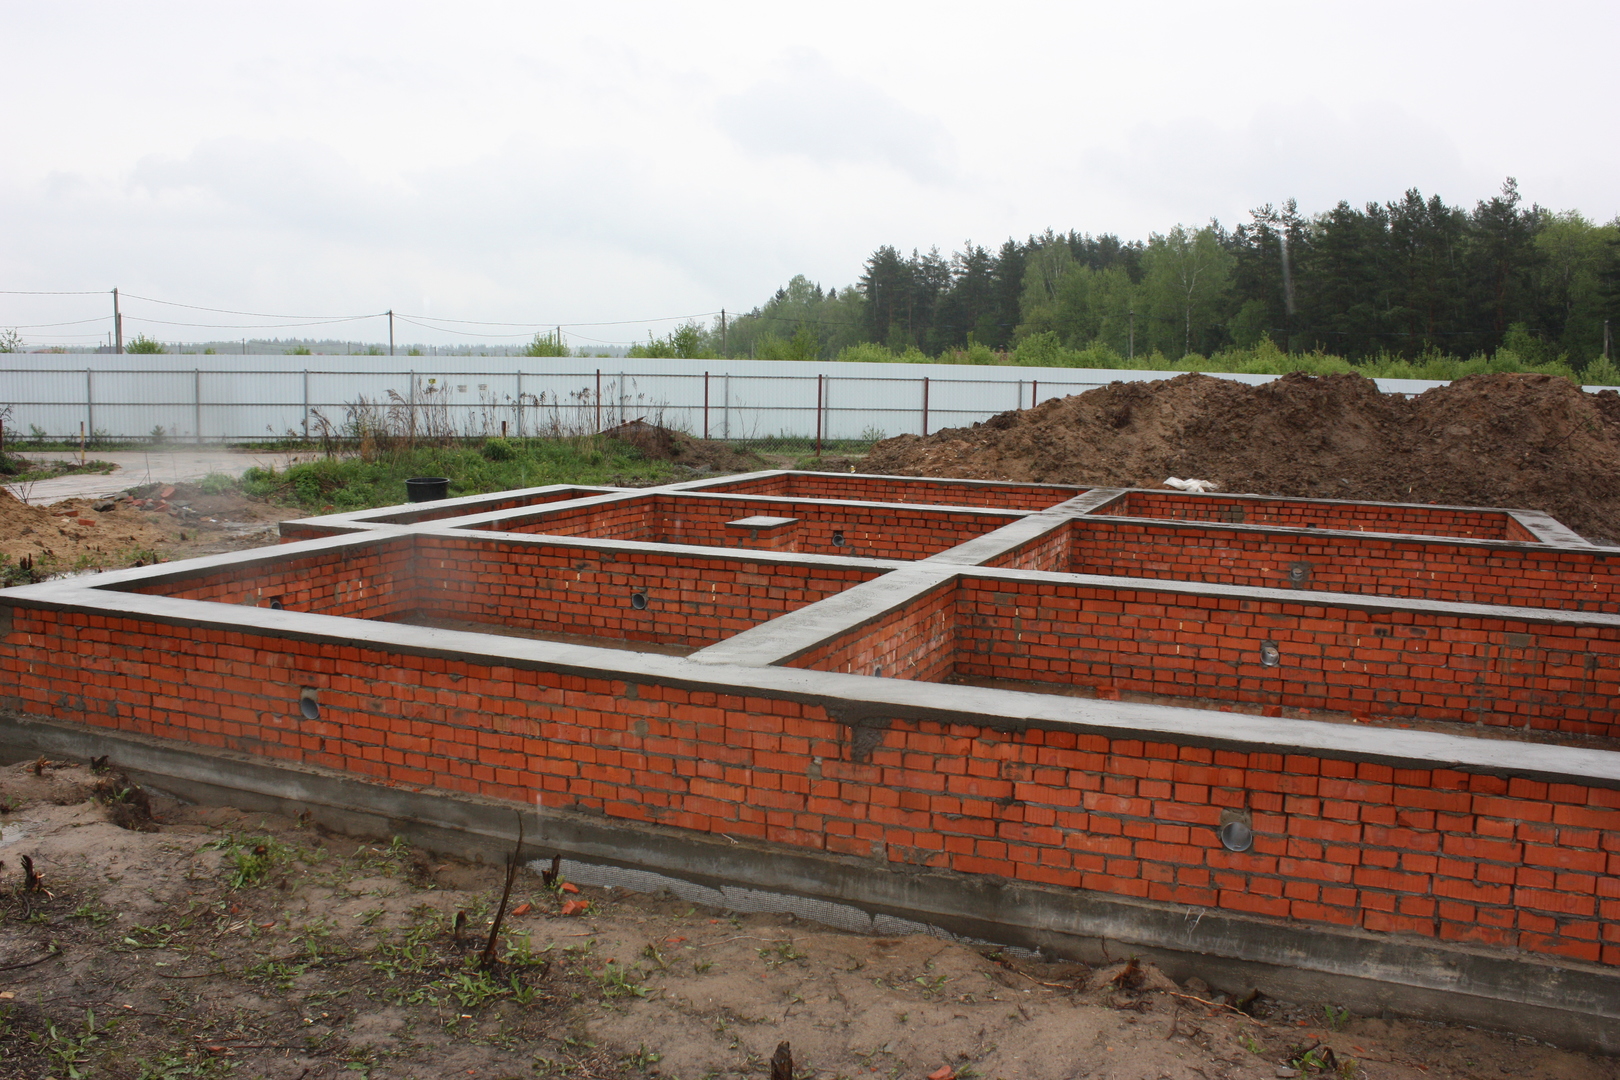
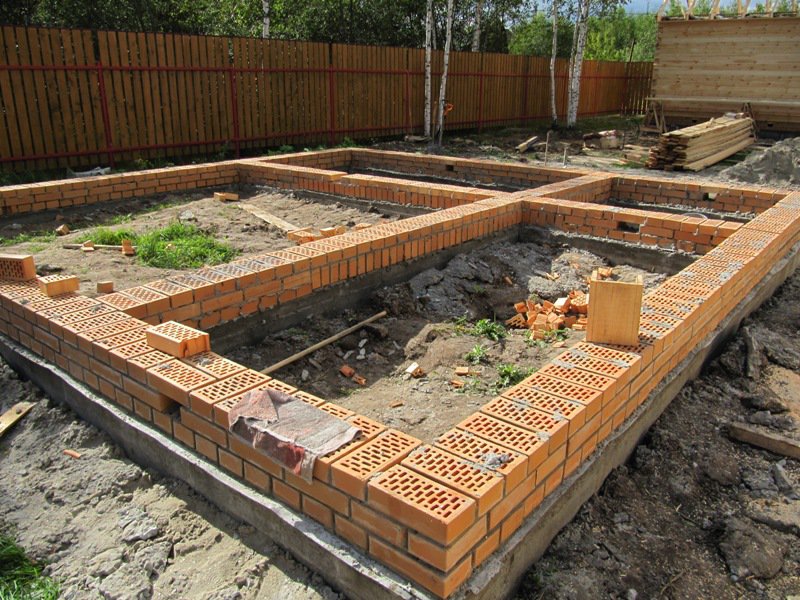
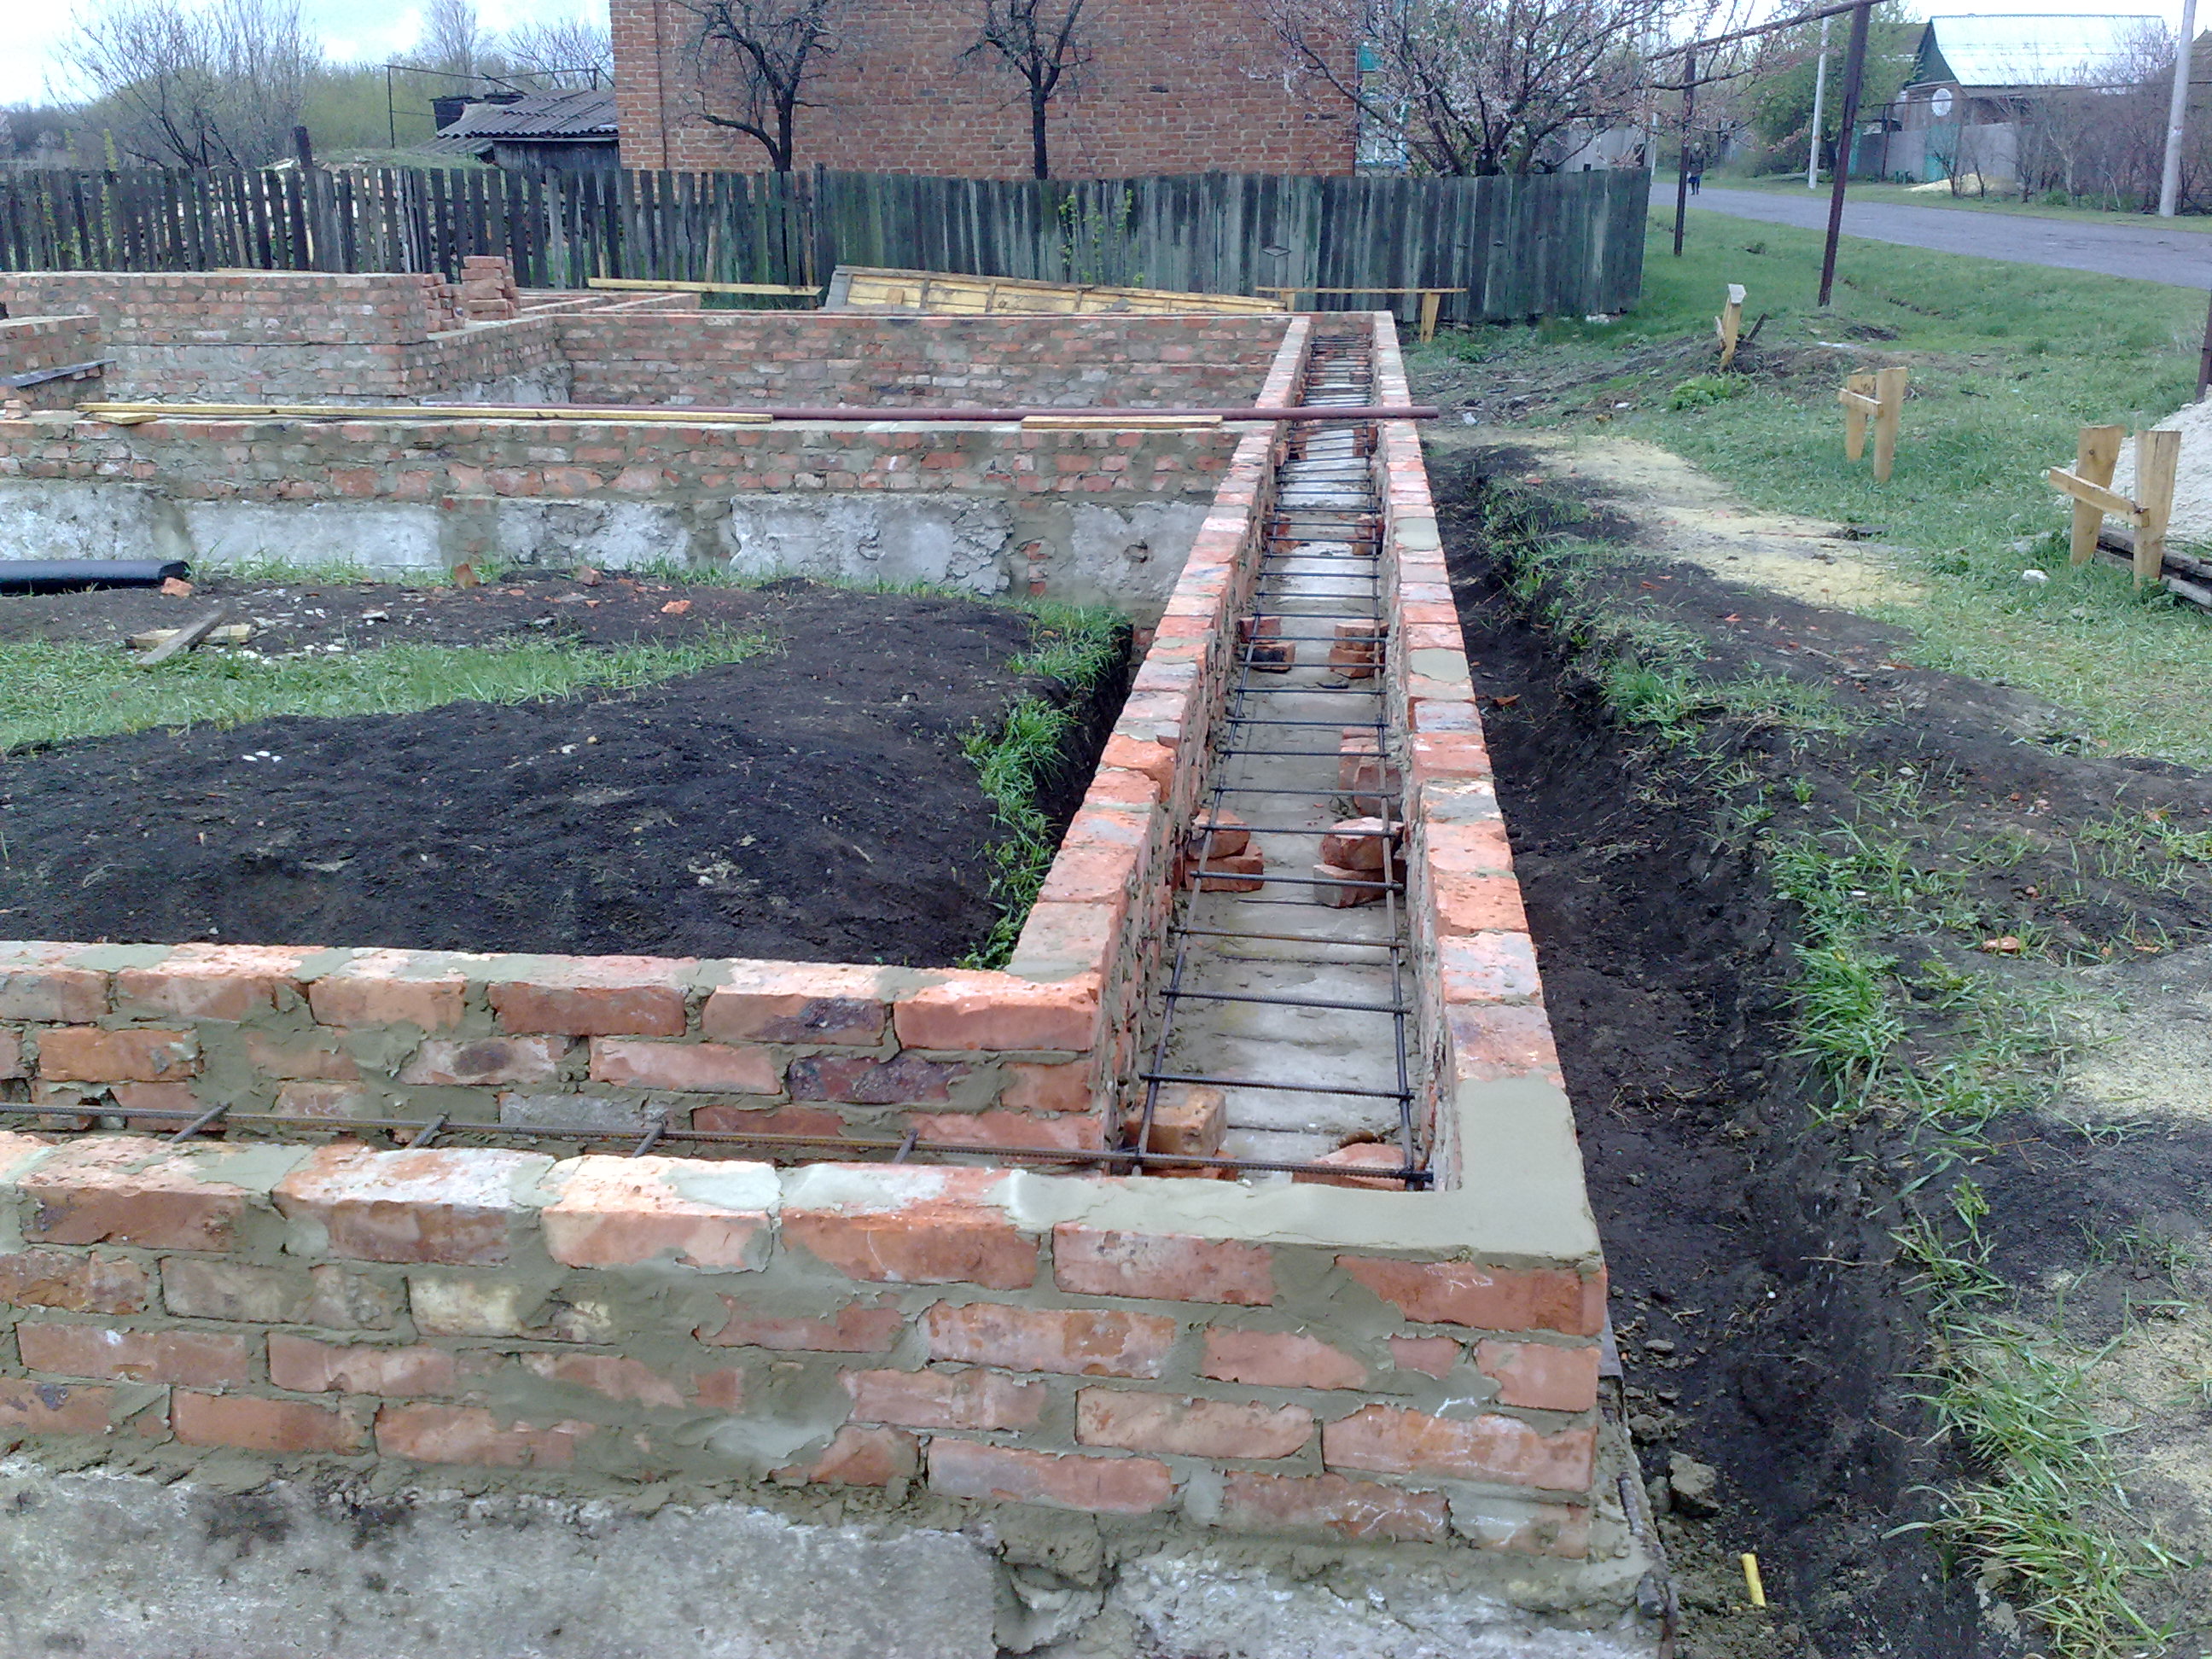
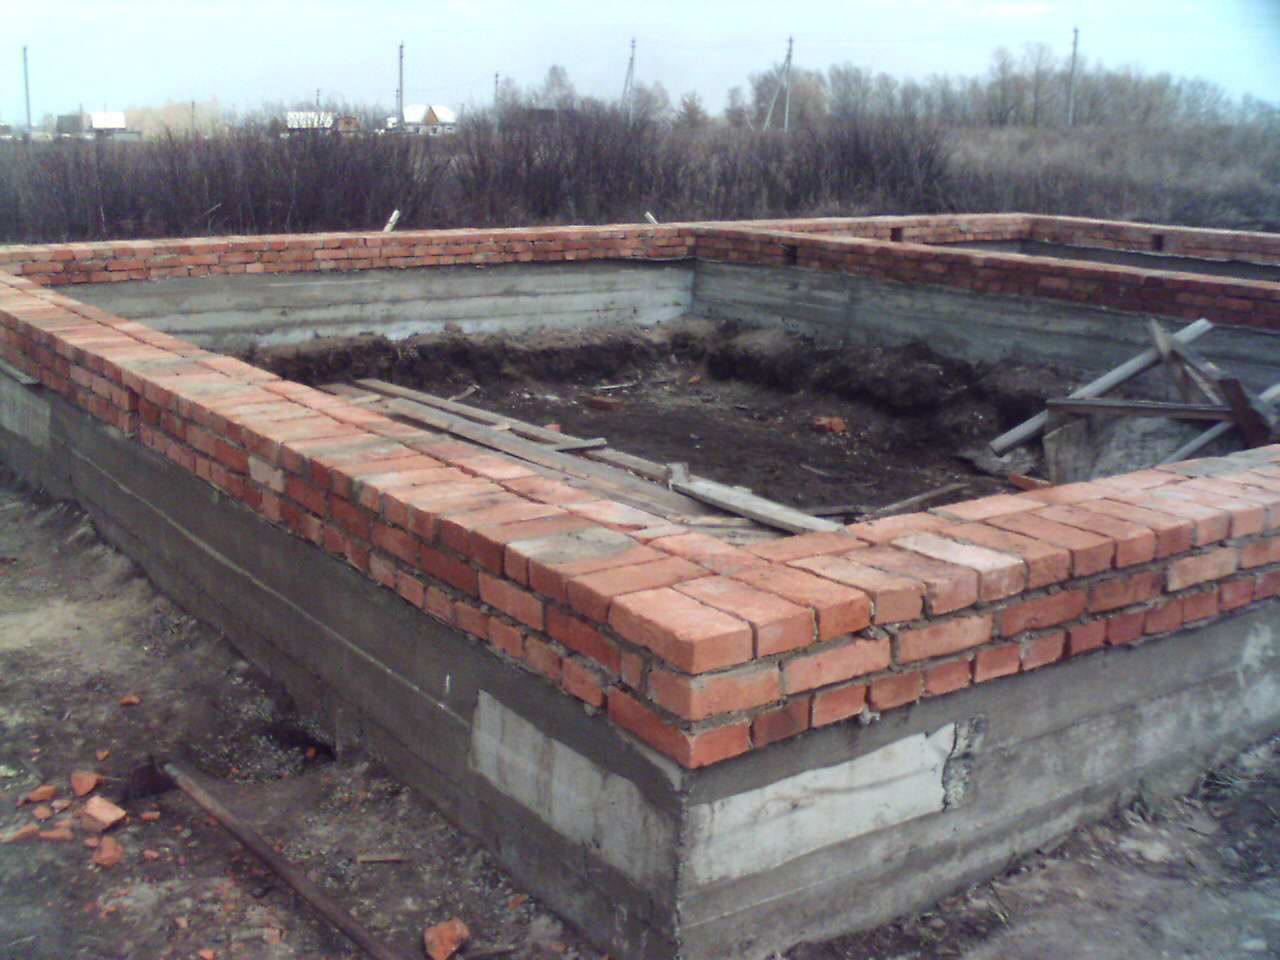
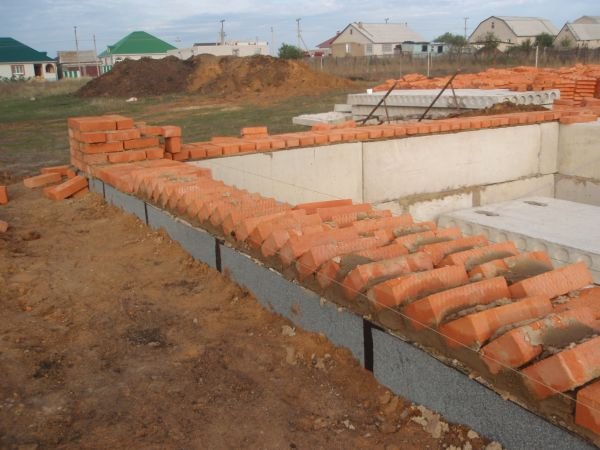
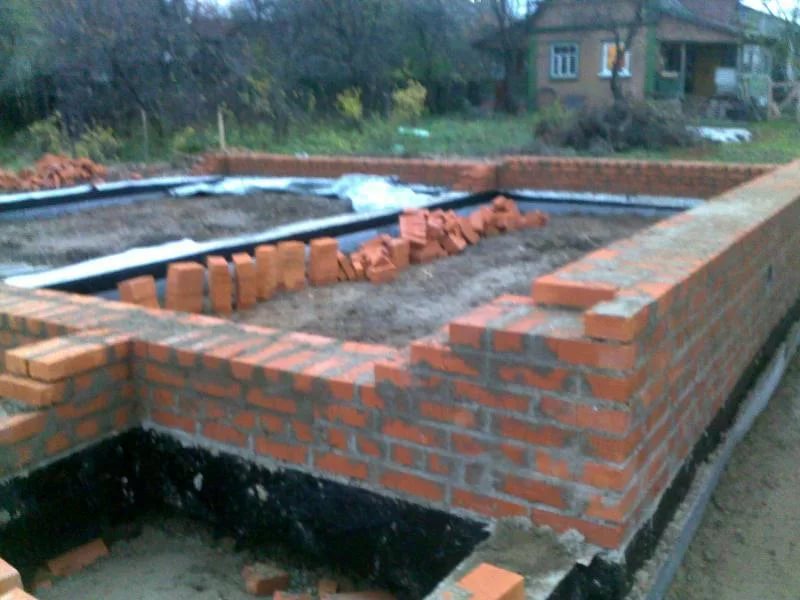
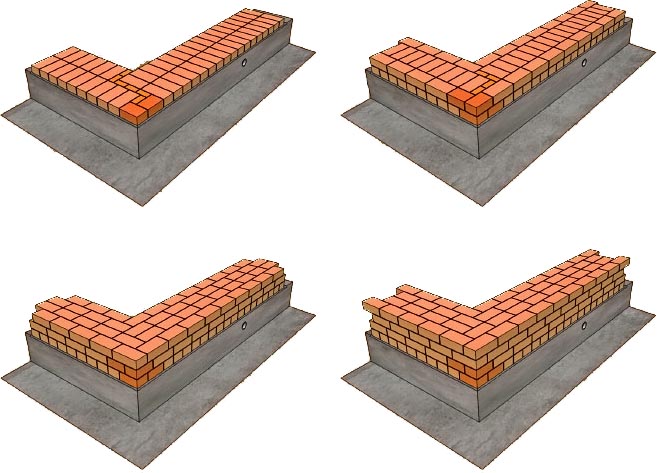
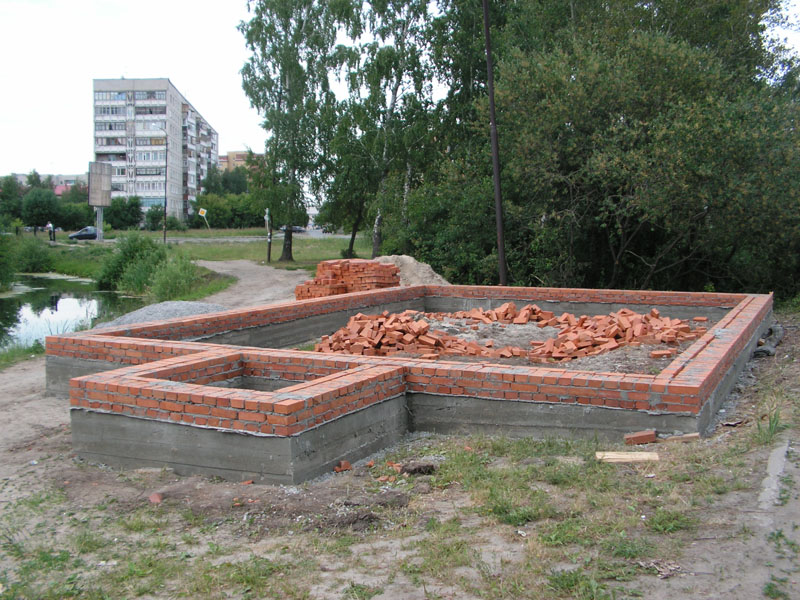
Brick formwork for foundation and basement walls
i http-equiv = "Content-Type" content = "text / html; charset = UTF-8 ″> d =" attachment_155 ″ style = "width: 510px" class = "wp-caption aligncenter">
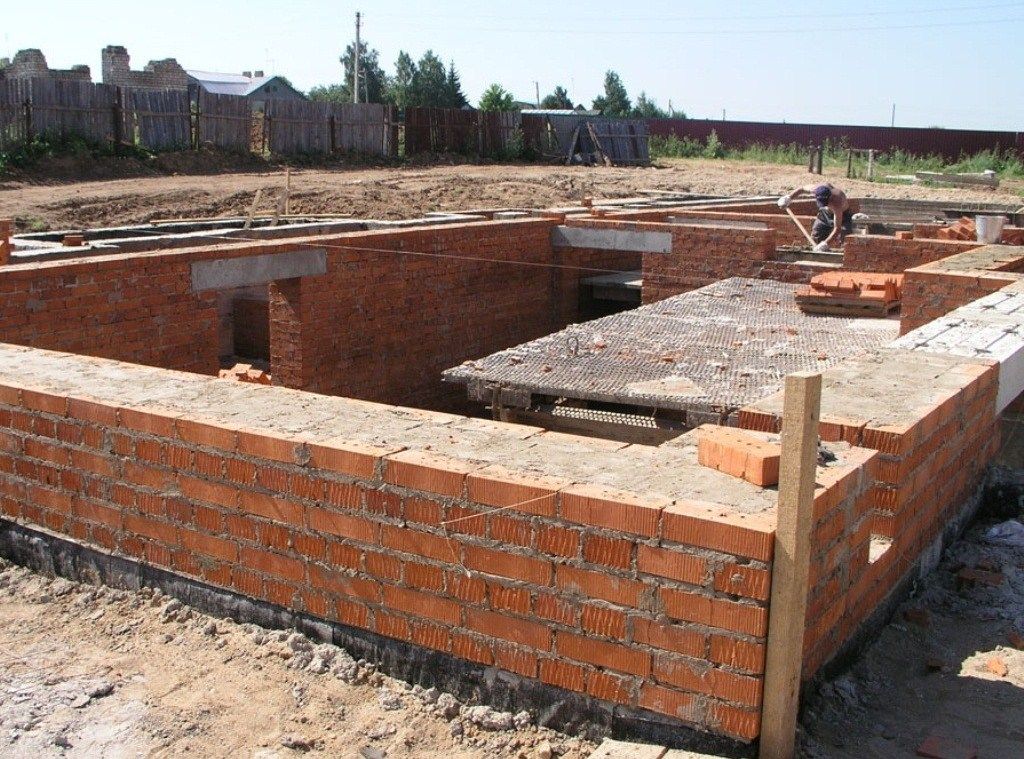
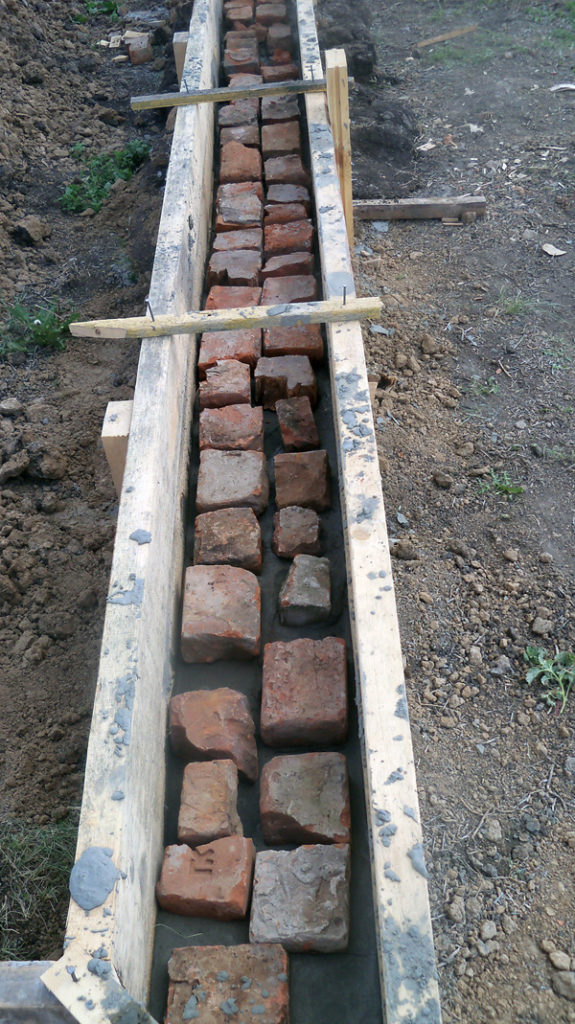
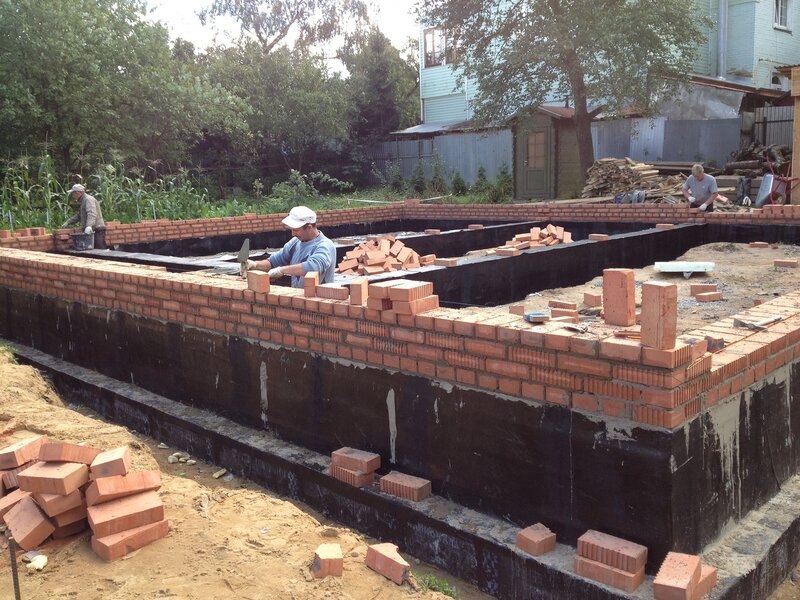
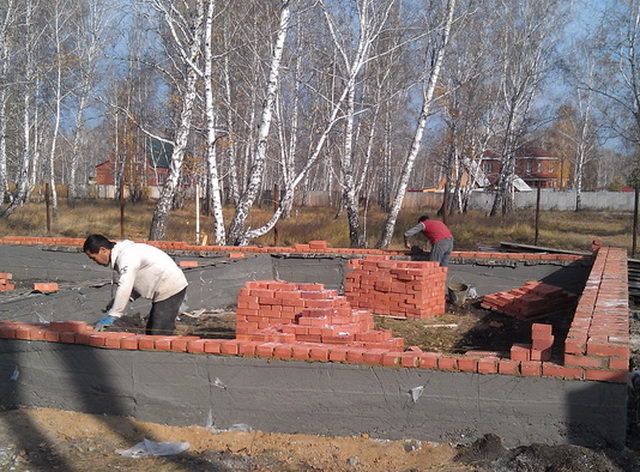
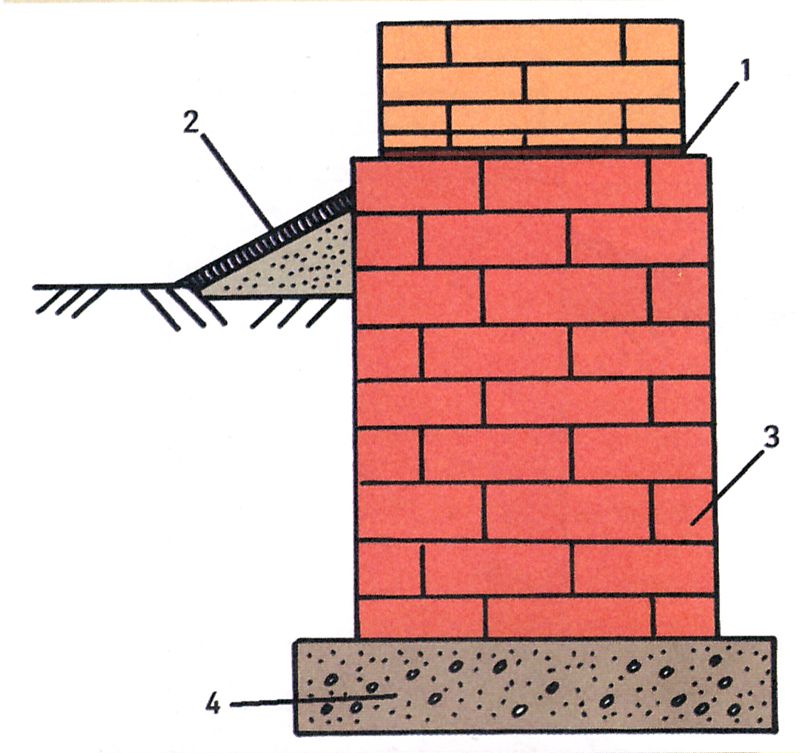
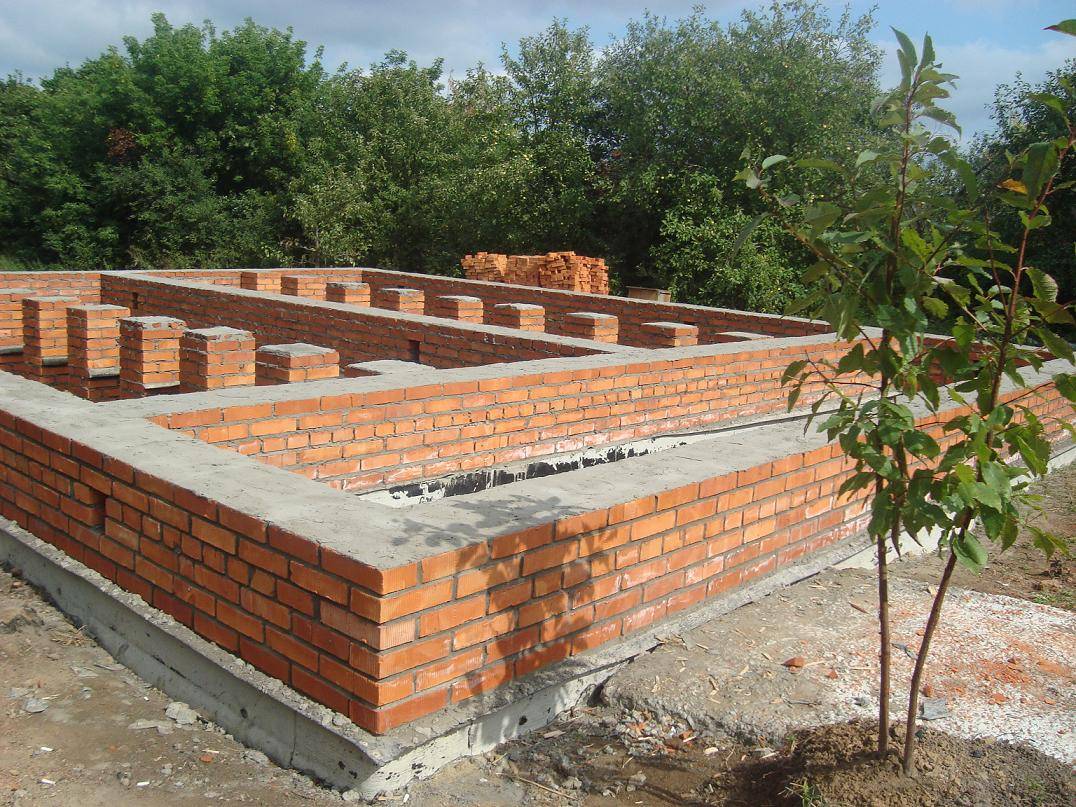
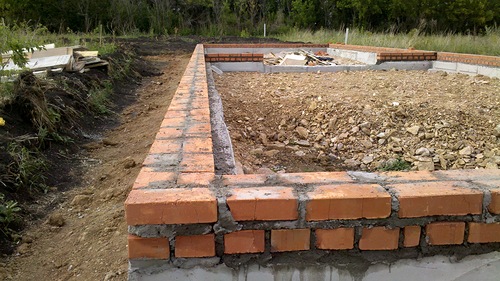
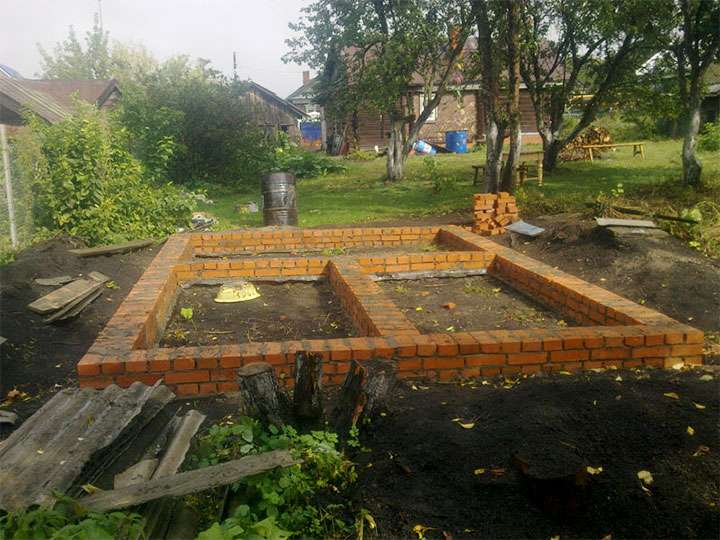
Brick plinth formwork
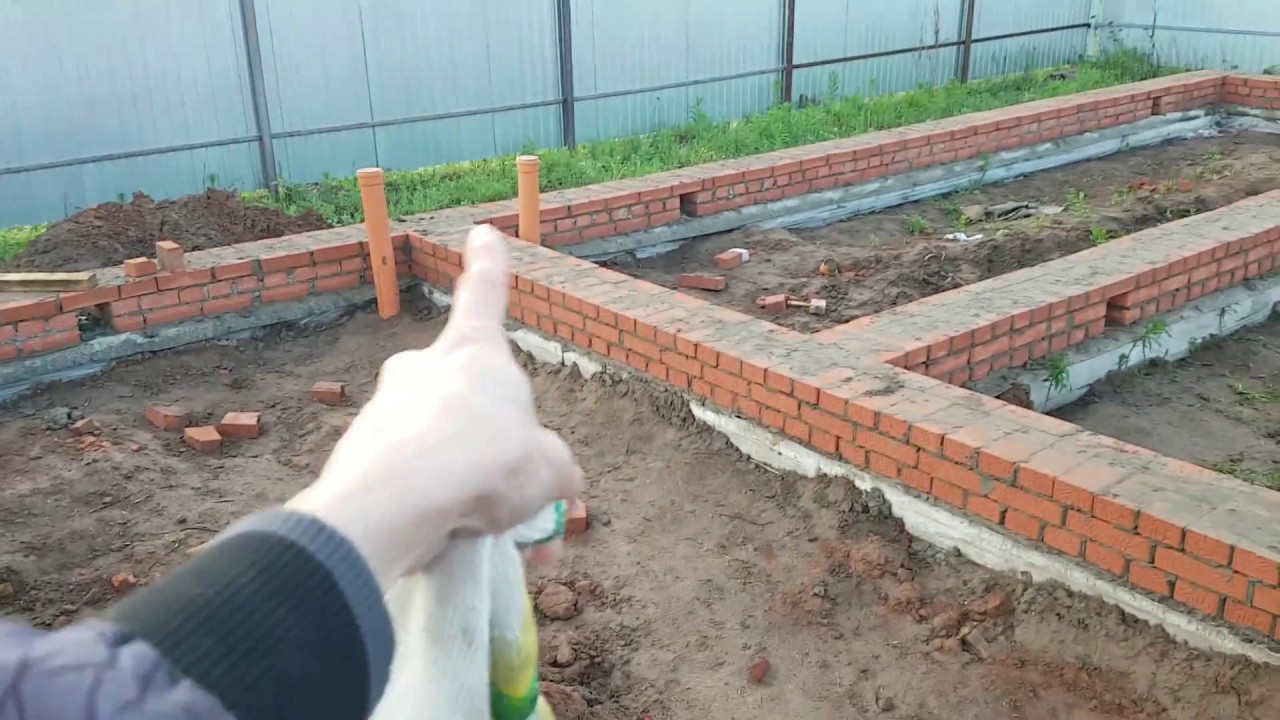
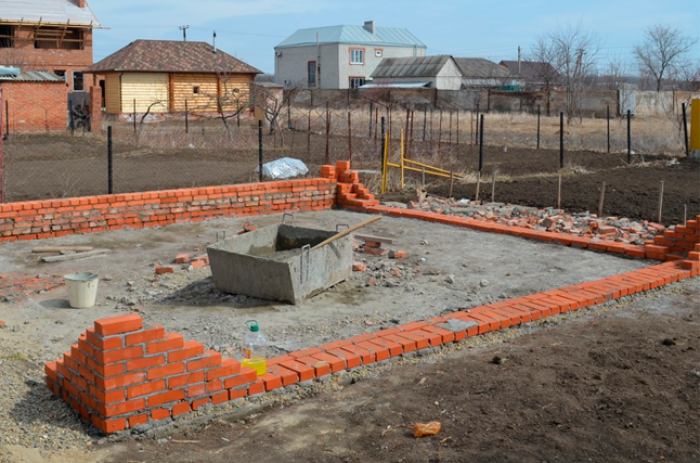
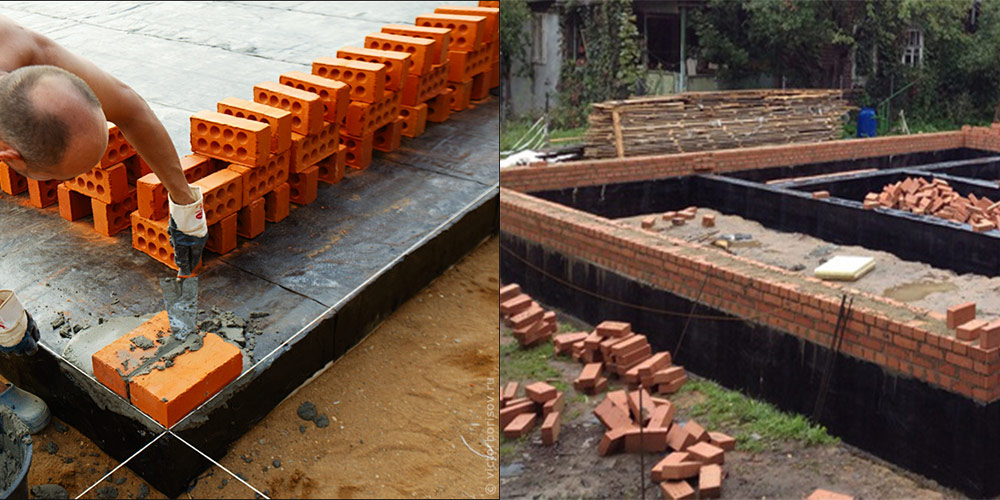
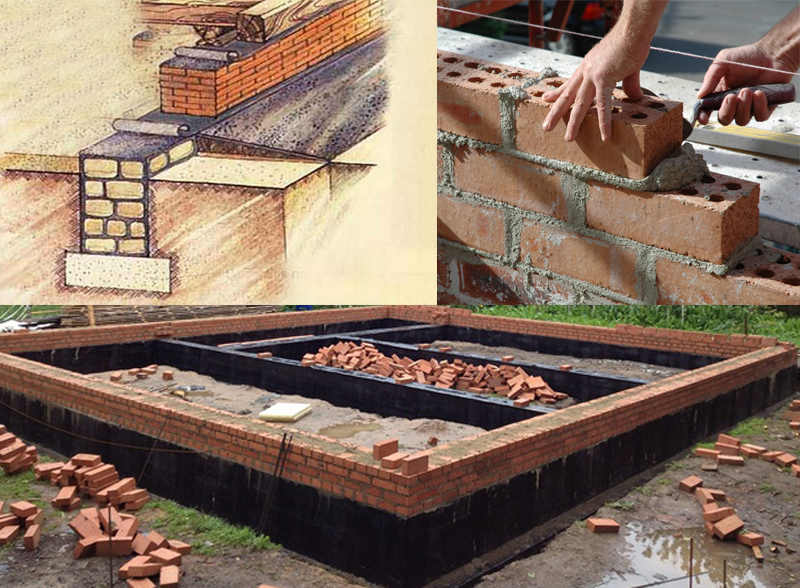
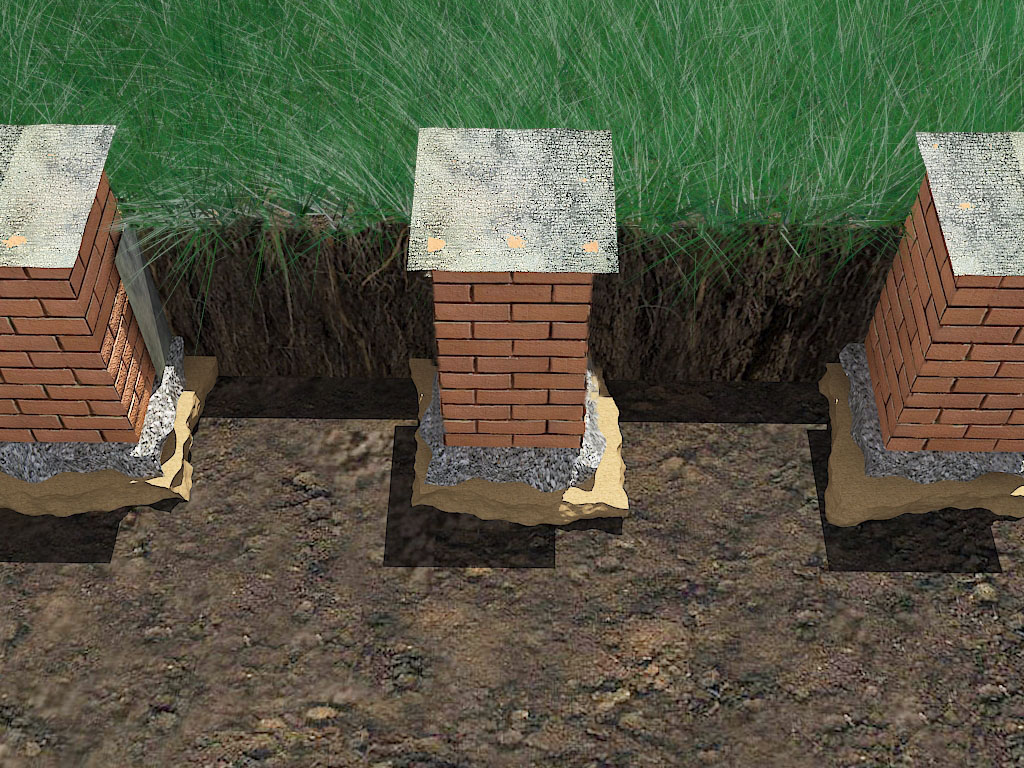
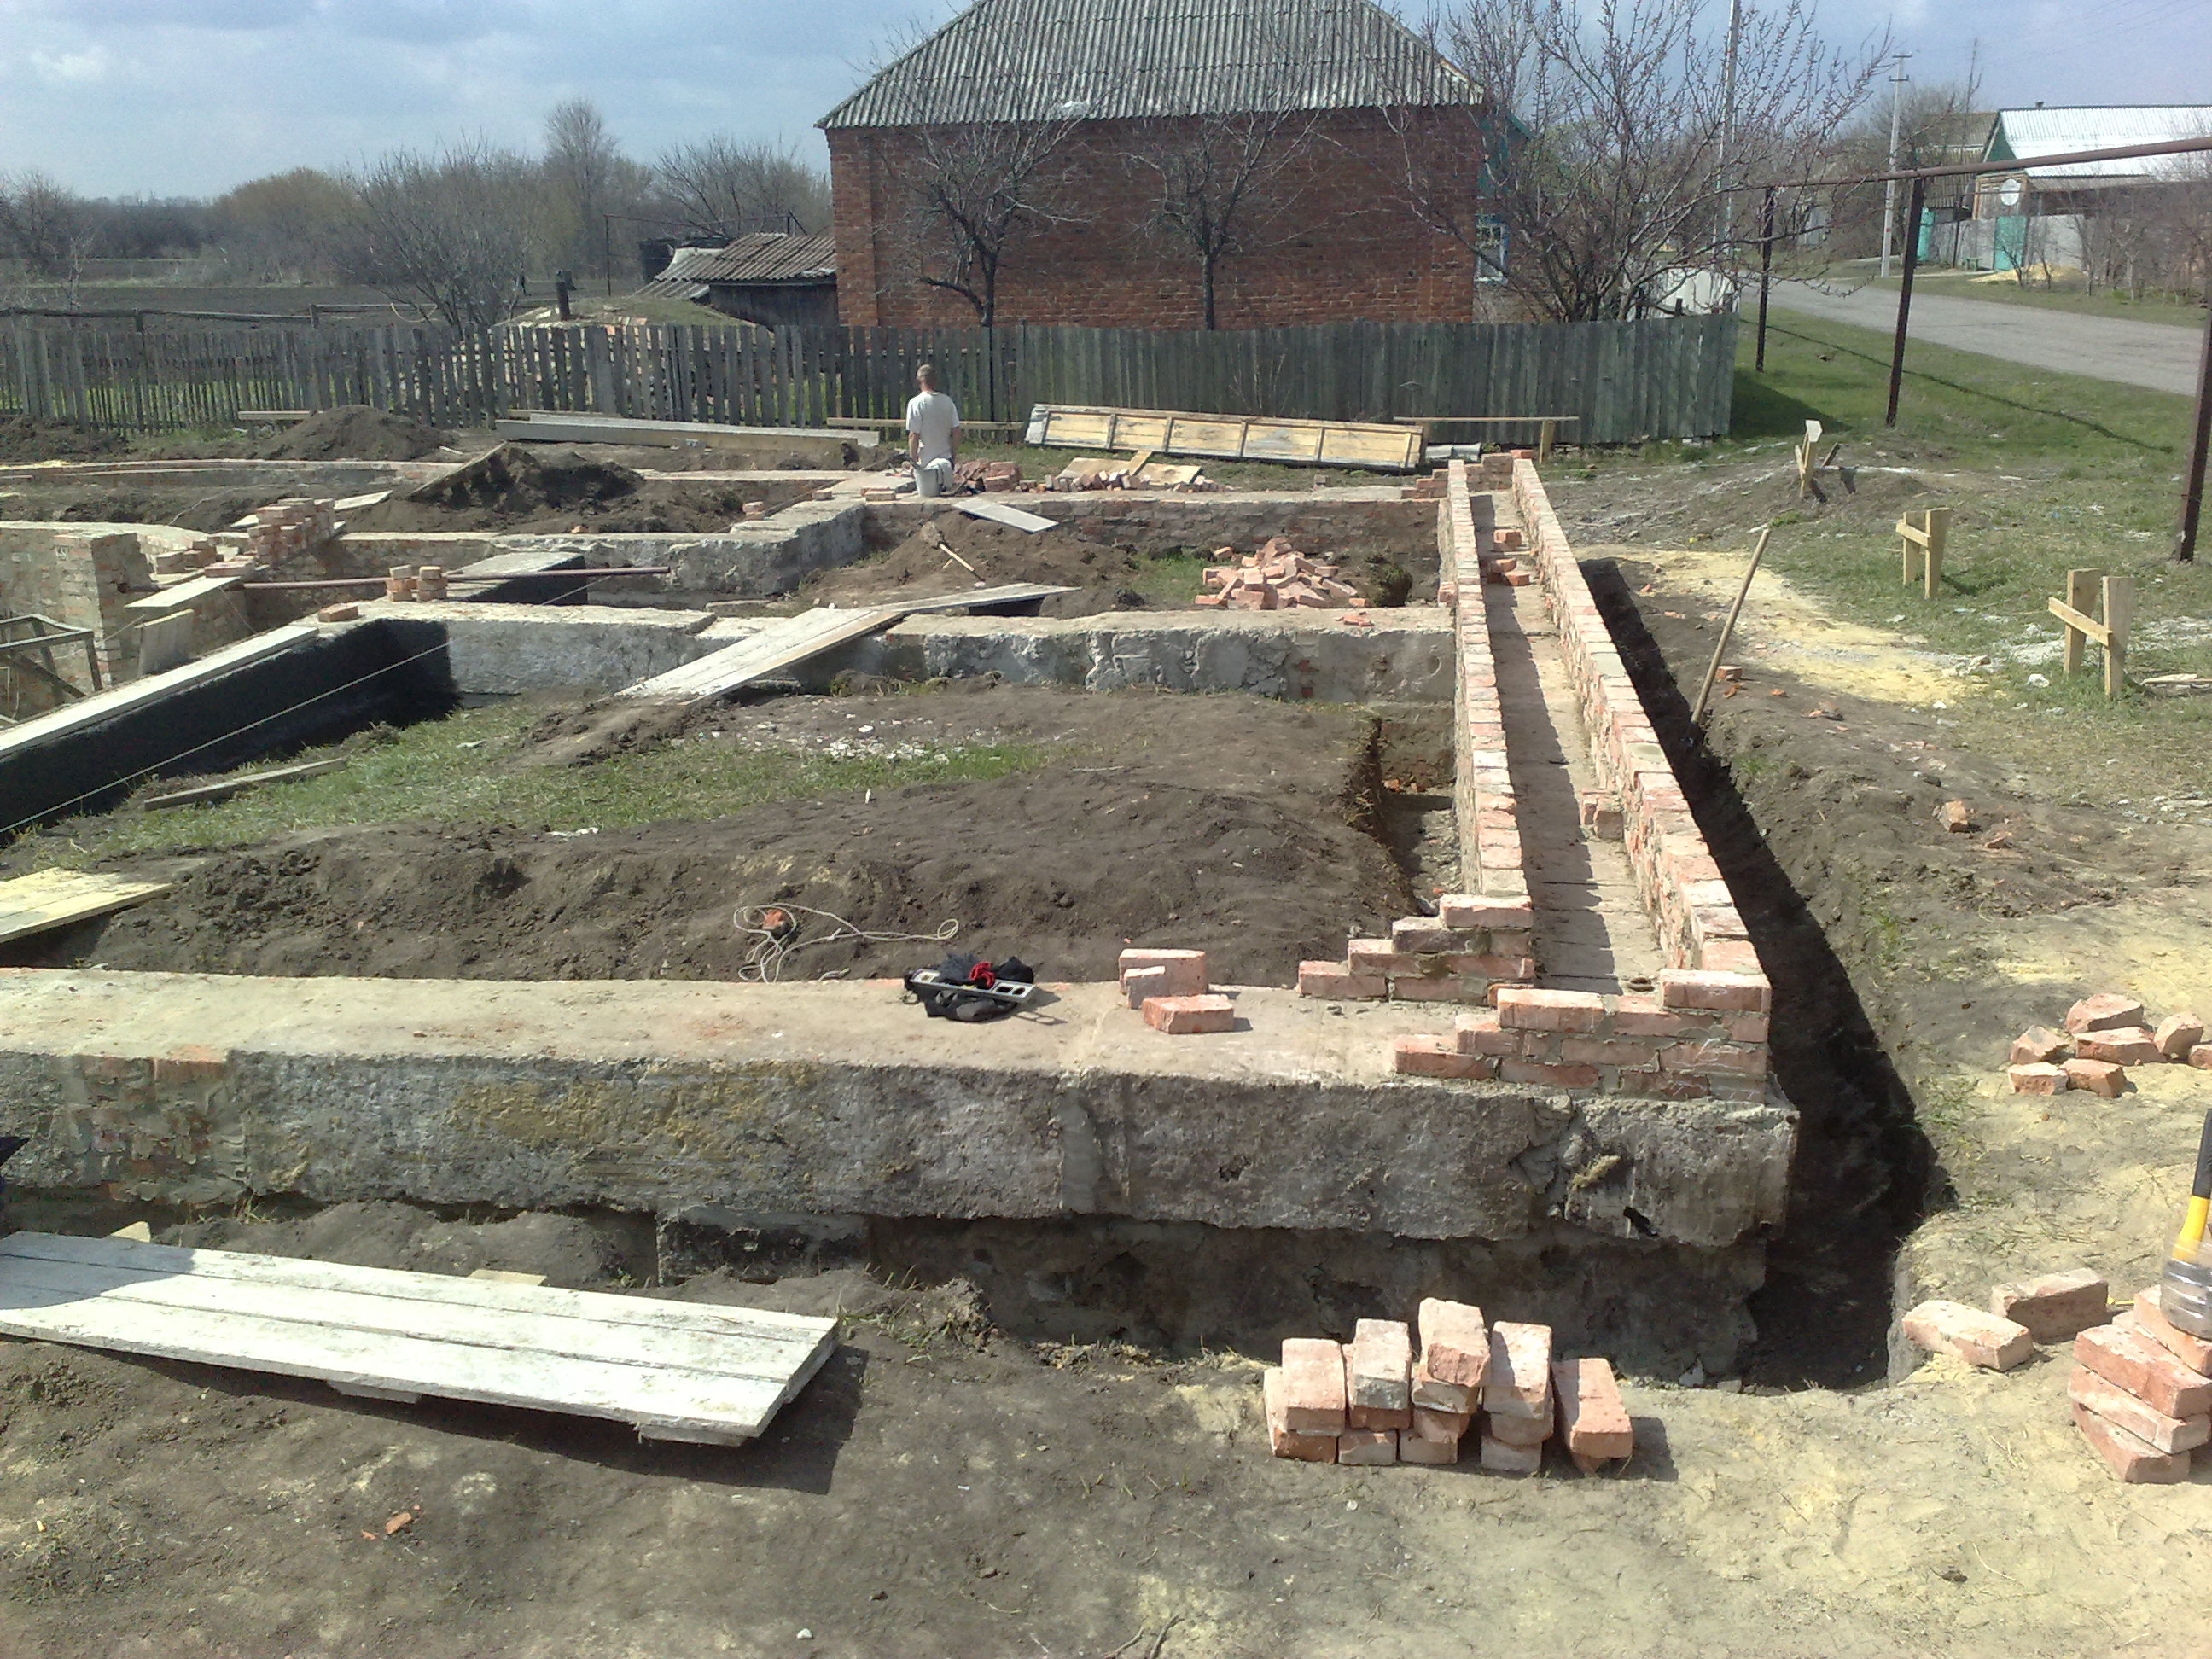
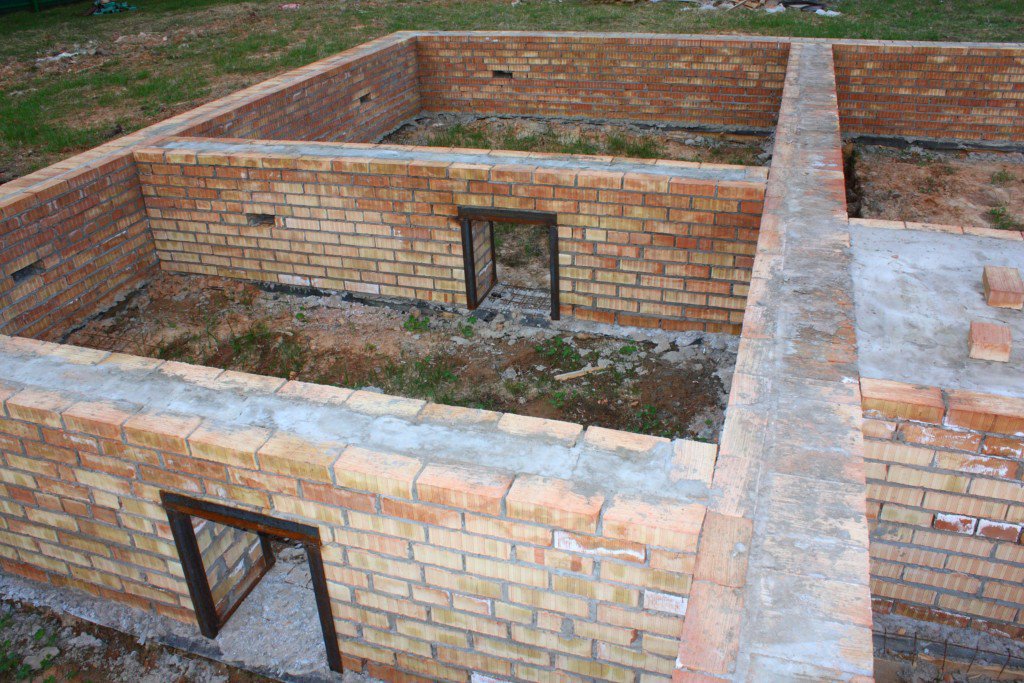
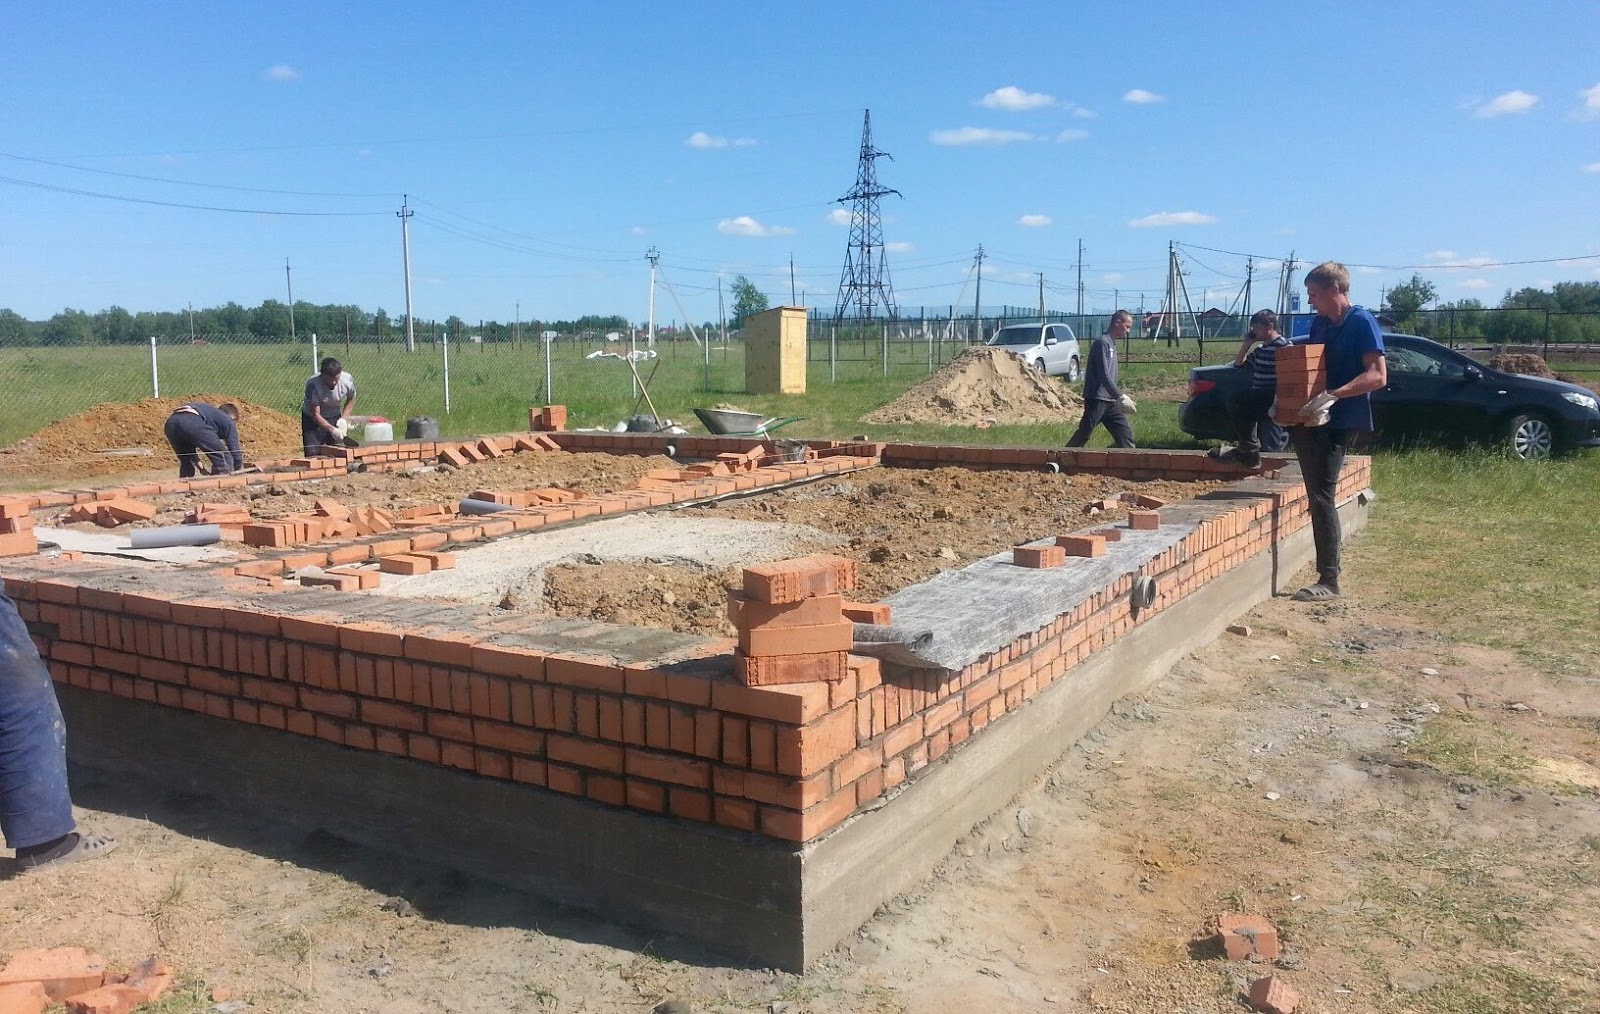
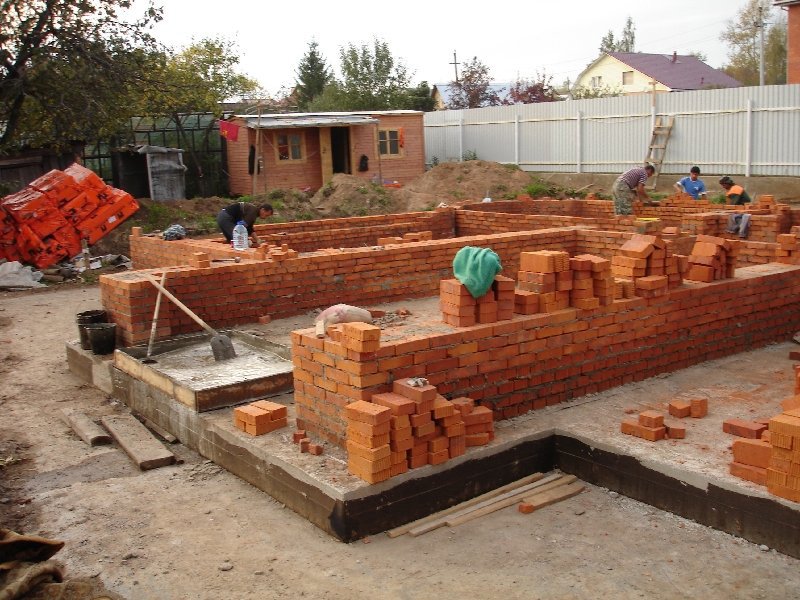
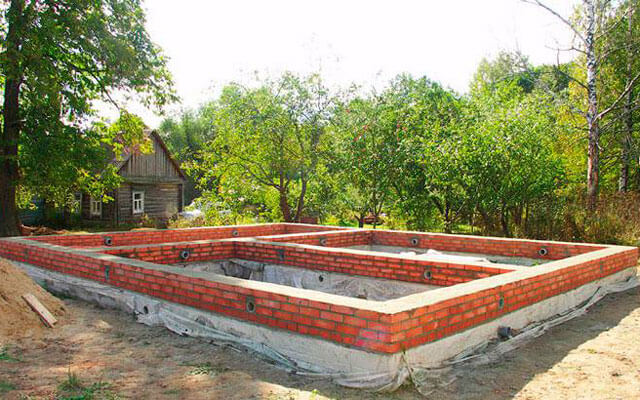
Formwork made of bricks for a non-removable foundation is easy to build. You need to follow the masonry technology. A few tips and a sequence of work.
- After earthworks, the bottom must be strengthened with a layer of sand or gravel, at least 300 millimeters, well tamped, moistened and re-tamped.
- When creating brick formwork, the same masonry is used as for the walls, with a shift. It is necessary to lay a brick perpendicular to the masonry plane through 2 bricks.
- When creating the foundation and basement, you should not make brickwork with an edge.
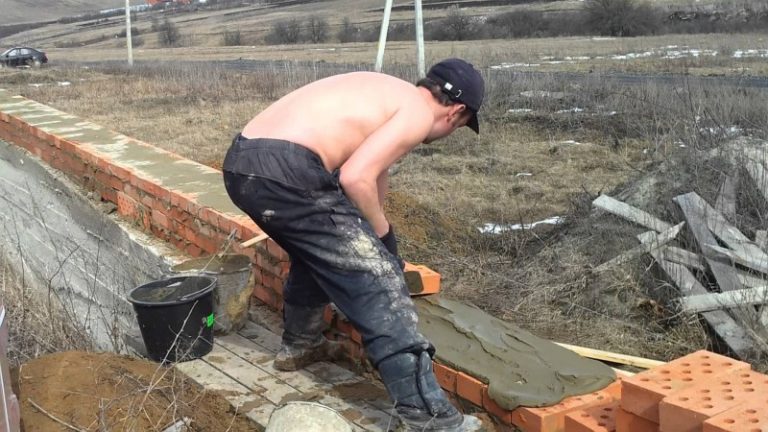
- After laying, it is necessary to let the finished wall dry well so that the mortar is firmly seized, and then pour concrete mortar inside, as in the usual creation of a monolithic foundation.
The resulting permanent formwork and, accordingly, the final structure will be very durable. And it is not at all necessary to use a new brick, a used one is quite suitable. It is also not necessary to use heavy solid bricks. In practice, he uses not only bricks, but also concrete blocks.
When creating formwork from brickwork for pouring external walls, internal partitions, you can conduct masonry with an edge. The technology for the construction of monolithic walls does not differ from the technology with the use of modern modular formwork systems made of expanded polystyrene and other materials. It also rises in height, the space between the planes is reinforced and concrete mortar is poured, followed by compaction. It is required to note - it can be raised by 50 or more centimeters, the laying with a solution gives additional rigidity.
Reinforcement of brick formwork
The advantages of this technology include the following obvious points.
- The resulting wall structure will be incredibly strong. A sandwich of two rows of bricks and a reinforced concrete monolith in the middle, such a house is a fortress in the literal sense of the word. For those who are preoccupied with the question of how to further increase the strength of the walls - this is a wonderful solution.
- The brick has excellent heat insulating and sound-absorbing properties.
- Unlike fixed foam formwork, the house will already be grounded.
- Apply facing or decorative brick as an outer layer in order to avoid work on subsequent external finishing.
- When constructing buildings using this technology, it is possible, in principle, to make any geometry of the walls in a horizontal section, even a fractal one.
The disadvantages of this technique of architecture are obvious - labor costs, time costs, large financial costs, in comparison with monolithic construction using removable panel formwork.
The relevance of permanent brick formwork
Why monolithic walls with brick formwork have become especially relevant now? The technology of monolithic construction with the use of fixed formwork systems began to develop relatively recently, with the appearance in the country of manufactures producing modular formwork blocks. With the devaluation of the ruble, prices for their products soared up and doubled.
At the old price, the advantages of using their products outweighed - foam and foam blocks are really more convenient to work with, their installation resembles the assembly of a LEGO constructor, it is faster than making brickwork. Today, when a polystyrene foam block with a size of 1200x250 costs several hundred rubles, and a brick made of domestic clay is sold at the same price of 5-6 rubles, the choice is unambiguous.
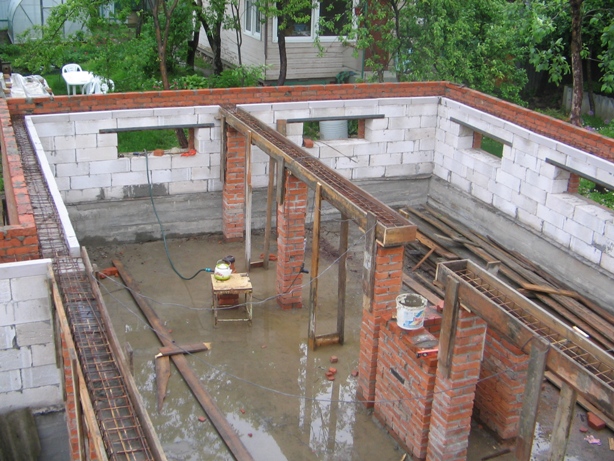
Brick and block formwork
Until domestic enterprises reduce prices for modular blocks made of imported foam plastic (expanded polystyrene). To do this, it is necessary to implement the notorious import substitution, create a new industry that produces raw materials. Or to reconstruct factories, equip them with equipment that does not yet exist, which will be capable of casting formwork from domestic polymer raw materials, if it is still being produced at all, which is even less likely. Bricks are more likely to rise in price.
31.03.2016
Features of the construction of brick plinths
First of all, let's clarify what a base is. This term refers to the ground part of the foundation walls.
Brick, as a structural material, can be used for their construction along the entire height. Building codes permit this - provided, of course, that only the ceramic version is used.
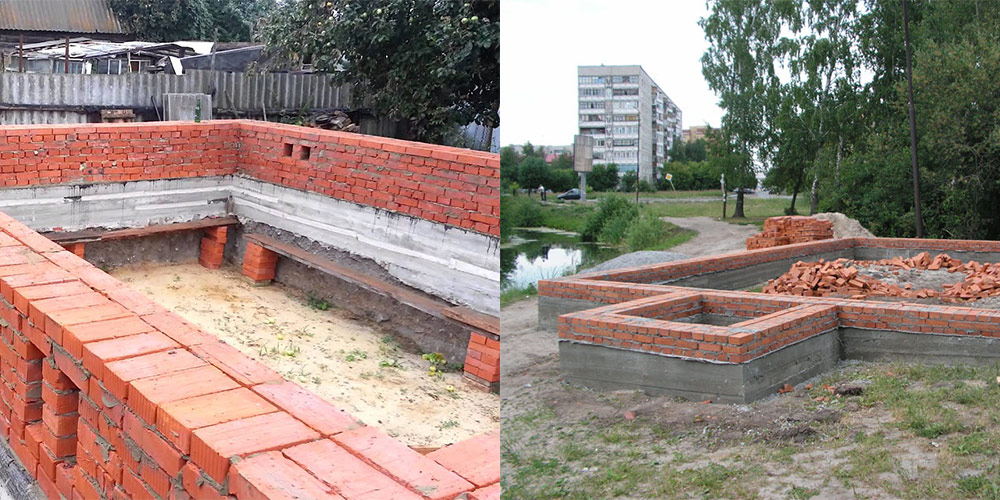
In this case, the foundation walls, which may "in combination" turn out to be the walls of the basement, are erected from bricks, starting from the bottom and ending with the top of the basement. It can rise from 20 to 90 cm above the ground - rarely more. If in the ground part, as well as in the recessed one, ordinary brick was used, then the outer surfaces of the masonry are then plastered, sheathed with panels, or, as in the photo below, they are revetted with ceramic tiles.
Facing the basement with brick tiles
- But still, more often the strip foundation is made monolithic concrete, bringing it flush with the ground surface. In this case, the basement part of the wall is laid out of brick, more often facing - after all, it is in no way inferior in strength to ordinary products, and the aesthetics are completely different. By the way, the brand of brick for the basement should not be less than M75.
- If only clay bricks can be used for the construction of the foundation, then silicate and hyper-pressed bricks can also be used in the basement part - only their brand should be no less than M100. The wall thickness of the bearing base is selected based on the structural features of the building.
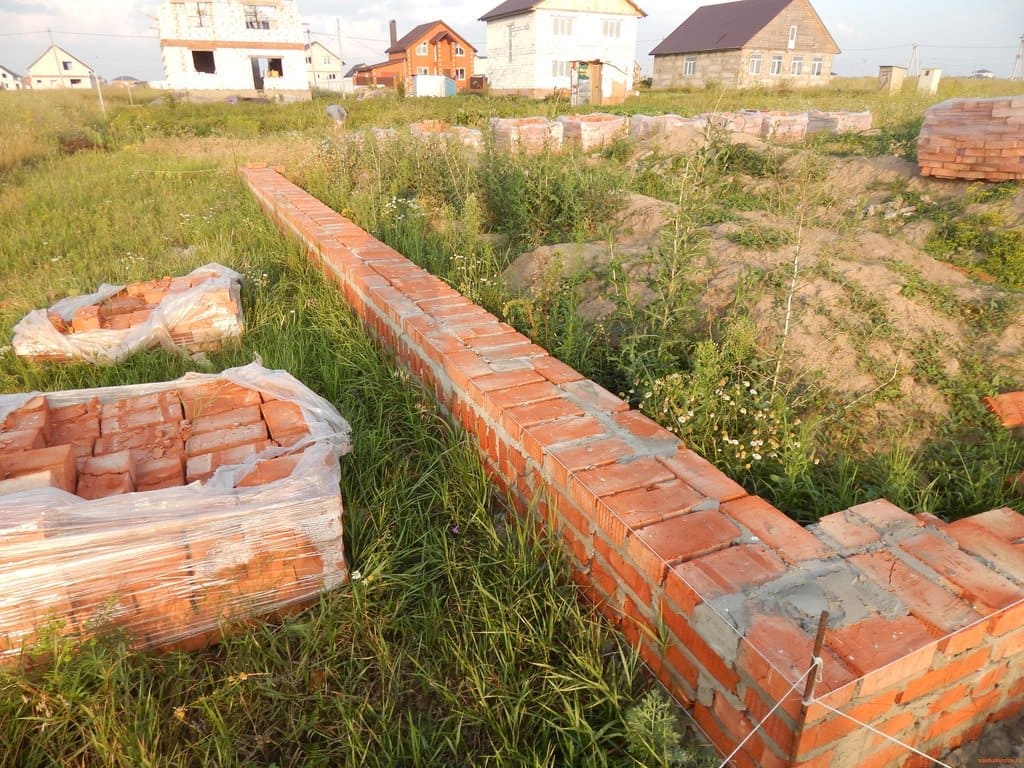
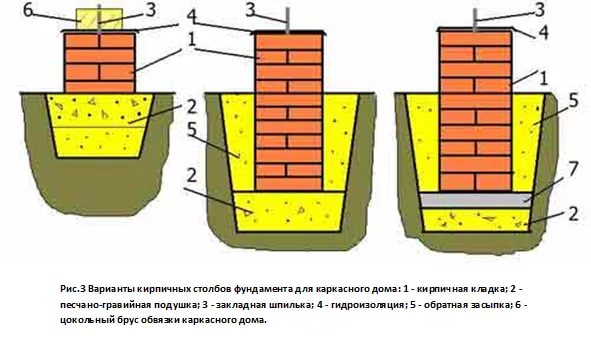
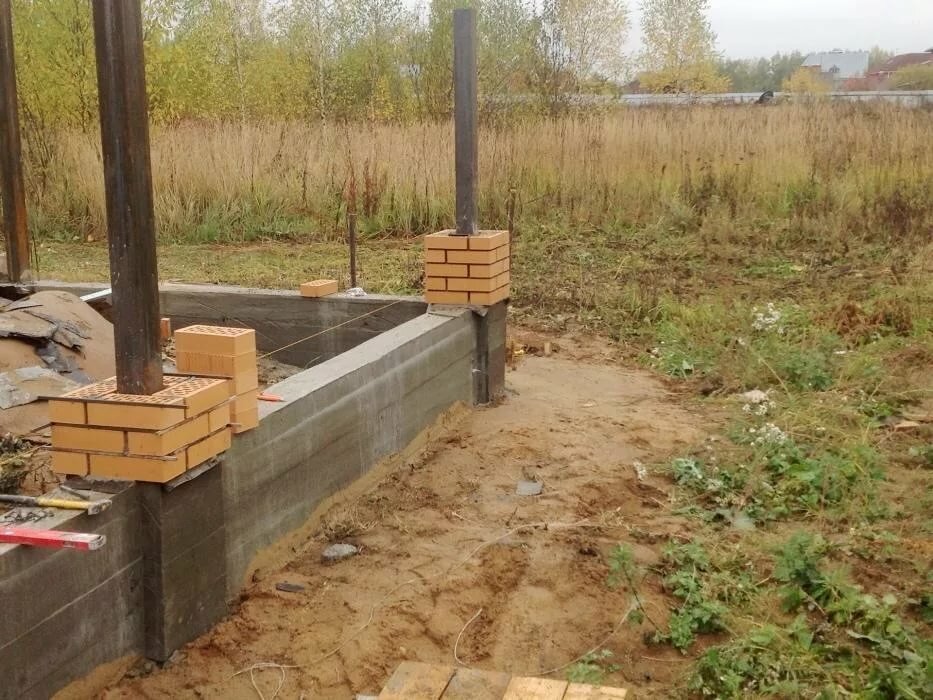
Laying of basement bricks along the perimeter of the pile foundation
If the walls of the house are built of bricks or concrete, then the foundations and plinths are laid no less than one and a half bricks (38 cm). For a timber or frame structure, one brick (25 cm) thick is enough.
If the basement is non-bearing, but decorative, which is usually arranged on pile foundations, then the wall thickness can be minimal - half a brick (12 cm). Our further proposed instruction on the topic: "Laying a brick base: how to do it right" - will relate to the construction of the supporting structure.
Brick layout
Regardless of whether it is professional work, or independent, it must be performed in accordance with existing standards. Of course, there is no separate SNiP for masonry of the basement - the requirements for masonry from all types of bricks, blocks and stones are formulated in one document.
These are norms and rules numbered 3.03.01 * 87, where one of the sections of this document is devoted to stone structures, which include brick walls. There you can find all the necessary recommendations - we also present our information in accordance with them.
Important! Even at the design stage of the house, the length and thickness of the walls should be determined so that whole bricks can be laid, and not cut in each row. The length of the wall is determined by the formula, where the sum of the length of the brick and the thickness of the vertical seam is multiplied by the number of bricks in the row
From the resulting figure, one seam is minus.
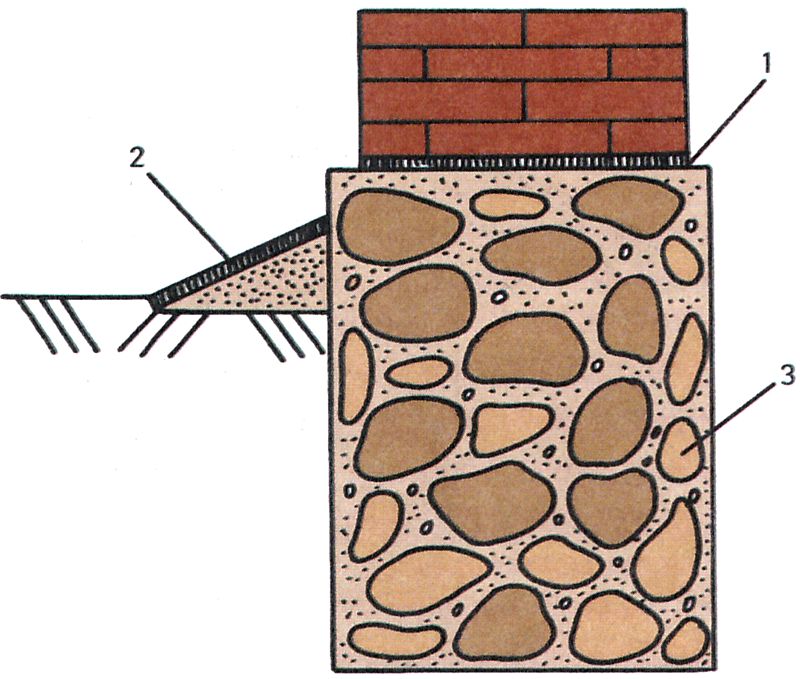
Base / plinth brick masonry: sinking option
- The length of the basement is determined after the length of the wall of the house has been determined. Much depends on the constructive version of the base and its finish. If the basement will be laid out of clinker bricks, or faced with decorative bricks during the construction process, then its thickness usually corresponds to the thickness of the walls of the house.
- In the case when the owner prefers, for example, to sheathe the basement with siding panels, it is necessary to leave space for finishing. Then the base will be sinking, and the difference between its vertical plane and the wall will be a quarter of the brick length (4 cm).
Although, you can make a sinking base in any case - it looks very nice, and the walls of the foundation are protected from water ingress and without specially mounted ebb tides. In the next chapter, we will look at how to lay a brick basement with your own hands.
Rules for self-erection of a brick foundation
- The basic rule: strict selection of bricks for foundation masonry. You should choose only a solid red clay brick, necessarily burnt, since the main reason for the destruction of a brick is high humidity, and a burnt ceramic brick is characterized by low moisture permeability.
- The laying of the brick foundation is carried out on a cement-sand mortar of increased strength (1: 3) with waterproofing additives.
- An obligatory device for thorough waterproofing when erecting brick foundations in areas where groundwater lies close to the earth's surface.
- The execution of the base sole with concrete casting and its special filling are necessary to improve the operating conditions and strengthen the brick foundation.
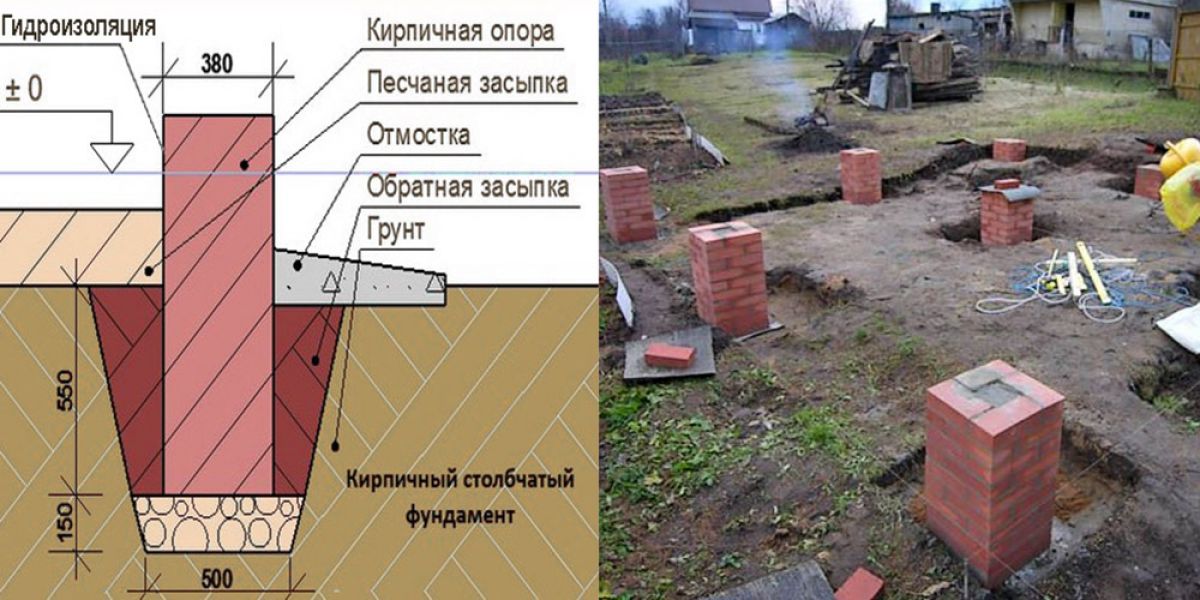
- The calculation of the depth of the brick foundation is carried out according to general rules, but a prerequisite is its erection on a layer of stable, solid soil. *
* Columnar brick foundation is not recommended for use:
- on weak horizontally moving soils (the possibility of overturning the foundation);
- in areas with elevation differences on the ground from 2 meters or more.
Brick foundation laying (step by step instructions)
In construction practice, the technology of a strip brick foundation is most often used. Therefore, we will dwell on this method in detail:
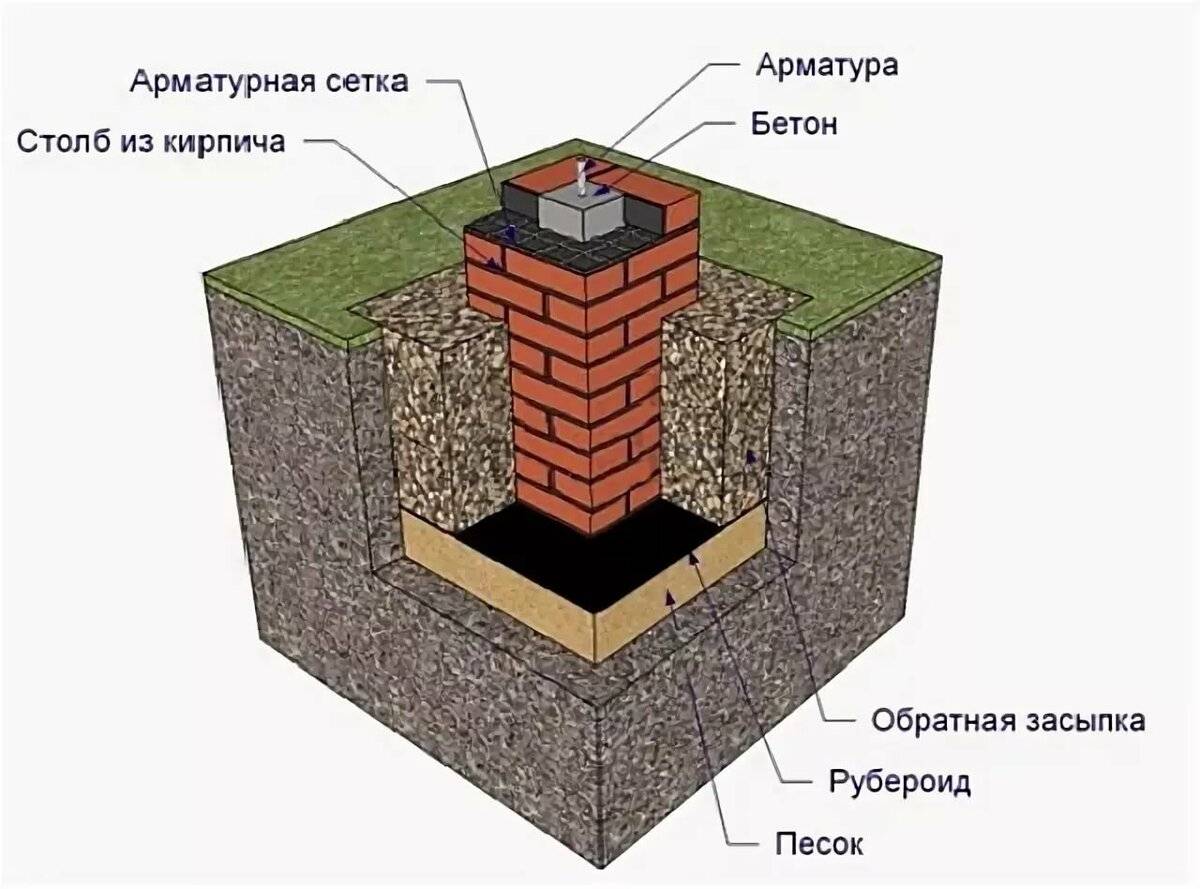
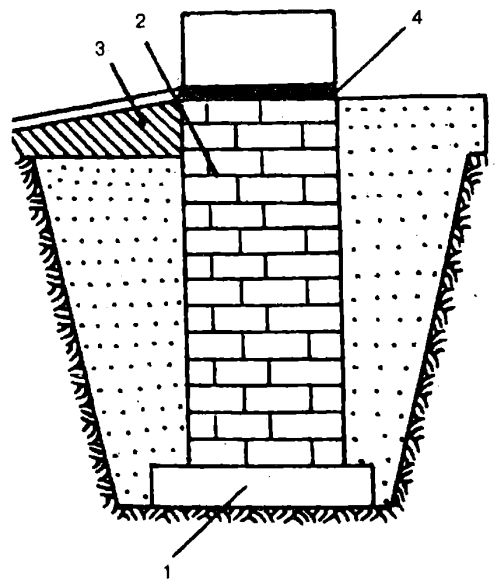
- First of all, it is necessary to mark the place where the foundation will be built, and to carry out earthworks. The trench should be about 20 cm deeper than the level of soil freezing, but not lower than 50–70 cm from the ground surface. With increasing soil moisture, the width of the belt increases.
-
At the bottom of the trench, a 20 cm thick sand cushion is made, moistened and well rammed. The pillow is poured from coarse sand.
-
A concrete base is being built. For this, formwork is made. The height of the concrete base is approximately 10 cm. The formwork is made accordingly. The width of the base should be 50% greater than the thickness of the tape. Waterproofing from roofing material is made between the sand cushion and concrete.
-
Laying is done in 3-4 days. Masonry mortar is made of cement and sand, mixed in a 1: 3 ratio with the addition of waterproofing additives. The foundation is usually two bricks thick.
-
The foundation is reinforced with reinforcement between the first and second row, as well as in front of the last. It is recommended to use steel or composite reinforcement with a diameter of 6–8 mm or reinforcing mesh with a diameter of 4–6 mm.
- Further, approximately in two weeks, waterproofing is performed. For brick foundations, it is mandatory and is done both outside and inside. The easiest and most affordable way of waterproofing is the brick walls of the foundation are coated with bitumen mastic and pasted over with roofing material:
- a layer of soft bituminous mastic is applied. If it is in bars, then the gas burner is heated to a liquid state. The mastic layer should be at least 2 mm. When thickened, it is diluted with toluene, gasoline or white alcohol. It is necessary to prevent drying out, as this loses the adhesive properties of the material;
-
Roofing material is heated by a burner to make it elastic. When laying, an overlap of 10 to 15 cm is observed. After gluing, the sheets must be heated again and additionally coated with bitumen. Roofing material is laid in one or two layers.If a two-layer installation is used, then the already strengthened roofing material should be smeared again with a layer of mastic and all operations must be repeated again.
-
The brick foundation is insulated from the outside with polystyrene, polystyrene foam or polystyrene plates. After that, the trench is covered with sand and gravel, which helps to protect the foundation from moisture.
-
In very humid areas, drainage should be done. For this, geotextiles are used. It must be laid in a trench at a distance of 0.5–1 meters from the outer wall of the foundation. Next comes a layer of rubble. Perforated pipes are also used to improve drainage. They are laid with a slight slope, covered with rubble and wrapped around the remaining ends of the geotextile. Then everything is covered with sand layer by layer with compaction of each layer. Moisture is removed through pipes into wells or drainage channels.
The technology of erecting a brick foundation today is quite relevant in summer cottage and backyard construction. Its correct application allows you to build a reliable foundation for many types of lightweight structures on your own.
(0 votes, average: 0 out of 5)
Most often, a monolithic concrete foundation is poured under suburban low-rise buildings. However, sometimes brick is also used to assemble the base of the house. The choice of this material in most cases is determined by the fact that a very attractive, from the point of view of aesthetics, construction can be erected from it.
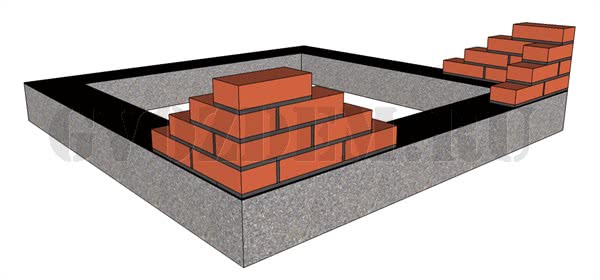
Putting the corners
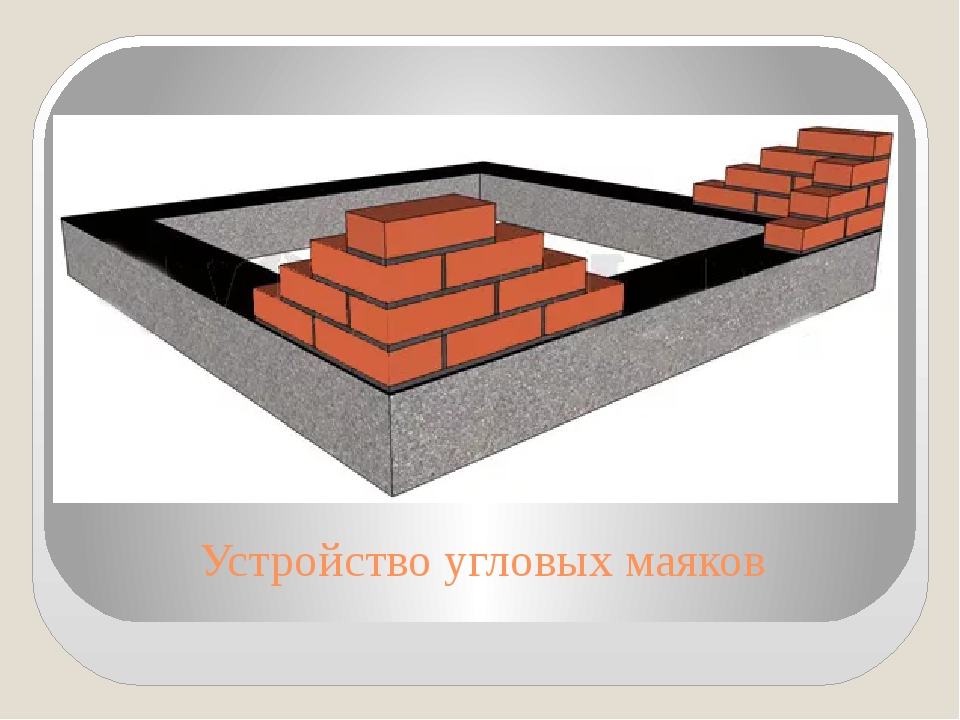
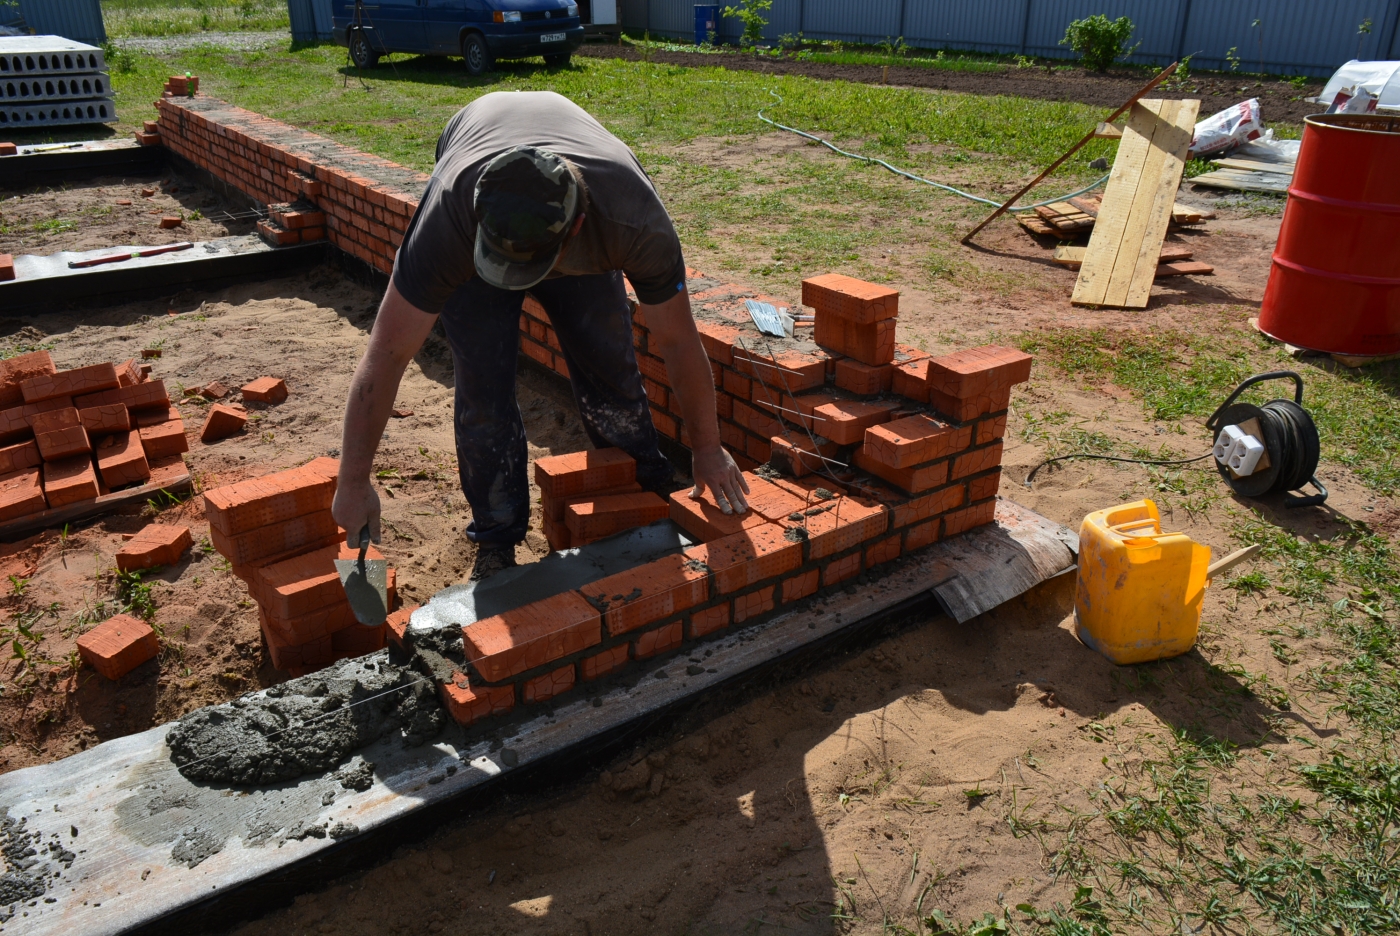
Now, using the knowledge gained, we set the corners brick by brick. The main thing is not to forget that the quality of the masonry of the entire wall will largely depend on how correctly the corners are set. Therefore, we use both an eye and devices that will help us in setting angles.
Using a plumb line, we check the verticality of the masonry. The plumb line is considered a very accurate device for verifying the verticality of a surface. Probably the simplest and most accurate compared to the building level, which can sometimes fail. It makes no sense to use a plumb line when we have 1-2 rows of masonry, since it is difficult to determine by eye the divergence from the vertical in such a small area.
In the picture, we have displayed 3 points equally distant from the masonry. Based on the fact that the distances in these segments are equal, we can conclude that our masonry is laid out exactly vertically. To work with a plumb line, of course, you need to have a good eye gauge, since we determine all the distances between the masonry and the plumb line visually, by eye.

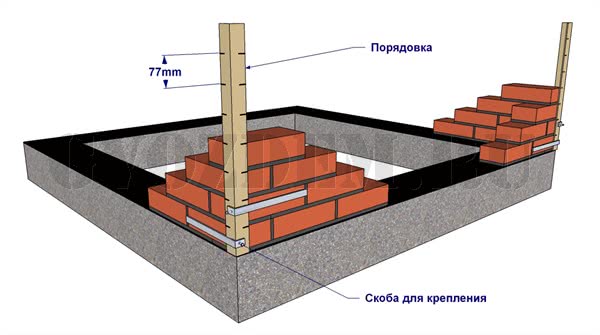
To maintain uniform horizontal seams and to control the horizontal alignment of the masonry, we recommend using the ordering. They will be especially useful for people with little experience in bricklaying. The orders are installed strictly vertically (along a plumb line or by level) and are attached to the masonry with the help of U-shaped brackets. The distance between the ordering divisions is 77mm for a single brick (brick thickness 65mm + 12mm seam) and 100mm for thickened brick (88mm + 12mm).
Professional advice
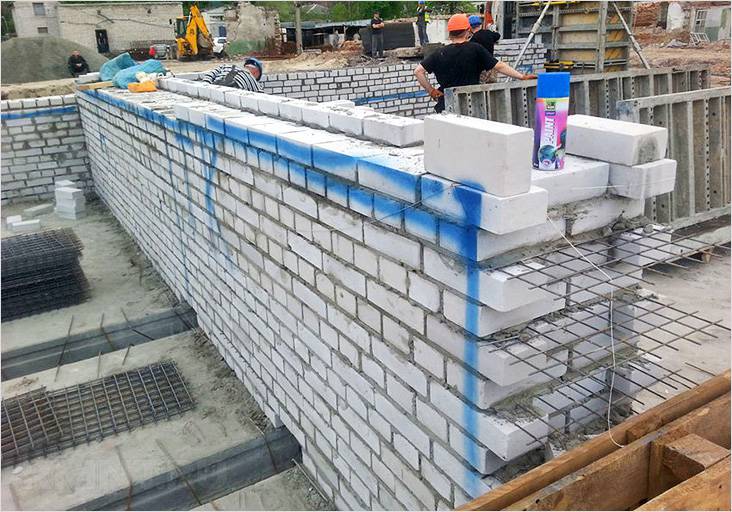 The masonry should be reinforced every few rows of bricks.
- When laying walls made of silicate bricks, there are several ways to bandage the seams. This is necessary in order for it to be stronger. The most common way is vertical. Longitudinal dressing will provide an even distribution of the load on the wall along its entire length, helping to avoid vertical delamination. The cross tie will provide a good longitudinal bond between the bricks.
- For the construction of a solid wall, a reinforcing mesh is periodically placed between the rows. Thanks to its use, cracks in the wall can be avoided.
- Before starting work, it is better to dip the bricks in water so that they do not pull the liquid out of the solution.
- Experts do not recommend for beginners to cut the same to start laying silicate bricks on the mortar. Better to learn how to fit the stones to each other without him.
- It is recommended to lay bricks no more than 10 rows per day.If you do not follow this rule, the walls may swell and you will have to move them.
- Professionals recommend laying the first row of bricks without mortar first in order to quickly trim them if necessary. If the mortar is applied immediately, further pruning can be very problematic.
- In order not to periodically run after materials during construction work, everything should be prepared in advance. This, first of all, concerns the stock of bricks, which are laid out in small blocks along the wall being erected.
- The mortar is usually kneaded a little, but if the wall is laid in several hands, you may have to resort to using a concrete mixer.
Do-it-yourself bricklaying of silicate bricks can also be done by a non-professional, subject to the above simple rules. If you have any questions regarding technology, please contact our experts.
Work order
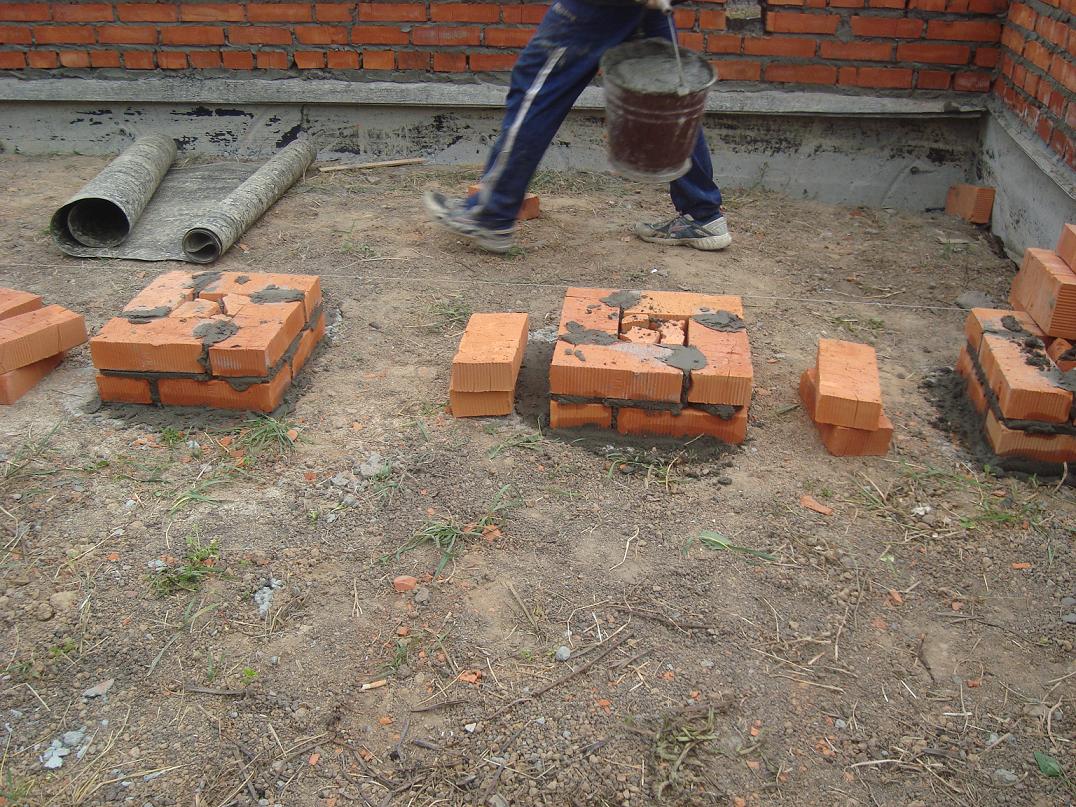
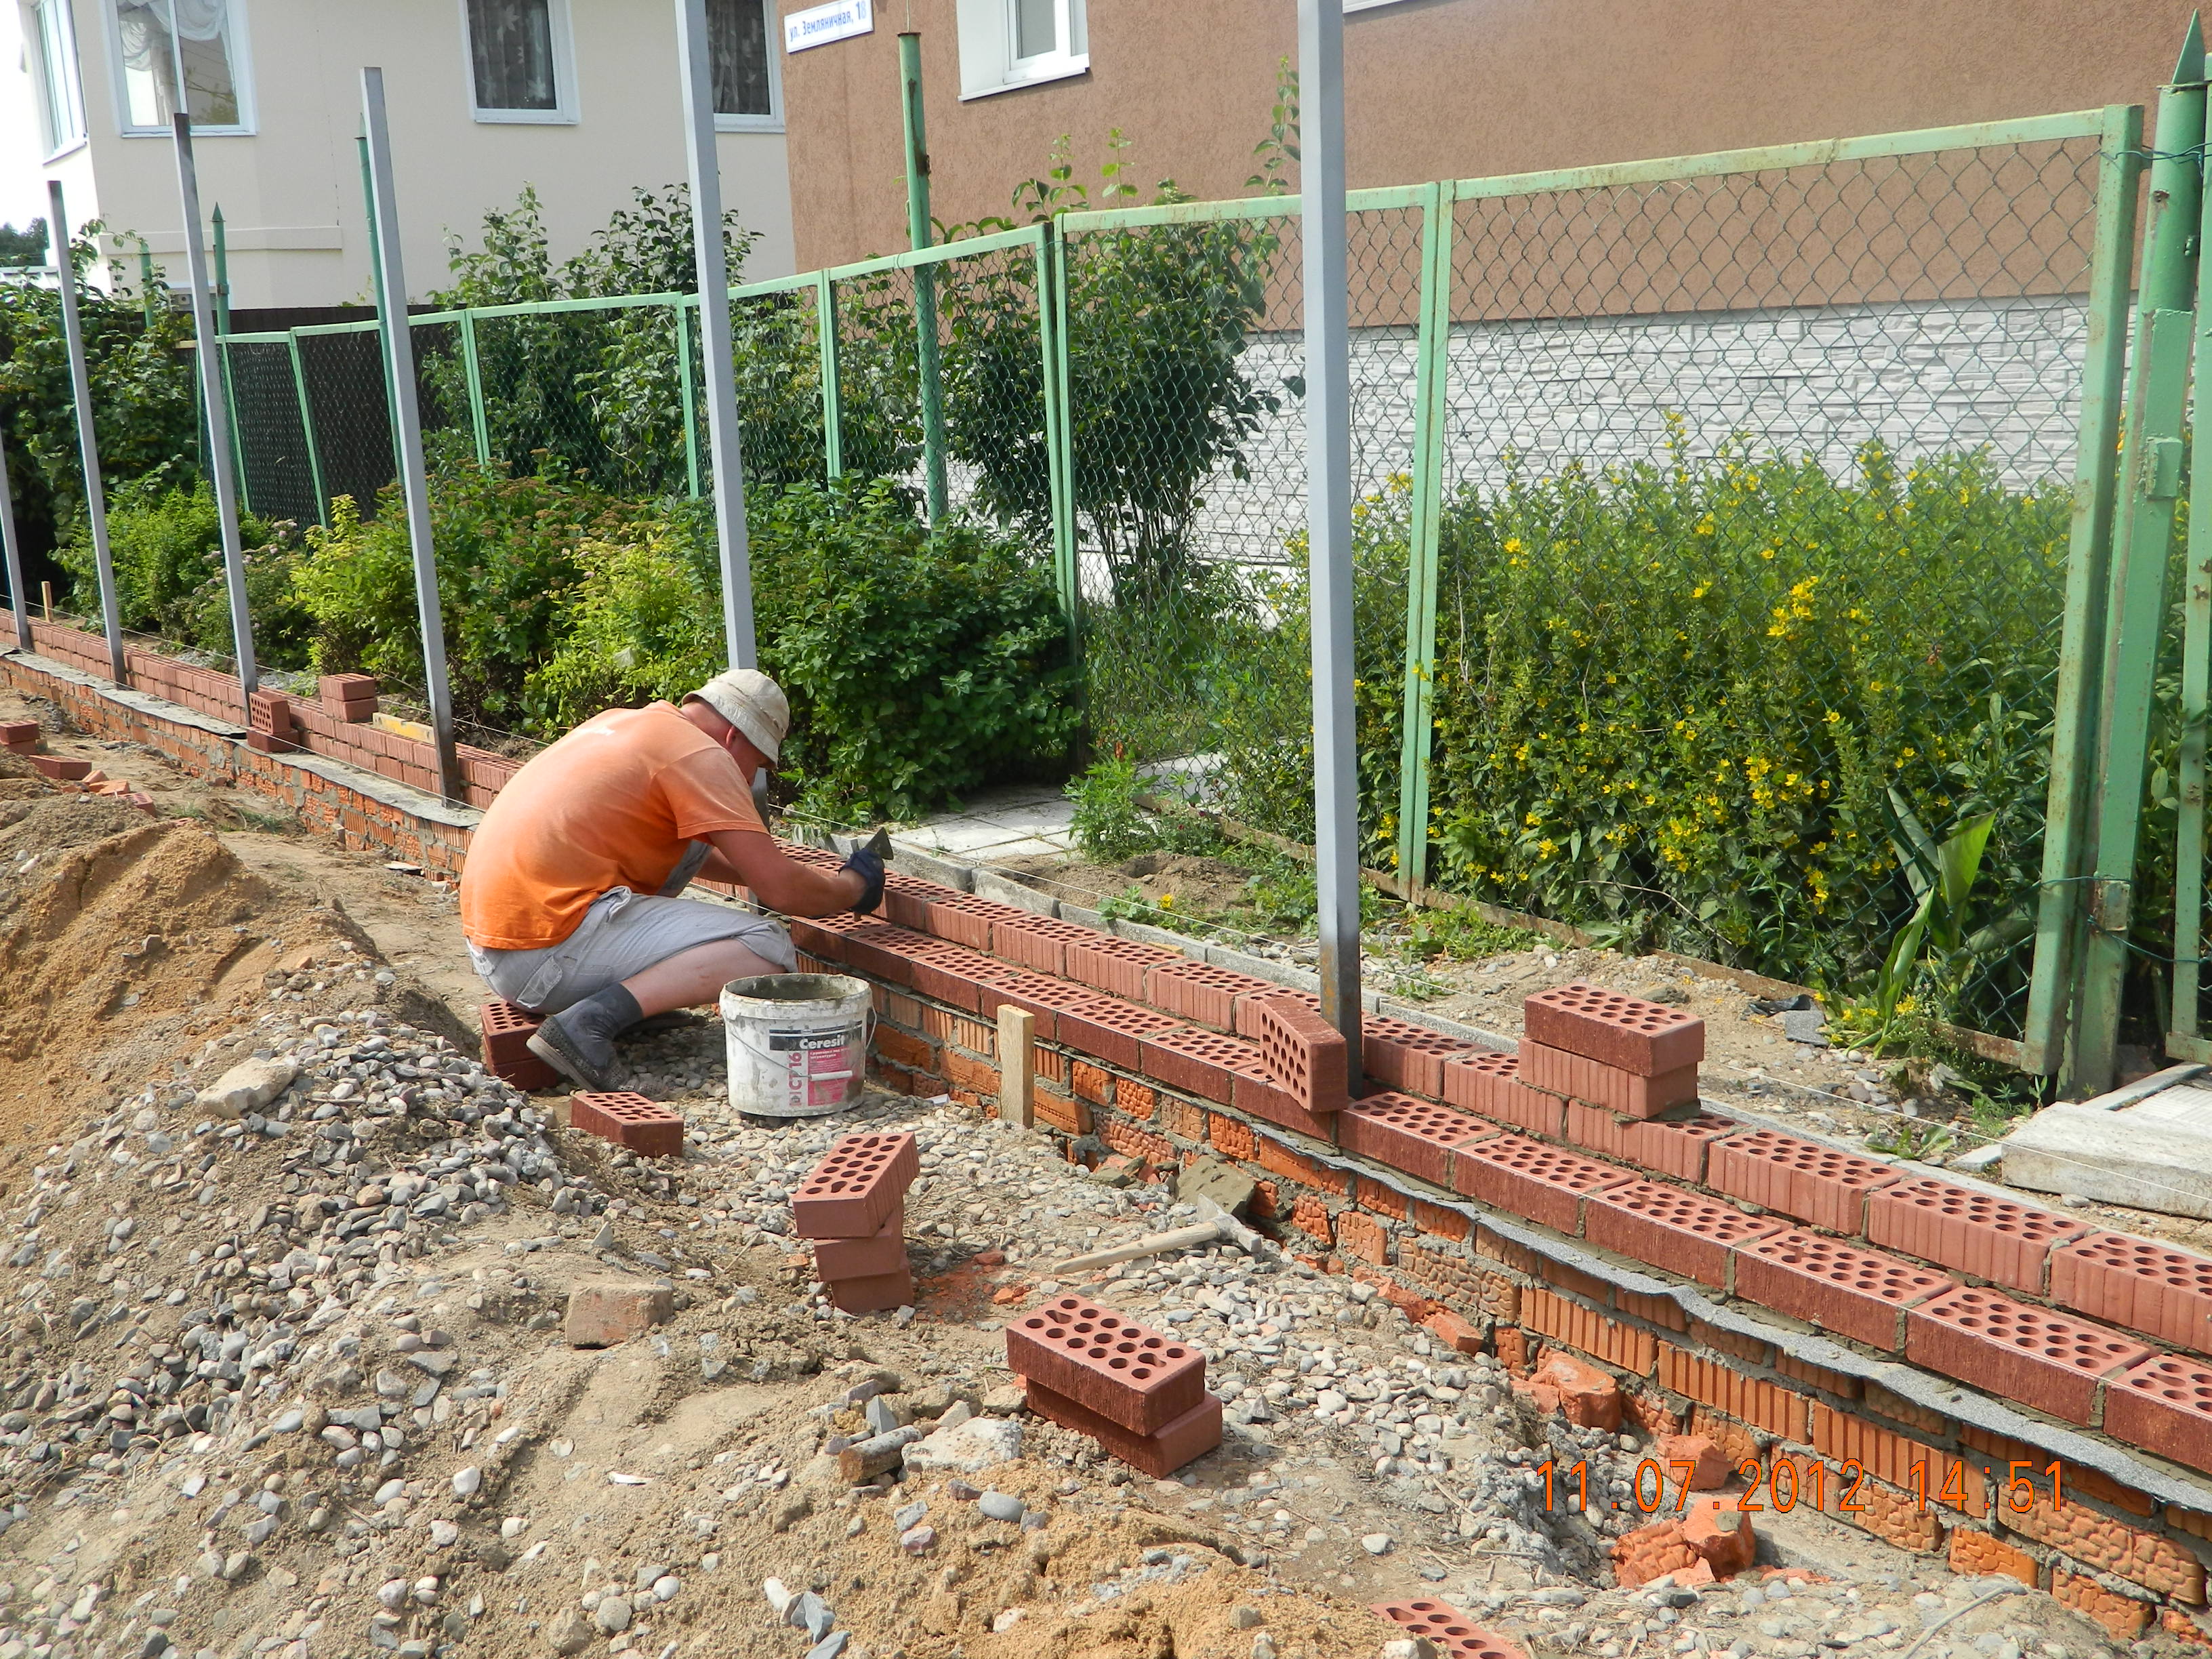
According to the technology of making the basement masonry with bricks, the first row must be laid out dry - without using mortar. This is necessary for better planning of the row, where mainly whole brick products will be used for masonry. After that, work is performed to mark sections of vertical seams. The laying of the basement always begins with corner elements, which will serve as indicative areas for the further construction of the walls. To do this, a strong cord is pulled with special precision between the perpendicular rows that make up the angle.
When performing such work, it is better to use ordinary red brick, since it is not afraid of a humid environment and salt deposits. The first row is laid out perpendicular to the walls. To form a zero mark on the foundation relative to the horizon line, they are guided along a line stretched along the level of the rope. During the masonry process, a thin cement mortar is used in order to facilitate the alignment of the brick fragments.
Each row of brickwork forming the plinth must be checked with a building level.
This will ensure a more accurate observance of the horizontal surfaces and prevent distortions of the base, which is important for further work on the construction of the main load-bearing walls. According to building codes, the last row of basement masonry must be covered with a layer of waterproofing material
This will prevent moisture from entering the outer walls of the structure.
Half brick masonry
When laying in half a brick, the most important and crucial moment is to lay out the first row correctly.
What is half-brick masonry
Half-brick masonry is considered the easiest to build. It is used for cladding buildings, erecting internal walls, in the construction of sheds, gazebos, fences, and so on.
With this method, the bricks are laid with a tape in a row, on the mortar, in contact with the butt side. The front side of the walls consists of a spoon only. Therefore, the thickness of the walls is equal to the width of the brick itself, namely one hundred and twenty millimeters.
Each subsequent row is laid out with a shift of half a brick. As a result, the middle of the top brick coincides with the connection of the bricks of the previous row. Thus, a strong bunch of brick rows occurs.
Bricklayer tools
Naturally, in order to beautifully lay out the wall in half a brick, you need to prepare. First of all, check the availability of the necessary tools for the job.
You will need:
- Concrete mixer;
- Mortar bucket;
- Mortar shovel;
- Master OK;
- Rubber hammer;
- Pickaxe hammer;
- Mason's corner;
- Mooring cord;
- Pencil or felt-tip pen for marks;
- Plumb line;
- Level and others.
And other materials mean that each bricklayer can have his own set of tools that are convenient for him.
These can be various devices for laying mortar, for fixing seams, and so on. Of course, you can do without them, although their presence will speed up the work several times.
Preparatory work
As mentioned above, the most important point is the layout of the first row. In order for the wall to be even, neat and beautiful, an even, almost perfect foundation is required.
If it is far from ideal, has large horizontal discrepancies, wavy surface, then it will be very difficult to achieve good results.
Therefore, the preliminary work is to level the surface for the masonry. When the foundation is properly prepared, pulled together, reinforced, you can proceed with waterproofing.
Calculation of the first row of masonry in 1/2 brick
So, let's imagine that the masonry surface is completely ready. In order to correctly lay out the first row, you do not need to rush.
You don't want to redo everything afterwards. The first row of bricks is laid out without mortar, with the measurement of vertical seams.
For example, you took a steel rod with a diameter of 8 millimeters. We laid the entire row of bricks, from the starting point to the end point, fixing the distance between the bricks.
The first time it will never be possible to lay out the row perfectly, necessarily at the end it turns out not a docking. And then you need to look at the circumstances.
If there is a gap of two or three centimeters, then you can move the bricks a little. For example, instead of 8 millimeters of the vertical seam, make 9 millimeters.
Conversely, if the last brick does not fit a little, then make all the seams narrower by half a millimeter.
That is, your task is to lay out the first row of bricks as evenly as possible, with the same indents between them. When the desired result is achieved, make marks on the foundation.
First row masonry
Start laying the first row from the corners. Or rather, from the highest corner of the foundation.
A corner brick is laid on the mortar, leveled strictly according to the level. Further, its height is fixed using a water level.
After that, in the same way, a brick is fixed in its previously marked place on the other corner of the building. The brick is fixed at the same height according to the water level.
And so all 4 corners go. Then, between the corner bricks, a mooring cord is pulled with a corner.
Only after that you can start laying the first row on the mortar. At the same time, be sure to look at the marks made so that the brick lies in its place.
Second row
The second row is laid out, as mentioned above, in a checkerboard pattern. Also, at first the corners are fixed, a mooring cord is installed.
When laying bricks, you need to ensure that the vertical seam of the previous row is strictly in the middle of the brick.
Basic rules for laying the foundation
Whatever version of the foundation for the furnace you choose, and whatever size you decide to implement, there are a number of basic rules that you should not ignore:
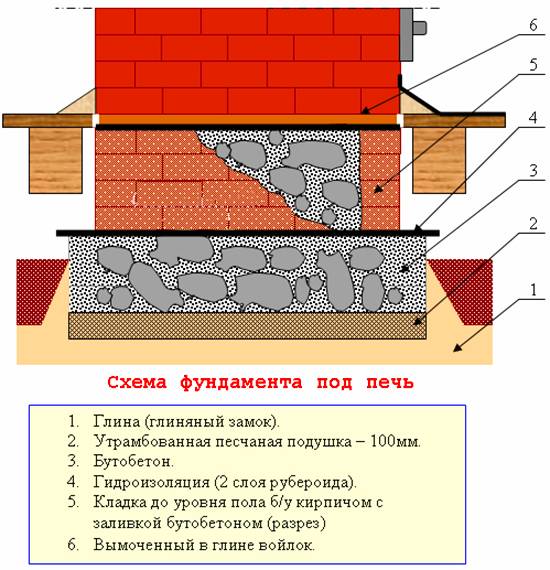
The foundation for the stove must be made independent, in no way connected with the foundation of the whole house. Why? The fact is that during operation, the house may shrink slightly. When lowering, he should not pull the stove with him, as this can lead to its deformation, deterioration of traction and violation of technical properties.
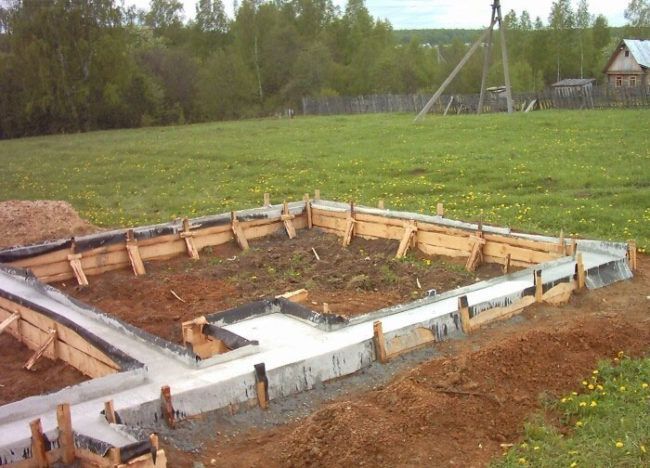
The foundation for the furnace is separated from the general
In some cases, you can partially combine two bases by connecting them with one wall.
- If both foundations (for the house and for the stove) are located close to each other, sand backfill with a thickness of 50 mm must be made between them.
- If the foundation for the common house is tape, then the base for the furnace should in no case come into contact with this foundation with the walls.
- When choosing a place for a stove and, accordingly, a foundation, one should not only rely on wishes, but also on factors such as: the location of doors, windows and roof beams. The location of the chimney should be taken into account so that the pipe does not fall into the ceilings and beams during the construction of the stove.
- When calculating the size and depth of the foundation, be sure to take into account the severity of the floors and the weight of the stove together with the chimney.
The dimensions of the foundation are influenced not only by the dimensions of the furnace, but also by the density of the soil on which it is being erected. The main load in the stove is usually created by the chimney, therefore, when designing the stove, it is necessary to carry it closer to the center of the base. This will help to avoid asymmetric loading and premature, improper shrinkage of the oven.
Sometimes, when designing a very large and massive stove with a stone chimney, stove-makers make a separate base for the chimney.
Also, the choice of foundation depends on the material of the furnace. For a metal structure and a stone one, it will be different in depth, the entire mass of a brick oven is at least 400-500 kg, while a metal oven weighs about 150 kg.
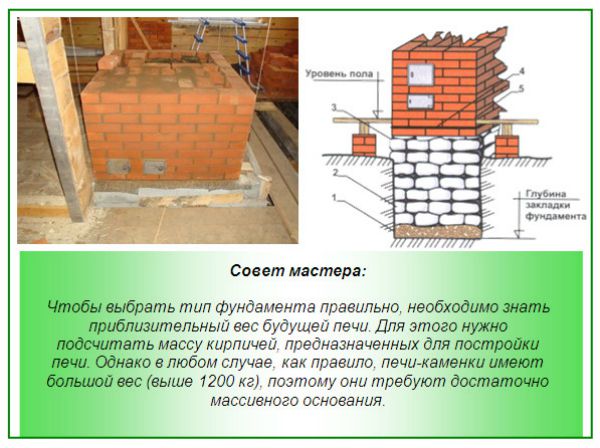
How to calculate the weight of a stone oven
In principle, for a small metal stove, you can separately and not equip the foundation, especially if it is being built in a house that stands on a tiled monolithic base.
The density of the soil and the degree of its freezing play an important role in determining the size of the foundation. The climate in Russia is accompanied by rather severe winters practically throughout its entire territory. Therefore, the foundation for the furnace should be laid to the entire depth of soil freezing.
The type of soil is also of great importance.

Soil types
It is of three types:
- clay;
- sandy loam;
- loam.
In places where a large number of rivers, reservoirs, lakes prevail, as a rule, sedimentary types of soil are found. Here, it is better to entrust the construction of the foundation for the furnace and the house to professionals, so the calculations of the point of passage of the waters should be carried out.
In Central Russia, a very common type of soil is loam, which is a mixture of sand and clay. It is clay that predominates in it, therefore such soil is less plastic.

Loam
Erection of a foundation on such soil is usually associated with hassle and additional problems, since in a dry state the loam is crumbly, with the onset of frost it begins to "heave", and with a large amount of sediment it becomes viscous.

Clay soil
Therefore, in this case, the depth of laying the foundation for the furnace must be made above the freezing point.
But in forest areas, on the contrary, it is necessary to lay the foundation for the stove below the freezing point of the soil and equip the base on a sand cushion 60-90 cm thick.
One of the most reliable types of soil for building a foundation is gravel and rocky, but, unfortunately, sometimes you have to build a house and a stove on an unstable one. Competent construction of a reliable foundation will help neutralize this fact.
Masonry materials
You can lay out a reliable base with your own hands, having previously prepared high-quality material. Often used bricks are taken for this purpose. It has passed the test of time, defects have already appeared. However, it should be noted that the frost resistance of the product is designed for a certain number of cycles. The new ceramic unit is taken from the class from F 35 to F100, used - unknown.
By the method of manufacture (firing), solid red brick is much superior to silicate brick in its ability to resist moisture. Therefore, only such a stone is suitable for the bearing part of the house.
Watch a video on how to choose the right material for laying the foundation of a house.
Single-row and multi-row corner laying
Image 2. Multi-row masonry of corners: a - walls 2 bricks thick; b - walls 2.5 bricks thick.
Whatever suture dressing scheme is used, there is one general rule: the wall must be started and finished with a butt row
Therefore, given the importance of the butt rows for the quality and reliability of the wall, only whole bricks need to be taken for them.
The most durable, but also the most laborious, is a single-row masonry, in which the butt and spoon rows alternate in shifts. When using this masonry, a large number of three-quarter inserts are required, therefore only a bricklayer of sufficiently high qualifications can perform it.
Forcing corners according to this scheme is performed as follows: the first row is laid out completely with whole bricks and ends with two inserts of three-quarters, which will serve as the end of one wall and the beginning of another, the first row of which joins the one laid at a right angle (image 1: a - forcing into 2 bricks, b - in 2½ bricks).
In the second row, the rows are interchanged: the spoon lies on the butt, and vice versa. Thus, the rows are alternated until the completion of the work. With such a dressing, it turns out that the laid out spoons of the corner of one wall become butt for the corner of the other, while two spoon inserts of the three-quarters become the end ones. In this dressing scheme, quarters and halves are not needed, but a large number of three-quarters are needed.
Multi-row masonry is considered less labor-intensive than single-row. When using it, the walls are vertically limited, laying out three-quarters at the beginning of the first two rows. In the future, when distilling houses from bricks, at the restrictions, whole and incomplete bricks alternate in spoon rows, while during laying, the spoon rows should overlap those laid on half a brick below.
Forcing the corners begin with two three-quarters, extending with a spoon to the outside of the adjacent wall. In this case, a gap is formed between the butts and the three-quarters, which is filled with quarters. Performing the second row, the bricks are interchanged: the zabutka is performed with pokes, and a mile away - with spoons. The next rows are driven out, tying up the vertical seams (image 2: a - forcing in 1 brick, b - 1½ bricks, c - 2 bricks).
Three-row masonry is a type of multi-row. Its peculiarity is that the butt and three spoon rows alternate. This is the only ligation scheme in which the vertical stitches in all 3 spoon rows are allowed to coincide.
A clear knowledge of what and how to do, correctly performed the necessary calculations, as well as hard work and responsibility - these are the 4 pillars that will certainly lead you to success in such a difficult matter as forcing the corners of a house out of bricks.
Straight corners and even walls! Good luck!

