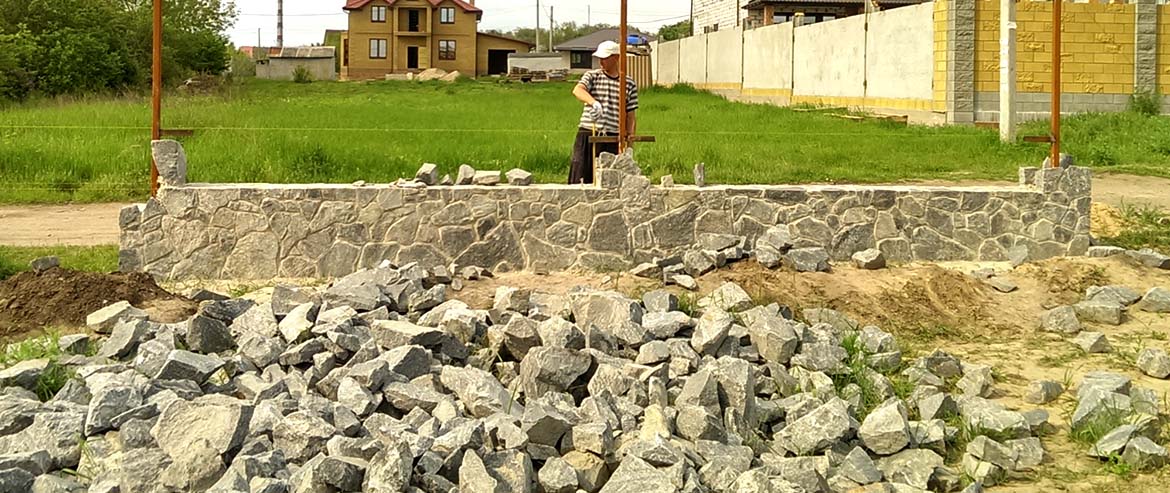
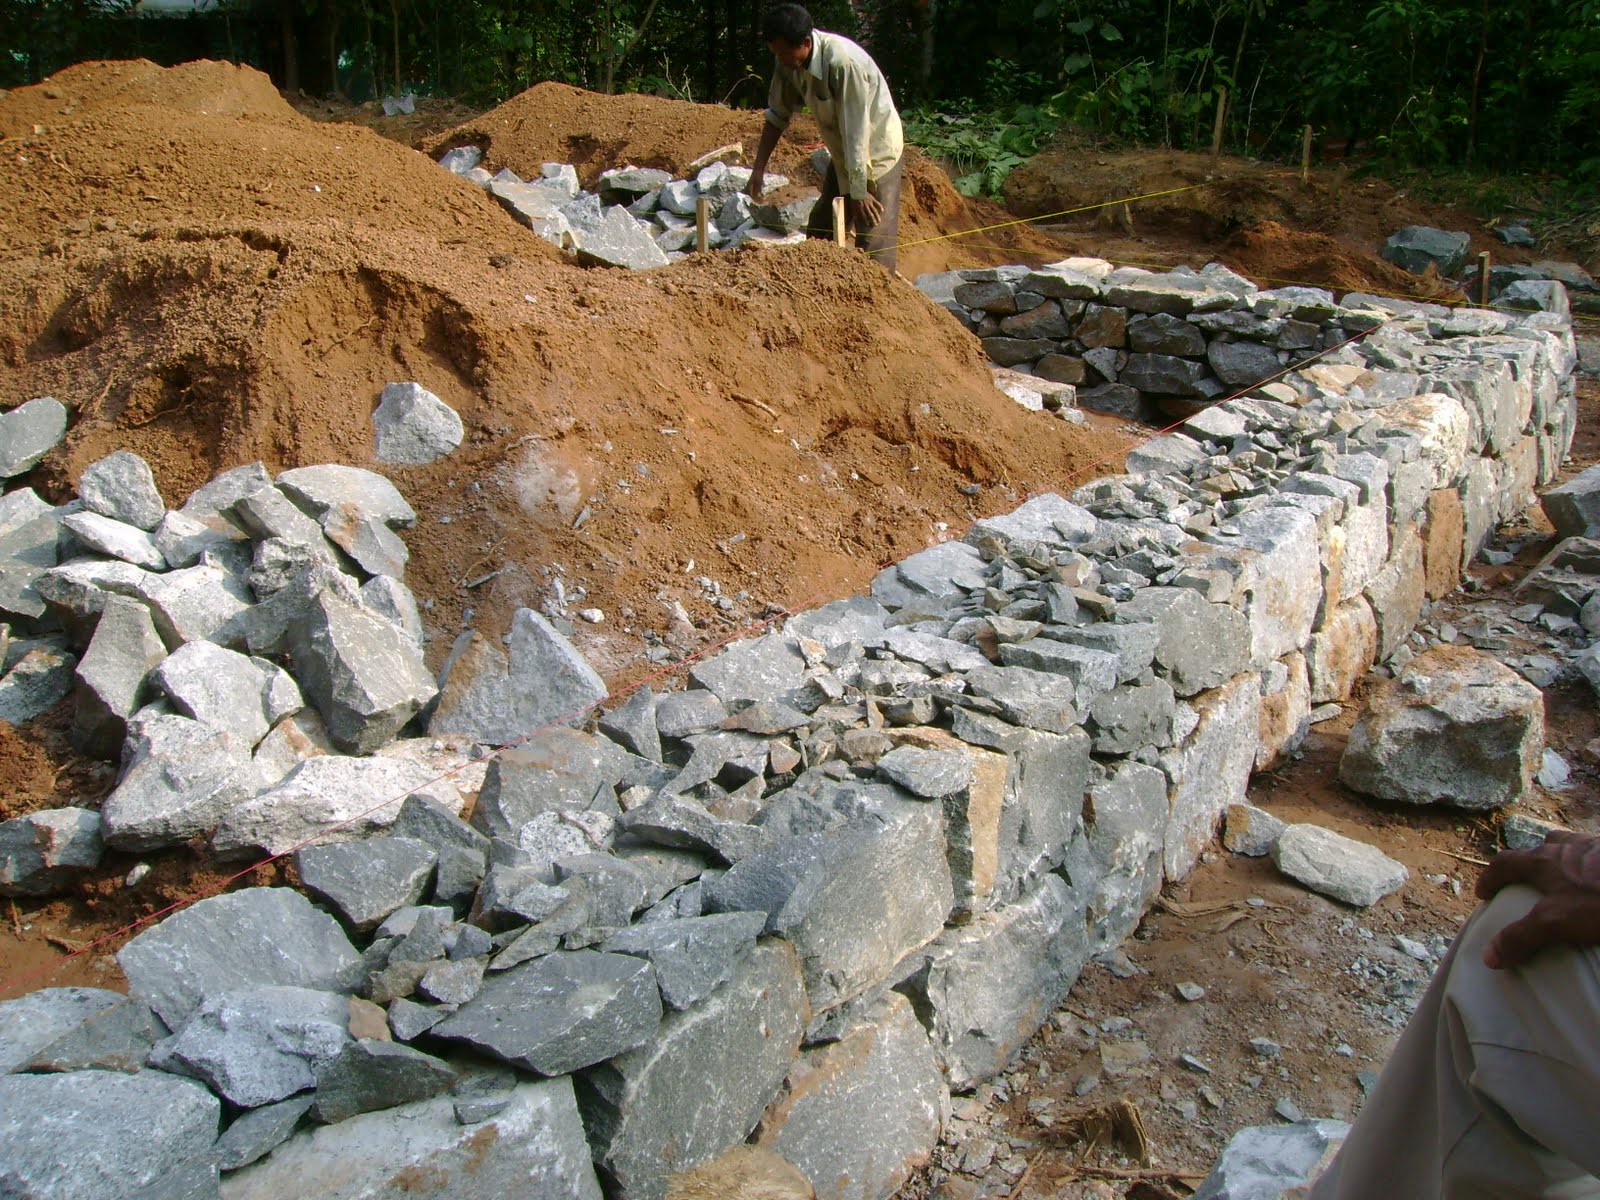
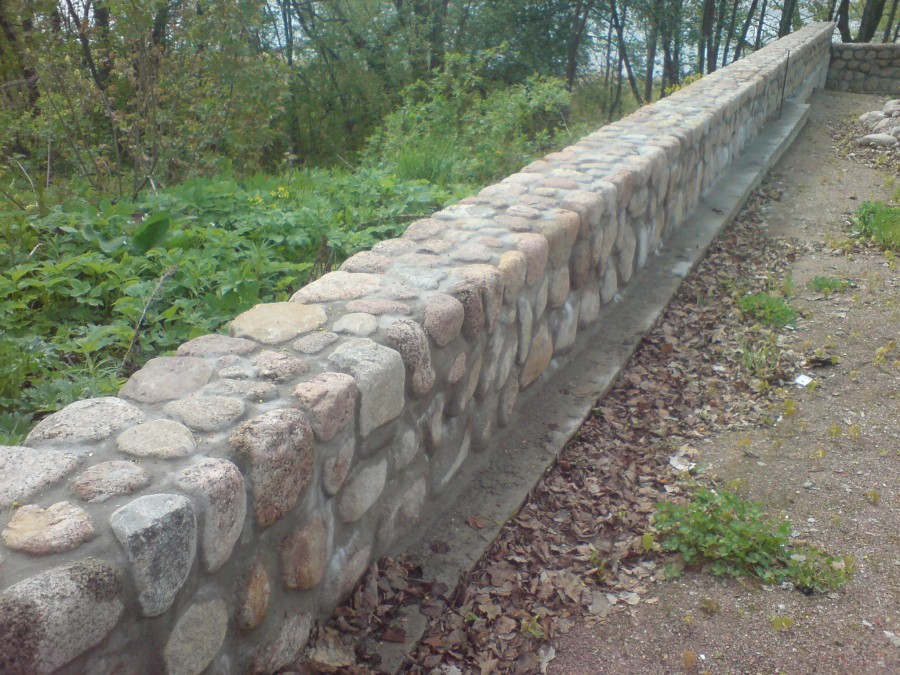
Required tools and materials
At the site of the erection of the monument, the ground is first examined. Neighboring burial sites will be a good reference point. On stable ground, the monuments look even, they are not warped anywhere. You can even make a foundation for heavy slabs and tombstones.
A strip foundation is laid on the clay ground under the massive ritual complexes. In sandy soils, without deepening, a strip base is made.

Preference is given to the construction of small and medium-sized monuments
The design focuses on the center of gravity. In the most difficult place, the foundation is thoroughly strengthened
The special strength keeps the structure in good condition for many years.
Inventory:
- Shovels;
- Roulette;
- Putty knife;
- Master OK;
- Rubber mallet;
- Hard rubber from 5 mm;
- Building level.
Mix the solution in a bucket or special container. If dismantling is done, scrap will be needed.
Equipment:
- Reinforced concrete beams - three pieces;
- One reinforcement with a diameter of 16 mm, a length of 30 cm and 14 by 15.
Standard set of material:
- Glue;
- Boards;
- Sand;
- Cement;
- Crushed stone.
For the place of optimal load, a base made of durable metal is used.
Some tricks in the construction of a rubble base
To achieve a good enough result, you need to know something about how to simplify your work and at the same time increase its efficiency:
- the solution that will be used for pouring must be periodically stirred with a vibrator until the end of work;
-
if something interferes with your work, and you are forced to suspend it for more than one day, you need to create a special coating that will protect the structure from drying out. When resuming work, do not forget to clean and slightly wet the entire structure with water. Without doing this, you can break the adhesion with another layer;
- to continue laying the buta, you need a solution, which has frozen to be pricked with something sharp and remove all unnecessary parts. As a result, the cement mixture will adhere well;
- if laying is carried out in a trench with sloping slopes, then a working platform is created in the space between its wall and the structure itself;
- steep slopes of the trench must be equipped with scaffolding, installing them on the outside of the foundation;
- for convenience, it is best to use the help of at least one more person;
- the walls in the trench, if necessary, are reinforced with wooden shields with supports.
In order to build a strip foundation from rubble stone, you need to prepare a cement mortar. It is almost the same as for masonry brick materials. Powders of the M 400 or M 500 brands are used for preparation. So that the concrete does not crack as a result, the sand should not contain clay particles. It also needs to be cleaned of various debris and all kinds of impurities.
Initially, you need to mix cement and sand, and then add water. The consistency of the solution should resemble sour cream.
When laying the strip base from rubble, you can use 3 methods: pouring, "under the scapula" and "under the bracket".
The first one is chosen when building small buildings no higher than 10 meters. The stone is used differently and its selection is not made. From above, on the laid blocks, rubble is poured (in a layer of 5-10 centimeters), and thoroughly rammed.
After preparatory work, the rows are poured with concrete. Remember that the material is initially laid dry, and only then the solution is poured. Using a vibro compactor, it is distributed over all the voids that have arisen. These measures will significantly increase the strength and reliability of the foundation base.
The other two methods are characteristically different from the first.First of all, it requires careful selection of stones. When laying them, there should be minimal gaps and voids. These options are certainly optimal, but they require a lot of time and additional labor costs. The boulders are laid out horizontally, and in order to achieve absolute evenness along the entire length of the foundation, a rope is pulled. And the main aspect is the presence of rough stones of approximately equal size.
Laying stone in the foundation
Rubble stone can be laid both in the formwork and directly in the trench. The formwork should be set up if the soil is crumbling. In this case, instead of formwork, roofing material, roofing felt and other roll or sheet materials can be used.
It is important to prevent soil from getting inside the foundation, as this will weaken the adhesion of the stones to the mortar
Any foundation should be arranged below the level of freezing of the soil, if it is heaving or excessively wet and rubble is no exception. Even, on the contrary, the foundation made of natural stone must necessarily lie below the freezing of the soil, since rubble foundations are usually not reinforced, and in severe frosts there is a risk of the foundation bulging out along with the frozen soil. This applies, as mentioned above, to heaving and moisture-saturated soils. For solid and dry soils, the depth of the foundation should be at least 50 cm. All this is determined at the design stage.
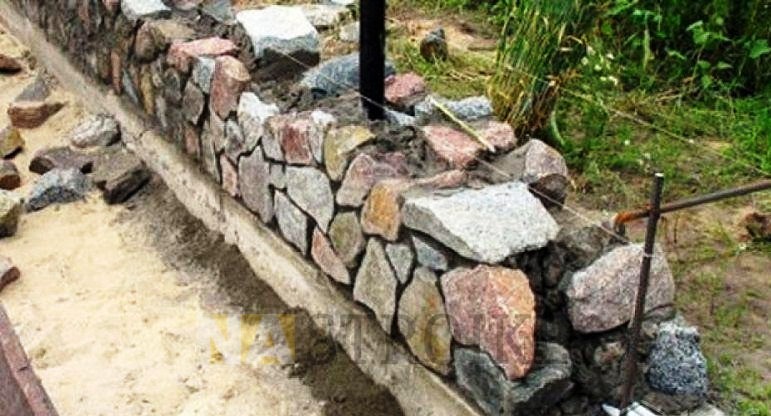
At the bottom of the trench, a sand bed is made, on which the largest stones are laid, pressing them with great force into the sand. The stones should be stable, not swaying. The width of the foundation should be 15-20 cm greater than its height.
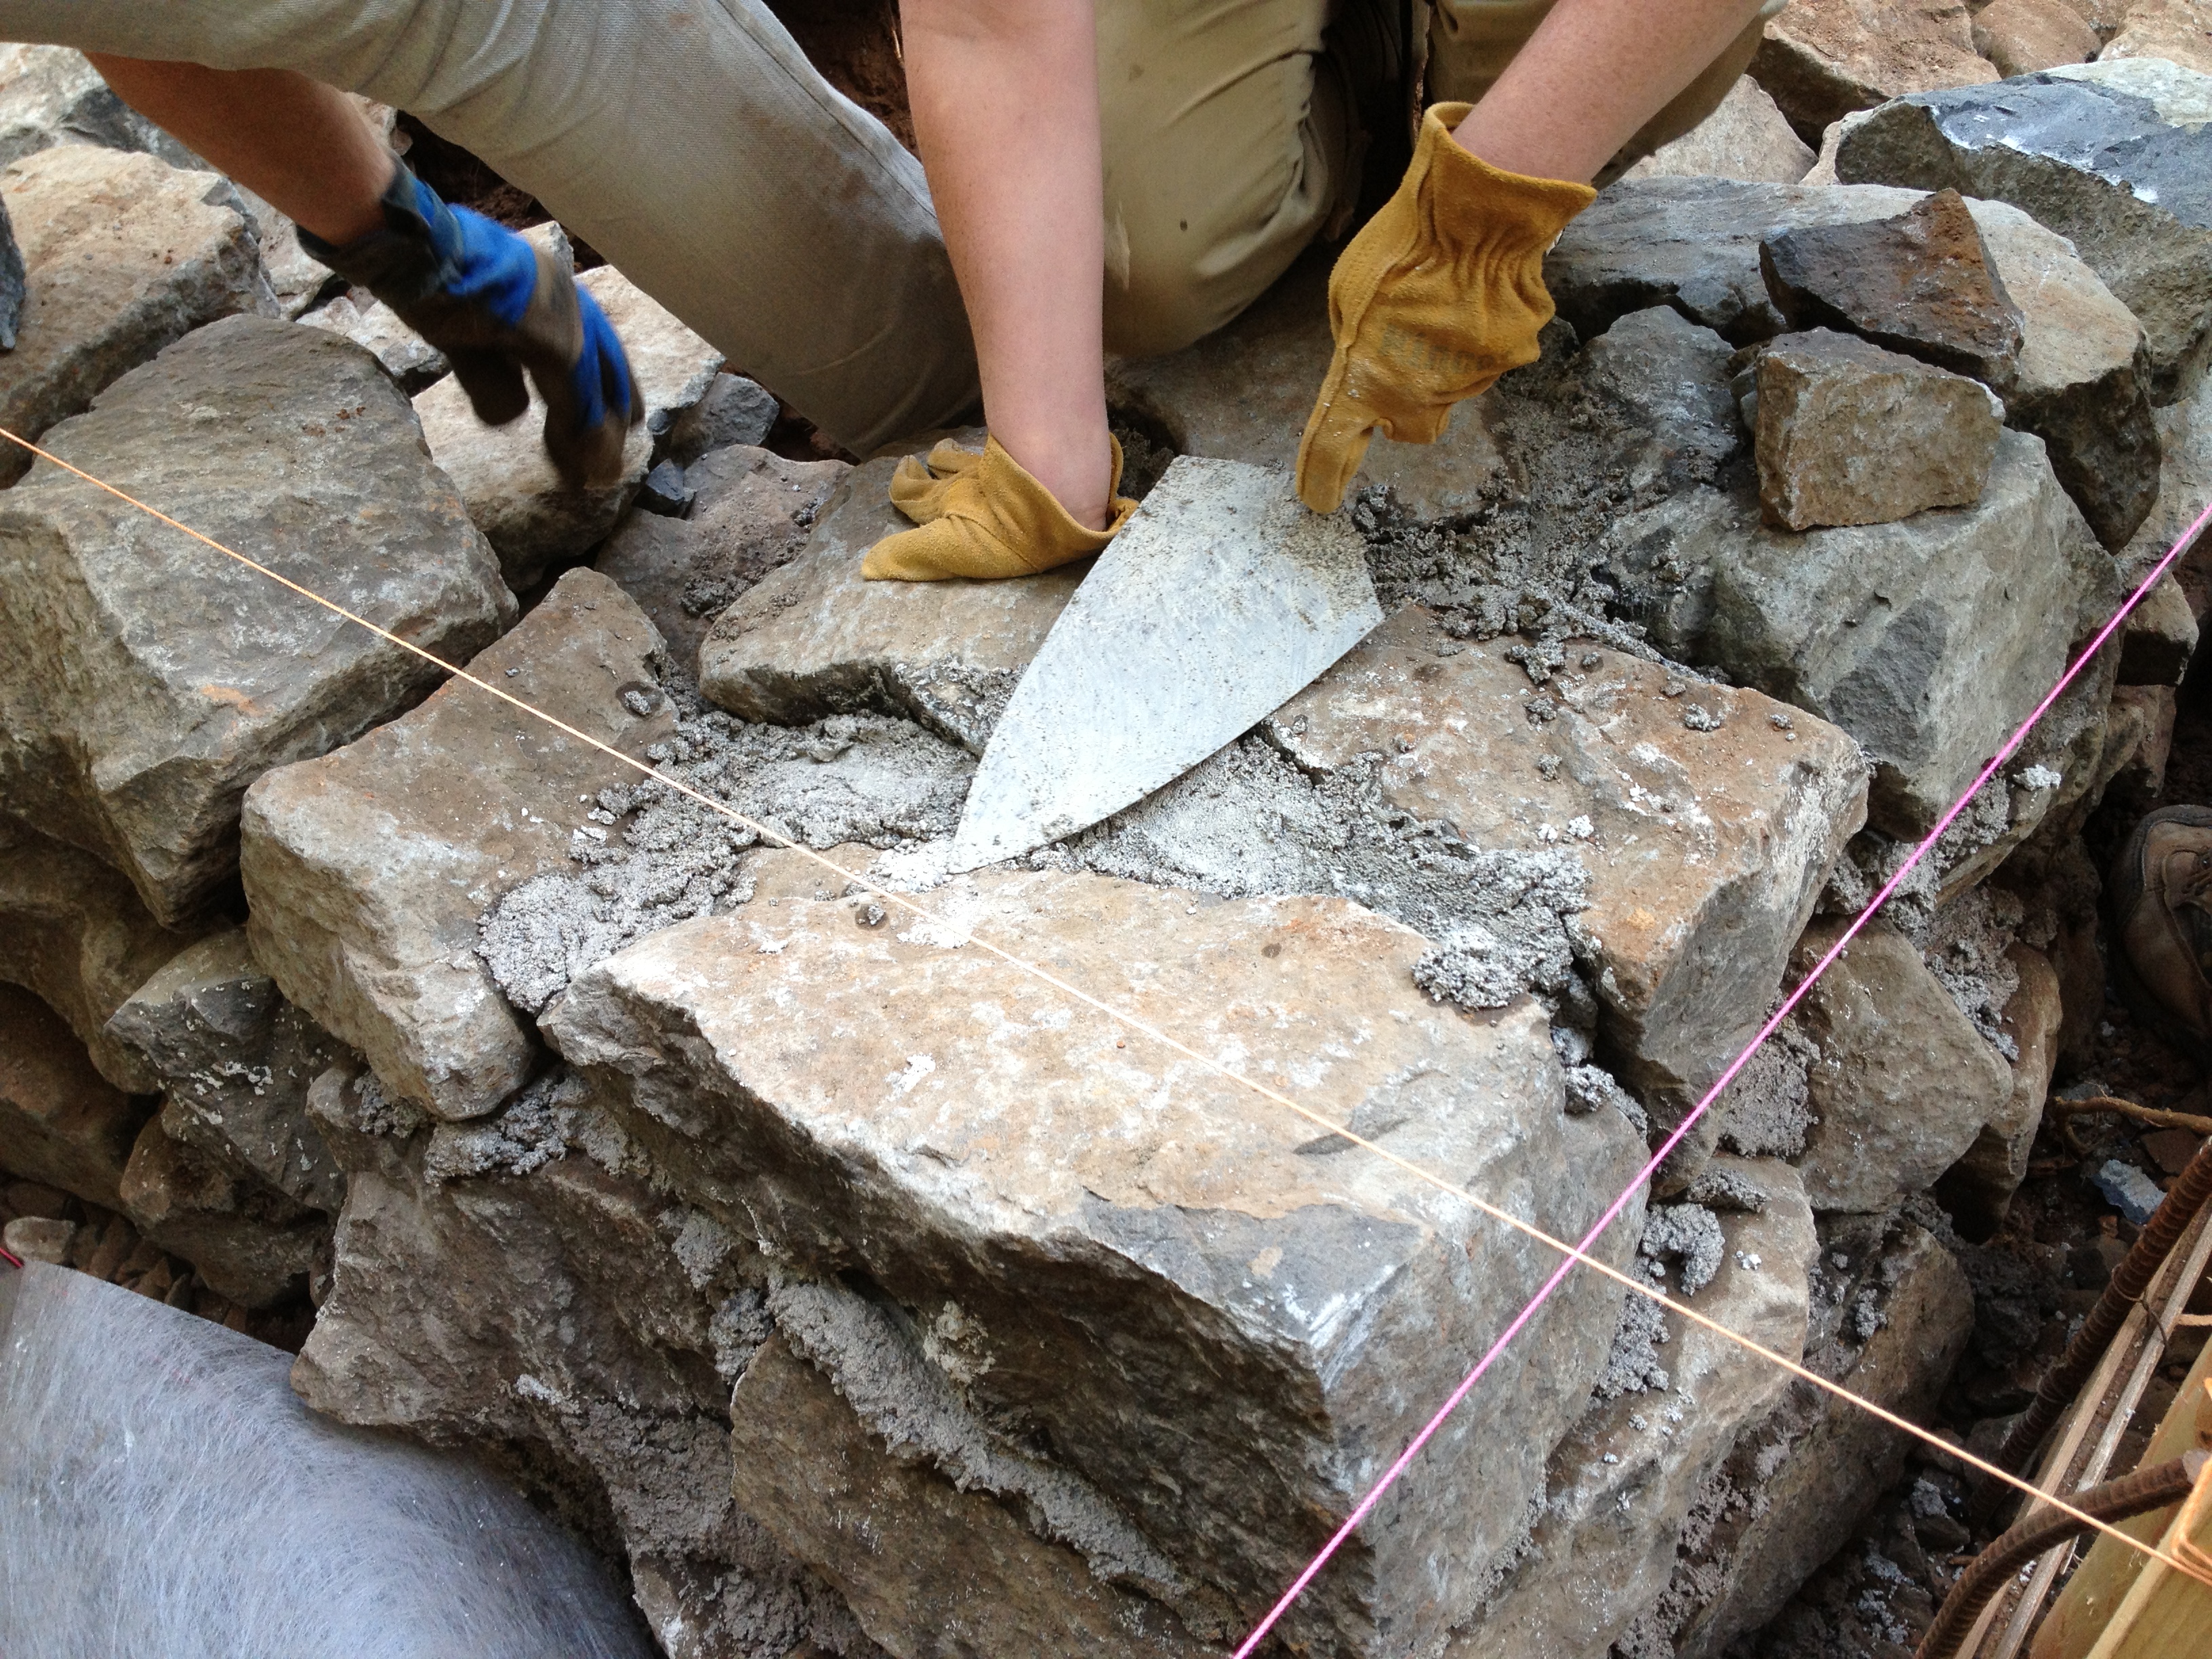
When building a foundation of stone for a house, it is necessary to carefully select stones of a more correct shape for the corners and the first row. If necessary, you need to shape them using a sledgehammer and a chisel. The voids formed between the stones are filled with smaller fractions, after which the row is filled with liquid cement and a bed of normal cement-sand mortar is laid on top. The next row of stones is installed on it.
Stones must be shaped so that they fit with minimal gaps. It is imperative to observe the dressing, as in brickwork, otherwise the entire foundation will quickly crumble.
The space formed by the stone foundation and the wall of the trench is covered with fine gravel from the same stone. Thus, a drainage layer is formed, which contributes to the drainage of water from the foundation.
If reinforcement is necessary (this also happens), the reinforcement is used only in the form of vertical rods and wire.
When constructing a rubble foundation, ventilation holes should be left immediately so that you do not use a hammer drill later.
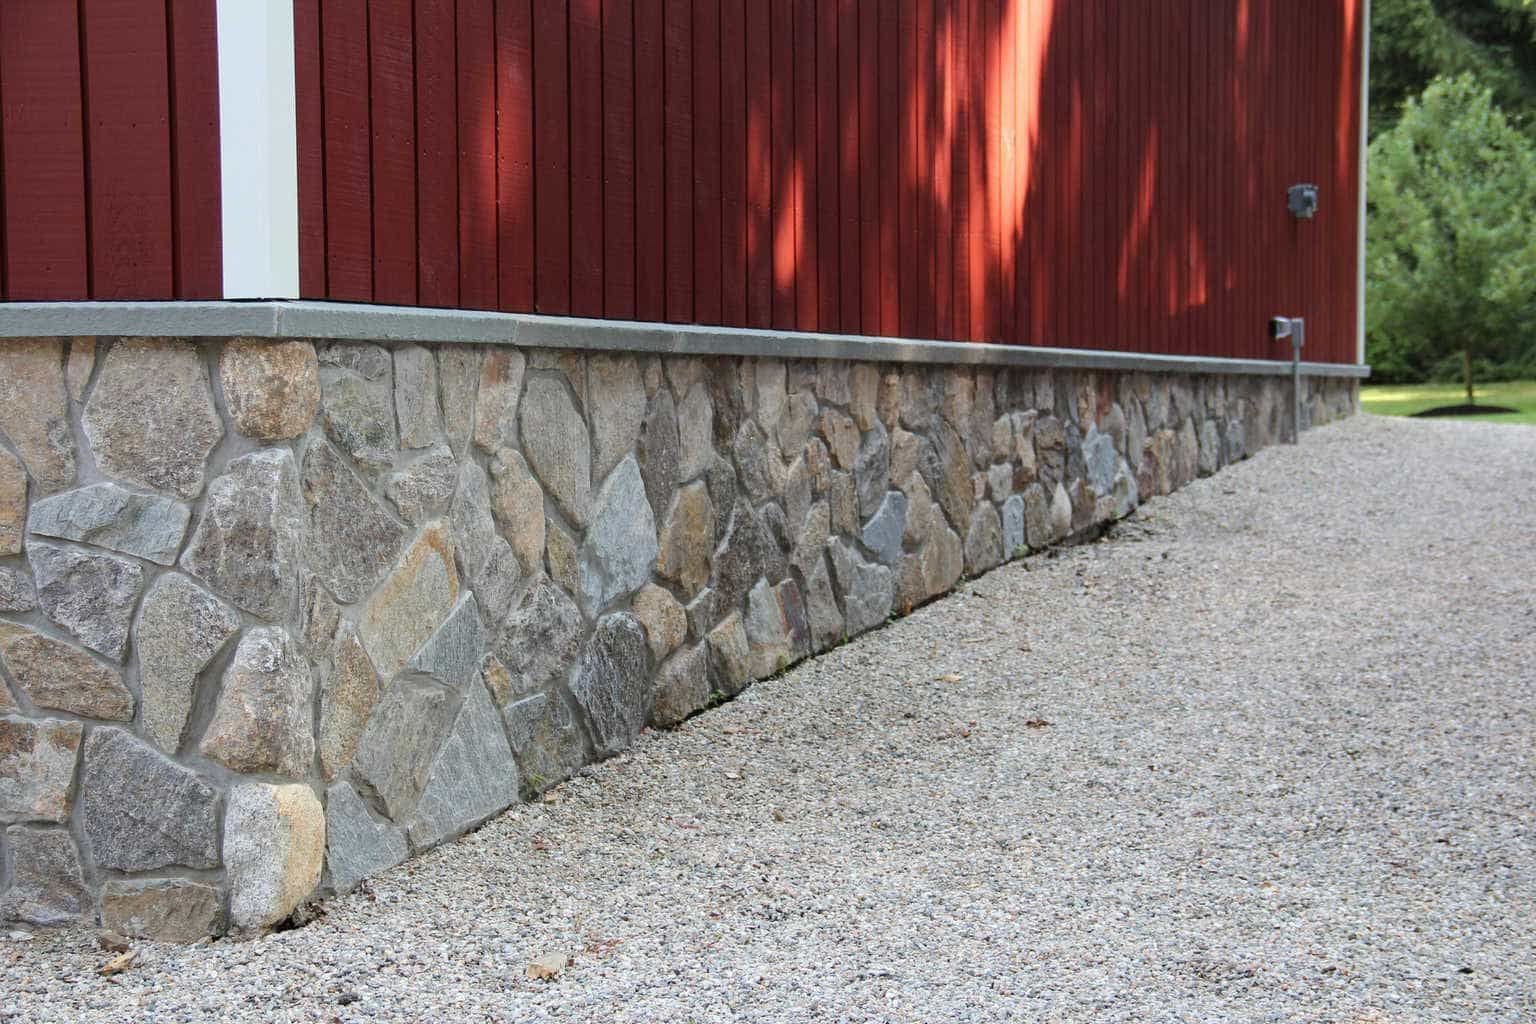
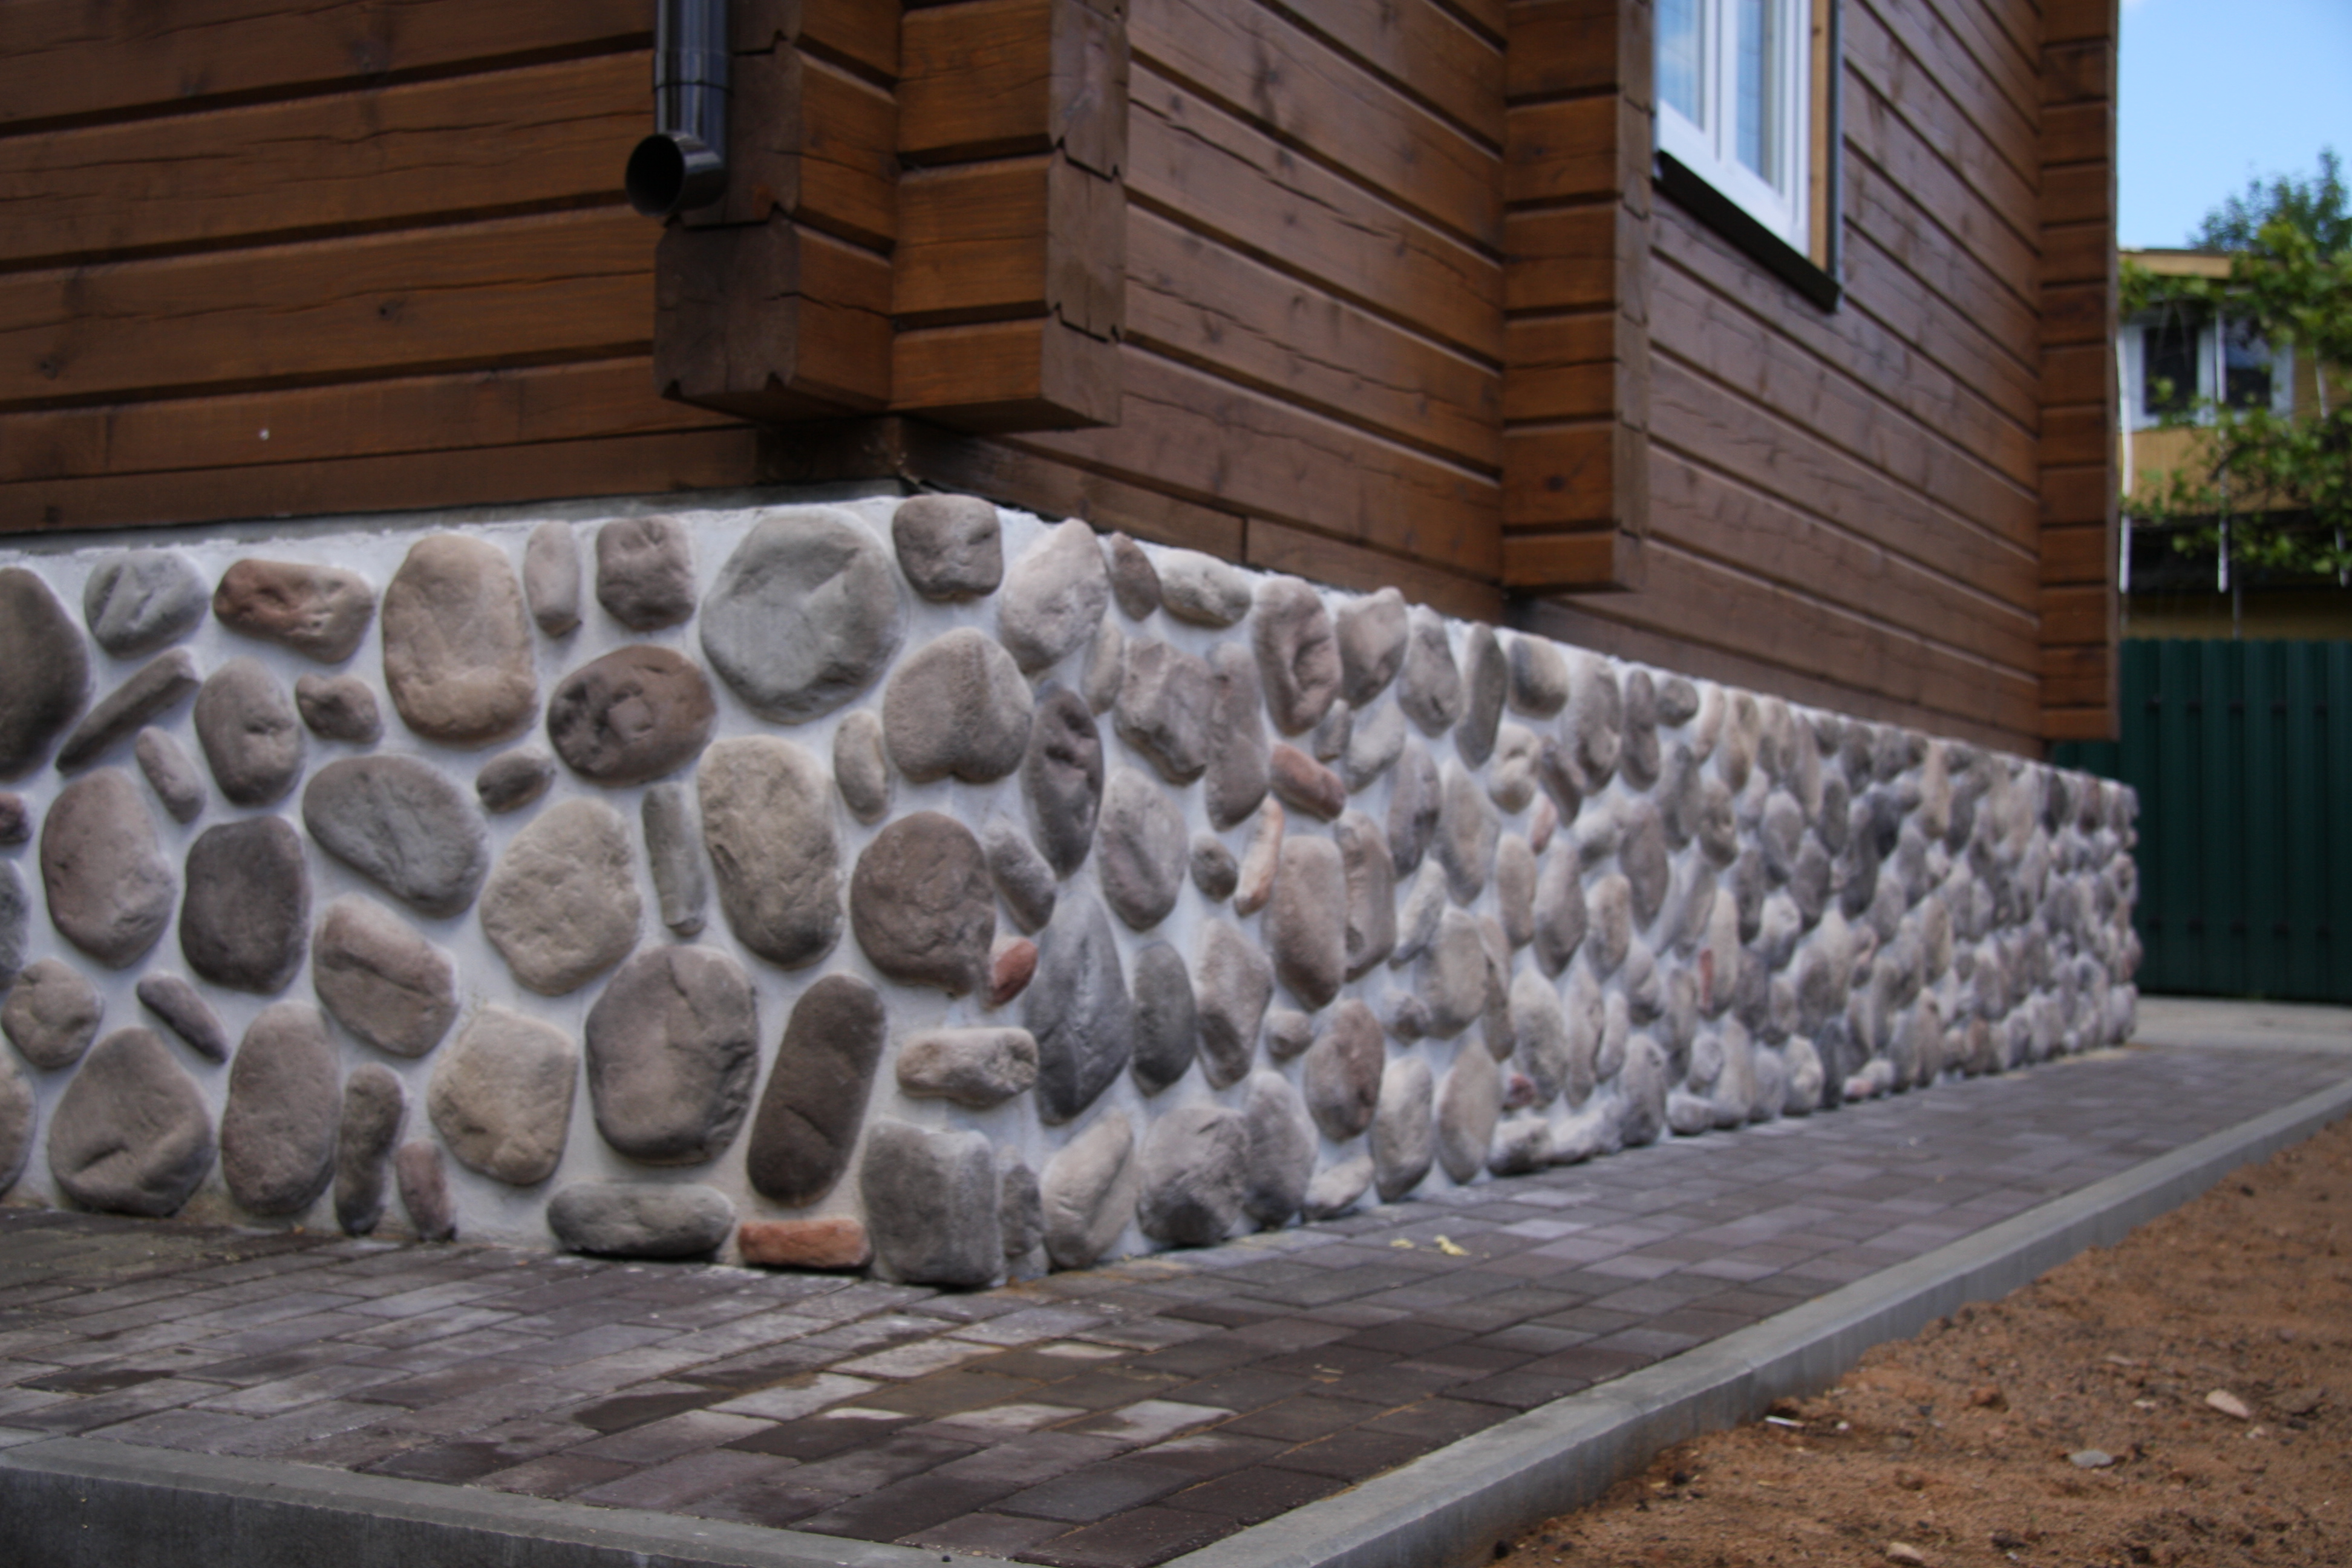
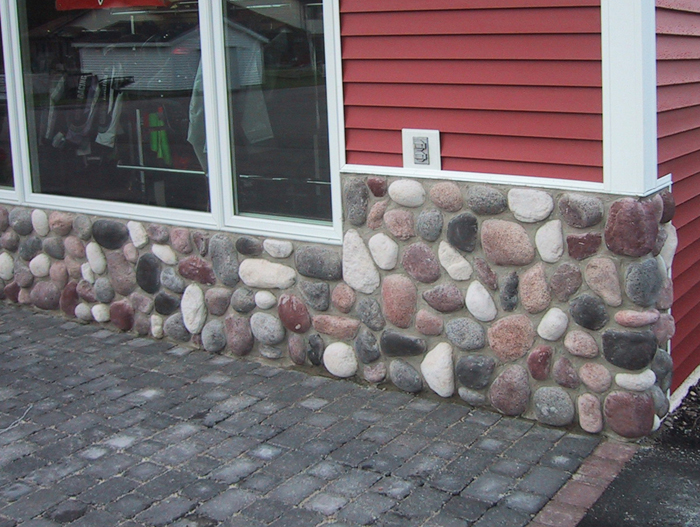
If you want to give the house a solidity and a rich appearance, you can simply lay the foundation with stone. This is much easier than setting up a real foundation for their rubble stone. In this case, the stone, which is cut into flat tiles, is attached with a special glue or on a cement mortar. If the stone has a lot of weight, then metal hooks or a reinforcing mesh are used to fasten it.
About the site
zalman
Design features
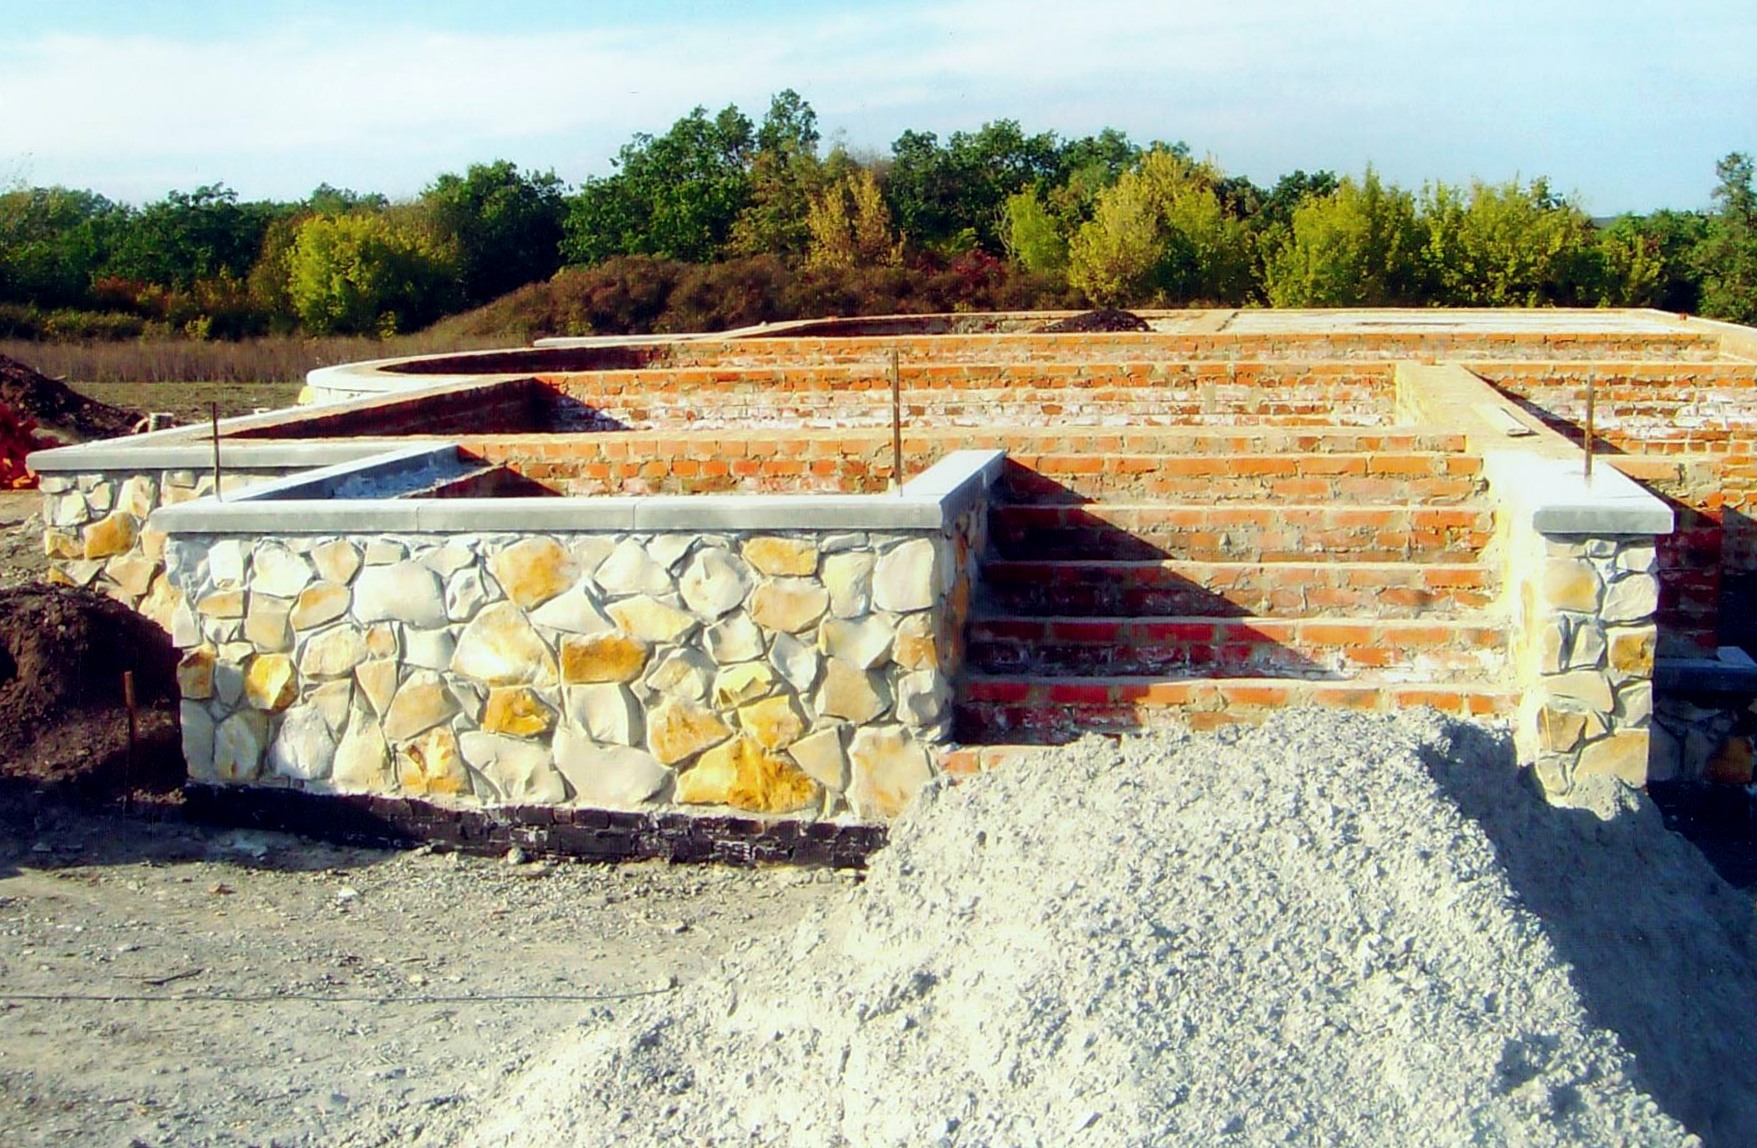
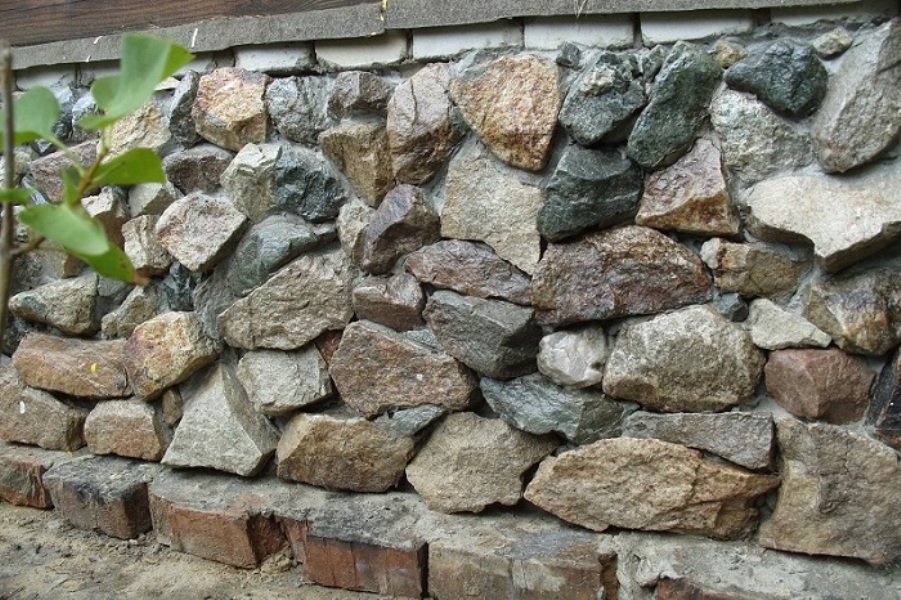
What is a stone foundation? This is the base of the house, built of natural stone, the voids in it are filled with fine crushed stone, and a cement-sand mortar is used for adhesion. Experts say that such a support structure is several times stronger than a conventional strip foundation in terms of its strength and durability.
The peculiarity of the structure is that natural stone cannot be divided into certain categories depending on the shape and size of individual elements. The strength level does not depend on the shape of the stones used for the construction of the natural stone foundation.Rubble stone is used in the construction of one- and two-story buildings:
- spending a minimum of financial resources;
- not using construction equipment;
- not needing the help of highly qualified specialists.
Another positive feature that distinguishes natural stone is its visual appeal and aesthetics. The cobblestone plinth does not need to be plastered, which reduces material and physical costs.
The construction of a foundation made of stone makes sense on soils of various types:
- loamy;
- sandy;
- clayey.
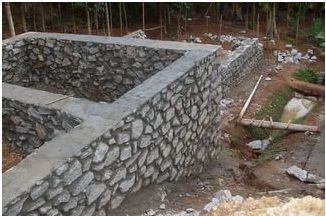 Most often, when constructing a base for a house, rubble stone or cobblestone is used.
In such conditions, the service life of the building is at least 50 years, which largely depends on the quality of the stones for the foundation.
The use of rubble stone for the construction of a foundation in an area rich in this natural material is justified. This is due not only to a significant reduction in material costs, but also to the characteristics of the soil, which is characterized by increased strength in such places.
In order to strengthen the structure, reinforcement components are used, which are introduced into the base itself before pouring the cement mortar. In this case, the structure will serve for a long time without requiring additional maintenance. When choosing a stone, it is enough to test it for strength using an ordinary hammer or sledgehammer.
Time costs are associated with the preparation of the elements. Each stone will have to be thoroughly cleaned of any contamination and additionally rinsed with water to ensure a high-quality bond of the cement mortar with the structural elements.
The use of limestone must be abandoned, since it is not highly durable.
"Dry" and "wet" stone laying
Builders practice wet and dry masonry using a mortar based on:
- construction glue;
- sand-cement mixture;
- clay batch.
It is better to lay out a hewn stone of the same size on 2-3 levels without any mortar with careful adjustment of each block, according to the shape of the neighboring material.
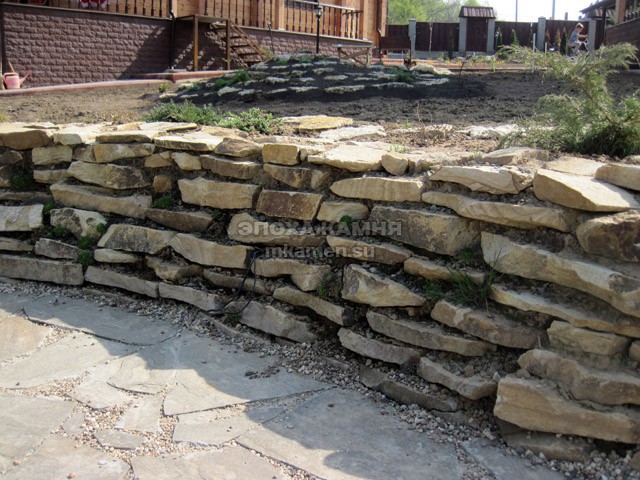
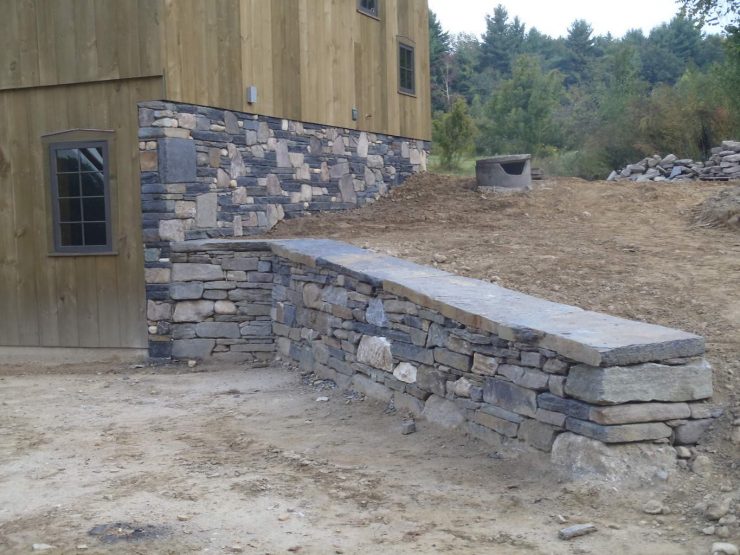
Garden and park hedges with dry stone laying look very natural, especially if the earth is filled up on the back side to resemble natural terraces. The stone gradually grows overgrown and a picturesque landscape is obtained, reminiscent of the ruins of an ancient fortress or castle.
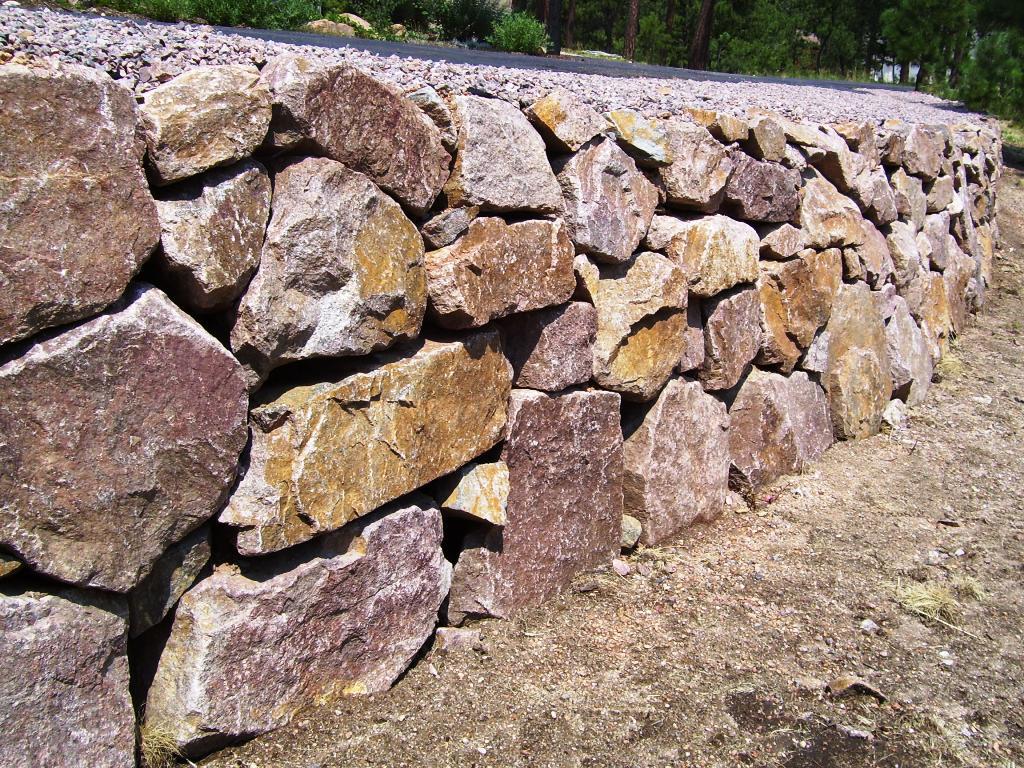
In "dry" masonry there is only a large stone of an arbitrary shape, close to a cubic one. It is more important not only to fit each stone to each other, but also to calibrate the building material so that a wall is formed in width and height
If a stone fence is made for backfilling with earth, then it is important to level only the front surface - using a plumb line. In the same way, you can make a low masonry of ceramic stone.
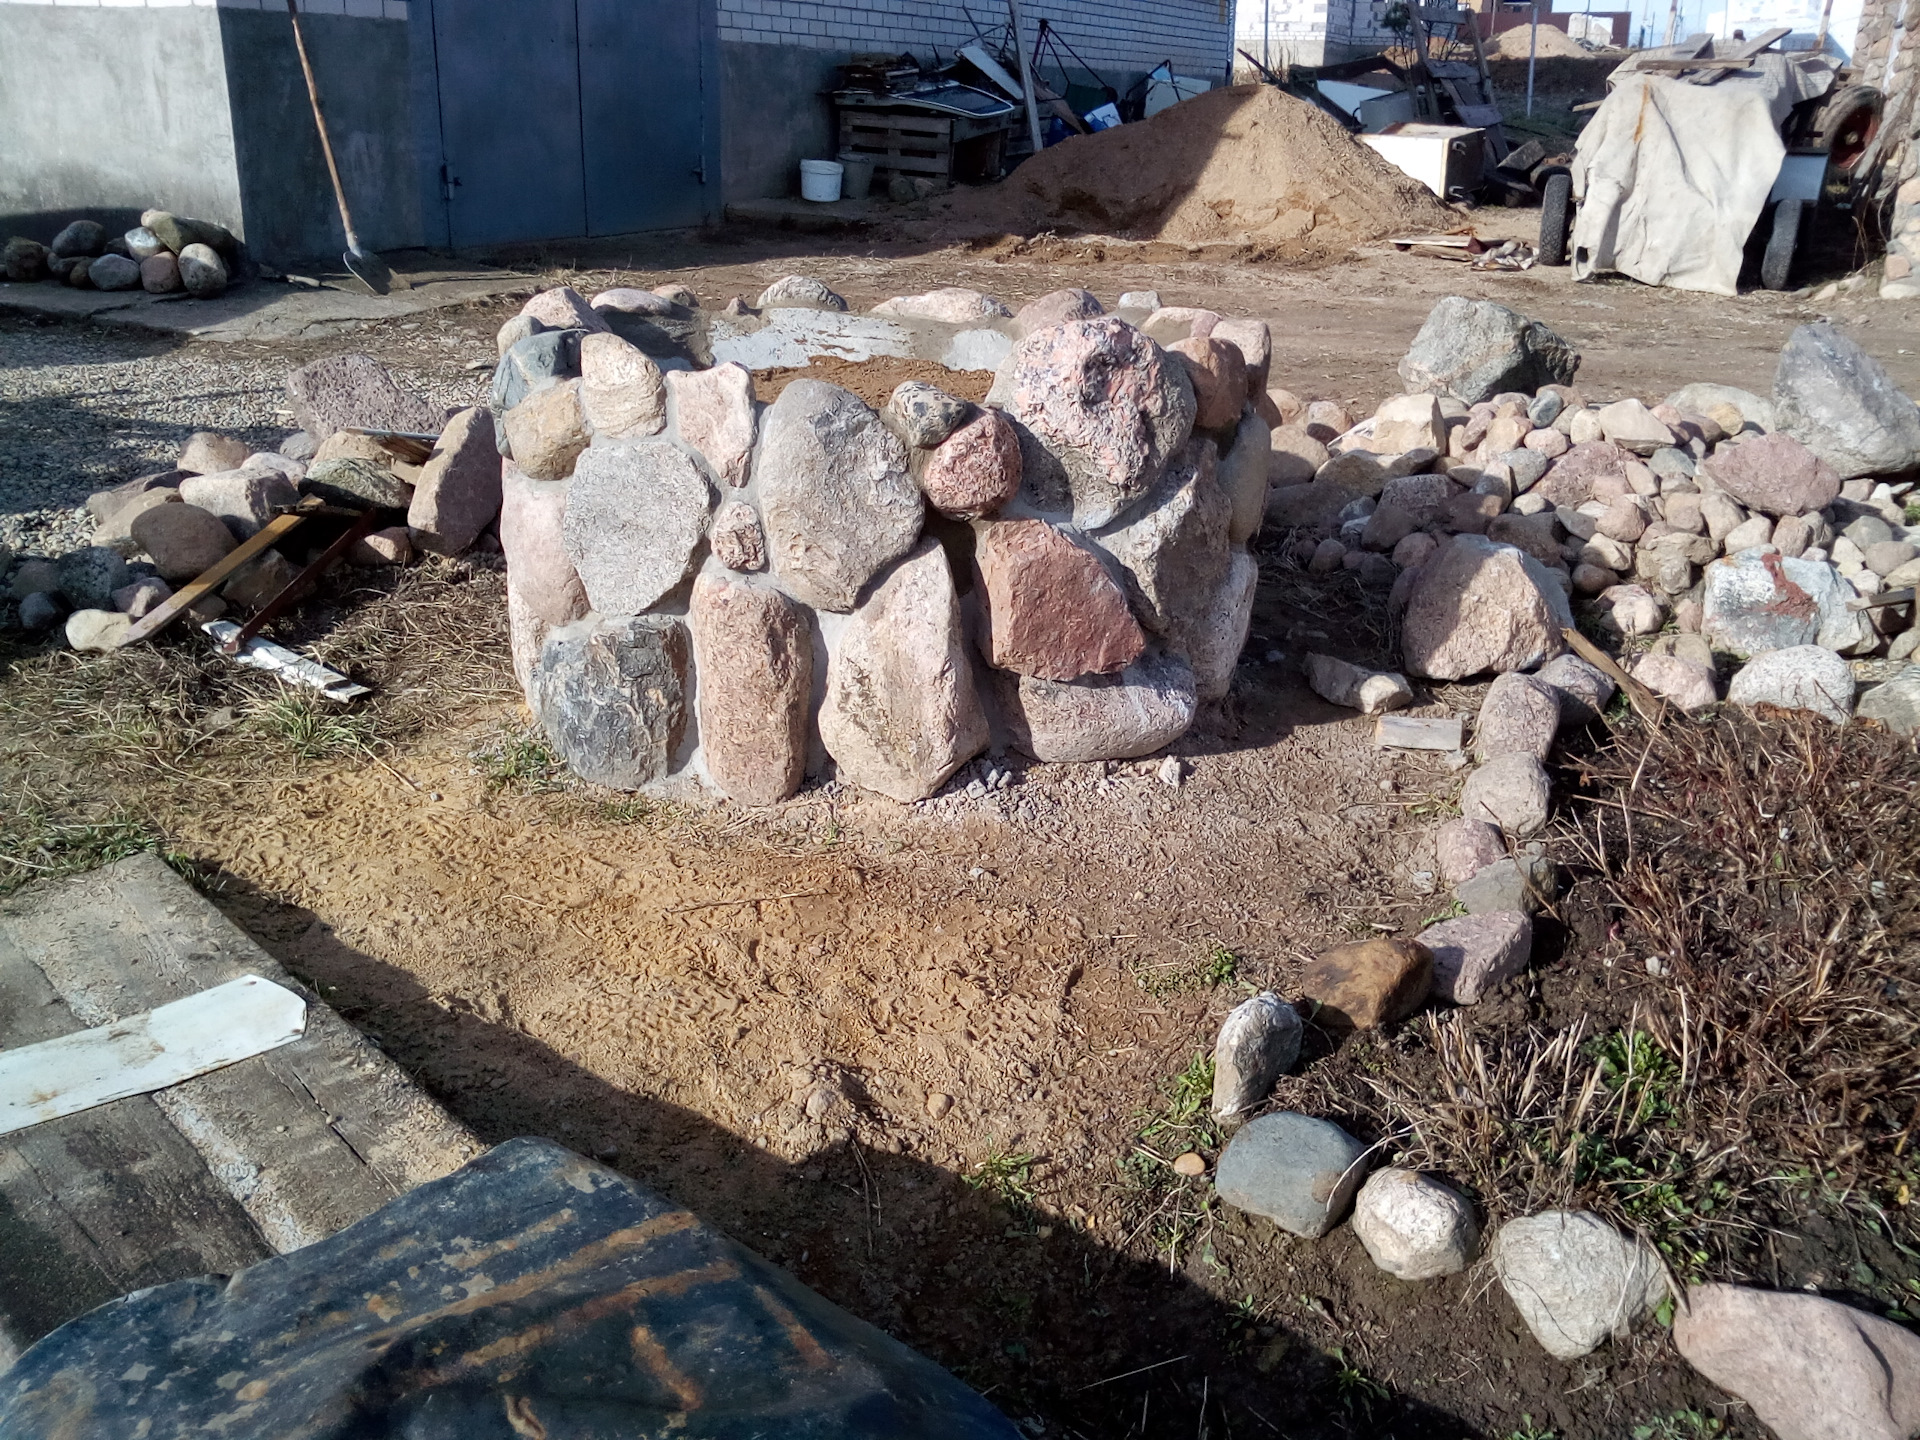
The largest stones are stacked on the lower level, but the rows must be respected, as with wet masonry. Such work is somewhat reminiscent of a jigsaw connection of fragments, and dry masonry is no different in anything else. Voids or seams between quarries or stone blocks can be filled with compacted soil, if it is a low masonry in the form of a garden curb or a fence for a flower bed. The bottom row of stones is sometimes partially dug into the ground, like a foundation.
For buildings with a height of more than half a meter, only wet masonry is used, based on one of the varieties of a binder solution. If natural stone is used for low hedges in agricultural buildings of a mixed type, for example, as a basis for adobe masonry, then it can also be fastened with a clay mixture with the addition of dry cement. This guarantees the masonry durability and stability.
Laying natural stone paths for screening

To correctly lay natural stone with your own hands using technology, follow the main steps:
- Plan the surface of the site. This will save energy and money in the future.
- Remove the top layer of soil, level the surface and compact it. For a wild stone, 15-20 cm is enough; when paving paving stones, 25-30 cm will need to be removed.
- Make a cushion of rubble 10-15 cm thick and be sure to compact it (you can use improvised means: handles are nailed to a 1.2-1.3 m long log for convenience and this tool sequentially compacts the surface with shock movements). Then spill everything thoroughly with water.
- The wild stone is placed on the solution directly on a moistened cushion of crushed stone (for the sake of economy, the solution is prepared from screening with cement grade 500 in a ratio of 1: 6-1: 5). Such laying of natural stone on the paths is applicable both for a personal plot and in city squares.
- Granite paving stones require an additional preparatory layer: we fill up with screenings 5-10 cm thick, pull off the excess with an even rule and press the surface again, after which we pour a layer of dry mixture of sand with cement (1: 3) with a thickness of 2-4 cm and make direct installation using a special hammer. At the end of the work, the surface is cleaned with brushes and gently moistened to set the mixture.
- The seams are covered with a sand-cement mixture (paving stones) or rubbed with a wet mortar (wild stone).
When the budget allows, you can purchase geotextile that improves the characteristics of our "pillow" and spread it with the very first layer on compacted soil. This technology of laying natural stone protects against uneven subsidence of our "pillow" under the influence of moisture and prevents the growth of weeds.
If the design provides for a border, we install it first, at the joints, be sure to construct a concrete lock to secure it.

As you can see, laying natural stone with your own hands requires only careful and accurate implementation of the technology, then your paths will remain smooth and beautiful even after several years!
It should be noted that, contrary to popular belief, stone paving stones are affordable at their cost and are a serious competitor to our usual "plastushka". The service life of the coating is over a hundred years (subject to the laying technology up to 300 years), and the noble appearance is an order of magnitude different from the even beautiful, but rustic wild stone.
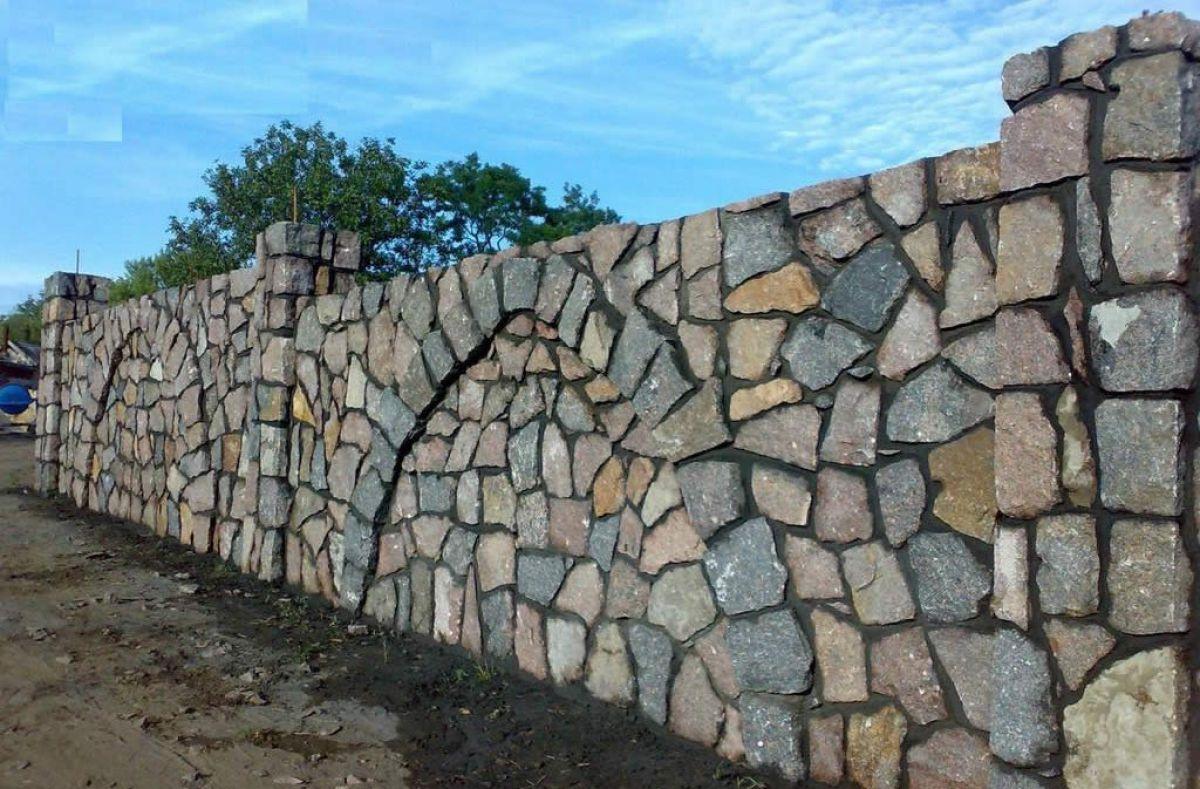
The main types of foundations from granite
Before erecting a granite foundation, first, the construction site is arranged and a small pit is being prepared. When choosing the type of foundation, it is necessary to take into account the characteristics of the soil itself, the level of saturation with groundwater, the height of the aquifers and the depth of freezing.
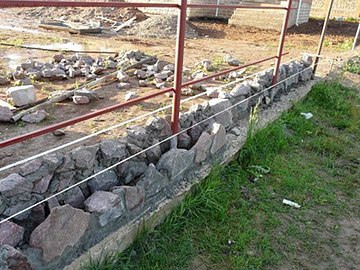
Granite base for the fence.
The most popular and cheapest base made of granite, which can be easily made with your own hands, remains a strip foundation. It is built using the following technology:
- A trench is pulled out to the depth of the level of soil freezing. In it, timbering is made and mortar is poured. In the formwork, you need to fill in bed granite (you can wild) and sand, then tamp the pillow.
- The starting row is poured with concrete and left to dry. Then the rest of the rows are laid (you can also use a wild stone). These rows are also considered basement walls. Considering that the wild stone is larger than the crushed stone, the width of the foundation will be slightly wider than the walls themselves, but this is not scary. Almost all granite buildings are wider.
Pouring concrete
For the installation of the curbstone, a sand-cement mortar of high rigidity is made. Humidity should be low. Sand spilling should not be allowed. A weak solution is not suitable for such works.
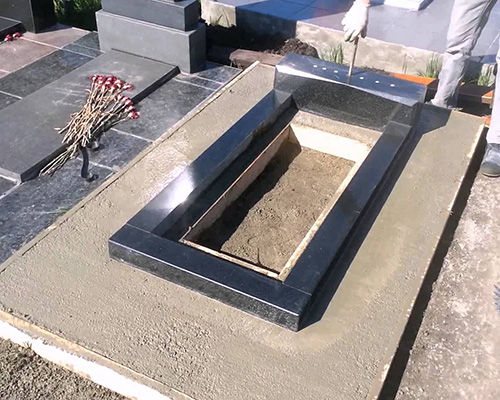
Completely, cement laitance is applied to the entire area of the reinforcement. The concrete is poured into the trench, taking into account that the beam is supported and is in the concrete. Sprinkle dry earth on top of the structure. The distance between the gaps is two mm or less.
After pouring, grouting is done. The cement is kneaded with water until the consistency of sour cream
First, the long part of the flower garden is carefully removed and a concrete solution is laid. The middle remains empty to drain water during rain
A slight downward deviation is allowed so that rainwater does not collect near the monument. Seams are sprinkled with cement and deep cleaned. The rest of the parts are also installed. The solution sets quickly and hardens.
House of rubble stone or granite

House of rubble stone. As a rule, completely building a house from natural stone is expensive and difficult. Just building the walls will take a huge amount of time, but the results are worth the time and money spent. The house will turn out to be unique, will have a beautiful and inimitable design, the supporting structures will last as long as possible, up to several centuries.
The main advantages of granite residential buildings:
- This is a completely environmentally friendly building with its own microclimate;
- It is always cool in the building in summer, and warm in winter, so there is a significant saving on energy resources;
- You can build almost any building in terms of design ideas;
- The walls and base, subject to technology, will last for centuries.
Disadvantages of granite buildings
- It can only be built with your own hands, no automation technologies simply exist;
- It will take a lot of concrete to build the foundation and walls. you need to carefully customize the granite;
- It is necessary to select the material with full responsibility and immediately check the products for radioactivity;
- It is necessary to build such a house directly near the deposits of building material, given the high cost of construction. Otherwise, additional costs can be added to the cost of delivery of the material.
Plinth finishing: work order
How to veneer a plinth with a stone correctly? It all depends on the type of stone, for example, formwork is not used for sandstone.
Work order:
- You need to start from the corner from the bottom row, marking the surface. During the marking, the entire area of the basement is divided into sectors, they will be filled gradually.
- With a metal notched trowel, glue is applied to the surface and back of the tile, then the stone is glued and held for a while.
- When laying, the seams of each row are shifted by 1/3 so that the masonry turns out to be beautiful and durable.
- All excess glue falling on the lower tiles must be immediately removed with a damp cloth, since then it will be problematic to remove it.
Once the finish is complete, the seams between the individual slabs can be filled with mortar or decorated. For example, use shells or small pebbles, stone chips for this. After that, the masonry is left to dry completely.
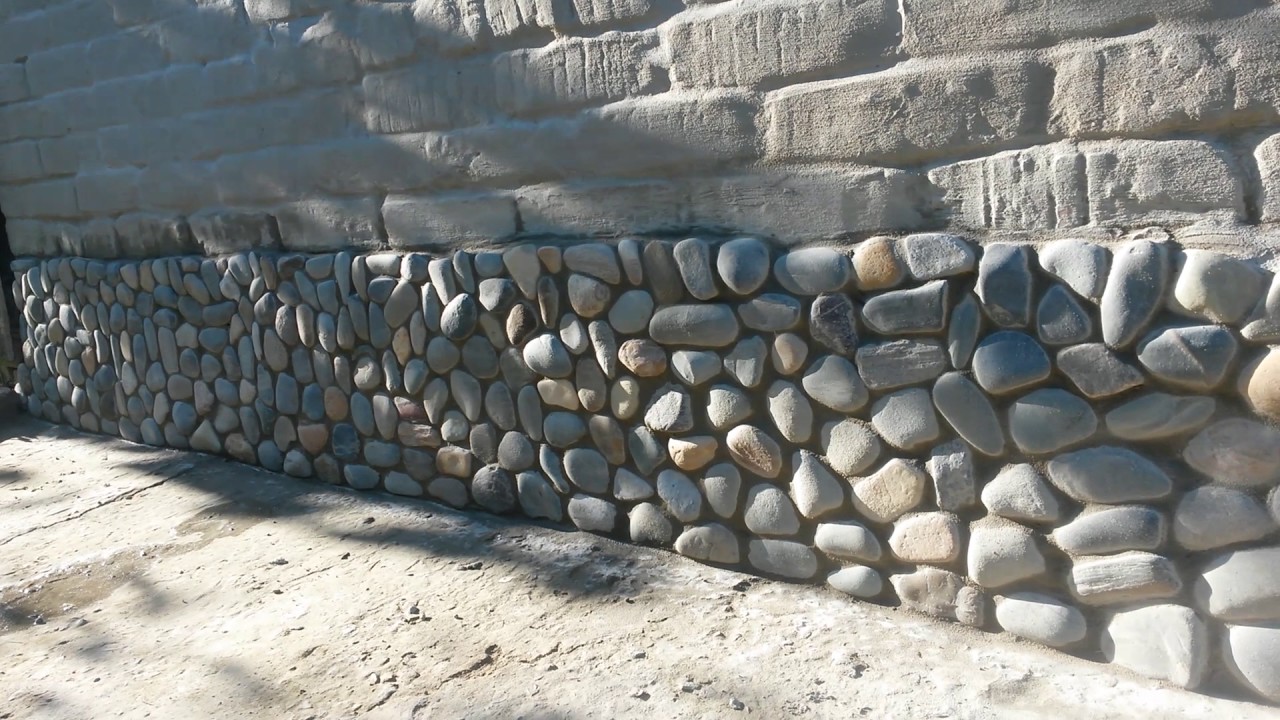
Finishing the foundation with natural stone always looks presentable and stylish. Working with such material has certain difficulties, since it is heavy, difficult to cut (even sandstone must be cut carefully). The cost of the facing stone is high, so you need to be careful about cutting it. For laying, you can use the clamping system, that is, the dry method, but the most reliable is the glue method.
Pre-dry styling
This is the next stage of preparation before finishing the basement with natural stone with your own hands. It consists in drawing up a picture or mosaic. For more precision, you can first sketch on paper, marking all lines, boundaries, and shapes. It is best to lay out the stone in a clean, dry area, adjusting the elements to size and filling in the gaps with small pieces of stones. This technology will allow the desired image to be displayed as accurately as possible, to correct its shape and size. If adjustments are required, you can use a 125 or 150 mm grinder with a stone cutting circle installed on it. How to do it correctly - see the video for the lesson.
At this stage, it is necessary to take into account the technological gaps between artificial and natural stone. The stone should not be stacked end-to-end, observing a distance of at least 3-5 mm on each side. This technology avoids skewing the upper stone rows and compensates for thermal expansion. In this way, the styling will always remain even. When facing with natural stone, wide joints and large gaps between large stones can be filled with small pieces. In this case, the stones should be glued to the base with a smooth, even side, and not vice versa.
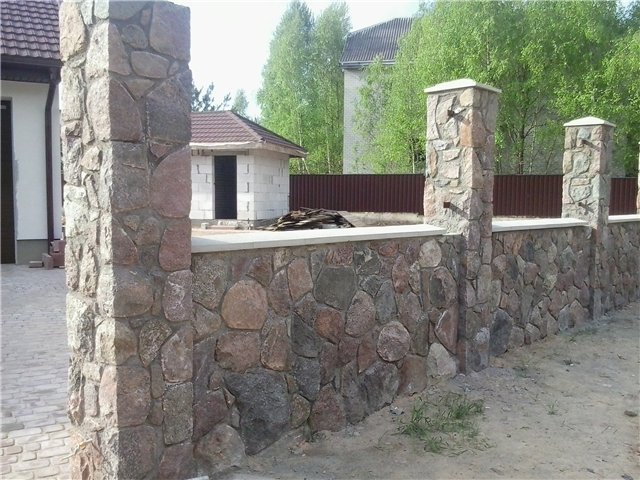
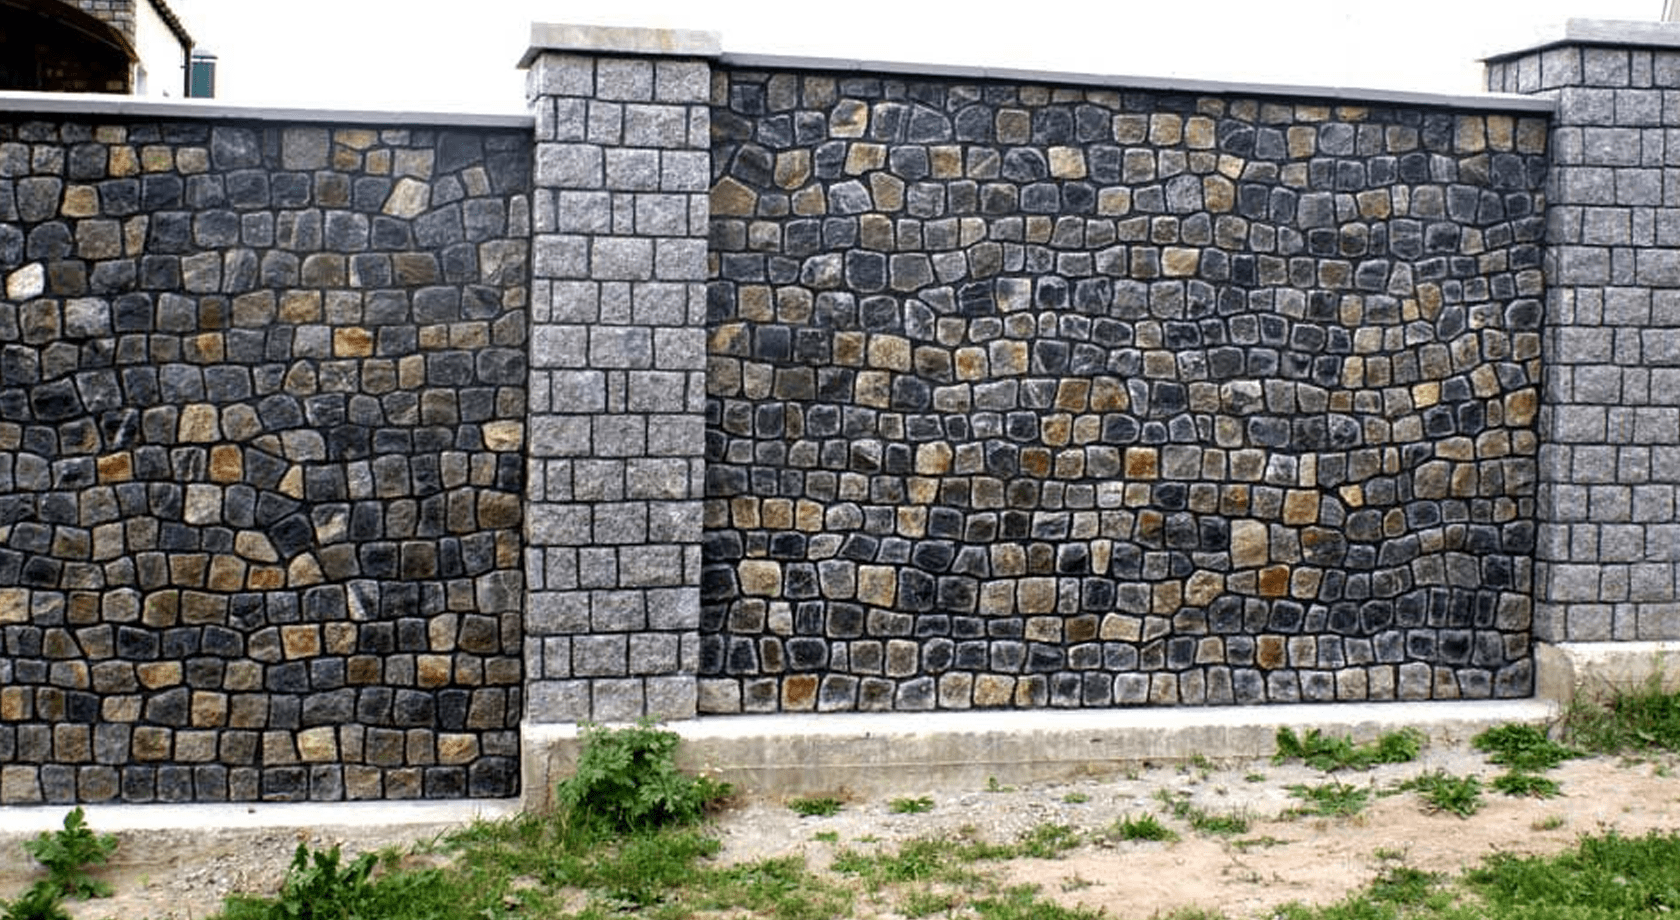
Fence posts
In the process of creating pillars, experienced craftsmen carry out luggage in different ways:
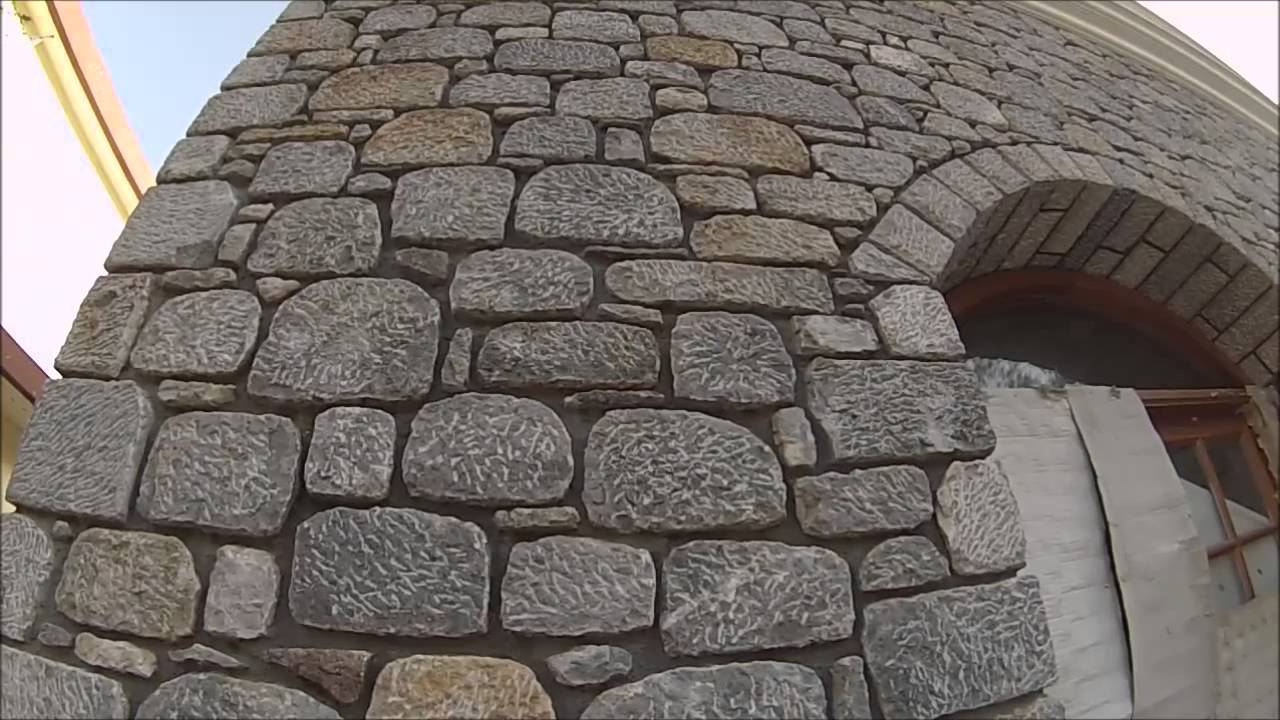
- Rubble luggage, which requires natural material of irregular shape. This stone is usually trimmed on the inside.
- Tesovaya. Luggage requires stones with parallel sides.
- Tesovaya improved. The seams in this case lie parallel or perpendicular.
To keep the stone masonry as even as possible, a number of important actions should be performed:
- Connect the extreme posts with a string.
- Use a square to set an angle of 90 ° to the structure.
- Draw a straight line along the foundation.
- Measure the distance formed between opposite corners of the material. Ideally, it should match the dimensions of the side of the post.
- Prepare a solution by mixing 3 buckets of sand, a quarter of a bucket of Ceresit-CM11 glue and one bucket of cement. The composition is diluted with 5 liters of water and mixed again.
Next, lay the first corner stone and check the correctness of its position with a level. Do the same with each subsequent sample. You can take different stones for the pillar, but the voids formed between them need to be filled.
Let's see how to get this job done correctly:
- We measure the width of the space.
- We are looking for a stone with a smaller width, focusing on the size of the seam. The permissible error on one side is 15 - 20 mm. The height of the selected instance must match the size of one of the corner stones. In the absence of a suitable stone, we close the space with two neat pieces.
- We fill the seams with mortar on both sides.
- After the seams have hardened, fill the inner void with the solution.
- As soon as the layer hardens, lay out the next row and tie the seams. We increase the quality of work by avoiding the location of some seams over other joints.
- Height tolerance ± 1 cm for every 200 cm.
Do-it-yourself technology for erecting granite foundations and walls

Rubble foundation. As already noted, wild granite stone is distinguished by its large size and strength, and therefore, the base made of granite is at the same time the load-bearing walls of the basement. Therefore, granite is a versatile building material. So, here are the main stages of building a house from natural granite with your own hands:
First, you need to select and sort the stones strictly in the size you need, preferably without strong dimensional errors;
Considering that the construction will be carried out by a belt type, for this, the foundation is being dug with a trench width slightly larger than the size of the stone
It is important to note that it is necessary to immediately take into account the thickness of the future formwork;
Drainage works and protection of the pit from high-lying ground water horizons. Here you can use a drainage pipe system, roofing felt and other waterproofing materials.
It is not necessary to insulate the base, because granite is highly frost-resistant;
A cushion of sand and fine gravel is made if the soil is liquid enough. If the soil is solid, then the first rows of stone will be used as a pillow;
The walls of the trench are reinforced with wooden formwork, wooden pegs are additionally installed as external fasteners of the structure;
The masonry is made "under the shoulder blade", the row is superimposed on the row;
After the masonry is completed, it is poured with liquid concrete and compacted so that the stone is connected to each other. It is necessary to tamp the foundation as carefully as possible in order to prevent the formation of voids inside the stone. Otherwise, water will get there, freeze and expand the void, up to the complete destruction of the structure.
This is how the foundation is made. But the walls are already being erected from wild stones of various sizes. The principle is the same as with conventional brickwork.
Wall corners and intersections are made of large stone and must be laid with the wide side down.

