Veranda attached to the house: stages of construction
First of all, you need to decide on the type - open / closed, from what material, choose the type of foundation. You also need to decide what size it will have, where and how it will be located. It is desirable to draw all this on the plan. Better yet, order a project. Construction according to the project is rather an exception, but at least a plan with dimensions and an indication of the location, binding to paths, etc. you should have.
The construction of a veranda to the house with your own hands goes according to the following plan (we build from wood):
- Use pegs and twine to mark out the contours.
- Remove the sod and fertile layer. If this is not done, vegetation under the decking will rot, spreading odors.
- Mark the foundation. At this stage, questions may arise: how high should it be. If the foundation is made incoherent and "floating", the level of the veranda flooring should be 5-10 cm below the floor level. This is necessary so that, even after rising, the extension does not block the front door. If you do not want the floor to be lower, you will have to make a high threshold in the front door: to ensure the freedom of opening the door. The height of the support bar depends on the height at which the floor of the extension is located. It is nailed to the wall of the house, floor beams are attached to it. The height of the foundation is beaten off along its lower edge (these are the next two steps).
- You nail a support bar to the wall, along the lower edge of which the height of the foundation beats off.
How to mark the extension: nail the support bar at the required level, beat off the height of the foundation along its lower edge
- Build a foundation.
- While the concrete is gaining at least half the strength, you are completing the site preparation. If at the bottom of the pit (the fertile layer was removed) the soil passes water well (sandy, sandy loam), fall asleep crushed stone at the bottom. It can be compacted, or you can do without it. If there is loam or clay under the fertile layer, you will have to fill the pit with either the same soil (but not fertile) or clean clay. It must be well tamped so that voids are not created in which water will accumulate (it is better to lay layers soaked to a paste state).
- A layer of waterproofing is laid on the finished foundation.
- Support pillars are exposed and fixed under the roof.
- They make the strapping of the racks: a beam with a thickness of 100 * 150 mm is nailed along the perimeter. It can be nailed on the outside of the posts or between them. Sometimes the racks are nailed down after the floor has been laid. This is not the best option: the floor will deteriorate most quickly. With such a structure, in order to replace it, you will have to disassemble everything, up to the roof. If you first set up the racks, and then the floor, it can be repaired without problems.
This is how the assembled frame of the veranda, attached to the house, looks like. Intermediate racks are only needed if the veranda is more than 3 meters wide.
- Floor beams are attached to the foundation and support bar (bar 100 * 150 mm). The step of their installation corresponds to the step of installing piles or posts.
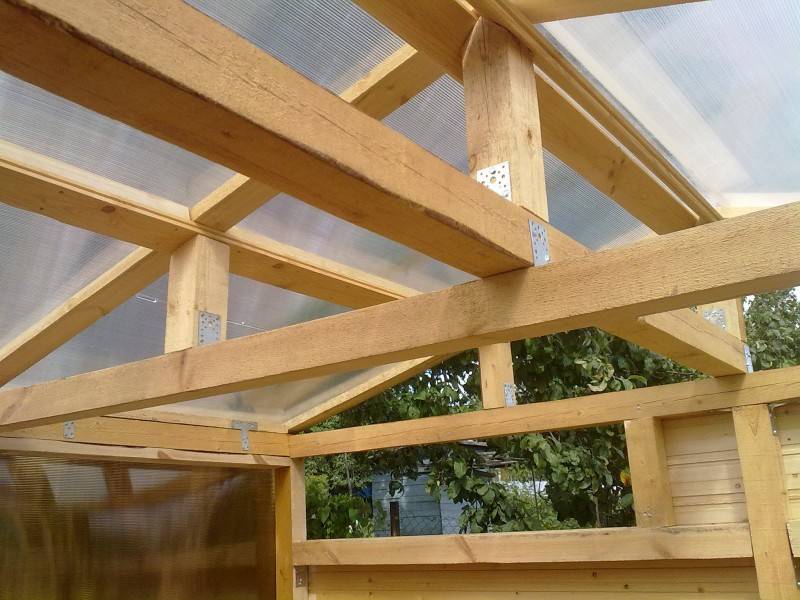
- Collect the rafter system.
- Side rails (for open ones) or walls (for glazed ones) are installed. At this point, the general technology ends. Further, for covered ones, it is longer, an open veranda is easier to attach to the house:
- For open beams, floor boards are nailed.
- Insulated floors are made for glazed ones. A rough floor is nailed to the beams. Above - logs, between them - insulation, on top - a finished floor.
- Roofing.
- Wall decoration inside and outside.
These are just general steps. In order to have a more complete idea of how to make a veranda to the house, then we will consider the most problematic aspects of construction in more detail.
Brick veranda construction
Starting with forcing the walls, the process of building a brick veranda is somewhat different from building a wooden terrace and consists of the following steps:
- The first step is to choose the type of masonry. The most popular are: spoon, in which the thickness of the walls will be 12 cm, butt, with walls 25 cm thick, and chain, with walls 38 cm thick.
- Further, at the edges of the base, on opposite sides of the foundation, a cord is attached along which corner bricks are exposed.
- The empty space formed in the corners between the bricks is filled with brickwork, fastening the elements with cement mortar.
- Using a laser level, the first row of masonry is carried out. Subsequently, the surface is also constantly checked with this device.
- At the end of the masonry, a reinforced belt is equipped. To do this, formwork is fixed on top of the brickwork, at least 7 cm high. Anchor bolts are placed in the corners and reinforcement is laid. At the end, the entire structure is poured with a cement mortar.
- After the concrete has hardened, strapping is made using a bar with a section of 100 × 100 mm.
The next step will be the arrangement of the rafter system. In case the veranda is supposed to be used all year round, including in winter, it is recommended to lay in 2 rows. The addition of a veranda is a fairly reasonable decision for owners of private houses.

After all, such a building is not only capable of expanding the area of the room, but also giving its appearance an exclusivity. Moreover, a wide selection of structures and materials makes it possible to carry out the entire process on your own, with your own hands, without assuming special skills in construction.
Polycarbonate
After the floor, frame and roof of the veranda have been made, you can start sheathing the structure with polycarbonate. So, you get a light and light veranda, where you can have fun in the warm season.
Polycarbonate is a translucent material based on carbonic acid polyesters. It is produced in the form of honeycomb or monolithic panels. In cellular polycarbonate there are cavities between the stiffeners that connect two sheets together. They are often replaced with glass when arranging verandas. This is due to a number of positive properties of the material.
Advantages
Although polycarbonate has appeared on the construction market not so long ago, it is very popular among consumers. Why? The reason for this is the unique properties of the material, which has no analogues on the market today:
- High strength. These indicators for polycarbonate are 20 times higher than for glass. If the polycarbonate is damaged, then it will not crumble into small fragments, like glass, but will break into fragments that do not have sharp corners. Thus, the injury risk of polycarbonate is minimal.
- High light transmission rates - up to 86%. Due to the fact that some of the light is scattered, polycarbonate creates protection from direct sunlight. Partially absorbs ultraviolet light.
- Polymeric panels are flexible, which makes it possible to design curved shapes. Polycarbonate can be bent without special equipment, right at the installation site.
- The temperature range is from –40 to + 120ºС. And this means that polycarbonate is not afraid of either the scorching sun or severe frosts.
Installation features
If you don't have a lot of building experience then don't worry. You can master and implement this technology. Initially, you should make a foundation, fix the frame elements in it. After the concrete has completely hardened, you can start making the frame. How to make a foundation and a frame made of wood has already been described in the article.
For the manufacture of the metal frame, in this case, a thin-walled galvanized sigma profile will be used. Features of installing the frame:
- No welding is required since all connections will be made with bolts. To do this, you need an adjustable wrench.
- The main fastening of the beams is the anchors laid in the base of the foundation.If they were not installed, then you will have to drill holes in the foundation and screw in the cotter bolts, and then secure the beams.
- Sigma profiles are held together with standard fittings.
If you made a frame made of rolled steel, then it must be treated with a primer, and then painted with metal paint. Thus, you protect the frame from corrosion.
Fastening polycarbonate
Now you need to cut the polycarbonate to fit it to the required size. This can be done with an electric jigsaw.
It is important to take into account that the sheets must be tightly pressed to the surface.
To create a thermal play in the process of assembling polycarbonate sheets, it is necessary to ensure that the screws are not clamped all the way. In addition, when installing polycarbonate under the washers, it is imperative to lay gaskets. This will protect the material from damage and leaks. The holes in the polycarbonate should be slightly larger than the diameter of the screws' legs. So, with temperature changes, polycarbonate will narrow and expand without deforming.
Wooden veranda with polycarbonate roof
The installation of the roof is carried out according to the scheme already described in this article. If you wish, you can also make it out of polycarbonate. In this case, your building will be very light. Polycarbonate is laid on the roof according to the same principle as on the walls.
Useful Tips
It will be correct if you do not fasten the terrace to the house, but only make an extension. There are 2 reasons for this:
If at the same time the veranda is fixed to the wall of the house, then it may be distorted. In rare cases, instead of skewing, free spaces arise between the house and the veranda.
In this case, they can be removed using polyurethane foam.
Video:
A terrace not attached to the main building is considered a separate building and does not belong to the house, which means that payment for living space does not apply to it.
In addition, if you carry out the fastening, then after that you will have to make changes to the plan of the house, which causes a lot of problems when selling
Therefore, it is worth thinking several times before deciding to attach the veranda to the house. Based on this, we considered the option of building without such fasteners.
Features of the veranda rafter system and roof junctions
The roof of an extension to a house is usually covered with the same roofing material as the house itself. The adjoining of the roof structure of the veranda to the wall of the house can be done in several ways. One of the most reliable options is considered to be the one in which the roofs of the terrace and the house are, as it were, one whole, continuing one another. This arrangement allows you to completely exclude the penetration of precipitation into the under-roof space.

A similar wiring diagram can be implemented as follows:
- an upper harness is attached to the racks or the load-bearing wall of the veranda, encircling it along the perimeter;
- ceiling beams are nailed to the harness or upper support bar. In the future, the ceiling sheathing material will be attached to them - lining, plasterboard panels, etc.
- the rafters of the house are shortened along the wall of the interface with the terrace;
- the rafters of the veranda are cut at an angle so as to fit snugly against the rafters of the house (see the figure below);
- both elements are connected using perforated metal plates;
- if the angle between the truss structures of the house and the veranda is too large, then spacers (anti-snow supports) can be installed between them to increase the spatial rigidity. In winter, they will help to keep snow and wind loads.
The second, somewhat less reliable, but simpler, therefore, a common way of adjoining the roof of an extension to a house is to dock the veranda rafter system from the wall of the main structure. The rafter legs of the attached room are attached to the upper strapping bar. A wall is selected in the wall of the house, into which a wall profile is installed - it will cover the place where the roof covering of the veranda adjoins the wall.As a covering, it is recommended to choose flooring made of metal or profiled sheet - they have significant rigidity and are quickly installed.
Construction sequence
- Site preparation for construction (foundation erection or soil compaction);
- Installation of floors. Most often, in the terrace, the floor rises half a meter or a meter from the ground level, depending on the characteristics of the landscape;
- Installation of support structures. The supporting structures are calculated depending on the size, material and type of roof;
- The installation of the roof frame also depends on the dimensions and materials;
- Roof installation. Various materials can be used for the roof of the terrace. It is best to focus on existing buildings and make the same crush near the terrace. It is possible to use metal tiles, slate, polycarbonate, ondulin and other materials.
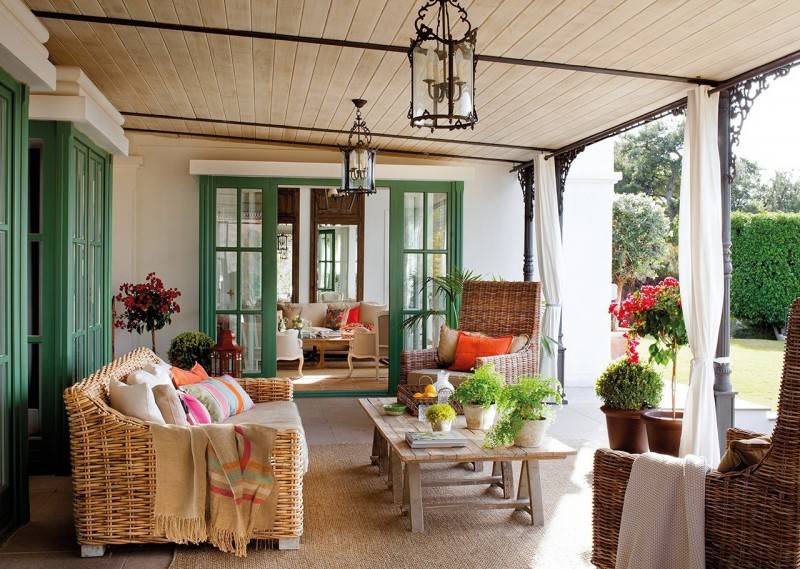
When raising the question of building a beautiful space for family gatherings and fun parties with friends, it is worth choosing the type of construction depending on the size of the site and climatic conditions in your region. So terraces are most often built in those places where the warm season prevails, and the climate is mild and comfortable.
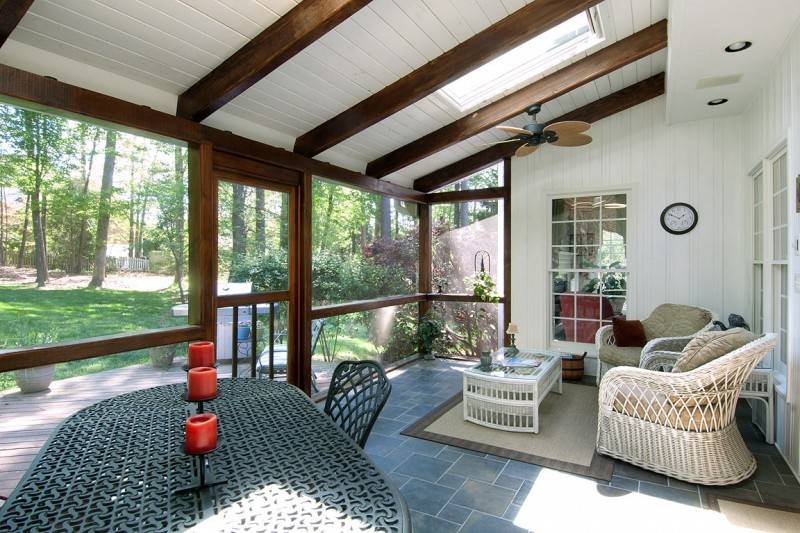
Otherwise, it is better and more functional to think about building a terrace, which can remain functional both in the rain and in the wind, and with proper heating, it will also serve in the autumn-spring period.
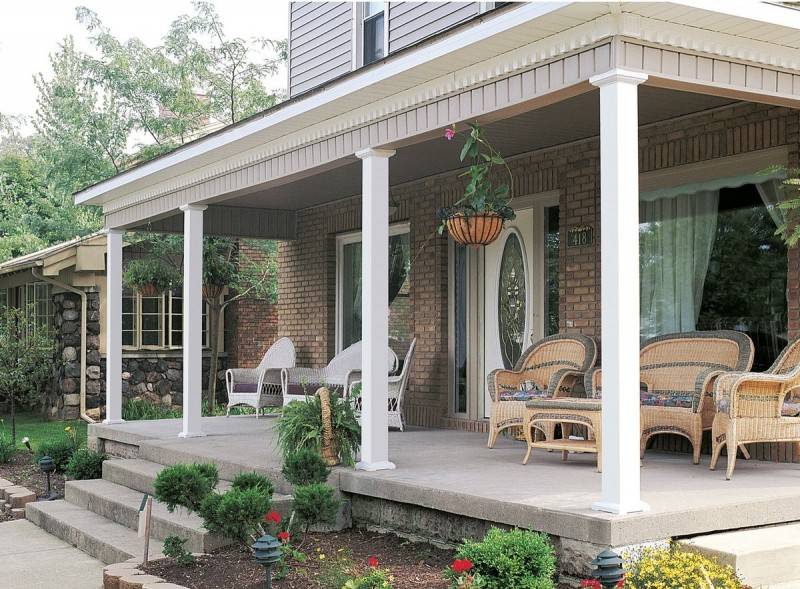

In short, a terrace in a country house is a real plus. And nothing can be more beautiful than a cup of coffee or freshly squeezed juice on your own terrace on a sunny summer morning.
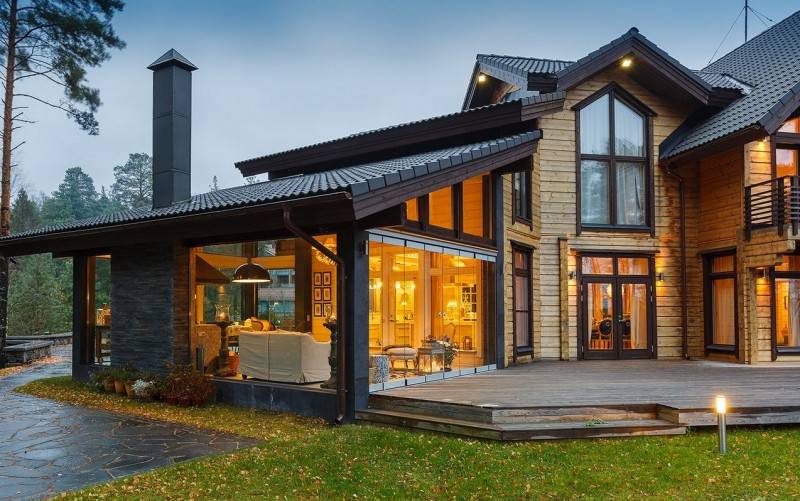
Terrace functions
Why is there a terrace in a house or a garden plot? Purely theoretically, the function of the terrace may well be performed by a gazebo, but it will be located at some distance from the house, which may be inconvenient for receiving guests. Also, the terrace can be replaced by a veranda, however, it will be more a continuation of the house, closed from nature. What can you do on the terrace?
- Receive guests;
- Have breakfast, lunch and dinner;
- Play for children;
- Sunbathe;
- Relax;
- Contemplate nature;
- Hosting parties and more.
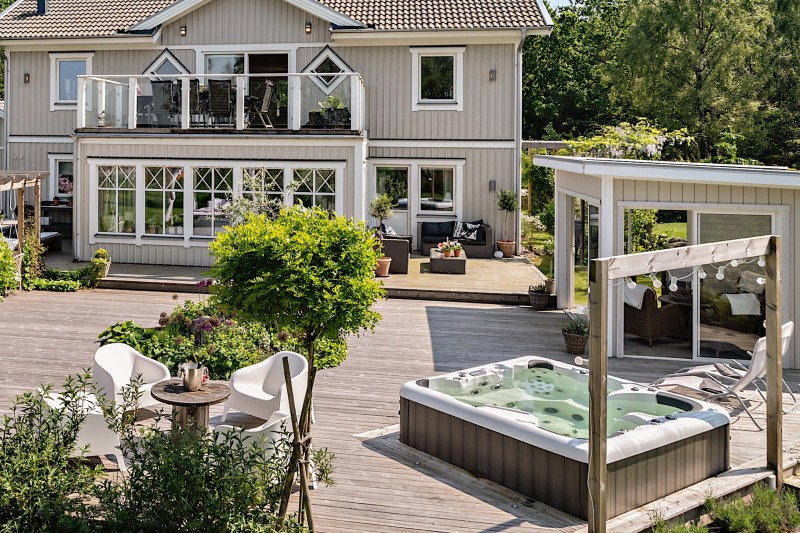
To build your dream terrace, you need to complete a number of preparatory steps.
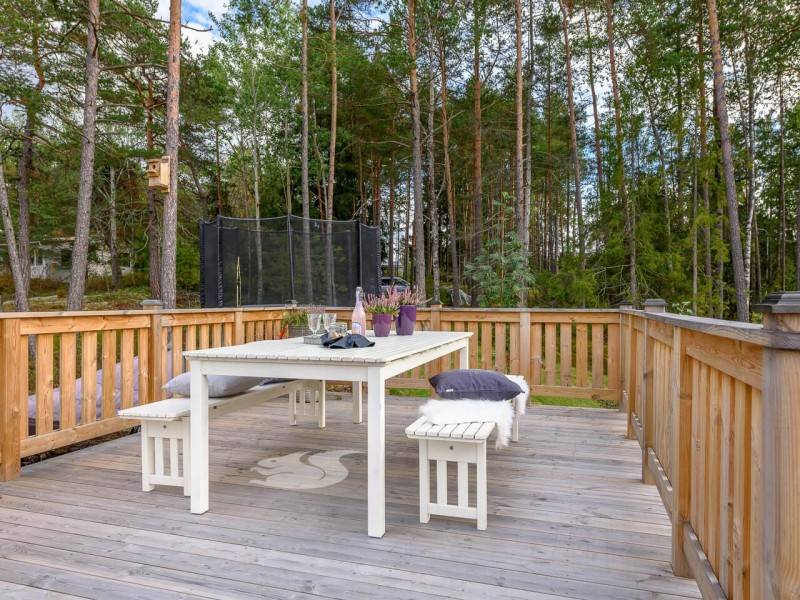
Finishing the ceiling, floor, window and door structures - the sixth step
Logs are screwed on the subfloor and a terrace board is laid, already painted and ready for use, or ordinary planed and painted or varnished.
The walls inside the veranda, like the ceiling, can be sheathed with PVC panels and other materials for the individual taste of the owner of a country house.
Floor tiles, porcelain stoneware, natural stone, linoleum and other suitable materials can be placed on the concrete base.
The last final stage is the installation of windows and doors. The better the finish, the more comfortable it will be to stay in such a room. And the owners of such a building are guaranteed a good rest.
How to cover the floor on the veranda in the country
First of all, let us make a reservation that by the word "paint" the floor in the country we mean to change the color of the wood, to increase its security, but not to paint over its texture. That is, we will talk about stains proper, but with protective properties. Rather, we will tell you how to cover the floor on the veranda in the country. Opaque paints that create an opaque film on the surface, even the best ones, will definitely bulge and crack on the floor. Especially if it is an open summer veranda. In this case, it is better to use stains.
Impregnations for protection
We draw your attention to the fact that all wood must be treated with antiseptics before construction. This is especially true for an open veranda.
Here and the side rails, all the racks and the floor - all these elements - require careful protection. For impregnation, you can use the composition SENEZH IMPRA. It is even suitable for working wood in direct contact with the ground
What is important, it does not change its color, does not wash out, and does not create a vapor-proof film. That is, after processing, the wood continues to dry.
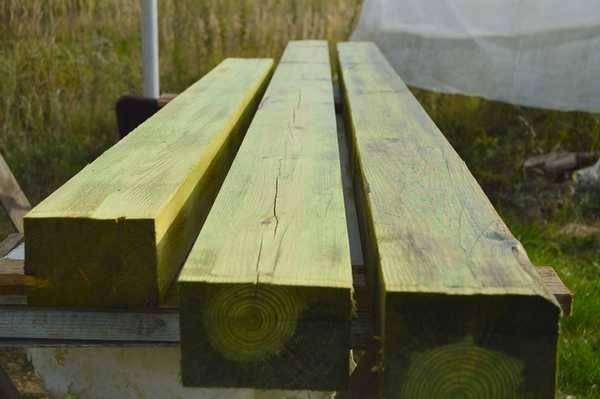
Protective antibacterial impregnation Senezh has excellent characteristics, but stains the wood in a greenish color
The same campaign has another Senezh impregnation with similar characteristics. But it gives the wood an olive hue. If you then give a dark color, it almost does not affect the final result, and is visible under the light ones.
Pinotex Tinova Professional is a primer for dry wood. Protects against blue stains, darkening, mildew and rot. Penetrates deep into fibers. It is applied to clean, dry wood (moisture content not higher than 18%). this is its drawback: verandas are rarely built from dry lumber.
Color-changing
For coloring compositions, there are the following options:
- Tikkurila Valtti Puuoljy This composition is intended for surfaces that are constantly exposed to atmospheric factors. Its base is oil. Therefore, it is necessary to use it on dried wood: the maximum humidity is 20%. Brush on a clean surface, one coat is usually sufficient.
- Pinotex Terrace Oil (Pinotex terrace oil) - oil for Pinotex terraces. This composition is applied to the base and also: it must be tinted by adding the desired pigment. Designed for wood processing on terraces, verandas, stairs, etc.
Both of these formulations are oil based. They need to be updated once a year or two - see the status. But at the same time, apply to the old coating, simply by cleaning it first. Easy to apply, leaves no streaks. It is usually absorbed quickly: if after 15-20 minutes there is an unabsorbed compound somewhere, it must be blotted with a dry cloth. At the same time, even after a year, the surface looks attractive, no cracks, coating chips and other troubles.
If your wood is not dry enough, the solution is this: soak it with antibacterial impregnations that do not create a vapor-proof film on the surface. After a while, it will dry out enough (after a year - for sure). During this time, of course, it will darken. Remove the top layer with a grinder and then cover the floor on the veranda in the country with oil.
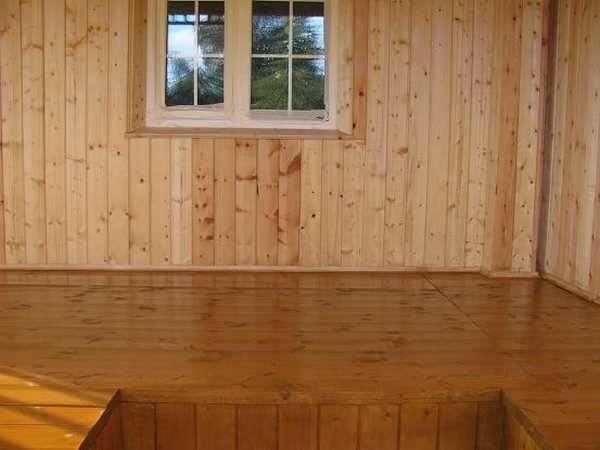
This is how the floor looks like, only covered with an oil composition. A little later, it will become slightly darker, there will be less gloss.
If you look at the prices, then Pinotex is cheaper, but under it it is necessary to apply its own "Base" - the base impregnation. Tikkurilu can be placed directly on the boards (but on dry ones). If water gets on surfaces treated with these compounds, it stands in separate puddles, not absorbing until it is wiped off, or it dries.
Sometimes the verandas are covered with yacht varnish. If we take expensive, high-quality ones, the coating lasts for several years. Yacht varnish is cheaper in a year cracks, sometimes rises. Before applying a new layer, the old one must be removed, the surface must be sanded. If you want to varnish, try Eurotex alkyd varnish or Eteral urethane varnish. They have good reviews. But keep in mind: it is slippery on varnished surfaces in winter. So if you want shiny surfaces, paint the walls, pillars, and side rails. On the floor, after all, it is better than oil.
Forming the flooring
Whether the planned veranda is closed or its main attribute is complete openness, in any case, the floor of the terrace must be durable, warm and protected from destruction.
Most often, even if the rest of the veranda is made of concrete or brick, the floor is made of wood. This is due to both the practical and the aesthetic properties of this material:
- the tree does not allow heat from the room to leak into the ground;
- it is durable;
- wood is completely safe for health;
- such a floor practically does not require decorative processing, since the material itself is very beautiful - you just need to cover it with a layer of varnish to protect it from damage.
The floor on the finished foundation is built in the following order.
- Insulation is carried out - you can do this in any convenient way. The best option is to fill the space between the ground surface and the boardwalk with a layer of expanded clay.
- The structure is protected from moisture - for this you can use roofing material or liquid polymer waterproofing material.
- Wooden logs are fixed above the foundation.
- Boards are being laid. So that there is no blowing from under the floor, and the aesthetics of the coating is not disturbed by cracks, the joints of the boards should be treated with silicone sealant.
All wooden elements of the veranda must be treated with antiseptic and antibacterial impregnations. This will protect the terrace floor from rotting, damage by fungal and other microorganisms, significantly extending its service life.
The need for a veranda. Functions
The need for a veranda for your own home is obvious, because it is a place where the whole family can easily gather for a summer dinner with barbecue, and at the same time hide from the evening rain and watch its threads through the extensive windows. But at the same time, you want to be able to stay on the veranda to warm yourself from the autumn wind. It is often assumed that a certain greenhouse should be placed inside such an annex. Hence the functions that this building should have:
- good roof, preferably transparent or matte,
- huge windows,
- warm walls,
- large space,
- close connection with home.
Veranda planning guidelines
It is best to build an extension so that it closes the front door to the main house. Therefore, you will not be able to build a veranda on any desired side of the already finished main building. Otherwise, the veranda will be torn off from the main building and you will have to enter it across the street.
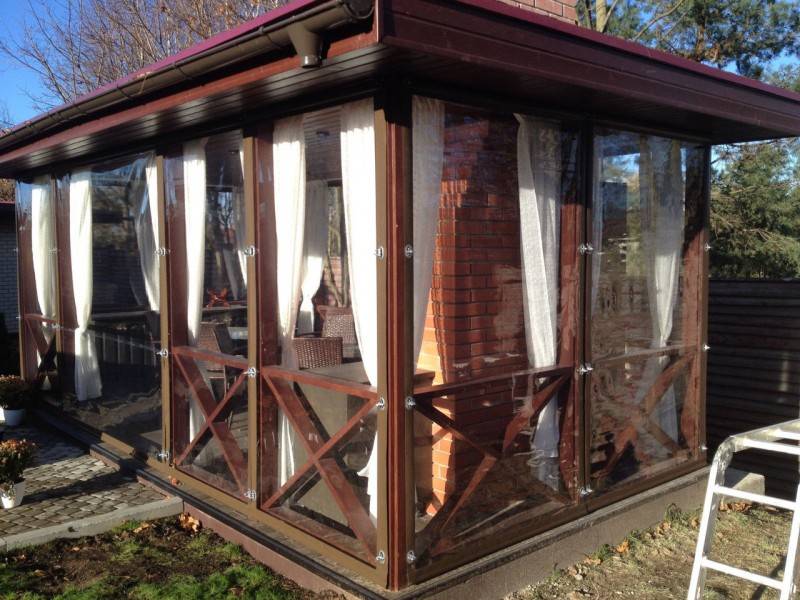
Glazed veranda
The dimensions of the extension are selected individually. For a family of 3-6 people, a veranda measuring 3x4 m is enough
It is also important to consider the general view from the street. For example, if you live in a large two- or even three-story house, and the veranda is very small, the overall architectural ensemble will turn out to be inharmonious.
For compact houses, you can safely attach verandas the width of the entire wall of the main building - it looks great.
Veranda in a wooden house
Head over to your local architecture department with your finished project. The department staff will study your project, make the necessary changes and issue a permit. Keep in mind that it takes about 2-3 months on average to consider and approve a project, so it is most profitable to deal with this issue in winter, before the start of the construction season.
House with glazed veranda
How to legalize a veranda?
The function of the object is irrelevant, the requirement remains mandatory. It is better to do the registration before the start of construction work, then the likelihood of large fines will be minimal.
Many people think that they can build anything if the property is registered on the site. But there are specific requirements, without which certain actions cease to be legal. Because of this, the independence of home owners is somewhat limited.
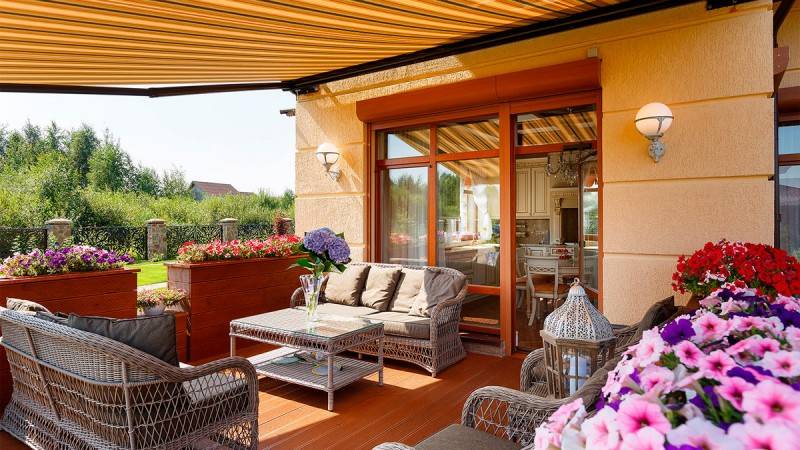
Sale or exchange is not possible without completing the registration.
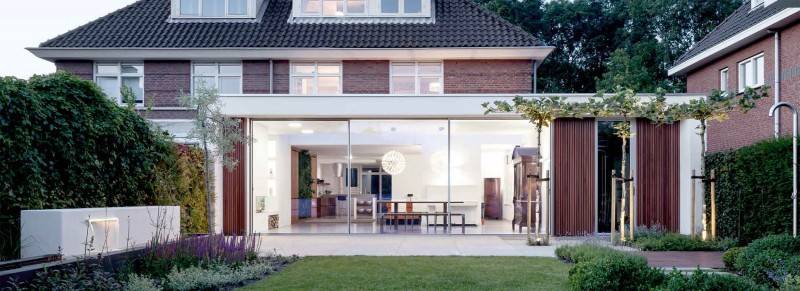
Not only legal issues are taken into account, but also security, including the owners of the house themselves. House designs can change dramatically due to different load distributions. However, this is not always possible to take into account when developing initial projects.
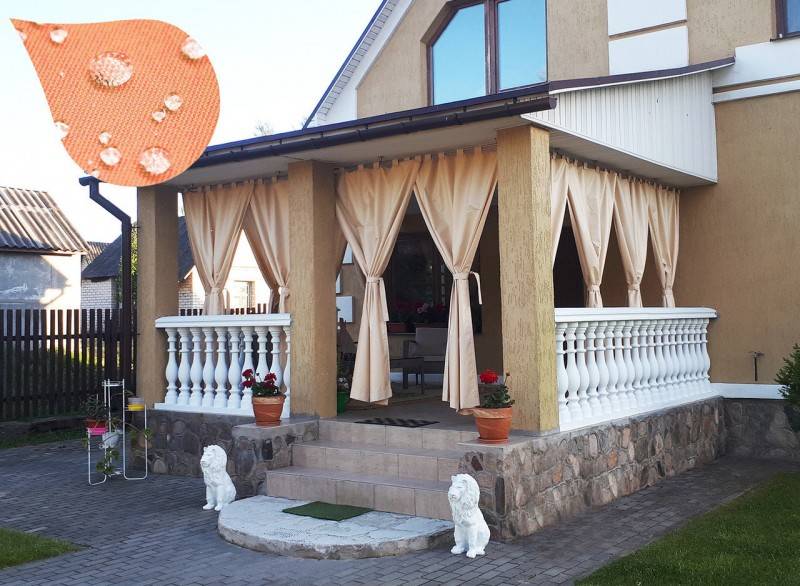
The design of the general structure and the area change with the creation of any extension.
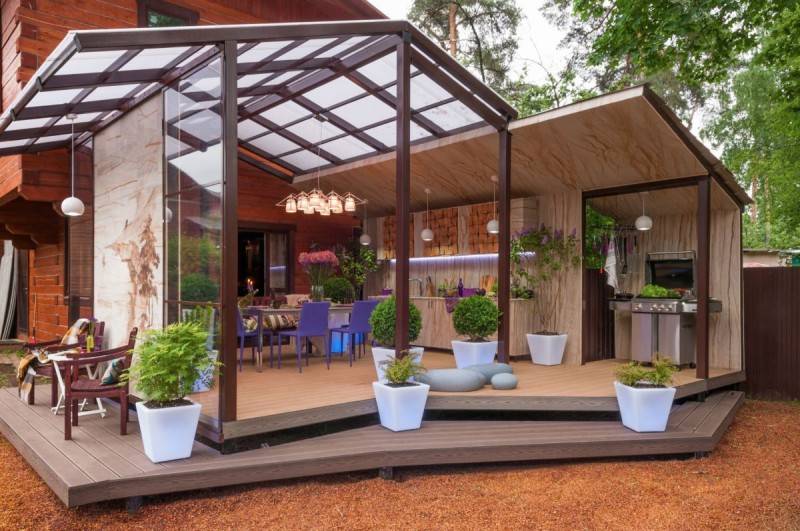
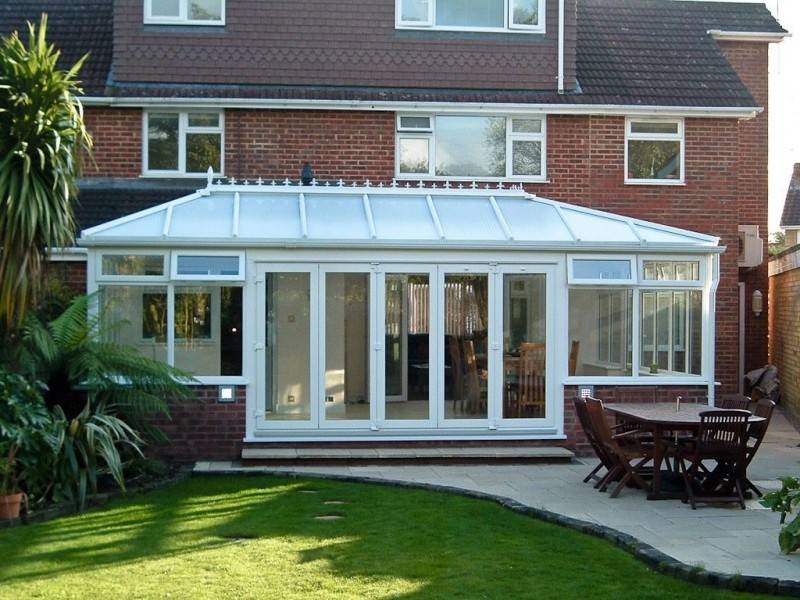
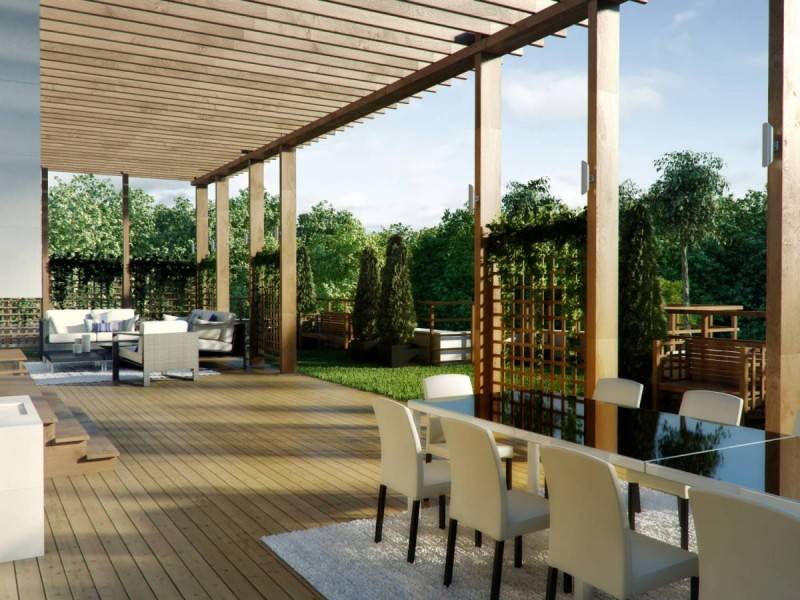
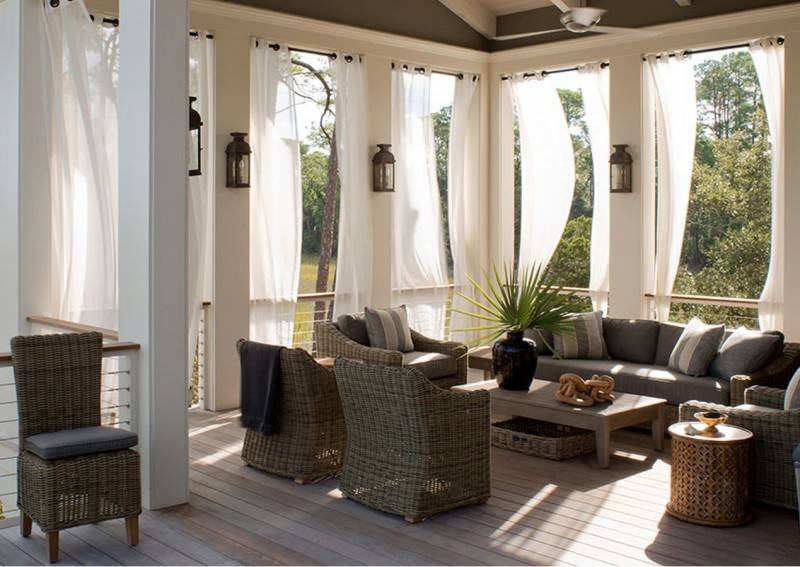


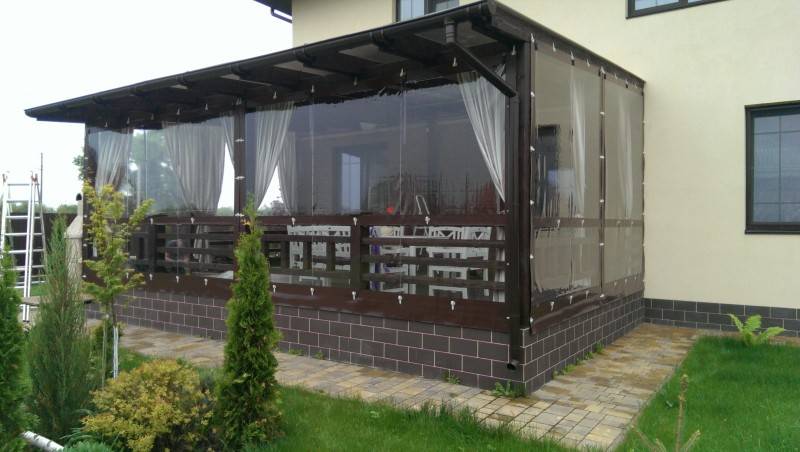
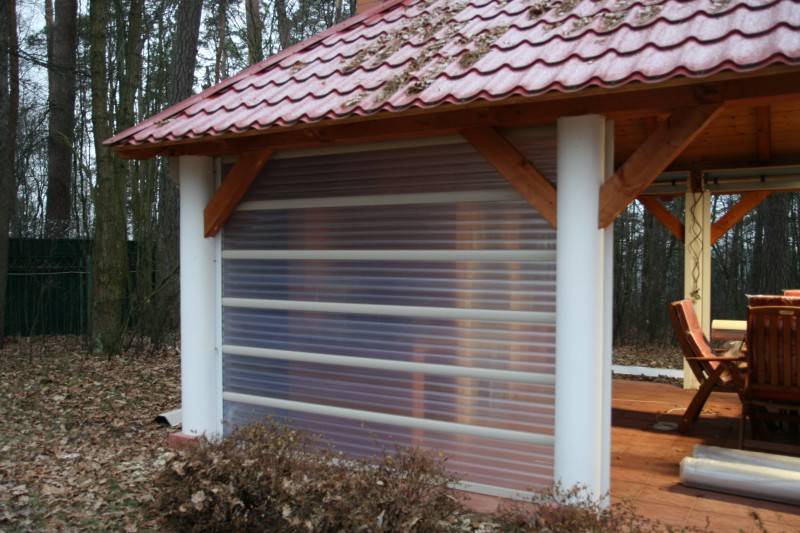
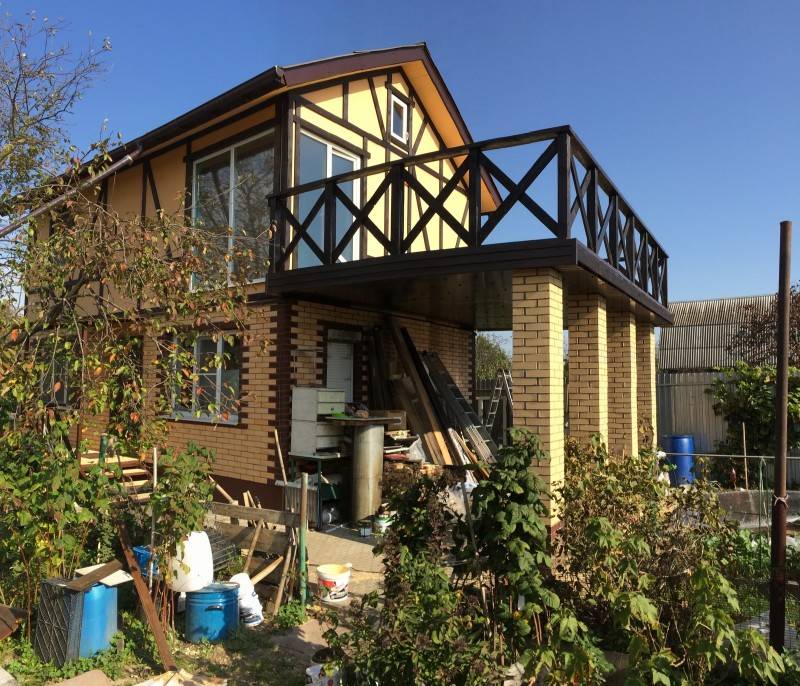
Reservation of the rights of both the owners themselves and the owners of nearby plots and other buildings.
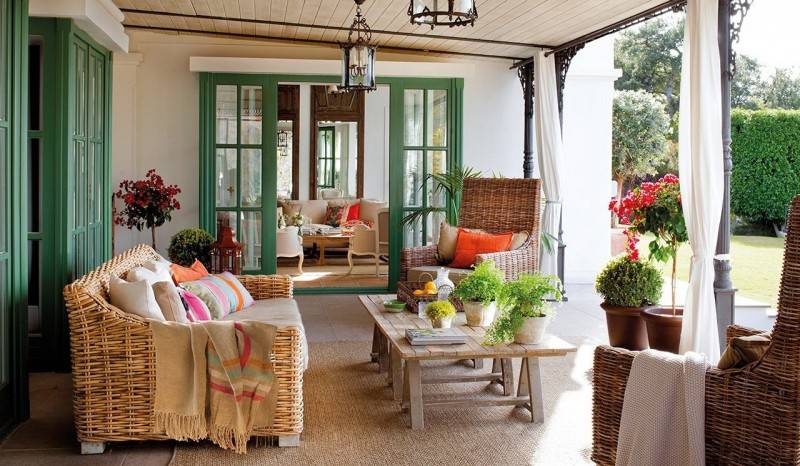
Extensions are either capital or non-capital.
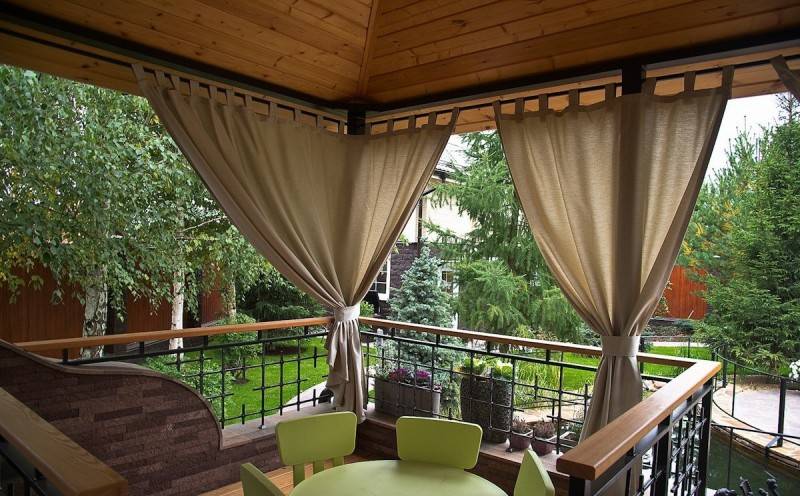
The last variety is the easiest to legalize. It is enough to contact the BTI employees with the collected documents for home ownership. The visit of a specialist to the territory is obligatory. Technical documentation is corrected after careful measurements.
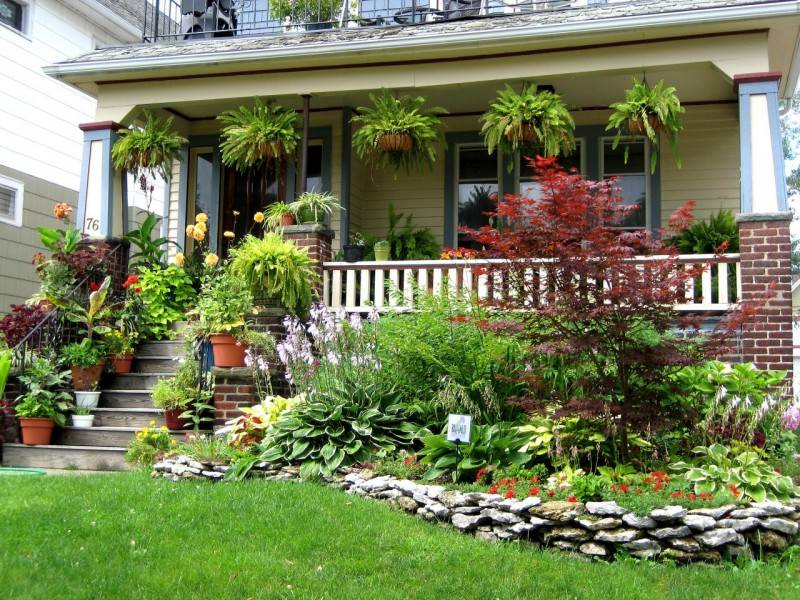
Obtaining new documents and a plan is practically the final stage of restructuring. The consent of all owners will be required for legalization, if there are several of them.
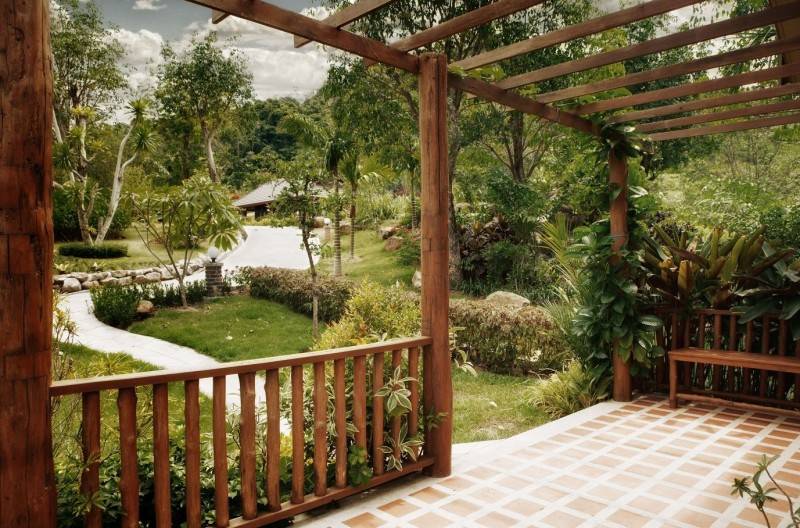
Layout options for terraces
The construction of terraced houses is gaining momentum. A convenient extension serves not only as a decoration, but also protects the house from winds and sunlight. You can attach a terrace to the house from either side. If it is intended for relaxation, fun feasts, sports, it is better to deploy it behind the house, hiding it from the prying eyes of neighbors and just passers-by. The entrance veranda should be located on the side of the front door. So it will also serve as a porch.
The terrace can be built along any wall. It is better if she has an entrance to the living room or kitchen. If the area around the house allows, the extension can be organized around its perimeter. Convenient minimum width of 150 centimeters.

The roof terrace is an unusual option for organizing a recreation site. The original location complicates the design considerably. It is necessary to take into account the features of the wall material, the strength of the roof. A wooden house may not withstand a heavy structure with furniture, so you can only bring your plans to life on brick houses or made of aerated concrete
Special attention should be paid to safety and a high, stable handrail.
Types of veranda
The veranda in its appearance is:
- Open
- Closed
An open veranda is a room under a roof, but without windows and without doors.
A closed veranda is a room with large windows and glazed doors.
Modern verandas can be heated or unheated. Fireplaces or heat fans and insulated double-glazed windows for window openings and doors are often used for heating.
Comfort and beauty is the dream of all home garden owners. And the house outside the city limits becomes a place of rest from the hustle and bustle of daily worries.
If the owner of a suburban area has at least a little building skills, then he can, with his own hands, as in the photo, embody all his design fantasies when building a veranda.
Veranda roof abutment
The veranda attached to the house is usually covered with the same type of roofing as the scrap. There may be several options and the organization of the roof connection depends on how and to which wall you attach it. If the roof is going to be a continuation of the roof slope of the house, you need to splice two rafter systems. In this case, the roof of the veranda is said to be adjacent to the roof of the house.
Then the procedure is as follows:
- The upper straps are attached to the racks of the veranda.
- Transverse ceiling beams are nailed to the harness. The ceiling is then hemmed to them.
- The long rafter legs of the house are shortened. They should not protrude beyond the wall.
- Veranda rafters are made of planed boards, which are cut off at an angle from the side of the roof so that they adjoin the existing ones (see the photo below). To make it easier to work, you can make a template, according to which you can then prepare the rafters on the ground. The rafter legs are attached to the house system with nails through and through, you can put metal reinforcing plates on the side.
- To increase the rigidity of the structure, spacers (anti-snow supports) are installed between the rafters of the house and the extension. They are shown in the photo explaining the design.

Adjoining the roof rafter system of the veranda to the roof of the house
If the width of the veranda is more than 2 meters or heavy roofing material will be used, spacers are installed so that the support beam does not sag. It is better not to nail them from the side, but to insert a spur between the ceiling beam and the rafter leg.
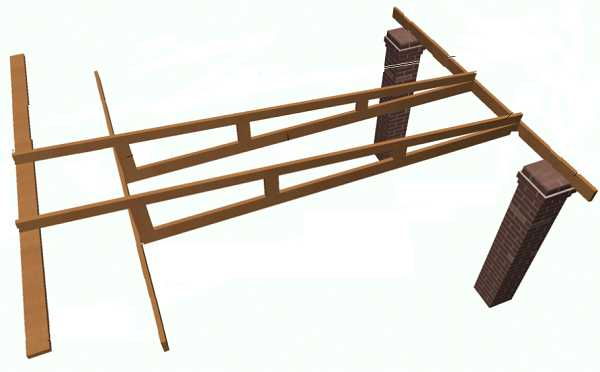
In order to eliminate the sagging of the roof, spacers are installed between the ceiling beams and the rafters.
More often it turns out that the roof of the veranda attached to the house is adjacent to the wall. In this case, a strobe is made in the wall, a special wall profile is placed in it, which is placed on the roof covering with the second side. The place of its abutment to the wall is sealed with a sealant.

How to attach the roof of the veranda to the wall of the house
The second option differs only in the shape of the wall profile: it can be made independently from a sheet of roofing iron.This design is distinguished by the presence of a bar, which allows you to move the bend away from the wall of the house and cover possible errors when laying the roofing material at the junction. Also, in this version, the apron is not attached directly to the wall material, but to a beam with a beveled edge, mounted in the strobe.
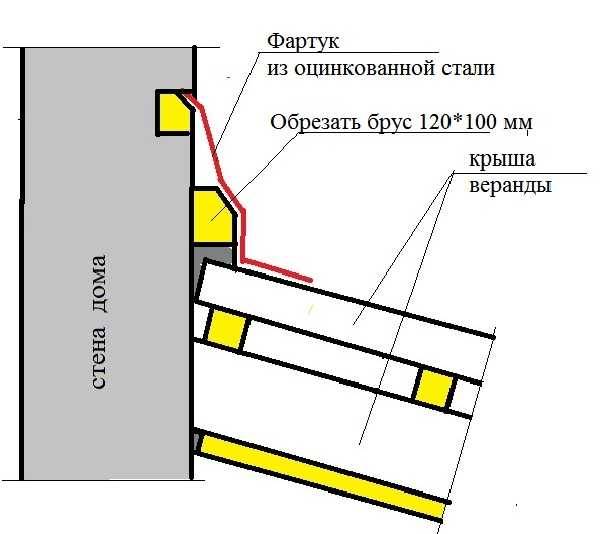
The second option for joining the roof of the extension to the wall of the house
Some questions may arise on how to attach the rafters to the outer upper strapping, because its dimensions do not allow making cuts, like on a Mauerlat. The solution is usual: with the help of corners (see photo). Instead of corners, you can use small section bars.
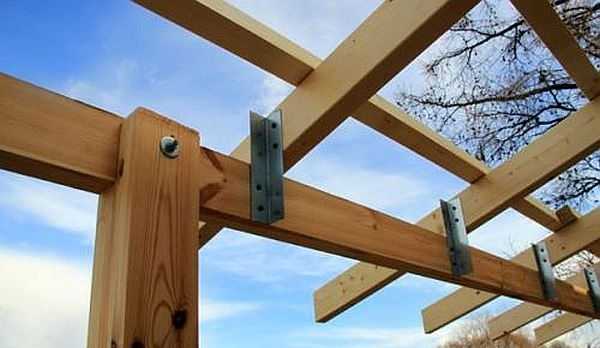
The method of attaching the rafter legs of the veranda to the upper harness
Maybe not the most elegant solution, but reliable. After everything is covered with a roofing from above, the lining will be removed from below, they will not be visible.
Types of wooden veranda
The veranda is a full-fledged extension with a foundation, walls, windows and a roof, which can be built into the house immediately upon construction, or be attached both from the side of the main entrance and from the back of the house with access to the garden or courtyard.
In this article, we will consider options for building a veranda made of wood, this material is much easier to process compared to others, so you can create such a structure with your own hands alone. There are several types of such structures:
1.open
2.closed
3.insulated
4.unheated
During construction, it is possible to provide for the possibility of changing the position of the windows; with their help, it is enough to simply regulate the temperature inside the room
The design of the veranda opens up ample opportunities for the implementation of various ideas, for example, you can install a fireplace on it
The veranda can also be used as a kitchen, dining room or even living room
Finishing cladding and roof installation
After the construction of the frame - the base of the entire future veranda, proceed to the outer wall cladding. Previously, we have already given recommendations on the choice of materials, but experts advise using the same building resources as in the main part of the house. If it is impossible to fulfill this point, be guided by your preferences, financial capabilities and tastes.

To arrange the floor, craftsmen prefer wood, which must be treated with a special antiseptic and varnished if desired. If you are preparing a closed veranda, you can lay a carpet on the floor, which will add additional warmth and a feeling of coziness.

The most profitable roof option for a veranda is a simple inclined structure with one slope, which will allow you to easily drain precipitation. A rafter system is installed on the upper beam, on which a protective coating (for example, roofing material) is attached.

The last and most important task is to create a harmonious interior. On the Internet you can find a lot of photos of modern options for the interior decor of the veranda.

Construction of an open veranda
Before starting construction, it is advisable to think over the project, this will allow you to calculate the required amount of materials and avoid possible mistakes. You can find a ready-made project in open sources or prepare a simple sketch yourself and contact the design organization with it. Then, with all the required documents, you will need to contact the architectural department, after completion of the agreement, you can proceed to the construction itself.
Step 1: marking the site
- Remove the top layer of soil around the perimeter of the future structure and level the surface.
- Drive in metal or wooden pins in the corners of the platform, then in the same way install intermediate pegs every one and a half meters and pull the rope between the pins, it will serve as a guide for you.
Step 2: laying the foundation
For a light veranda made of wood, a columnar foundation is perfect, the technology for its manufacture has already been described above. It is best to build a veranda on a separate foundation, unless, of course, it is being built at the same time as the house. To do this, leave a gap of several centimeters between the foundations. The depth of the supports themselves should be equal to the depth of the foundation of the main house.
Step 3: creating the frame of the building
After making the foundation, you can install the frame. For this stage of work, you will need a wooden beam, part of it will go to the lower strapping, that is, to the base of the veranda floor, the other part to the racks and supports for the railing.
Bottom strapping
- Cover the foundation with roofing material and lay the timber on it.
- To prevent the frame from moving, leave a few scraps of steel reinforcement in the upper part of the foundation, before laying, make holes in the bars at the exit points of the steel rods, lay the timber, and then bend the ends.
- After completing the strapping according to the same principle, place several transverse bars of the same section in the grooves marked and cut out in advance with a step of about one meter and connect them with long nails.
Installing racks
- To prepare supports for the roof, install several vertical beams at the outer corners, as well as along the wall of the house, their length should be at least two meters.
- Attach the posts to the strapping with self-tapping screws and reinforce with steel corners.
- Make the upper harness from a planed bar (assemble it in detail), then install it on the ends of the racks and attach to them.
Step 4: installing the floor
If you want the veranda to be heated, when installing the floor, you will need to immediately provide a heating system so that the heating is autonomous, it is best to make warm floors.
- The subfloor is mounted on racks made of timber; for this, fix the boards placed on the edge with furniture bolts.
- Cut the timber protruding above the boards to make a flat platform.
- Lay out the joists and frame so that the flooring is below the floor level.
- Lay wood planks on top.
Step 5: installing the roof
The roof frame is also made of wood
During construction, it is important to provide for the necessary slope in order to avoid the accumulation of precipitation on it. ... Roofing materials can be very different: corrugated board, glass or colored polycarbonate, thanks to which you can give the roof a domed shape. The choice is yours
Roofing materials can be very different: corrugated board, glass or colored polycarbonate, thanks to which you can give the roof a domed shape. The choice is yours.
Application example of polycarbonate
Application of metal sheets
Step 6: finishing and installing the railing
Railings and fences perform both protective and decorative functions, moreover, they can be used when installing additional lighting, as well as hanging flower pots on them. There are several variations of wood fences:
horizontal
vertical
cross
Sequence of work:
- determine the height of the fence (the optimal height is about one meter);
- install supports, the distance between them depends on the type of structure and the weight of individual elements, they can also protrude beyond the railing and thus support the roof.
- install the railing, they can be given an unusual look using balusters.
