Erecting walls from logs
For a log gazebo, a frame made of timber is not needed; construction immediately begins with laying the walls. Roofing material is laid on the foundation, and the first row of logs is fixed on top. The logs should be located along the perimeter, excluding only the doorway. At the ends of the logs, grooves are cut out and the corners are fastened. It is advisable to join the logs only at the corners, so the appearance of the gazebo will be more attractive.
Erection of walls from logs
Having laid 3-4 rows of logs around the entire perimeter, they move to the corners of the structure. The logs are sawn into pieces about half a meter long, grooves are cut and laid at the joints of the walls. You can make trapezoidal corners by using different lengths and shrinking them as you build the walls. When the structure reaches the desired height, the logs are again laid around the entire perimeter, reinforcing the upper crown with metal brackets or spacers. The space between adjacent corners can be closed with a curly wooden lattice, forged lattice, or left as it is. Now it remains to mount the roof, and the gazebo will be ready.
Handrail installation
Advantages and disadvantages of simple structures
 The simplest gazebo for a summer residence can be made without a frame frame. The foundation for it can be a reinforced concrete screed. Such a surface can be used for any purpose, even for installing a barbecue. The safety of such a structure is also high, since concrete is not afraid of fire and coal from the barbecue. If the gazebo is to be used in winter, then it is better to make the floor from planed boards, and around the barbecue it is necessary to sheathe the tree with metal sheets. Such structures look beautiful and practical in winter.
A gazebo on a columnar foundation turns out to be quite cheap. In order to avoid overpayment when installing the gazebo, you must stock up on red bricks in advance. The foundation must be installed with the preparation of pits for the support pillars. After that, make brickwork, place reinforcement and pour concrete. Anchor bolts should also be placed in the masonry, the threads of which should "point" upwards.
Supports are placed on such pillars. The frame of such a gazebo is best made of wood. A 50 × 100 bar is ideal. If you install boards treated with an antiseptic on top, you get a wonderful warm floor. Thus, an open fire can be ignited in the structure. In the winter season, it is a great place to relax.
Putting a simple gazebo in the country is not a difficult process, and everyone can build it without the help of professionals. First you need to make a drawing of the gazebo, and then carry out construction work with it exactly. It is necessary to correctly calculate the capacity of the gazebo, its location and the necessary materials. In order to avoid mistakes, it is worthwhile to carry out the correct calculations, as well as carefully approach the implementation and installation of each part.
Laying bituminous shingles
Flexible shingles are lightweight and easy to install. Fix the flexible roof to the flooring with wide-headed nails. Eaves tiles are mounted to the eaves on all sides. For ease of installation and good flexibility of the material, a building hair dryer is used. Next, the laying of ordinary flexible shingles begins. When fixing the first row, it is necessary to choose such a length of nails so that they can pass through the eaves and ordinary tiles and reach the wooden base of the gazebo roof.
 Waterproofing the roof of the gazebo with roll materials.
Before using the shingles, remove the protective film from it. The sheets are overlapped. When laying each row of material, the sheets are positioned so that the cutouts of the previous row are covered with the protrusions of the next one. When fixing shingles, it is necessary to ensure that the nails reach the roof sheathing in the places of the double layer of material. Otherwise, the nails will subsequently be squeezed out and provoke the tiles to peel off.
When the material reaches the slope break, the excess shingle edges are cut flush with the slope line. In these places, the material is additionally anointed with bituminous glue.
Next, they start laying the ridge tiles. To do this, a sheet of tile is cut into three parts and each resulting plate is laid with the glue side across the ridge with an overlap of 5 cm. Fix each plate with nails in four places. In this way, all the kinks of the slopes are processed.
 Flexible shingles are an excellent option for arranging the roof of a gazebo.
A roof made of bituminous tiles for a wooden gazebo with your own hands (the photo illustrates this) looks quite attractive due to the variety of shapes and colors. One of the advantages of such a roof covering is noiselessness in rain and hail.
On a note! When purchasing shingles, make sure that all packages correspond to the same batch. Color may vary from batch to batch.
Tile roofing works are carried out very carefully, trying not to damage the material with nails.
 An open wooden gazebo with a bituminous roof.
Construction options from other materials
In addition to wood, there are several other materials from which you can build a gazebo with your own hands. In particular, I'm talking about a metal pipe and a brick.
There are many options using available materials (pallets, bottles, wicker branches), but in this article we are considering a classic approach to construction, so you can get acquainted with similar options in other publications.
From a metal pipe (profile)
The installation of such a gazebo is fundamentally different from what happened in the case of a wooden one. It is necessary to measure and cut the pipe to a certain size, then weld everything into a single metal structure and add some kind of shelter (corrugated board, polycarbonate, wood).
Since the pipe belongs to light materials, it does not require a serious foundation (as, for example, for a brick one).
In some cases, a flat surface is enough for the gazebo to stand firmly. You can see several similar examples in the photo below.
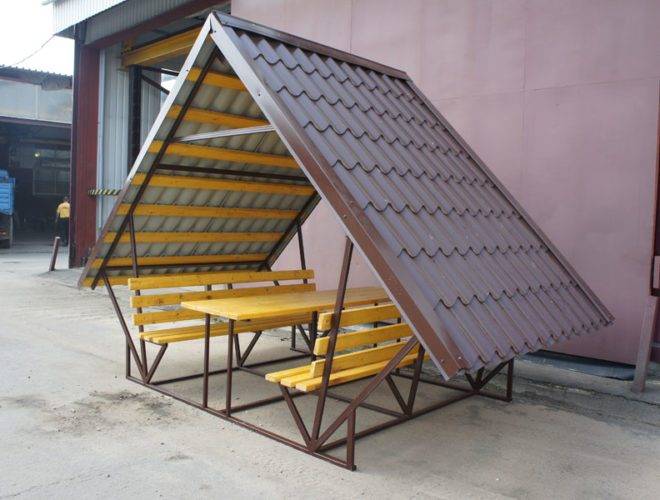

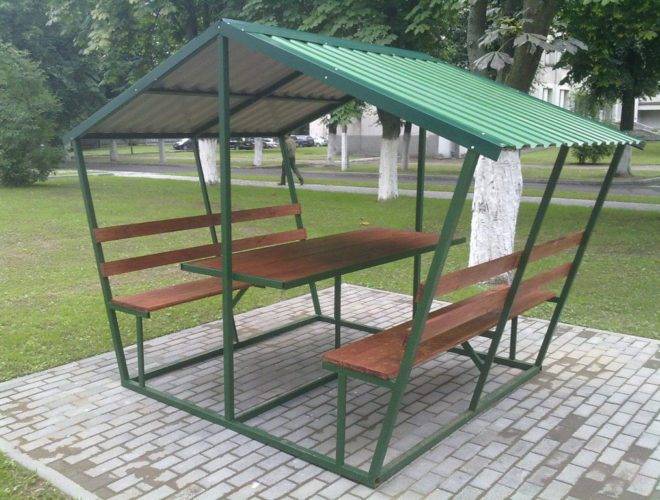
For serious gazebos from a metal pipe, it is necessary to prepare a columnar foundation in advance, or completely concreted pillars. All this will allow you to fix the gazebo as much as possible in one place.
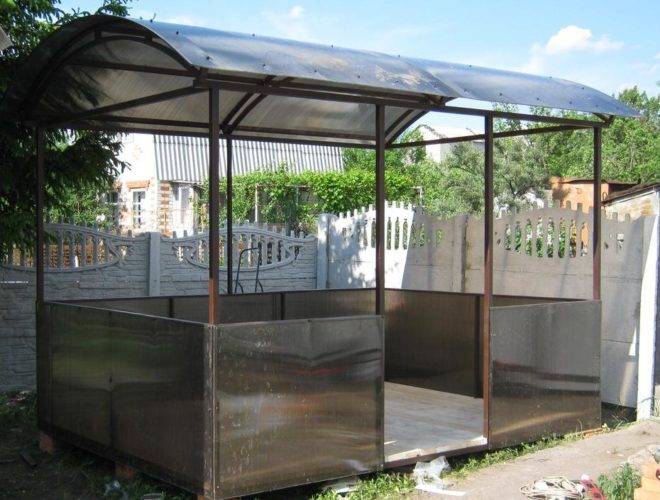
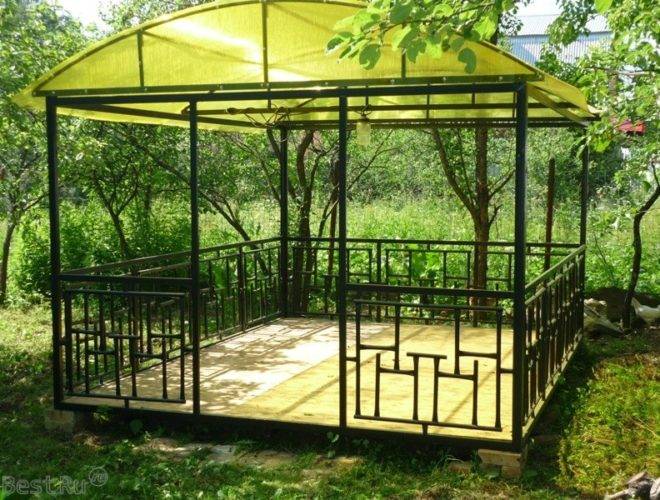
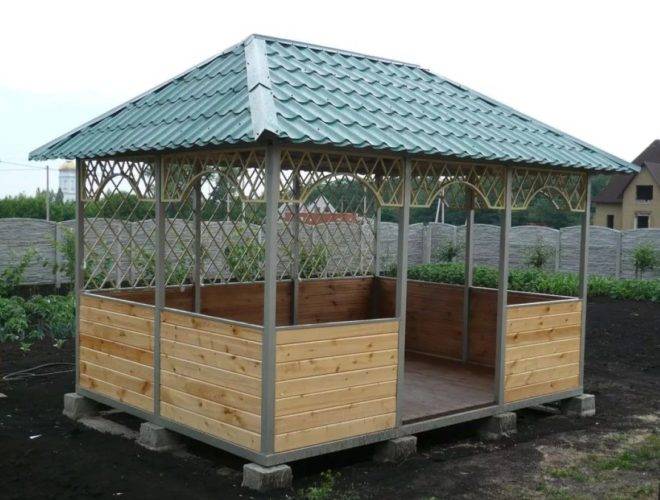
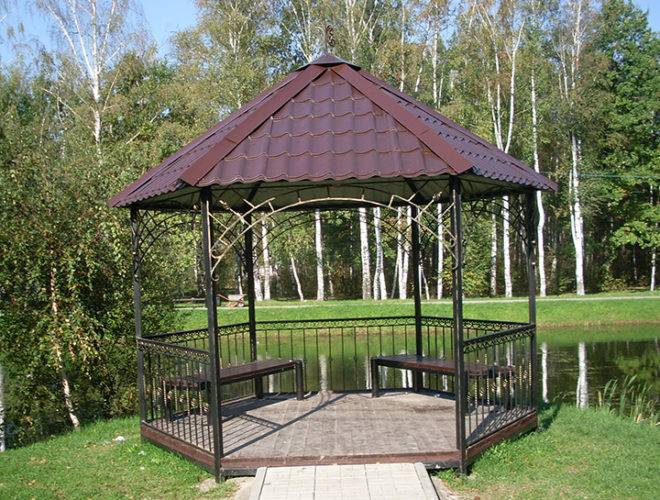
Before starting construction, you will need a detailed diagram of the gazebo, which will not allow you to make mistakes when buying a certain amount of material.
It is important to calculate the size of the pipe, since if the gazebo is large and the pipe is small, then it may not withstand the load. At the same time, it is not necessary to concrete pipes the size of an oil pipeline for a gazebo of 3 by 3 meters.
The video of Andrey Vinnichuk, who single-handedly assembled a metal gazebo over the weekend, seemed quite interesting to me. Moreover, in addition to the usual one, there is a bent pipe, as well as forging elements. Perhaps you will be interested in some of the chips of an experienced craftsman, after all, it is worth a lot to assemble such a structure over the weekend.
Brick
If you have ever wondered how to build a gazebo on your own, then you most likely know that a brick gazebo is the most difficult to build.
In addition to mental calculations, the development of a drawing and a project, its construction also requires physical strength - to carry bricks, concrete and mortar for bricks.

In addition, if we proceed from the fact that construction is carried out with our own hands in order to save money, then in the case of a brick gazebo, we are not talking about any serious savings.
Nevertheless, if you decide on such a serious construction, then, subject to all the requirements, you will be able to achieve both aesthetics and quality.First of all, you need to take care of the foundation - in most cases it should be tape and reinforced.
 Strip and reinforced foundation for a brick gazebo
I would like to bring a few brick arbors, which seemed interesting to me for building with my own hands. Some of them do not require large material costs and, perhaps, you can get some idea for self-construction.
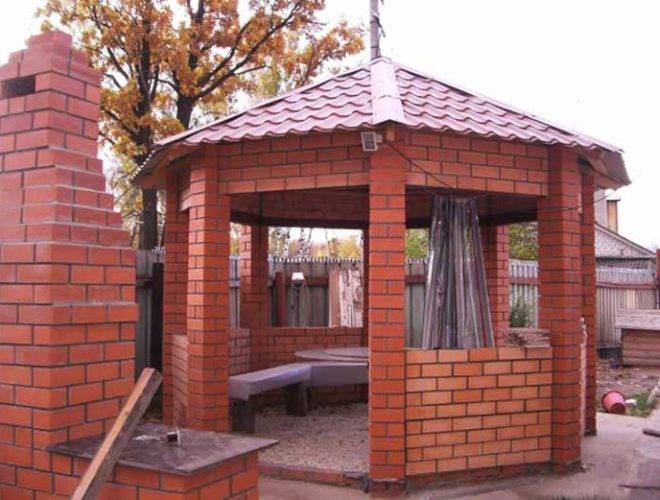
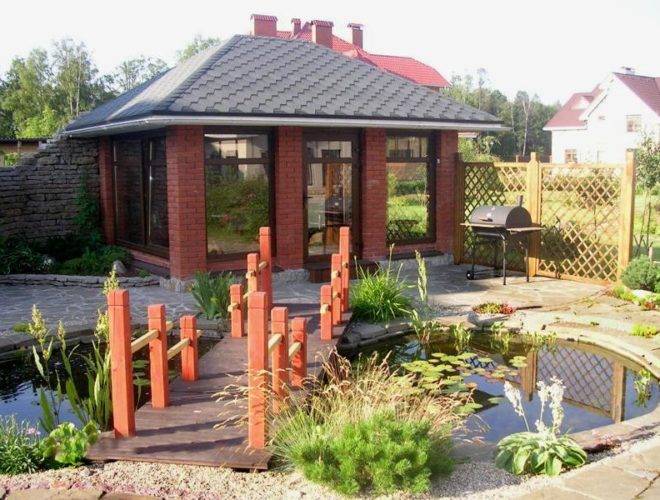
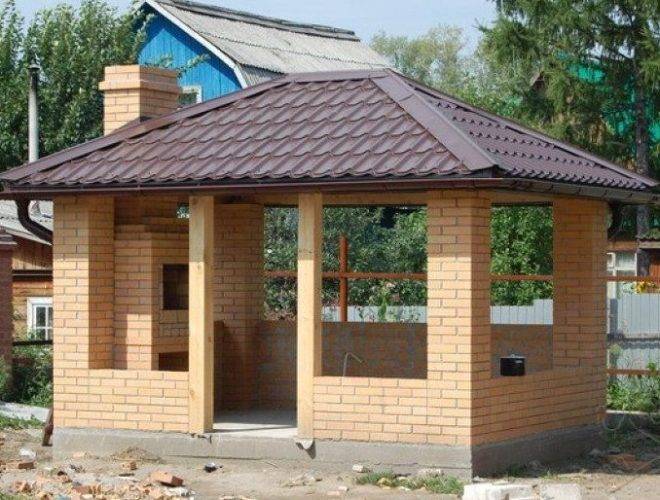
Seat selection
Before choosing a place for erecting a gazebo, you need to think over the purposes for which it will be used. For many in the summer, the gazebo serves as a dining room or a summer kitchen, then it makes sense to make it closer to home. If it is needed solely for relaxation and solitude, then it is better to put it on the outskirts of the site.
But wherever such a country house is located, it must correspond to the style and design of all buildings on the site and not stand out from the general picture. Therefore, you need to consider not only the location issue, but also the detailed configuration.
If you put the gazebo in the yard in the shade of tall trees, it will certainly become an ideal place for reflection and relaxation.
If the plot in front of a private house is very small, then you can place it in the very center, having previously laid a path, for example, from the gate. So that the open gazebo is not an object of observation by passers-by, you can plant dense tall bushes near it.
During construction, it is worth remembering that not only the view of the gazebo from the side is very important, but also the view from it, because nothing should interfere with a comfortable rest. So, for example, a view of a neighbor's fence or even a wall of a house will not create the proper atmosphere. But in any case, the situation can be corrected with the help of colors and correctly selected furniture.
Before installing the gazebo, it is imperative to find out the depth of groundwater at the site and the degree of soil freezing in winter. Also, information about the prevailing wind direction will be useful, especially if a place for a barbecue is provided in the gazebo. If necessary, you can contact the surveyors for this information.
The installation site should be relatively level. If there are stumps on the site, then it is better to uproot them, because overgrown roots can ruin the foundation.
Features of the hexagonal gazebo design
All stages of self-erection of a hexagonal arbor are similar in installation to a square design. The foundation, floor and pillars of the gazebo are made according to the available drawings. As for the roof of six slopes, the device is recommended to be made on the ground and the finished structure is raised and fixed to the frame of the gazebo.
Due to the absence of a central supporting element in the structure, it is very difficult to connect all the rafters together. Therefore, it is recommended to give the timber the shape of a hexagon, each side of which should correspond in size to the thickness of the rafters. The ends of the rafter boards are cut at an angle and, in turn, are fixed with nails to the cut out bar with a hexagonal section. At the other end, the rafters are inserted into the grooves, which are pre-cut in the strapping beam.
 Hexagonal closed gazebo from a log house.
Then the roof frame is sheathed with a board or plywood, and the finished structure is lifted and mounted to the supporting posts of the gazebo.
Arbor installation instructions
Having decided on the shape and type of the gazebo, having prepared all the necessary tools (saw, electric jigsaw, drill, screwdriver, level, pliers, drill, etc.) and purchasing the selected materials, you can safely proceed to the main construction work.
Consider the most popular popular option for installing a gazebo structure.
Since the building does not have too much weight, it is possible to put it on well-compacted soil (drainage from rubble) or build a foundation from pillars dug into the ground.
Next, the gazebo is assembled according to a pre-drawn individual scheme.
To work on a wooden building, you will need the following materials:
- Pipes.
- Racks.
- Bars.
- Frame beams.
- Cement, crushed stone, sand.
- Wooden beams.
- Boards, plywood.
- Materials for the manufacture of roofing.
After collection, the finished structure is processed: putty, sanding, staining to protect the tree from moisture and a beautiful appearance.
A careful approach to work, drawing up a drawing, studying construction technology - all this will really help to put a beautiful, comfortable gazebo on the land on your own!
Construction technology step by step
So let's see how you can assemble this useful structure yourself.
How to draw up a project and drawings
First, let's figure out how to draw up a project in order to build a gazebo with our own hands. Drawings should be drawn in compliance with all proportions and indicating the dimensions of the structural elements. You also need to think about what building materials will be needed, and calculate their amount.
Tip: Usually a garden gazebo is installed behind the house, not too far from it. In this case, it will be more convenient to use it. In addition, such an arrangement makes it easier to bring all the necessary communications.
Next, let's look at how to build a simple rectangular structure with a hipped roof. The scheme for building a gazebo with your own hands in this case will look something like this:
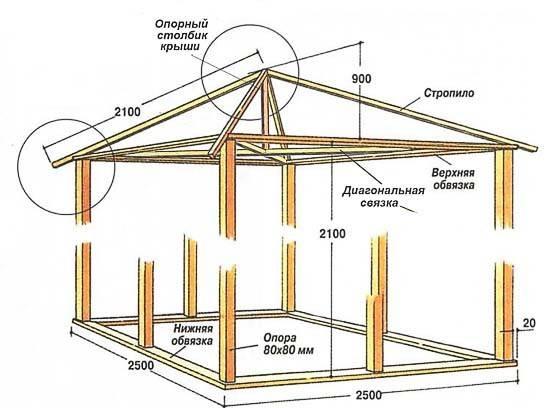
Diagram of a rectangular structure with a four-pitched roof
Erection of the foundation
Since wood is a rather light material, it is not necessary to build too strong a foundation under such a gazebo. It will be enough to build an inexpensive columnar. The method of erecting such a structure in stages:
- In the corners of the future gazebo and along the line of the walls, holes are dug under the pillars.
- A layer of rubble is poured and compacted on their bottom.
- Further, roofing material is installed in the pits, sewn into a tube.
- A small mesh reinforcement is inserted into this formwork.
- Then everything is poured with concrete.

How to build a gazebo with your own hands. Foundation pillars can be poured into roofing material formwork
Tip: It is advisable to pour an anchor bolt into each post from above. The lower frame of the frame will be attached to them.
How to build a gazebo in the garden: assembling the frame
The lower harness is made of 100 * 100mm timber. In the corners, the beams are connected using the "half-tree" method. Inside the strapping in the middle, across the corners, a lag is attached under the floors. A beam of 100 * 50mm is suitable for it.
The assembly of the frame continues by installing the racks. They are also made from a bar of 100 * 100mm. The corner ones are mounted first. In the upper part of them, you need to make cuts 50 * 100mm under the boards of the diagonal bundle. The latter are connected "in a half-tree" crosswise.

Do-it-yourself photo of the construction of a gazebo. Ready timber frame
Important: In order for the bundle to come out strong, at the intersection of the two boards, it is imperative to fill the bars of a small section (in each of the four corners).
Next, the bundle is fixed on the posts by inserting the boards into the cuts of the corner support posts, and fastened with nails. Then the upper harness is mounted around the perimeter. At the next stage, handrails of the railing from a board of 100 * 50mm are stuffed on three sides of the structure at a height of 90 cm from the lower strapping.

How to build a gazebo correctly. For the railing, a board of 100 * 50mm is used
This is how the rectangular frame is assembled. By the way, the question of how to build a hexagonal gazebo or an octagonal structure should not be raised for those who understood the principle of its construction. In this case, everything is done in about the same way, only there will be more corners and, accordingly, support pillars.
Installation of the rafter system
Next, we will consider how to assemble a gazebo roof frame. Do-it-yourself installation of the rafter system begins with the manufacture of a central support post. A beam with a section of 100 * 100mm and a height equal to the height of the future roof is suitable for it. It needs to be cut in the form of an octahedron and cut into it under two rafter legs.The latter are connected "in half a tree" at an appropriate angle, inserted into a column and fixed with nails.

How to build a gazebo with your own hands. Photo of the rafter system assembly process
Important: The length of the rafters should be such that, after installation, a cornice overhang is at least 40 cm long.
The assembled structure is lifted to the roof. It can be installed on corners and nails. At the next stage, the remaining two diagonal rafter legs are mounted. Then, four more intermediate rafters will need to be lifted onto the roof and secured.
Below we suggest you watch a video on building a gazebo with your own hands. Perhaps it will help someone understand the process of assembling the frame and rafter system of the hipped roof better.
Railing and roof sheathing
The railing can be sheathed with clapboard or ordinary edged polished board. On the roof, under the roofing material, a continuous crate is made. It is best to stick flexible shingles on it.
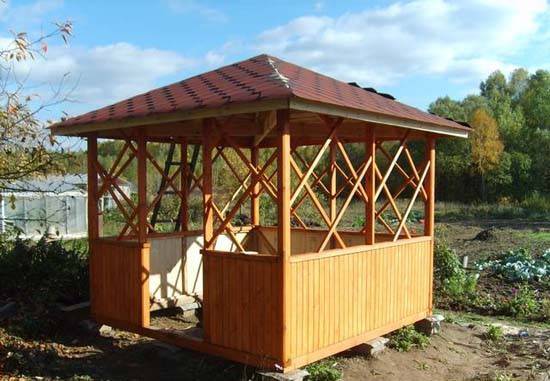
A small gazebo with a shingle roof
At the final stage, the floorboard is mounted and the ceiling is sheathed. On this, the construction of the gazebo can be considered complete.
Well, now you know how to build a gazebo with your own hands. In the video you can see how a small and even simpler and lightweight structure is assembled, also with a four-pitched roof:
Wiring
The minimum equipment for a summer cottage provides for conducted light and one or more sockets.
The main thing to focus on is the type of wires used. It can be round or flat cable
The second one is often of better quality and more durable, but has some nuances in installation and a rather big price. These nuances lie in the poor flexibility of flat wires. Accordingly, when placing them in the corners, the outer layer of the wire must be carefully cut at the folds. But still, most summer residents make a choice in favor of flat wires.
You should buy a cable with a margin of at least a meter, because design errors are almost inevitable. This will save time and avoid connecting different cables together, which can be unsafe.
When self-installing the wiring, no need to neglect the use of asbestos sheet. It is laid between the wire and the wall, which will serve as protection (although not one hundred percent) in the event of a sudden fire in the electrical wiring.
The cheapest and easiest way to conduct electricity is open. This means the wires will not be buried in walls. With a well-done work, this nuance will not spoil the appearance of the building.
First you need to draw up a drawing. It will describe in detail where and how the wiring will run. Next, with a pencil, you need to make markings on the walls along which the wires will be attached.
After that, asbestos strips are attached to the walls of the gazebo, and the cable is already laid on them
It is necessary to pay attention to the fact that the fasteners do not strongly pinch the wire, but also do not allow it to dangle.
Many self-taught craftsmen choose a very unsafe method of fastening: they simply drive nails into the wiring itself, attaching it in this way to the walls of the gazebo. In no case should you do this, because in this case, the likelihood of fire or short circuit increases many times.
After fixing the wires, the installation of sockets, switches and other elements follows. The opposite end of the wire must be connected to a separate machine and connected to the network.
Hidden wiring will require large material costs and more time to install, and the appearance will not change much. Therefore, all novice wizards give preference to the open type of posting.
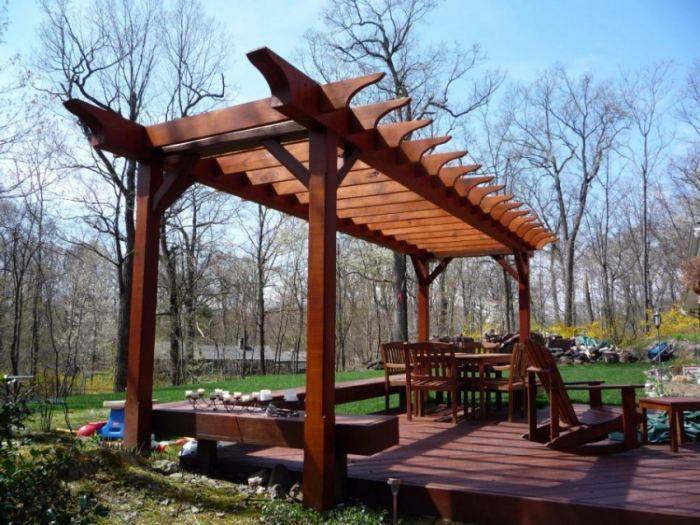
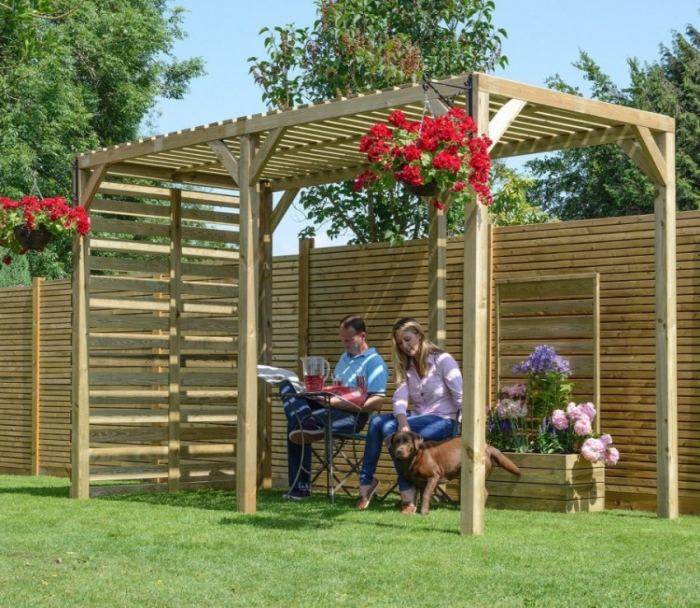
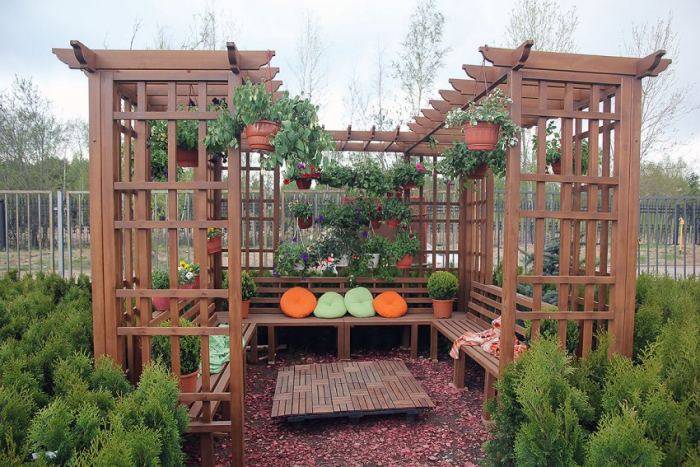
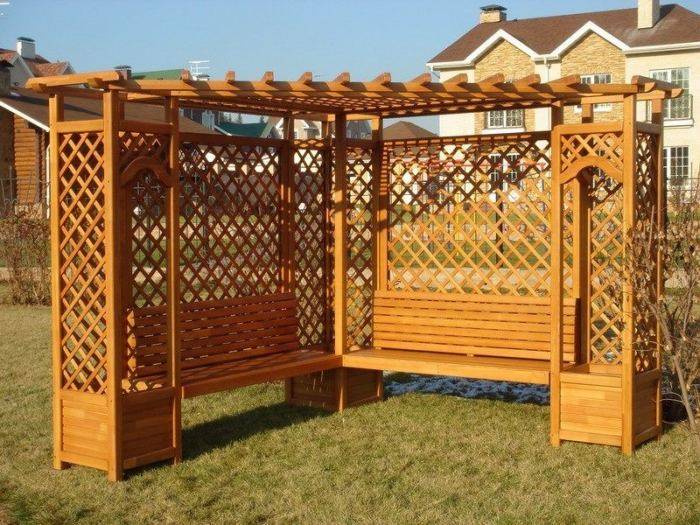
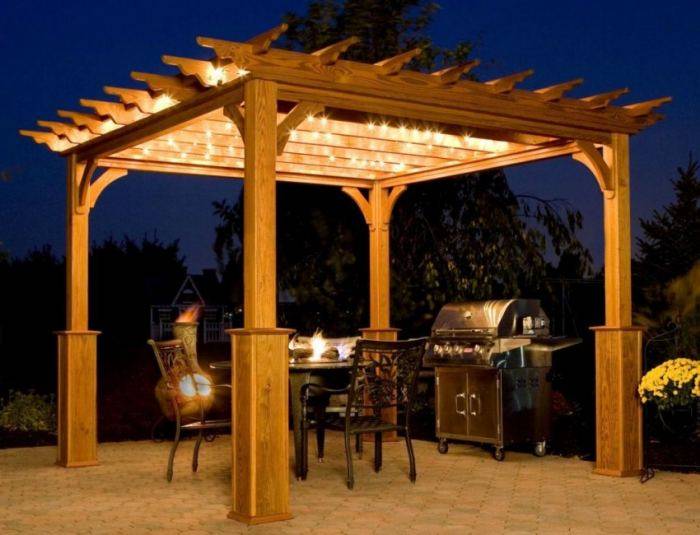
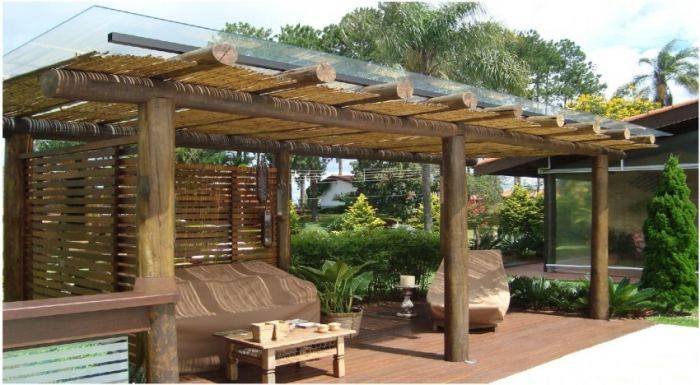
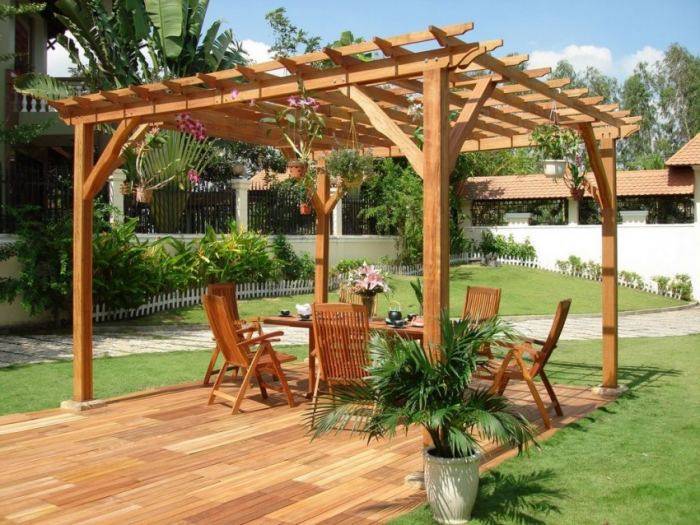
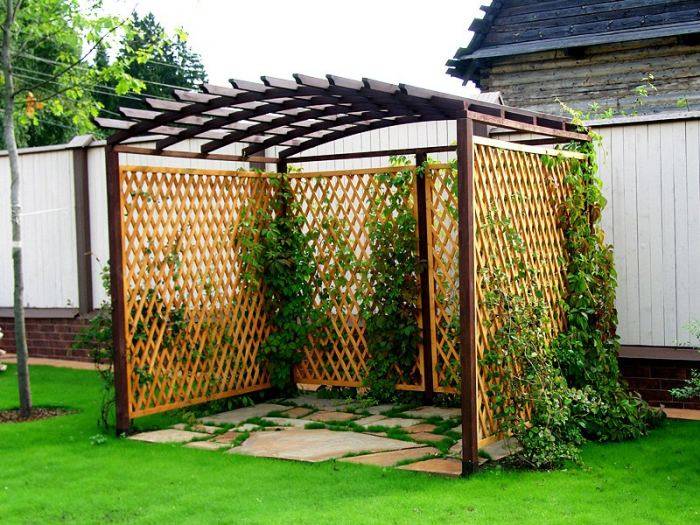
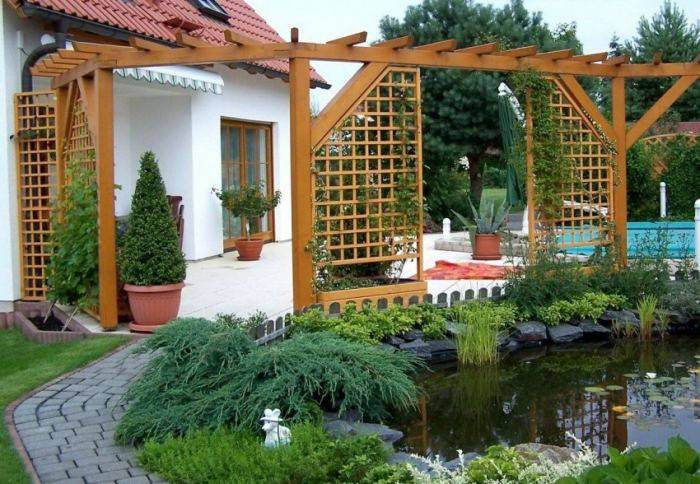
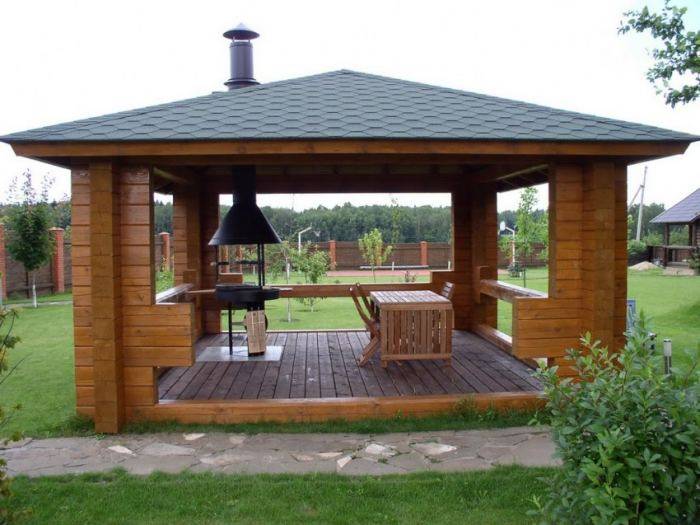
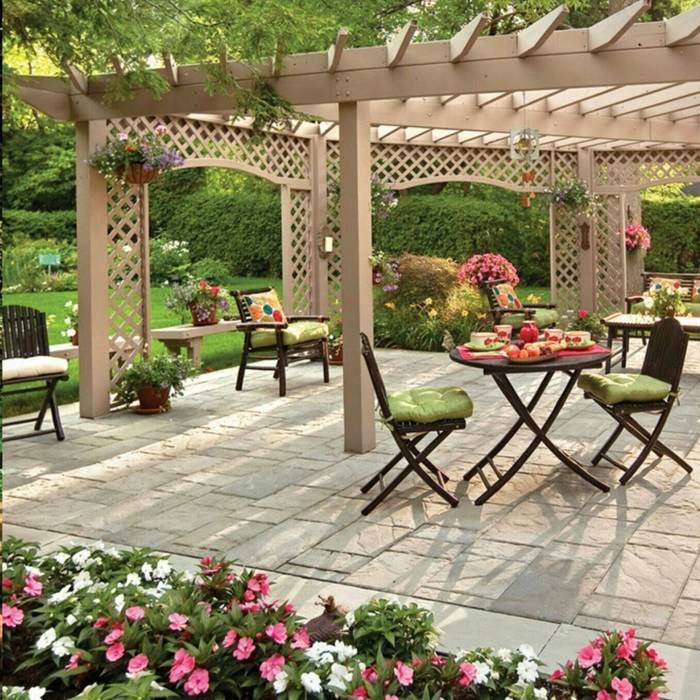
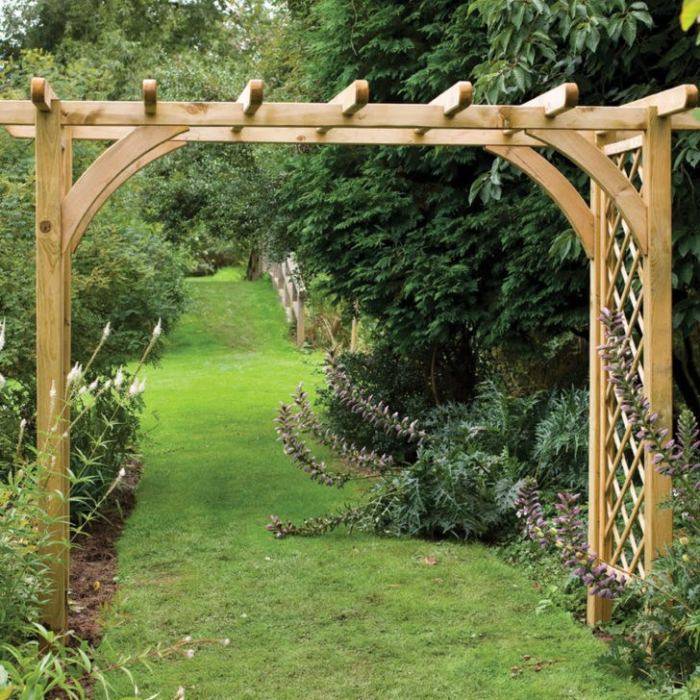
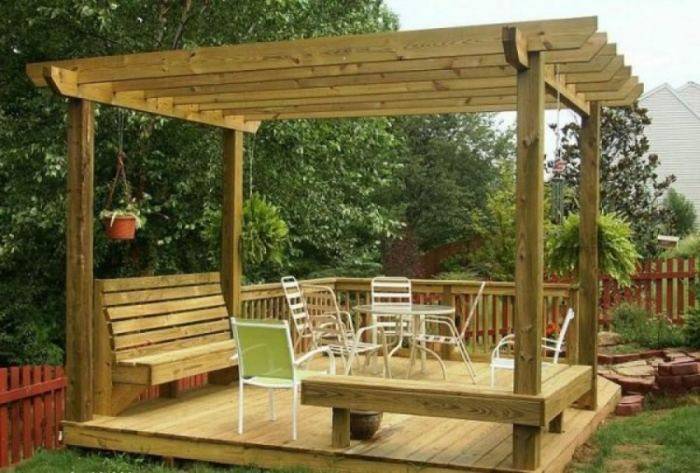
Diy pergola photo





We also recommend viewing:
- Brick tandoor
- Construction of a cellar for a summer residence
- How to make a gazebo roof
- House extension options
- What is cheaper to build a house from
- Hozblok for giving
- Construction of a bath from a bar
- How to make a dog enclosure
- Do-it-yourself canopy
- Examples of country cabins
- How to build a porch with your own hands
- Brick brazier
- Summer shower
- Toilet for a summer residence
- Construction of a summer kitchen in the country
- How to attach a terrace to the house
- DIY gazebo construction
- How to make a polycarbonate greenhouse with your own hands
- How to build a chicken coop with your own hands
- Do-it-yourself shed
- DIY barbecue construction
- Do-it-yourself rabbitry
- Reliable visor over the porch
- The best forged gazebos for summer cottages
- How to make a hanging chair
- Bath in the country
- DIY veranda construction
- How to build a garage with your own hands
- Construction of a patio in the country
- Construction of a gazebo made of wood
- How to make a winter garden
- How to make a greenhouse with your own hands
- How to build a gazebo with barbecue
- Modern polycarbonate awnings for a private house
- How to make a brick barbecue
- Instructions on how to make a dog kennel with your own hands
Construction of the foundation for the gazebo
After drawing up a drawing of the structure, a suitable place is chosen for its construction. This area should be level, open enough, away from sheds and country toilet. It is desirable that the place for the gazebo is on an elevation, then the foundation will be protected from flooding and dampness. After removing vegetation and large stones, markings are made for the foundation.
Arbor area
Column foundation for a gazebo
This is the simplest and most affordable foundation option. To make it you will need:
- shovel or garden drill;
- level;
- roulette;
- support pillars;
- cement mortar;
- fittings;
-
roofing material.
Support pillars should be located at the corners of the gazebo and under the load-bearing walls every 2 m. If metal pipes or log trimmings are selected as supports, the holes for them are prepared using a hand drill. The diameter of the holes is 10 cm larger than the diameter of the pillar, and its depth is approximately 70 cm. For pillars made of brick or cinder block, pits are dug with a shovel, giving them a square shape. The depth of such holes should not be less than 50 cm.
Columnar foundation made of bricks
Sand is poured onto the bottom, and then crushed stone, the thickness of each layer is about 10 cm. The metal pipes are cut into equal parts so that after installation in the pits they rise 15-20 cm above the surface. The metal is treated with an anti-corrosion compound and dried. They are lowered into the holes and aligned vertically. A piece of reinforcement is inserted inside each pipe, the length of which is 10 cm longer than the length of the post. Now concrete is poured into the pipes, and the space between the walls of the pit is clogged with soil and stones and tamped.
The process of the device of the columnar foundation
Instead of pipes, you can take dry, dense logs. They are treated with an antiseptic, and then coated with bitumen mastic and dried. After that, the supports are lowered into the prepared holes, tamped or poured with concrete mortar.
Construction of a columnar foundation
If blocks or bricks are used as pillars, the bottom of the pit is covered with a pillow of sand and crushed stone, a piece of reinforcement 70-80 cm long is driven in the center and the pit is filled with concrete solution to the top. When the concrete stands, its surface is covered with roofing material, and a brick or cinder block is laid on top. The reinforcement should be in the center of the post and protrude 10 cm above its surface.
Reinforcement of the foundation made of asbestos-cement pipes
Slab foundation
This type of foundation is perfect for a small round or square gazebo. The boundaries of the site are marked, after which the soil is selected to a depth of 40-50 cm.The bottom of the pit is leveled and tamped, covered with sand to a height of 10-15 cm, spilled with water and tamped again. Then crushed stone is poured with a layer of 15 cm and a reinforcing mesh of rods tied with wire is laid.
Slab foundation
Having retreated from the edge of 10 cm, vertical sections of reinforcement are fixed at the corners so that they protrude 15 cm above the foundation.A low formwork of plywood is installed around the perimeter, reinforced with spacers, and poured with concrete mortar.
Shallow strip foundation
Shallow strip foundation
This option is best suited for a spacious enclosed gazebo. On the site, the boundaries of the base are marked, denoting them with hammered pegs with a rope stretched between them. The width of the tape should be slightly larger than the thickness of the walls, usually 25-30 cm. The depth of the trenches is 50-70 cm, depending on the density of the soil. The bottom of the trench is covered with sand, then gravel or crushed stone, reinforced with a lattice of metal rods. The formwork is made low, enough for the foundation to rise 10 cm above the ground.
Arbor options
Metallic
Metal gazebo
Arbors with a metal frame are easy to assemble and highly durable. The frame can be sheathed with clapboard, polycarbonate, corrugated board, or forged gratings can be installed around the perimeter. For the manufacture of the frame, shaped pipes with a wall thickness of 2 mm or more are usually used. Structures are divided into collapsible and welded, depending on the method of installation. In collapsible arbors, the elements are bolted; when cold weather sets in, such frames can be easily disassembled and stored in a dry room until spring.
Arbor garden metal collapsible
The installation of the welded frame is much faster and requires less effort: the transverse rail and the roof frame are simply welded to the supporting posts. The disadvantage of metal arbors is their susceptibility to corrosion, so each structural element must be primed and painted.
Brick
Brick gazebos
The gazebos laid out of bricks look solid and very attractive, practically do not require maintenance, and are very durable. Buildings made of decorative bricks entwined with climbing plants look especially stylish. Such gazebos can be open and closed, round, square, hexagonal. Since brick is a non-combustible material, it is in such structures that built-in barbecues and barbecue plates are made.
Brick gazebos
Wooden
Wooden gazebos
Wooden gazebos are probably the most popular. For construction, they use timber, logs, boards, chipboard and plywood, even strong rods. The technology for assembling a wooden frame is quite simple and straightforward, so anyone can do it. For wooden elements, treatment with antiseptic primers and a protective coating in the form of varnish or paint is mandatory. Additionally, it is recommended to use fire retardants, especially if there is a barbecue nearby.
Combined
Combined gazebo
The combination of various materials when building a gazebo is also not uncommon. Sometimes this is due to savings: after a major overhaul or construction, bricks, steel pipes, boards remain, which, individually, will not be enough for a whole gazebo. In other cases, the reason for such a decision is the desire to dream up and create something exclusive, but most often materials are combined to simplify the construction process.
Other differences in arbors include the shape and type of construction. They are rectangular, hexagonal, octahedral; by type are divided into open and closed. The roof of the gazebo is also mounted in various versions: it can be single-pitched, gable, pyramidal or multifaceted.
How to find the right place
When considering where to start, it is important to find a really suitable place for the gazebo. The comfort of being inside will depend on him.
Choosing the right point on the site, you should take into account the following points:
closeness from "superfluous" views.So that you can have a good rest and have fun for your pleasure. It would be better to build a gazebo away from neighboring plots only if there is no stone fence;
ensuring the minimum improvement. This point is optional. But many people often cook right in the gazebo. For example, salads for kebabs and so on. At least water can be brought here;
distance from home. Rarely does anyone sit in a gazebo just like that. Often, staying there is associated with a vacation with the whole family or just with a group of friends. Therefore, it will be better to build a gazebo closer to home;
installation of a barbecue or fireplace. An open fire can be allowed in a wooden gazebo, although not desirable. A summer gazebo will be made of metal or not, you should always remember about safety
It is important to always consider the direction of the wind in order to eliminate the risk of ignition from even a small spark.

Having chosen a suitable place, it is required to immediately prepare it in stages for the start of construction work:
- Clear the area of grass.
- Level the ground.
- Think over the drainage system.

