We create Roman shades - an algorithm of actions
How to make roman blinds with your own hands if you do not have a similar experience? The answer is simple. Follow the instructions and the result will not upset you.
Step 1. Measure the length and width of the window opening. Add additional centimeters to the result obtained, they are necessary for processing the side seams. This is 5 cm from each side and approximately 12 cm from the bottom and top of the curtain. In order to calculate the dimensions as competently and accurately as possible and calculate the number of folds, you should use a table that contains the data: window height - number of folds - distance between folds. Imagine that the length of the window has a value in the range of 145-220 cm. This means that with this length of the window, the number of strips will be 7. If the length of the window is still greater than the proposed dimensions, the number of folds will increase to 8. Thus, this the table will allow you to determine the size of future curtains as accurately as possible.
Step 2. Mark the boundaries. This must be done only after the dimensions of the fabric are determined. Next, mark the lines on the seamy side of the fabric. This will be the place for the folds. Crayons or dry soap residues will help you with this. Here also mark the places for the intended rings. This step should be done with a high degree of accuracy.
The marking of the seams, and, consequently, their processing will be more accurate if the fabric is first ironed out.
If it happens that the fabric you have chosen has a width smaller than the width of the window, then you can sew several fabrics.
Step 3. Finish the lateral edges after measurements have been taken. This must be done in a standard way.
Step 4. Secure the top bar. To fix the bar on which the curtain will be held, it is necessary to nail the adhesive tape onto the wooden base with the help of small nails. In addition to nails, a construction or furniture stapler will do an excellent job. An important step is when you need to attach another sticky tape to the top of the fabric. This will help in the future, without much difficulty, remove the window decor element at any time.
Step 5. Sew the bottom of the fabric so that a heavy bar can easily pass through the folded opening.
Treat the upper part of the canvas in the same way if you plan to use an ordinary cornice. The first seam should be made 1 cm from the edge.
Step 6. Sew the hem from the wrong side of the fabric. You will end up with the so-called "pockets". If this is done correctly, the wooden planks will slide into these pockets with little effort. For the drapery to be beautiful, the folds must be identical in size. Divide the length of the fabric by the number of pleats you want. The resulting distance is centimeters through which the gaps for the rails will be sewn. For pockets, you can use thick ribbons, wide braids, or even fabric folded several times.
Step 7. Sew on the rings. This must be done manually. Nail the rings to the wooden plank. The most successful curtains are considered, where the rings are located symmetrically relative to the middle at a distance of 5 cm from each other.
Step 8. Lock the curtains. To do this, connect the sticky parts and attach the fastening piece to the window. Pass the cord through the rings, moving from bottom to top. In this case, the cord on the lower ring should be tightly tied. You can also saturate the end of the cord with glue, then tie a knot and secure it tightly to the bottom ring. This step will prevent it from becoming loose during operation and will securely fix the entire product.
Step 9. Pass the cord through the top row of rings. After the cord reaches the very top, do this action with all the existing rings. Ideally, there will be three ropes on one side.Pull them off. The folds on the fabric should be even across the entire width, distribute them if necessary. If all operations have been carried out, use tapes and straps to fix the resulting folds.
Step 10. Attach the plank to the window frame using the fasteners. Remove retaining tapes or braid. When the curtains come down, line them up and tie the cords in a knot.
Step 11. Pass the cords through the fabric lifting handle. Tighten another knot. The distance between them should not be less than 45 centimeters. Cut the end of the cord that remains below the second knot.
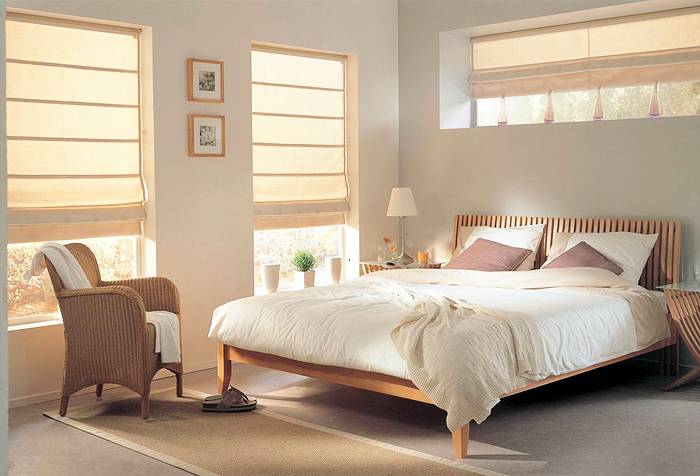
Choice of fabric
Before you start sewing, you should competently approach the choice of the main hero of the occasion - fabrics for curtains. Before going to a sewing or hardware store, we advise you to decide exactly what you want to achieve from placing such a curtain.
Light transmission
Its light absorption depends on the thickness, material, and other parameters of the fabric. The lightest and most "airy" materials like satin can almost completely transmit light (white) or perform only the function of protection from prying eyes (more contrasting colors). Medium fabrics are a compromise between full light penetration and full protection, moreover, with the right choice of fabric color, your curtains will fill the room with a pleasant dim light.
The thickest curtains allow you to almost completely exclude the penetration of sunlight through the fabric. However, due to the peculiarities of the Roman shade (loose fit to the window), it will not be possible to ensure complete "tightness" from the light during the day - the light will break through the cracks. If you are ready to spend money on sun protection - ask the consultant in the store if they have fabrics with a special light-absorbing coating. Curtains made of such fabrics provide their wearer with protection from the sun around their entire perimeter.
Colour
The color that you will use when sewing curtains for the window should be in harmony with the interior of the room. If you have the same style in your room, it will not be difficult to choose a fabric, it is enough to determine a number of harmonious colors and buy one or several segments
However, a room with such a design is an ideal option, often each room is individual and unique, and it is important to spoil the bright atmosphere (for example, in the children's room) with dull colors, and more restrained (for example, in the hall) - too bright.
If you want to use curtains for the bedroom, hall, dining room (the place where you spend the most time), it is worth considering that colors affect your mood. Green and blue are soothing, yellow is fun and invigorating, and black or red can cause anxiety.
But these rules are not universal, and if you are equipping a bedroom for a child or husband / wife, it will be much easier to ask them personally what color they like.
Other
It is necessary to measure the dimensions of your windows before you go to the store. It is better to take fabric with a margin - even when measuring the window with a laser tape measure, there is a certain error. There is also a possibility of mistakes when sewing. In some cases, a damaged piece of fabric may not be suitable for curtains, and there will be no other piece of fabric at hand. And do not forget about the reliability of the fabric - if you plan to hang curtains on a two-meter balcony door, it is better to be sure that the selected fabric will withstand such a load.
Despite the fact that Roman shades do not tolerate redundancy in their design, a few decorative ribbons around the edges will not harm them. The main thing is to correctly combine the colors of the decorative elements and the main array. If you do not know how correct the colors were, consult the seller or take a look at the color wheel. It allows you to quickly and easily determine the combination of certain colors and shades.
What to make of? The choice of material for the curtains

The texture and colors of the fabric should overlap with the design of the room. For rooms in "antique" style, cotton, linen or burlap-like fabrics are suitable.
For modern and hi-tech, it is better to choose unusual, shiny, space fabrics.
The consumption of material for their pattern is small
Therefore, you can pay attention to even the most expensive design materials. They will look gorgeous
Pay attention to the transparency of the fabric. If you want to let the sun's rays into the house as much as possible, but at the same time hide the situation from prying prying eyes (this is very important for residents of the first floors), choose a translucent material
If you want to protect yourself from the sun as much as possible, look for a material with a special impregnation - black out. They are absolutely opaque and do not fade even in bright sun.
If you prefer naturalness to technological progress, choose fabrics of mixed composition. They consist of natural linen, cotton and silk with minor amounts of synthetic fibers. The threads are selected in such proportions so that the finished fabric is as beautiful and easy to clean as possible.
Roman blinds can be single or double. Single ones are best made of light translucent materials that transmit light well: tulle, veil, organza. It is advisable to make doubles from dense fabrics in order to prevent burnout of the inner layer.
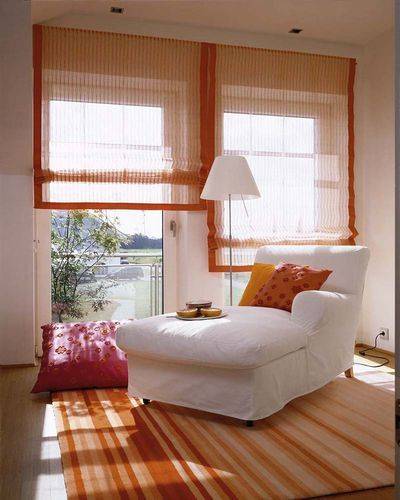
The photo below shows a single translucent organza curtain
Pay attention to the perfect combination of styles, colors and textures
And, of course, it is very important to choose the right color and pattern. They must definitely match the design of the room.
A universal option is plain fabrics. They will fit into any style. Abstract paintings perfectly complement avant-garde styles, and floral motifs - rustic style, country or Provence. And variations on a gastronomic theme will be appropriate in any kitchen, regardless of style.
What are they?
There are several types of Roman blinds. The mechanism of their work is the same, only the appearance differs when placed on windows, and the peculiarities of creation.
- Classic
Cloth of fabric of any kind. When unfolded, it remains smooth, showing its pattern and color, while covering the window. When closed (when lifted), it becomes covered with horizontal folds to a certain level. The classic look is used most often, as it is unpretentious to use and quite easy to sew with your own hands.
- Cascade
An analogue of the classical version, however, in this case, the fabric in the open state is folded into uniform folds. As it rises, it forms wider and thicker folds, creating a semblance of a cascade.
- Without frame (soft)
It was these curtains that were used in antiquity. Their difference from the previous ones lies in the way they form folds during lifting. In this case, the fabric gathers unevenly - in the center and on the sides. Frameless curtains in a standard design (plain translucent or transparent fabric color) are suitable for classic interiors and plain rooms.
If you wish, you can place several types of such curtains on your home windows at once. But be careful! You should not combine several types in one room, as well as pile up curtains wherever you want. A roman blind should only emphasize the interior and laconically fit into it, and not occupy the entire space.
What is it?
Roman is called a curtain with a special design, which does not have draperies, but is opened by folding the fabric into folds with the help of cords and slats sewn into the cloth. They are suitable for office windows and home windows, for modern hallways and kitchens. Will fit into any environment with the right color selection.
When unfolded, it looks like a canvas that covers the entire opening of the window. When folded, folds gather at the top of the window and do not interfere with enjoying the daylight.
There are two types of such curtains:
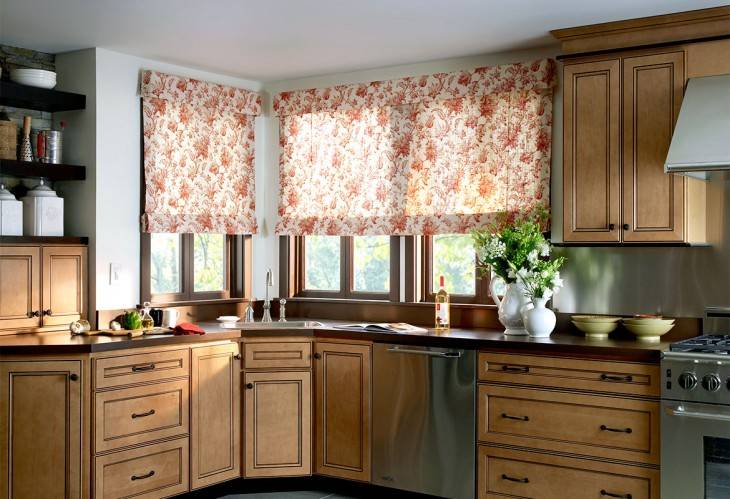
simple. In the closed form, it is a straight, even canvas; in the open, it is even uniform folds, which are superimposed on one another. They have a completely simple look, but it is because of this that they fit perfectly into any interior. These cannot be wider than 1.5 m. If the window is larger in size, then it is necessary to decorate it with several such canvases.

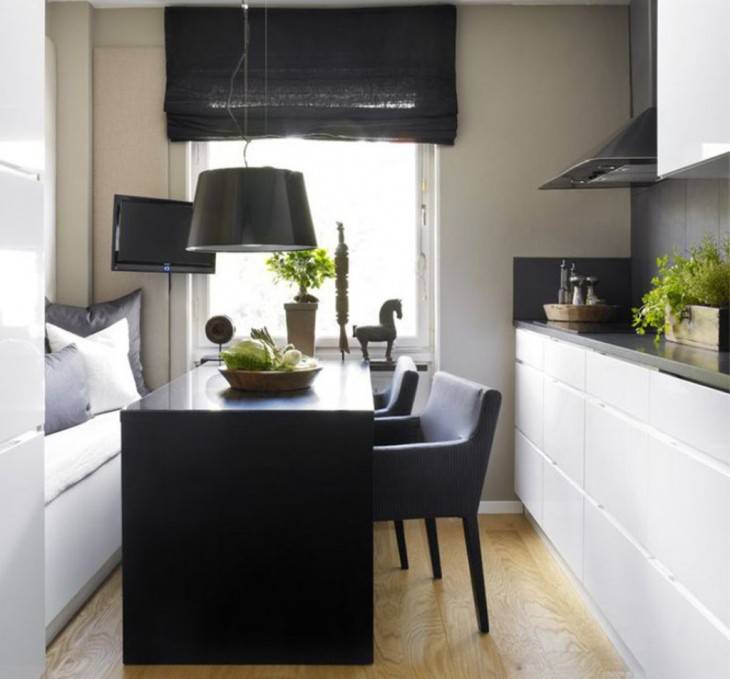
Plain Open Roman Shades for Modern Kitchen
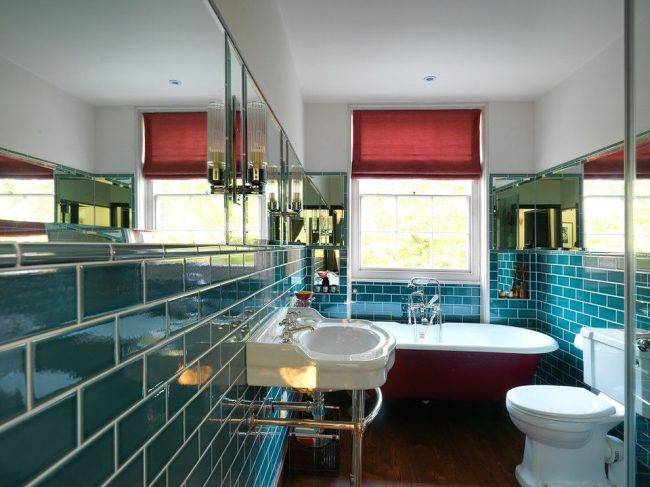
Original bathroom with simple roman shades to match the bathroom
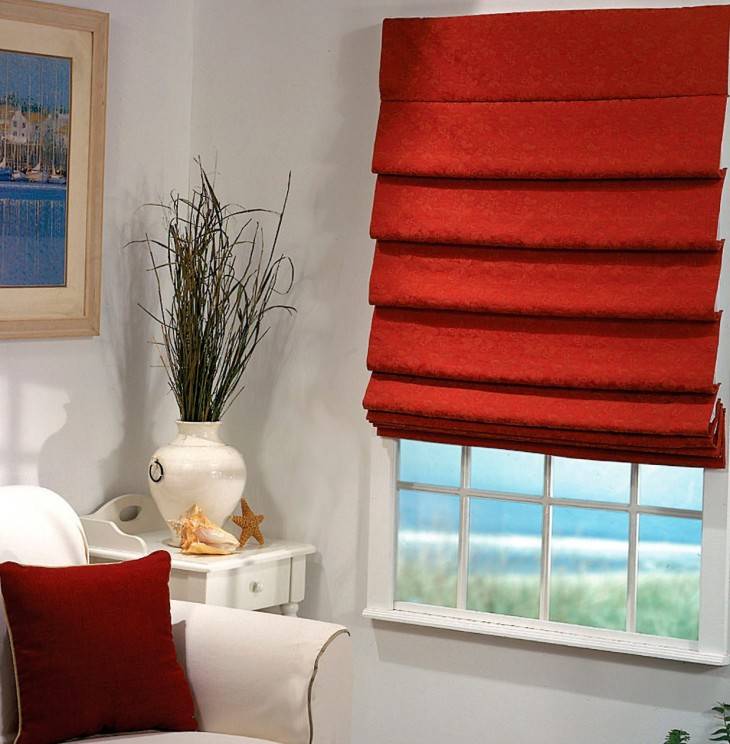
Cascading. These do not align completely even when unfolded, creating an elegant cascade.
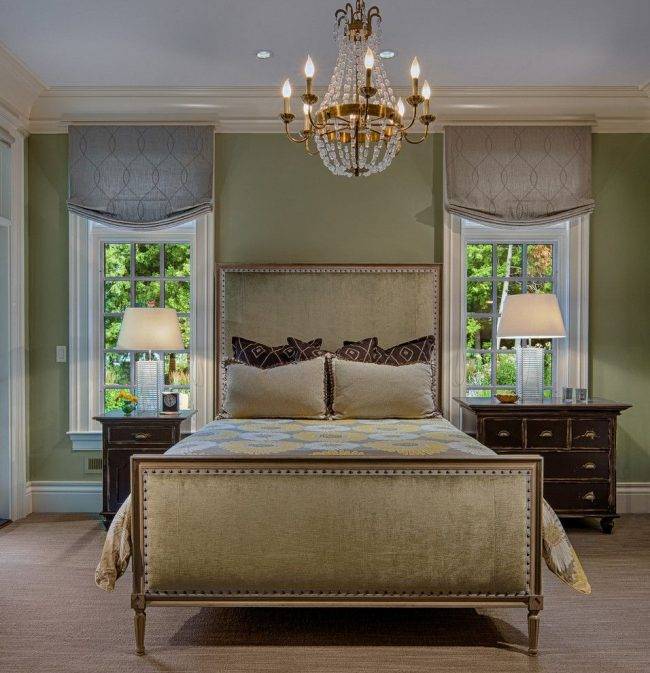
Cascading Roman blinds with fastening over the window opening in the interior of a classic bedroom, finished with materials of noble colors and shades
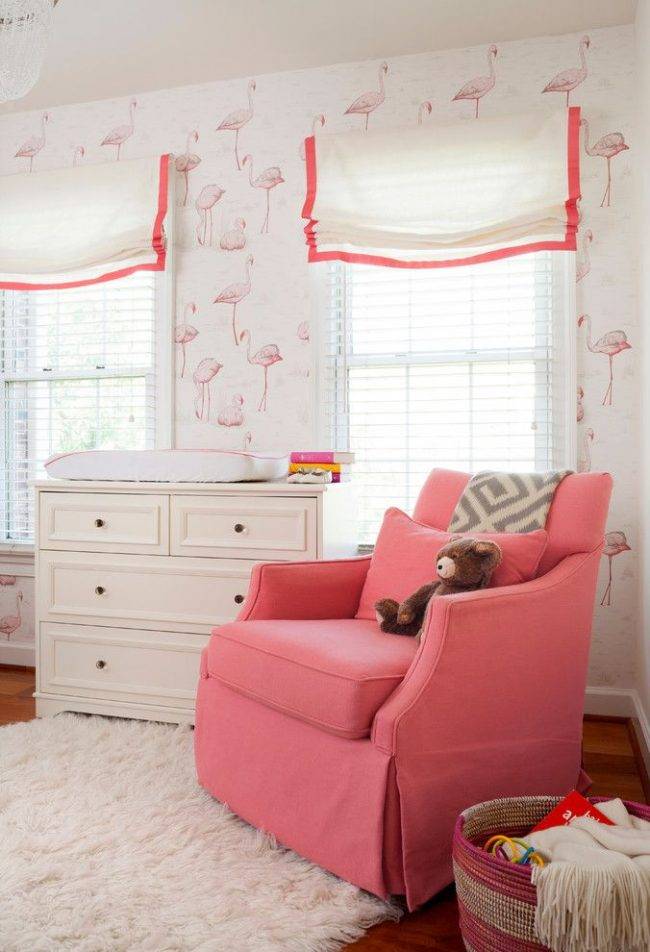
Cascading Roman blinds with attachment to the window frame in a delicate white and pink tones, suitable for decorating a girl's room

Roman shades with cascading folds when folded for a bright beach style room. The peculiarity of the interior is the use of natural materials for decoration
Necessary materials
After determining with the color scale, density and texture of the fabric, it is necessary to stock up on the necessary tools and aids for work.
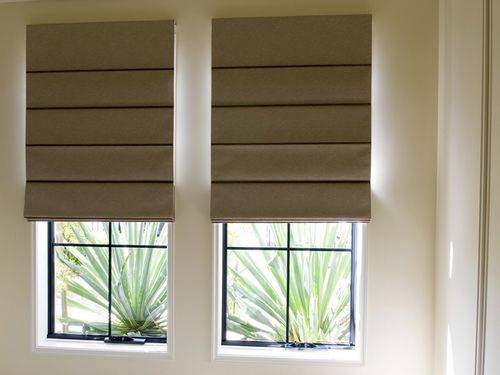
You will need:
- The fabric is the right size.
- Two beams made of wood, which correspond in length and width to the size of the future curtain.
- Special slats that will be the basis of the assembly. They can be both metal and wood. Their number will be equal to the desired number of assemblies on each curtain.
- Weighing agent for the lower part of the Roman shade.
- Velcro tape to match the curtains.
- Cords with fasteners.
- Metal or plastic rings through which the cord will be threaded.
- The finishing material for the lower part of the curtain is braid, tape.
- Auxiliary tools: stapler (furniture), corner fasteners, hooks, miniature nails.

The number of gathers on the fabric can be selected based on individual preferences, affecting the distance between them.

Let's start sewing
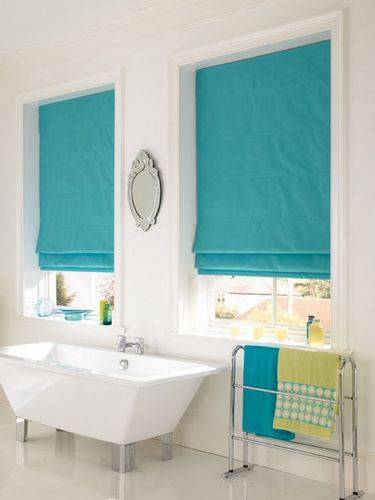
The manufacturing process is not distinguished by an increased level of complexity. But a step-by-step guide for beginners will make the task much easier.
The most important task is to take the correct measurements. We add additional centimeters to the length and width, focusing on the table given at the beginning.
Make a drawing on the seamy side of the fabric, marking both the borders and the assembly lines. Also, the markings should reflect the location of the rings. Thorough drawing will help to avoid mistakes, therefore such preparation is of great importance for the final result.
Pay special attention to symmetry in the markup of assemblies. Otherwise, the design will be significantly disproportionate.
Side edge processing
The method can be any of the most convenient. Typically, standard stitching is used.
Use the studs to fasten the Velcro tape to the curtain strip by nailing or stapling it. Fasten the second part of the tape to the inside of the fabric at the top. This design will allow you to quickly and easily remove and install the curtains.
Process the bottom of the fabric so that the weighting agent is placed in the formed pocket.
The next step is to make the pockets for the slats, which must be the same size. This is necessary for a correct and beautiful assembly. Such work is performed on the seamy side of the curtain.
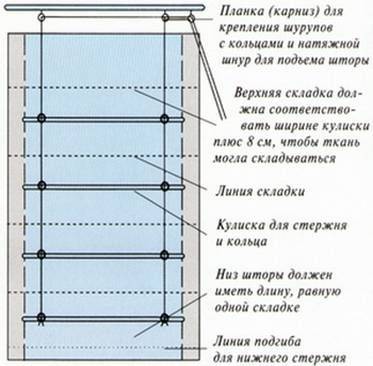
After the pockets are made, it is necessary to fasten the rings. They should be located on the base, the distance between the rings is equal (about 4-5 centimeters). You can understand the manufacturing principle according to the following scheme:
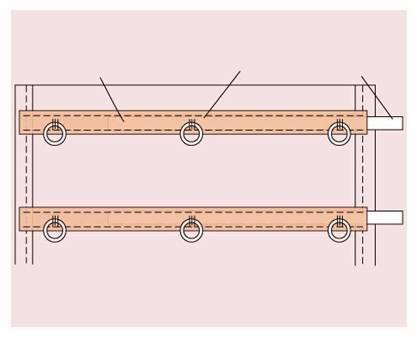
We fix the curtain on the prepared base. After that, we proceed to threading the cord, previously fixed to the frame.It must be passed through all previously sewn rings and fastened with knots on them, the starting point is the bottom of the curtain. The lifting mechanism can be installed from either side, it is to it that the cords need to be led. It is most convenient to mount it on the wall to avoid the curtain falling.
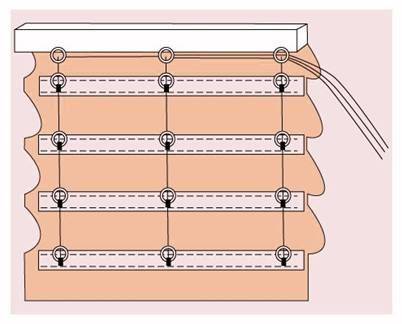
- The cords threaded through all the rings should be led out to one corner, as shown in the diagram. The ends of the cords are pulled together and the folds are straightened.
- At the last stage of installation, it is necessary to fix the main beam on the window and fix the cords with an additional knot, choosing the required assembly level. Extra centimeters of cords can be trimmed.

Roman blinds are convenient and relatively easy to manufacture, and a detailed study of the algorithm and schemes will help to achieve the desired result many times faster. If the desire to make beautiful curtains is great and the difficulties do not frighten, then everything will definitely work out!
Features of the choice of fabric
Before going in search of fabric, we recommend that you study the features of the choice. This will help you find the most suitable option based on your own preferences.
First, it is worth paying attention to how much the fabric is stretching. Remember that highly stretched fabric will quickly lose its appearance and will only spoil the interior.
Curtains made of fabric with a fairly dense weave look much better. It is believed that this is an ideal option, since such products have high wear resistance and their appearance does not change over time.

The next thing to consider when choosing is the presence of a print. The fact is that recently, Roman blinds made of translucent fabric have become popular. Due to this, the very lightness and tenderness in interior design is created. But if you wish, you can opt for denser options. In this case, plain fabric is suitable for laconic, minimalistic rooms. In turn, fabric with a multi-colored pattern is more suitable for classic designs or Provence style.

It should also be borne in mind that for sewing Roman curtains, you need to purchase not only the main dense fabric, but also the lining. Due to this, the drapery fits better, and the fabric does not fade outside. The only exception is tulle curtains, since they are thin enough and the lining will be inappropriate.

Step 1. Making measurements and cutting the fabric
To cut the fabric, you need to measure the window opening, but first you need to decide how you want to hang the curtains:
- Inside the window opening - in this case, the finished curtains should be 2 cm narrower than the window opening. That is, if, for example, its width is 150 cm, then we need ready-made curtains 148 cm. To the desired width we add 6 cm to the hem along the edges and get the width of the fabric cut 154 cm. The length of the cut is calculated as follows: subtract from the height of the window opening 2 cm and to this number we add 3 cm (on the bottom hem) and the height of the cornice (usually 4 or 2 cm).
- Above the window opening - in this case, the measurements of the window must be done in the same way as for ordinary curtains, but we measure the fabric for cutting according to the following principle:
- Width of the fabric cut = desired width of the finished curtain + 6 cm hem allowance;
- The length of the fabric cut = the desired length of the finished curtain unfolded + 3 cm of the bottom hem allowance + the height of the cornice (you need to measure it, usually it is 2 or 4 cm) + a couple of centimeters so that you can wrap the cornice, and there was no ugly cut of the fabric it is seen;
According to the obtained measurements, we cut out the fabric, and then iron it.

Caring for Roman Shades
Roman shades generally do not need to be washed frequently. If you suddenly find that they are very dusty or have a grayish tint, it is enough to vacuum them. Are there any traces of dirt? Remove the Roman shade from the curtain rod, take out the weighting material and the slats and run them in the washing machine in the “delicate” mode at 30 degrees. If the machine does not help, contact the dry cleaner.
Never unscrew the curtains or wring them out in the washing machine. It's not even about the ugly folds, which will spoil the look of the Roman, but about the damage to the fabric. This is especially true for tulle fabric, which is thin enough to simply tear from such exposure.

To dry the curtain, gently wrap it in terrycloth and leave it on for a while. In this regard, caring for thick curtains is extremely inconvenient: if a thin fabric dries quickly, a thick one will have to spend a few terry towels. Never dry curtains on heating devices or in the sun. In this case, you run the risk of severely ruining the fabric.

Join the discussion! We would be interested to know your point of view, leave your opinion
Master class: how to sew yourself?
In this master class, step by step sewing of a curtain, consisting of one canvas, will be described.
There may be several towels. In this case, each piece of fabric will need its own curtain rod. Sewing such a product is much more difficult. Therefore, if you are sewing it yourself for the first time, start with a single model.
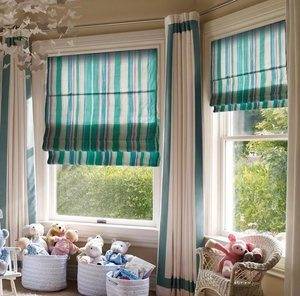
Materials (edit)
- Textile. The double curtain will also need lining material.
- Velcro tape. Its length corresponds to the width of the curtain.
- Frame rods. They can be plastic or steel. Their diameter is about 5 mm, and their length is 3 cm less than the curtain width. They will need 7 or 8 pieces. It is ideal to find special plastic curtain rods. They are sold in curtain shops or tailoring shops. You can buy a whalebone, which is sold in sewing stores and is used for sewing underwear. It will have to be pre-straightened by heating with an iron, or by putting it under a press. If you don't find any of this, you can take a regular stainless steel wire. But it is not very comfortable, since the sharp edges can easily damage the fabric. You can also use round wooden blocks.
- Plastic rings with a diameter of about 1 cm - 10-12 pieces.
- Nylon cord. You will need three cuts equal to two lengths plus one curtain width.
- Weight bar.
- A wooden block that will act as a cornice. You can use a ready-made cornice with a lambrequel strip already attached.
- Screws and hooks on the screw foot.
Pattern and step-by-step instructions, we sew on our own
Measure the window opening. To the width of the opening add 5-7 cm on each side to the seams, and in height - 10-15 cm.
Prepare the fabric for cutting. To prevent the curtain from shrinking during further washings, "plant" it in advance: soak it in warm water, dry it and iron it with an iron. It is not necessary to wash the fabric in a typewriter, since without processing the edges can crumble strongly, and the fabric itself can be stretched diagonally.
Spread the fabric flat on the floor or table. Draw a small outline of the future curtain. Mark the folds immediately
It is important to respect their dimensions exactly. This is one of the main secrets of tailoring.
Dimensions and quantity depend on the length of the curtain and are shown in the table.
We mark the lines of the folds and the place of installation of the rings - holders for the cord. The resulting pattern will look like the picture.
Finish the sides by folding the fabric twice. Watch the thread tension. The line should not tighten the material, otherwise the finished product will bulge ugly.
Attach Velcro tape to the underside of the curtain rod. This can be done with glue, a stapler, or screws.
Fold and finish the top edge. Sew the second piece of Velcro to it. This is done so that the finished rim is easy to remove from the cornice and wash.
We process the bottom edge. Make a "pocket" on it, in which the weight bar will be located. A thin wooden beam or a piece of aluminum profile can be used as a weighting agent. If the fabric is translucent, paint the bar in the desired color in advance.
Sew on the decorative tape from the inside out. Make twig pockets at the same time. Insert the rods in their places. Be careful not to let them catch or pull on the curtain fabric. Sew the pockets on one side. With the second, you will take out the rods when you remove the curtain for washing.
Sew on the rings by hand according to the markings. To fix the lifting mechanism, three rings must also be placed on the cornice. Do this with regular screws or hook screws. The rings should be symmetrical about the middle and at least 5 cm from the edge.
Attach the curtain to the eaves using the Velcro.
Thread the cords through the rings. To do this, tie them in a knot around the bottom rings. For reliability, you can fix the result with glue. Then, from the bottom up, go through all the rings, including the topmost ones. Pass all the cords through the top row of rings to one side.
Pull all the cords, straighten the tabs on the curtains. Secure the pleats with ribbons.
Attach the curtain rod. Untie the braid and lower the shade. Equalize the tension on all cords and knot them behind the outer ring.
Pass the cords through the shade lifting handle. Tie the second one at a distance of 40-50 cm from the first knot. Cut the remaining free ends of the cord. To prevent the edges from crumbling, you can melt them over the fire.
Fastening curtains
When the product is ready, one more important question remains, namely: how to hang a Roman blind? It is very simple to fix it with your own hands. There are two ways to do this. Choose the one that seems to you the most convenient and acceptable for your room.
The first method consists in fixing the product directly inside the window opening so that the fabric is as close to the glass as possible. This method is suitable for kitchens and living rooms with large window sills, because when the curtain is lowered, the window sills can be used for various purposes, for example, as a small table. Also, this method is suitable if you want to use a tandem of Roman shades and fluffy curtains.
According to the second method, the curtain is attached above the window and extends 5-10 cm from each side of the window on the sides. This option is needed in order to freely ventilate the room without raising the curtain.
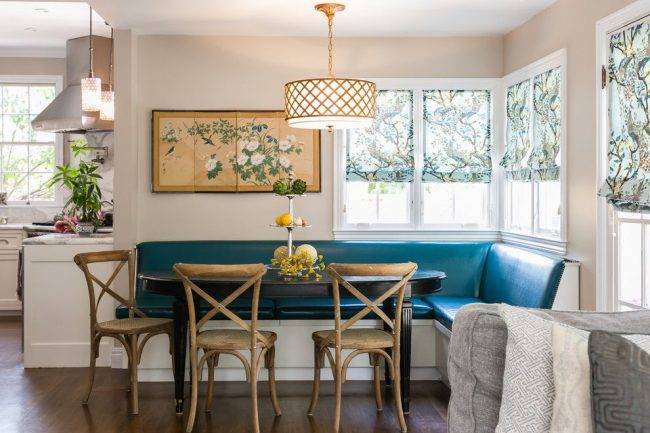
Sewing Roman curtains for the kitchen
The easiest ways to make curtains for beginners are light rustic kitchen curtains. For sewing them, it is better to take cotton or blended fabric.


Even an inexperienced seamstress can handle further actions:

Sew two trims along the long side of the fabric to the seamy side: we will insert a braid or tape into them, with which the curtain will rise up.

Calculate the distance between the slats yourself, departing approximately 1 / 4-1 / 5 of the total width of the window opening from each edge.
Hem the sides, them and the top, make a hem for attaching the curtain to the eaves, first passing the tape into the strip and securing it at the top. The ribbon needs to be folded in half, leaving a free end at the bottom for tying a beautiful bow.

It remains to fix the curtain on the cornice. Using the tape, raise the curtain to the desired height, tie a bow.

Choosing a fabric

A trendy New York living room with vibrant, harmonious color combinations on Roman shades
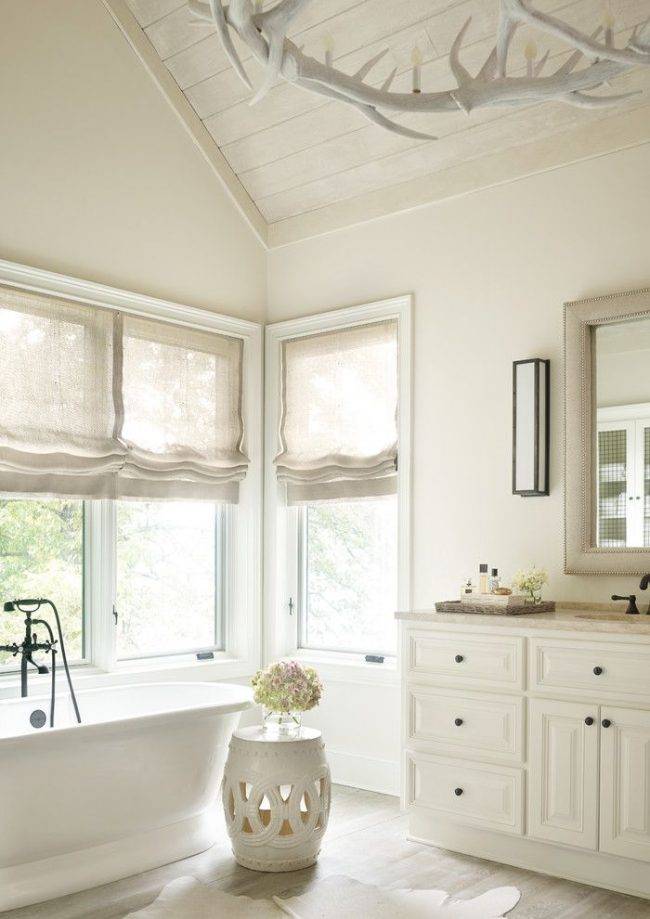
Linen curtains for a light-filled bathroom in Atlanta. Window arrangement of each curtain, saving fabric consumption
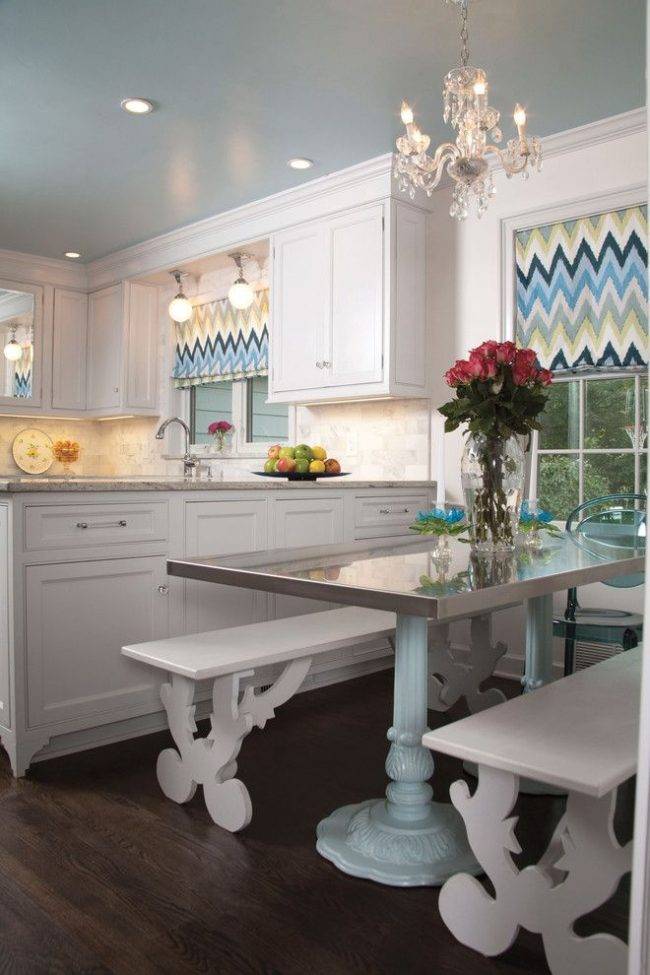
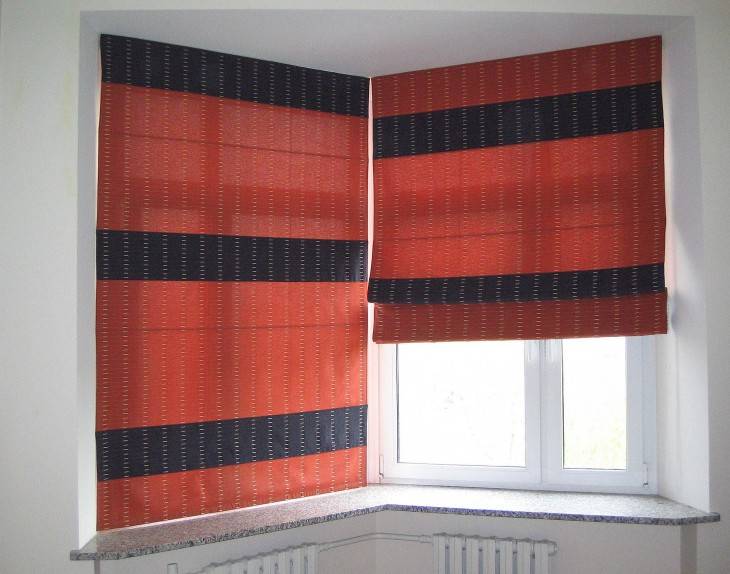
Geometric pattern on Roman blinds in the interior of a traditional kitchen
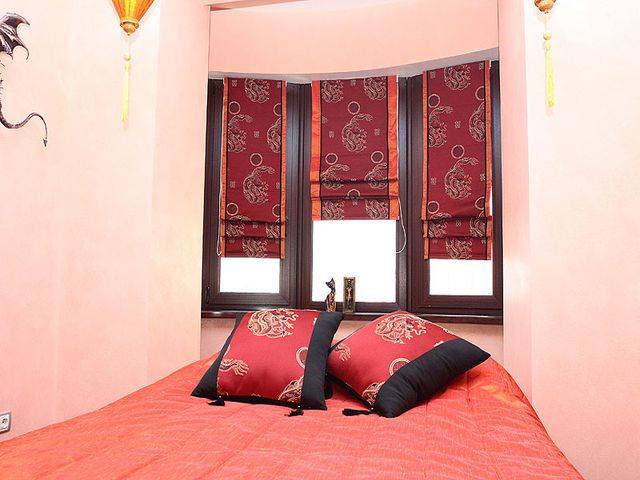
Silk Roman shades with Asian motifs

Before you sew such a curtain with your own hands, you need to choose the right fabric and accessories. The most important criterion for a fabric is that it should not stretch. The ideal solution is fabrics with a dense weave. This is due to the peculiarities of sewing - there will be a weighting agent below. It forms tension when unfolded. If the weaving is weak, then over time, the curtain will stretch.

Elegant interior with designer interior items. Thick fabric and a weighting material sewn into the bottom of the curtain create tension when unfolded
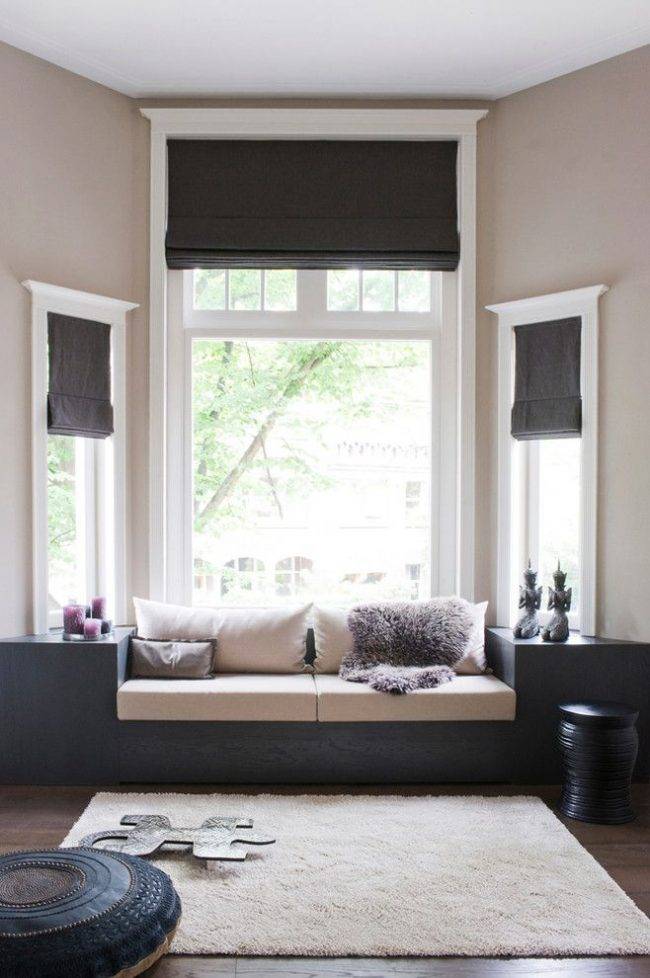
Solid Roman curtains in different lengths and widths for a Scandinavian living room. The main criterion when choosing a fabric is tight weaving to avoid stretching
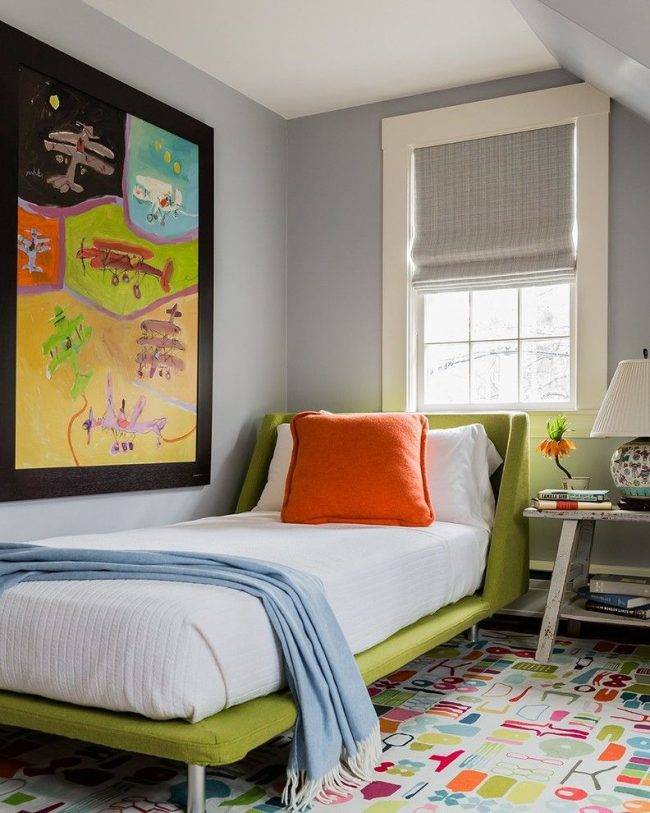
Solid gray roman blind with a dense weave for a child's room in a neutral finish, but with bright interior details
The fabric can be plain or multi-colored, even transparent.The latter are often used as a tulle Roman curtain, on top of which they are covered with a standard thick canvas of Roman curtains.
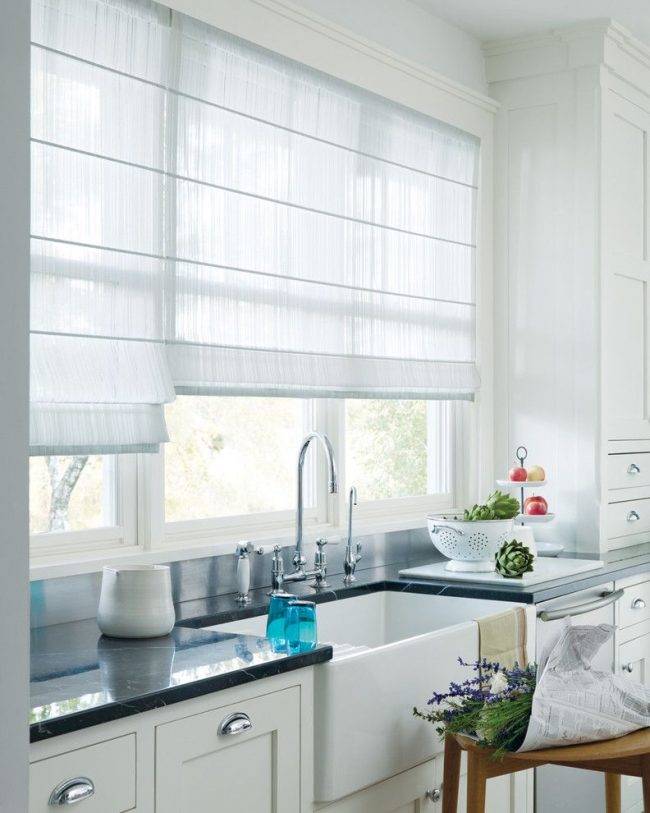
Sheer fabric for tulle roman blinds in an elegant kitchen

Laconic dining room with low-density Roman curtains of natural fabric as a tulle that lets in sunlight

An eclectic bedroom in a white and blue color scheme with wood and metal accents. For a dense, non-translucent structure of a Roman shade, an additional fabric is used, a lining that is attached from the outside
The main canvas can be decorated, here the limitation is only in your imagination. Braid with pendants, fringe, tassels, eyelets, buttons. But you don't need to overdo it. Better one decor option, but appropriate.
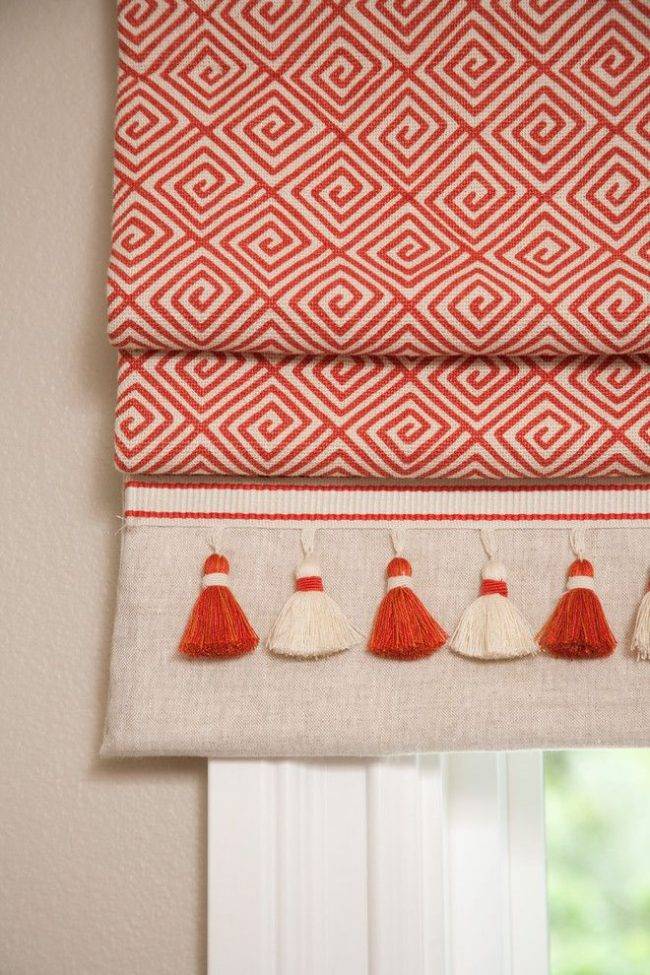
Decorated with tassels, the main canvas of Roman blinds with a white background and an orange pattern
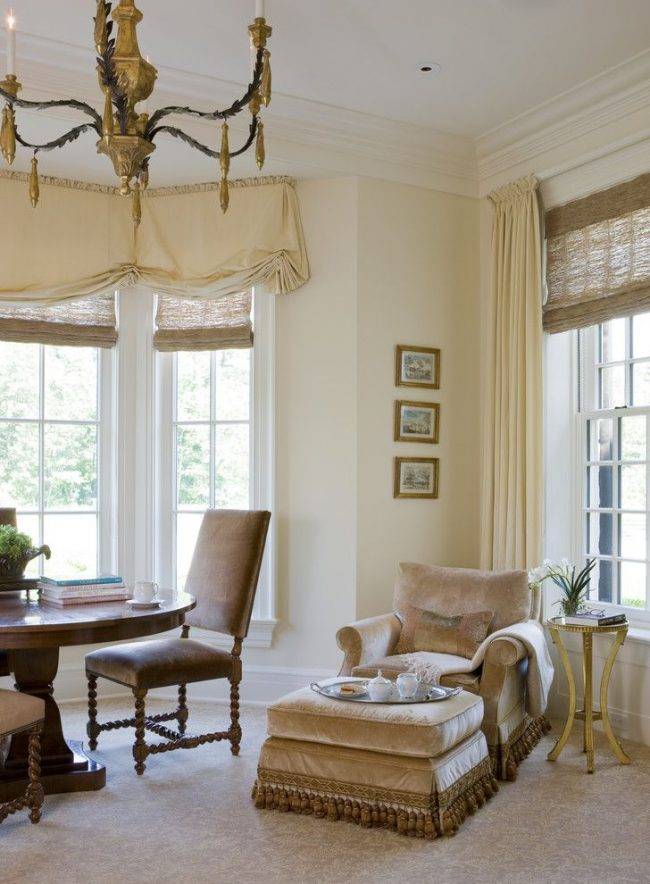
Two types of Roman blinds for an elegant living room. Top Roman shades made of dense fabric with decor covering the attachment to the cornice
How to decorate wide windows with a roman blind?
Sometimes the windows are wider than the standard size of the canvas. So in rolls of fabric with a width of 1.4 meters, which does not make it possible, taking into account allowances and folds, to make a curtain for a window more than 1.2 meters. There are several solutions:
Flip the canvas. This is suitable if the weave of the fabric is tight and there is no pattern. But this option is only suitable for a wide window of standard height.
Adding piping or decor. With a shortage of up to 20 cm, the fabric must be calculated in the way suggested above, the shortage will be supplemented with edging. Moreover, they can be the same color as the canvas or contrasting
In the second case, it is important that the color combination organically fit into the finish and complement the textile elements.
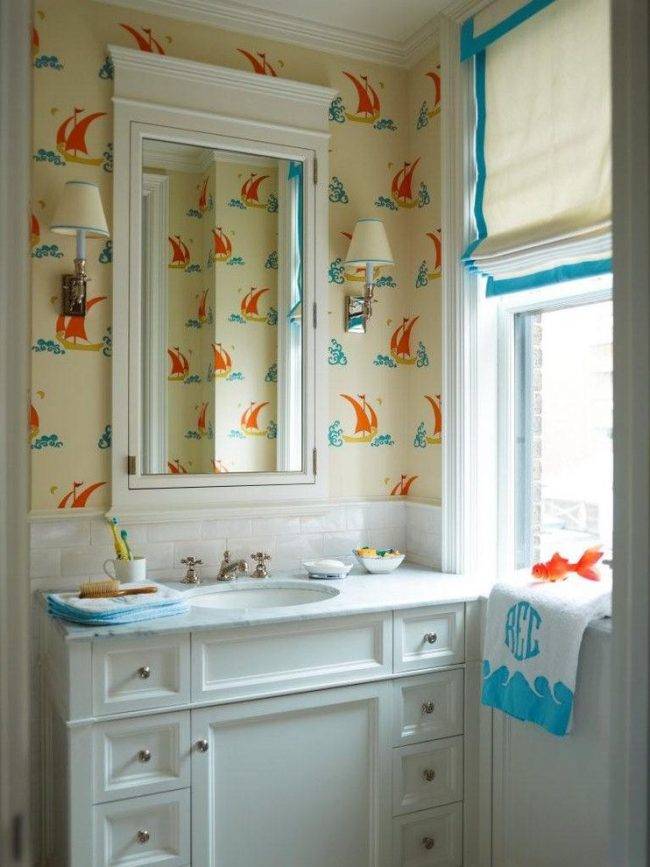
Contrasting deep blue piping for plain white roman blinds in a nautical bathroom

Blackout roman blinds with piping, decorating a wide custom window of a child's bedroom
If the windows are very wide and high, and there is also a balcony door, you can make a separate canvas for each sash.

Three separate patterned canvases for a three-leaf wide window
Roman blinds fabric
Since the material for the manufacture of the considered version of the curtains for the windows will not be needed much, it will be possible to purchase an expensive design fabric. The consumption will be minimal - the size of the Roman shade is identical to the size of the window, you just need to add 3-5 cm on each side to finish the edge of the fabric.
Please note: as such, there is no design in Roman blinds, so it is important to choose the right fabric pattern - it can be a "continuation" of some lines / patterns in the interior, or it can be an independent unit, act as an original accent. To choose the right fabric for Roman blinds, you need to consider two points:
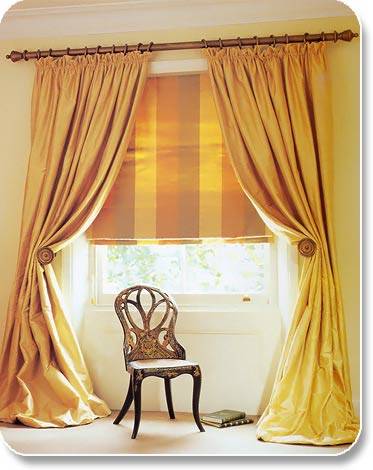 To choose the right fabric for Roman blinds, you need to consider two points:
- such curtains can play the role of light protection of the room - in this case, you need to purchase a fabric with a special treatment on the seamy side;
- Roman blinds can let light into the room, but at the same time hide everything from prying eyes - in this case, a translucent material will do.
Particular attention should be paid to fabrics with complex weaving - they look luxurious on windows as curtains, but can only be used in Roman blinds. And the last point - the fabric for the manufacture of Roman blinds must be rigid, keep its shape well.
Only in this case, the do-it-yourself curtains of the type in question will not differ from the store version
And the last point - the fabric for the manufacture of Roman blinds must be rigid, keep its shape well. Only in this case, the do-it-yourself curtains of the type in question will not differ from the store version.
Action plan
We measure the window opening. On each side, add 5-7 cm in width and 10-15 cm in length to allowances. We wash, dry and iron the selected material.
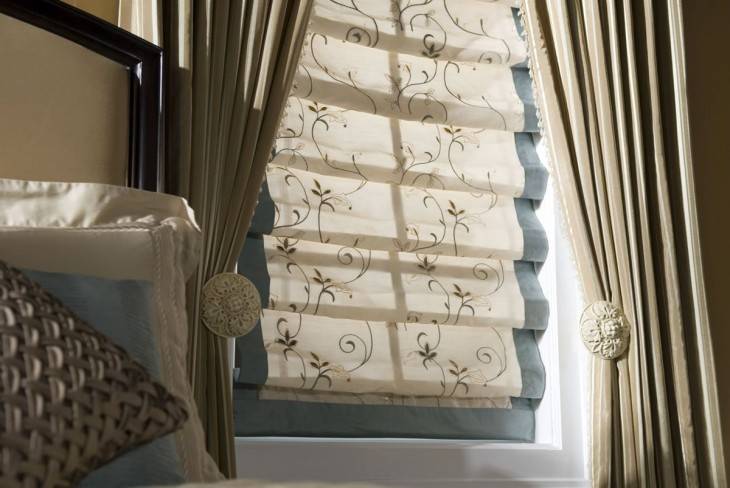
The correct number of folds is calculated using special tables. This is a very important point in the production of curtains.
We cut out the fabric according to the pattern of the Roman shade. We mark from the seamy side the fold lines, folds and the location of the rings. It is better to tuck the material twice from the sides.
Using the studs, nail the Velcro tape to the bottom of the curtain strip. Sew the Velcro to the finished top edge of the curtain. This will allow the product to be removed. We paint the timber that plays the role of a cornice in a suitable shade.
Tuck the bottom of the curtain, creating a pocket for the weight bar. Sew a border on the seamy side as a finish. We put hooks into the holes and sew from one edge.
We mark the location of the rings and sew them. To fix the lifting structure, we nail the rings to a wooden beam. The rings must be placed symmetrically, from the edges of the panel you need to retreat 50-100 mm. We fasten the curtains to the timber with a Velcro tape.
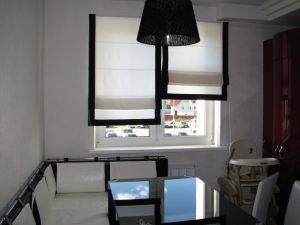

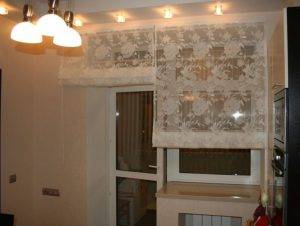
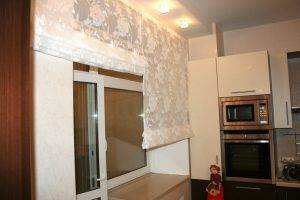
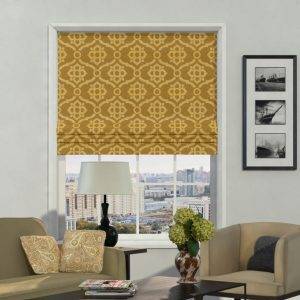

We stick a rope into the rings along the entire length of the curtain. After all the ropes are inserted into the rings, we bring them out from above on one side of the curtain.
We attach the timber above the window opening or to the window frame. We remove the ribbons holding the curtain folded. After lowering the curtain, we equalize the tension of each rope.

We tie all the ropes into a knot at the extreme ring and pass them through the handle that lifts the curtain. After 45-50 cm from the place of the knot, we tie another knot, cut off the excess. The curtain is ready!
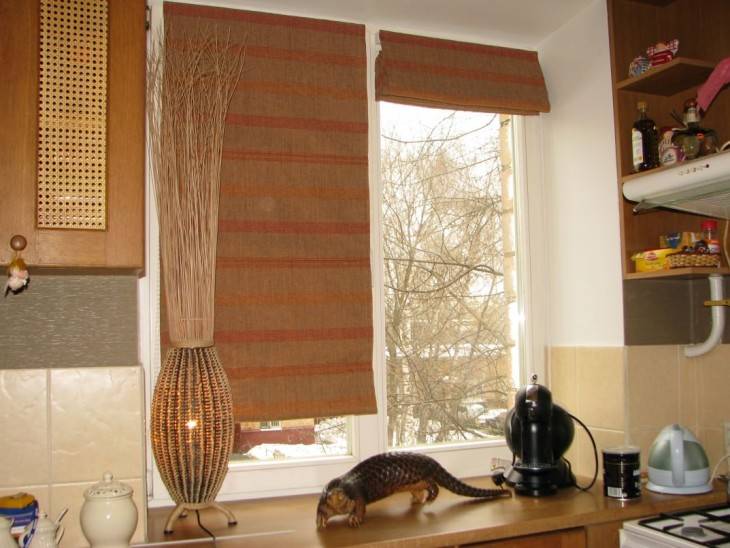
"Rimki" are very popular. Do not be lazy to make them - you will get a fashionable and stylish decoration for your windows.

