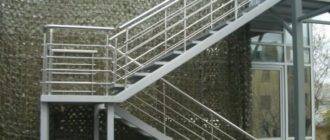
The presence of a country house may also imply a garden, a small, cozy one, in which there must be garden ladders and stepladders, as well as other structures that fulfill functional purposes and ennoble the site.
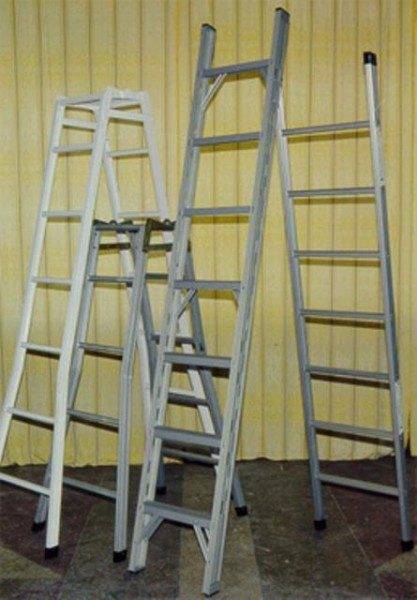
Making a ladder
With regard to stepladders, it can be noted that these structures are designed for outdoor use, and are primarily designed for pruning branches and collecting tree fruits.
This device differs from a regular staircase in that here:
- Larger steps.
- The steps are adjustable, that is, the angle of inclination changes.
- Can work on uneven surfaces.
- The leg supports are also increased, which gives additional strength and stability to the ladder.
- The total weight is low enough to carry the structure throughout the entire garden area.
There are several main types of ladders:
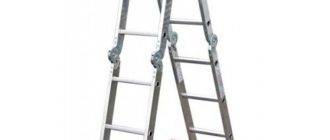
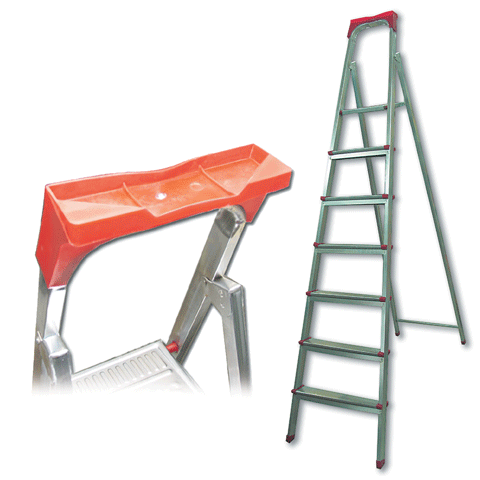
- Professional ladder for gardeners... The production uses industrial, lightweight aluminum. Some characteristic technical additions make the structure safe enough to work, and most importantly fully meet the requirements of the gardening industry.
- A-shaped design... There are always several steps here, and most of them are used when working with small trees. With all the simplicity of the design, such a ladder can withstand a weight of up to 150 kilograms.
Self-construction
In general, a stepladder is always a fairly simple product, and it is quite possible to assemble it completely independently.
The simplest version of how a do-it-yourself garden ladder is obtained is to assemble a ladder from just two wooden ladders. In this case, you just need to tie the top and that's it.
But one ladder will be enough, for which an additional support is simply made, which will replace the second ladder.
To make it you will need:
- Bars 40x60 mm.
- The board is at least 40 mm thick.
- Bolts.
- Wood screws.
- Hacksaw, drill, hammer, tape measure, corner.
- Varnish or paint.
The amount of material is calculated quite simply. The preferred height of the product is selected, for example, it is 2 meters, which means 8 meters of timber are needed on the support rails. (see also the article Making wooden stairs with your own hands using improvised means)
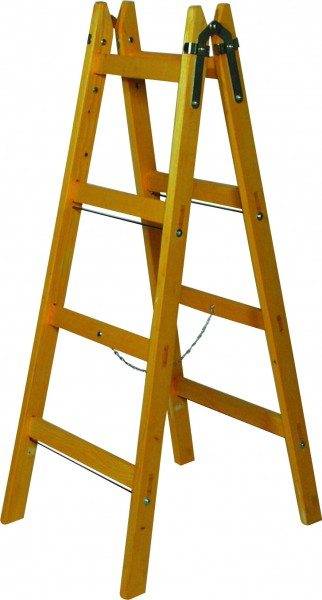
Further the number of steps. Here we choose the standard distance of 30 cm. We choose 6 steps, this is just 1.80, and 20 cm remains open at the top.
The width of the structure at the lowest point is 60 cm, and at the top - 50 cm.Thus, another 3.6 meters with a margin is added to the material and, it turns out, you need to purchase 11.6 running meters of timber.
Advice!
Choosing a beam is durable, for example, birch, and in some cases it can be combined, a stepladder, using metal pipes as supports.
Progress
The bars are laid on a flat surface and the steps are marked.
Fastening can be done in two ways:
- Make special nests in the support bar.
- Stuff the steps to the edge of the support bar.
Both methods have the right to exist, however, simple fastening along the edges of the backing board is simpler and takes less time.
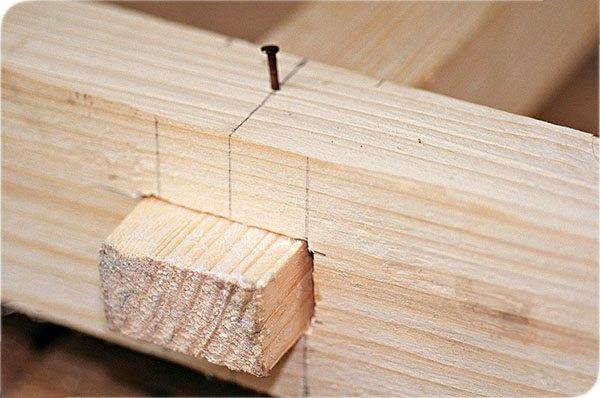
After marking with your own hands, the steps are attached to the timber. It is important to use here not nails after all, but wood screws. They must be screwed in after drilling a hole with a thin drill, and driven into the wood at high speed.
Advice!
When using nails, two nails are hammered on each side of the contact of the step with the timber, if screws are used, one is enough.
At the very bottom of the support bars, the second side of the stepladder, it is necessary to install a crossbar that will fix their position and give rigidity.
The upper ends of the structure are bolted with a washer. Holes are drilled and a bolt is inserted into them, which connects both support beams. Then the nut and washer are put on. Everything is being tightened, but not completely, so that the structure can be folded.
At the level of the last step from above, another crossbar is nailed on the support bars of the back side. Next, you need to determine the step width of the ladder. To do this, you can use mechanical holders that determine the width of the step-ladder.
The platform can be made removable from a board 4 cm thick, and installed as needed, for this, an additional crossbar was installed on the back of the stairs.
The instructions for assembling such a structure are extremely simple, and in the end it will only be necessary to process the ladder, cover it with varnish or paint so that the wood does not rot.
Second option
It's worth noting, though, that when talking about garden stairs, it's not always about stepladders.
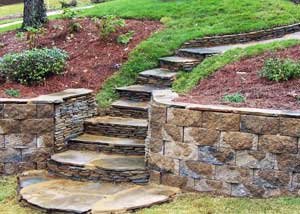
Another type of structure that is also included in this terminology is building structures using sand, stone, cement, concrete, and decorative materials.
These ladders are especially suitable for areas that are located on slopes. Ultimately, there are some awesome landscaping ideas that can be applied in the garden, and garden stairs will be a staple everywhere.
Views
Depending on the purpose of the structure, the following types can be distinguished:
- Main staircase... This type of staircase is created on the main path that leads to the main entrance. The decoration here is always pretentious, lamps, vases, sculptures can be used.
- Secondary... There is always a simpler design, and such stairs are created on the side paths that can go from level to level, for example.
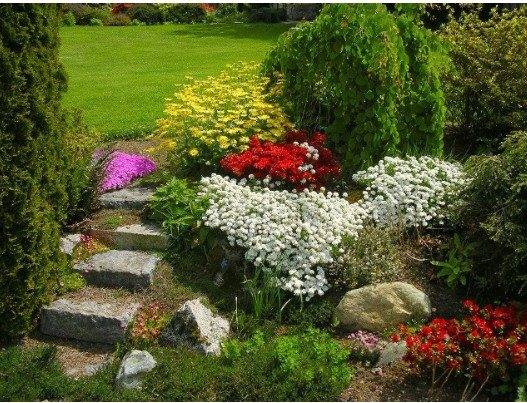
- Path staircase... This is a kind of continuation of the path, and steps are created right in the ground, which can gradually change in size.
It is also worth giving another classification that will demonstrate the separation of stairs depending on the method of installation of the structure:
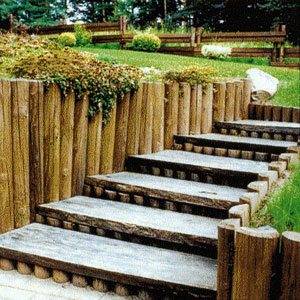
- Free, specially erected retaining walls act as a support in them.
- Mortise, in this type, the ground itself serves as a support.
There are several more classifications, although they do not play a significant role, but it is still worth mentioning them:
- By type of material, stone, concrete, wood.
- With or without side restraints, handrails.
- With retaining wall.
- Straight.
Some Recommendations
The construction of a staircase in the garden is quite simple to carry out on your own, at least the initial, rough part can be built.
To do this, you will need to carry out certain work step by step:
- Make calculations. It can be noted right away that the ladder must be wide enough for two people. However, this does not apply to the pathway option.
- Carry out the markup.
- Remove the topsoil over the entire work area.
- Fill up with sand and it.
- Construct the formwork.
- Pour concrete.
Important!
In this case, choose concrete, since this is the simplest version of the staircase device.
In addition, it interacts perfectly with any coating, and after it has set, it can be finished with tiles, bricks, or stones.
However, you can use various options for the stone. For example, stones from the remnants of construction, broken bricks. Of course, a completely different option looms when it comes to the use of granite stone. But this is already a final type of finish, which should be put on right away.
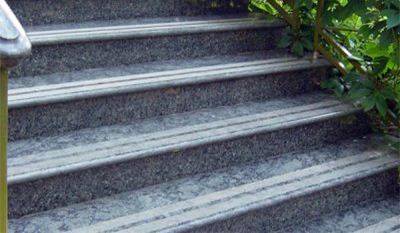
In order for the staircase in the garden to work well with your own hands when using any material, you must first of all strictly observe the initially specified dimensions.
As mentioned above, the ideal width is considered to be the one on which two people can stand at the same time, but the height of the steps is always commensurate with the simple requirements for all stair structures - 20-35 cm standards of its characteristics)
Important!
Despite the possibility of using a simple brick in the final finish, it must be remembered that it can deteriorate over time under the constant influence of moisture and the staircase will not be able to demonstrate strength.
The most preferred material choice is concrete and stone. Moreover, with concrete, you can subsequently finish the staircase in any style. And with ceramics and clinker tiles for stair steps, there are no restrictions at all!
Output
It turns out that a simple term can characterize two completely different directions in determining the meaning of a garden staircase, and at the same time, in both cases, you can carry out all the work on your own. In the video presented in this article, you will find additional information on this topic.

