Recommendations for applying the leveling layer
Puttying allows you to solve a number of tasks:
- seals artificial holes in wood, such as nail holes;
- fills in the natural pores of a wooden surface for leveling (if there are porous types of wood, for example, oak) and protection from damage;
- forms a uniform layer on which the paint is easy to apply.
To make the treated area "according to the rules", use several recommendations:
- If you work with putty outdoors, choose a day when the air temperature is above +5. Otherwise, the composition will thicken and will poorly fill the cracks.
- If there are voids on the surface, they must first be filled with putty, after which they are passed through with sandpaper, the resulting "sand" is removed and the wood is fully processed with putty, and after it dries, it can be painted.
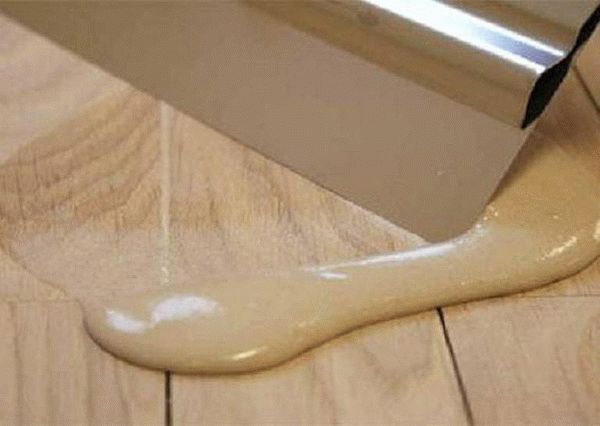
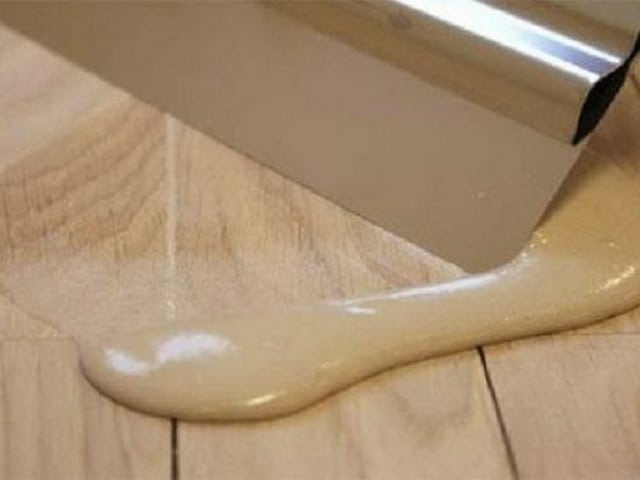
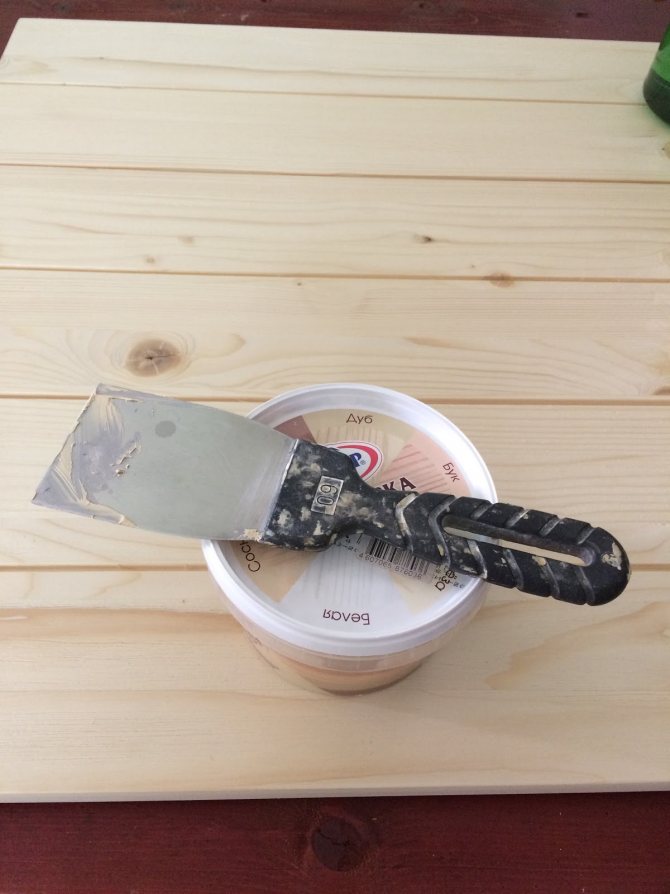
- The best trowel material is stainless steel.
- Deep pits (more than a centimeter) in the tree are filled with putty in several layers, allowing each to dry out. Application thickness - 2-3 mm.
Plywood preparation
Plywood sheet can hardly be called a full-fledged tree, since this material is obtained from veneer, but it is often used in the construction industry. With the help of plywood, you can make a variety of interior items, as well as use for wall decoration, creating partitions, etc. Due to the flat surface, plywood is easy to paint, but first you need to putty.
On sale there are sheets of plywood of different sizes, besides, it is not difficult to cut it, but to cover a large area, as a rule, one sheet is not enough - several pieces are installed, end-to-end. As a result of this action, joints are formed, which must be repaired, otherwise cracks in the paint may appear.
To hide the seams, they are covered with putty: the composition is applied across the joint, creating a dense layer. It is more convenient to work with a 10 cm spatula, periodically moistening with water, because acrylic compounds dry quickly and lumps can form. After filling, the surface must be leveled with a grinder. When the layer is dry, repeat the action, but covering the entire surface, not just the seams.
Preparing the tree
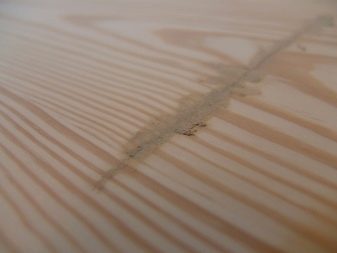
Wood products often retain knot irregularities on the surface, and also have places where resin can develop - these points must be eliminated before applying the leveling compound. The knots should be cut with a chisel (about 3-5 mm deep), creating small depressions, which are then filled with putty. But before that, objects made of wood that have not previously been varnished must be oiled - for this, heated drying oil is used.
When working with a product that bore traces of paint, varnish or other substances, the top layer must be completely cleaned off. To do this, wipe the surface with a cleaner and wait until the wet paint can be easily removed with a spatula.
Wash with plain water or vinegar to neutralize the alkaline environment. Then, sandpaper to lift the wood grain. To improve the adhesion of the putty to the wooden surface, you can apply a primer, choosing with the same composition as the putty, for example, acrylic.
Self-preparation of the composition
When deciding what to putty wood flooring, before proceeding with the installation of laminate flooring, many consumers come to the idea that it is better to prepare the mixture for work on their own.The whole essence of the process boils down to the fact that the floors need to be strengthened first (if there are "walking" boards), then build a frame of thin bars, and then start filling the free space between the lags with a composition made on the basis of PVA. This is a great way to level your floor before installing laminate or linoleum.
First option
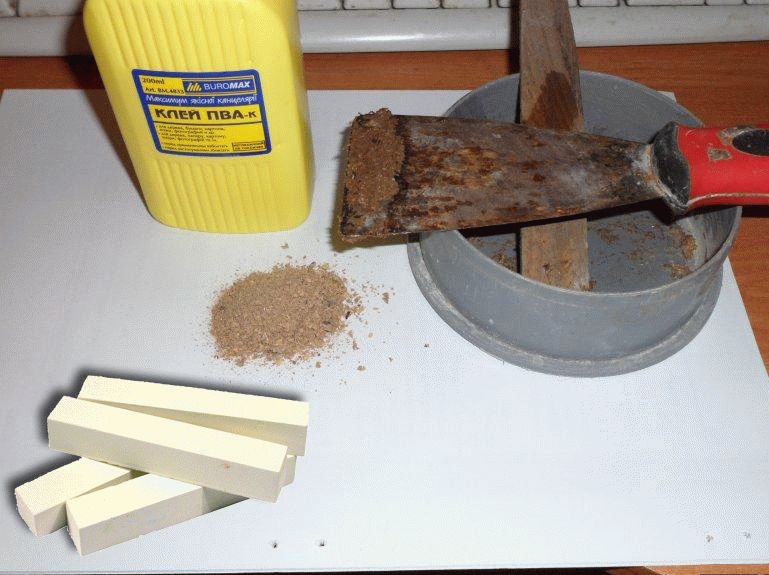
To prepare the composition, you will need a sufficient amount of fine sawdust and PVA glue. The thick mixture is poured between the bars, leveled with a rule or a large spatula and allowed to dry thoroughly. After drying, the resulting surface (which can be considered ready for laying a new coating) will be quite tough and durable, there will be no cracks or irregularities on it.
Second option
Animal glue (10% of the total mass), liquid desiccant (2.5%) and turpentine or glue kerosene (12.5%) are used. This means that to prepare 1 kg of the mixture, you will need 200 g, 50 g and 250 g of the listed substances, respectively. This putty needs to be welded:
Warm up animal glue, add soap to it.
Slowly, constantly stirring, add drying oil, turpentine and desiccant into the resulting hot mixture.
When the mixture thickens and becomes a homogeneous mass, carefully add a small amount of chalk.
Stir the composition while heating until the putty begins to resemble thick sour cream. You can putty until the moment when the prepared putty starts to cool down. To warm up the cooled mass, it is enough to use a water bath, which will provide a gradual and uniform heating.
It is important that the self-prepared putty meets the basic requirements for such compositions. It must be elastic and durable
In addition, the most important quality of such a mixture is high adhesion. It is she who guarantees a long service life of the floor without swelling and cracking. An equally important detail is the homogeneity of the mass.
The third option
There is another simple recipe for making wood putty with your own hands. It is prepared on the basis of PVA glue. To implement the plan you will need:
- PVA glue;
- water;
- dry mix for finishing putty.
It is necessary to pour glue into the prepared container (approximately 1/3 of the total estimated mass of the composition), add 2/3 of water to it, then gradually introduce any finishing putty, not forgetting to stir constantly. It is necessary to introduce dry putty in small doses, kneading thoroughly until a homogeneous elastic mass is obtained.
It can now be applied in an even layer to the surface to be restored and allowed to dry completely. It will be possible to start processing with fine sandpaper no earlier than 12-15 hours later. After restoration using such a mixture, the old surface will look perfect, and any paint will perfectly fit on it.
We make the putty ourselves
There are several ways to make a DIY mix. You can do them at home. The only thing that will be needed is to purchase the necessary components. So, let's look at the simplest options.
1. Putty from a mixture of PVA and chalk. This composition is considered to be the simplest. It's easy to do:
- chalk, in the form of a fine fraction, is diluted in PVA, the composition is brought to homogeneity;
- the mixing process goes on until a mixture is obtained, which in consistency resembles sour cream;
- if you want to close up cracks, seams, then add sawdust;
- after application, the solution dries for about a day.
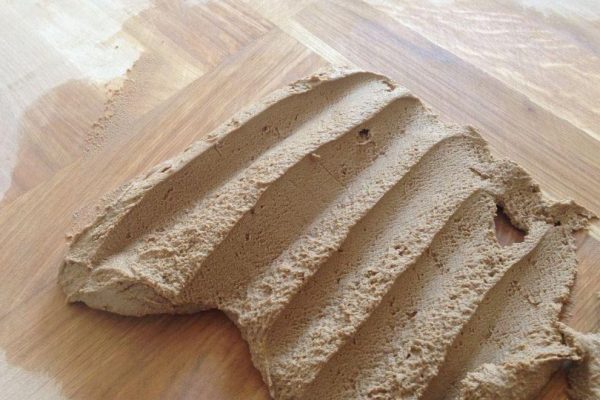
 Homemade putty from a mixture of PVA, chalk and sawdust
2. A mixture of varnish (water-soluble) and chalk. Such a composition does not require large financial costs. After all, instead of PVA, a cheap varnish is used. The procedure is the same as in the previous version. In addition, such a putty with your own hands turns out to be much stronger and more elastic.The desired color is obtained by adding a color scheme. It can even be used for work on chipboard and OSB. When cooking, it's best to stick to the following plan:
- it is better to start mixing in the evening, then by the morning you can get a ready-made solution;
- varnish and chalk are mixed, it is required to obtain a pasty consistency;
- it doesn't matter if it came out a little thick, you can add a little water;
- in the case of starting works, sawdust is added;
- drying time up to 12 hours.
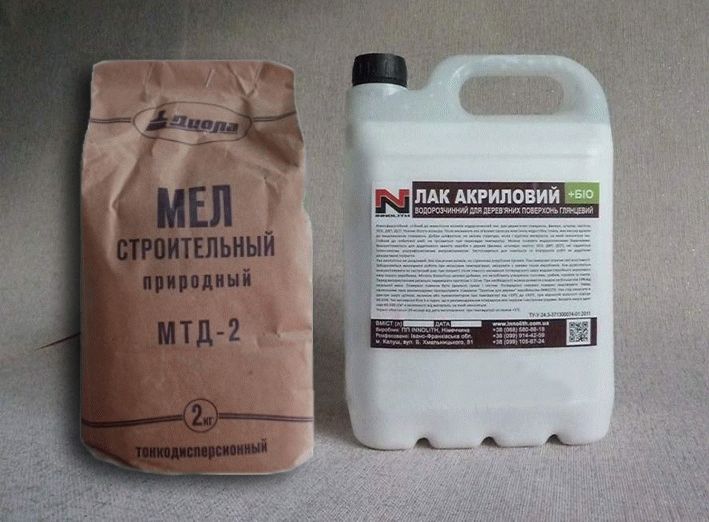 With the help of chalk and water-soluble varnish, you can easily and inexpensively make wood putty at home.
3. A mixture of drying oil, with the addition of oil. For this you will need:
- flax oil - two hundred and eighty grams, turpentine oil - sixty grams;
- perlite (pumice powder) - thirty grams;
- casein - twenty grams;
- gelatin - twenty grams;
- borax - twelve grams;
- ammonia 18% - eighteen grams.
You need to do everything in the following order. The oil is mixed with pumice. Three hundred grams of water are added to the resulting mixture. Then all other ingredients are added. The resulting solution is heated in a water bath (t - 90 ° C). Everything mixes well, it is required to achieve a homogeneous structure. The mixture is considered ready when it looks like a paste. Then it is removed from the fire, allowed to cool and used. It retains its properties for an hour.
 Do-it-yourself putty should be used within an hour
4. Putty for wood from chalk, sawdust and nitro varnish. This composition is used for work in non-residential premises, outdoor work. The fact is that after application, due to the nitro varnish added to it, the solution acquires a rather unpleasant odor. It is almost impossible to get rid of it. The preparation procedure is the same as for the previous compositions: it is required to obtain a creamy mixture.
Types and properties of putties for wood
In everyday life and in production, a variety of wood putties are used, which differ in their constituent components. The principle of operation of different materials is approximately the same - they interfere with the penetration of moisture into microcracks, recesses and holes, eliminate visible defects and prevent the base from becoming dirty. Most often, putties are used in the treatment of frames, doorways and canvases, flooring, skirting boards, plywood, etc.
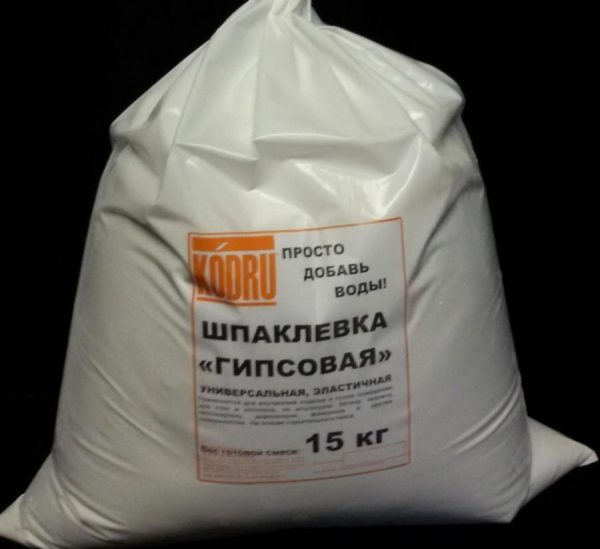
Gypsum
Such putties are poorly suited for outdoor work, since they tend to absorb moisture strongly. In addition, in terms of strength and elasticity, they are inferior to many analogues. It is better to use such materials only for small areas that will not be exposed to aggressive environmental factors. They can also be used to seal up internal wooden bases in dry rooms. The advantages of gypsum putties are high vapor permeability, environmental friendliness, preservation of the natural microclimate in the house and a low price.
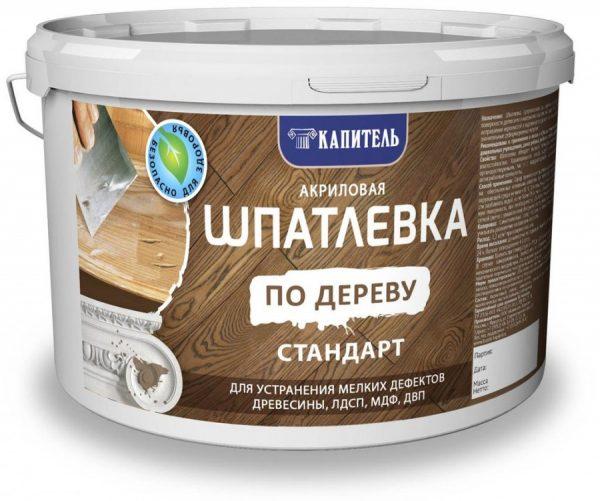
Acrylic
Acrylic putty is quite often used for woodwork. This material is non-toxic, does not emit a smell at all, and can be used for external and internal work. Waterproof acrylic putty is not afraid of moisture, temperature changes, moderate mechanical stress. It adheres securely to the substrate and is suitable for treating floors and exterior walls of buildings. The composition can be repaired as small cracks and wood pores, as well as deep defects in wood. After drying, high-quality acrylic fillers are characterized by low shrinkage and can be washed. Other advantages of acrylic-based materials are as follows:
- high aesthetic qualities;
- ease of application due to plasticity;
- elasticity and lack of cracking in the future;
- long service life;
- protection of boards from fire;
- the possibility of grinding after drying.
 Non-shrinking composition for wood based on acrylic
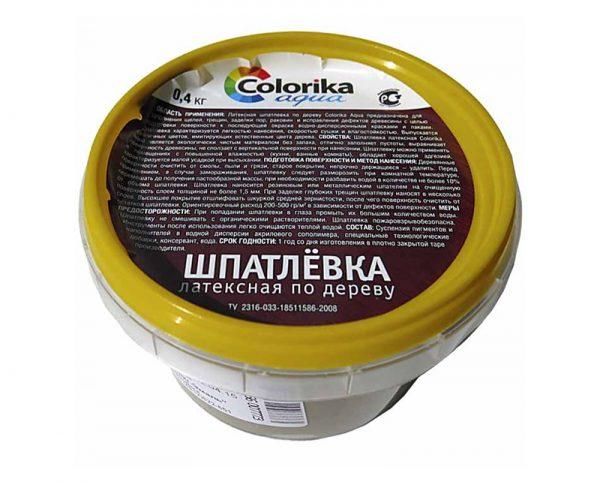
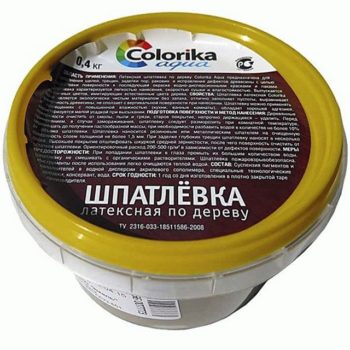
Latex
Latex based putties are very flexible, easy to apply and level with a spatula. They are characterized by excellent adhesion to wood, firmly fixed on its surface and withstand further mechanical processing - planing, sawing, grinding, etc.
This group of materials can be used for indoor and outdoor work, since it is frost-resistant and does not deteriorate from temperature extremes. Latex putties are suitable for places with high humidity, and after drying can be painted in any shade. They can be used to process walls, structures, and can also be used to eliminate defects on furniture, doors, chipboard and fiberboard panels.
Polymer
Highly plastic polymer compounds allow to close even the deepest cracks in wood. They are characterized by:
- environmental safety;
- lack of shrinkage, flaking, cracking;
- preservation of quality under the influence of ultraviolet radiation;
- high speed of solidification and complete drying;
- long service life;
- protection of wooden surfaces from clogging, pollution;
- dust repelling.
Each polymer putty is heat and moisture resistant. This means that the composition is ideal for outdoor use, since it does not deteriorate from moisture, frost, and high temperatures.
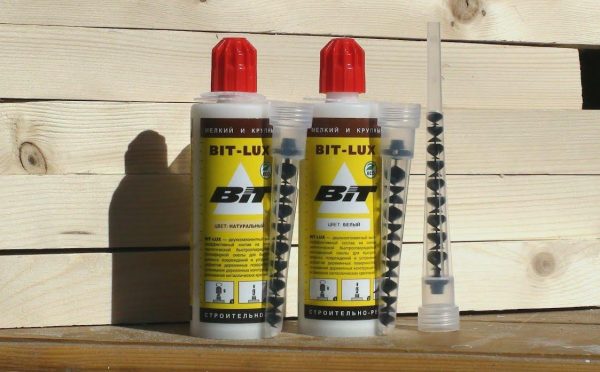
Oil-based adhesive
Such compositions are made on the basis of oils, drying oil, adhesive components, plasticizers and solvents. They are suitable for treating facades before painting them. Oil-glue putty is a moisture-resistant mixture that does not deteriorate from the influence of precipitation, wind, frost and other unfavorable factors. It allows you to create a perfectly flat plane, suitable for processing large surfaces. Putty of this type is perfectly combined with other finishing materials.
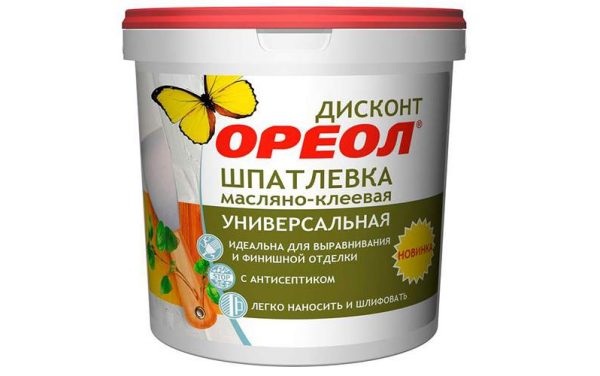 Universal oil and glue mixture with antiseptic
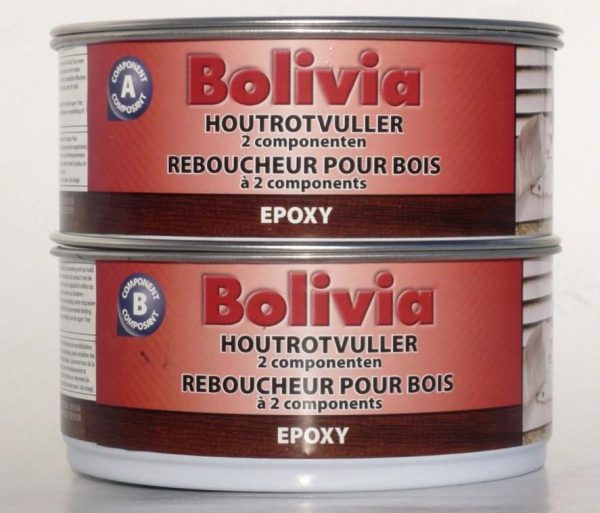
Epoxy heat and moisture resistant
Epoxy putties are two-component compounds, one part of which contains epoxy resin, pigments, and the other contains a hardener with plasticizers. After mixing and applying the product, the most durable, durable and damage-resistant coating for wood is formed. It is not afraid of deformation, does not crack, does not shrink. Epoxy does not deteriorate from water at all, literally repels precipitation, tolerates repeated freezing and defrosting. The finished coating can be painted and sanded. The only drawback of epoxy putty is the high price.
Self-prepared fillers
It is unprofitable to use store fillers to fill large defects in wooden floors (sinks, cracks). In such cases, homemade mixtures are used to fill the main volume of the gap or chip. A medium-sized filler will reduce the shrinkage of the material. After they dry from above, the place to be restored is cleanly treated with high-quality store fillers. There are many recipes for homemade putties, each master brings his own nuances that increase certain properties of the paste (degree of shrinkage, adhesion, drying speed, strength). Here are the most famous ones.
Resin paste
In this way, a small amount of a mixture is prepared for carrying out work of a small volume. Rosin is used as a solid filler, which is tinted to match the color of the tree using ocher:
- Ozokerite and rosin are mixed in heat-resistant dishes in a 2: 1 ratio.
- The mixture is melted on a burner and ocher is added in the same amount as ozokerite was taken.
- The mixture is stirred until a homogeneous mass is obtained.
You can work with this putty only hot. If it begins to freeze, it is reheated and continues to work.
Chalk based pastes
Chalk has a fine structure, combines well with oils and varnishes, the mixtures are homogeneous and plastic.
Butter paste
Due to the availability of components, oil putties are often prepared independently. To treat the floor that will be painted, you can prepare the following mixture yourself:
- a kilogram of drying oil is taken as a basis;
- 1% desiccant (10 grams) is added to it, which is used to accelerate the drying of oil paints and varnishes. The cheapest are NF-1, NF - 4;
- fill the drying oil with chalk powder. For a liter of drying oil, 2 kg of powder is taken, but it can be adjusted depending on the required degree of density of the mixture.
Chalk and PVA paste
PVA glue and chalk are mixed until a creamy mass is obtained. Depending on the further use, sawdust can be added to the mixture. In this case, you will get a putty for filling large gaps. This mixture dries for a long time. To speed up drying, the craftsmen add a finishing plaster putty.
A mixture of chalk and varnish
To mix the putty, use a varnish based on the same solvent as in the topcoat. In this composition, chalk can be replaced with fine sawdust. When restoring an old finish, wood dust can be collected from the sander bag. If the sawdust in the bag is dirty, they are prepared by grinding any piece of wood.
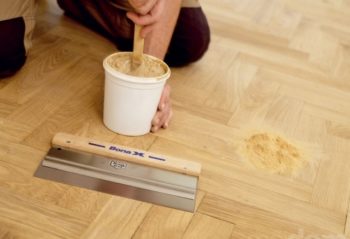
There is always something for the parquet installers to putty the floor with. Sanding wood parquet, they get an authentic filler for filler material. Therefore, they take putty binders (colorless acrylic suspensions) on the object. They are mixed with the wood powder of the parquet to be treated and a paste is obtained that looks completely identical to the coating material. After processing the seams with such a composition, they become completely invisible.
Video how the mixture is prepared and applied to the parquet:
Scope of application
Wood putty is used for treatment or restoration of various surfaces. It can be used to finish cladding made of MDF panels or plywood, used in the preparation of parquet for further painting. The mixture is actively used in order to restore door leaves, window frames or old flooring. These are the most common applications, but this list can be expanded, because the tool is quite versatile.
It is important to note what properties the surface putty transfers in order to understand why it should be used at all:
- The moisture resistance of wood increases significantly, which has a beneficial effect on the service life.
- Regardless of which type of putty material you choose, it can be used to mask existing defects, and some formulations are able to cope with very large damage.
- Using a putty, you can emphasize the texture of the wood.
- The surface that has been treated with the material in question can be safely painted or covered with a decorative layer of varnish.
- The putty used for finishing the flooring is characterized by excellent adhesion to the surface. It perfectly fills the existing irregularities and even the smallest cracks that will surely appear in the parquet after several years of use.
Arguments in favor of putty
A wide variety of wood products are putty, including old window frames, new hard and soft wood joinery, parquet, etc.
Puttying wood allows you to get the following advantages:
- A layer of putty prevents moisture from absorbing into the material, which results in an increase in the service life of the wooden product.
- Thanks to the putty mixture, it is possible to mask all sorts of surface defects, such as knots, cracks, chips.
- When the coating dries, it remains completely translucent, which allows it to maintain the appearance of the natural wood structure.
- Parquet putties come into close contact with the floor material, filling all its unevenness, and also prevent dirt.
The main argument against plastering wood is the argument that the material will swell when exposed to moisture. It should be noted that all mixtures intended for wood impart moisture resistance to the wood surface. Thus, if the putty is chosen correctly, the fears are unfounded.
Advantages and disadvantages
Wood putty has a number of significant advantages:
- The surface layer counteracts the penetration of moisture into the wood material, which means that it increases the service life of the structure.
- Smoothes out irregularities and cracks, hides knots that are always present in the tree.
- Improves the color rendering of the wood surface. The material can be used for painting and covered with decorative varnish.
- Hides wood defects that have arisen over the years.
- Does not emit harmful chemicals in the room.
- It is not affected by the temperature difference in the room.
- Effectively fills voids in wood material.
- Does not crumble or crack over time.
- Dries quickly.
Main varieties There are several types of putty in composition:
- Water based. Environmentally friendly product is harmless to living organisms. Plastic and odorless. To remove excess mixture, no aggressive solvent is needed, just take a damp cloth and wipe up the places where the putty has accumulated. The water putty can be stored for a long time in a sealed sealed container, for example, a can. Even in case of depressurization, the putty does not lose its properties for a long time.
- Oil mixture. Easily handles surfaces and is presented ready-to-use. Volumetric containers allow you to handle fairly large areas. Inexpensive and highly demanded mixture.
- Polymeric. It is used for any construction work both outside and inside structures. Has increased plasticity compared to other putties. Withstands loads and sudden changes in temperature.
Differences between putties for interior and exterior work Any type of putty for wood must meet the following requirements:
- moisture resistance;
- effective leveling of uneven terrain;
- exclusion of drying out of wood;
- high degree of adhesion of the product;
- improving the structure of the tree and emphasizing its natural texture.
Manufacturers of putty materials strive to ensure that the mixtures produced meet all these requirements, but still there is no universal wood putty that would be suitable for indoor and outdoor work at the same time.
Rules for applying putty on wood So that the result of construction work does not disappoint, you should adhere to certain rules for handling the leveling material:
- External work with wood putty must be performed at an ambient temperature of at least + 5 degrees Celsius. If this requirement is not met, the mixture may not completely fill voids and cracks in wooden structures. Air humidity must be at least 75%.
- The work surface must be carefully prepared. To do this, remove the remnants of the old coating, clean and wipe off dust. Then sand the surface to improve adhesion.
- Work on the application of the coating material is carried out with a plastic or stainless steel trowel or trowel.
- If there is a joint or crack on the surface with a depth of 1 - 2 centimeters, then it is better to cover it up in several layers, each 3 mm thick. Allow the previous coat to dry well before applying the next coat.
You can do it yourself if you want to putty for wood. It is not difficult at all, although it will take additional time. The recipe is quite simple - crushed chalk and PVA glue, diluted to a thickness of 20 percent sour cream.
Colors If the putty is applied to a new tree only at the beginning of the renovation, this is one question.In this case, the color of the material is selected based on the calculation of the future interior. But there are times when you have to carry out local restoration work. Then the work with the selection of the color solution is complicated.
There are several ways to adjust the desired shade of putty for a wooden surface:
- The most common option is to buy a mixture of the color that suits the room.
- You can purchase a material in one shade and add pigment to it to get the color you want. Only the pigment will also have to be bought.
- Wait until the putty applied to the area of the wooden surface dries up and paint it in the desired color. This option is often used for filler wood flooring.
The presented range of mixtures allows you to choose the desired color, but at the same time, it should be borne in mind that when completely dry, the mixture may give a slightly different color, different from the original.
Types of ready-made putties for wood
The choice of putties is huge. In addition to the various materials that make up the putty compositions, they are sold in any volume. Most putties are sold ready-made. There are also those that are released in the form of dry mixes. They must be mixed with water before use. It is necessary to choose a filler material strictly for specific purposes. Many putty materials have universal application, but it is better to buy special compounds for wood. Most putties for wood, in addition to special fillers and binders, contain coloring pigments.
Water based polymer
Presented with acrylic and latex putties. It is a versatile and inexpensive material, and therefore the most common. It is sold in the form of ready-to-use pasty mixtures. Available in three colors: basic - white, light ocher pine and dark brown oak. This is enough to match any wood shade. This material is focused on small household tasks, so most of it is sold in small (0.4, 0.8 or 3.5 kg) plastic buckets.
 Water-dispersed acrylic putty in pine color
Material features:
- Fast drying and strength of the resulting seal.
- When applied with a trowel, it penetrates deeply even into microscopic cracks.
- Good sanding properties.
- When coloring the floor putty according to the color of the wood of the floorboard (with the addition of pigments), it is necessary to focus on the resulting color of the raw putty. When dry and after sanding, it brightens, but when varnish is applied, it regains the shade that it was when mixed.
- It does not dissolve with water after drying.
- It is not recommended to freeze the putty. After defrosting, it coagulates and loses its plasticity.
 Water based latex putty
Acrylic fillers do not fill deep joints. The material shrinks, therefore the maximum layer that can be applied at one time is 2 mm.
Solvent
Putty compounds - based on ethers of nitrocellulose, dissolved in ketone solvents. Wood dust of various wood species is used as a filler. As a result, the embedded area does not stand out on the surface. The formulations are sold ready-made in small containers. This type of putty also has a narrow purpose. It is used for sealing defects in the surfaces of wood, which will be varnished, or for local work on the restoration of parquet.
 Can with nitrocellulose based putty
Volatile solvents are toxic, but the material dries very quickly and does not shrink.
Oil
This material involves large-scale plastering work on a large area. Sold in medium and large volumes. It is chalk combined with a water-oil suspension. It is a ductile, waterproof and cheap putty. Used to prepare a wooden floor for painting.Suitable for the treatment of terrace floors and any other surfaces in rooms with high humidity.
 Oil and glue paste for wood putty
Of all types of putties, it has the longest drying time. But this material is versatile, as it is used in many construction works.
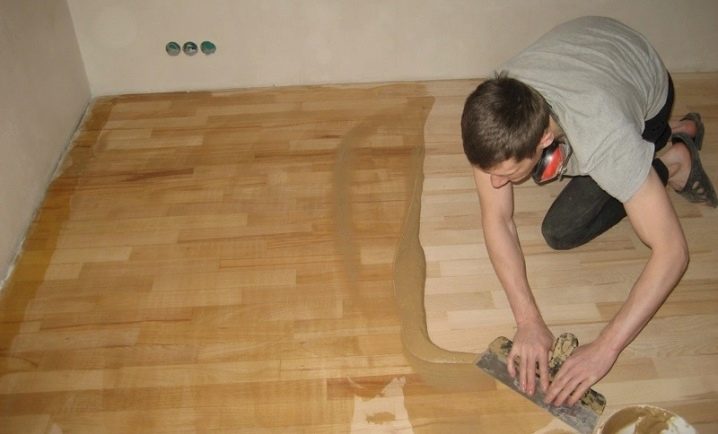
Operating procedure
The first stage is preparing the wooden surface for work. Before you prepare the room, free the surface to be treated and everything around. The window frame on the street does not require special preparations, but do not forget about safety when working at height. Need a second person for insurance. Put on a mask and gloves. What you are going to putty depends on how you will clean your wooden surface.
Before puttying, the wood needs to be prepared
Tools for preparatory work:
- metal spatula (helps to remove old paint from the surface);
- sandpaper (clean the surface);
- solvent (there are mixtures that corrode paint);
- building hair dryer (it is possible by heating the surface to facilitate the removal of the old coating);
- pliers - remove nails or staples, if any (otherwise, rust may appear after staining);
- brush (to apply the solvent);
- brush and kitchen sponge (for residual cleaning of the smallest particles and dust).

Before starting work, prepare all the tools you need. The second stage is priming. In order to protect the wood from rotting and fungus, to improve the adhesion of the surface and the future coating (paint, varnish), it is necessary to prime it. There are special primers based on acrylic, alkyd or mineral base. We choose a mixture based on which corresponds to the putty. For the process, we need the following tools:
- capacity (for primer);
- brush or roller (for application).
We carefully prime the entire surface to be painted with a brush or roller. We give time for everything to dry.
The tree needs to be primed to protect it from fungus
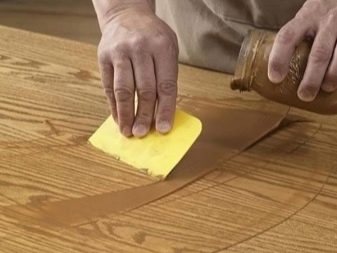
The main stage. Using a rubber spatula, apply the putty to the wooden surface with a primary layer of 2-3 mm. Let it dry. We clean the surface. We putty again, with a more liquid mixture. Layer thickness 1.5 mm. Putty on wooden surfaces requires diligence and patience. But the efforts made will reward you with a perfectly glossy finish, ready for painting.
Instruments:
- rubber spatulas of various sizes (sold as a set)
- spray gun (applies liquid mixture on the parquet floor)
- sandpaper (sanding the surface)
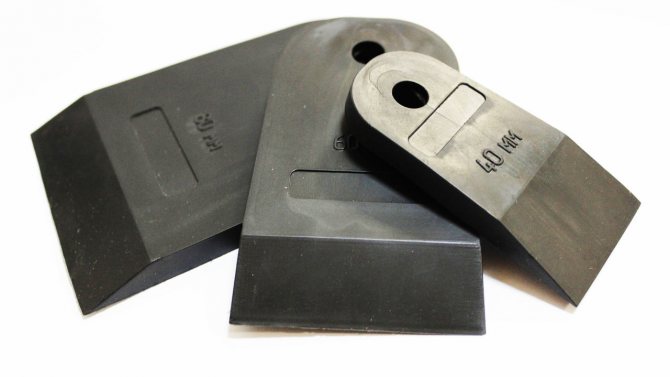
Apply the putty with a rubber spatula