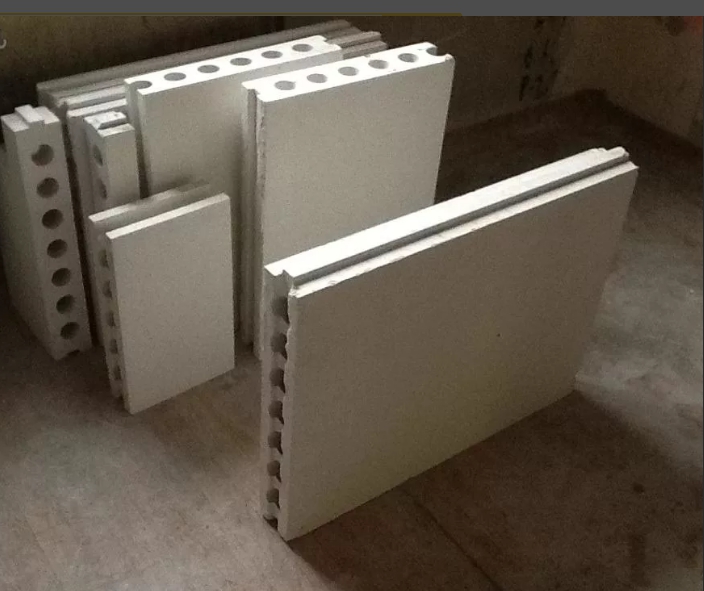
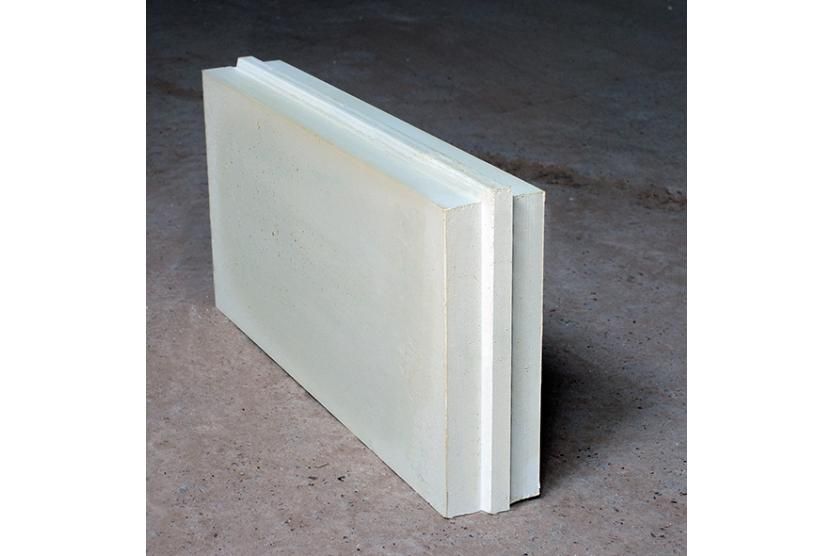
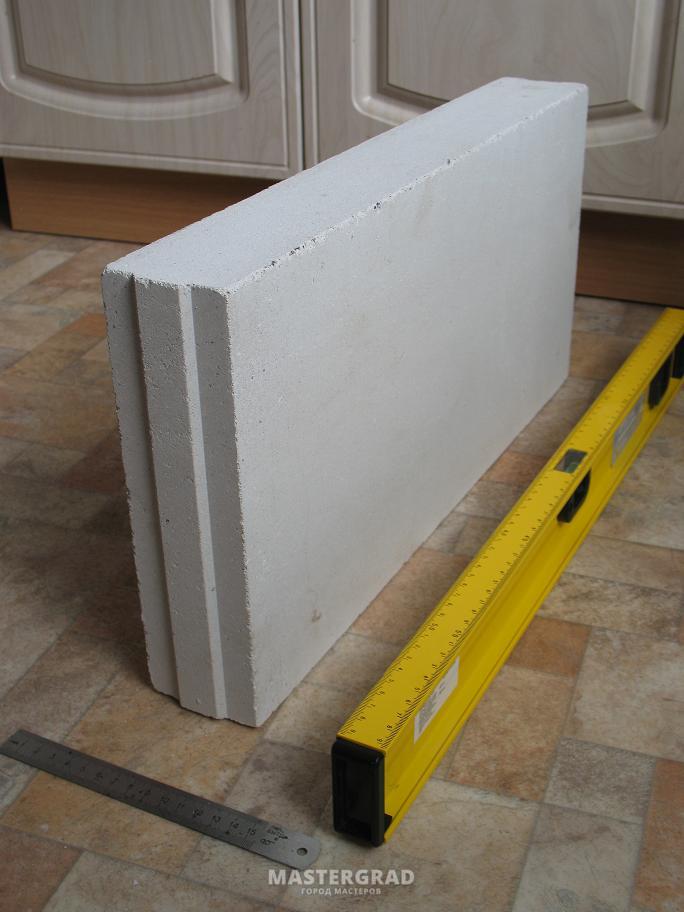
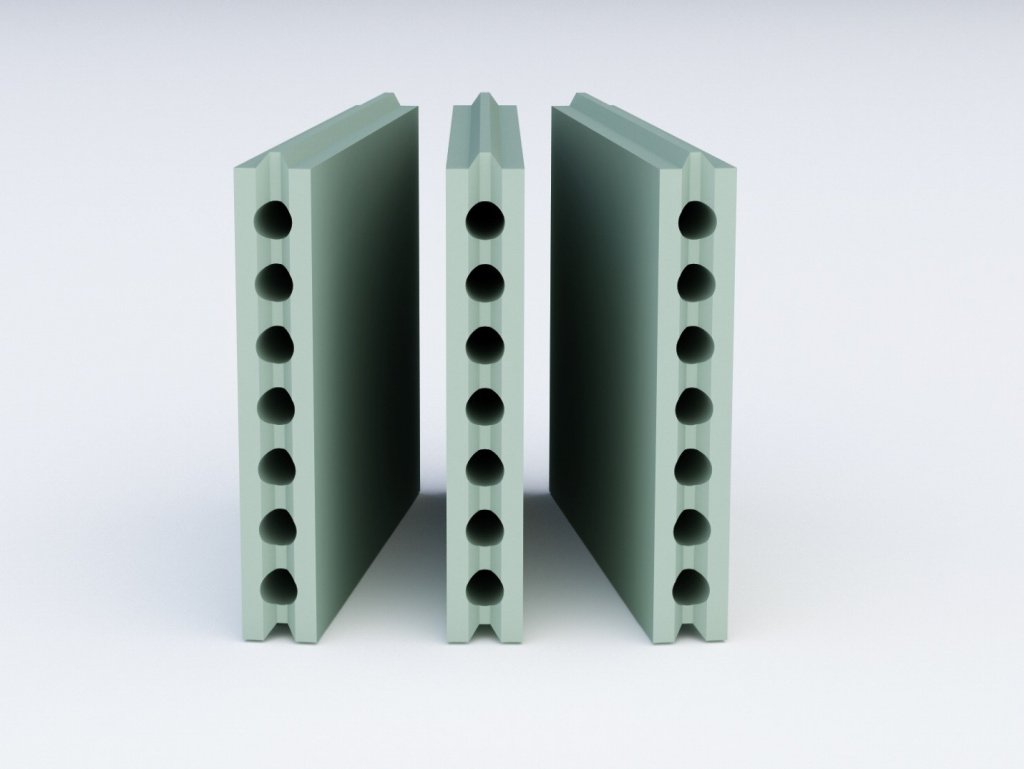
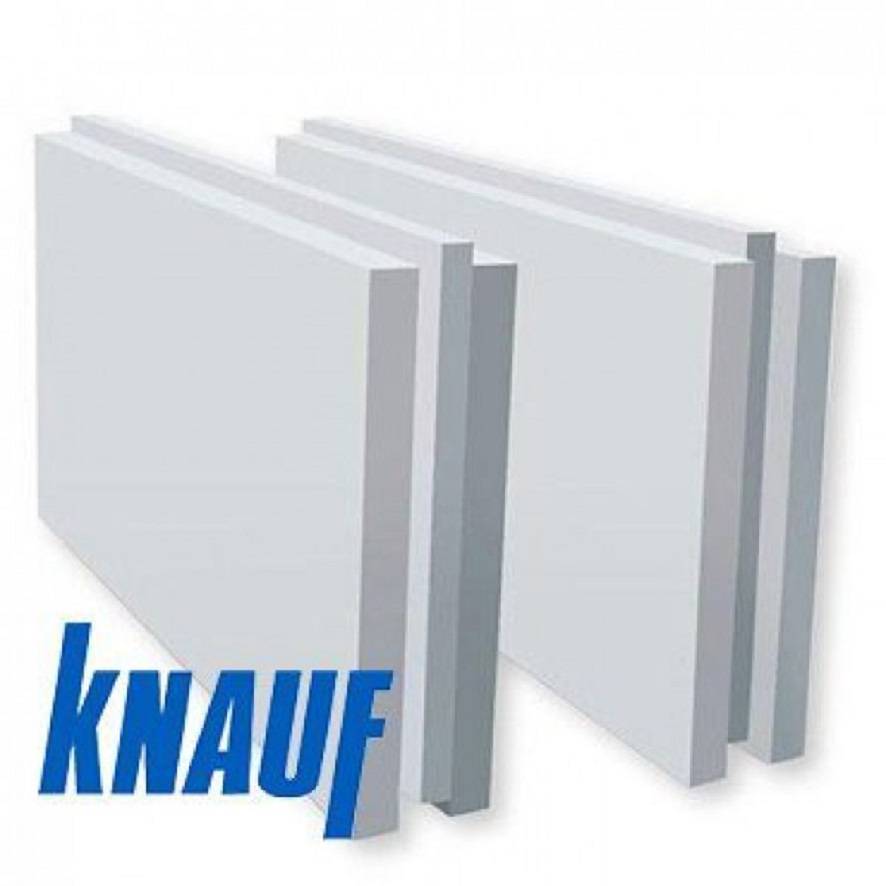
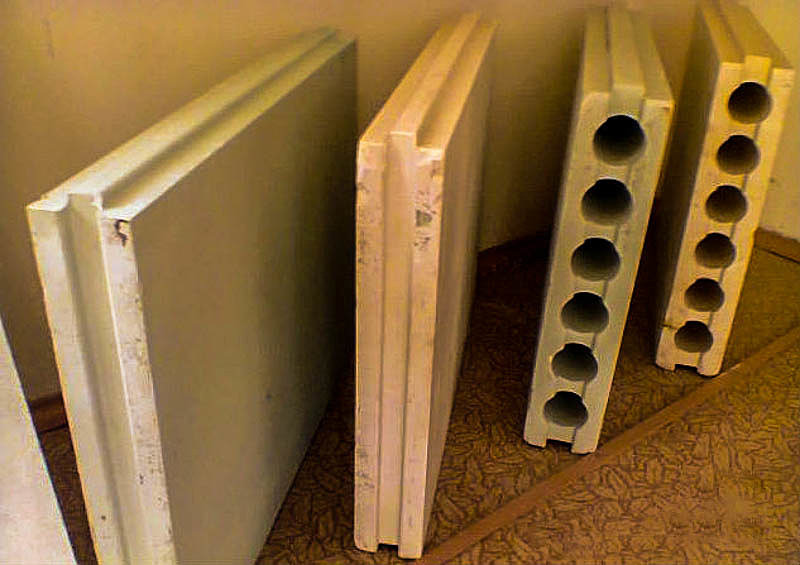
Installation technology
It is necessary to immediately make a reservation that the installation of tongue-and-groove slabs should be started after the construction work related to the alignment of the supporting structures: walls, floor, ceiling is completed. To carry out the work, you will have to prepare.
Materials:
- tongue-and-groove plates,
- gypsum glue,
- primer,
- staples for fastening material to walls and floors,
- screws and dowels.
Instruments:
- spatulas,
- building level,
- container for diluting the adhesive composition,
- construction mixer,
- hacksaw,
- screwdriver.
Preparatory stage
In addition to preparing the necessary materials and tools, you need to prepare the floor. It is already leveled, it remains only to mark the location of the future partition on it, remove dust and prime it. This is always done regardless of the concrete or wooden floor.
With regard to the marking, it can be carried out directly along the surface of the floor base and along the walls, drawing parallel lines with a marker or pencil, which determine the thickness of the tongue-and-groove plate. Additionally, you can pull a strong thread on one side at a height of 30 cm, which will show the plane of the boundary of the installation of the panel material of the first row.
Assembly process
The main requirement for the installation of tongue-and-groove slabs is to correctly lay the first row, taking into account the horizontal and vertical position of each slab, which will form the basis for the location of the partition. But you will have to start with the preparation of glue. It is simply poured into a bucket of water in portions, mixing with a construction mixer. The proportions are indicated on the packaging of the adhesive mixture.
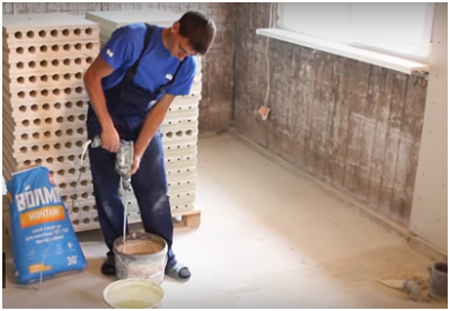 Preparation of the adhesive composition exactly according to the recipe indicated on the bag
On the wall and on the floor at the place of installation of the first tongue-and-groove plate, the adhesive solution is applied in small strokes using a small spatula.
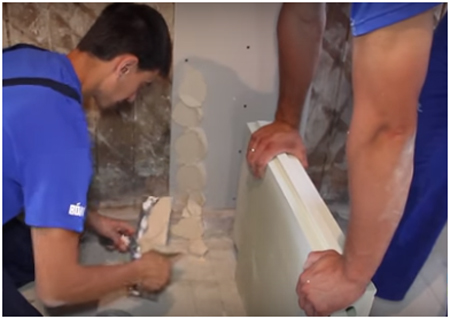 Applying glue to walls and floors at the place of installation of the boards
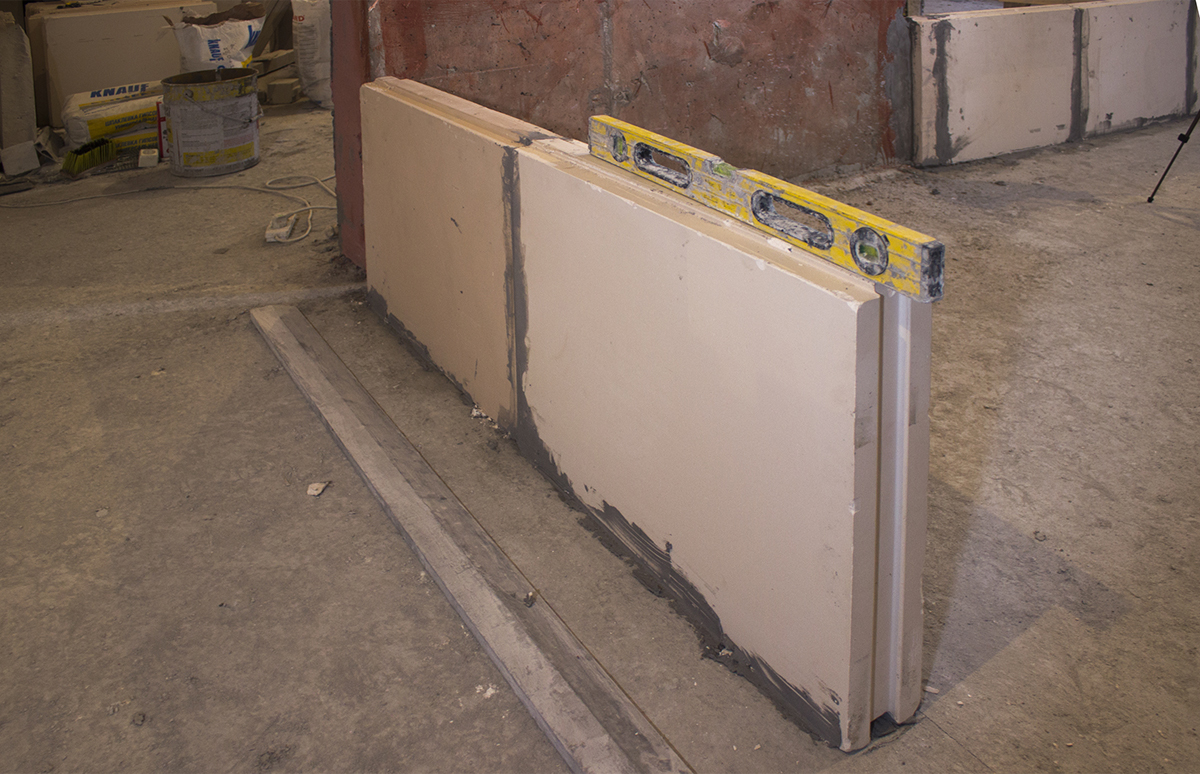
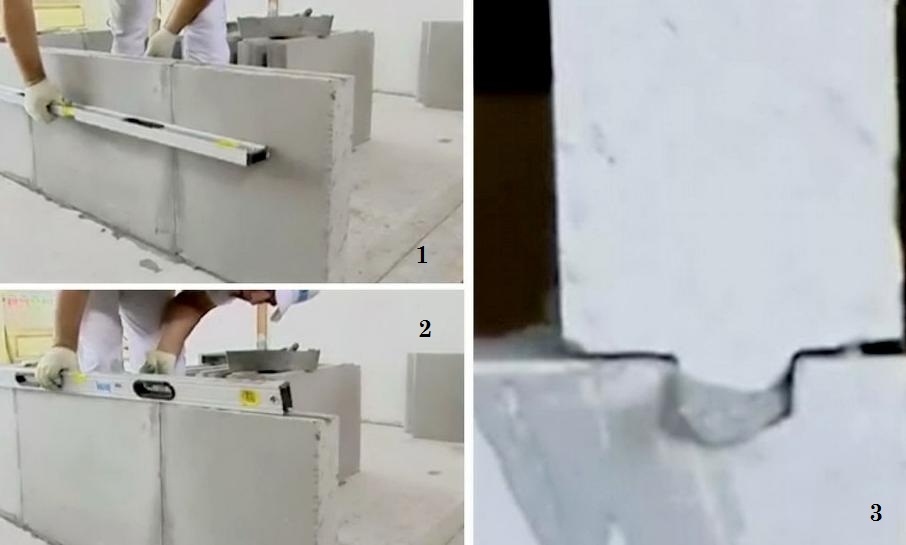
Now you can install the slab with the ridge up, checking it for horizontal installation using a building level. The panel is pressed against the wall and floor. Smooth floor base - a guarantee of accurate horizontal alignment of the panel.
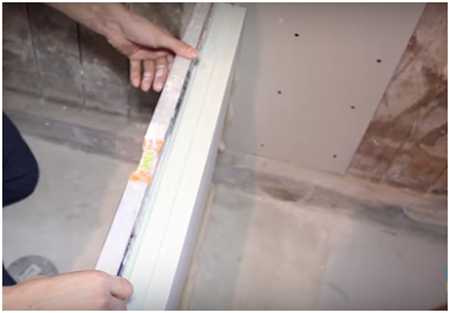 Checking the tongue-and-groove plate for horizontalness using a level
The end of the plate is processed with glue. It is also applied to the floor for the installation of the second element for laying the partition.
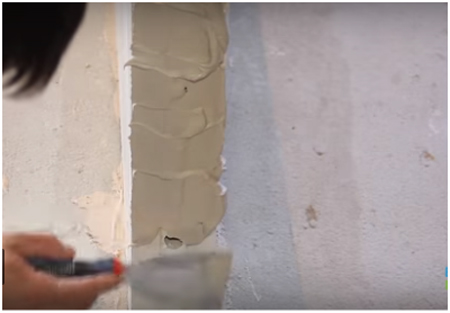 The end of the first plate is coated with glue
Both slabs are checked with a long rule for evenness in one plane. This must be done, even if the slab material is strictly laid along the marked lines. A slight misalignment can lead to large discrepancies at the end of the baffle. So it's better to spend a couple of minutes checking than reworking a large amount of work.
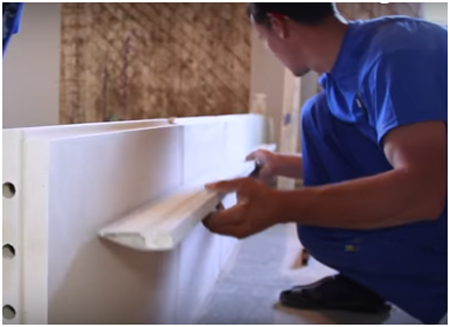 Plates are checked against each other by a long rule
This is how the laying of the first row of the partition from tongue-and-groove slabs is carried out with the installation of all elements along the outlined lines. Then you can collect the next rows. Installation of the second row begins with a solid slab, which is installed so that subsequently the joints between the panels do not coincide in different rows. That is, the installation is done with an offset, preferably in half the panel.
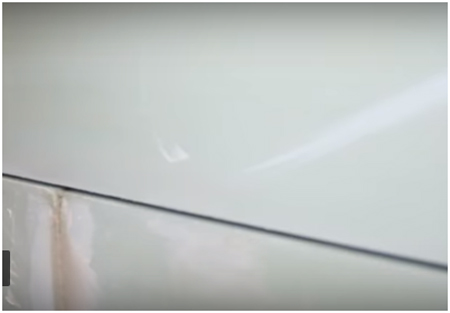 The top plate is laid in the second row so that the joint of the two elements of the first row falls in the middle
The space between the wall and the partition is filled with a piece of tongue-and-groove plate, which is cut out of a single piece with a hacksaw. You just need to accurately measure the size for the installation.
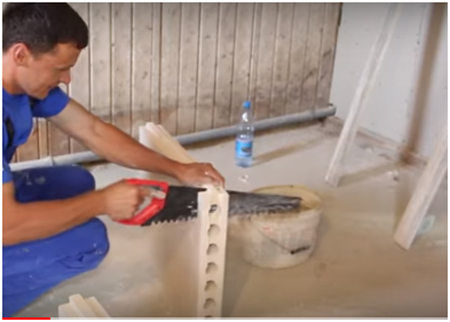 Tongue slabs can be easily cut with a regular hacksaw
To strengthen the structure, it is recommended that the plates, located near the walls and resting on the floor base, are fixed to the supporting structures with metal mounting angles (brackets), self-tapping screws and dowels. To do this, you need to attach the corner, for example, to the wall, attach it with a screwdriver to the plate with one self-tapping screw, and with the other to the wall surface.
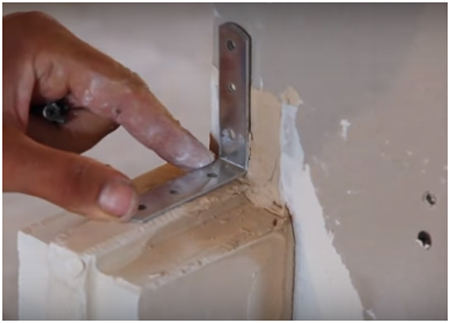 Fastening the tongue-and-groove plate to the wall using a mounting bracket and self-tapping screws
Do-it-yourself installation of a tongue-and-groove plate - step by step
- The base of the partition must be horizontally level. If the slope of the base is visible when measuring, it is leveled with cement mortar. After the solution has dried, it is primed.
- Mark the partition along the floor, walls, and ceiling. Use a plumb line or laser level for marking.
- In case of elastic (sound-proof) abutment of the partition to the floor, a sound-proof strip is glued to the installation site of the partition on the mounting glue.
GWP plates can be installed both with a groove up and a groove down. However, for a secure grip, installation with the groove up is recommended.
- Therefore, at the slabs of the first row, you need to cut off the ridge with a saw. Do not use power tools for cutting, the amount of gypsum dust will be unreasonably large.
- The cut slabs in the partition row should not be narrower than 100 mm. Therefore, before installation, do dry installation and try on the boards on site. If the last board in the row is less than 100 mm, trim the first board in the row.
Install the first row of boards with glue. The quality of the entire partition depends on the horizontality and verticality of the first and two subsequent rows, therefore, we actively use the building level to control the laying.
Starting from the first row, with an elastic abutment, place reinforcing corners. The corners are attached to the PGP with standard self-tapping screws. To fix the corner to the walls, we use dowels with screws.
- The number of staples on one side of the partition must not be less than 3. That is, in an apartment with ceilings of 2700, we put the brackets after the first, third and fifth rows.
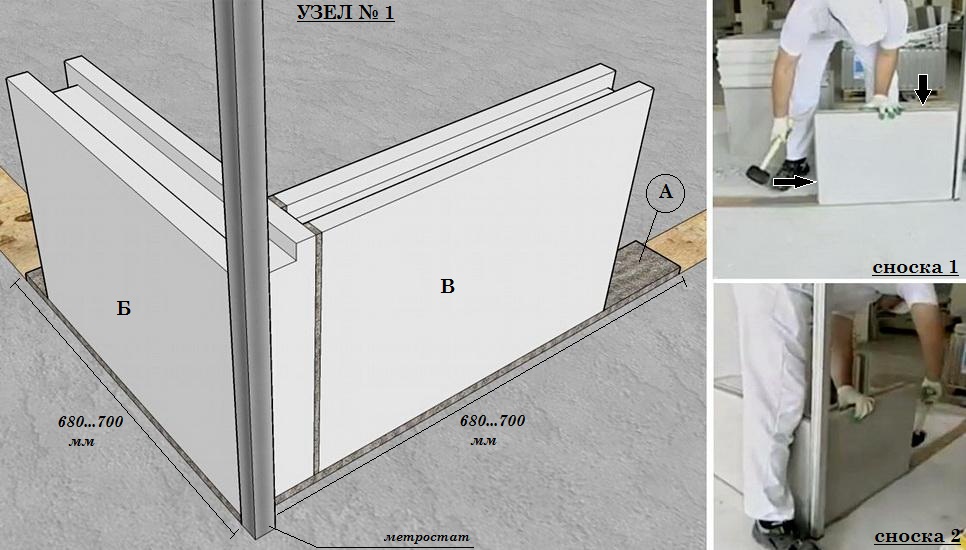
- We look at the photo, how the assembly glue fits into the groove of the bottom row.
- Plates are installed with a spike in a groove with glue. We plant the plate with a rubber hammer. Remove excess glue squeezed out by the top plate with a spatula.
We constantly control the horizontal rows and verticality of the partition.
Advantages and disadvantages
Tongue slabs are a relatively new material, which is considered to be a modern analogue of drywall and other similar options. They have many advantages that distinguish such products from the general mass, but there are also certain disadvantages. It is worth talking about all these points in more detail.
Among the obvious advantages of GWP are the following factors.
Light weight. The load on the foundation and floors will be minimal
This is important both in urban housing and in a country house. Even a suburban building will withstand such a partition.
Strength
The slabs are thicker in comparison with drywall, better withstand shock loads. Additional stiffening ribs are tongue-and-groove joints. They also strengthen the wall.
Ease of cutting and installation. Plates quickly join, they can be cut to size, subjected to other types of machining.
Smooth surface, perfectly flat. The assembled wall is completely ready for decorative finishing. It is enough to prime and paint it, paste over it with wallpaper. This reduces the labor intensity of finishing works, making them less dirty.
The ability to use various types of fasteners. Shelves and cabinets can be hung on the panel using self-tapping screws, dowels.
Safety and environmental friendliness. The material is fireproof and meets the strictest hygiene standards. Sound insulation performance is higher than that of analogues.
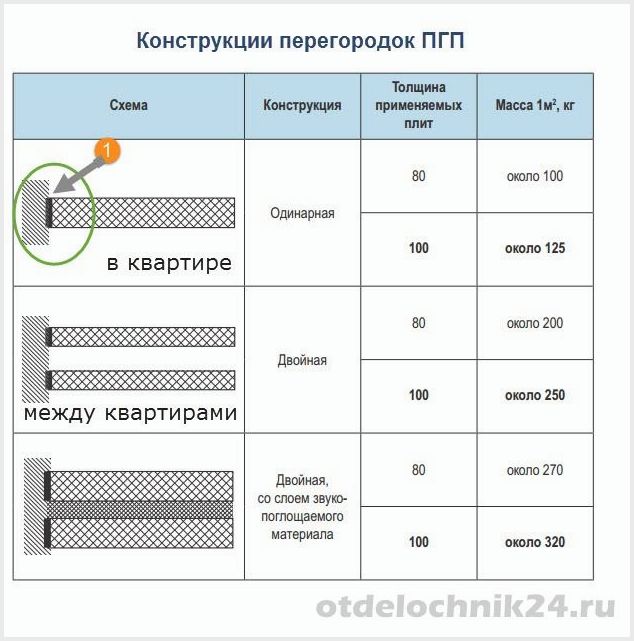
No restrictions on the choice of the type of partitions. They can be single or double, with or without a 40 mm air baffle.
The ratio of characteristics. A slab with a thickness of 80 mm corresponds to a similar concrete wall of 400 mm.
Convenience of laying internal communications. You can run a new water or gas line through the wall.
The ability to work alone. This is much more convenient than using an auxiliary labor force.
Not without its drawbacks. These include lower bearing capacities of hollow core slabs. They are not suitable for securing heavy objects. To ensure stability during assembly, additional mounting of the plate to the ceiling is required. In comparison with brick or monolithic partitions, GWPs still lose.
What do the dimensions depend on?
The use of tongue-and-groove plates is in demand due to the natural chemical composition and reliability of such products. But before buying a specific product, you will have to carefully study its features. As with any rigid building material, the size range is important. And he, in turn, depends on various points and nuances. The main consideration in determining the size of the blocks is the optimal ratio of labor intensity, comfort, reliability and cost of construction work.
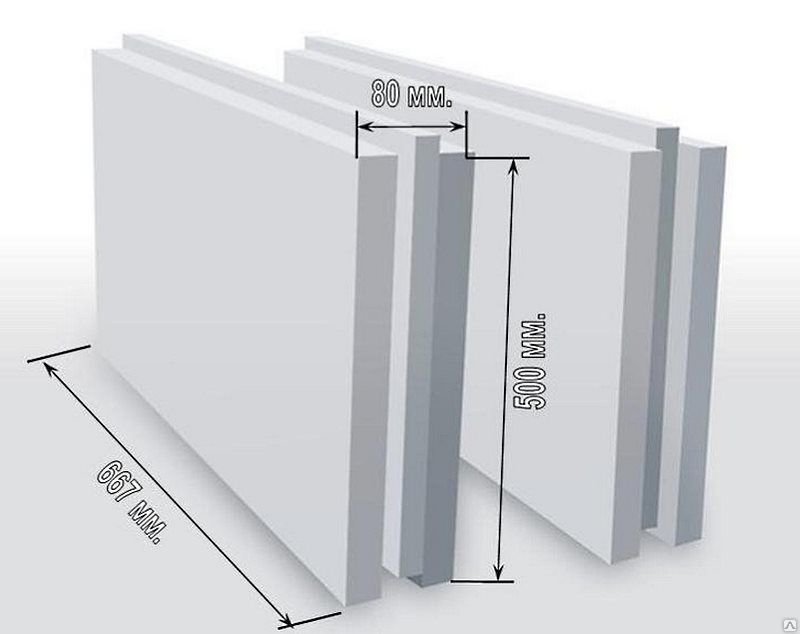
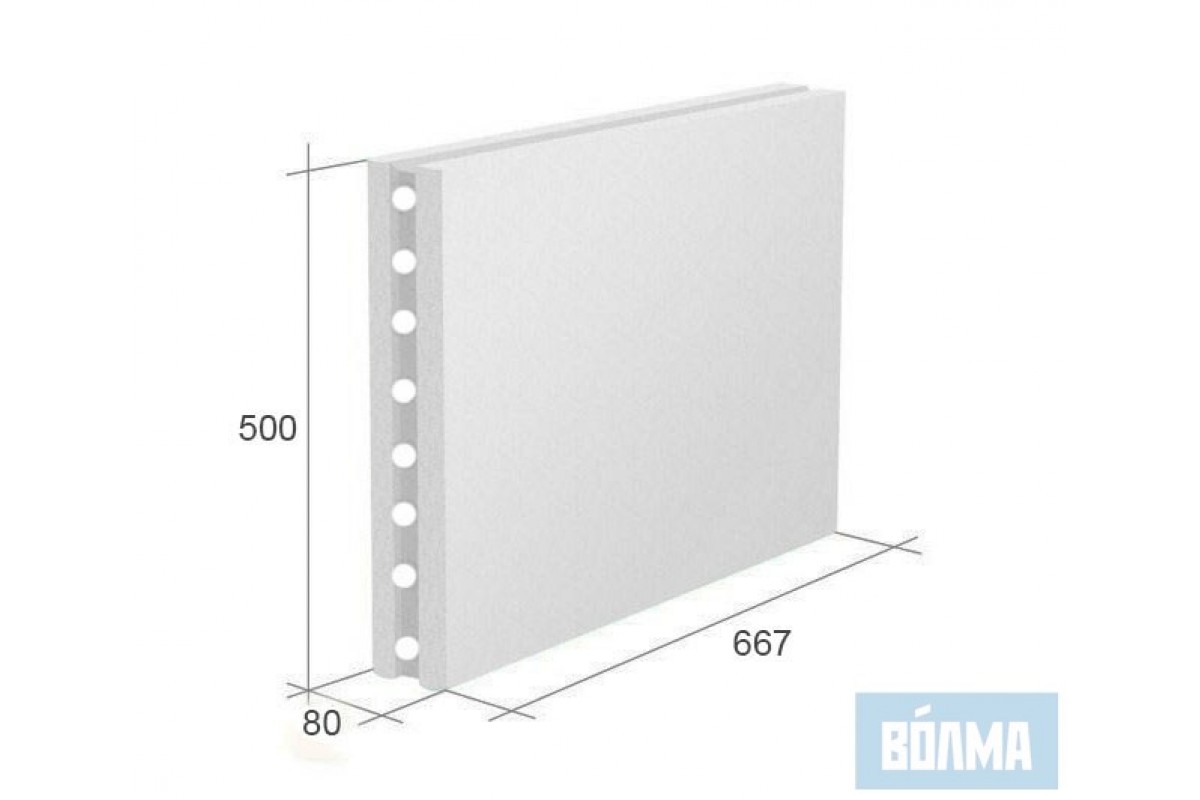
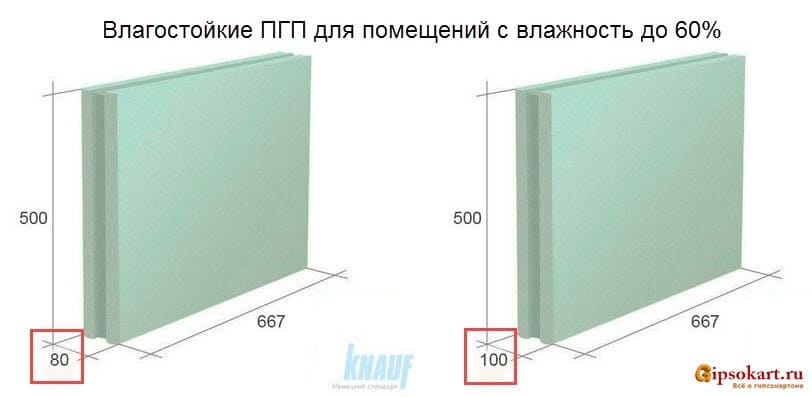
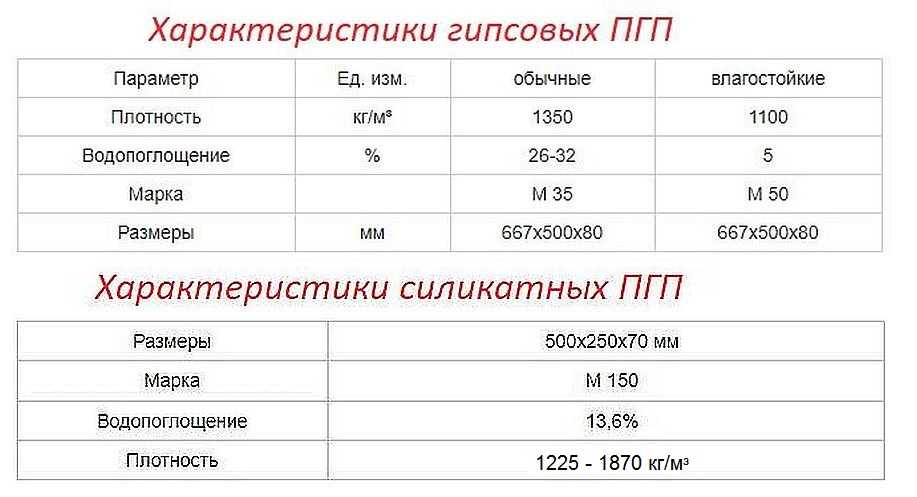
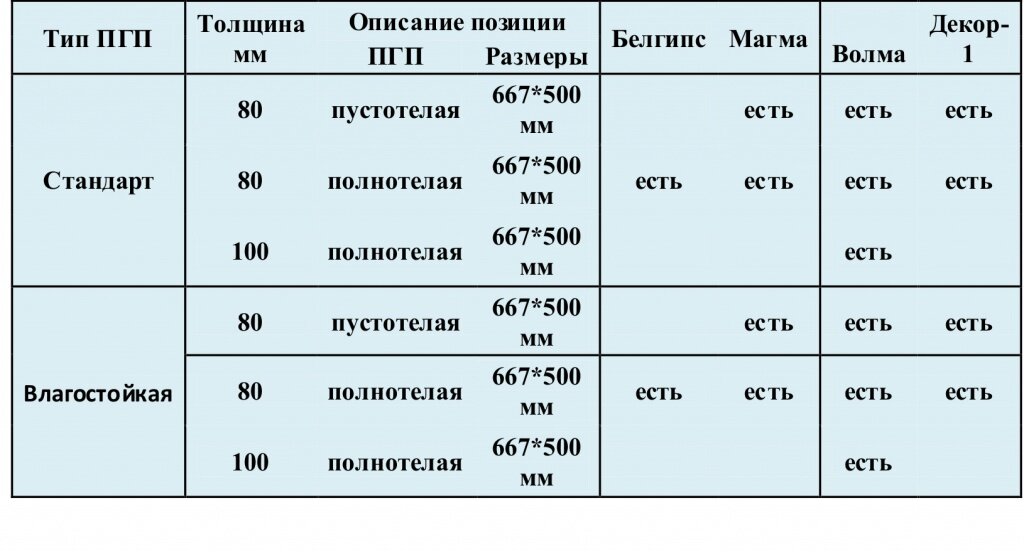
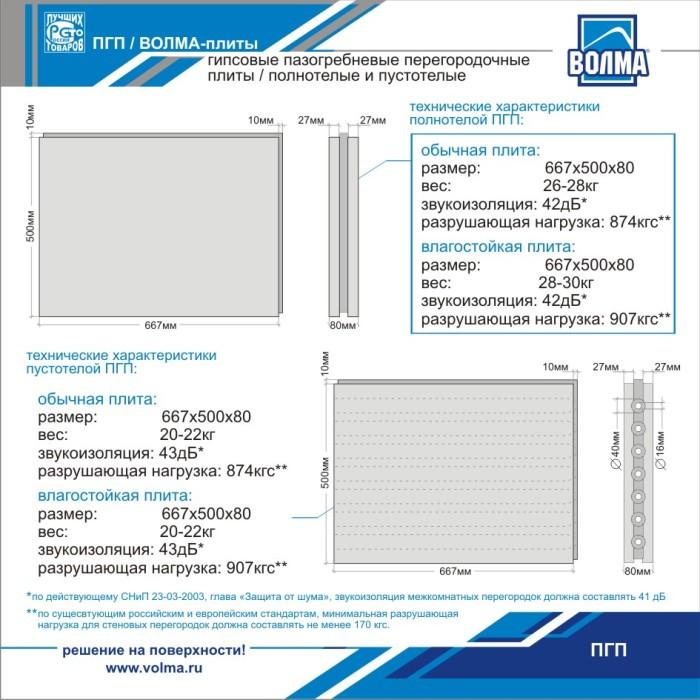
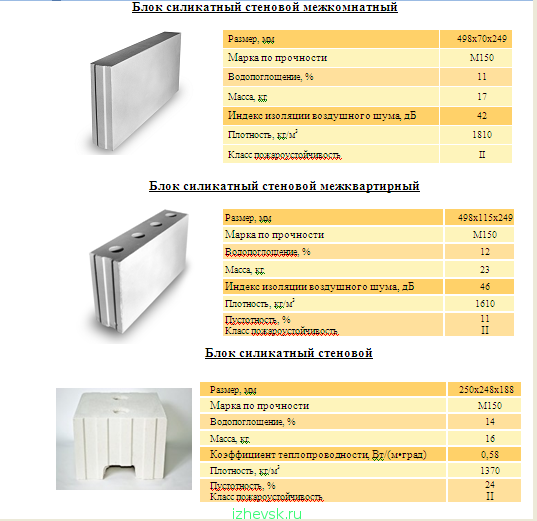
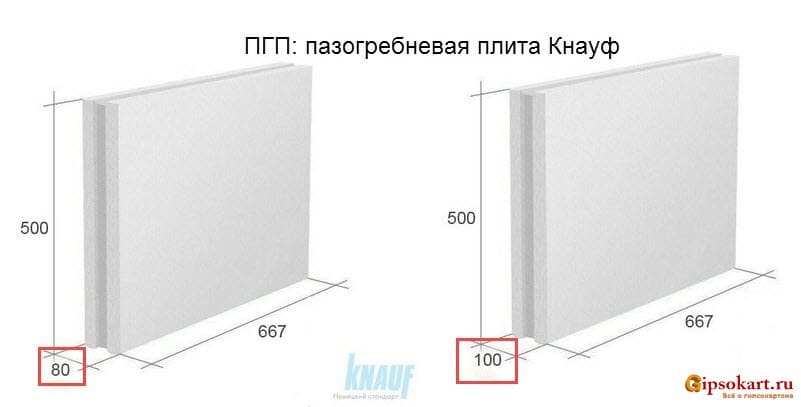
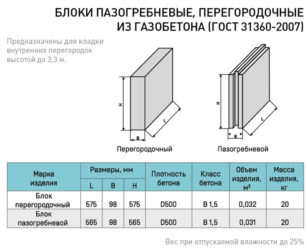
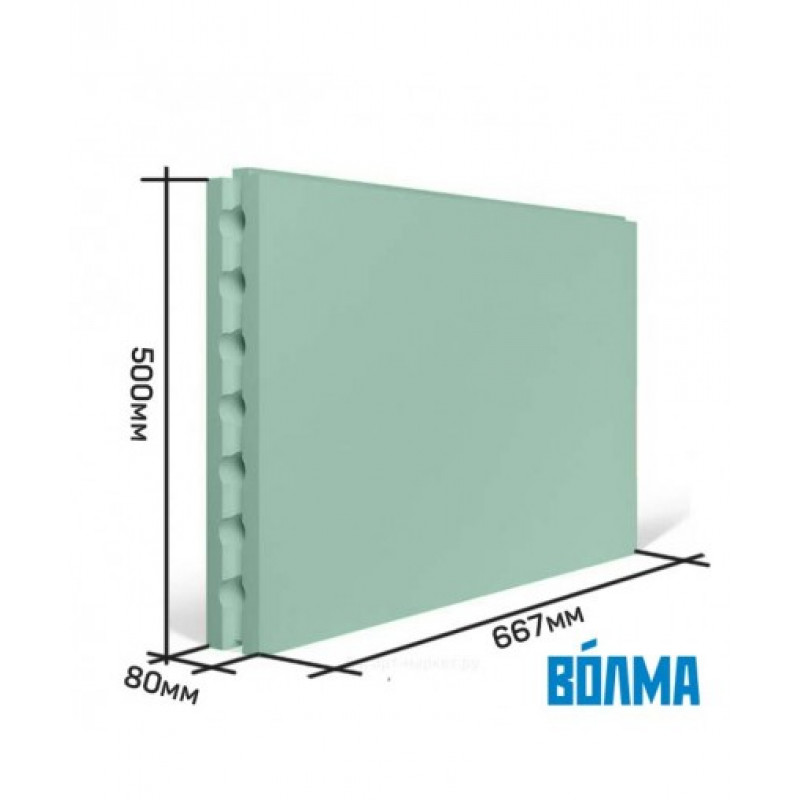
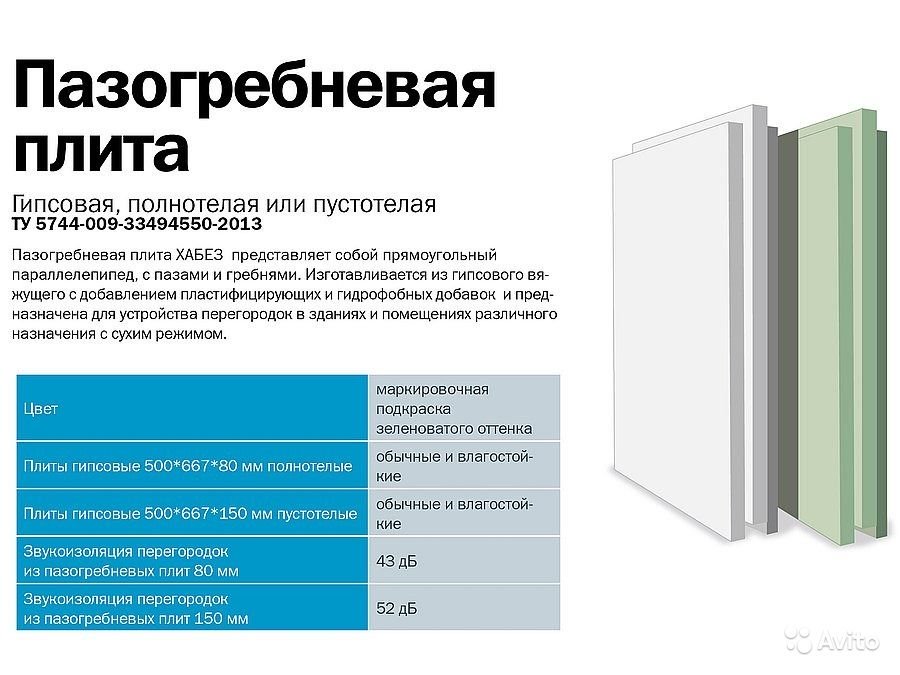
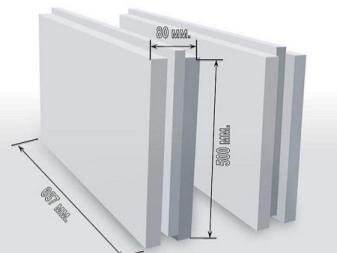
Wall blocks made of gypsum blanks can differ significantly from silicate modifications. A plaster structure with dimensions of 0.667 m long and 0.5 m high successfully replaces 20 single red bricks. Silicate models will replace only 7 bricks, but this will also significantly speed up work and reduce costs.
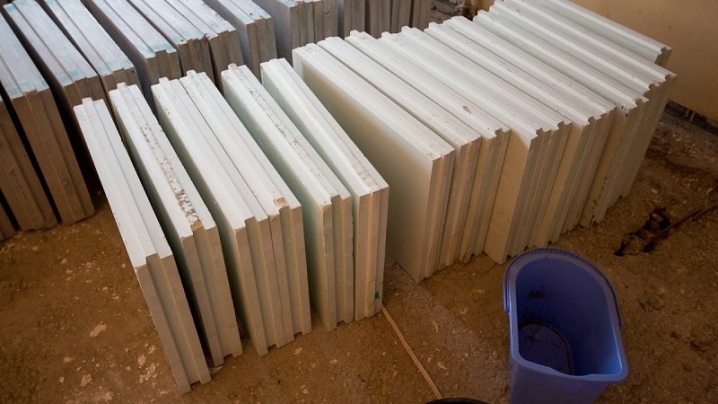
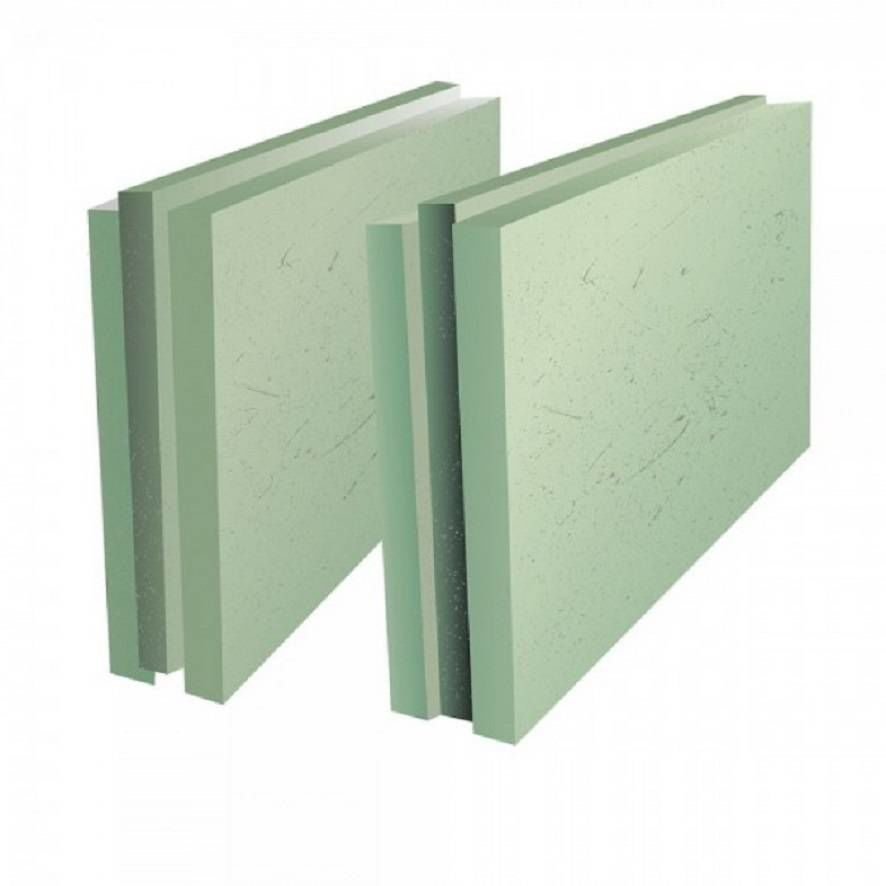
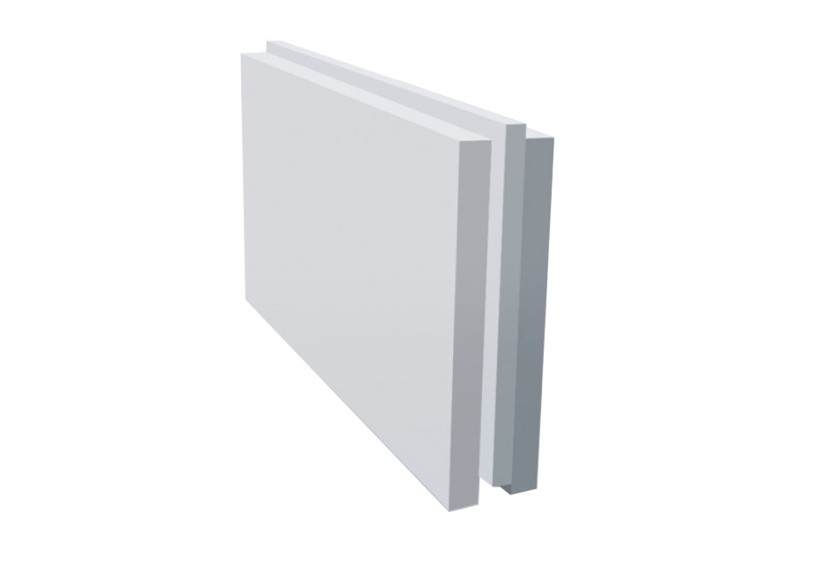
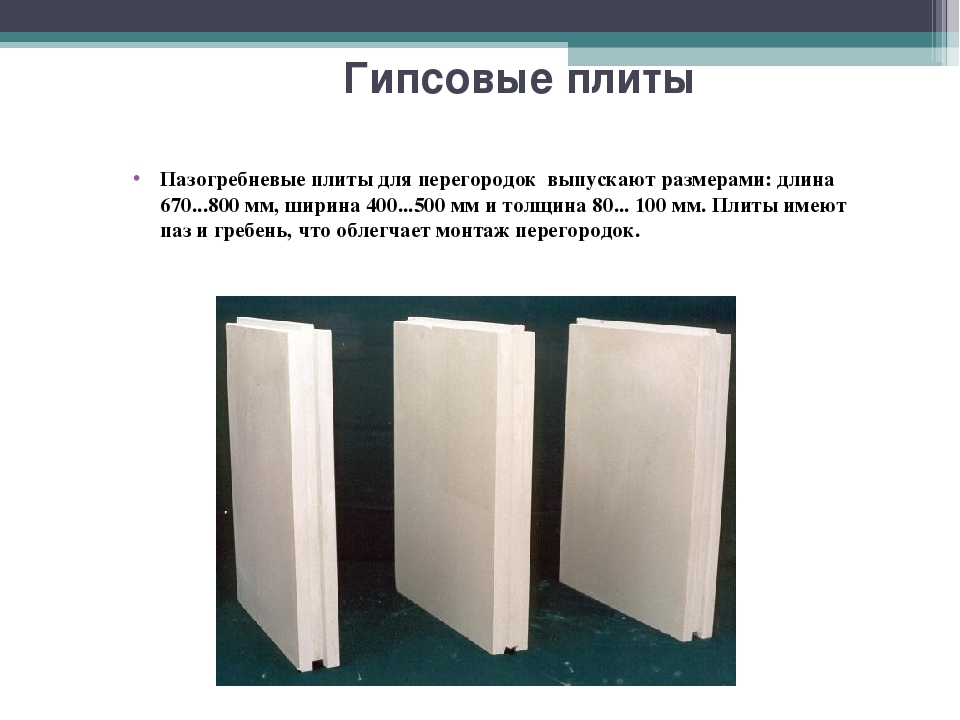
Gypsum plates with groove-ridges are somewhat larger than similar products on a silicate basis. This is directly related to their reduced specific gravity. Dimensions may vary depending on the technology used by a particular manufacturer
Important: the presence of internal voids does not affect the linear dimensions of the product. It is much more important that thinner blocks are used for interior partitions than for main walls

Use and installation
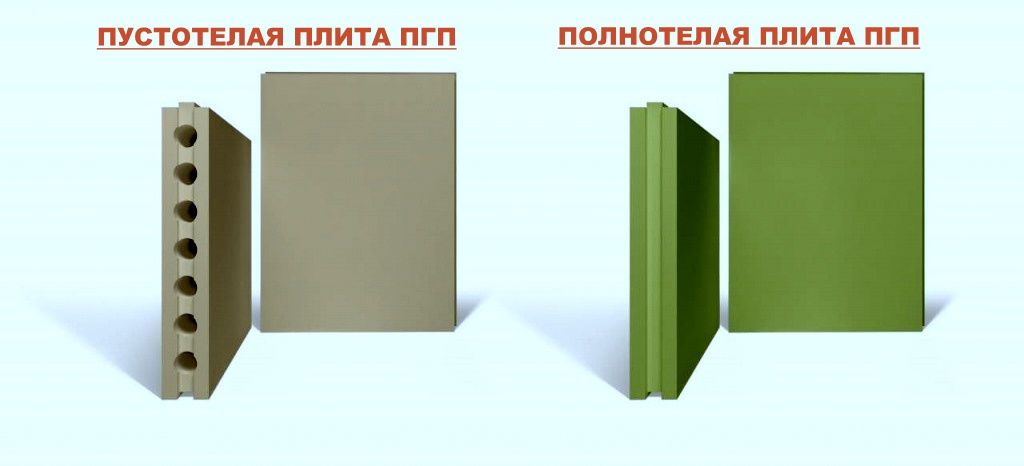
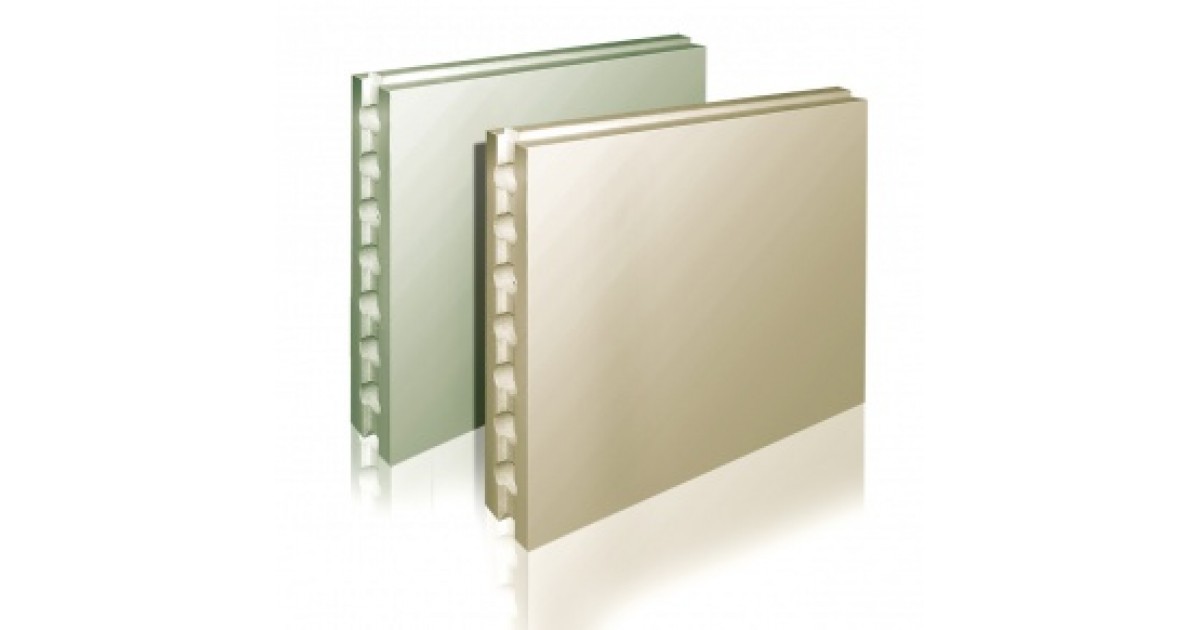
Today, solid and hollow GWP blocks are widely used in the construction industry. Their distinguishing feature lies in the ease of installation. Of course, it is convenient to invite a bricklayer specialist who will raise the partitions in a short period of time, or you can do the installation of the slabs yourself. The main thing is to know the general requirements for working with GWP plates:
- installation of plates must be carried out before the start of finishing work;
- the room temperature should be more than 5 degrees Celsius;
- Before placing the slabs, they must be primed.
To start the installation process, you need to prepare some tools and materials:
- GWP plates;
- glue mixture;
- primer;
- brackets for fixing the partition to the ceiling and floor;
- self-tapping screws;
- putty knife;
- level;
- container for mixing the adhesive;
- hacksaw;
- drill;
- screwdriver.
Now you can proceed to the preparatory step of installing the partition. First of all, the marking of the dividing wall is made on the floor. To do this, the floor covering must be cleaned of dust, treated with a primer. The boundaries of the septum are applied with a pencil or marker. A strong thread must be pulled to a height of 30 cm from the side, which will indicate the installation boundaries of the first row of plates.
Next, the solution is prepared. The adhesive mixture is presented in dry form. Accordingly, it must be diluted with water in the proportion indicated on the package. A gypsum-based mixture sets much faster. Therefore, it is necessary to knead it in small quantities. A small amount of glue is applied to the base of the board and the adjacent part of the wall. The slab is installed on the mortar with the ridge upwards and is firmly pressed against the floor covering and the wall. The horizontality is checked by the level. An adhesive is applied to the end side of the block, designed to fix the next block.
After installing the first row of plates, you can proceed to the second. The installation process in this case is slightly similar to brickwork, where the dressing of the joints is used.Accordingly, the second row is made with an offset of the joint of the masonry slabs. To strengthen the partition, it is necessary to fix metal corners or brackets at the joints of the slabs with the wall and floor. The fasteners are mounted using self-tapping screws.
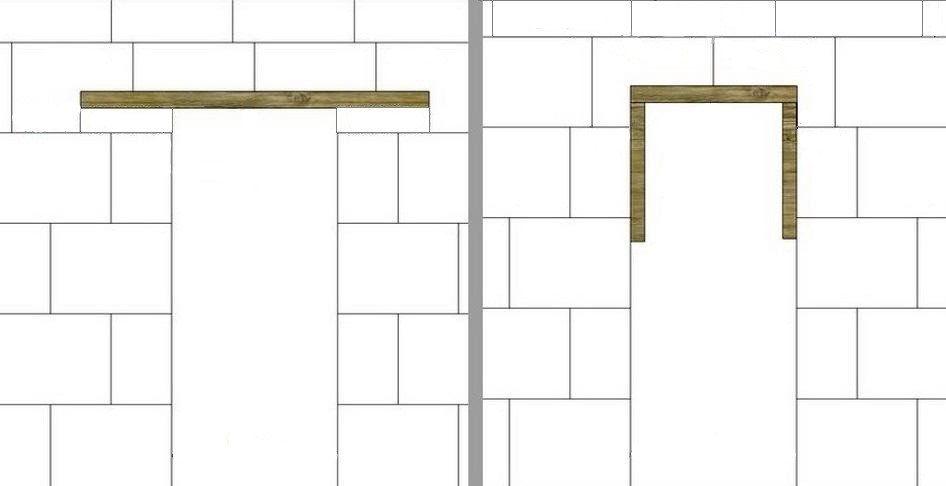
The entire partition is laid out in a similar way. It is necessary to know the intricacies of sealing the gaps between the assembled wall and the ceiling. It is clear that there is a gap between them.
In the next video, you will see the installation of walls and partitions from tongue-and-groove slabs with your own hands.
4.1 Gypsum tongue-and-groove plates
4.1.1 This Code of Practice for the device of structures provides
use of gypsum tongue-and-groove plates according to TU 5742-007-16415648-98, TU
5742-014-03984362-96, TU 5742-001-56798576-2004 and TU 5742-003-05287561-2003,
physical and technical characteristics of which are given in the table.
4.1.2 The range of gypsum tongue-and-groove slabs includes ordinary and
hydrophobized (moisture resistant), full-bodied and hollow. Ordinary slabs should
use in the enclosing structures of rooms with dry and normal
humidity modes, and hydrophobized ones can also be used in
rooms with a wet mode according to SNiP
23-02.
Table 4.1
Index
Unit rev.
Plates according to TU
TU 5742-007-16415648-98
TU 5742-014-03984362-96
TU 5742-001-56798576-2004
TU 5742-003-05287561-2003
com.
hydrof.
1
Density, not
more
kg / m3
1250
1100
1200
2
Vacation
humidity, no more
%
12
8
3
Limit
compressive strength, not less
MPa
5,0
4
Limit
bending strength, not less
MPa
2,4
5
Coefficient
thermal conductivity:
lA
W / m × ° C
0,29
lB
0,35
6
Water absorption
hydrophobized plates, no more
%
5
7
Specific
effective activity of radionuclides, no more
Bq / kg
370
8
Group
flammability according to GOST 30244
—
ng
D1
Table 4.2
Slab sizes, mm
Permissible maximum deviations, mm
Length L
Width V
Thickness t
Length L
Width V
Thickness t
TU 5742-007-16415648-98
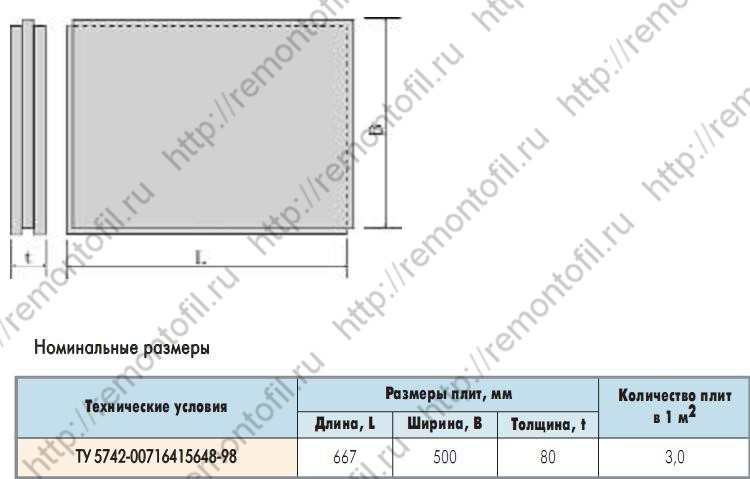
667
500
80; 100
±3
±2
±1
THAT
5742-014-03984362-96
900
300
80
THAT
5742-001-56798576-2004
667
500
80; 100
±0,5
THAT
5742-003-05287561-2003 (corpulent)
667
500
80
±5
THAT
5742-003-05287561-2003 (hollow)
Note - Plates according to TU
5742-007-16415648-98, TU 5742-014-03984362-96, TU 5742-001-56798576-2004 -
full-bodied. Plates according to TU 5742-003-05287561-2003 - hollow and solid.
V
in rooms with a wet mode, the use of gypsum tongue-and-groove plates is not allowed.
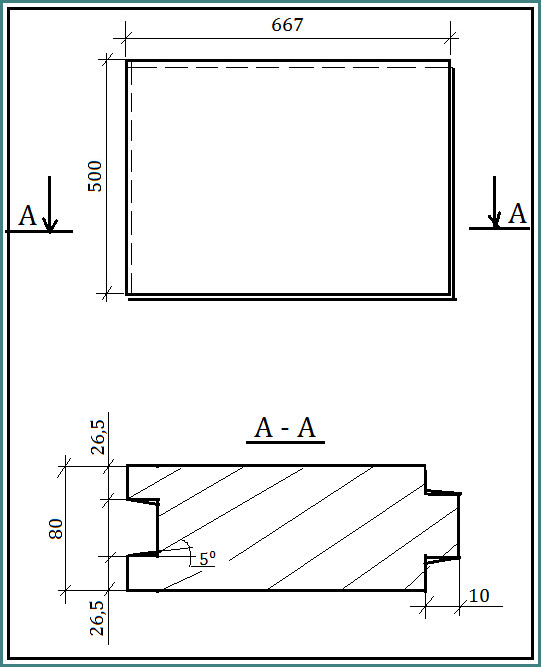
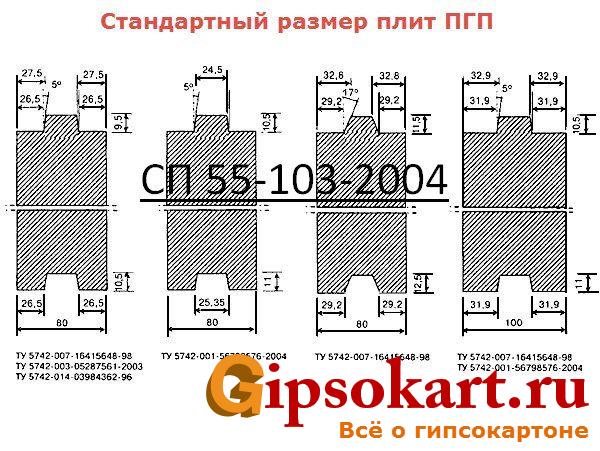
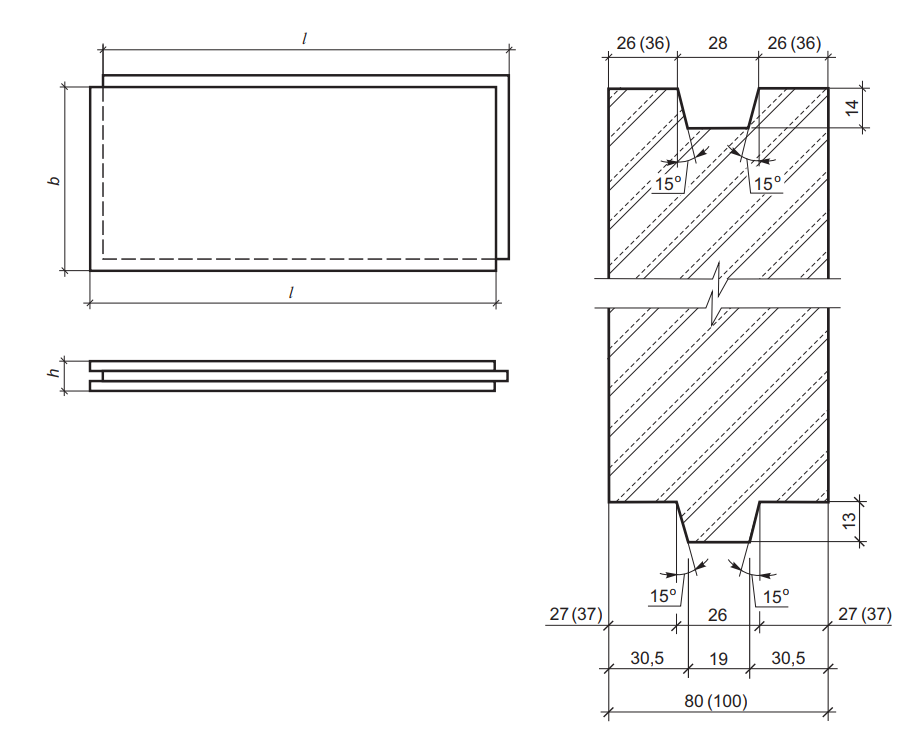
4.1.3 Nominal dimensions of gypsum tongue-and-groove plates and maximum deviations
from the nominal dimensions are given in the table.
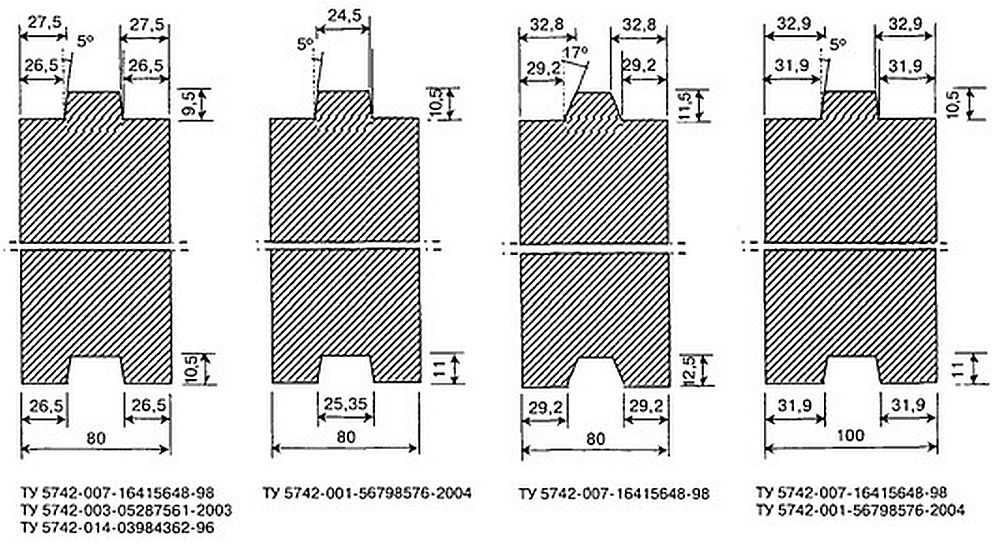
4.1.4Gypsum
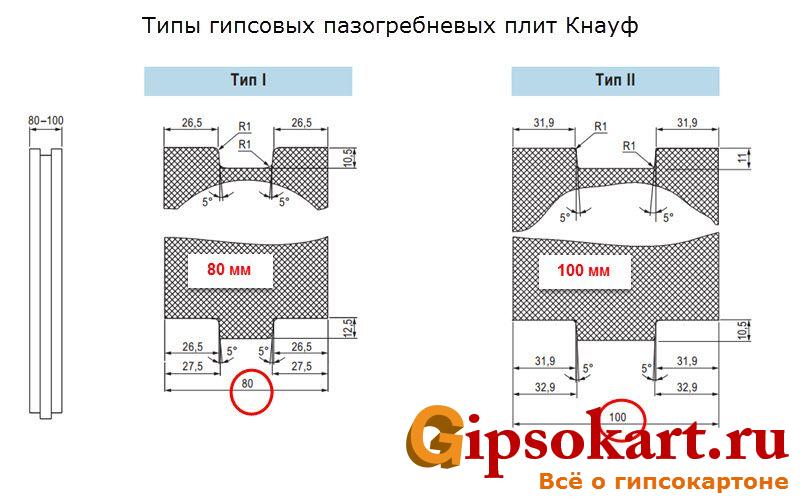
tongue-and-groove plates in the form of a groove and a ridge are of various types (figure).
THAT
5742-007-16415648-98
THAT
5742-003-05287561-2003
THAT
5742-014-03984362-96
THAT
5742-001-56798576-2004
THAT
5742-007-16415648-98
THAT
5742-007-16415648-98
THAT
5742-001-56798576-2004
Drawing
1- Types of gypsum
tongue-and-groove plates in the form of a groove and a ridge (dimensions are given as a reference and
are not a defect)
Laying technology
Installation of GWP is not particularly difficult, but it should also be performed in strict accordance with the instructions, if you want the wall to be durable and safe for household members. The recommendations are simple, but you should not ignore them, so let's take a closer look at them.
Please note that, due to their relative fragility, tongue-and-groove slabs are not used to erect too large-scale structures. Experts point out that even in the case of Knauf products, it is not worth designing walls whose height would be more than 3 meters, and the width - more than 6
For a small redevelopment in an apartment, this should be enough with a margin, but in a private house, once again think about whether your project goes beyond what is permitted.
It all starts with the preparation of those sections on the floor and ceiling, which will become the points of connection with the future wall. Our motto is cleaning and cleaning again, because by leaving any stains of moisture, oil or even old paint here, you run the risk of providing the wall with a backlash in a place that is difficult to repair. If you do not want the wall to literally dangle on the brackets in the future, achieve perfect base cleanliness.
Before fixing anything to the floor and ceiling, mark the place of future fixings. Do not be lazy to double-check everything several times, using a plumb line and level, because any mistake is a skewed wall, damaged floor and ceiling.
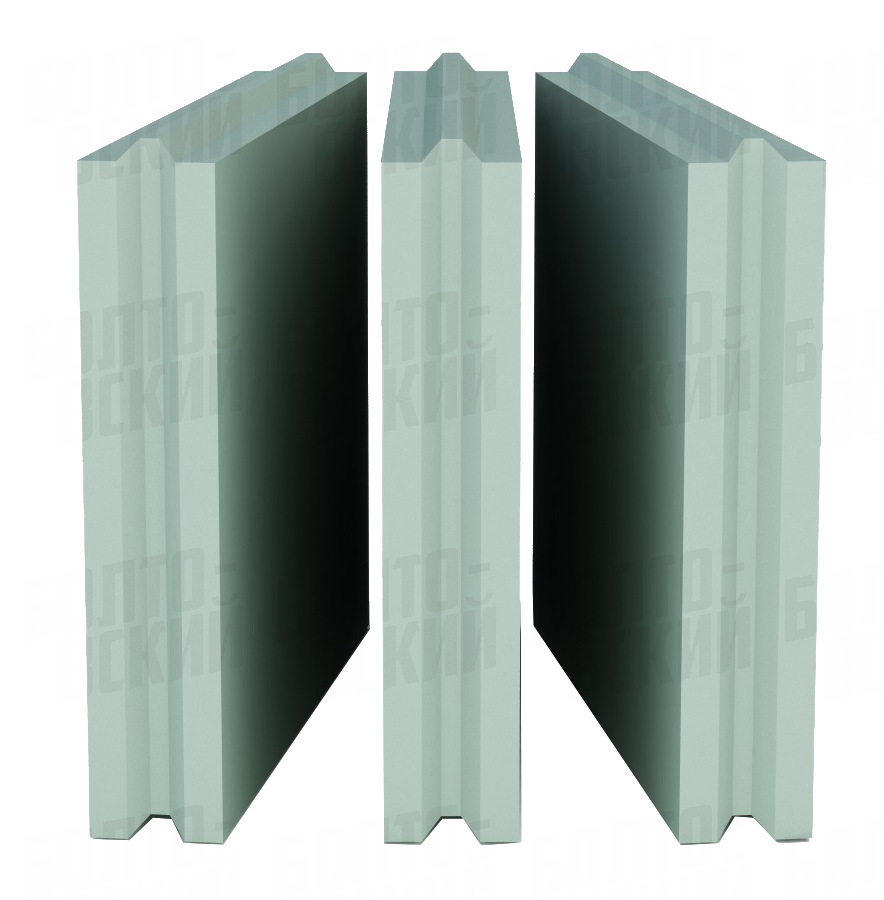
The slabs are assembled into a single structure using grooves and ridges, but this is only among themselves - no one, of course, will drill grooves for them in the floor and ceiling. Accordingly, at the point of contact with the floor and ceiling, the protruding narrow ridges must be removed, otherwise they will interfere.When working on removing the ridge, make sure that the edge of the board remains as flat as possible - it depends on whether you have to putty the joints and to what extent.
By connecting individual blocks with each other, you can not check whether they fit together correctly, forming a perfectly flat surface - that's why Knauf is considered a world-famous brand so that its products do not have obvious jambs. However, during the installation process, you simply must, after each step you take to install a new unit, check whether your structure is vertical with an angle of 90 degrees in relation to the floor, ceiling, adjacent walls. Better to check now than to redo it later.
How exactly to attach the slabs to the capital foundations depends on what you will do with the erected wall further. The key advantage of Knauf GWPs is that they do not need to be plastered. Therefore, the method of fastening seems obvious - they are glued, starting from the floor, and the possible gap from the upper edge to the ceiling, if it is small, is sealed with polyurethane foam. If the room is completely bare, and plastering looks like an absolutely inevitable procedure, it is wiser to use braces, which are often more reliable. However, even in this case, the connection between the individual fragments of the prefabricated structure will be provided by the glue, for which the Fugen putty is suitable.
Please note that when gluing two tongue-and-groove plates, it is necessary to coat the grooves with glue, and not the thorns, otherwise you run the risk of allowing smudges over the entire surface of the future wall. Although the glue (or putty) takes much less time to solidify than cement mortar for bricks, this construction time must still be given before sealing the joint seams.
The accuracy of the grouting directly affects whether you have to do additional plastering to level the surface. At the same time, some types of finishes, such as decorative plaster or wallpaper with a textured texture, allow you to hide minor irregularities.
The following video describes the installation of tongue-and-groove slabs.

