Application and installation
In addition to the partition blanks themselves, for the separation of the premises it is necessary to prepare:
- special primer;
- mounting glue;
- wide spatulas;
- spatulas for external and internal corners;
- gypsum-based putty;
- mounting foam;
- dowel-nails;
- self-tapping screws;
- straight type suspensions or mounting angles;
- mallet hammer;
- building level.


The most important requirement of the technology is a reliable, sound base. It is better to spend time and money on filling leveling, than to face problems. But even if there are no problems, you need to at least remove all the dust and dirt. Only after that you can proceed to the installation work itself.
The instructions always pay special attention to the level of adhesion of the materials. A primer helps to improve grip
It will have to be applied to all contact surfaces. Next, you will have to wait until the soil layer is completely dry. When this happens, they make the markup, and then prepare the working composition. Any plaster-based assembly preparation is suitable for this purpose.
Taking care of sound insulation plays an important role. It is recommended to attach the partition to the base through an "intermediary" - an elastic material with increased porosity. Cork is a good option. But if protection from extraneous sounds is not important, you can ignore this stage. Installation of tongue-and-groove plates is performed in rows.


The initial tier is placed from the wall on top of the assembly composition layer. Plates can be positioned by orienting the groove both up and down. In order for the structure to be of high quality, the vertical and horizontal planes are adjusted according to the level. Before installing the next slab, an adhesive layer is placed on its base and on the upper edge of the lower tier. Starting from the second level, the entire masonry is sequentially trimmed with a mallet - this is the only way to finally level everything.
The completion of the formation of the partition usually means the use of part of the slab. You can get it by simply sawing the block with a hand saw. From the very beginning of the installation of the second row, the vertical separation of the joints is monitored. This significantly increases the overall strength of the masonry. Plates are attached to the walls and to the bases (at this moment, corners, self-tapping screws, dowel-nails will be needed).

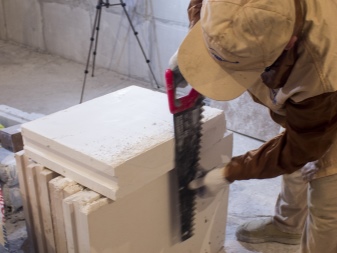
The final row is installed, making a gap of at least 15 mm from the floor slab. The rest of the gap is filled with polyurethane foam. As soon as its excess is cleaned out, the seam is covered with a gypsum-based putty. Finishing is done primarily to protect the outer corners of the partition. The corner profile 31x31 mm with perforation can help in this. The inner corners will be protected by a reinforcing tape. Gypsum plaster is applied to each corner. Its layer will provide the final leveling of the surface. To lay electrical wiring or wiring accessories, use the cavities provided by the designers. As needed, they are expanded with a drill using a crown.
The same tool will allow you to prepare external recesses for the wiring output. Before using paint or other decorative coating, the seams must be cleaned. Both along the seams and along all the relief drops, they are covered with gypsum putty. Additionally, you will need to prime the surface. Installation of shelves, plumbing fixtures on a slab partition is done in the same way as on other stone walls.
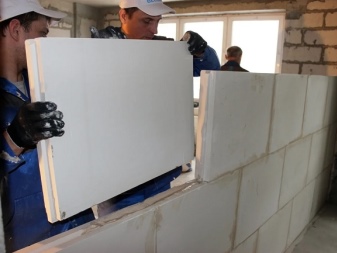
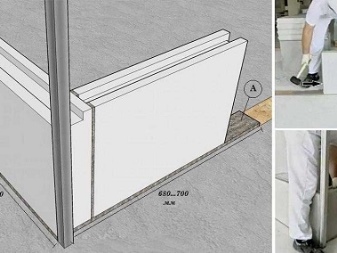
The upper row of slabs above the door opening is formed using a mortgage. To solve many problems with puttying timber, double-sided sheathing with plasterboard sheets helps. The width of the timber-drywall assembly should be slightly less than the GWP.Having prepared the opening in height, the timber is placed directly on Volma-Montage. Having attached slabs to this beam, you can then go over them with a net and cover with putty.
The final row is usually placed vertically.
This is important to reduce the amount of trimming. This approach is practiced in cases where the height allows you to put solid tiles.
The additional gap is 2-3 cm. Plaster can be used to mask the polyurethane foam. First, a small amount of the mixture is applied to the level of the board on one side. Then you have to wait for the mortar to set. When it hardens, the middle of the zone from the stove to the ceiling is foamed.
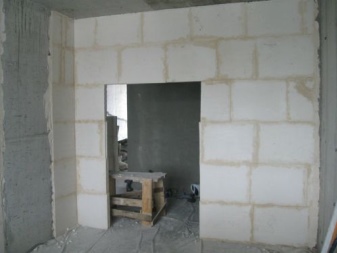

In the next video you will see the technology of installation of Volma tongue-and-groove slabs.
Volma tongue-and-groove slabs (hollow)
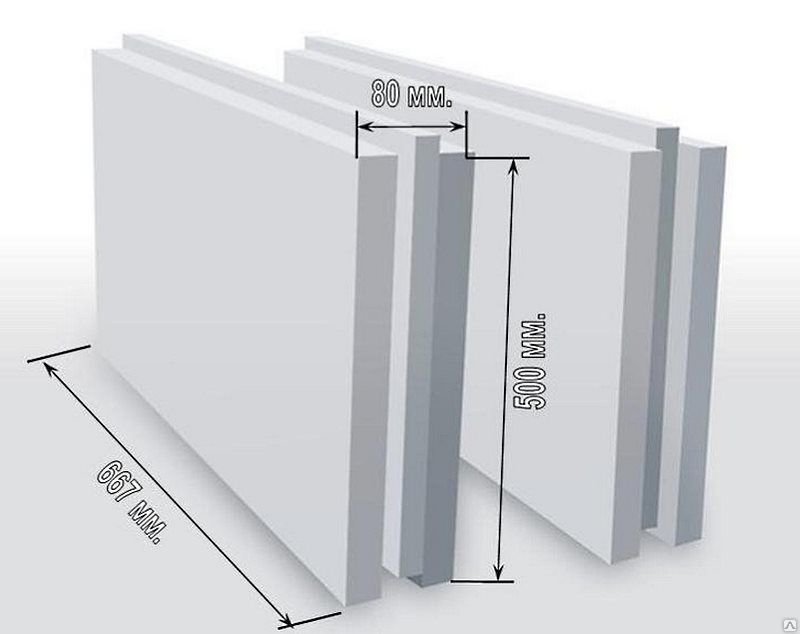
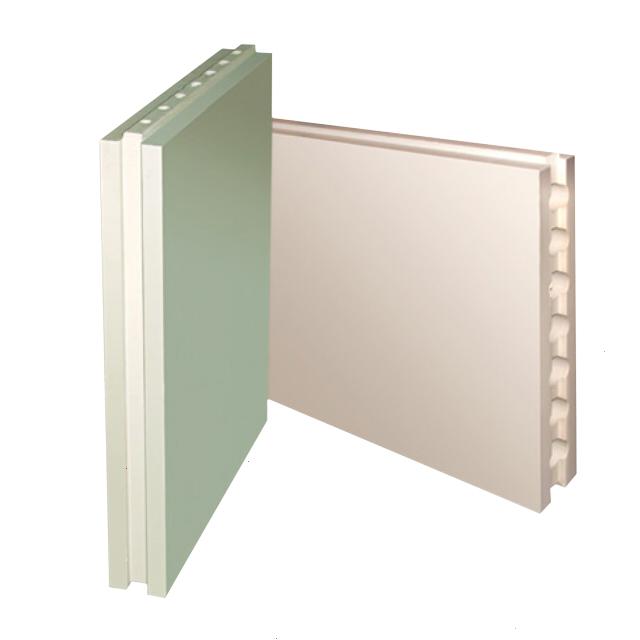
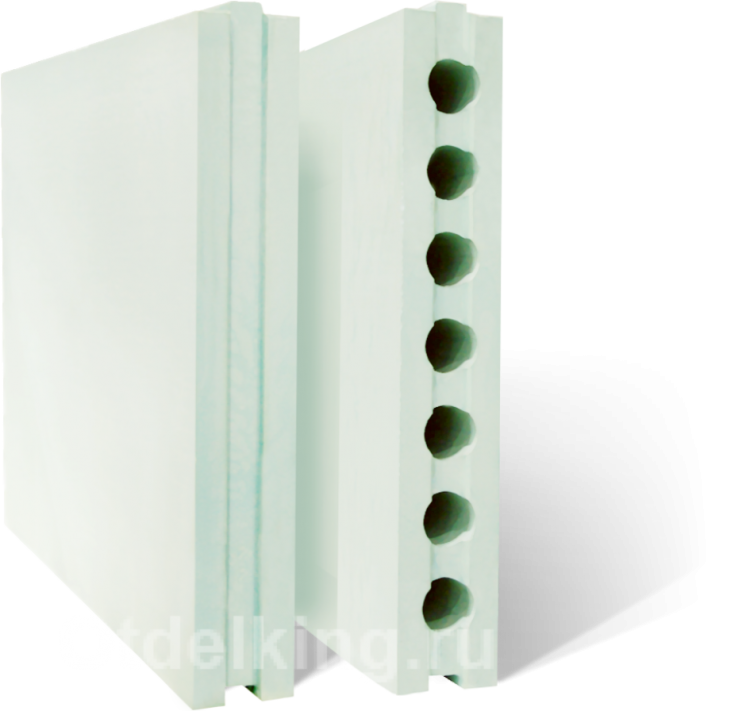
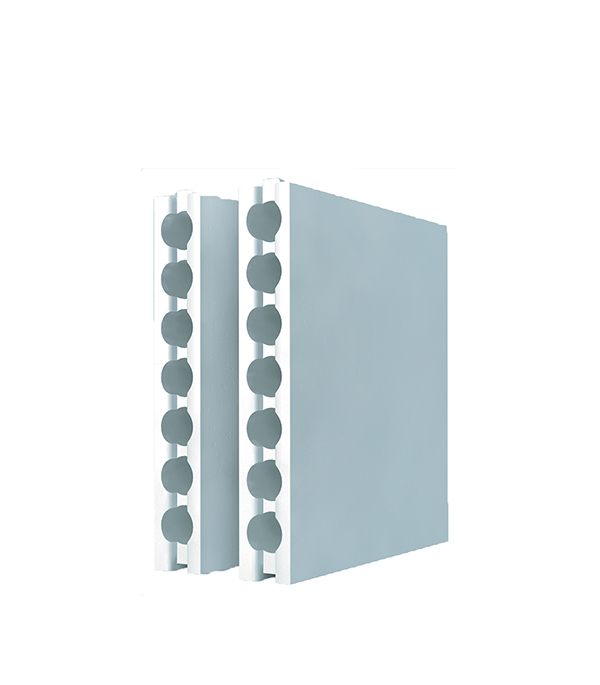
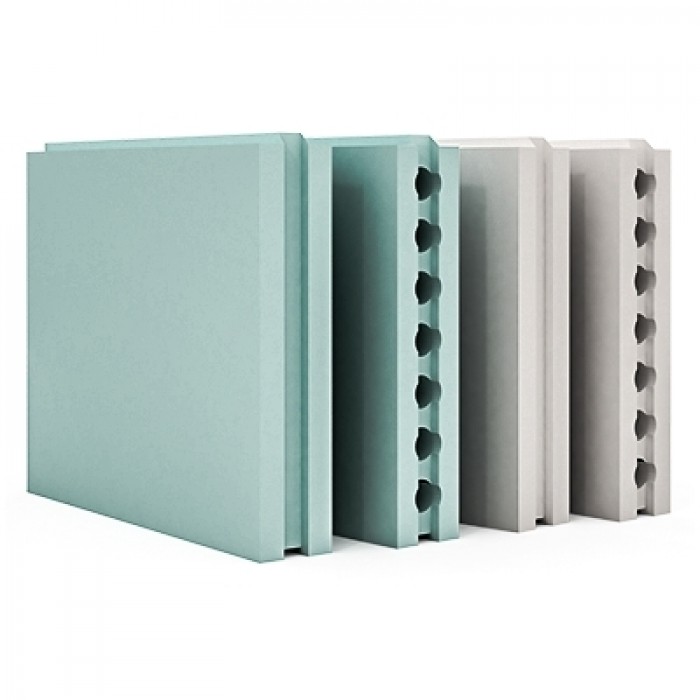
For the construction of partitions requiring a reduction in the load on the base of the floor, hollow Volma gypsum boards are provided. Their main application is the installation of indoor structures in modern panel houses. This is due to the maximum load that the floor slabs can withstand. Like their solid counterparts, slabs can be standard and moisture resistant. The standard size remains the same: 667X500X80 mm. Often, a hollow slab is used for cladding outside the room. The weight of the standard hollow slab is 20 kg, the moisture resistant slab is 22 kg. Material properties of hollow slabs are similar to their solid counterpart.
Installation of partitions from Volma slabs
Installation of a partition made of Volm tongue-and-groove plates is carried out by precise alignment of grooves and ridges on parallelepipeds, followed by gluing them. As an adhesive mixture for Volma tongue-and-groove plates, any glue for gluing drywall is used, including the one recommended by the manufacturer Volma-montage. Installation of the partition structure is carried out in the following order:
The partition is made of Volm tongue-and-groove slabs. Video instruction
- Within 4-5 hours, the stove is acclimatized at a temperature not lower than + 5 ° С;
- Mechanical cleaning of the surface of the bases from construction debris and dust;
- The layout of the future partition is made along the walls and rough floor;
- If necessary, level the surface with a cement-sand mortar;
- Prepare an adhesive solution according to the instructions on the package;
- Carry out soundproofing of the base of the partition using a soundproofing dichtung;
- Remove the ridge from the underside of the boards of the first row;
- Lay the first row, controlling the level and slope of the slabs using the rule;
- The next rows are laid out with an offset of half the size of the gypsum board, for this, the extreme elements are sawn in half;
- The adhesive mixture is placed both in the groove of one board and on the ridge of the next;
- Shrinkage of Volma tongue-and-groove plates is carried out using a rubber hammer;
- The alignment of the masonry is done by the rule;
- To increase the stability of the partition during the installation of tongue-and-groove plates, it is possible to use fastening brackets. Volma tongue-and-groove plates are cheaper than their counterparts manufacturers.
Use and installation
Today, solid and hollow GWP blocks are widely used in the construction industry. Their distinguishing feature lies in the ease of installation. Of course, it is convenient to invite a bricklayer specialist who will raise the partitions in a short period of time, or you can do the installation of the slabs yourself. The main thing is to know the general requirements for working with GWP plates:
- installation of plates must be carried out before the start of finishing work;
- the room temperature should be more than 5 degrees Celsius;
- Before placing the slabs, they must be primed.
To start the installation process, you need to prepare some tools and materials:
- GWP plates;
- glue mixture;
- primer;
- brackets for fixing the partition to the ceiling and floor;
- self-tapping screws;
- putty knife;
- level;
- container for mixing the adhesive;
- hacksaw;
- drill;
- screwdriver.
Now you can proceed to the preparatory step of installing the partition. First of all, the marking of the dividing wall is made on the floor. To do this, the floor covering must be cleaned of dust, treated with a primer. The boundaries of the septum are applied with a pencil or marker. A strong thread must be pulled to a height of 30 cm from the side, which will indicate the installation boundaries of the first row of plates.
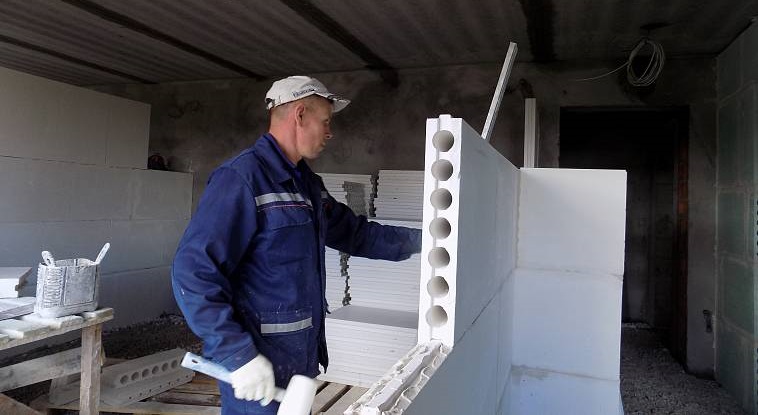
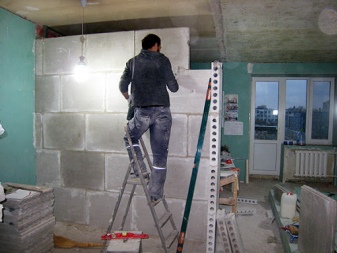
Next, the solution is prepared. The adhesive mixture is presented in dry form. Accordingly, it must be diluted with water in the proportion indicated on the package. A gypsum-based mixture sets much faster. Therefore, it is necessary to knead it in small quantities. A small amount of glue is applied to the base of the slab and the adjacent part of the wall. The slab is installed on the mortar with the ridge upwards and is firmly pressed against the flooring and the wall. The horizontality is checked by the level. An adhesive is applied to the end side of the block, designed to fix the next block.
After installing the first row of plates, you can proceed to the second. The installation process in this case is slightly similar to brickwork, where the dressing of the joints is used. Accordingly, the second row is made with an offset of the joint of the masonry slabs. To reinforce the partition, it is necessary to fix metal corners or brackets at the junction of the slabs with the wall and floor. The fasteners are mounted using self-tapping screws.
The entire partition is laid out in a similar way. It is necessary to know the intricacies of sealing the gaps between the assembled wall and the ceiling. It is clear that there is a gap between them.
In the next video, you will see the installation of walls and partitions from tongue-and-groove slabs with your own hands.
What is this material and its types
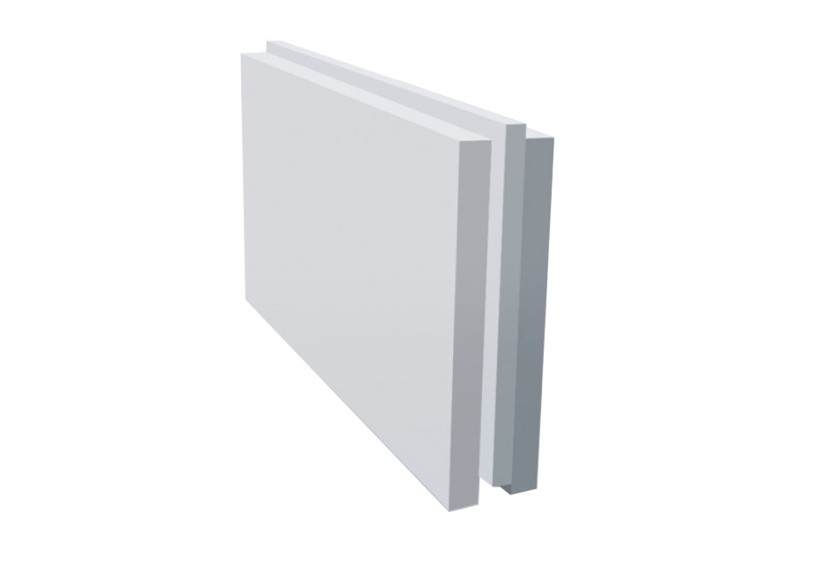
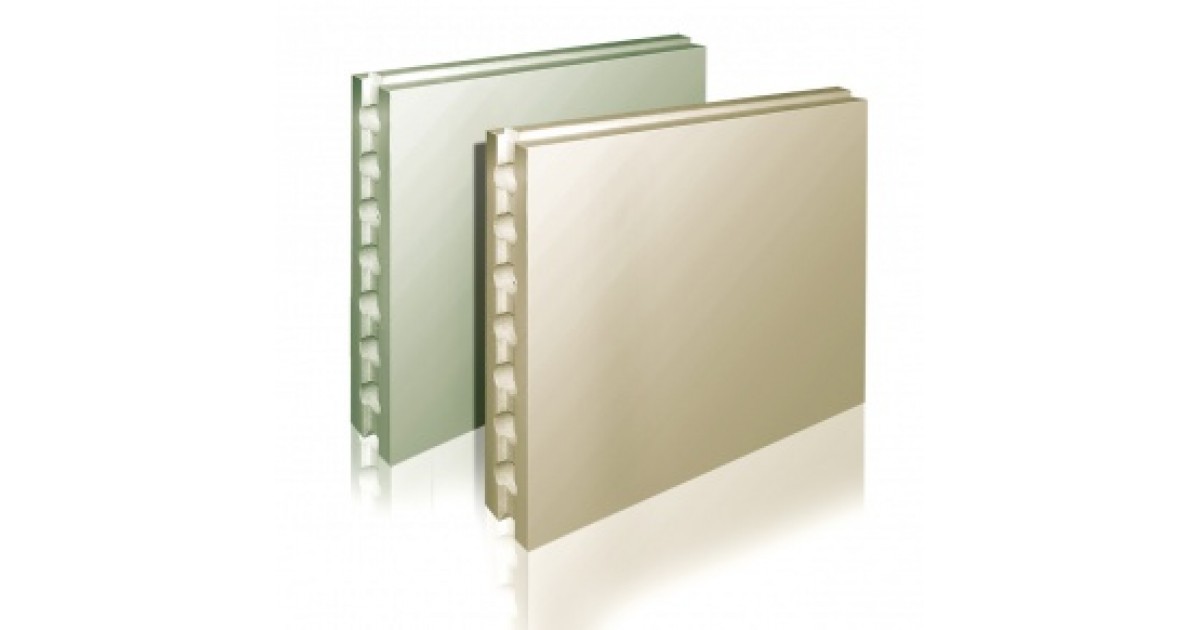
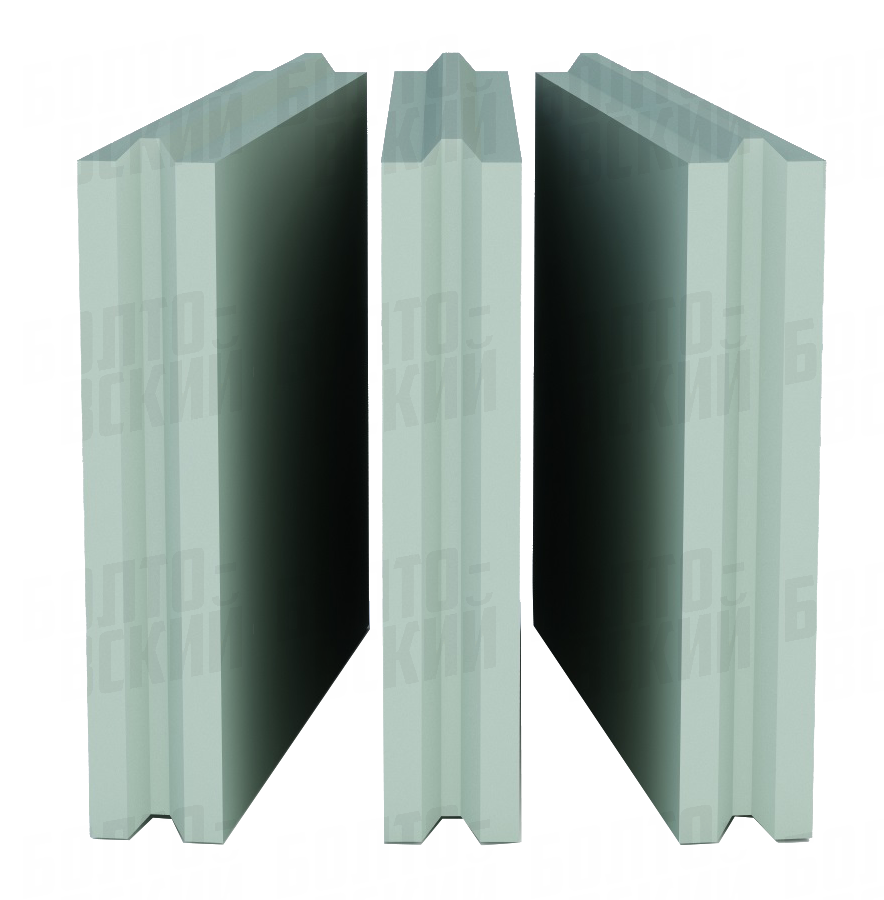
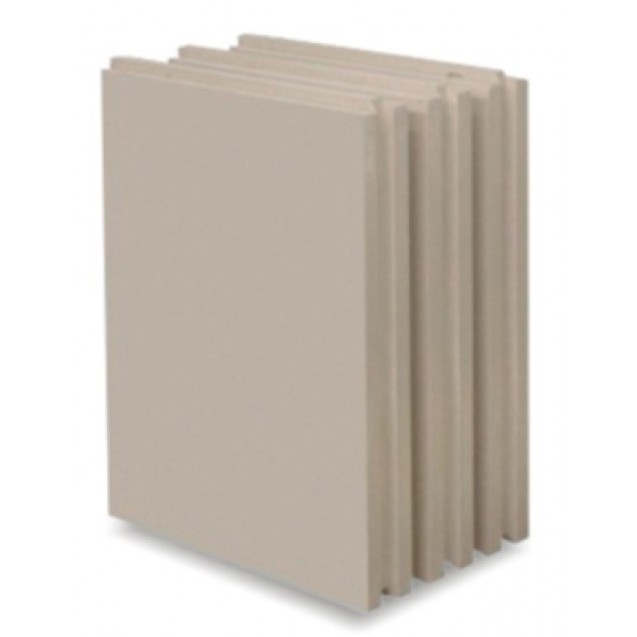
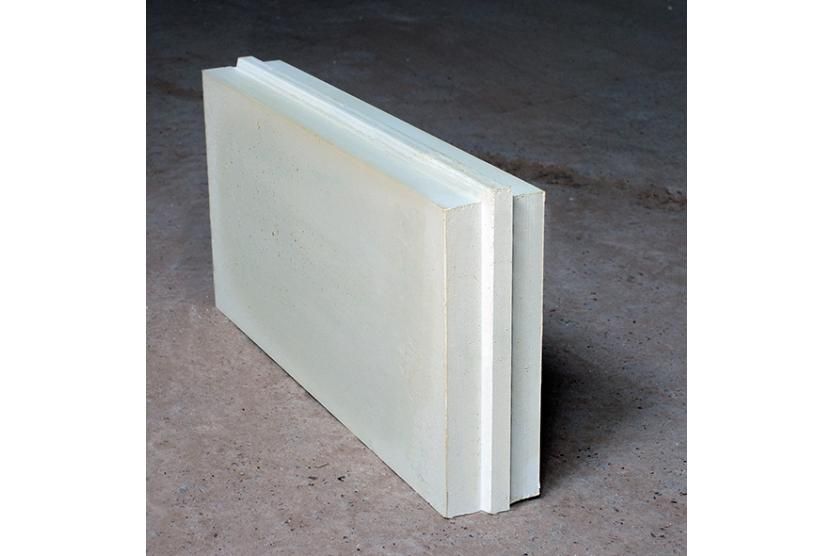
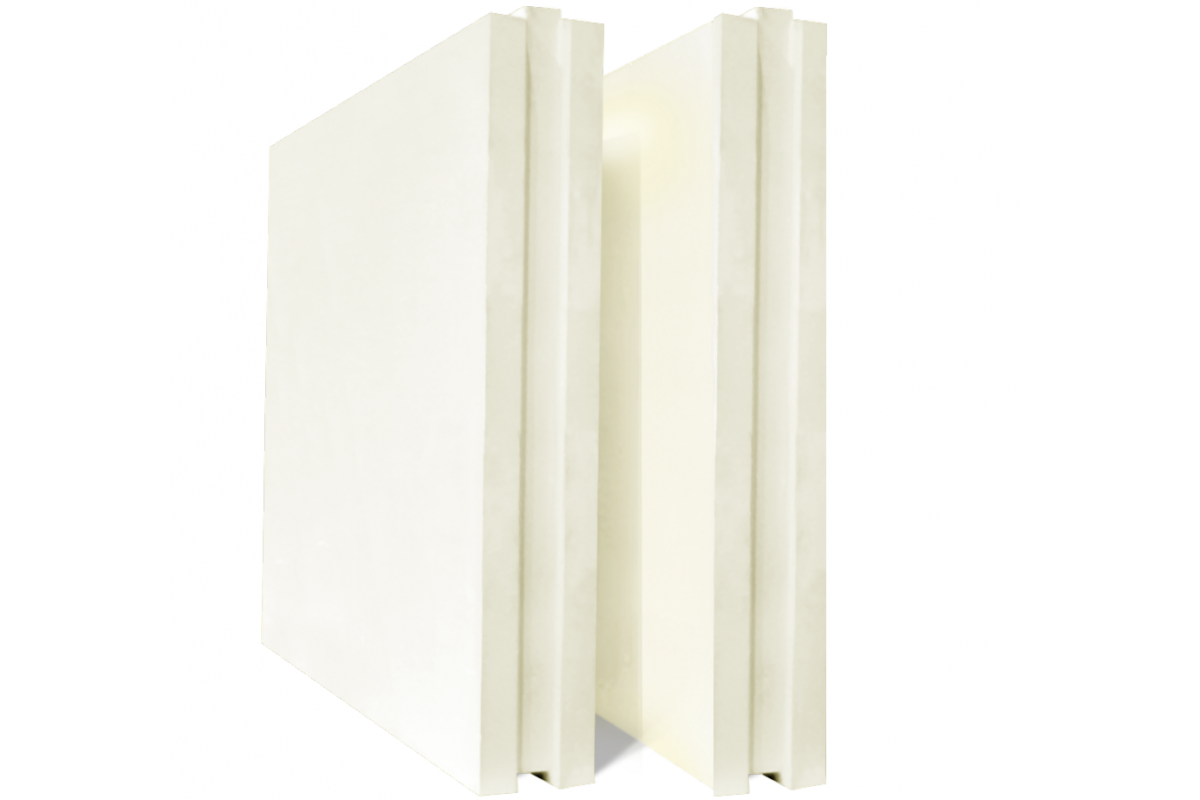
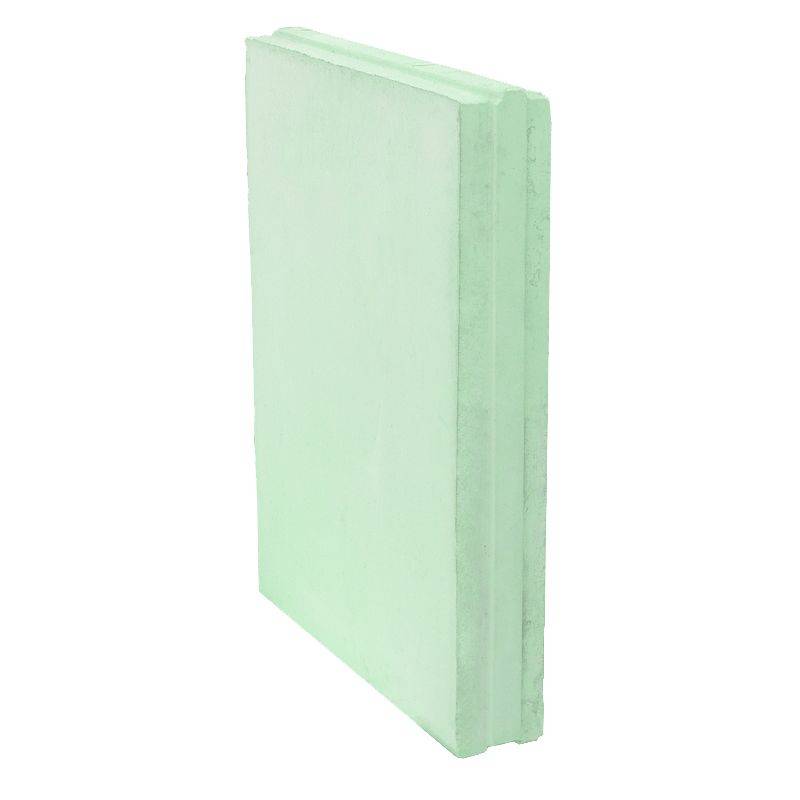
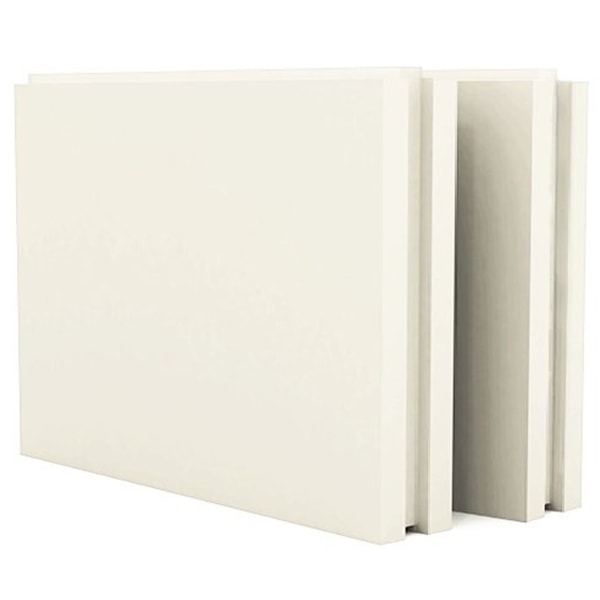
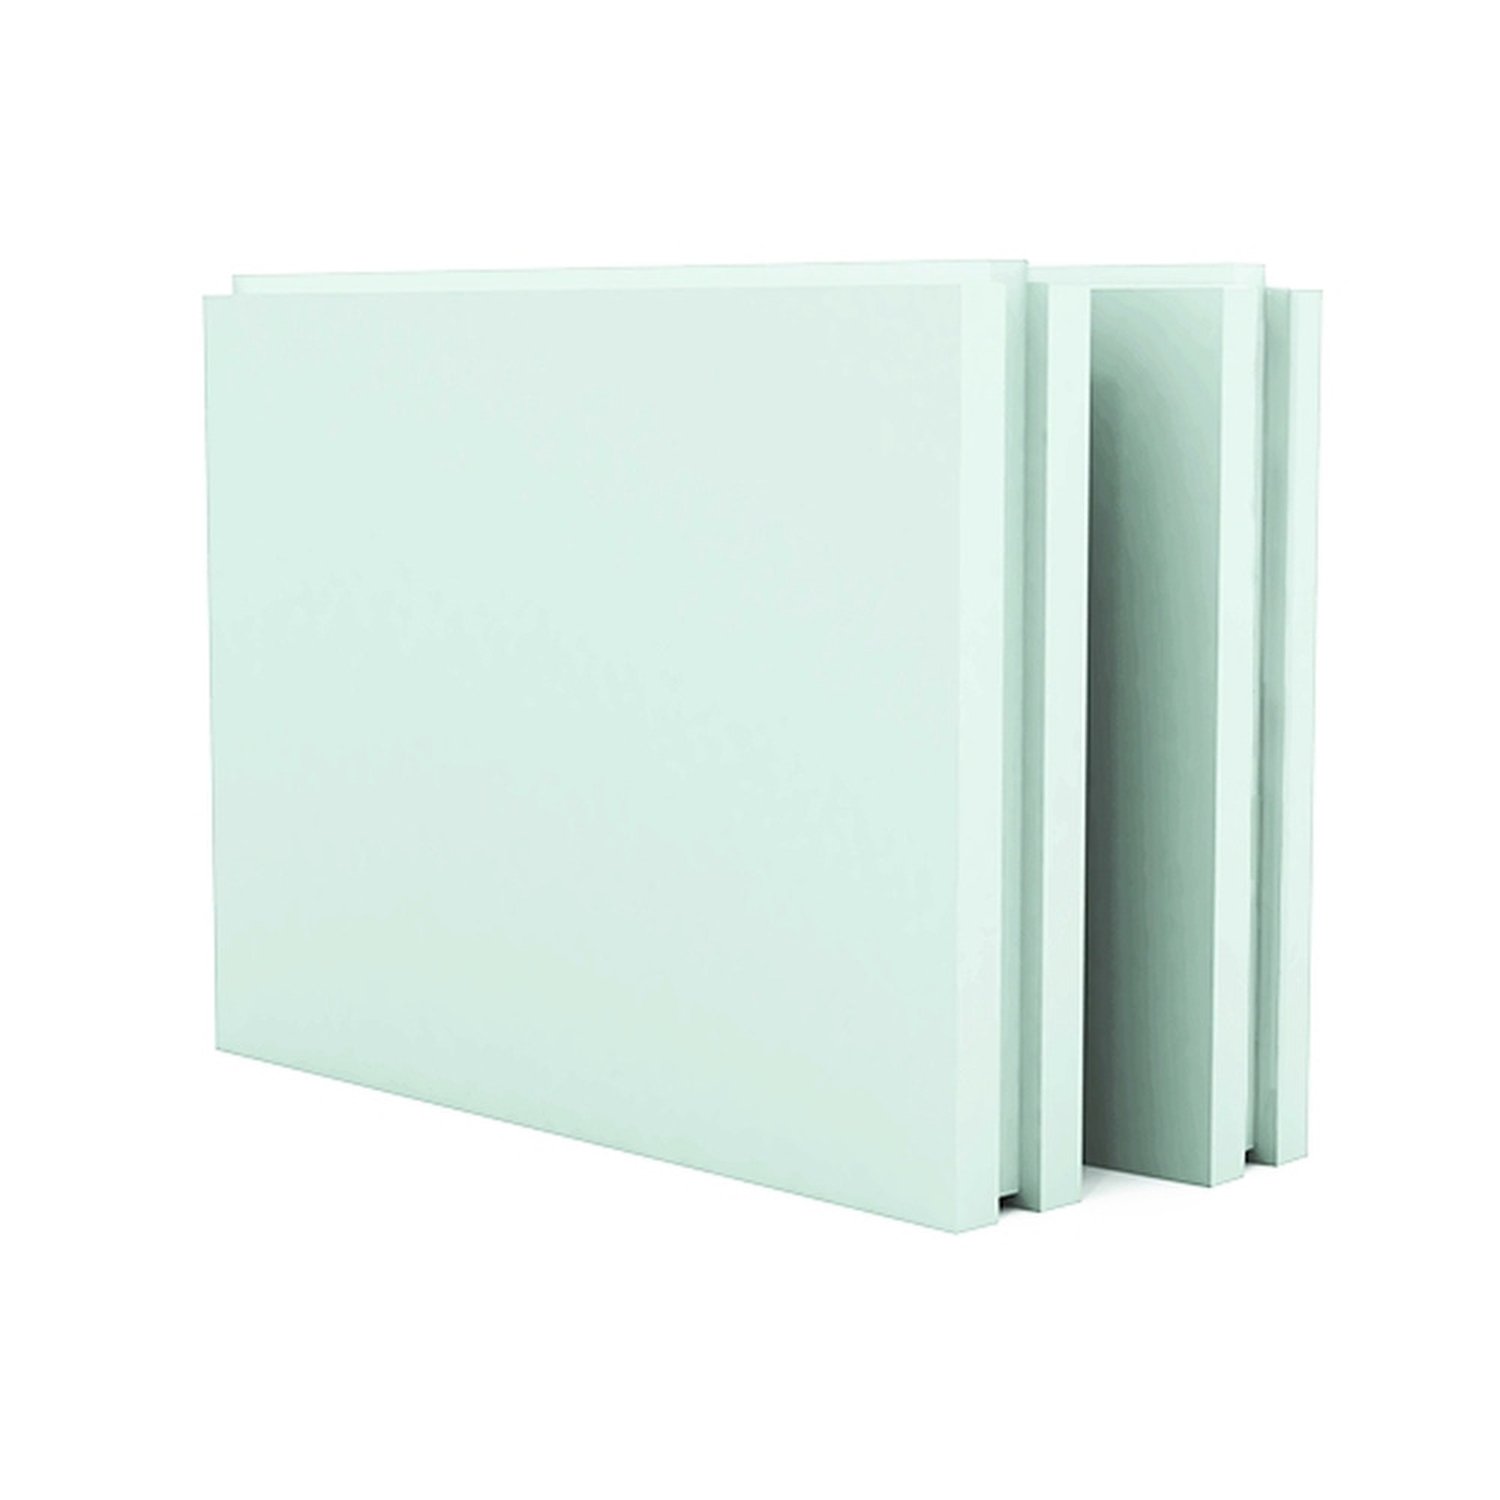
Tongue slabs (abbreviated as PGP) or blocks are large-format building material for erecting partitions in the form of a slab, at the ends of which a ridge (spike) and a groove are formed. Hence this name - tongue-and-groove slabs. They are:
- gypsum-based (cast gypsum);
-
from sand and quicklime, pressed under a certain pressure and steam-treated in an autoclave (silicate).
Plasticizers and hydrophobic (water-repellent) additives are added to the solution to improve the properties. Gypsum GWPs have another name - gypsum boards. It is understandable: the gypsum solution is poured into molds. Here is the "source" of this variant of the name.
Moisture resistance and voidness
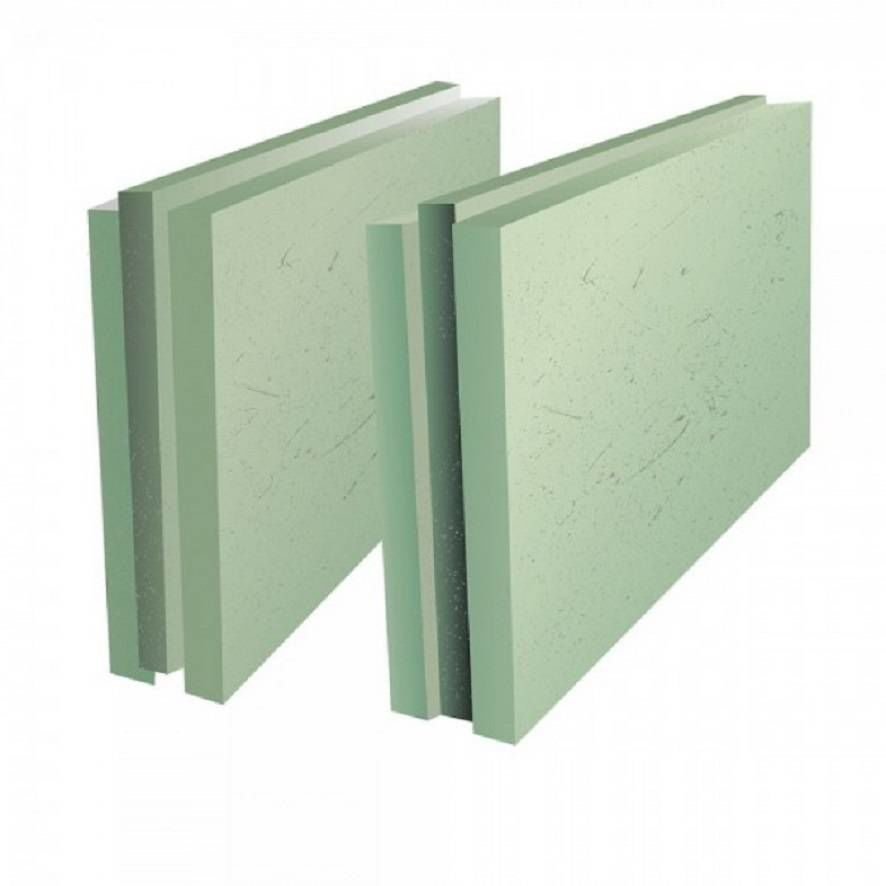
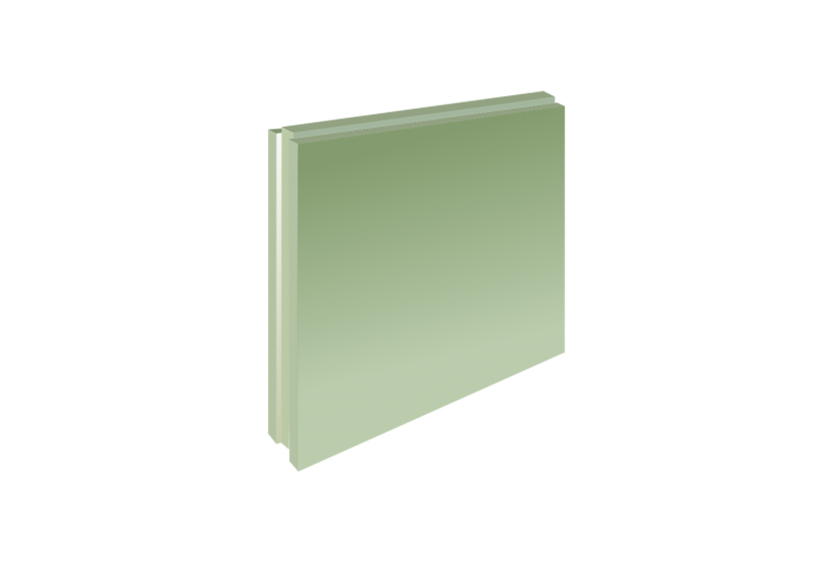
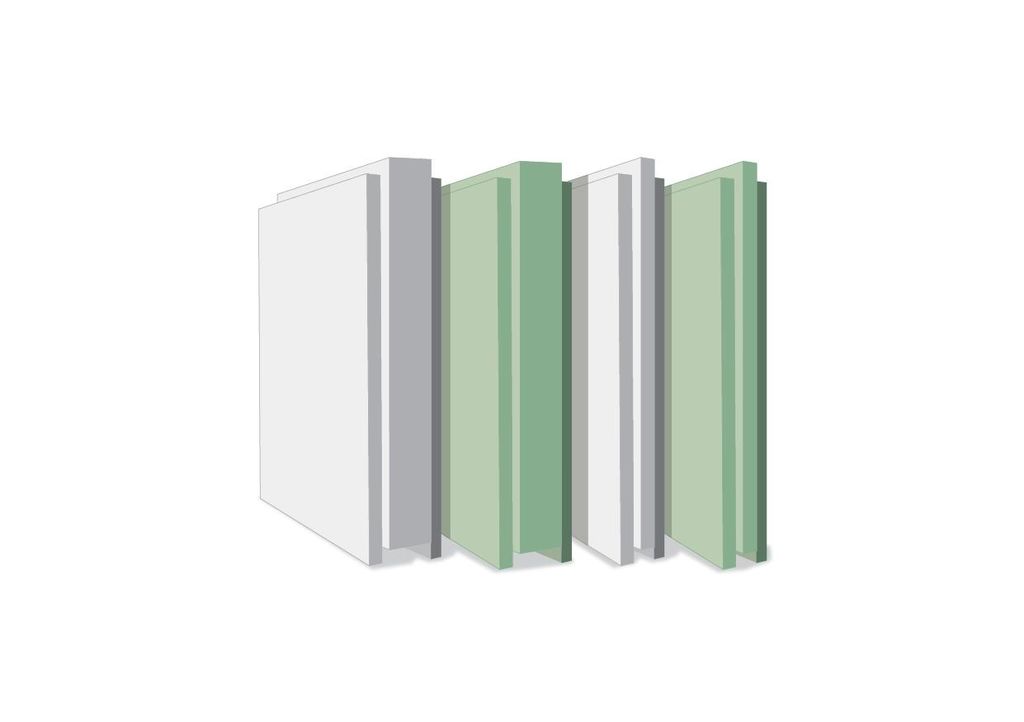
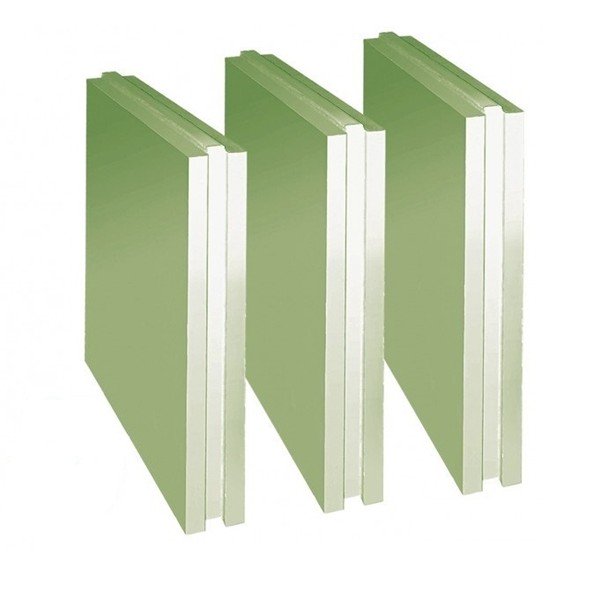
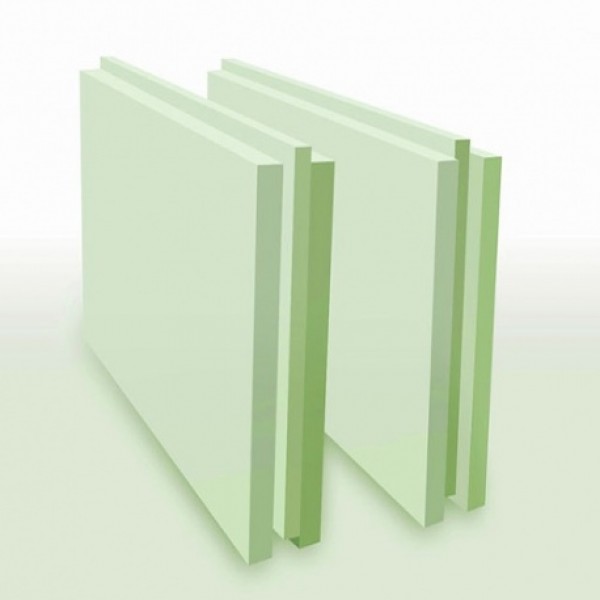
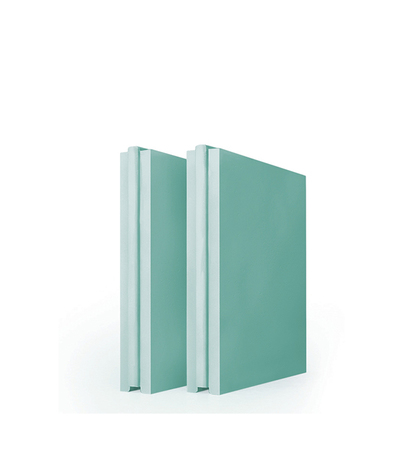
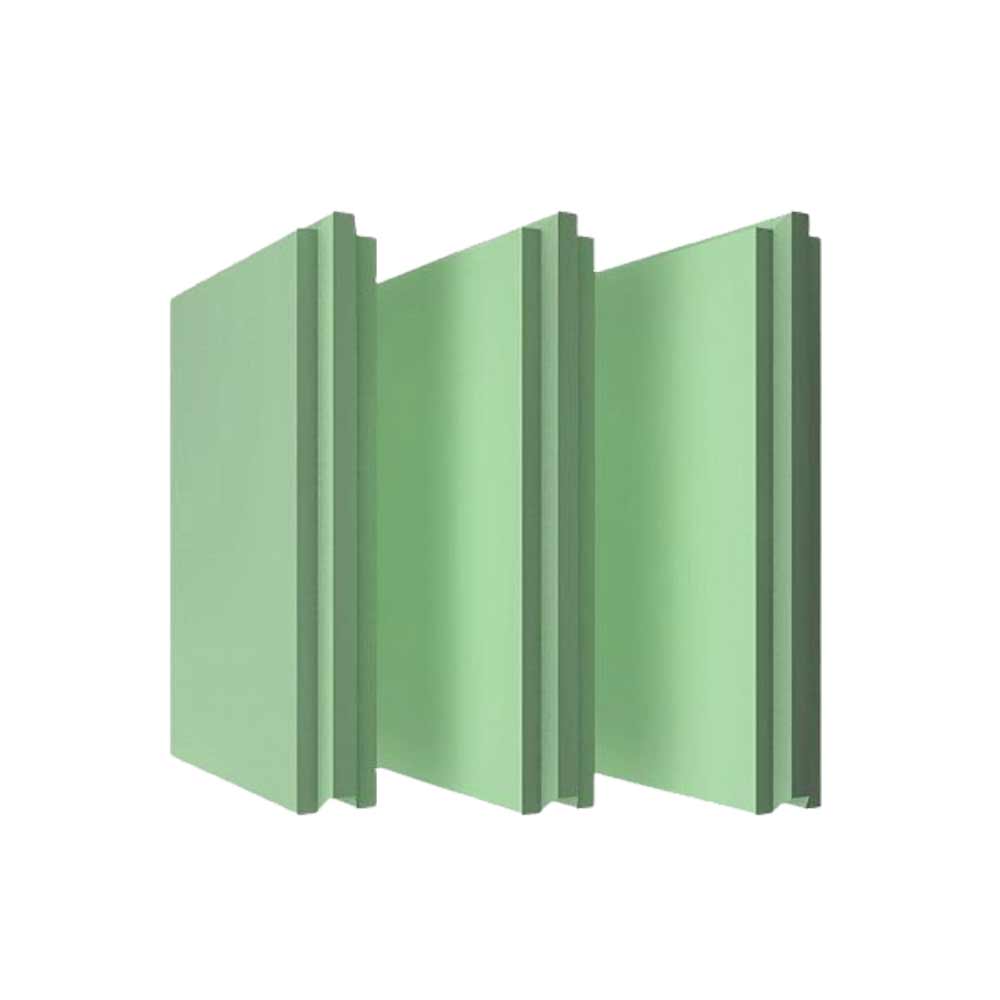
According to the area of use, tongue-and-groove plates can be designed for normal operating conditions (normal, standard) or for damp rooms (moisture resistant). Moisture resistant for better identification tinted greenish.
Solid and hollow differ in weight and strength
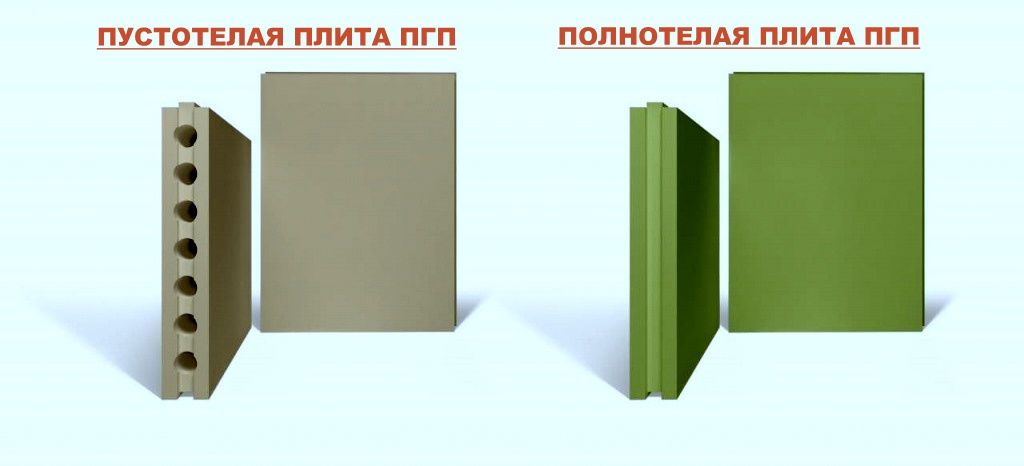
Both gypsum and silicate tongue-and-groove plates are solid and hollow. Full-bodied, more durable, hollow due to lower weight, create less load on the floors. The choice between corpulent and hollow must be made based on several factors:
- Soundproofing characteristics. A monolithic material without voids conducts sounds better, so it is used if sound insulation will be made in a separate layer (the best option) or if it is not so important.
- Partition loads. If you need to hang shelves, furniture on the walls, fix some heavy objects, it is better to use a monolith.
- Floor or floor loading. It is better to place less heavy (hollow) blocks on wooden floors or old wooden floors.
Considering several factors, soundproofing is the last thing to consider. It is possible to increase noise protection using a special mounting technology (on vibration-damping pads), as well as by making an additional layer of sound-insulating materials.
Specifications
If we compare ordinary and moisture-resistant tongue-and-groove plates, the differences in characteristics are only in water absorption and strength. Moisture resistant, due to the large amount of hydrophobic additives, they almost do not absorb moisture. Due to the large number of these additives, they are more expensive, since these additives are expensive. At the same time, they increase the strength (M50 compared to M35).
By the way, you can check "without leaving the checkout" if you really have moisture-resistant GWPs or just standard green-colored ones. Just pour some water on the surface. Standard plates will quickly absorb it, and on water-repellent plates it will stand for a long time in a puddle.
Main technical characteristics of gypsum and silicate PPGs
If we compare gypsum and silicate partition blocks, the increased strength of the latter immediately catches the eye - M150 compared to M50 and M35. That is, the strength of silicate slabs is comparable to concrete of not the worst grade. If you are going to hang something very heavy on the partition, it is better to use silicate. Manufacturers also produce blocks with a thickness of 115 mm, which are called inter-apartment blocks.
Technical characteristics of tongue-and-groove gypsum partition blocks
How else do silicate boards differ from gypsum counterparts? The fact that in the standard version they have not so high absorbency. It is not as low as that of moisture-resistant blocks, but this material can be used without problems in any damp room (13% versus 26-32%). The disadvantages of this material are more weight (with equal dimensions) and lower thermal insulation characteristics.
Peculiarities
The Volma tongue-and-groove slabs (PSP) are excellent for the construction of interior walls in houses and administrative premises. A typical feature of such products is the monolithic design in the form of a rectangular parallelepiped. The accuracy of the dimensional characteristics of tongue-and-groove blocks is very high. Such constructions are processed without any problems. Since the main structural element is gypsum, there is no need to fear any toxic effects.
GWPs do not burn at all and do not contribute to the spread of fire. The acidity of this material is almost the same as the acidity of human skin. Ordinary gypsum plaster from "Volma" does not emit foreign odors and does not absorb them.

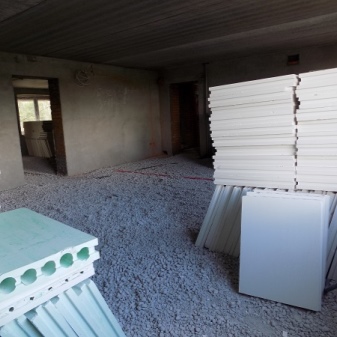
Tongue structures cannot rot - they are absolutely resistant to putrefactive processes. Deformation of the plates is also excluded due to temperature and humidity drops. It is customary to divide these products into hollow and full-bodied types. The decisive difference between the two is only related to mass. There is no particular difference in the quality of sound insulation and the convenience of forming partitions. Volma products are of very high quality. Their front surface allows you to completely eliminate plaster. Such products are compatible with any extraordinary design solutions. Installation and labor costs are kept to a minimum. The installation of the tongue-and-groove plate is mainly carried out by gluing.
The products themselves are made using an injection molding technique. The production technology is fixed in TU 5742-003-78667917-2005. The company uses the latest European devices. In the process, plasticizers and hydrophobic components are added to the gypsum binder. The use of GWP "Volma" is allowed at any facilities with a dry atmospheric regime and meeting the standards of SP 50.13330.
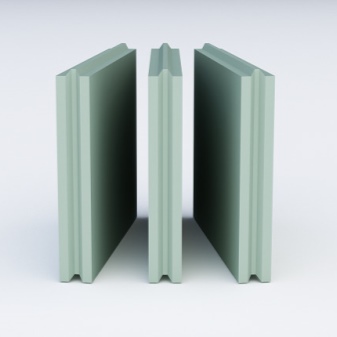

Gypsum tongue-and-groove plates
They are made of gypsum of the G-4 or G-5 grades according to the casting technology.
Plaster of paris is an environmentally friendly and breathable material. Therefore, the partitions made of it comply with strict sanitary and hygienic standards governing the quality of finishing materials. To improve the operational and strength characteristics, plasticizing additives are added to gypsum.
Modern gypsum tongue-and-groove plates, depending on the degree of moisture absorption, are divided into ordinary and moisture resistant. To reduce water absorption, granulated blast furnace slag and Portland cement are added to the feedstock. In order to distinguish such plates from ordinary ones, they are painted green.
Standard gypsum partition blocks can be used only in buildings with dry and normal humidity levels, and moisture-resistant (hydrophobized) ones can also be installed in damp rooms (according to SNiP II-3-79 requirements)
Tab. No. 1 Main technical characteristics of gypsum tongue-and-groove plates
|
Parameter |
Unit rev. |
ordinary |
moisture resistant |
|
Density |
kg / m³ |
1350 |
1100 |
|
Water absorption |
% |
26-32 |
5 |
|
Brand |
M 35 |
M 50 |
|
|
Dimensions (edit) |
mm |
667x500x80 |
667x500x80 |
In terms of thermal insulation, a tongue-and-groove gypsum slab 80 mm thick is equivalent to a 400 mm thick concrete wall. Its sound insulation coefficient is from 34 to 40 dB, which is a good indicator for partition structures.
The fire resistance of solid gypsum blocks is very high. They are able to withstand the direct impact of fire (temperature about +1100 C) for 3 hours without losing their bearing capacity.
To reduce the weight of the masonry, hollow gypsum boards of the standard size 667x500x80 mm are produced. Their mass is almost 25% less than that of corpulent ones (22-24 versus 30-32 kg).
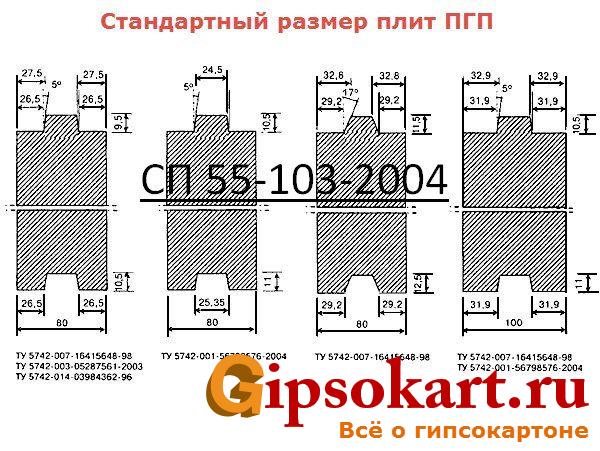
In addition, there is a gradation of gypsum boards depending on the shape of the ridge and groove (rectangular and trapezoidal). However, this parameter does not significantly affect the quality and strength of the partitions.
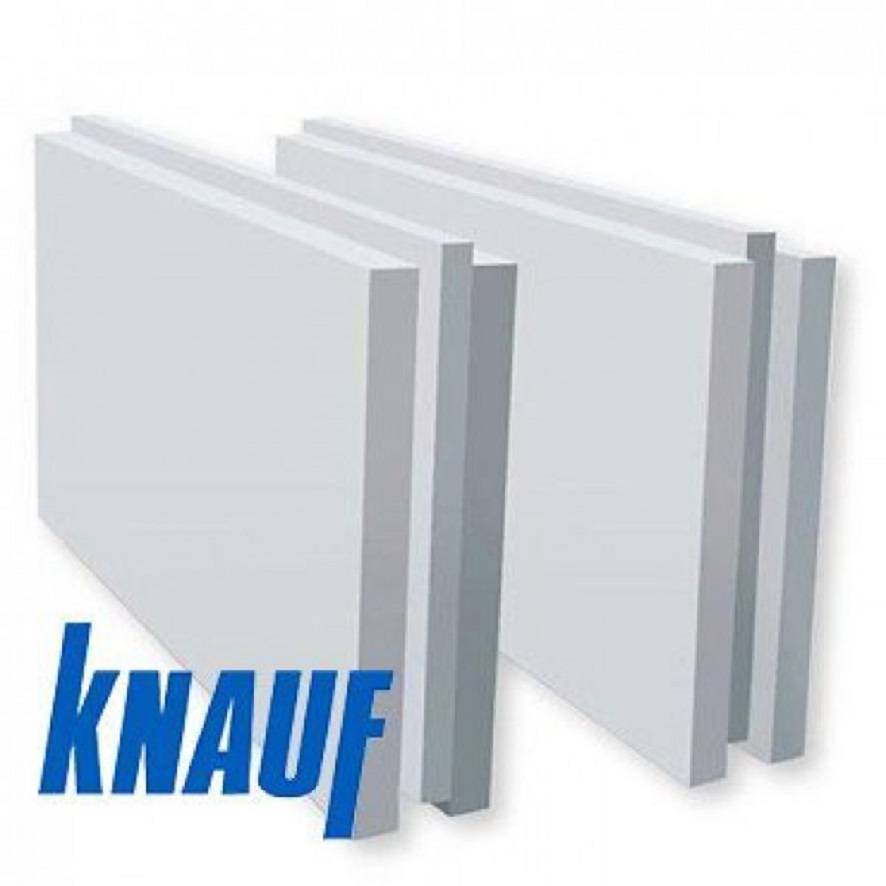
Comparison with Knauf
Comparing the products of a leading Russian manufacturer and a leading German concern is very instructive. Knauf products weigh 27-32 kg in full-bodied version. When using hollow blocks, the weight ranges from 20 to 22 kg. For moisture-resistant modifications, the weight reaches 30-32 kg. The strength of German goods is quite decent, and the level of thermal insulation is also pleasing. The thermal conductivity of the imported board meets all the basic technical requirements. The same applies to the quality of sound insulation. Water absorption fully complies with the standards set for each type.
The fire resistance of Knauf products is quite optimal. Experiments have shown that they can withstand temperatures up to 1200 degrees for 180 minutes. GWP Knauf is slightly heavier than analogues made in Russia. They do not cause any particular consumer complaints. But at the same time, German plates are quite expensive if you take into account the cost of adhesives. Volma's products are in no way worse in terms of technological parameters.
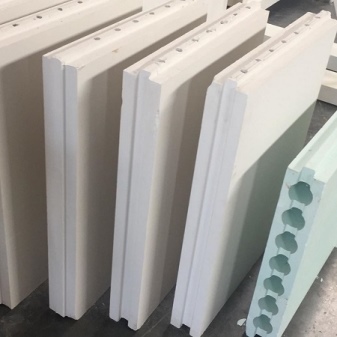
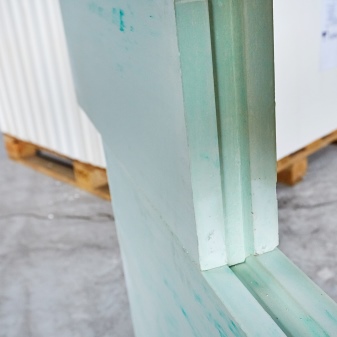
Peculiarities
The tongue-and-groove plate is a rectangular block-parallelepiped with ridges and grooves at the joining edges. This is one of the modern building materials that is in great demand today. It belongs to monolithic products.
For the manufacture of such plates, gypsum is used, in which there are no toxic components and substances. Production takes place in accordance with building regulations such as TU 5742-003-78667917-2005.
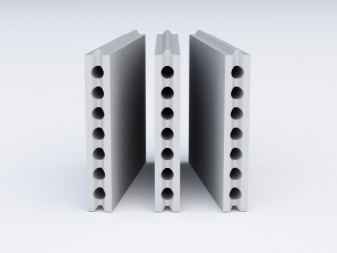

GWP has the following technical characteristics:
- noise isolation coefficient - 35-41 dB;
- density - 1350 kg / m³;
- water absorption coefficient - from 5% to 32%;
- resistance coefficient - 0.025.
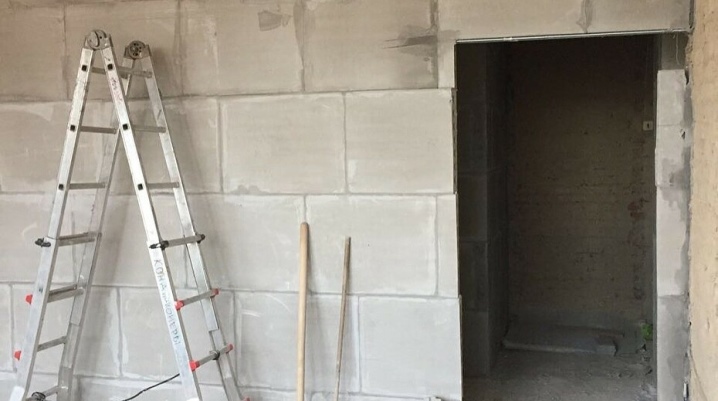
The stove has a number of advantages, among which it is worth noting:
- high level of vapor barrier and gas permeability;
- ease of installation;
- environmental friendliness - this building material, which is used as partitions in the room, is considered the most harmless and safe;
- fire resistance;
- long service life;
- light weight;
- resistance to corrosion and decay processes;
- excellent strength characteristics.
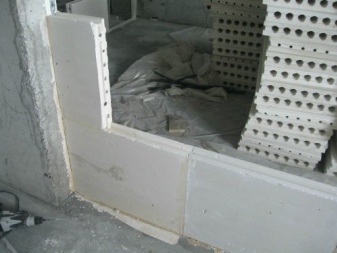
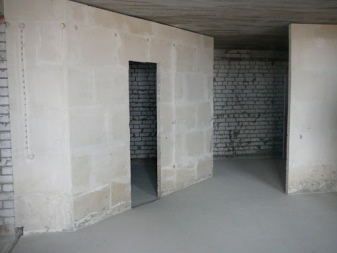
The most important qualities are also a wide range of applications and the fact that the product does not need to be plastered after installation - just apply a layer of finishing.
As for the shortcomings, there is only one - high cost.

6.1 Arrangement of partitions and facings
6.1.1 It is recommended to install partitions during the production process.
finishing works. Wall cladding works are also carried out in the process
finishing work, when the wiring of electrical and
sanitary systems.
6.1.2 Before the installation of partitions and claddings, all construction work related to
"Wet" processes must be completed. Installation must be carried out in
conditions of dry or normal humidity conditions at an air temperature in
a room not lower than +5 ° С to the device of a clean floor.
6.1.3 Before installation, the gypsum tongue-and-groove plates must be kept at
temperature not lower than +5 ° С for 4 hours.
6.1.4 Before starting work on the installation of partitions and facings, it is necessary
remove dust and dirt from the base floor, walls and ceiling.
6.1.5 In accordance with the project, it is necessary to mark the position
partitions or cladding on the floor and using a plumb line to transfer it to the walls and
ceiling. The position of the openings should also be marked on the floor.
6.1.6 If the floor surface is uneven, they must be eliminated.
a leveling layer of cement-sand mortar of grade not lower than 50.
6.1.7 With elastic mating of the partition or cladding with the enclosing
structures to the latter in the places of abutment with assembly glue is glued
elastic pad. In this case, it is necessary to ensure a horizontal position
the gasket on which the bottom row of plates is to be installed. Proceed to
installation of the boards should be done after the glue has set.
6.1.8 In the case of laying the slabs with the groove upwards, all the slabs of the first row must
remove the comb with a roughing plane.
6.1.9 When installing the plates of the lower row, their position corresponds to the design
should be controlled by rule and level.
6.1.10 When laying subsequent rows in the groove of the lower row of plates and in the vertical
mounting glue is applied to the end groove of the plates to be installed and each plate is upset with
rubber hammer. Any excess adhesive that has escaped is immediately removed and
used in the future.
6.1.11 In the process of laying the slabs, it is necessary to control the thickness of the vertical and
horizontal seams, which should not exceed 2 mm, and using the rule and
level to check the flatness of the wall.
6.1.12 When laying slabs apart, additional elements are used, obtained
by cutting standard plates into specified dimensions with a hand hacksaw with a wide
blade and coarse teeth or a special power tool.
6.1.13 For the last row, slabs with beveled edges should be used, and
if necessary, they must be cut to fit the surface configuration
ceiling.
6.1.14 Top row slabs should generally be laid on top of the previous row.
long side, but to reduce waste, they can be stacked and short
side with the obligatory observance of the gap of the end joints.
6.1.15 When elastic mating of a partition or cladding with adjoining
structures, the fastening bracket is installed in the groove of the plate and fixed to it
self-tapping screws, and to the enclosing structures - anchor dowels.
6.1.16 Openings no more than 1 /4 the height of the partition and
whose area does not exceed 1 /10 partition area,
it is allowed to be cut out in the mounted partition. Large openings
sizes are recommended to be carried out during the installation of the partition. When opening
up to 800 mm wide, if only one row of slabs is placed above it, above the opening
the mounting structure is fixed, ensuring the design position of the slabs up to
glue seizure at the joints (figure). With more
the width of the opening above it should provide for the installation of a lintel with a depth
support not less than 500 mm.
6.1.17 Door
the boxes should be fixed in the partition opening using self-tapping
(drilling) screws according to figures and.
6.1.18 At
the formation of an angle and at the intersection of partitions or facings with each other
slabs should be laid with overlapping joints below the row located (figure
).
6.1.19 To protect against
mechanical damage to the outer corners of the partitions, a corner protection
profile PU 31/31, which, when installed, is pressed into the previously applied
a layer of glue, after which a wide spatula or a spatula for outer corners is applied
leveling layer.
6.1.20 Internal
corners should be reinforced using a reinforcing tape, which is recessed into
a layer of glue, and then apply a leveling layer on top with a spatula to
inner corners.
Figure 11
— Installation diagram of the mounting structure with the device
doorway
6.1.21 To prepare for finishing, the joints of the slabs are putty using
a wide spatula, and after drying is treated with a hand grinding
device.
Why GWP?
If your choice has settled on tongue-and-groove slabs, it means that you have thoroughly and responsibly studied the building materials market. You know about the simplicity of the tongue groove installation and the technical parameters of its operation. Now it remains to understand the nuances of brands and their assortment.
Comparative characteristics of PGP Knauf and Volma
The well-known German brand occupies a strong position in the domestic building materials market. The high price segment fully justifies the quality of the concern's products, which is guided by European standards.
Dimensional parameters. Blocks of both brands are rectangles of regular shape 667x500 mm. The minimum board thickness is 80 mm. This thickness is well suited for the construction of thin partitions in conditions of saving usable space or for double walls with an additional layer
When thicker slabs are needed, you should turn your attention to slabs with a thickness of 100 mm. Until recently, the Volma tongue-and-groove plate was inferior to the European manufacturer in this matter, now it does not have such a thickness only in the hollow modification.
Hollow and full-bodied
Knauf is in no hurry to expand his assortment with hollow blocks, which is successfully used by a company from Volgograd. Only in this case, builders are limited to the choice of width: slabs are sold only with a width of 80 mm. The tongue-and-groove with cylindrical voids significantly reduces the load of the finished structure on the floors and is easier to transport. In addition, the air gap is an additional sound and thermal insulation with a small wall thickness.
Moisture resistance. Both brands offer hydrophobic boards with a bluish or greenish tint to the market. They perfectly tolerate temperature changes and operation in rooms with humidity above 60% and can be installed in rooms without heating.
Strength. The KNAUF groove comb and VOLMA can withstand compressive loads of at least 35 kgf / sq. Cm. However, the Russian company adds fiberglass to the composition, which enhances the reinforcing characteristics of the material. It is only when cutting such slabs that slight difficulties arise due to the additional rigidity. That is, it is better to take a slab of a Russian brand under a hinge of shelves.
Surface. Plates have a smooth face suitable for finishing. Both brands of slabs are perfect for wallpapering or tiles. But if painting after construction is provided, then it is better to turn your attention to Knauf blocks, since it will take less time and materials to putty the wall with an accurate fit of the plates and a smoother surface.
Outcome
Having weighed all the wishes for the finished structure and the "question price", builders often give preference to Volma tongue-and-groove plates, although with a large scale of plastering work, the total cost of a wall from Knauf PGP may turn out to be more profitable.
What it is?
Tongue slabs or, as they are called abbreviatedly, GWP is a wall material used in the installation of load-bearing partitions indoors. A distinctive feature of these slabs is the presence of protruding and falling parts, which serve as reliable fixing elements for partition slabs.
In construction, special attention is paid to tongue-and-groove slabs, since this material has a number of significant advantages:
- quick installation;
- the minimum amount of consumable glue for fixing the plates;
- the surface of the GWP does not require the application of plaster;
- environmental friendliness;
- fire resistance;
- high level of thermal insulation;
- excellent sound insulation.
But despite the advantages presented, the GWP material has some disadvantages:
- a high level of hygroscopicity limits the use of GWP in rooms with high humidity;
- partitions installed by GWP have restrictions on the weight of the attached equipment;
- with building settlement and even minimal seismicity, there is a likelihood of cracks and deformation of blocks.
However, modern manufacturers, realizing that partitions are necessary in rooms with a high level of humidity, have developed waterproof tongue-and-groove blocks.
Model overview
Hollow
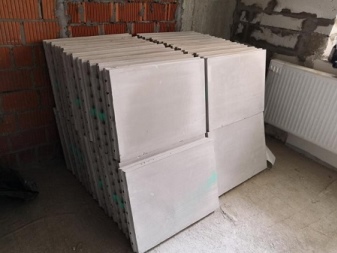
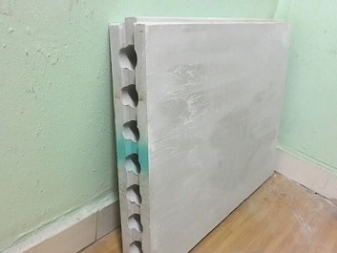
A good example of slabs with internal voids is the model with dimensions 667x500x80 mm. This product is completely safe. The maximum weight per slab is only 22 kg. Installation during a shift is possible in the amount of 20 to 30 sq. m (per employee). From such slabs, it is possible to erect both single and double partitions.
Corpulent
A simple full-size gypsum board with grooves and ridges has a size of 667x500x100 mm. But along with the product with a thickness of 100 mm, an 80 mm block is also supplied. Its weight is 30 kg. Larger specimens weigh up to 36 kg. Both hollow and full-bodied models have an accurate water-resistant counterpart with the same dimensional and weight parameters.


Installation features
Installation of partitions from GWP is performed after the completion of the installation of any supporting or enclosing structures. Work is carried out in dry or normal humidity conditions when the air in the room is heated at least + 5 degrees. When carrying out construction work in winter, a heating connection is required.
First you need to remove all dirt and construction dust from the base walls, as well as the surface of the ceiling and floor. After that, you need to mark the location of the future partition on the floor, and then, using a plumb line, carefully transfer this markup to the walls and ceiling, fix the areas for window and door openings. If the base is curved and has noticeable irregularities, then a leveling screed should be performed so that the horizontal surface becomes level.
Gypsum boards are laid using assembly glue, the most effective is "GIFAS Gypsum Glue" or "GIFAS Gypsum Putty". When working with moisture-resistant compounds, hydrophobic compounds give the best adhesion. In order to increase the sound insulation characteristics of tongue-and-groove slabs when fixing them to the enclosing structures, you can use an elastic gasket, most often a cork with a density of 50 kg / m³ or bituminous felt with a density of 250-300 kg / m³, alternatively, you can fix low-density fiberboard.
Depending on the specifics of the production, gypsum boards can be placed either with a puzzle down or with a puzzle up. Experts recommend using the puzzle upwards, because then the glue will be better redistributed in the slab space. To do this, for all GWPs located in the first row, you need to remove the comb. The plates are fixed apart, due to this, the greatest rigidity of the structure is ensured. The slabs of the very last row should have slightly beveled edges in the area of abutment to the floor. The space between the ceiling and the slab of the last row (approximately 2-3 cm) is filled with gypsum glue throughout the entire volume.
Openings are inserted into the partitions for installing windows or doors in them. If the width of the opening is not more than 800 mm and only one row of panels is located on it, then there is no need to put the lintel beam, in this case you can put a regular door frame. If the width of the opening exceeds 800 mm, then the installation of the lintel beam is necessary, it will relieve the load from the upper rows of blocks. The embedment size is approximately 500 mm on each side. Door frames are fixed with special dowels or screws. The vertical joints of the slabs located next to the openings should be at least 20 cm apart.
In the corners, as well as in the areas of intersection of partitions with each other, GWP should be laid in such a way that they in turn close the joints
At the same time, it is important to try not to allow vertical joints to turn out to be through. The upper corners are additionally fixed with a perforated metal profile
Reinforcement tape is used to process the inner corners. The internal joints of partitions made of hydro-resistant PHB must additionally be covered with a waterproofing tape, it plays the role of a sealant.
After the putty or glue dries, the surface of the walls is carefully sanded. The gypsum polymer partition is ready - all that remains is to complete the finishing, usually the GWP is painted with interior paint or pasted over with wallpaper. We hope our recommendations will help you make the right choice of tongue-and-groove gypsum board and perform all installation work on your own.
For everything you need to know about gypsum tongue-and-groove slabs, see the following video.


