The main stages of work on the construction of an extension from foam blocks
The work consists of the following stages:
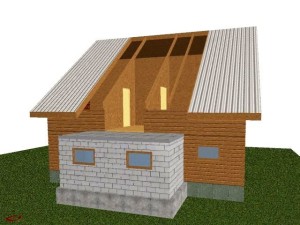
With the help of an extension made of foam blocks, you can significantly increase the living area of the house
- Foundation. It is worth saying that the construction of a columnar foundation has one advantage - the construction of walls can be started immediately. If you make the foundation for the extension according to the tape type, then you will have to wait for its shrinkage for at least six months. The foundation of a new building must be erected at the same level as that of the main house, and it must also have the same shrinkage;
- Walls. The walls of the extension to the building can be erected independently - working with the blocks does not require special training. The finished foundation is covered with roofing material and the blocks are laid out from the corner. The first row is laid out on a cement mortar. The next rows will be held together with glue for foam blocks (there is a summer and winter version). The thickness of the seam during construction from foam blocks should not exceed 3 mm, so that there are no cold bridges in winter. You can strengthen the building with additional reinforcement, which is driven into the base of the foundation and is located between the blocks. Use reinforcement no more than 10 mm wide. Another way to build a massive structure of an extension to a house is to saw through horizontal grooves in an established row of blocks, put reinforcement there and fill it with glue;
- Jumpers. Lintels are used if the width of the opening is no more than 1.75 cm. If you plan to install a wider opening, then it is better to start the construction using silicate bricks of the required size. A wooden frame is installed, then a row of U-cut pieces is placed on top of it. Reinforcement is placed in the cutout and all this is poured with concrete mortar. After complete hardening, the wooden frame is removed. In the case of aerated concrete, it is difficult to implement design solutions for the opening. If it was planned to make an arch in the opening, and there is a round window in the wall, then this will not work with aerated concrete;
-
Overlapping. The overlap is most often installed from a bar or log. The material is placed in the pre-installed gaps and fastened, then ceilings are attached to it for further installation of the roof. The covering at the extension can be made of soft tiles, metal or in the old way - using roofing material. The type of coverage is chosen based on the purpose for which the building is being erected.
Making an extension: where to start
Before starting the construction of a frame extension to the house, decide on its location. On the north or east side, it is advisable to place a pantry or utility room, on the south or west side - a bedroom or living room (then there will be a lot of light in the room, the sun will warm up the frame annex during the day, so you will save on heating).
If there is a bedroom or living room in the annex, then make it on the south side - this way you can save a little on heating
This plan must be submitted to the bureau of technical inventory of your locality. Of course, not all homeowners run to BTI in order to organize a frame annex. But in vain! In the event of a check, the illegal construction will most likely be obliged to demolish it. Do you need such problems?
As practice shows, BTI specialists will not create obstacles and will quickly approve the project (maximum within 10 working days).
A permit from the BTI for an extension to the house will be issued within 10 days. Provided that the application meets all the established requirements, and the construction meets the technical standards
Blitz Tips
- The foam block is a rather specific material, therefore it is recommended to mount it not on an ordinary cement mortar, but to add special glue to it, so that the elements can be installed more accurately, and the thickness of the seams between them can be reduced to 1 mm, which during operation will significantly reduce the possibility of cold penetration into the room ...
- When calculating the height of the lintels, the floor level must be taken into account.
- In the presence of a foam generator, such blocks can be made independently using flow technology right at the construction site during construction, so that they are continuously produced and consumed. In this case, even time is saved, in contrast to the delivery of ready-made elements, which must be ordered in advance and wait until they are brought and stored.
Where to begin
Many owners of private houses ask the same question: "I want to make an extension to the house, where to start?"
You need to start by figuring out what size the building will be. And also you need to decide what material we will build from.
If the main house is wooden, it is also better to build an annex of wood. If the main structure is stone, it would be more logical to choose brick or concrete blocks for annex.
But there will be nothing wrong if you make an annex to a stone building from wood, and to a wooden one - from brick. It will look normal and correct. There are many examples of such buildings.
Fix the dimensions of the future annex on paper: make a drawing. It's not as difficult as it sounds. It is necessary to draw a plan, that is, a top view of the structure and several cuts - how the structures will look if cut vertically. It will be useful to make drawings of individual joints of structural parts. Add dimensions.
An elementary blueprint is required for any building. Having completed it on paper, you will already see what you will receive as a result of construction.
Often, masters of their craft say that they imagine everything in their heads and they do not need drawings. Perhaps this is so, but there is a risk that you will still miss something, and then it will be necessary to redo some of the work.
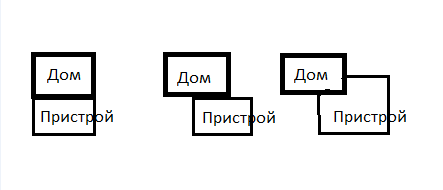 Possible options for the location of the annex relative to the main building.
We choose the construction site for the outbuilding on the side where there are no windows. Usually the door to the house is obtained inside the annex. That is, leaving the house, we find ourselves in the annex, and from the annex to the site. The annex in this case serves as a veranda or entryway. This is the easiest and most economical option, but other schemes are also possible.
Save without sacrificing quality requirements for premises and materials
If in the process of erecting an annex there is a question of economy, then it makes sense to give preference to the frame method. Its advantages:
affordable cost;
the possibility of construction in a short time;
it is easy to attach to the main building.
The frame extension is erected from beams or planed beams. The assembled frame is sheathed with pressed wood and additionally insulated.
If you take a responsible approach to heat and waterproofing, then the extension will be comfortable for living.
To connect to the house, you will need to connect the walls with powerful self-tapping screws and seal the joints.
How to legalize an extension to a house?
Sectional structure of a frame house
When all the construction work on the construction of the frame extension is completed, many of our compatriots begin to think about the need to legitimize the resulting masterpiece of architecture. However, it is better to think about this before starting work, since the process of legalizing an unauthorized construction is a little more complicated, you will have to go to court, besides, the result may not be in favor of the plaintiff, and then you will have to demolish all the resulting beauty, and at your own expense.Of course, you can not go through the circles of bureaucratic hell and leave everything as it is, but this will entail the impossibility of selling, renting, bequesting or donating the whole house, and not just an extension.
When applying to the courts, you will need a whole set of various documents, among which the most important are the following:
- Certificate of ownership of the land plot;
- Certificate of ownership of a residential building (dacha);
- Help from the BTI;
- Permission from the organization of housing and communal services;
- Extract from the house book on the number of registered citizens in a residential building;
- Frame extension plan;
- House project;
- Control survey of the extension on a scale of 1: 500;
- The consent of neighbors if the extension borders on their site;
- Epidemiological Service Act.
In some cases, you may need a photo of the site, living quarters and annexes to it.
After filing a claim, you need to wait for a response, which must be sent by mail. To make sure that the application has been accepted, you can call back in 10 working days and clarify the information. It should be borne in mind that the judges have only 2 legal reasons for rejecting the claim: the presence of a court decision regarding the legalization of this building or an incorrectly drawn up document of claim. In the second option, you must reapply.
The municipality will become the defendant during the court session, and the owner of the house to which the annex is made, respectively, will be the plaintiff. When the court makes a decision in favor of the plaintiff, he will need to receive a payment receipt from the Federal Registration Service for paying the state duty and make a payment, after which the owner will be issued with all the necessary documents legitimizing the unauthorized construction.
As for other monetary expenses, about 10,000 rubles will be spent on collecting all the necessary information (consultations with lawyers, etc.), the price of the state duty is currently 500 rubles, 20,000 rubles are recorded in the Urban Cadastre, about 60,000 more rubles will be demanded by specialists for a forensic construction and technical expertise. Thus, in addition to direct construction costs, about 100,000 rubles will be needed for all bureaucratic delays.
Step-by-step instruction
1. Installation of the foundation
Scheme of options for a columnar foundation for a frame
The first stage of construction is foundation work. Usually, a separate foundation is arranged for the extension, which must be connected to the base of the old house with the help of special embedded fittings.
Reinforcement scheme for strip foundation
Of course, the most preferable option is a common foundation laid even at the stage of construction of the first house, however, very few people look so far from our compatriots, which, however, is quite understandable and understandable in everyday life. When laying a new foundation, it is necessary to ensure maximum identity not only in shape, but also in the depth of both structures.
Diagram of the device of the floor of a frame house
If it is impossible to achieve full-fledged solidity, then a so-called expansion joint must be left between the two foundations so that cracks do not form on the walls of the extension and at the very base when the soil moves in the spring.
2. Installation of the strapping bar
Strapping is the second stage in the construction of the extension. The thickness of the walls of the frame frames is usually 20 cm.In additions, living rooms are rarely placed, which makes it possible to reduce the thickness of the wall to 10 cm.Therefore, the diameter of the strapping beam and the section of the vertical racks will also be 10 cm.
Installation of a strapping bar
The figure below shows a possible installation scheme for the lower trim of the extension:
3. Installation of the frame
Frame installation
When assembling the frame, the greatest attention should be paid to the fastening of the racks. The figure below explains its features.
It is recommended that the step between the vertical posts be 60 cm, then there will be no difficulties when laying mineral insulation slabs. Accordingly, the distance between the floor logs and the rafters should also be taken as 60 cm.
4. Installation of the upper trim and installation of floor beams
Installation of the upper trim and installation of floor beams
The fastening of the upper harness is carried out according to the same principle as the lower one. The side view is shown in the figure below.
5. Sheathing and insulation of the ceiling
The ceiling, like the walls inside, is best sheathed with clapboard. This is the most favorable option from a price and aesthetic point of view. Pine lining will last at least 30 years, and with proper care, even more. To insulate the ceiling, in order to save money, you can use expanded clay, pouring it on top with a layer of 10-12 cm.
Assembling the rafter system
A possible installation option for the rafter system is shown in the figure below:
7. Roof sheathing
Roof sheathing
The process of fastening the roofing material does not differ in any nuances, except for one thing: the upper part of the sheets should be under the roofing material of the main building. To do this, it may be necessary to remove some of the fasteners. An approximate diagram of the roofing "pie" is shown in the figure below.
Step 8: exterior and interior decoration
At the end of the construction of the extension, it is insulated with foam panels. Insulation is carried out from the outside so that the dew point is not inside the structure. Styrofoam is laid in one or two rows around the perimeter of the extension using standard technology.
Outside, the walls are finished with plastering with painting, siding, block heiss, decorative stone.
The peculiarity of foam blocks is that during construction a fairly smooth wall is obtained from them and for its interior decoration there is enough plaster and painting. A few ideas for interior decoration of the extension:
Basic requirements for construction
The project of the future extension should be well planned initially, so as not to lead to additional alterations later. It is necessary to think over all the points in advance. Each structure has its own construction conditions.
For a living room, all structures must have good insulation. Otherwise, the heating performed will not make sense.
It is also very important to prevent dampness in the room. Reliable waterproofing is a guarantee of normal operation of the premises, making it reliable, durable
The presence of natural light is also important.
Glazed veranda
For the kitchen and bathroom, engineering communications are provided in advance. It is better to do this before pouring the foundation.
Particular attention should be paid to building insulation and good waterproofing of the floor.
The main function of the veranda is to protect the entrance to the main building from bad weather. People rest here in summer. No need to insulate. Waterproofing the foundation is very important. The structure can be in the form of a regular flooring, with low walls and a roof raised on pillars. Also, verandas are being built, enclosed by walls, with a door and one or more windows.

Interesting ideas for decorating your favorite summer cottage with your own hands | 150+ original photo tips for craftsmen
Erection of walls and roofs
After the completion of the work on the arrangement of the foundation, it will be necessary to pause for at least a month to complete the shrinkage processes and the set of strength in the concrete base. The next step will be the manufacture of waterproofing and the construction of walls.
Foam concrete block masonry
Before laying the first row of foam concrete blocks, it is necessary to make a full-fledged waterproofing. The foam concrete mass turns out to be very sensitive to condensation and groundwater, so the minimum that will have to be done is to lay the rolled bitumen material on the basement of the foundation tape.
Further, it is recommended to make an armopoyas - a concrete casting with two or four reinforcing bars.Only then can you start laying the foam blocks. The material is laid out on the lower armored belt using a special glue with high adhesion to concrete surfaces, an attempt to use an ordinary mortar, as a rule, gives a very thick seam and increased shrinkage of the walls of the extension.
Every three rows, the foam block masonry is reinforced with two strands of steel reinforcing bar. Even if a U-shaped foundation was chosen for an extension from foam blocks to a wooden house, the extension box should be closed, that is, not three walls attached to a brick or wooden wall of the house, but a full-fledged box of four walls. Only in this case the extension building will have sufficient strength and rigidity. It is clear that for the construction of the fourth wall, it will be necessary to lay a transverse beam between the ends of the open foundation.
The rafter system is usually built according to a single-slope scheme, while the racks for the higher part of the ramp are recommended to be sewn to the wall of the main building with cruciform struts. This solution will avoid the formation of gaps between the roof of the extension and the walls of the house.
Step 1: planning
At this stage, the conditions for construction are studied: the soil, the material of the house and its age. An extension project is being developed, taking into account the number of storeys, the number of windows, the presence of doors and stairs.
The composition of the soil determines the type of future foundation. For example, on clayey soil with a close location of groundwater, it is reasonable to make a floating foundation. Otherwise, a few months after construction, the extension will begin to move away from the house. On earthy or stony soils, a shrinkage-corrected strip foundation is sufficient.
You can build an extension from foam blocks right next to a wooden, brick and clay house. The construction process will differ by fastening the mortgages at the junction. Old houses have sunk deeper into the ground. Therefore, the age of the house determines the size of the expansion joint - the distance by which the extension must sink in order to become equal to the main structure.
It is better to partially realize the desire to make a two-story extension of foam blocks - it weighs a lot and greatly affects the draft. In this case, the 2nd floor is made of chipboard (chipboard). An economical and safe option, but the final decision depends on an analysis of the construction conditions and the wishes of the home owners.
Before construction starts:
- A project for the future extension is being developed;
- The expansion joint is indicated;
- The number of foam blocks, cement, consumables is calculated;
- A place for temporary storage of building materials is being prepared.
What gives the use of foam blocks for construction, problems and advantages
The material is very light and warm, and most importantly - inexpensive, so it is on it that most amateur builders and firms choose it. The idea of using a foam block for building an extension to a house, in addition to the possibility of making blocks with your own hands and a certain share of environmental friendliness, also entails purely practical benefits:
- Reducing the cost of arranging the foundation, the weight of the extension from the foam block is two to three times less, respectively, the amount and cost of concrete and metal laid in the foundation will decrease by the same amount;
- The material is ideally processed with ordinary saws and hacksaws for metal, there is no need to rent or buy special equipment for the manufacture of curly elements;
- Costs for delivery, loading and unloading of the foam block to the place of construction of the extension are reduced by 20-30%;
- The ability to save money on the insulation of the extension.
This is not to say that the foam block is an ideal material for home construction, it has its drawbacks, just like any other building material. Before attaching a foam block extension to the house, it will be useful to learn about several features of the material.
Secrets of using a foam block to build an extension to a house
It is advisable to build structures from a foam block with a height of no more than two floors and with a wall span of up to 6 m.That is, a huge extension, half a house in size, cannot be attached to the main building.
The reasons for introducing restrictions on the size of extensions are two features of the material:
- The small rigidity of the foam block, even with a wall width of 40 cm, the rigidity of the masonry is clearly not enough to ensure the solidity of the building box, you have to use reinforcing belts of steel reinforcement;
- Weak bearing capacity and strength of the foam block. Despite the fact that in theory the material is able to withstand contact pressure at the level of 35-50 kg / cm2, its strength is estimated as concrete or brick of the M10-M15 brand.
For your information! Any structure made of foam concrete will shrink and settle on the foundation within two to three years, so for construction it is important to buy a foam block in one batch, so that the material laid in the walls will harden and deform evenly throughout the box. Craftsmen consider foam blocks to be a soft material, the weight of one cube is 650-680 kg
From the moment of manufacture and for another 30 years, foam concrete blocks will slowly "shrink", gain density and strength. Indicative data on changes in structure over time are given in the table
Craftsmen consider foam blocks to be a soft material, the weight of one cube is 650-680 kg. From the moment of manufacture and for another 30 years, foam concrete blocks will slowly "shrink", gain density and strength. Indicative data on changes in structure over time are given in the table.
The blocks gain strength in part due to the absorption of moisture by the cement grain, but some of the increase occurs due to the compression and compaction under pressure of the upper rows. This means that an extension to a house made of foam blocks will shrink for several years, and even more than a brick or expanded clay concrete masonry.
The larger the room of the extension made of foam concrete, the more problems will arise with ensuring its stability and rigidity. But for small-sized extensions to any type of house, the foam block can be considered an ideal material. Why?
- First, the ratio of the width of the wall to its length increases significantly. This determines the natural rigidity of the box. For example, with a width of 40 cm, the wall of an extension with a length of 2-3 m does not even need to be reinforced, its rigidity will be sufficient to hold a pitched roof.
- Secondly, the extension made of foam concrete has a small mass, which means that, with proper planning of the distribution of the load, it will practically not affect the foundation, will not tear off the wall of the main building and will not crack in the masonry made of foam blocks.
An extension from foam blocks to a house from foam blocks - the advantages of the material
When deciding from what to build an extension to a private house, they often give preference to building materials with a cellular structure, which are lightweight and have the necessary margin of safety. Often used for construction, foam concrete, which has a serious set of advantages in comparison with other types of building materials.
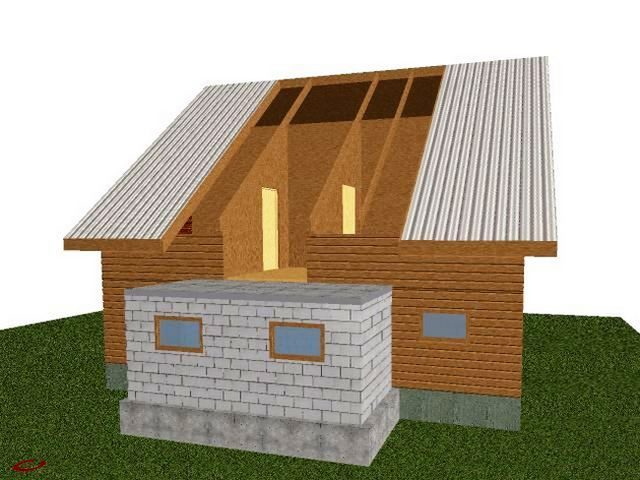 Lightweight and reliable construction allows you to build the strength of foam concrete
Individual developers and professional builders are attracted by the following advantages of foamed concrete blocks:
- accelerated rates of block laying. The walls of the building are quickly erected from block elements with increased dimensions;
- the possibility of independent work. No special preparation is required for the construction of foam block walls;
- Fire safety. Foamed concrete blocks are non-combustible materials and do not emit harmful substances when heated;
- ecological cleanliness. For the manufacture of foam blocks, environmentally friendly raw materials are used that are harmless to the environment and human health;
- minimal shrinkage. Foam block masonry maintains its dimensions, preventing cracking of the finishing layer of the plaster;
- reduced thermal conductivity. It is provided by the cellular structure of the material, which reduces heat losses;
- long period of operation. The durability of buildings erected from foam blocks exceeds five decades;
- ease of machining. It is not difficult to give the foam block the required shape using a standard wood hacksaw;
- the necessary margin of safety. Foam concrete blocks are capable of taking significant loads while maintaining the integrity of the array;
- vapor permeability. Through the foam block array, air vapors freely leave the room;
- affordable price. The use of foam blocks for the construction of the walls of the extension allows you to reduce the estimated cost of costs;
- reduced block mass. Due to the low weight of the foam block walls, the load transmitted by the foundation to the ground surface is reduced.
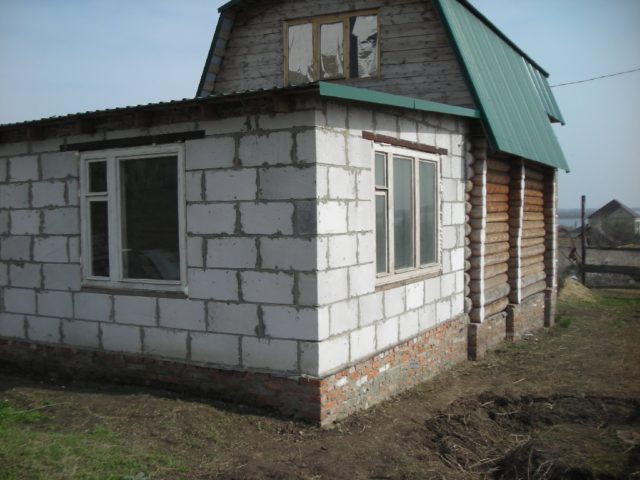 No special preparation is required for the construction of foam block walls
Materials (edit)
An extension to a wooden house can be built from different materials. Based on this parameter, we can talk about the operational characteristics of the building, its reliability and the complexity of construction. Let us consider in detail what characterizes structures made of different building materials.
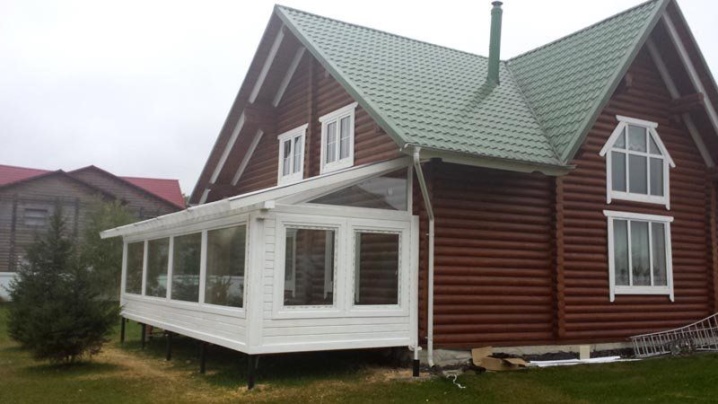
Foam blocks
Many homeowners opt for foam blocks. It is quite simple to work with this material, and it is not too expensive. The wall blocks are lightweight. They can be used to build structures of various shapes and sizes.
Thus, it turns out to build a high-quality extension, quite stable and without unnecessary internal bridges. Due to such actions, the wooden house will, as it were, increase in length.
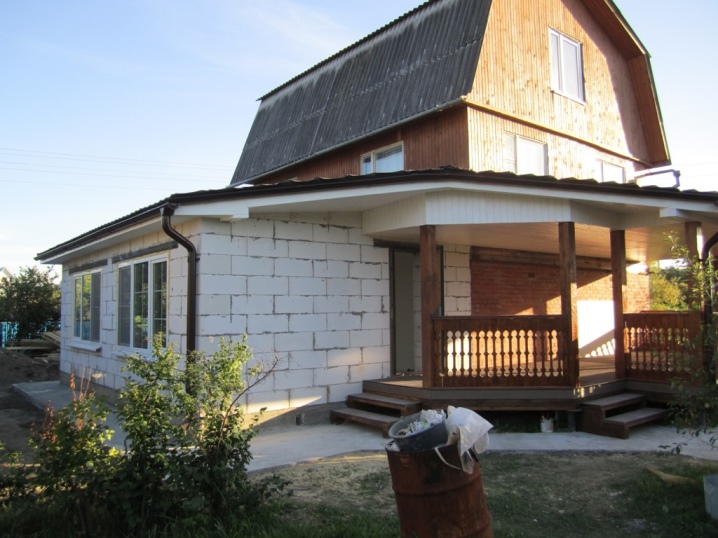
Beams
From the point of view of technology, the construction of such a structure turns out to be more complicated and time-consuming. Making an additional room out of bricks or gas blocks / foam blocks is many times easier and easier. The same can be said about log buildings. For their construction, the owners will have to spend a lot of time and effort.
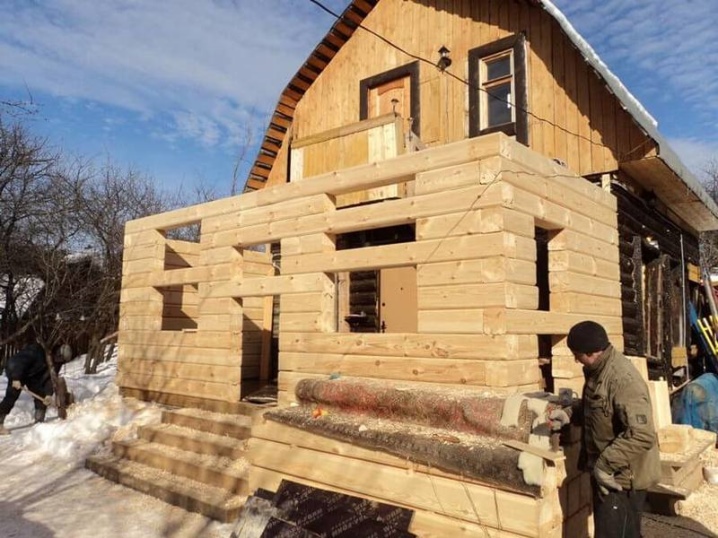
An extension from a bar will need a very strong and high-quality foundation. Experts strongly recommend making the same foundation base for the timber extension as for the wooden house itself.
You will also need to take into account the shrinkage of wooden walls. The building will definitely shrink, even if it is made of the highest quality materials and performed in accordance with all the rules. This process will take at least a year. The owners will need to keep under control the condition of the expansion gaps on the walls and in the roof truss system.
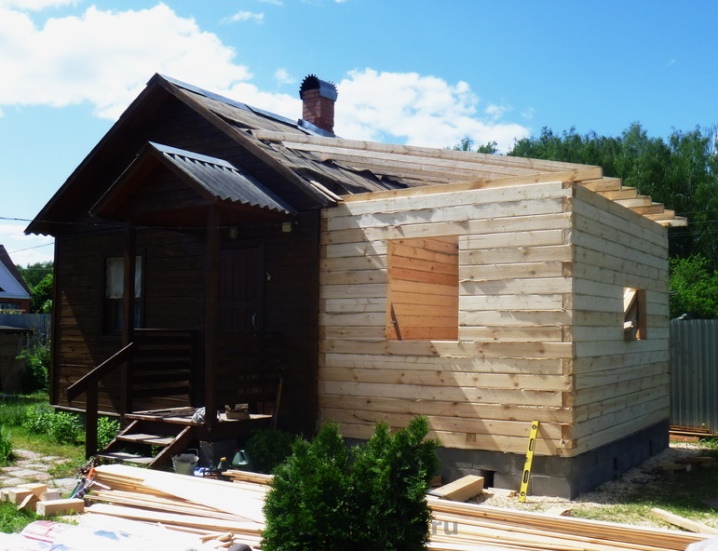
Brick
Often, homeowners use bricks to build an extension. The structure turns out to be strong and durable, but it takes more time to build it. The result is a capital building. It is undesirable to place it in the foreground, because brick structures do not go well with wooden ones. This applies not only to brick, but also to stone extensions, which also take a very long time to build, in addition, this entails large financial costs.

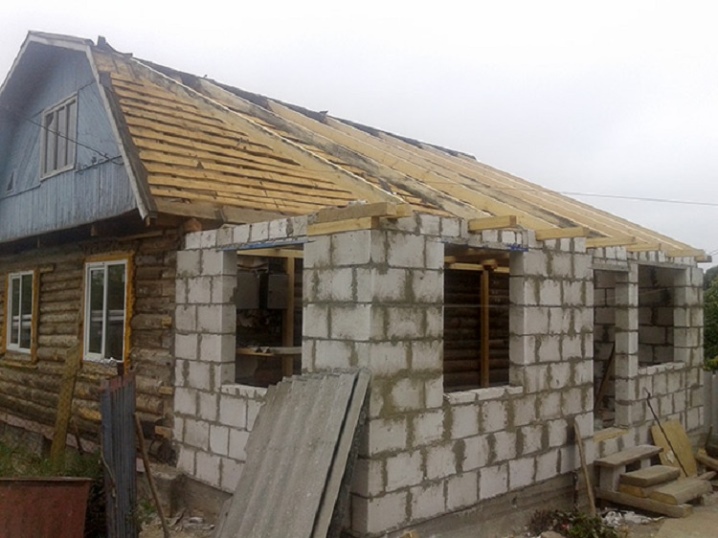
Gas silicate blocks
Quite good structures are obtained from gas silicate blocks. The material attracts buyers with its non-combustibility, as well as environmental safety. True, in conditions of constant temperature jumps and with prolonged negative external influences, the structures from the gas block wear out faster and become more fragile. In addition, the blocks under consideration cannot boast of sufficient hydrophobicity.
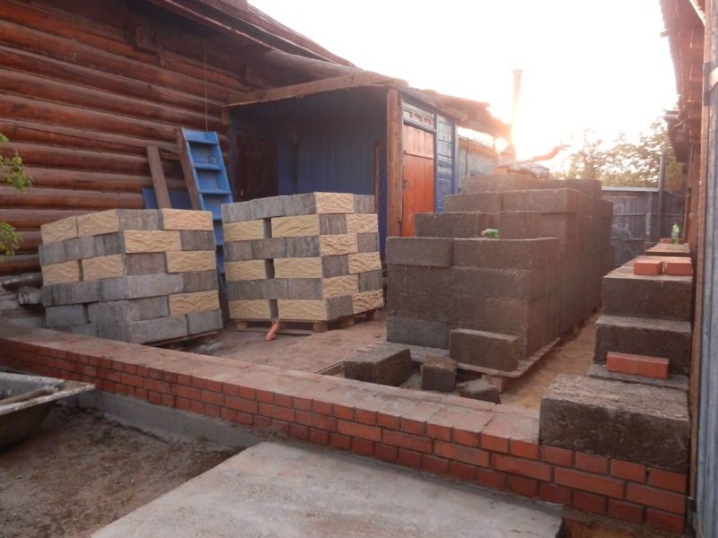
Arbolit
This is a special wood block, which is one of the lightweight types of concrete with organic filling. Arbolite blocks are different: large-format masonry, hollow, heat-insulating.
They include water, wood chips, cement and special chemical additives.
Arbolite is characterized by high vapor permeability, low water resistance, low weight. The material does not need additional reinforcement and is easy to process.
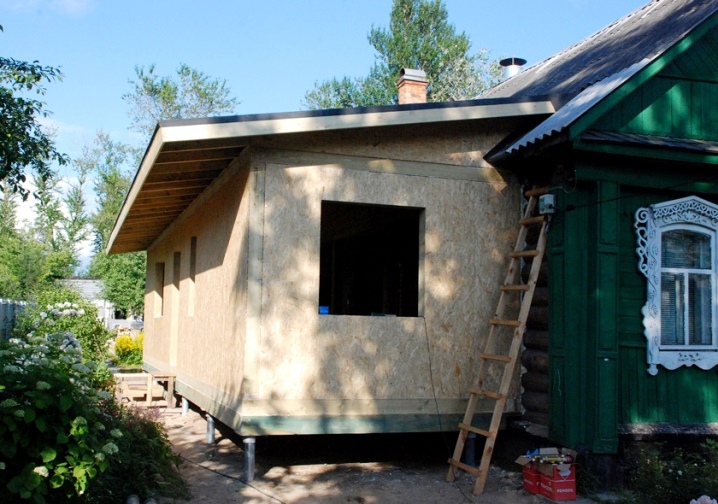
SIP panels
Good extensions are obtained from SIP panels. This material is considered versatile, most often it is used in the construction of frame buildings. Differs in good thermal insulation characteristics, sufficient noise insulation, low weight. From SIP panels, you can quickly make a warm extension, following all the necessary technologies. In addition, the building material in question is environmentally friendly and safe.
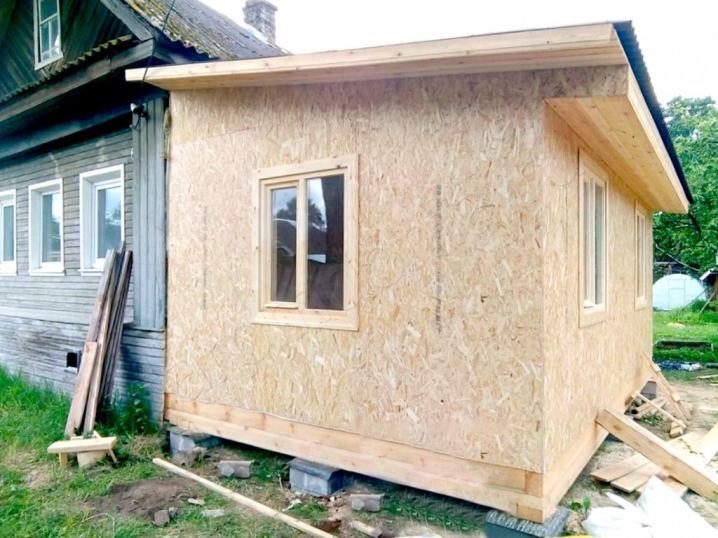
OSB panels
Oriented strand board is often used for the construction of outbuildings. This is a special multilayer material that has an affordable cost, but at the same time is characterized by high reliability. OSB panels look neat and attractive, and are lightweight. It is easy and convenient to work with them.
OSB panels are different. Materials with varying degrees of strength and density are on sale. But it should be borne in mind that these elements do not tolerate sudden changes in humidity levels, since they are based on wood components.
Sandwich panels
Another building material with a three-layer structure. Sandwich panel extensions are built very quickly. The material boasts environmental safety, hygiene, and also a low load applied to the foundation. In addition, sandwich panels are characterized by excellent sound insulation properties.

Installation of strip foundation
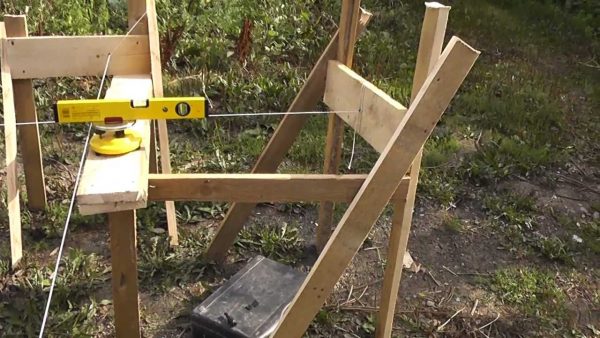
This foundation is carried out in several stages. The first thing that needs to be done during the construction of the strip foundation is to mark the site that determines the perimeter of the future foundation. To do this, use wooden pegs and a regular rope.
At the second stage, you will need to dig a trench for the base, focusing on the finished markup. The depth of the trench depends on the dimensions of the frame extension. Quite often, craftsmen do this: they lay the foundation to a depth corresponding to the depth of the base of a residential building. A cushion of sand and gravel is laid at the bottom of the finished trench.
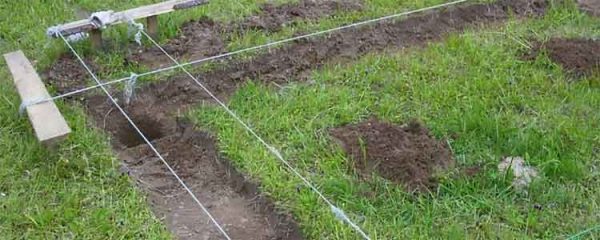 Marking for a strip foundation
Next, it is necessary to prepare the formwork, which performs a forming function during the pouring of the mortar.
Pay attention to the height of the formwork. This indicator should be equal to the same parameter of the foundation
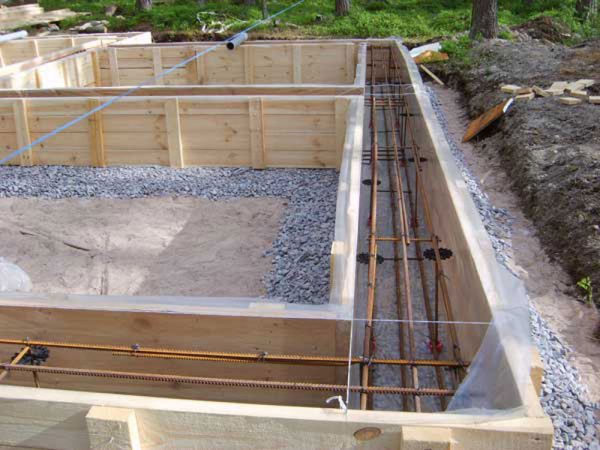
Then, a waterproofing material is installed, which will protect the structure from groundwater, as well as other adverse environmental factors. Further, metal reinforcement is laid in the formwork, which enhances the strength characteristics of the base.
The foundation is laid strictly step by step. The exclusion of one of the stages will negatively affect the overall result of the work. The final stage of base construction is concrete pouring.
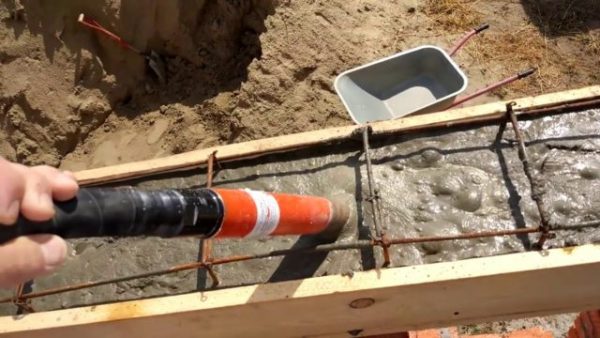
Strip foundation First, the inner space of the formwork must be filled with a solution of only 1/3. Then you should wait until the concrete is completely dry and pour the remaining solution into the mold
A vibrating machine is used to remove bubbles.
Interesting: Concrete porch: step by step instructions
Finally
Hardly anyone can refuse an additional room attached to the house. But it's one thing when this work was done by strangers, and completely different if everything is done by hand. In addition, as it turned out, although difficult, it is quite doable. Is it worth it then to pay money to "someone else's uncle"? And it's not a fact that the building will turn out to be of high quality and beautiful (there are enough hacks nowadays). On the veranda, which was mentioned in the step-by-step instructions, it took about 10 days along with the painting. This means that in a maximum of 15-20, you can make the perfect one. Experts promise to do all the work in 30-60. It is worth considering ...
We hope that the information provided by us today was useful to the reader. All questions (if you still have them) can be asked in the discussions to the article. Write, share your experience, because it can help someone.
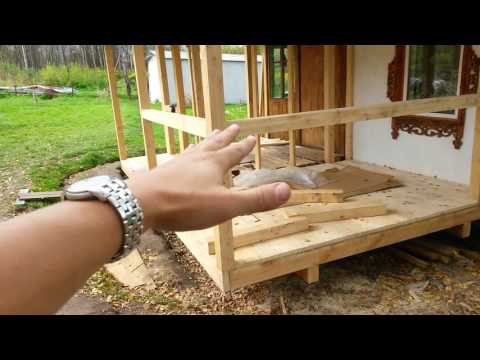
And finally, we suggest watching a short video on such a construction:
Previous ConstructionWhat is a carriage: features of the manufacture of gable logs and project options
Next ConstructionWe use insulation for the walls of the house outside: the price of the project, the correct choice of materials and high-quality installation
