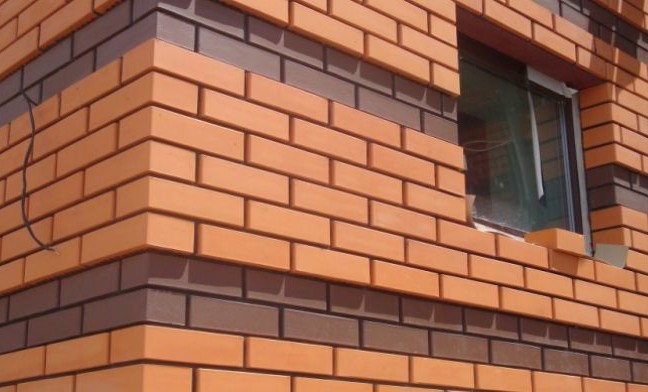
Application of masonry nets
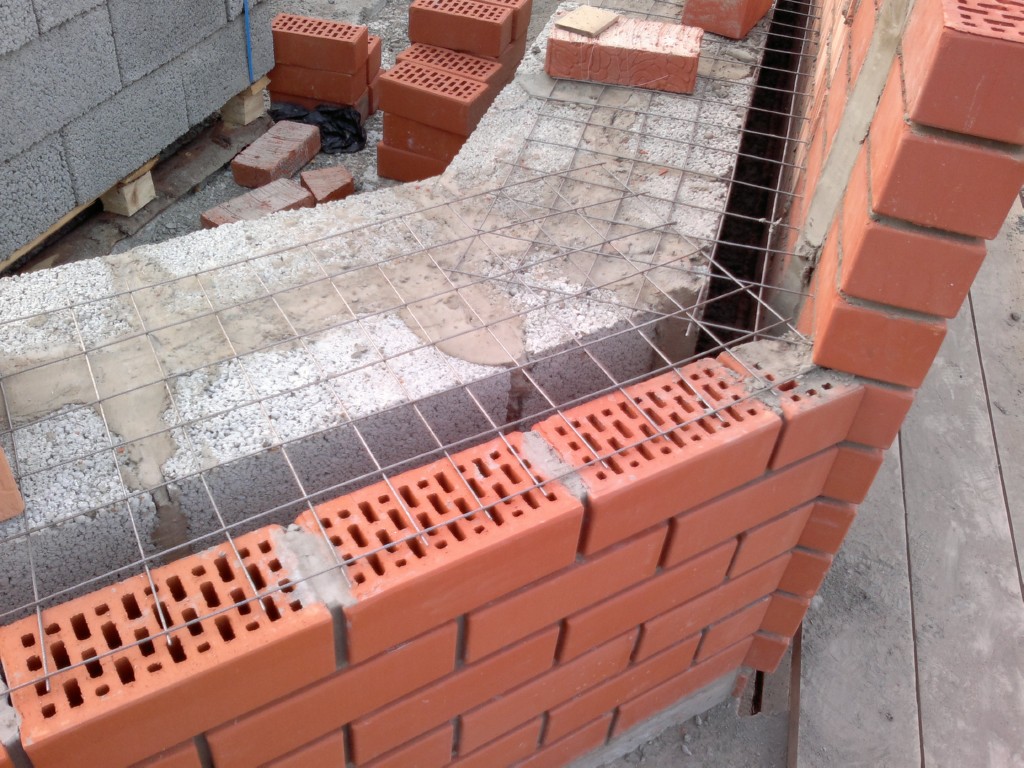
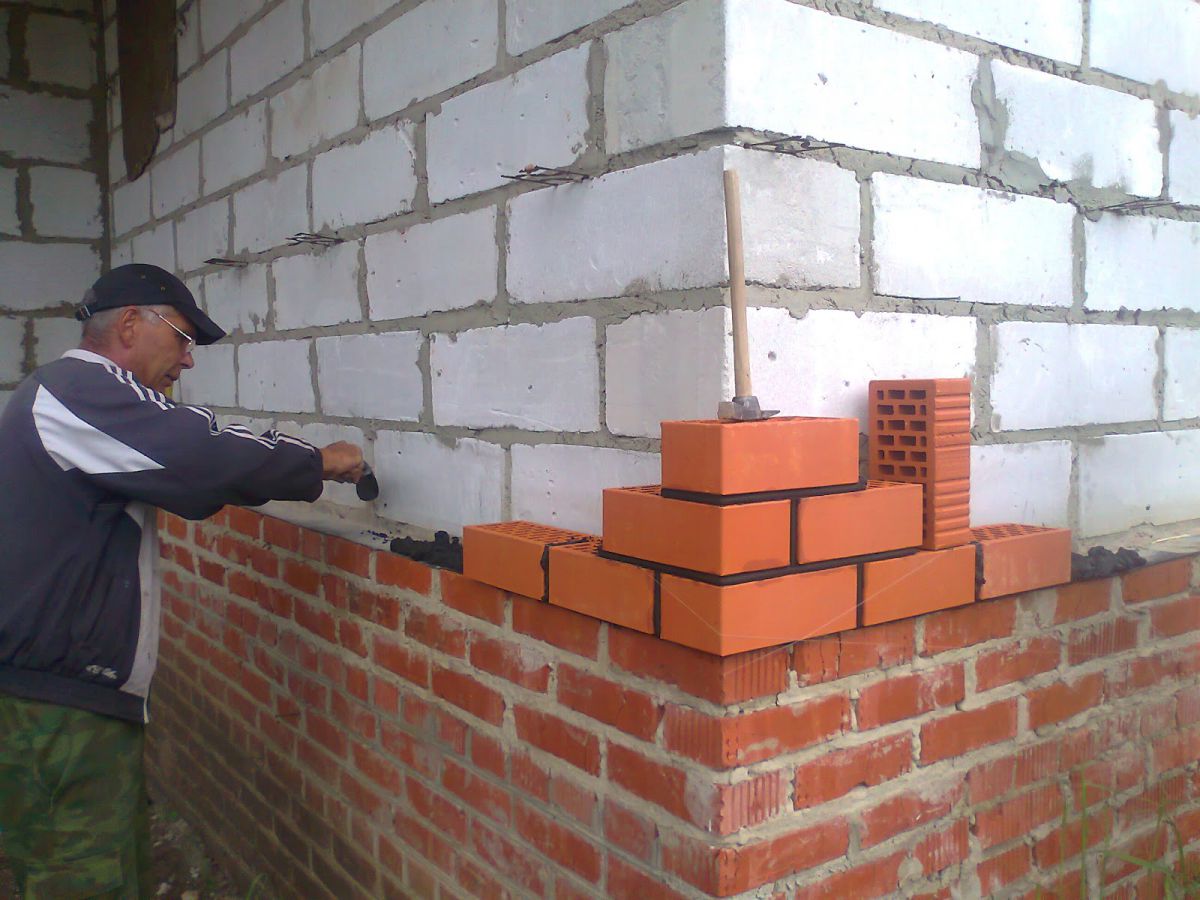
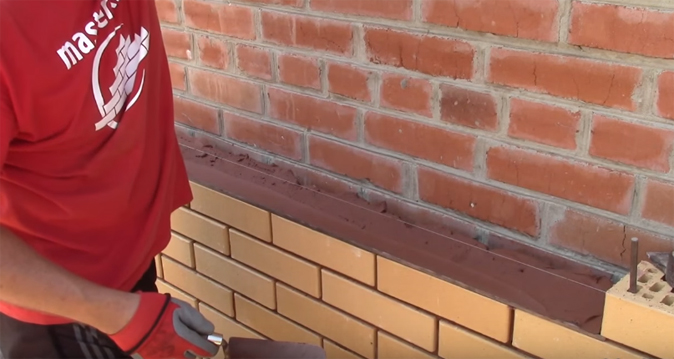
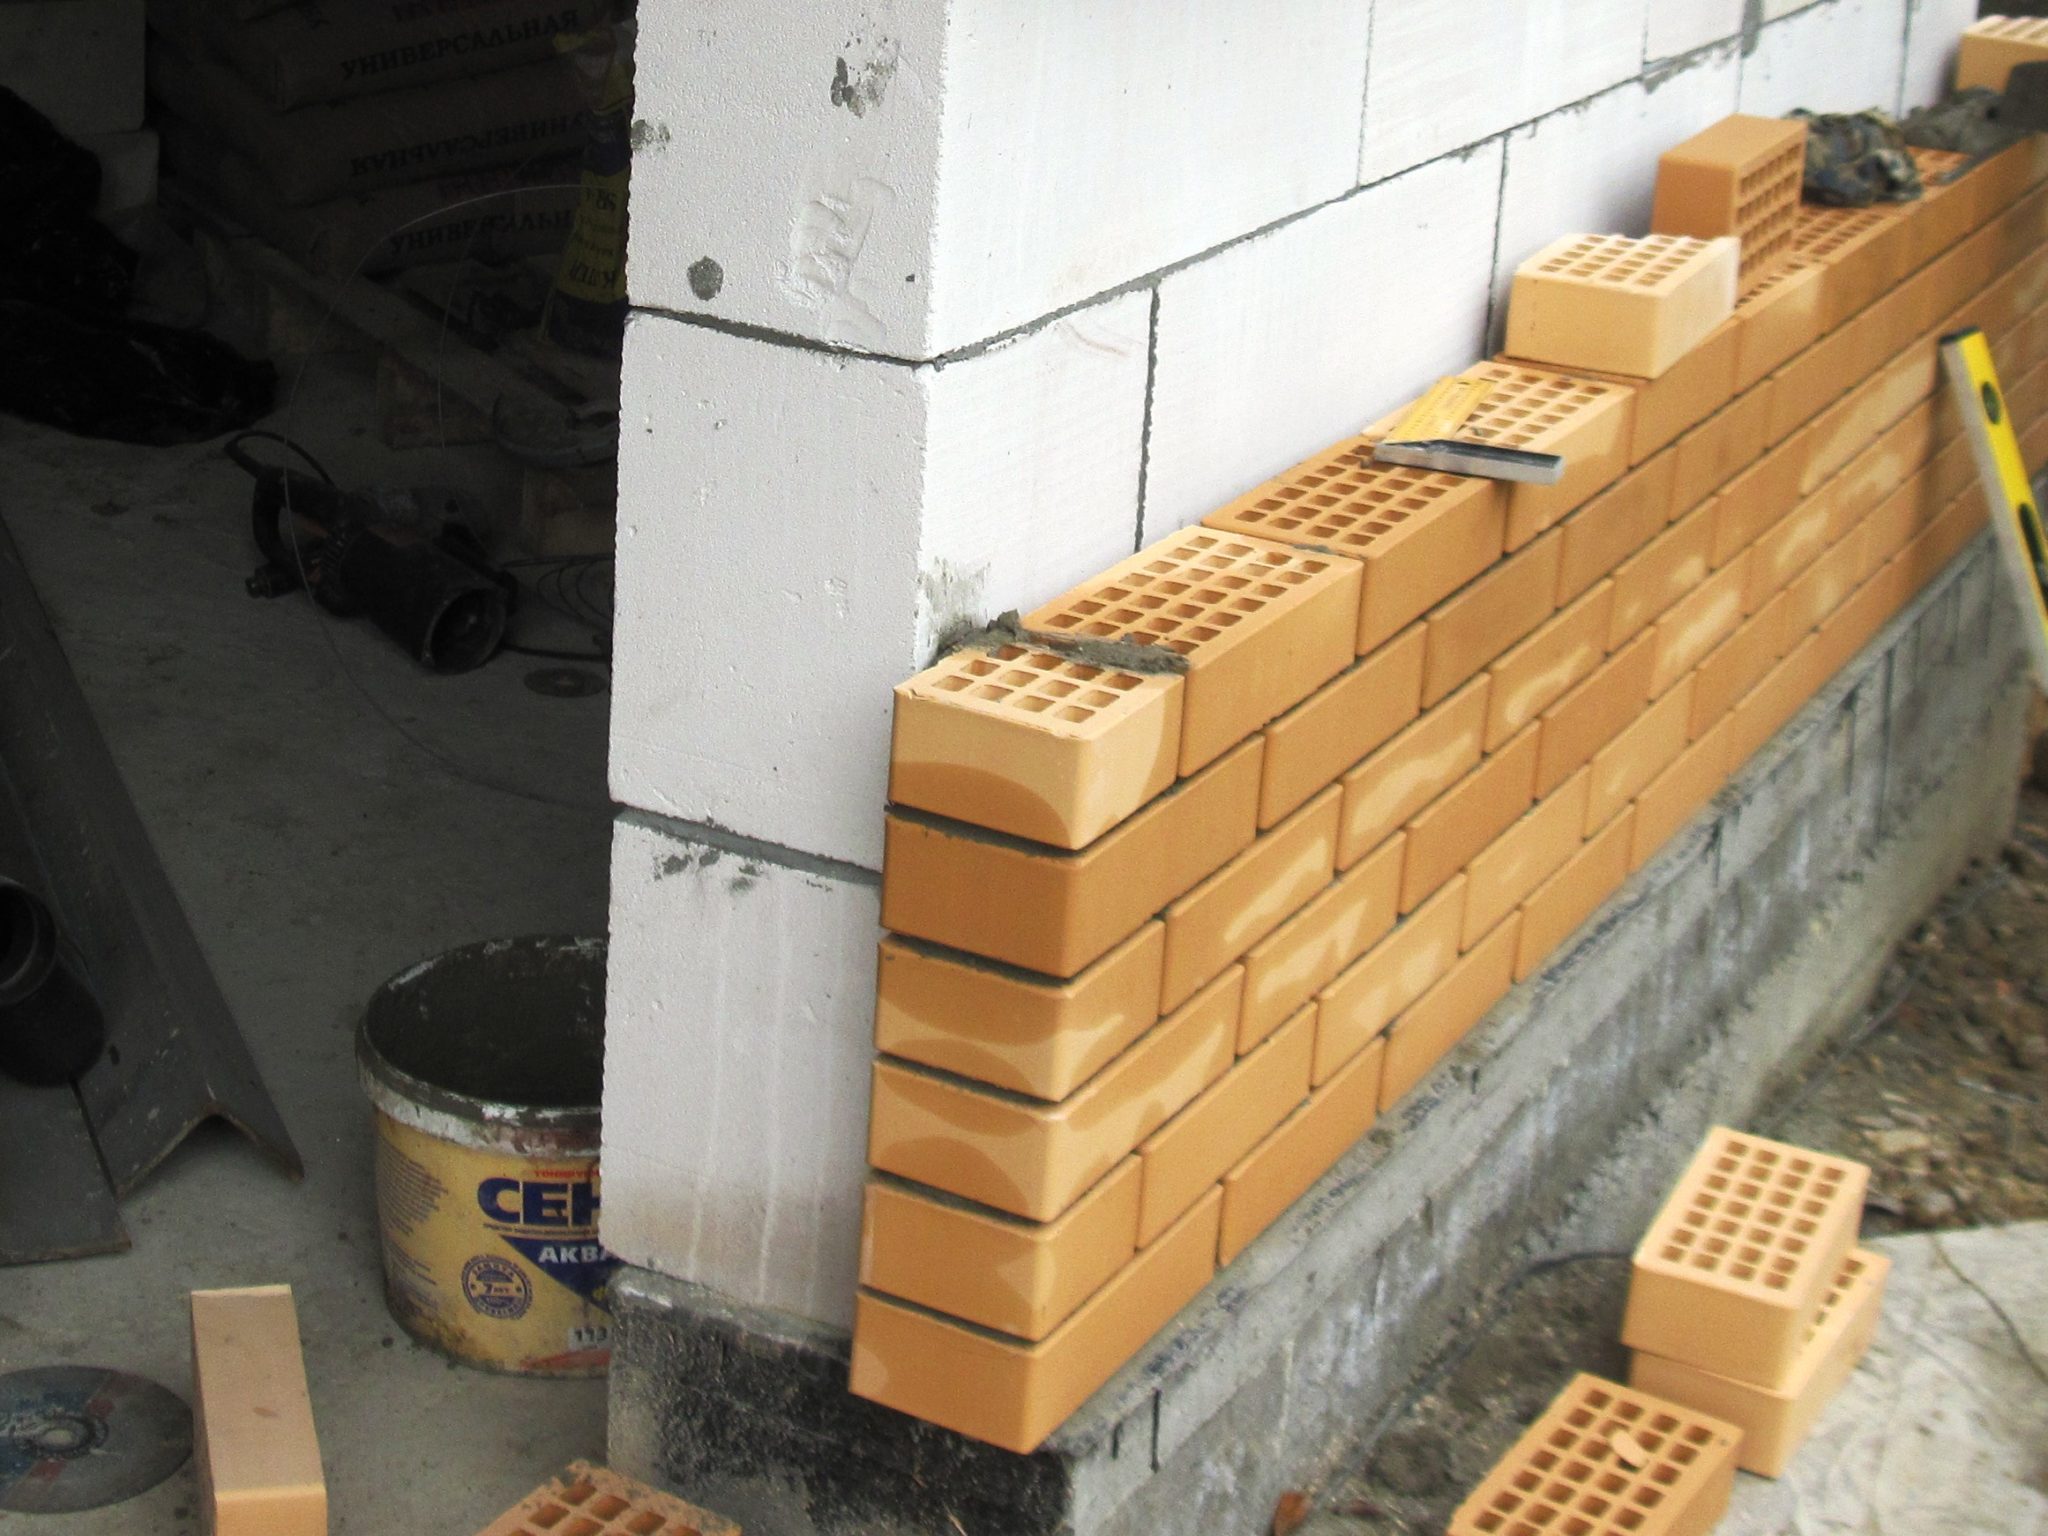
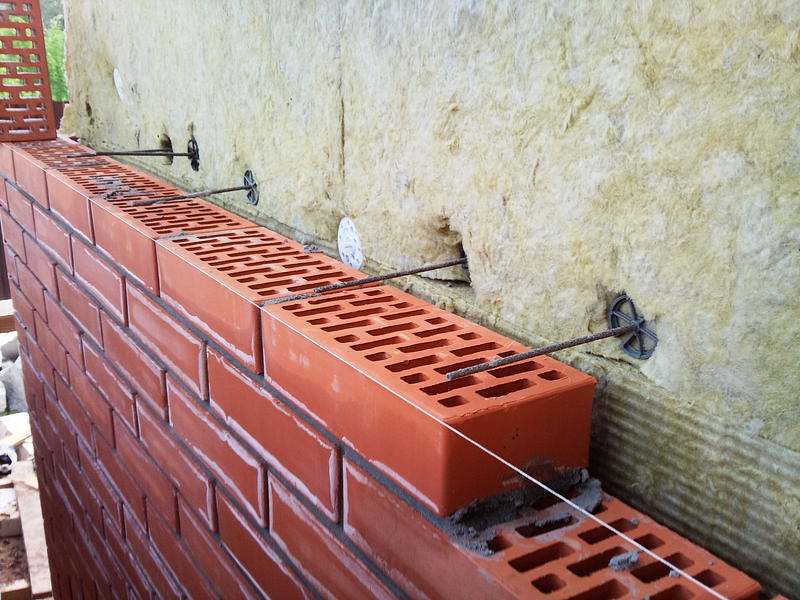
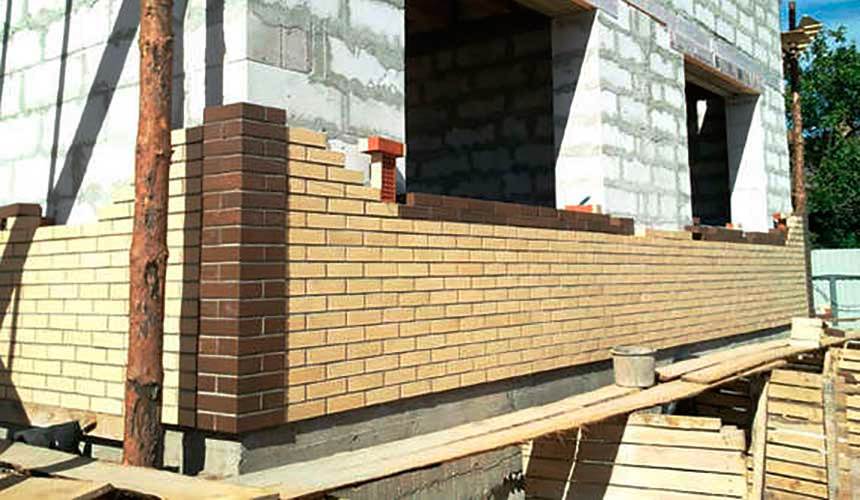
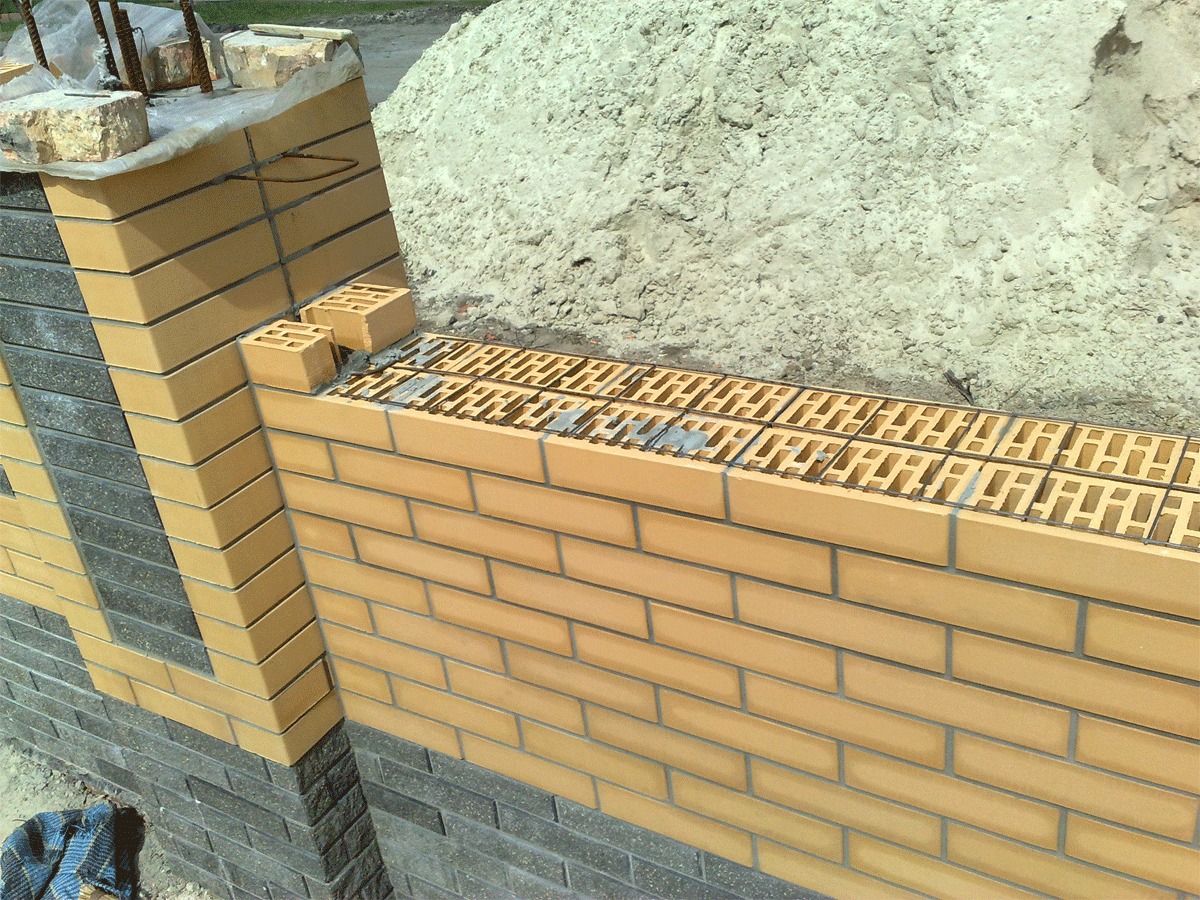
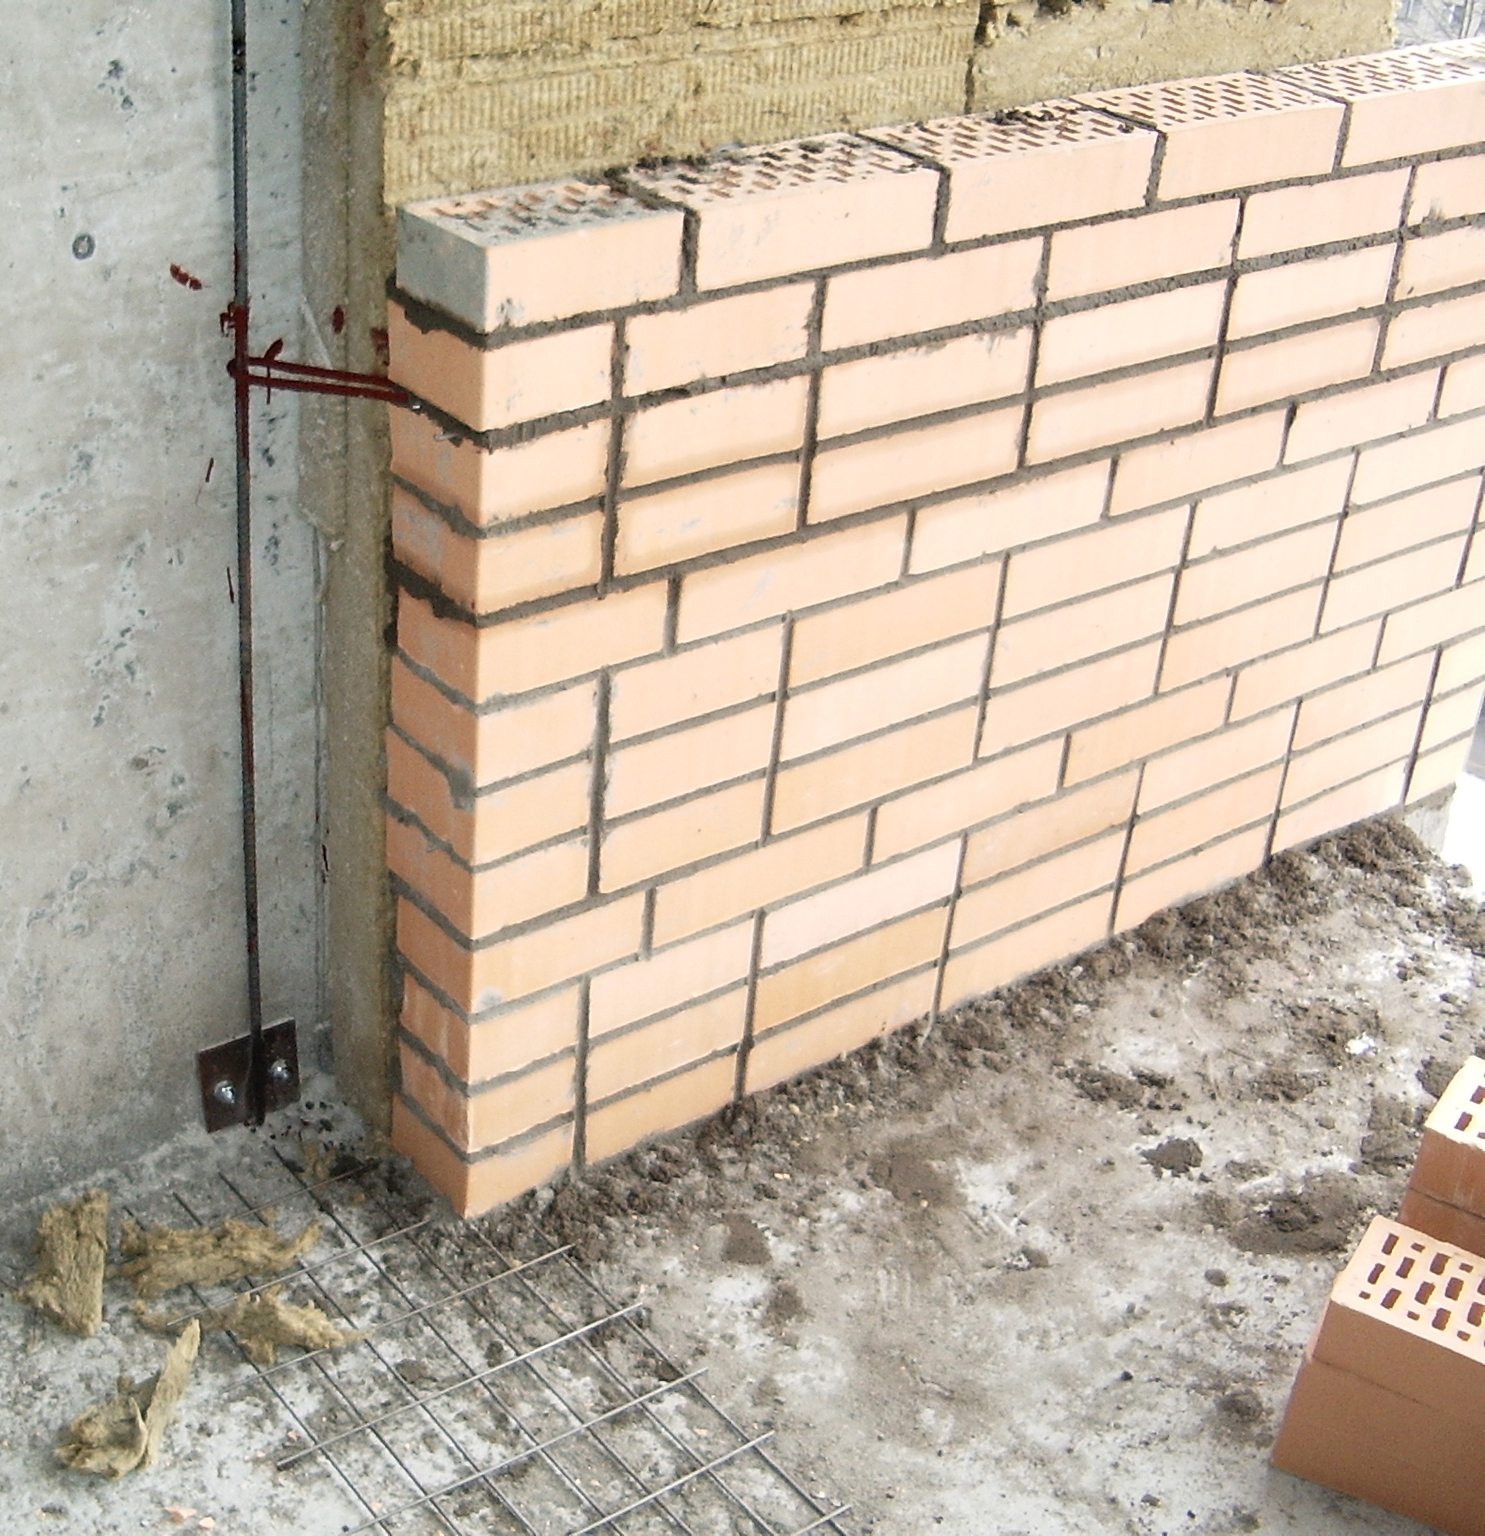
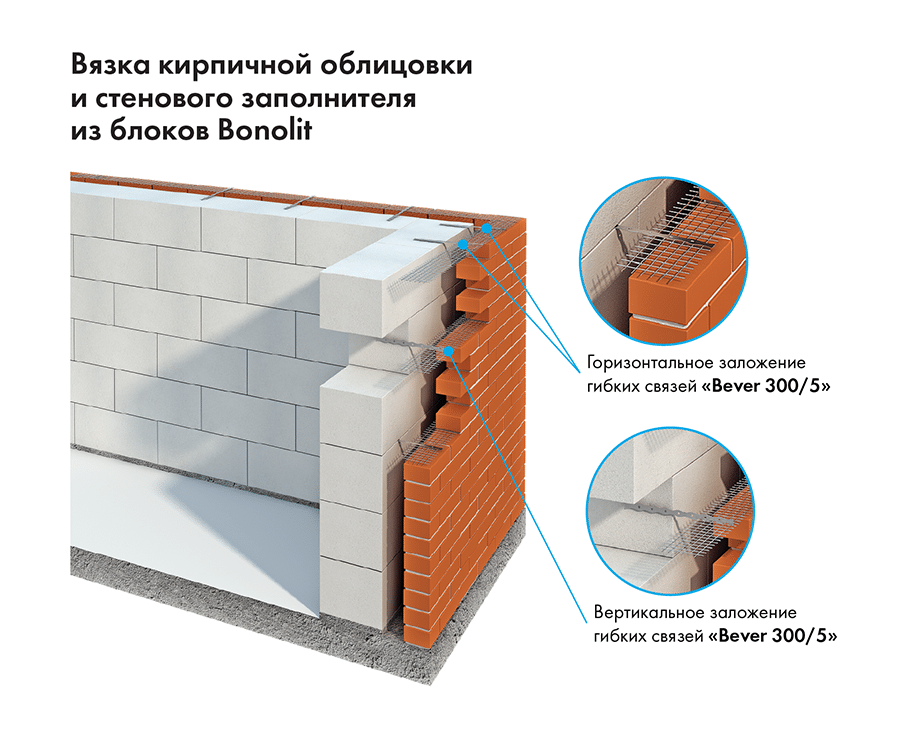
Fastening of facing bricks to the load-bearing wall is very often carried out using a masonry mesh. This is a fairly old but reliable method. The mesh is inexpensive, does not require complex installation, but it should be laid at the time of the construction of a wall made of aerated concrete; it will not be possible to attach the mesh to the finished structure. The mesh is needed so that when the structure shrinks, the load is evenly distributed and no cracks appear on the facade. You can use a metal product or galvanized mesh.
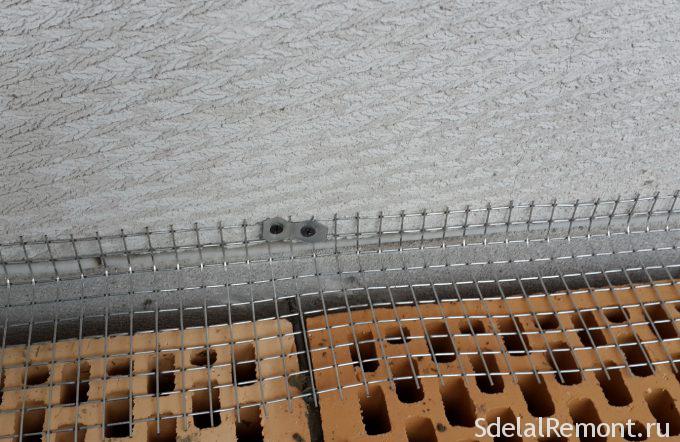 Fastening the mesh to the foam block
 Option for attaching the mesh to the wall using pieces of cut mounting tape for wood screws
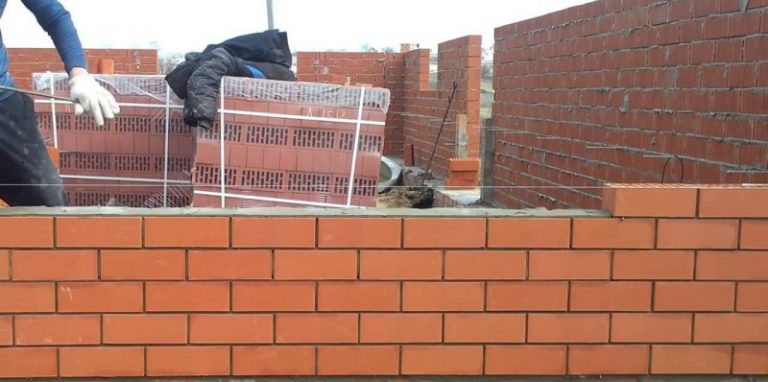
Fastening of facing bricks to the walls with a mesh should take place every three rows. If a 2-block masonry is used, then a net can be laid every 4 rows. If not very strong blocks are used, more frequent laying of the mesh is permissible, but in no case more rare. It is necessary to reinforce the row from zero: this will help to firmly fix the cladding, to avoid its damage in the future.
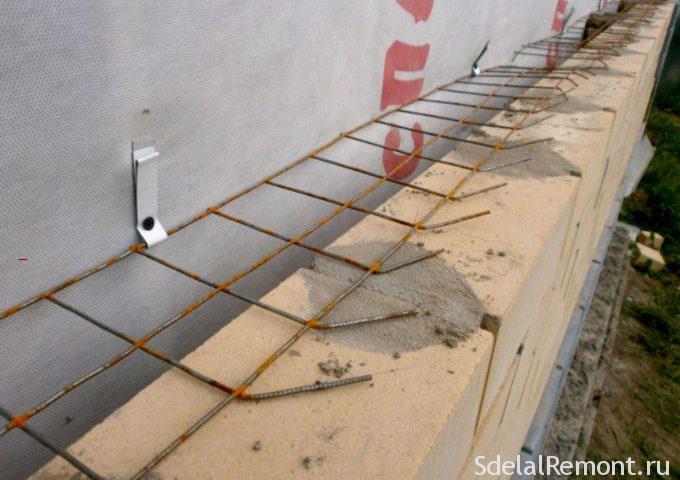 Another option for fastening the construction mesh
This type of fastening for facing bricks can be made from different materials, for example, steel, fiberglass
When choosing a mesh, you need to pay attention to its rigidity, for example, fiberglass is not suitable for
sections of the wall that are subject to heavy loads. The most reliable is a metal mesh, it can be used for any type of building.
Steel has good spring properties, is not afraid of strong physical influences, is strong to break, while it is lightweight and does not overload the structure. It is one of the simplest and most practical bricks for facing bricks. The metal mesh is sharp, so there is a high risk of injury. Basalt in this regard is much safer, moreover, it does not rust, and the loads can withstand the same.
Fastening a wall of facing bricks to aerated concrete using a mesh has the following features:
- Withstands loads up to 50 kN / m.
- Has high strength.
- The small weight of the product does not affect the structure as an additional load.
- It can stretch, therefore it has a certain plasticity.
- If you use a metal mesh, cold bridges can form inside the walls, the basalt version eliminates this problem.
- It is worth noting that it is the basalt mesh that is more durable in tension.
- Not afraid of environmental influences. If the mesh is made of basalt or stainless steel, ordinary steel can oxidize under the influence of moisture and oxygen, which causes rust, and the product loses its quality over time.
Conclusion: fastening facing bricks to aerated concrete is possible in various ways, the choice of which depends not only on the cost of products, but also on the stage of construction.
Video:
Video:
Video:
The choice of facing material
 Today, brick cladding remains one of the most popular facade design methods. Solid and hollow building materials can be used. They have excellent thermal insulation properties. The most widespread is the design of the facade of the building with the help of double silicate brick m150. This building material is considered economical in terms of consumption and effective in terms of wall insulation.
No less common is the lining of the facade with ceramic cladding products. They are large in size compared to conventional bricks.Such building material imitates the appearance of a natural surface:
- wild stone;
- ceramic brick;
- rocky texture;
- wood.
Before you impose a facing brick on a frame house, it is necessary to take into account the climatic conditions of the area in which construction work is carried out. The facing brick selected must be able to withstand climatic fluctuations, changes in humidity levels and the effects of precipitation typical of the region. Ceramic facing brick is considered a versatile building material.
To choose the right decor for your own home, you can look at examples of facade cladding work already done.
Slag or slag filling house
Brick cladding in the case of buildings using slag is used more often when cracks are spreading along the walls. This happens mainly when the slag has exhausted its resource and began to crumble. On average, its service life is 50 years, it is reduced if the humidity of the walls was increased.
Brick cladding of a house made of cinder block (slag block) will only delay the inevitable: it will slow down the destruction, but will not stop it. The length of the grace period depends on the condition of the material and on the measures taken. On average, he is 8-15 years old. It is hardly possible to do without consulting a specialist: the cost of an error is too high.
In most cases, it is recommended to build a frame around the house, on which to transfer part of the load of the floor and roof, to carry out waterproofing work. One of which is external protection of walls from atmospheric precipitation using brick cladding. The brick is selected with the lowest water absorption. For greater protection, the masonry can be impregnated with a hydrophobic compound (only not creating a vapor-impermeable film). The penetrating hydrophobic impregnation of the main wall will not be superfluous. For this, you can use impregnation type "Penetron" and analogs. They will simultaneously strengthen the material and significantly reduce water saturation.
Watch the video about the practice of facing old buildings with bricks.
Material features
Brick is rightfully recognized as the most popular building material, which is very common. Brick houses and brick-faced buildings can be found on every street. Many consumers opt for this particular product. The distinctive characteristics of modern facing bricks can be safely attributed to its attractive appearance, coupled with wear resistance.
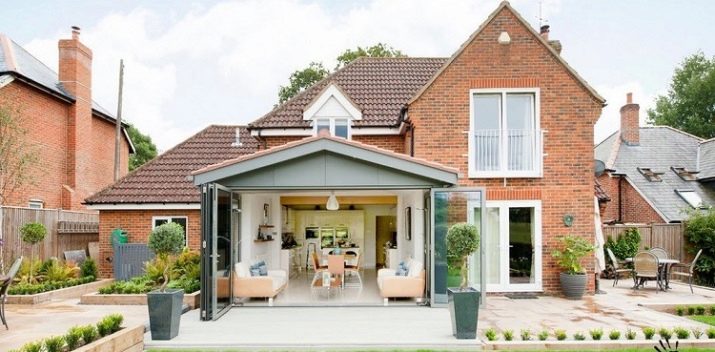
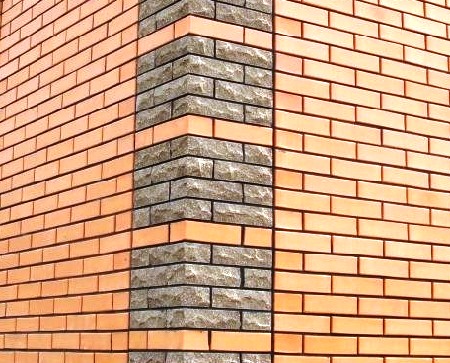
According to experts and home craftsmen, today's facing bricks can be somewhat inferior to other facing materials in terms of their external characteristics. Recently, however, this trend has ceased to be relevant. In different retail outlets, people can come across different types of bricks. It can be not only red and smooth elements. There is an opportunity to pick up textured options for other colors that look very interesting.
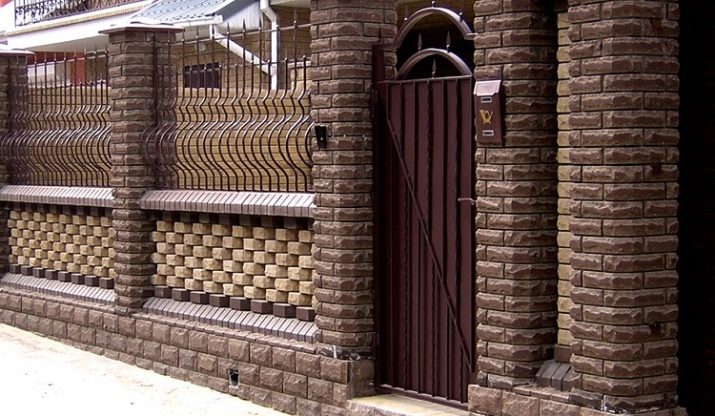
In most situations, in the desire to decorate a house with brickwork, people rely on their "wishlist". At the same time, quite a lot of important points are missed that have a direct impact on the brick itself and the facade from it. Experts say that the material for decorating the front of the house must be thought out even at the project stage. Leaving this business "for later" is not worth it.
If you do not pay attention to this rule, then after making the box, a lot of problems may appear. It may turn out that the width of the foundation base is not enough to support the facing brick, because during the construction, the owner decided to additionally insulate the wall structures
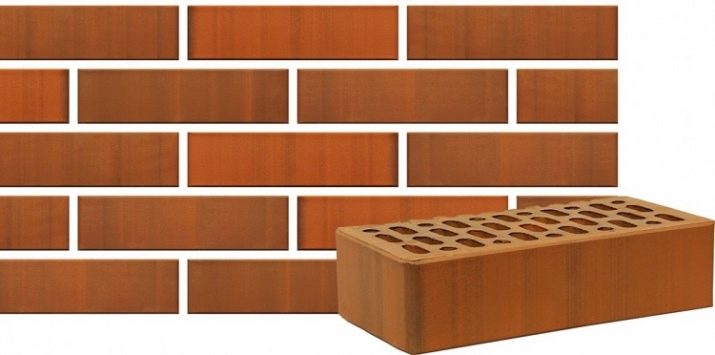
So, a facade made of facing bricks has a more significant bearing capacity, which is capable of exceeding these indicators of the foundation, which, as a result, will lead to cracking of the masonry. It is quite possible to clad the house with brickwork with your own hands.Of course, this process cannot be called very simple and easy. In fact, this is a laborious job, but it is possible to cope with it. The main thing is to observe all the nuances of the cladding and act in stages, observing the technology.
Installation of strip foundations on the ground
First, wooden pegs are installed around the perimeter of the construction and the length of the fence is measured with an accuracy of a centimeter. After that, they begin to calculate the number of pillars, taking into account the size of the gates and wickets. Depending on the filling of the body of the fence, the distance between the posts may be different. It ranges from 2.5 to 3 meters. If the soil allows you to avoid the installation of formwork, concrete is poured directly into the ground.
This is possible for clayey, rocky soils, which may not crumble for several days in good weather without rain. If the ground is sandy, formwork must be installed to the full height of the base. For formwork, boards, plywood, flat slate are used. If the house is on a slope, then the fence foundation will have to be made stepwise.
Photo: foundation with pillars installed on a slope
Benefits of using buta
Foundations for a fence made of rubble stone with brick pillars in terms of bearing capacity are in no way inferior to concrete ones. Any stone material of suitable size is used to fill the trench. Large stones are split with a chisel or an old ax. To do this, they are laid on the ground and with strong blows they first cut a long furrow in them, and then split them. Tie the stones together with a solution of the brand of at least M200.
There should be no gaps and cavities between the elements that are not filled with cement mortar. If water gets into the cavity in winter and freezes, there is a risk of rupture of the foundation and the fence may tilt. When the bottom of the foundation is tilted a few centimeters, the top of the fence will go 5-10 cm to the side and everything will have to be redone.
Photo: buta laying
Foundation with glasses and reinforced concrete beam
This is the most cost-effective option for building foundations for brick fences. After breaking down the plan, holes are dug under the fence and concrete glasses are poured into the formwork. At the top of the glass, a recess is left for the thickness of the beam. Reinforced concrete beams, which play the role of a base, can be cast in one place, and after hardening, transported to the fence and installed. An expansion joint should be provided between the beams and glasses.
Foundation on screw piles
Steel screw pile supports can be used to construct foundations in soils with low bearing capacity. They have steel caps, on which a concrete grillage is formed under the load-bearing beams.
It should be taken into account that the screw pile supports for houses have a closed contour and are a rectangle or square in the plan
Fences can be long, and in order to reduce the effect of positive or negative temperatures, it will be necessary to make expansion joints at regular intervals. The advantage of steel screw supports is that there is no need to use earth-moving equipment during their construction. In fact, the body of the foundation is above the ground.
Advice:
- Choose welded piles for low density soils or cast piles for heavier soils. However, please note: cast piles are much more expensive, although more durable.
- The internal cavities of the piles are filled with concrete of a grade not lower than M200.
- For fences with a large windage, with filling with corrugated board, you will have to make a calculation for the wind load.
Arrangement of strip-and-column foundations
This type of foundation is used for brick fences with solid brick filling between posts on unstable soils in climatic zones with a freezing depth of more than 1 meter or in permafrost areas. A very costly way of arranging such bases.This requires the use of special machines and mechanisms: excavators, drilling rigs.
The pillars are concreted in special metal formwork and, after hardening, are treated with bituminous compounds for waterproofing. Waterproofing serves as a lubricant for heaving soils when temperatures drop to -30 ° C and below. The entire body of the foundation with pillars is reinforced with steel reinforcement.
Masonry technique in a brick wall
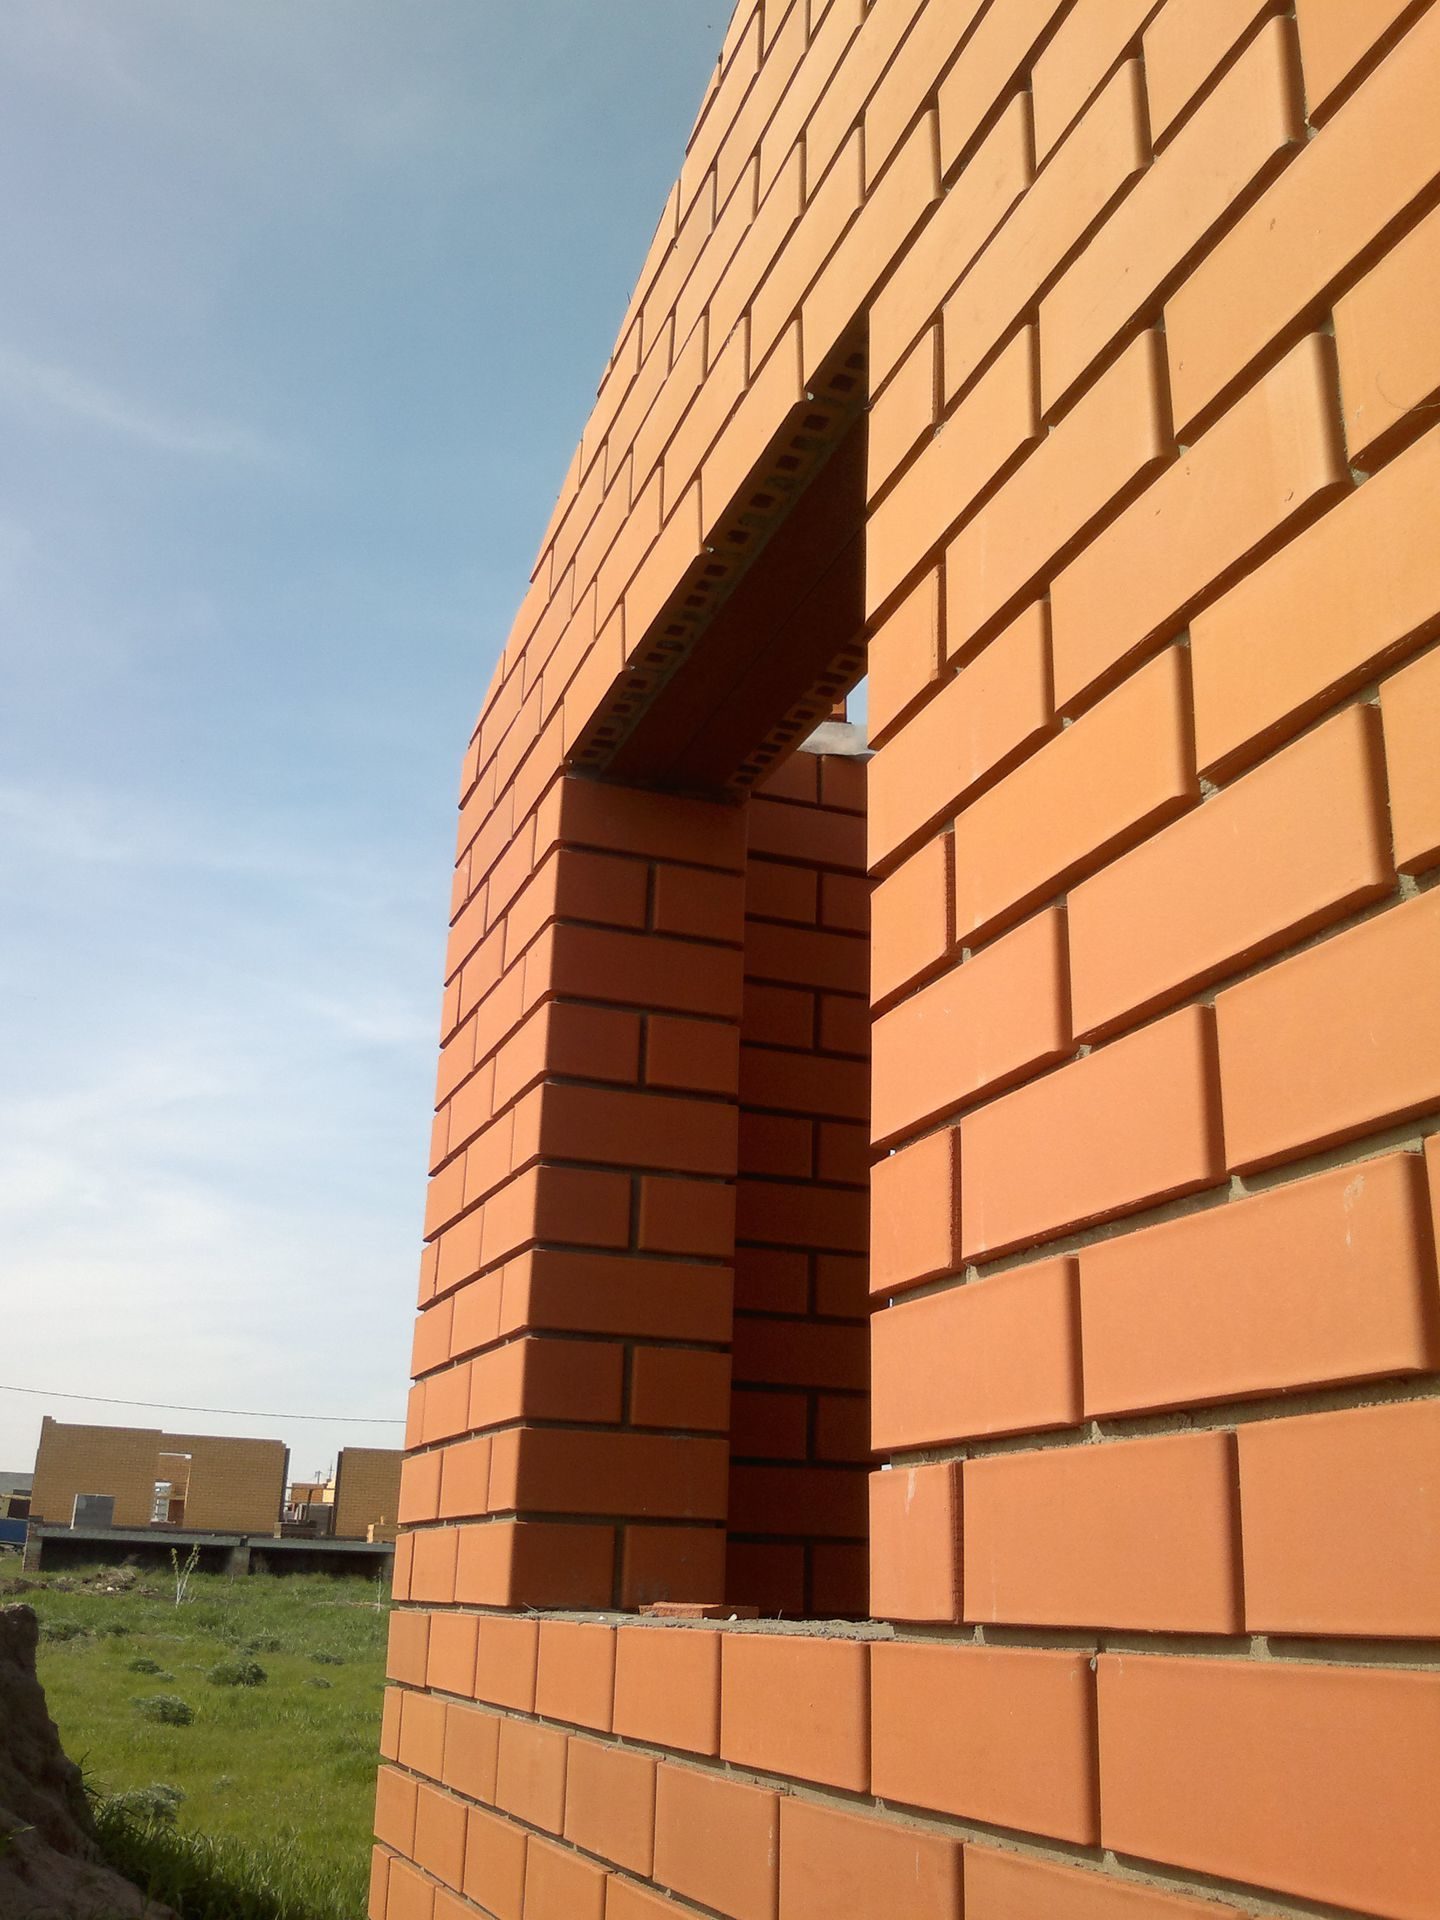
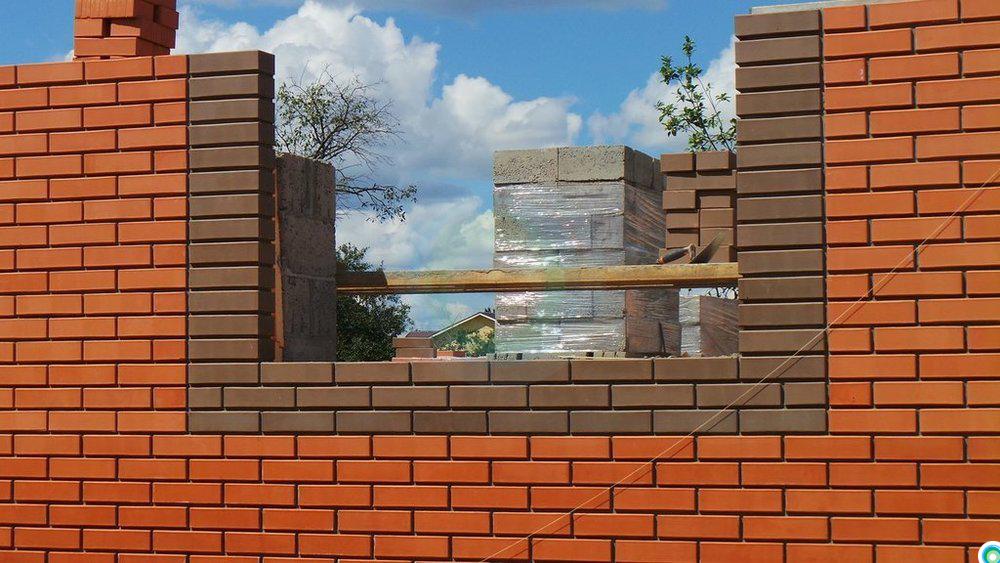
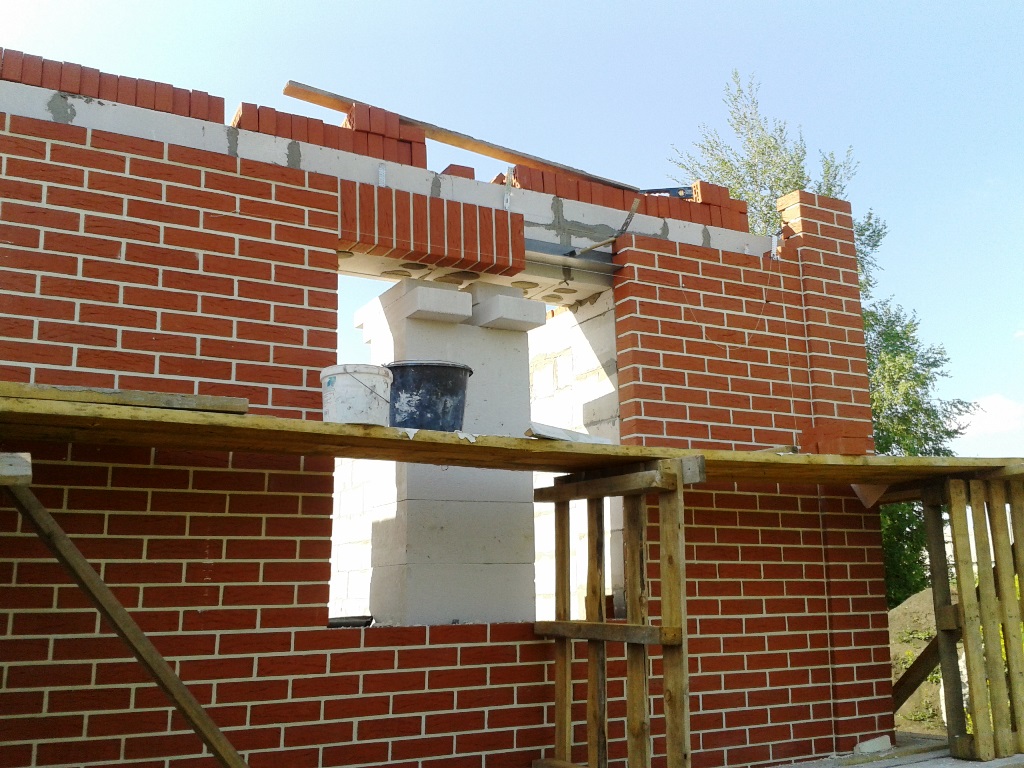
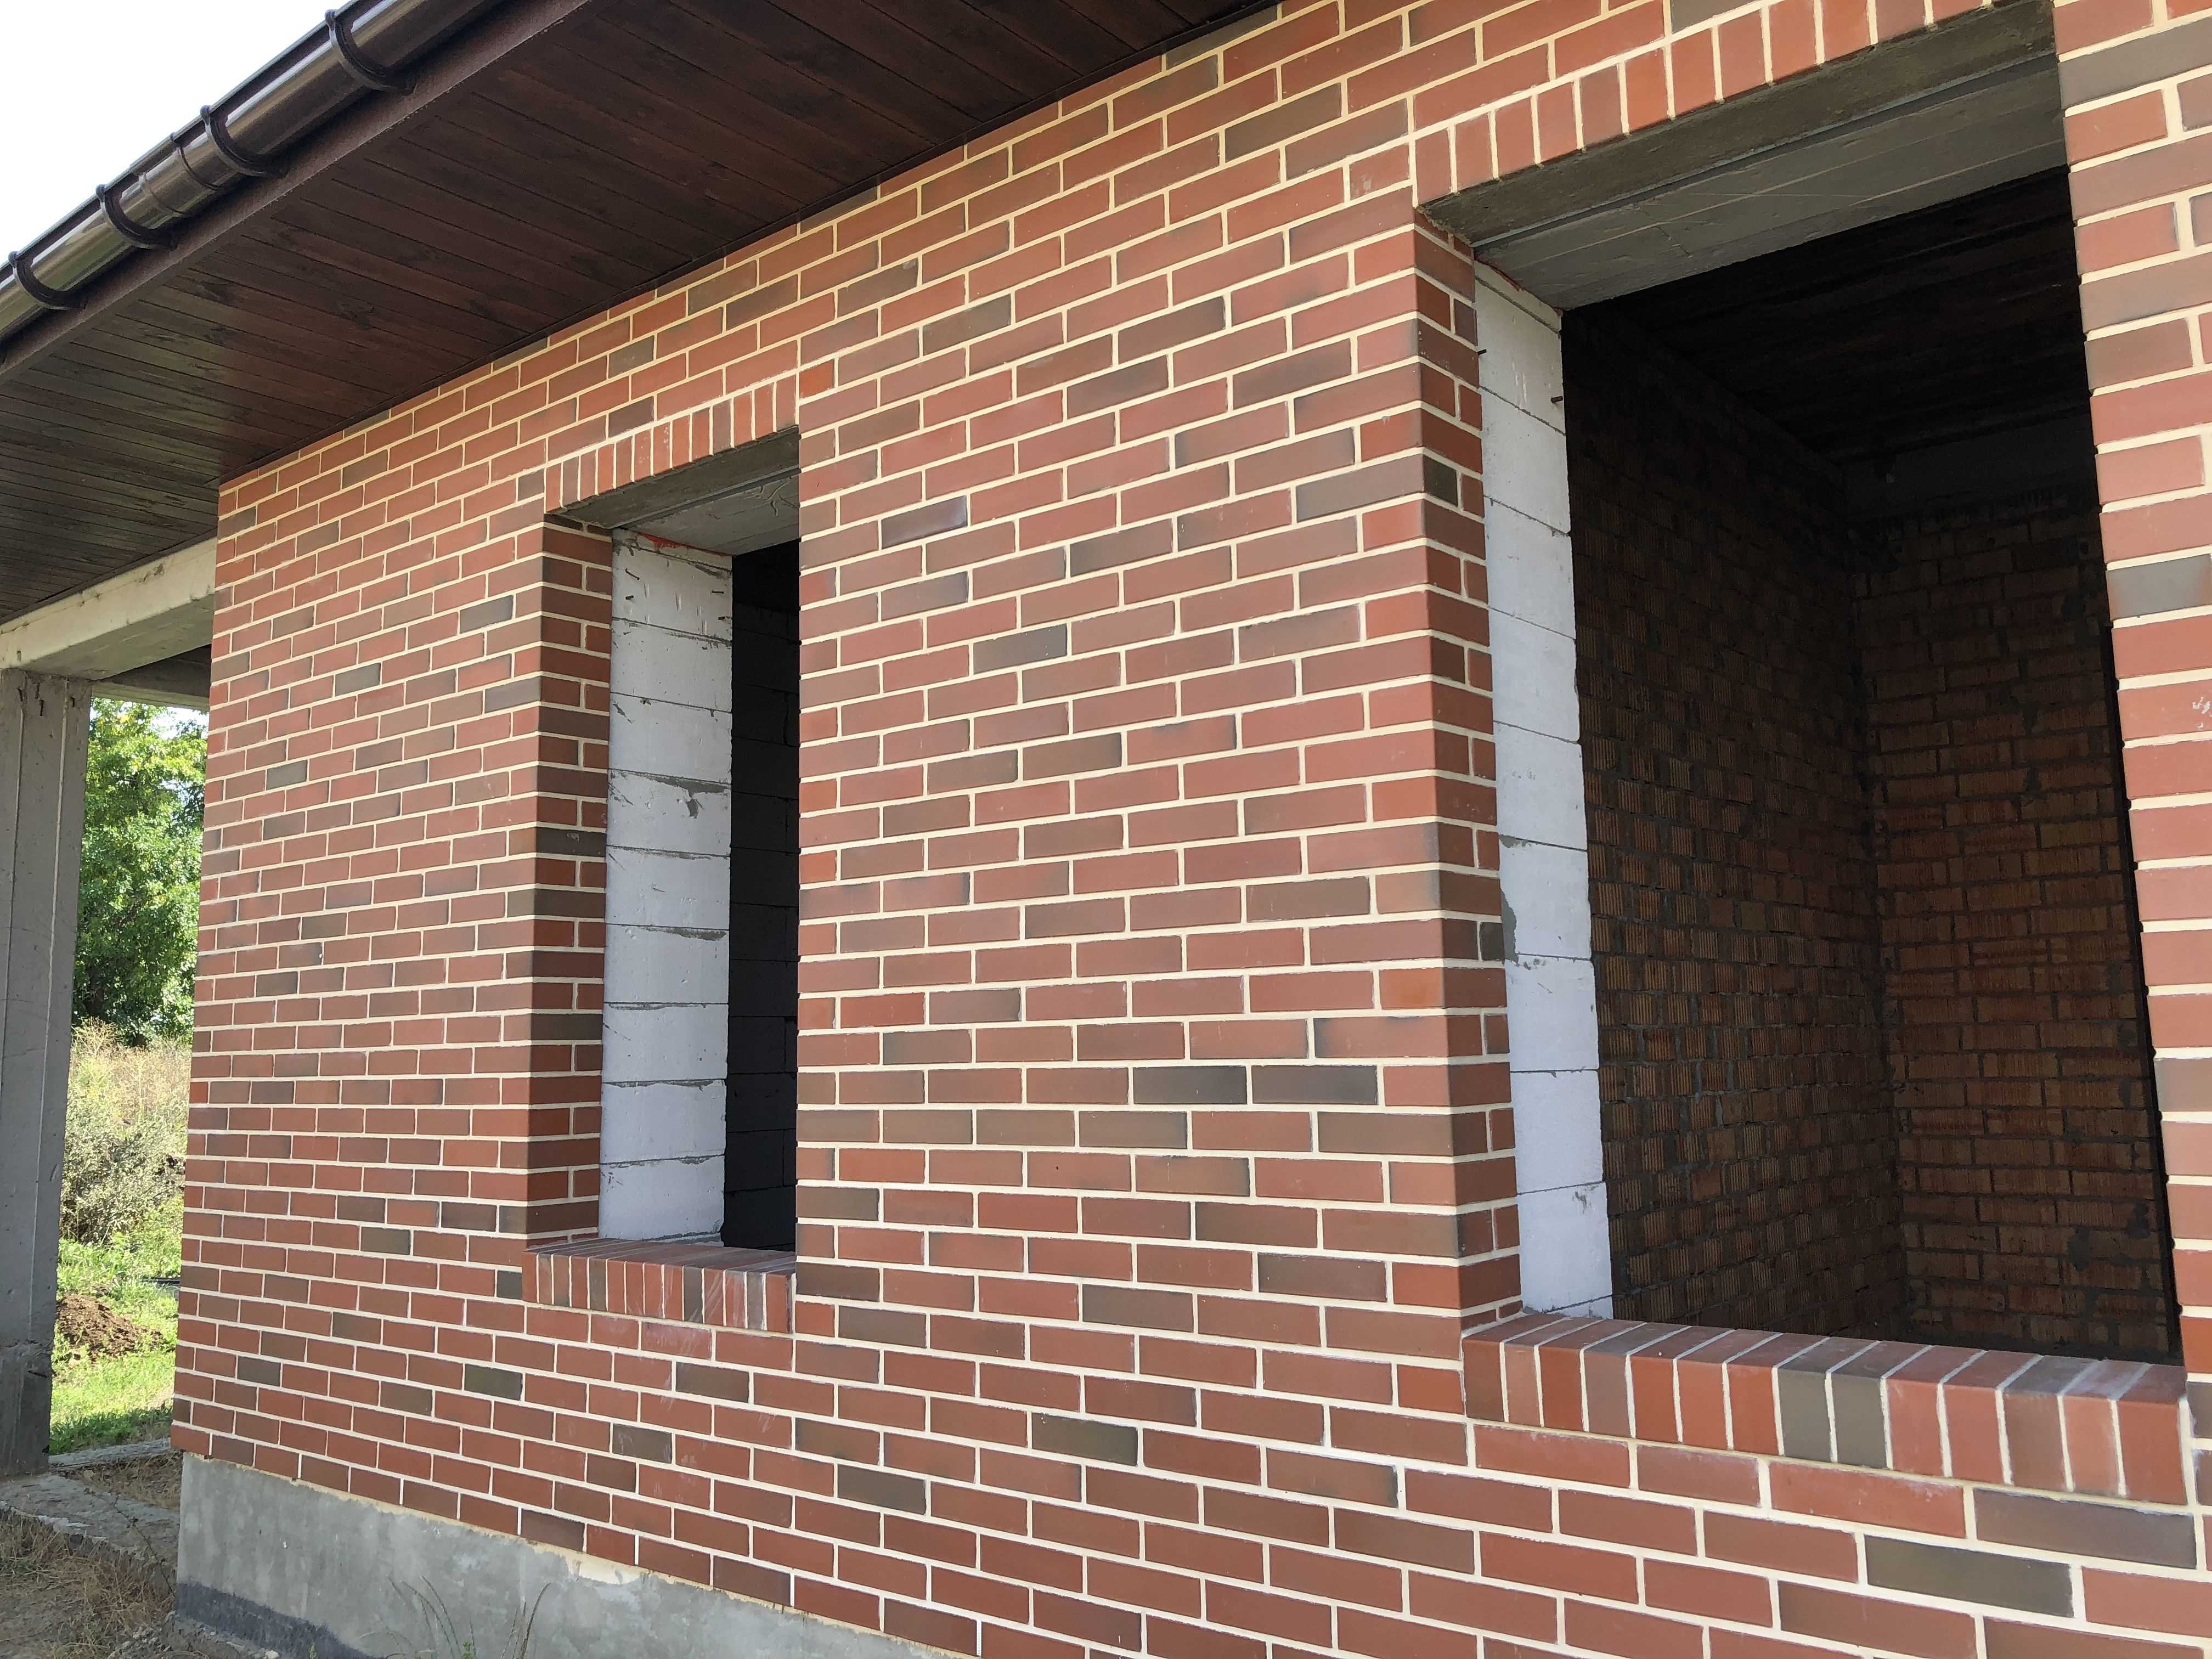
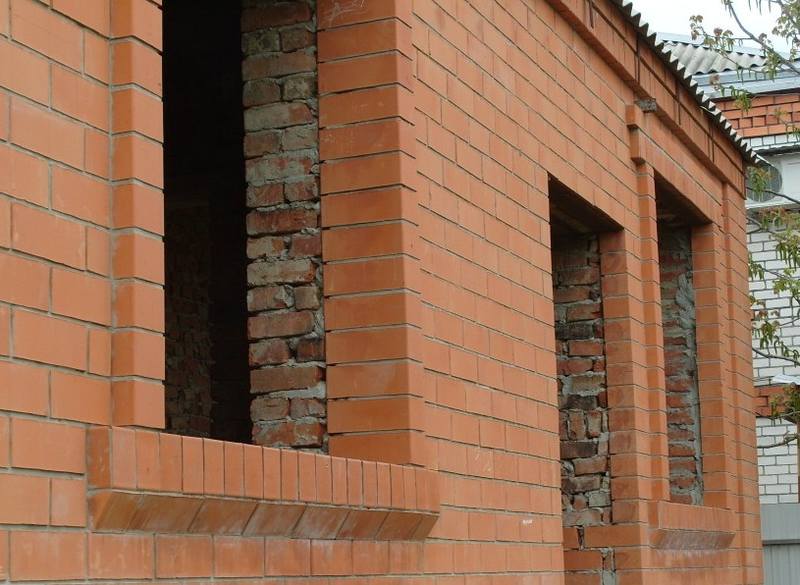
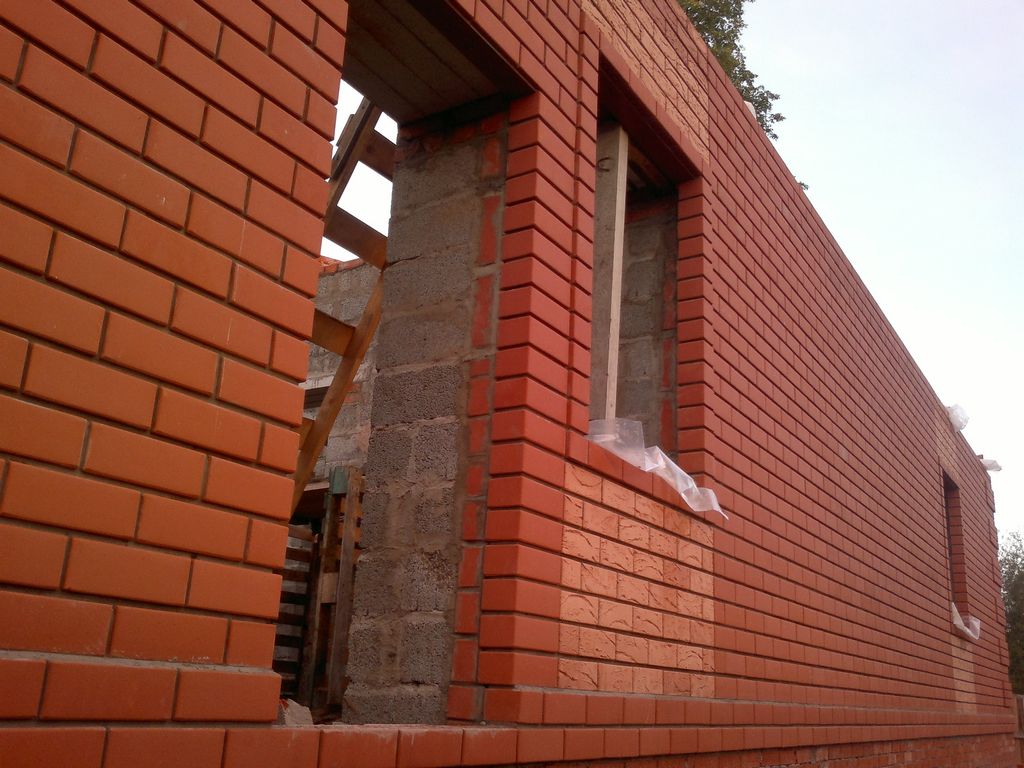
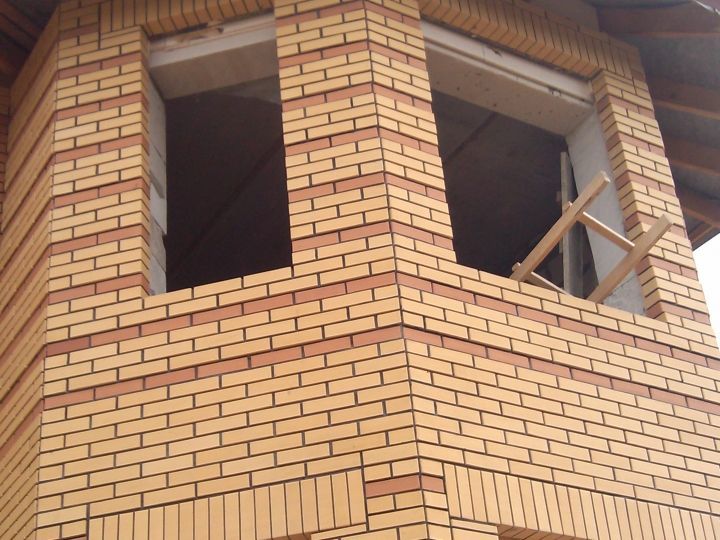
Consider how the masonry of the window opening is carried out with facing bricks.
When designing a house and locating windows, a specialist calculates their placement, taking into account the size of the brick used.
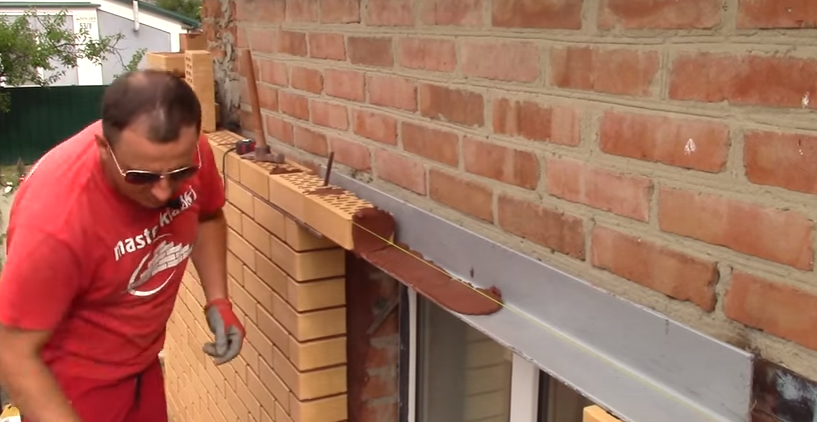
The base for the window opening is prepared after the tenth row of brickwork has been removed, which guarantees the structure's strength and rigidity. After that, they arrange a kind of sole, laying out a brick stone perpendicular to the axial line of the wall and pushing it out.
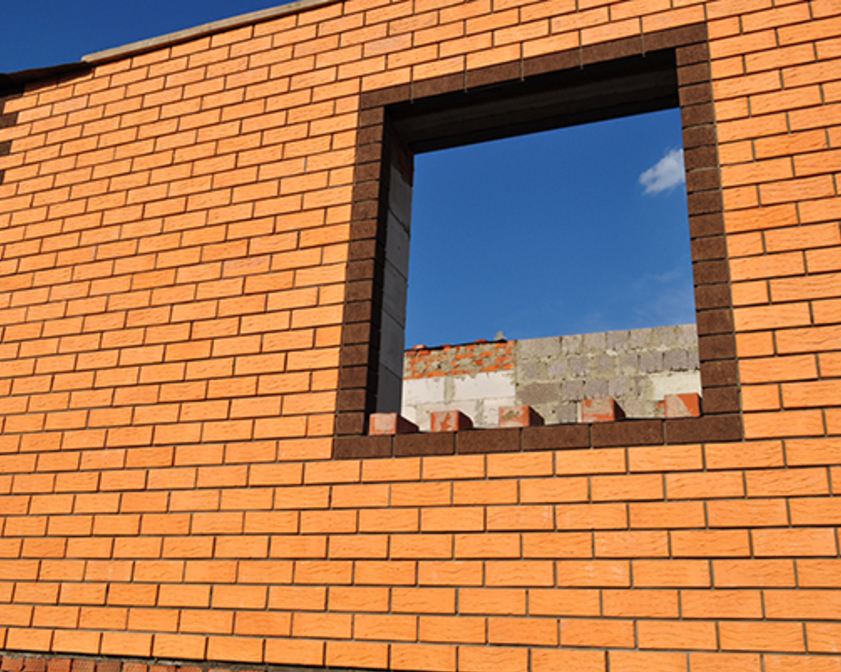
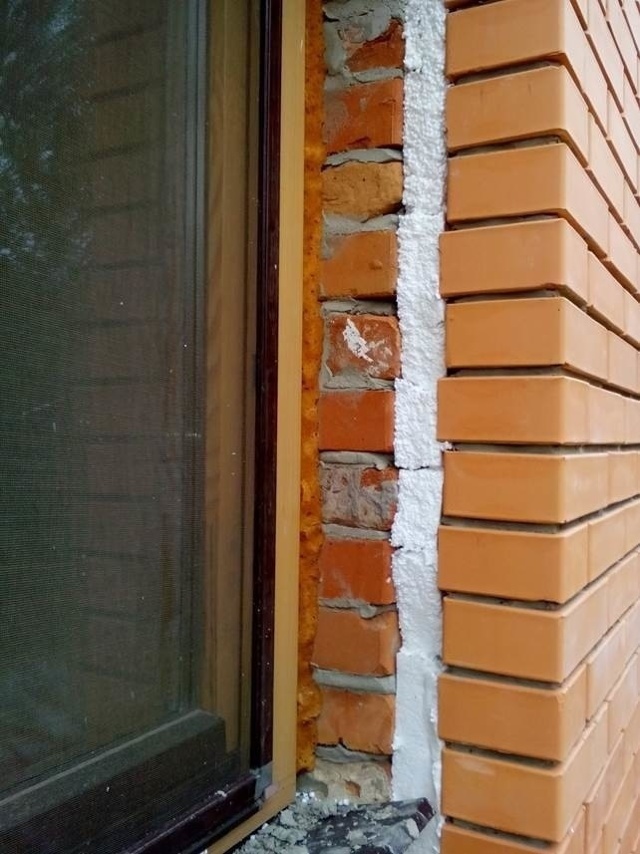
Side sections are displayed along the entire perimeter with a whole stone. A quarter is arranged inside the opening area. It is carried out with a corner of a brick for cladding, extended by a quarter of its own size. The window frame will receive a kind of emphasis and a full guarantee that it will not fall. A heat-insulating layer is immediately formed, possible gap areas between the walls and window frames are overlapped. According to building codes, such a ledge is kept to strict dimensions, otherwise there will be difficulties with the design of the side slope sections.
A metal corner overlap is arranged above the window opening, after which brick laying continues again. The outer steel element is slightly recessed into the wall in order to further cover it with a decorative layer.
A corner is installed at a distance corresponding to the parameter of a brick stone, the number of its rows is determined by the type and thickness of the masonry. In the wall along the opening edge, a concrete pillow is arranged under the corner or a solid brick is laid.
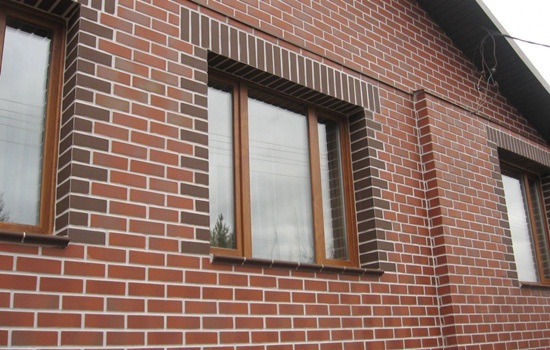
As an overlap for a window opening arranged in a brickwork, not only a steel corner is used. It is allowed to use I-beams, reinforced concrete blocks, brick lintels. Each of the options provides for laying on a concrete sole.
On each side, the entry section into the wall is equal to half the height of the structure, to which another fifteen or more centimeters are added.
The process of working with facing bricks: DIY masonry
Compared with other technologies for finishing the external part of buildings, facing brick is the most labor-intensive material in terms of work. However, its durability, expressiveness and reliability pay off these expenses. It is not easy to lay facing bricks on your own.
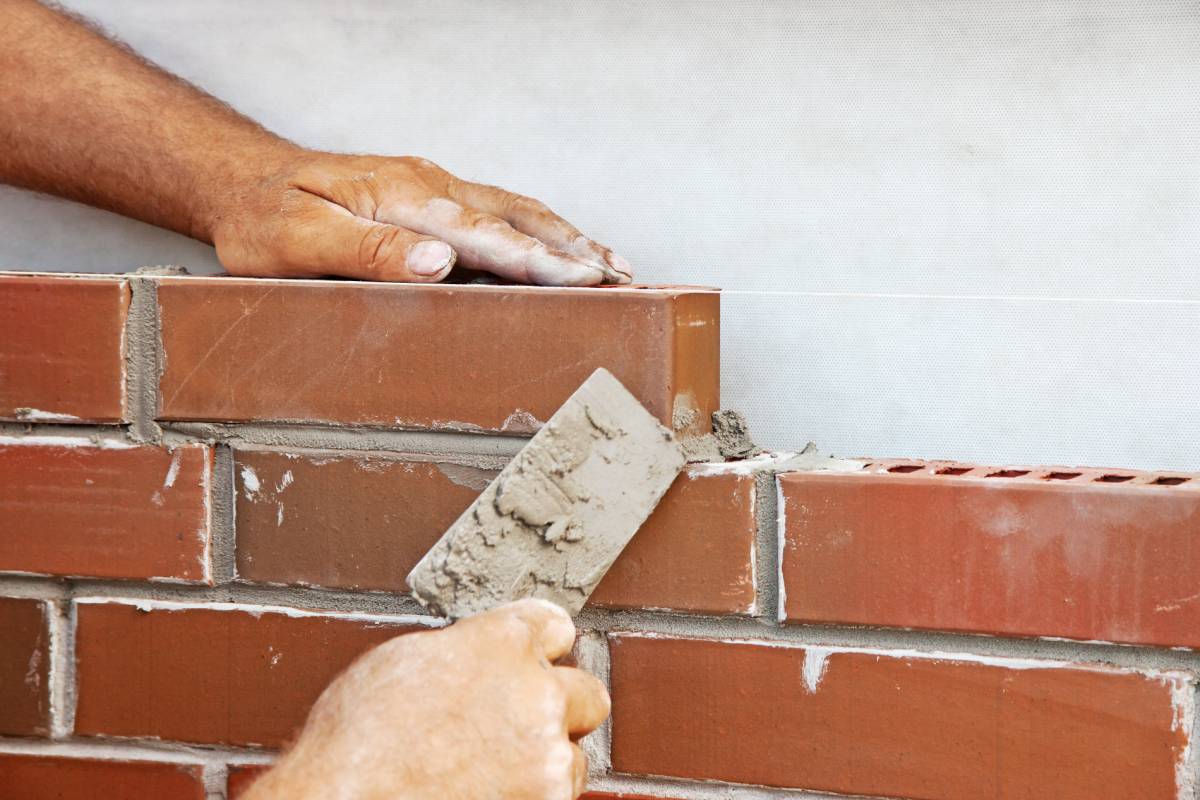
Cladding offers greater precision than conventional brickwork. Accuracy, cleanliness and accuracy are extremely important in this work, because the task of the face material is not only to create the surface, but also to decorate it. It is good if there is a partner who can do the joining, control the cleanliness of the luggage and supply the necessary materials to the stacker.
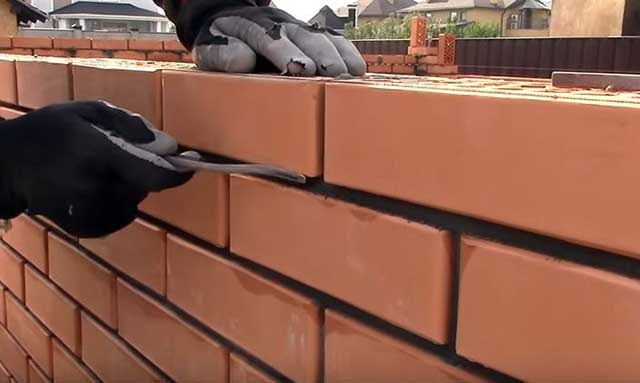
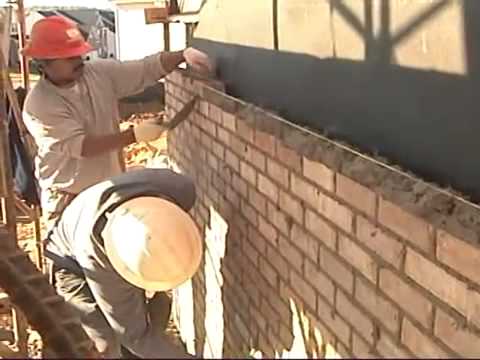
Video - the process of laying facing bricks
The first step is to level the plinth horizontally using a level. Then they plan the amount of material and interchange. All rows of bricks are laid out first dry, in order to exclude non-standard, chipped, defective bricks, to see how the stones stand in the places of door and window openings, in the corners. At this stage, dressings are also planned.
The material is cut with a grinder (using a stone disc). You can not use a circle for metal and chop off excess parts of a brick with a hammer or ax. For a bunch of bricks, a cement mixture is well suited: water + sand + cement, and the sand fraction must be fine, or it must be sieved. To tint the cement to the color of the lining, dyes are poured into it or tinted.You cannot dilute a lot of cement at once, since the mixture dries quickly, losing its properties. It is better to make several batches in turn.
The solution is applied to the facade cladding using a special template so as not to stain the decorated edges of the tile, the template allows you not to bring the solution to the edge of a centimeter - one and a half. It is better to take less mortar to get a narrow fastening layer, this will help to avoid dirt in the work.
It is important to dilute the mixture so that it appears harsh, then the brick or tile will not "float" when laid. The solution is made in a ratio of 1 to 4: fine clay sand is mixed with a concrete mixer with cement and liquid
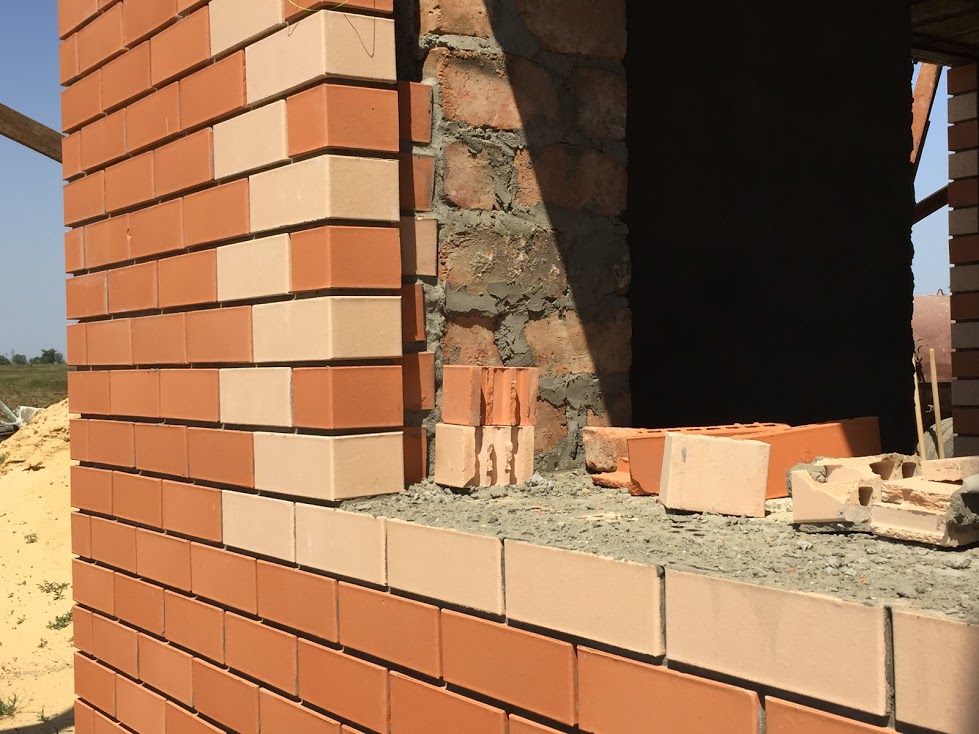
In addition to the very first line of bricks on the plinth, the remaining rows are laid out only after the corners are set. That is, the beginning of the masonry is the corner joints (the initial height is 5-6 rows). Then, between the corners, a thread is pulled over each row to fit the bricks into a level.
If the outer part of the wall gets dirty, it is worth wiping / washing it right away, since it will be much more difficult to do this after drying. Are several rows laid out? It's time to wipe the front side with a wet rag.
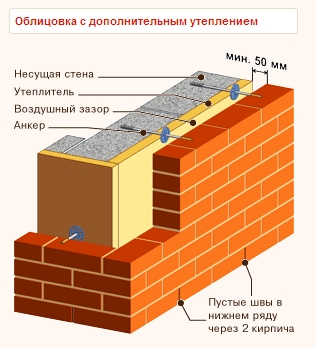
The finished masonry is embroidered by rubbing the seams and using a special tool. The excess solution is removed. If the seam is ready, it should protrude beyond the surface by a maximum of a couple of millimeters. Vertical seams are made no more than 10mm wide, and their thickness should not be more than 12mm. There is a rule that will help create proper ventilation of the surface: every fourth vertical seam in the lower
the row is left blank. It is necessary to embroider the surface directly during the main work, since otherwise it will be necessary to re-build the scaffolding.
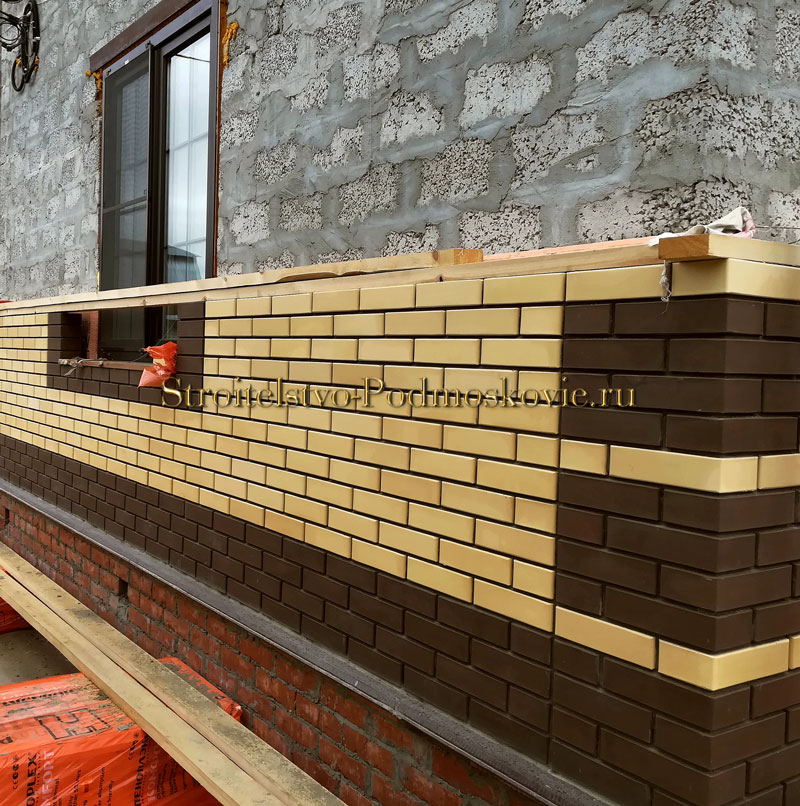
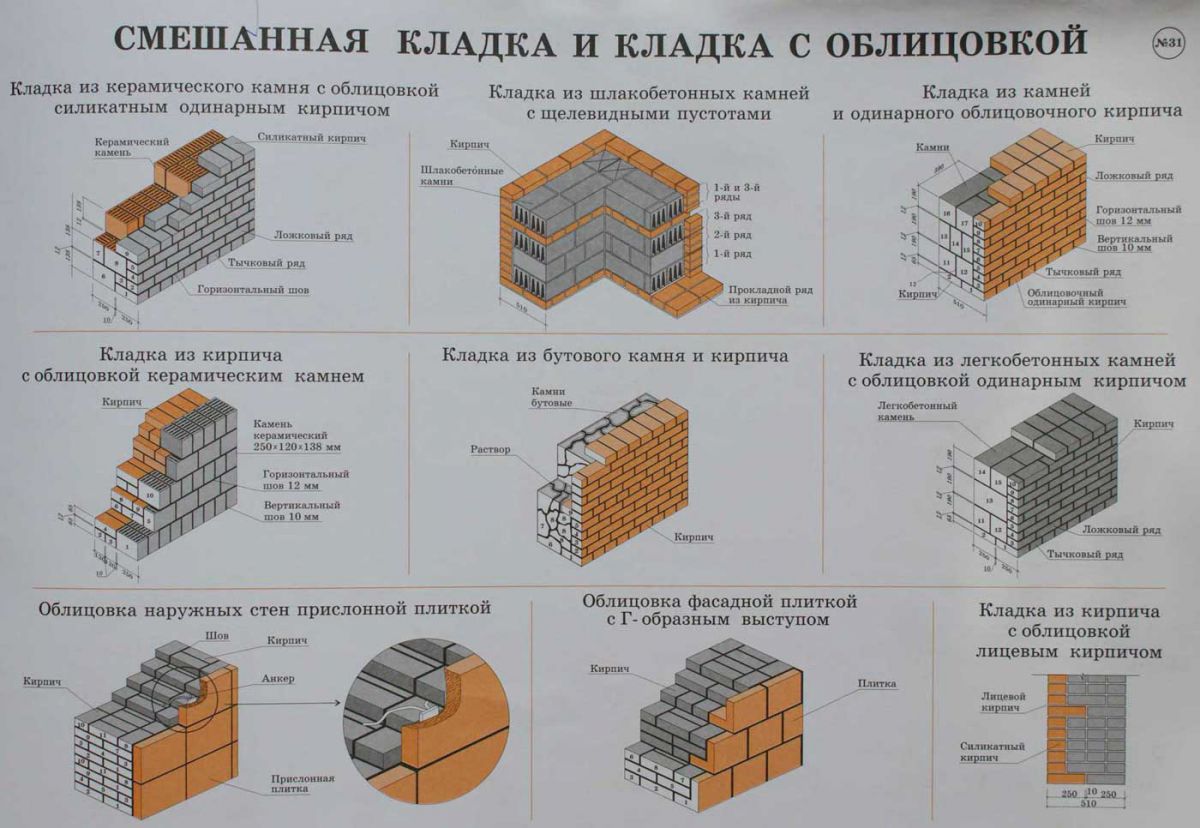
The durability and reliability of the structure is ensured by brick dressings: chain and single-row dressings are the simplest. The masonry mesh is chosen depending on how much space is left for the cladding. Usually, during work with the facade, carried out after the main construction, the plinth should extend beyond the wall by at least 12 cm. Otherwise, it will not be possible to provide a high-quality support for the facade brick. If there is no stop, the base also needs work.
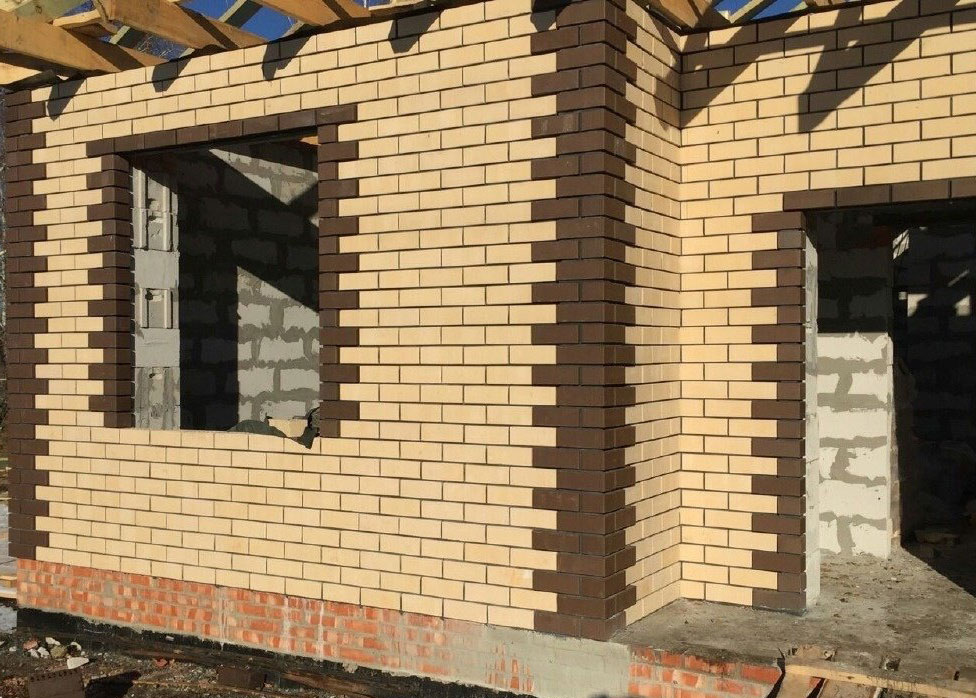
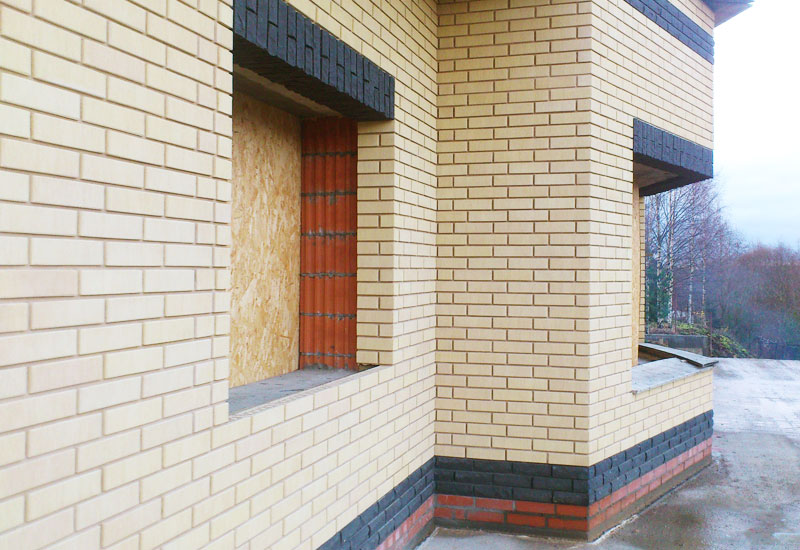
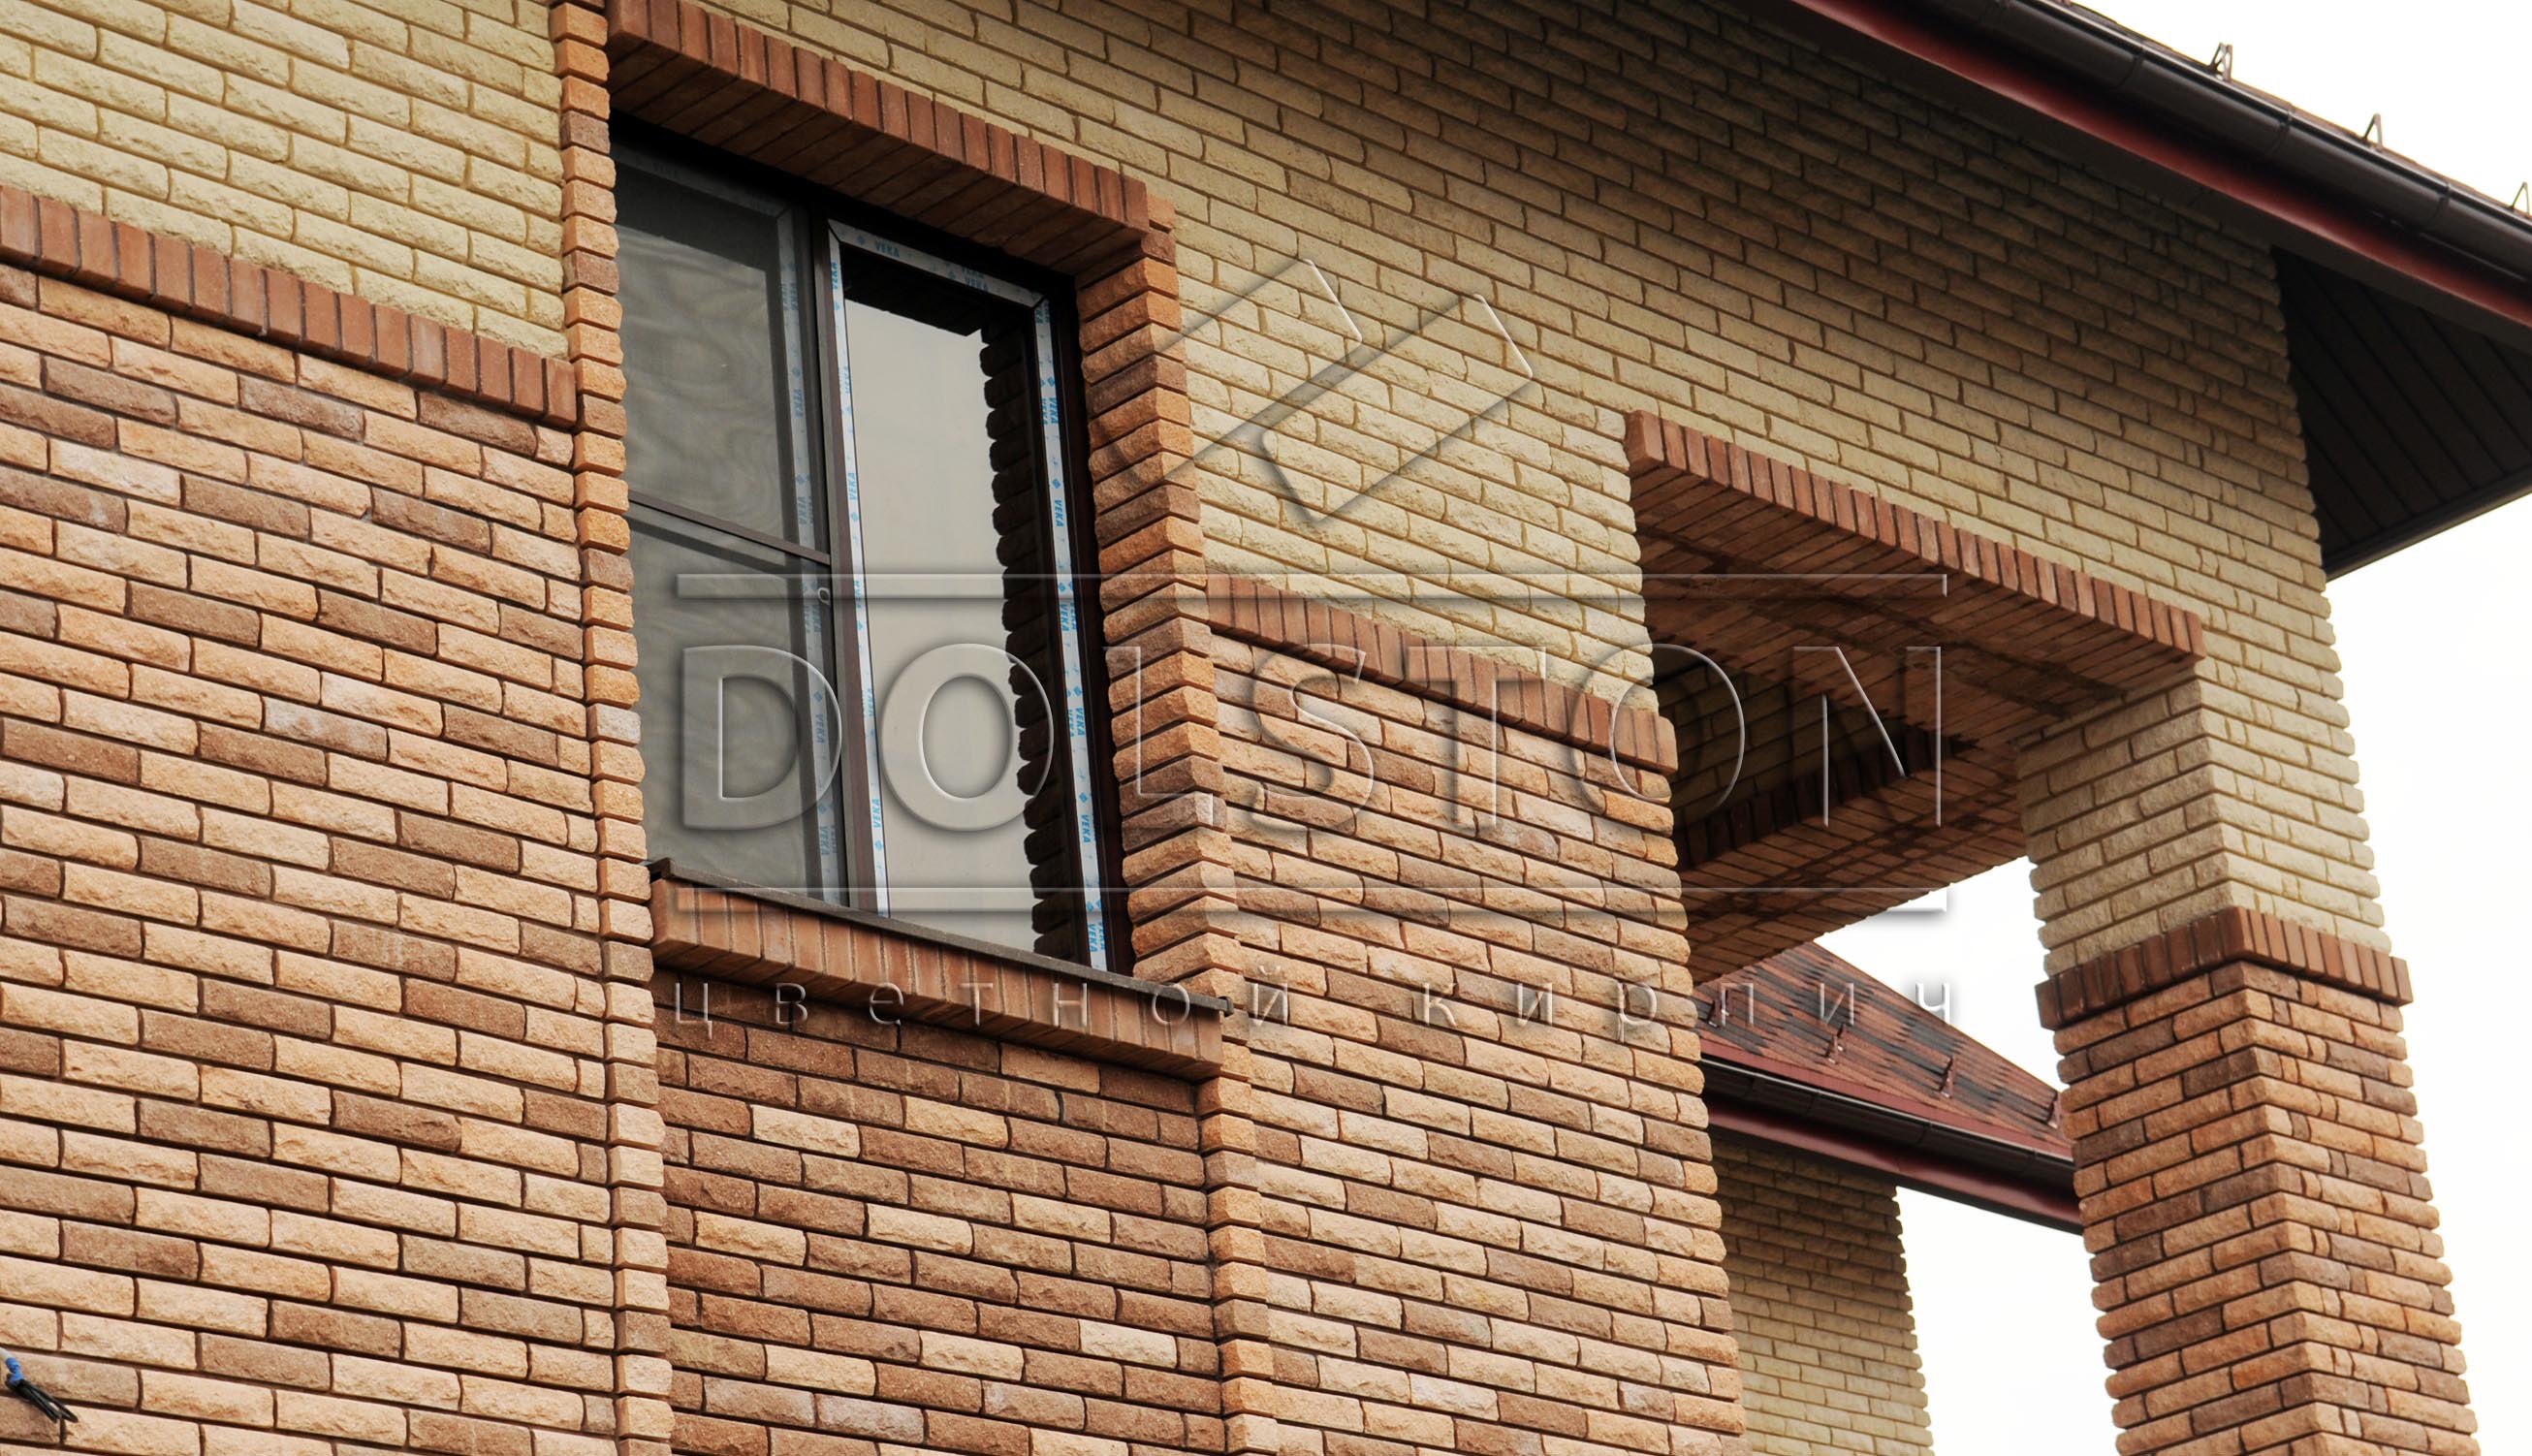
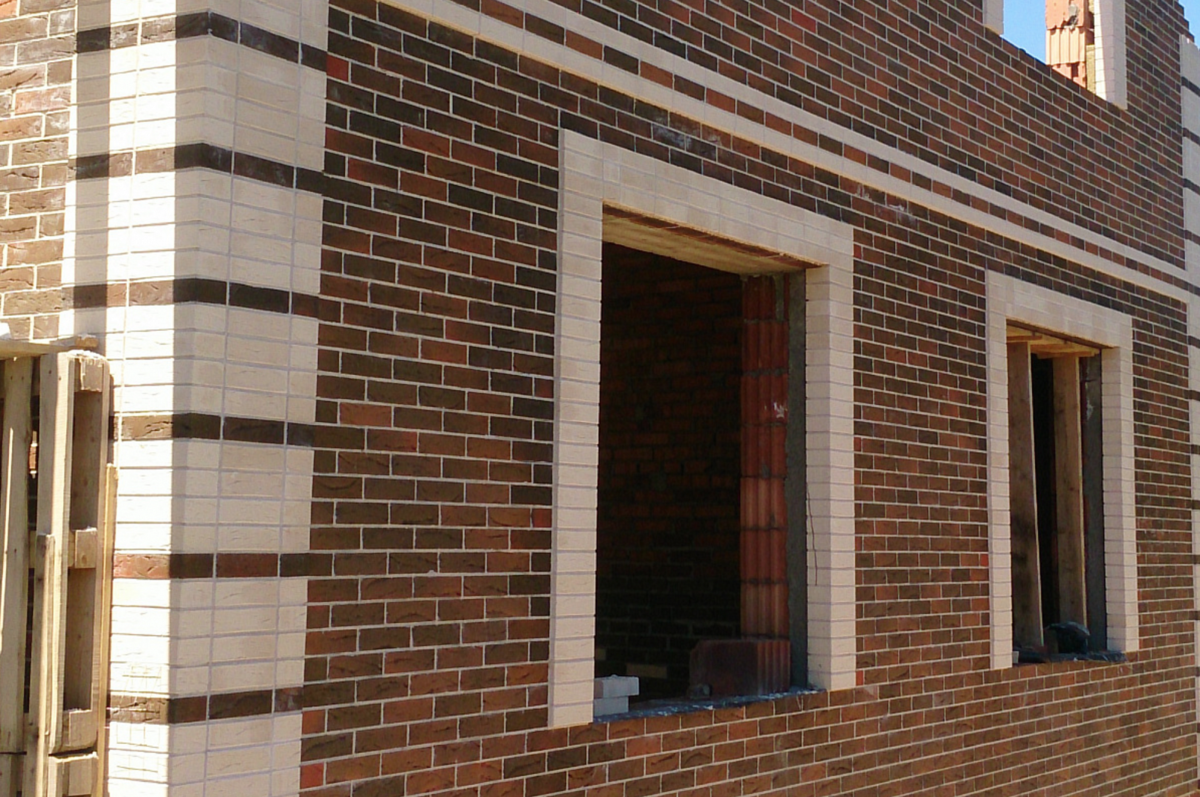
Window slopes, door openings are laid with a poke, laying the column in 1 brick. Sometimes stones of other shades are used to highlight doors and windows.
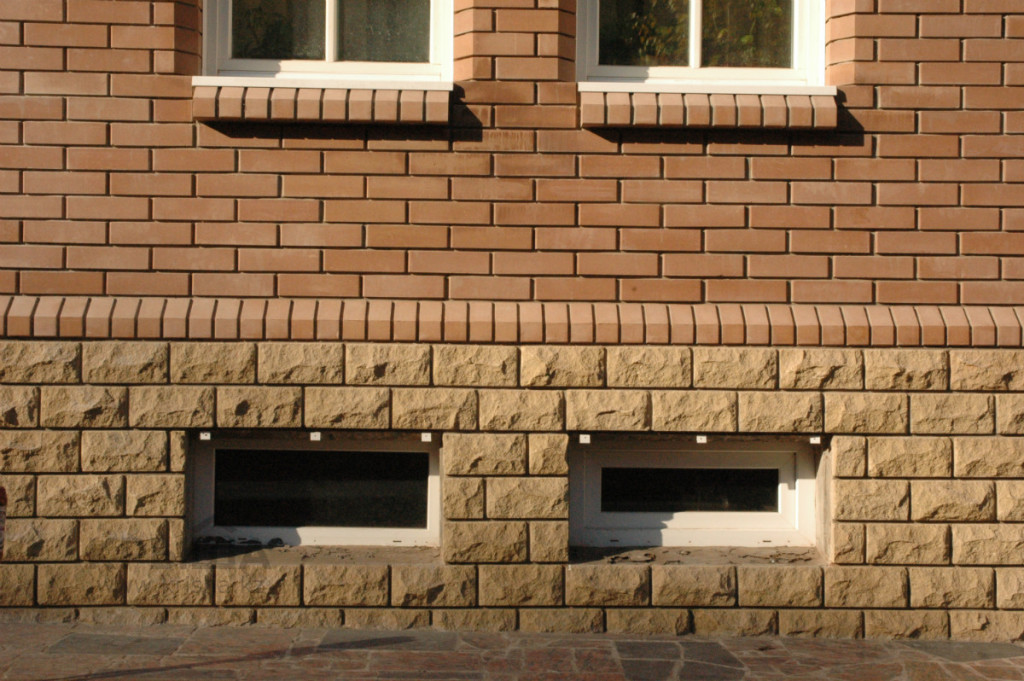
Facing brick window decor
Building tools required for facing bricks:
- concrete mixer (concrete mixer);
- trowel (trowels);
- buckets;
- forests;
- plumb line, threads;
- hammer;
- a tool for pointing seams.
DIY brickwork: tools, order and features
Now, you have an idea of how to lay a brick with your own hands, you need to talk about the procedure as well as some technical nuances.
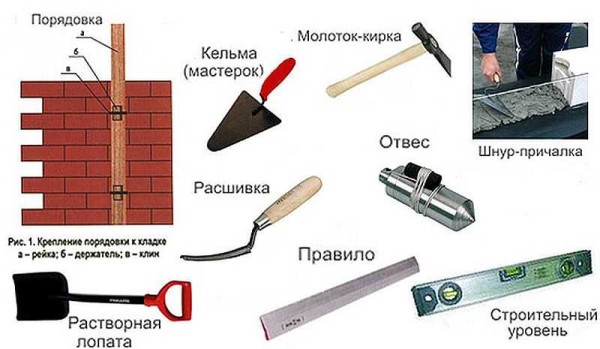
An indicative list of tools for masonry
Let's start with the tool. You will need:
- bricklayer's trowels - apply and level mortar on bricks;
- concrete mixer or container for mixing the solution;
- mortar shovel - for kneading and periodic mixing;
- two to three buckets for solution;
- plumb line - check the verticality of walls and corners,
- building level - to check the horizontal line of the masonry;
- mooring cord - for breaking the rows;
- jointing (for forming seams);
- hammer-pickaxe for breaking off incomplete bricks (halves, 3/4 and checkers - 1/4);
- as a rule - a metal or wooden flat bar to check the plane of the wall.
Further we will talk about the features of the technology. First: it is advisable to soak the brick before use. This is especially true in hot dry weather. Then it will "pull" less moisture from the solution. If there is not enough moisture, the cement will not be able to gain the required strength, which will affect the strength of the building.
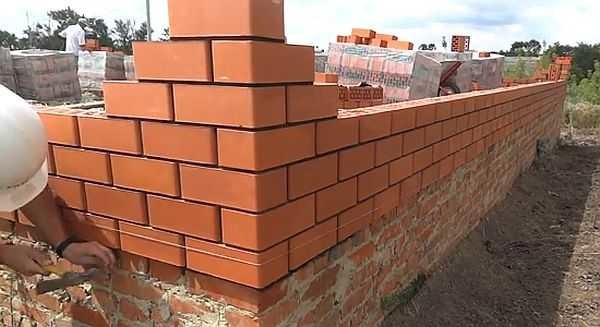
First, two corners are driven out, then they are tied with several rows of brickwork
Second, the corners are driven first. First, the first two.They are tied with 2-3 rows of bricks according to the selected masonry scheme. Then the third corner is kicked out. The second and third are also connected in several full rows. After that, a fourth corner is placed and the perimeter is closed. This is how the walls should be erected, bypassing them around the perimeter, and not being driven out by the walls in turn. This is one of the most common mistakes.
Third, there are two row control technologies. The first - nails are inserted into the seams of the corners, to which laces are tied. It needs to be pulled so that it marks the top edge of the brick, and also limits the outer (and, if necessary, inner) surface of the wall.
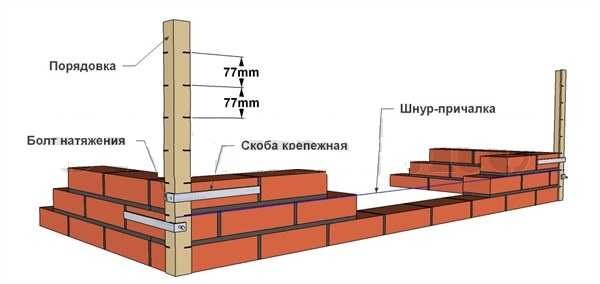
Ordering for attaching the mooring cord
The second way is to use wooden or metal orders. This is a flat bar or corner, on which marks are applied every 77 mm - risks on wood or cuts on metal. They mark the required row thickness: brick height + joint. They are installed using flat mounting brackets that are inserted into the seam. If necessary, they are then simply taken out and rearranged higher.
There is another way - a mason's corner. It has a slot on one side, into which the dock is inserted. "Sits" at an angle on the solution.

Breaking a row with a bricklayer's corner
The disadvantage of this method is the same as that of a simple nail in the seam: the height of the row must be controlled "manually" when removing the corners. With a lack of experience (and where to get it, if brickwork is being done for the first time with your own hands), it is difficult. Having (having done it yourself) the order is all the easier.
Fourth: preparation of incomplete bricks. As you have seen, halves are used for masonry, three-quarter bricks and 1/4 pieces are used. So that the work does not slow down, it is required to prepare them before laying. This is done with a hammer-pick. During preparation, high accuracy in size is required, otherwise the dressing will fail. To make it easier to control the length, markings of the corresponding length are made on the handle. With a pen attached to a brick, marks are made on both sides of the spoon. Then, attaching the blade of a pickaxe to the mark, they beat on the back with a hammer, making notches. Having made notches on both spoons, a strong blow of the pickaxe breaks the brick.
Snapping the exterior trim to the main wall
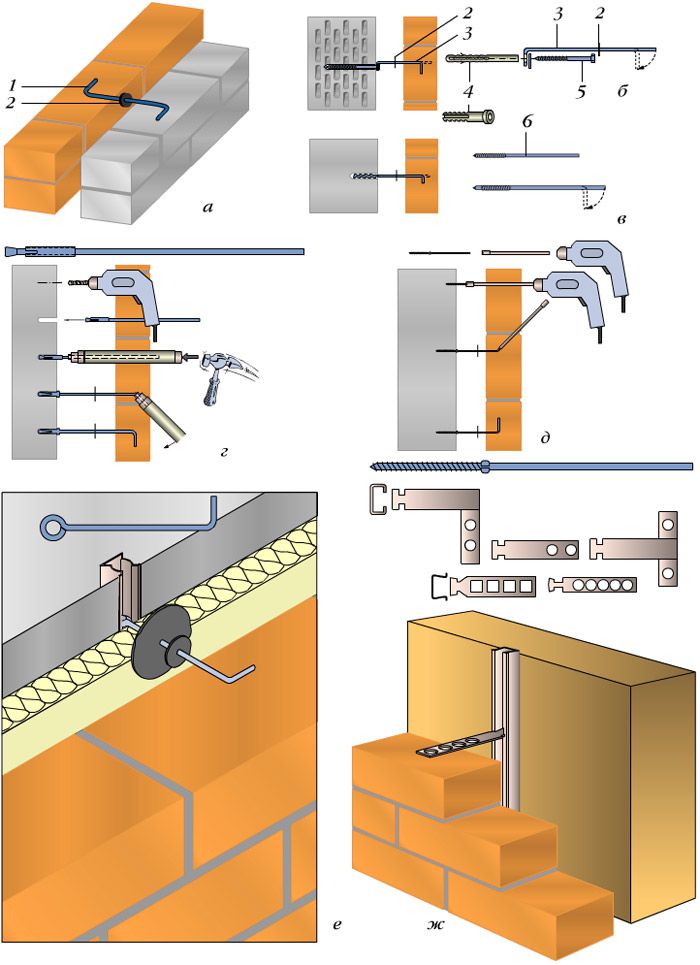
Without proper binding of the finishing layer to the wall, rapid destruction of the structure, displacement of its elements, cracks is possible. There are dozens of ways to tie together designs. If there are no rods, plaster mesh and other elements intended for a bundle, then fastening is carried out using dowels and flexible wire (knitting). A dowel with a diameter of 6 mm is hammered into the wall, and a wire fastener is screwed to its head, the length is equal to the width of the brick. The ends of the wire are hidden inside the masonry. A good binding is a wire binding every four rows. In width - every 60-70 cm.


