General characteristics of the material
For the production of panels, the most common gypsum is used with the addition of plasticizers and other additives. Gypsum is very fragile in nature, so it would be impossible to create a durable material without additives.
In the manufacturing process, silicone molds are used, installed on vibrating tables. Constant vibration eliminates air bubbles. By themselves, the panels turn out to be very heavy and this must be taken into account when choosing a shape, since a volumetric pattern will add weight to the finish, and the depressions, on the contrary, will reduce it.

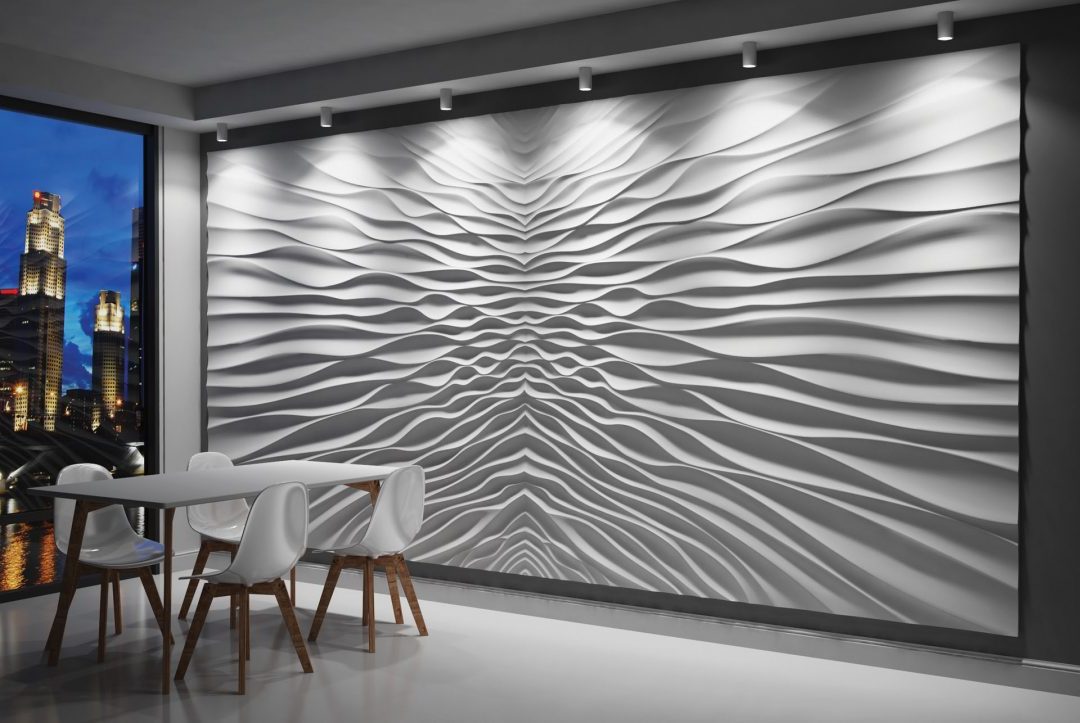
What 3D gypsum panels look like
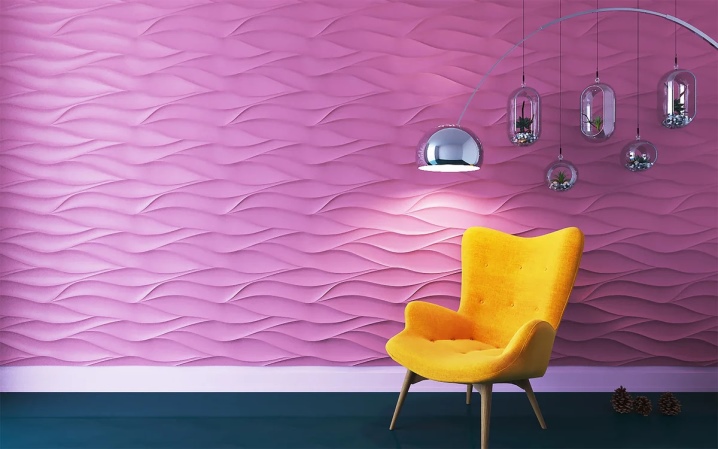
In addition to the shape, the material also has color. As a rule, the manufacturer produces white panels, which the user can paint in any color or varnish according to his taste.
Variety of shapes
Most popular manufacturers offer 3D panels with truly unimaginable patterns. But they can be grouped into several main groups.
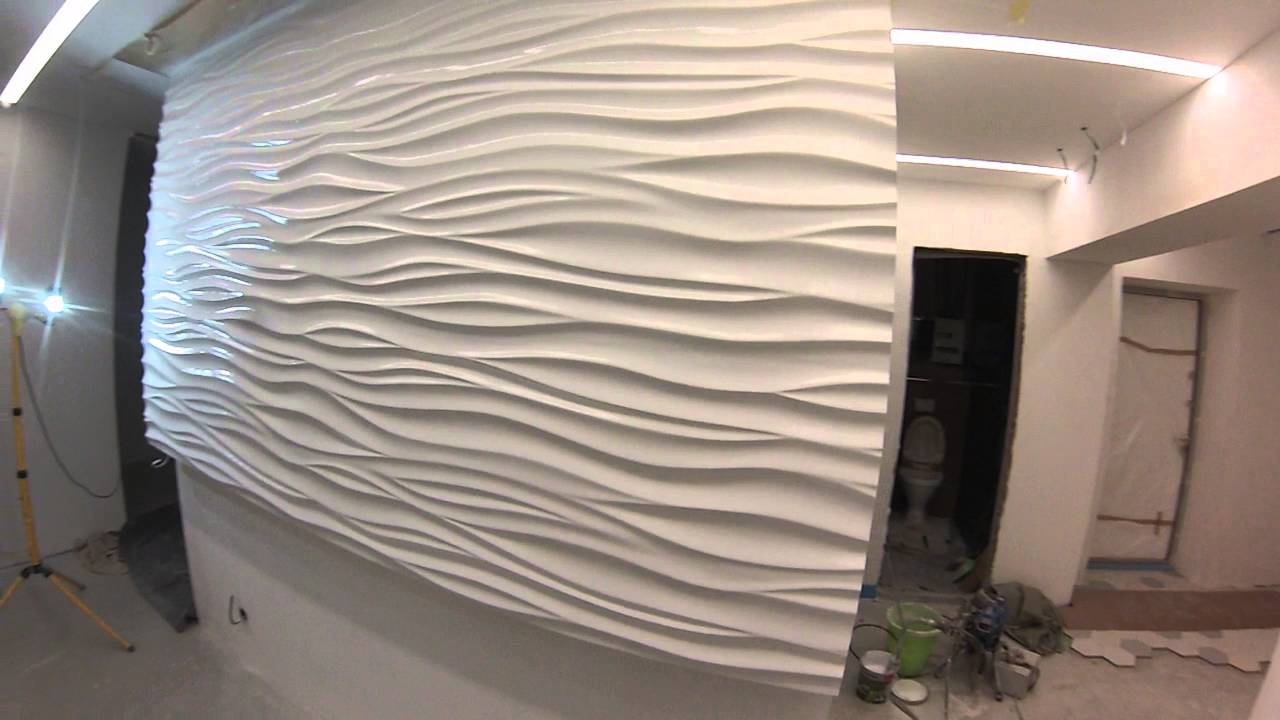
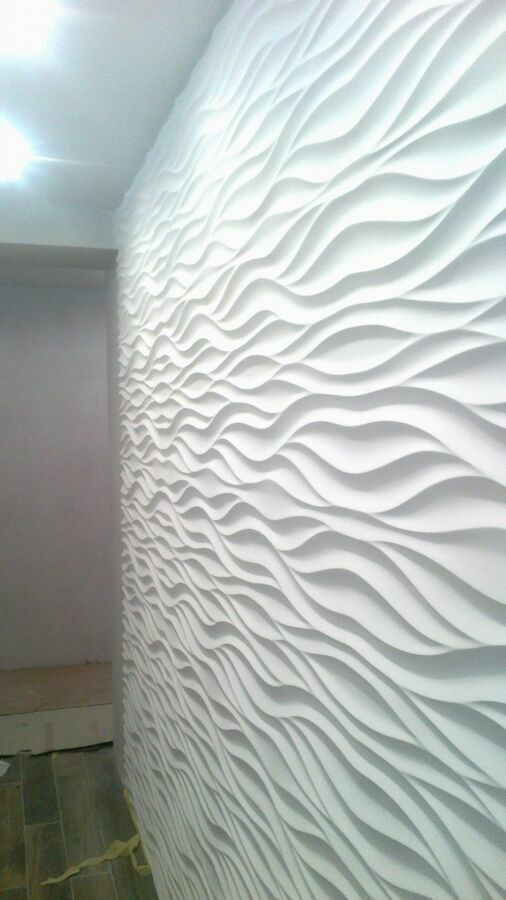
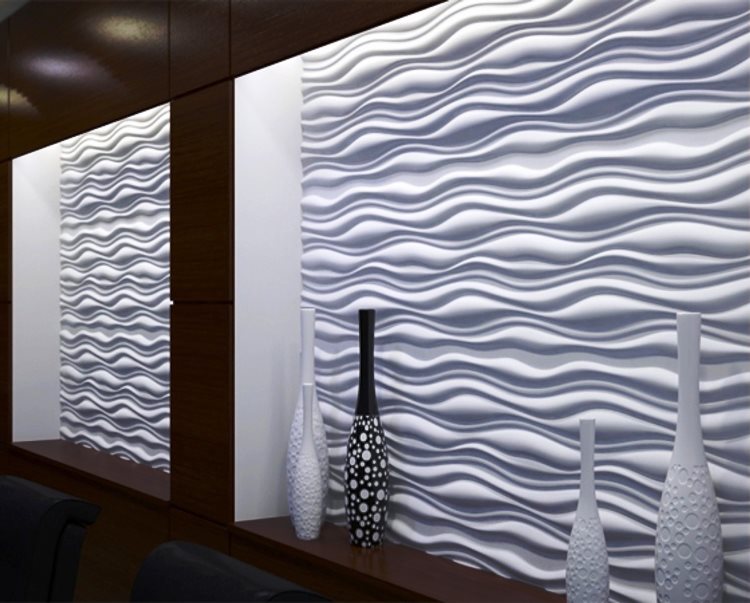
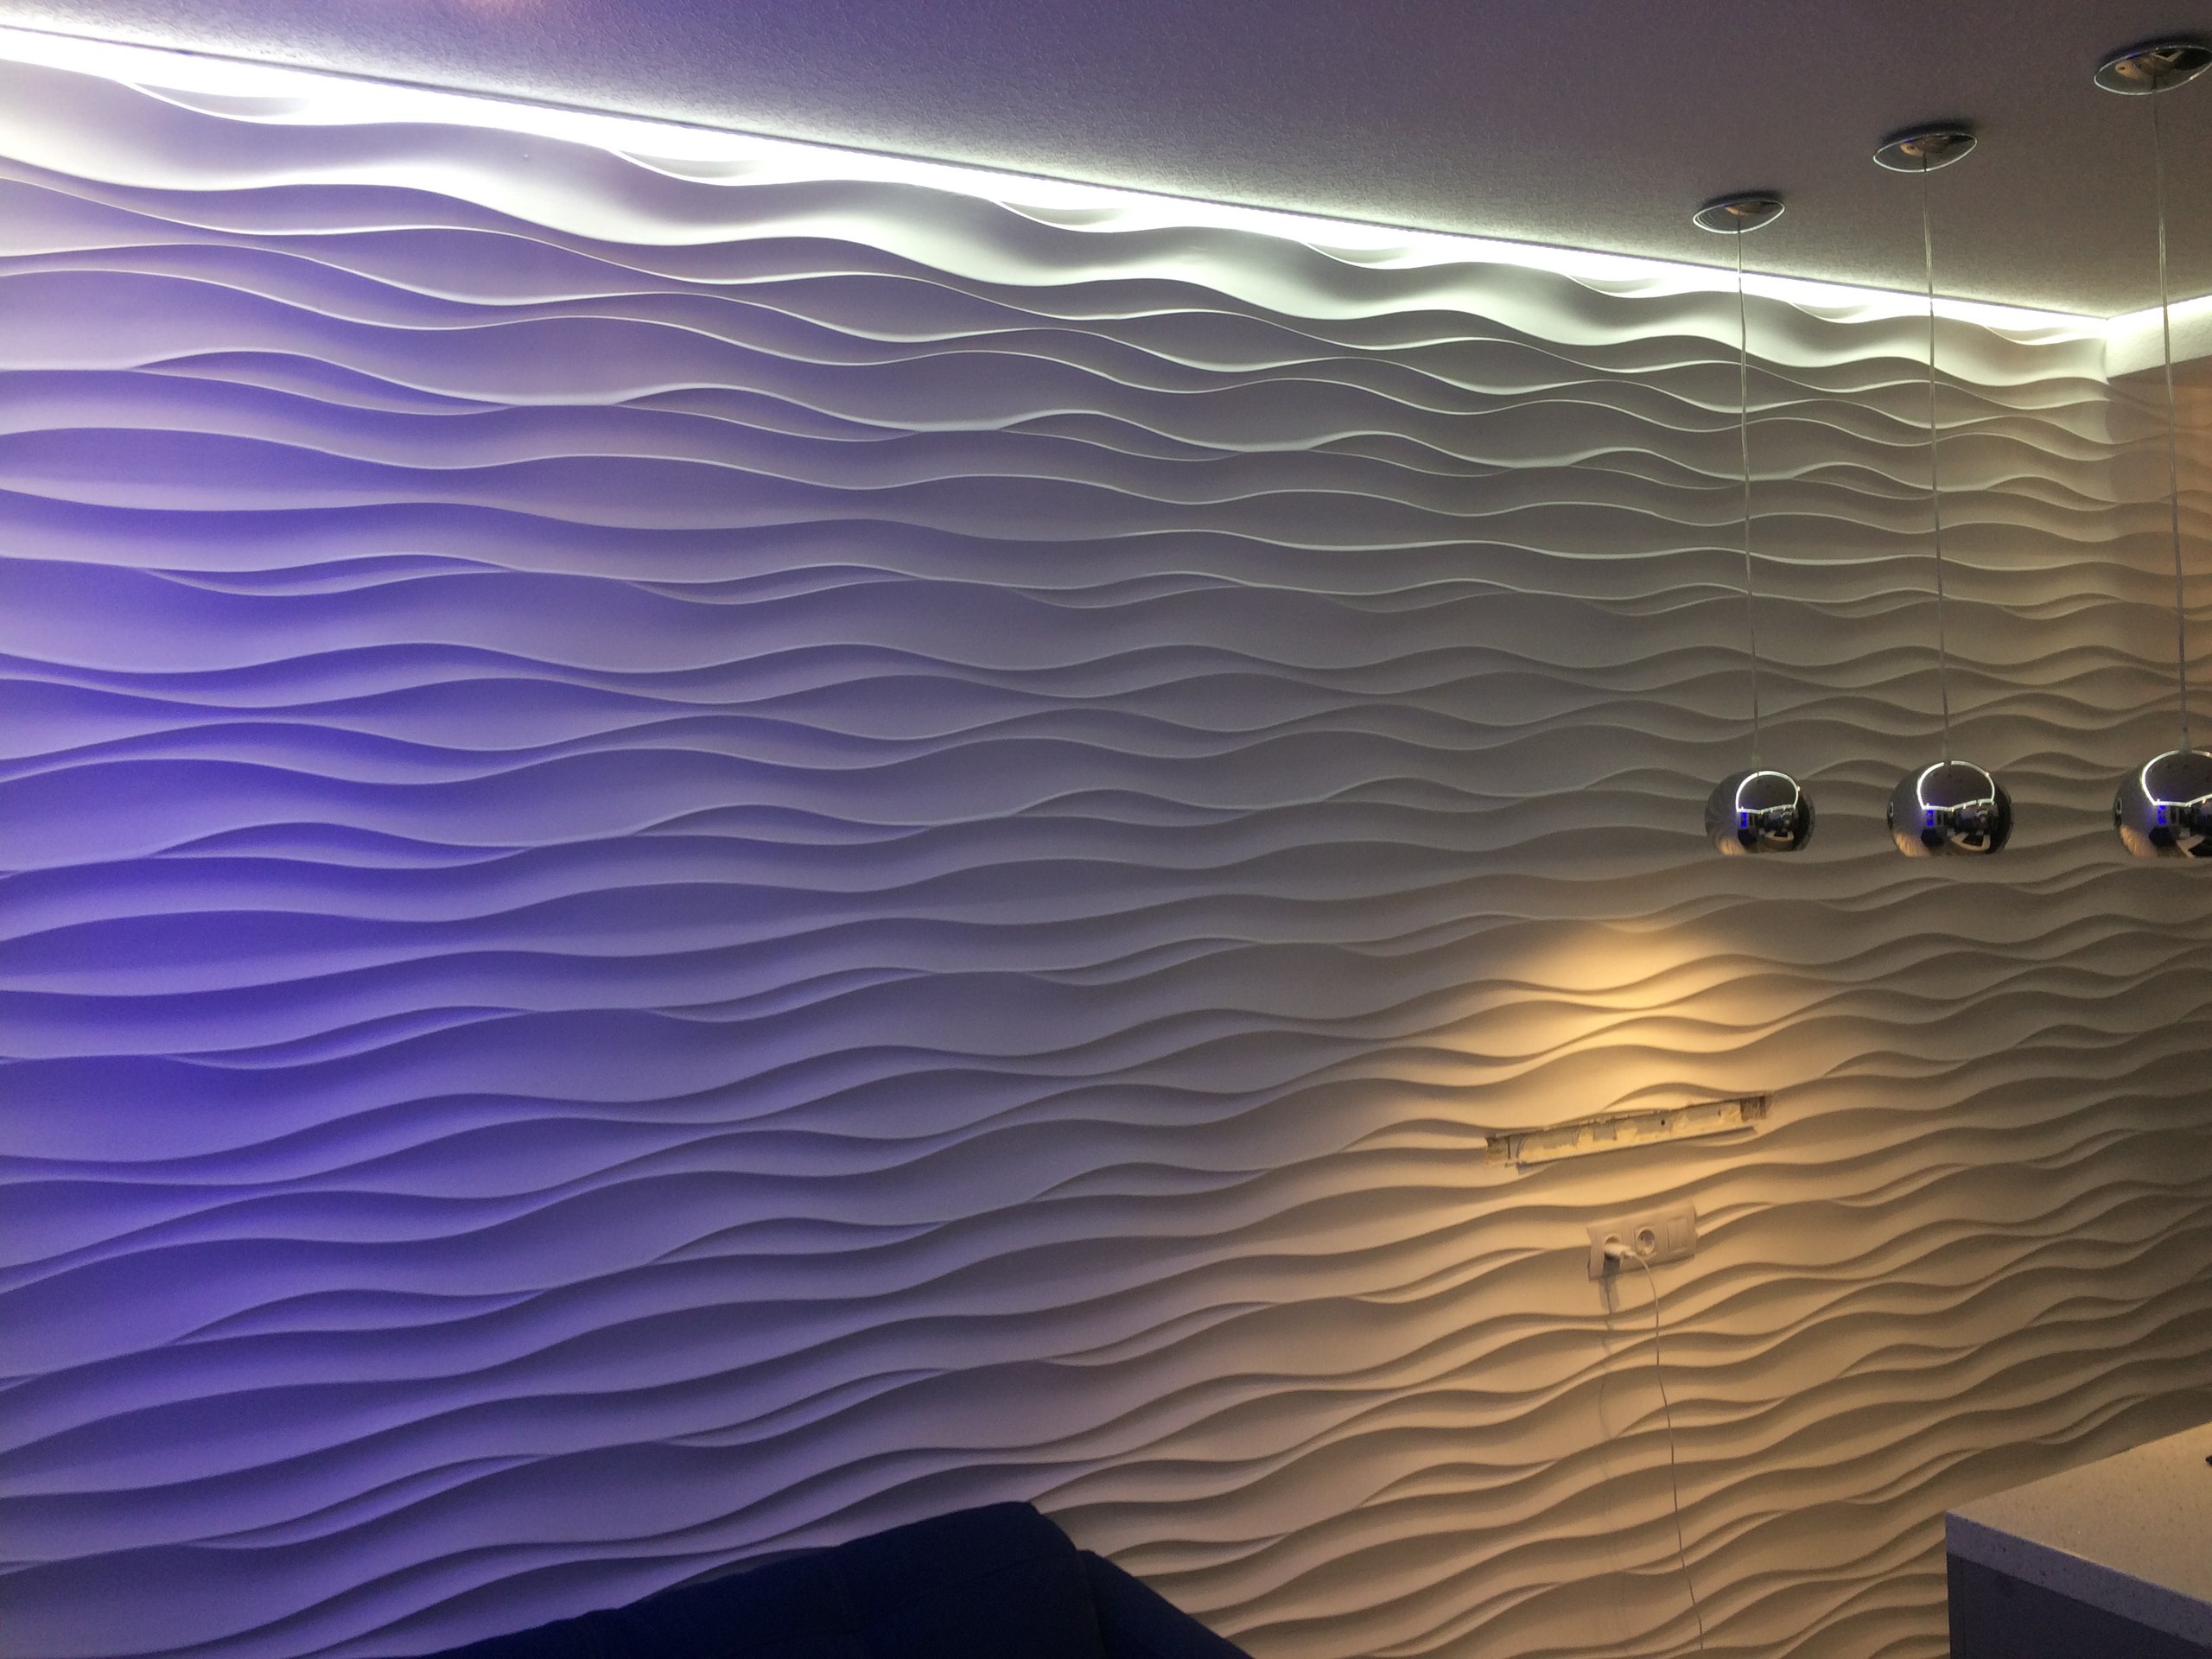
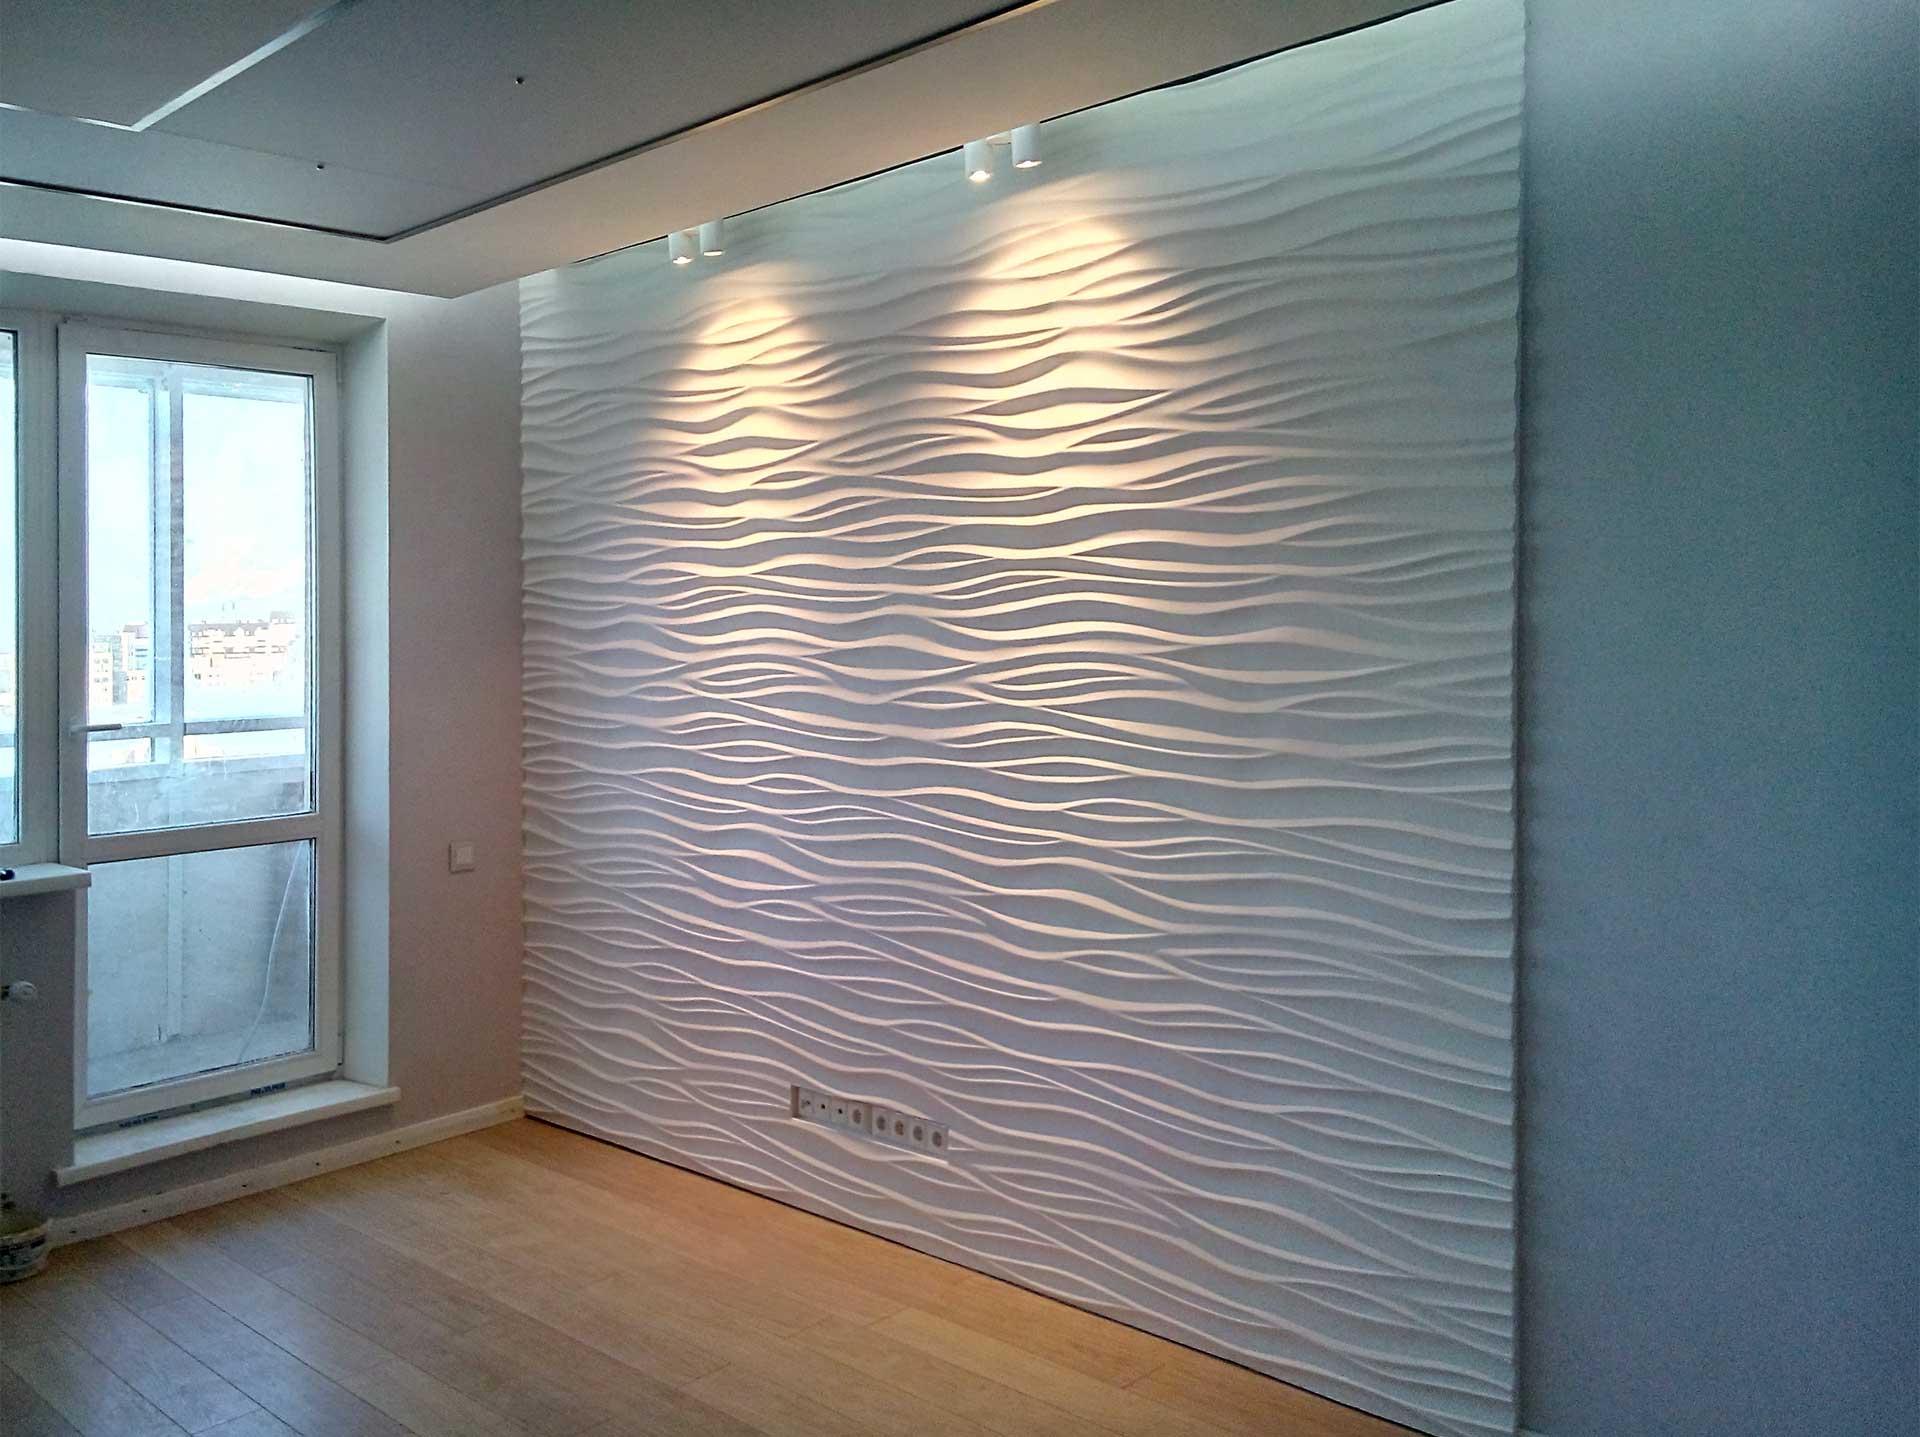
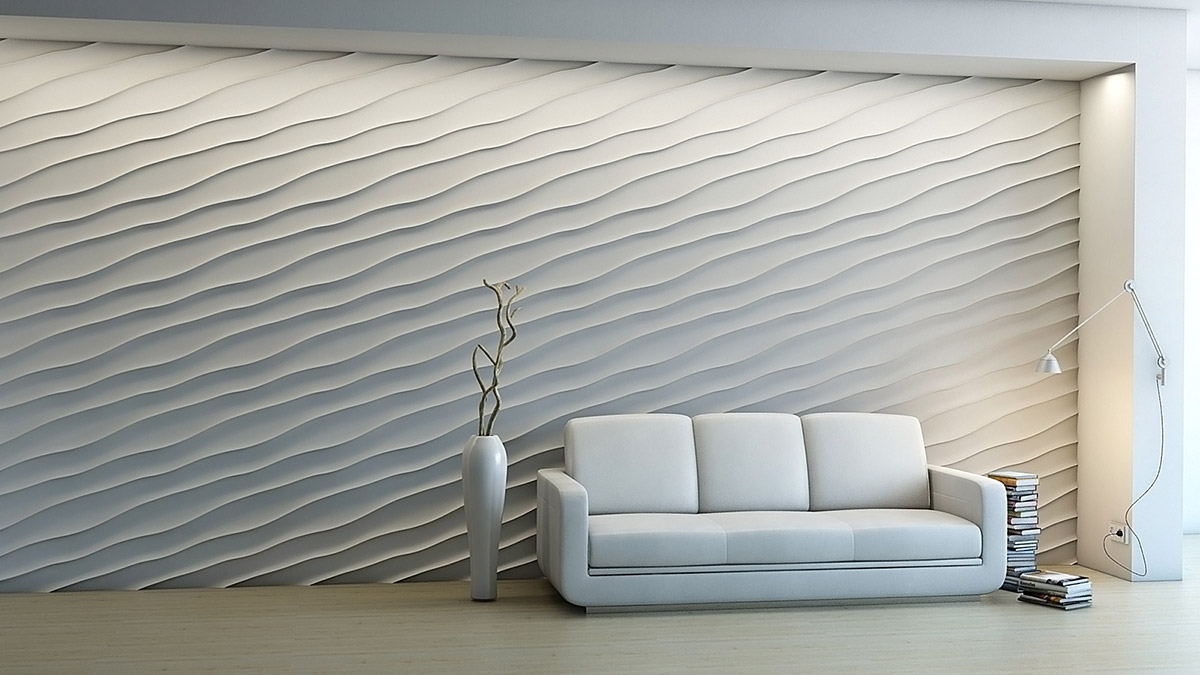
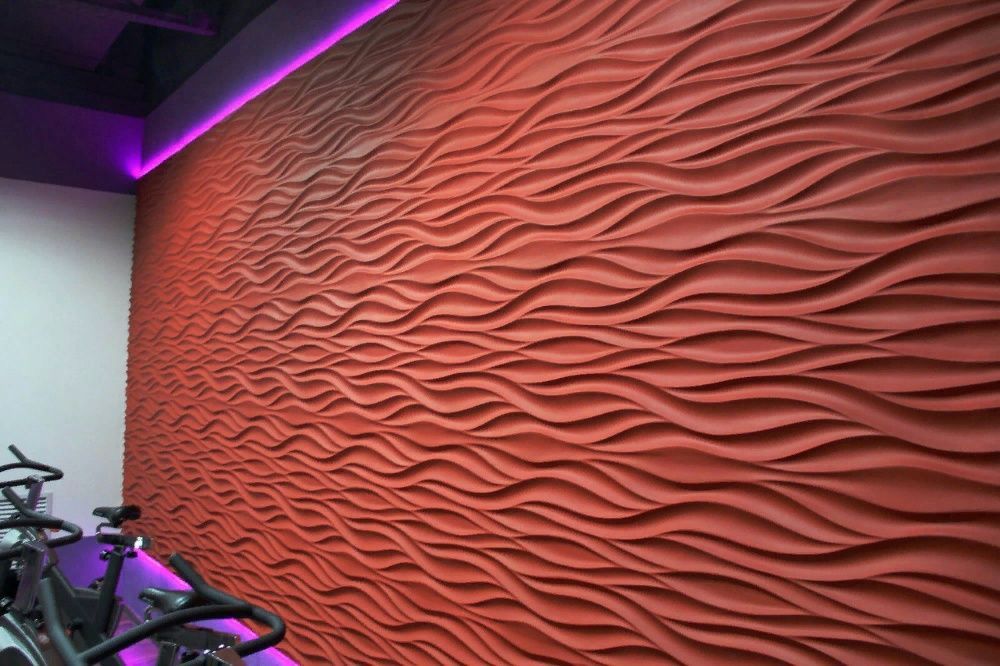
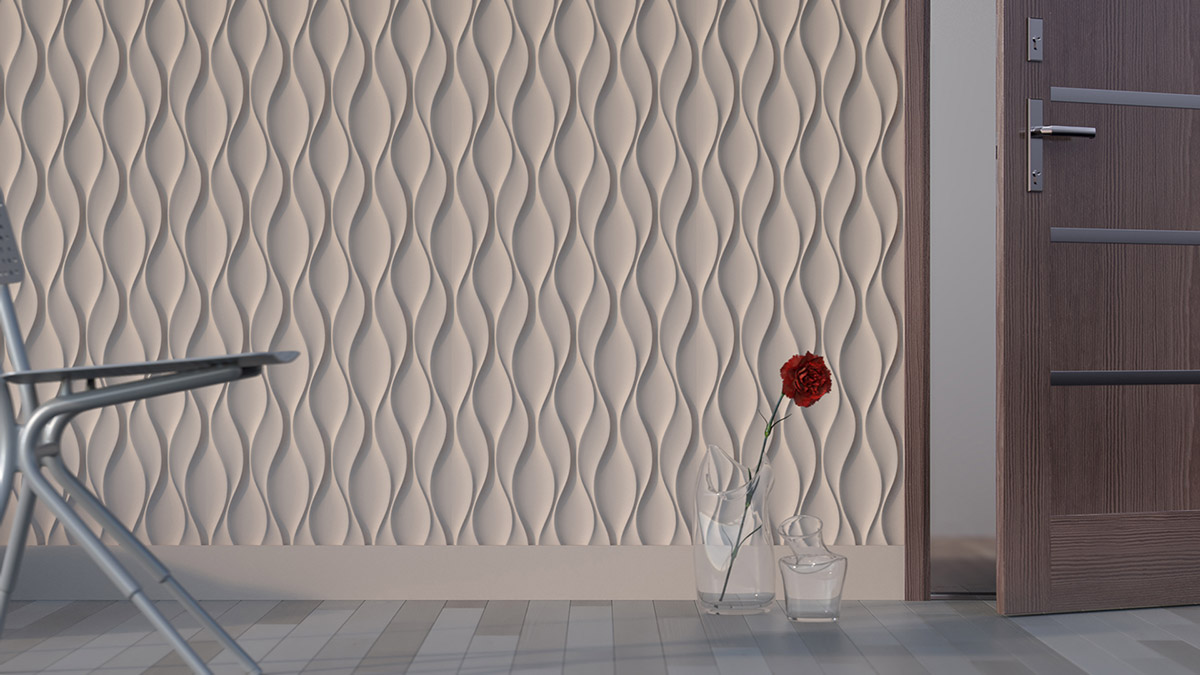
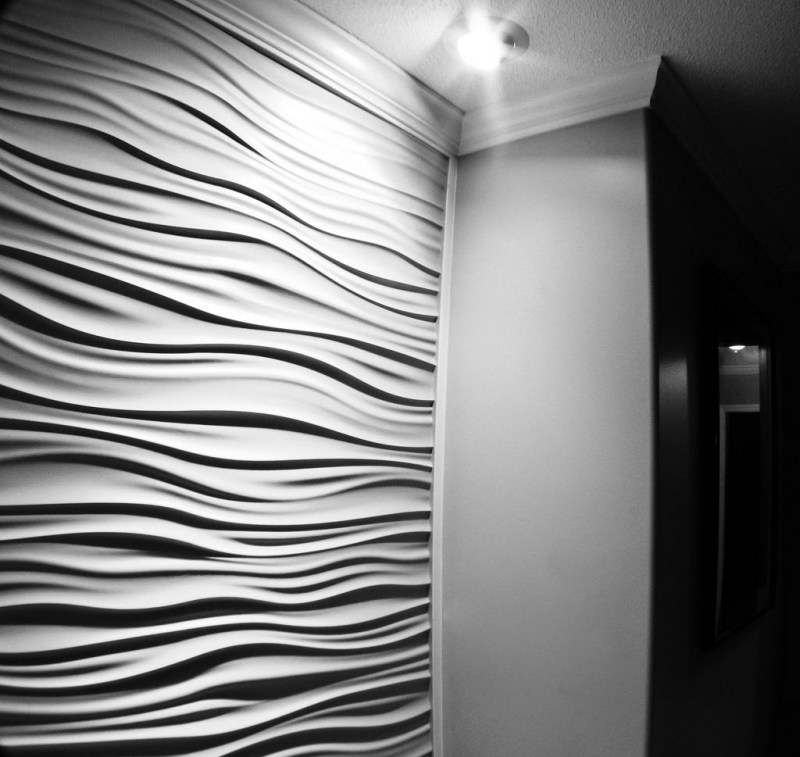
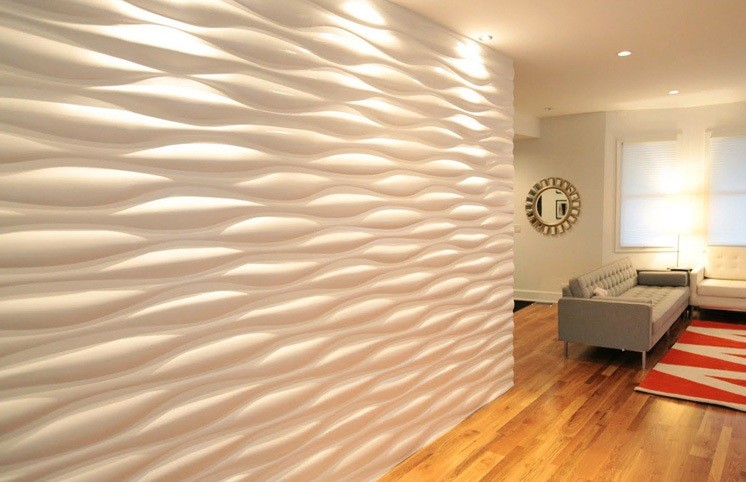
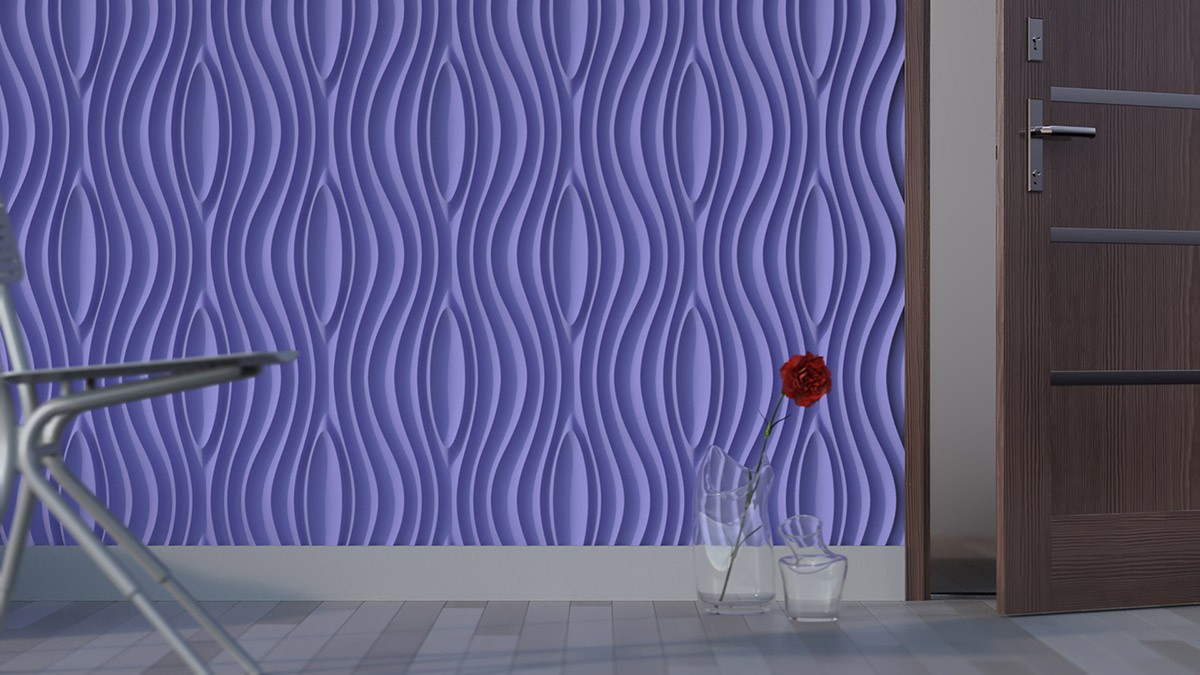
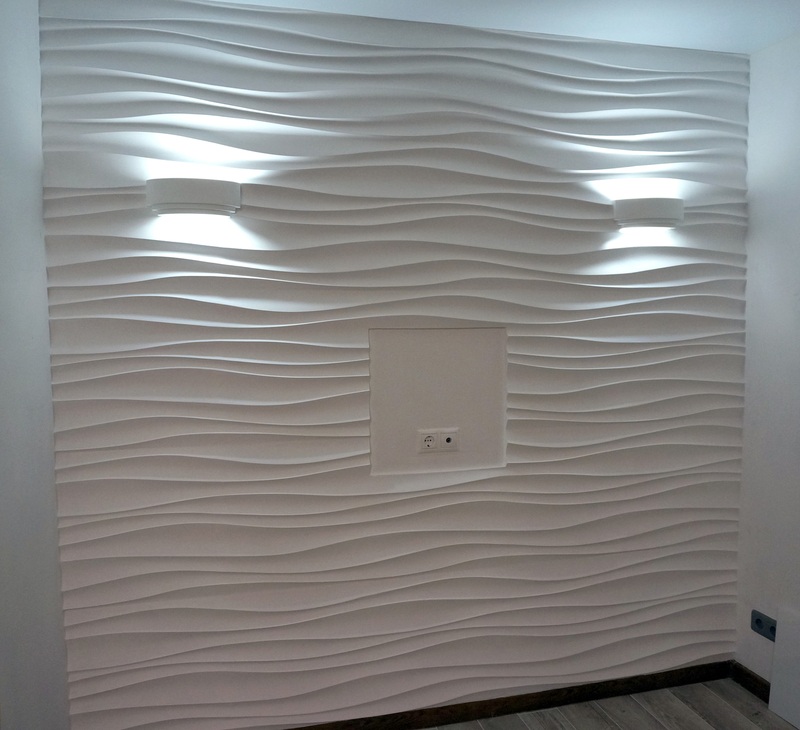
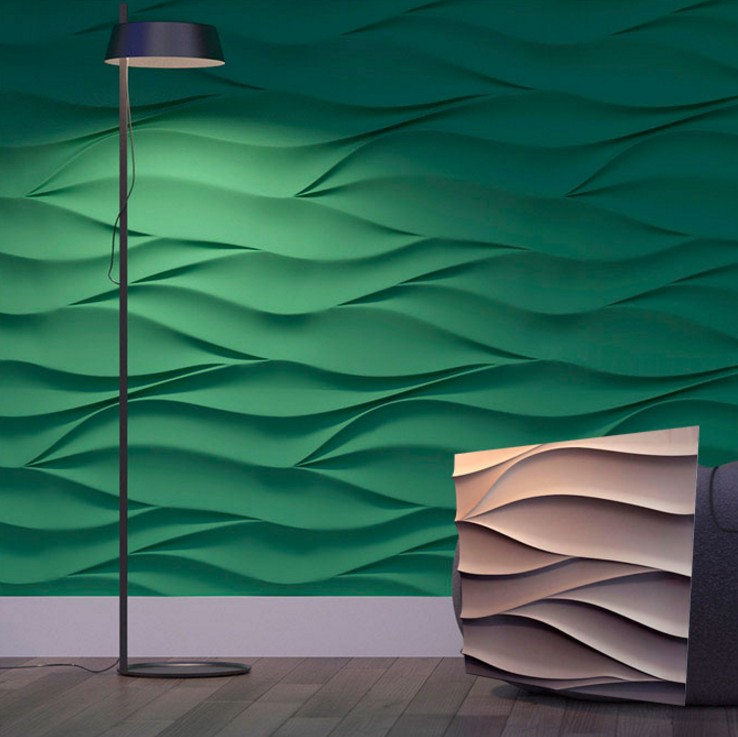
- Lines and waves. This is the simplest and most common form of 3D panels. They have very soft smooth shapes, and the width and intensity of the lines are quite varied. They can be horizontal, vertical or diagonal and mimic the slight bends that sea waves or large strips of varying widths leave on the sand. They can also have different heights of protrusion above the main surface of the panel and be barely noticeable or characteristically pronounced. This motive is very successful for a recreation area. This calm, unobtrusive ornament sets you up for relaxation and gives you a feeling of comfort.
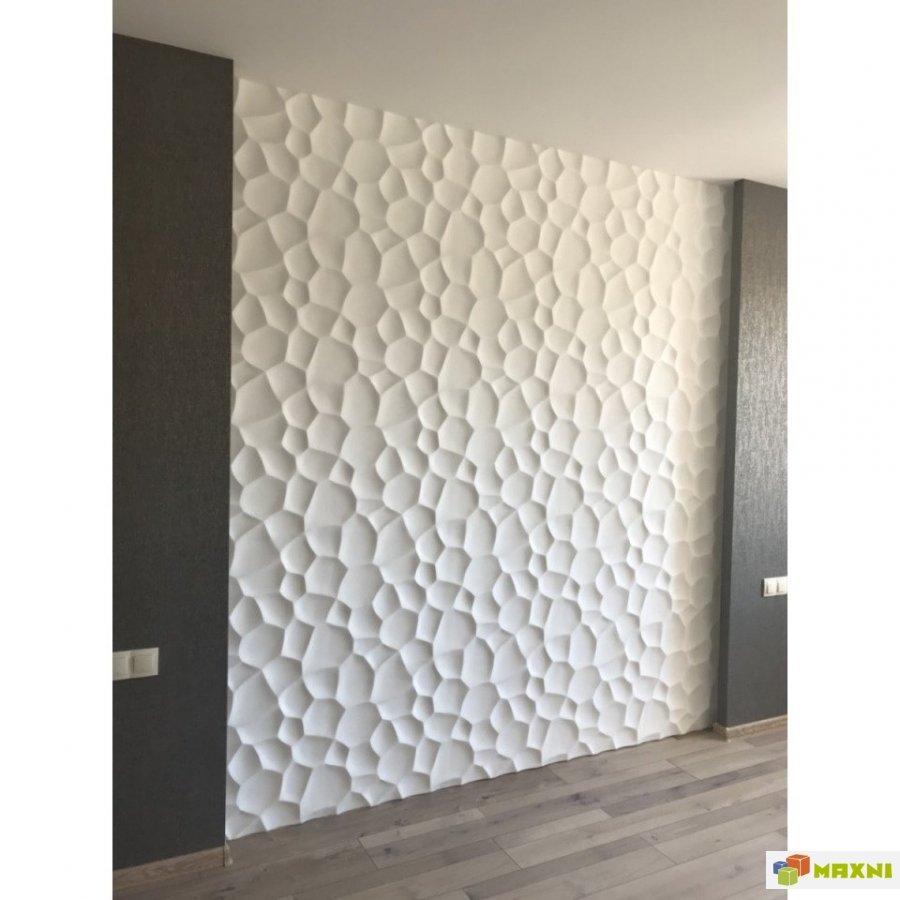
- Honeycomb. This version of the 3D panel looks very interesting in the hallway or in the hall. Honeycombs can have both large and small cells. The panels can be smooth and only follow the contours of the honeycomb, or be voluminous and protrude or sink in relation to each other at different depths. The last option looks more impressive and realistic. The honeycomb can have either the usual hexagonal shape or be slightly elongated. This effect adds more volume to the surface on which it is used.
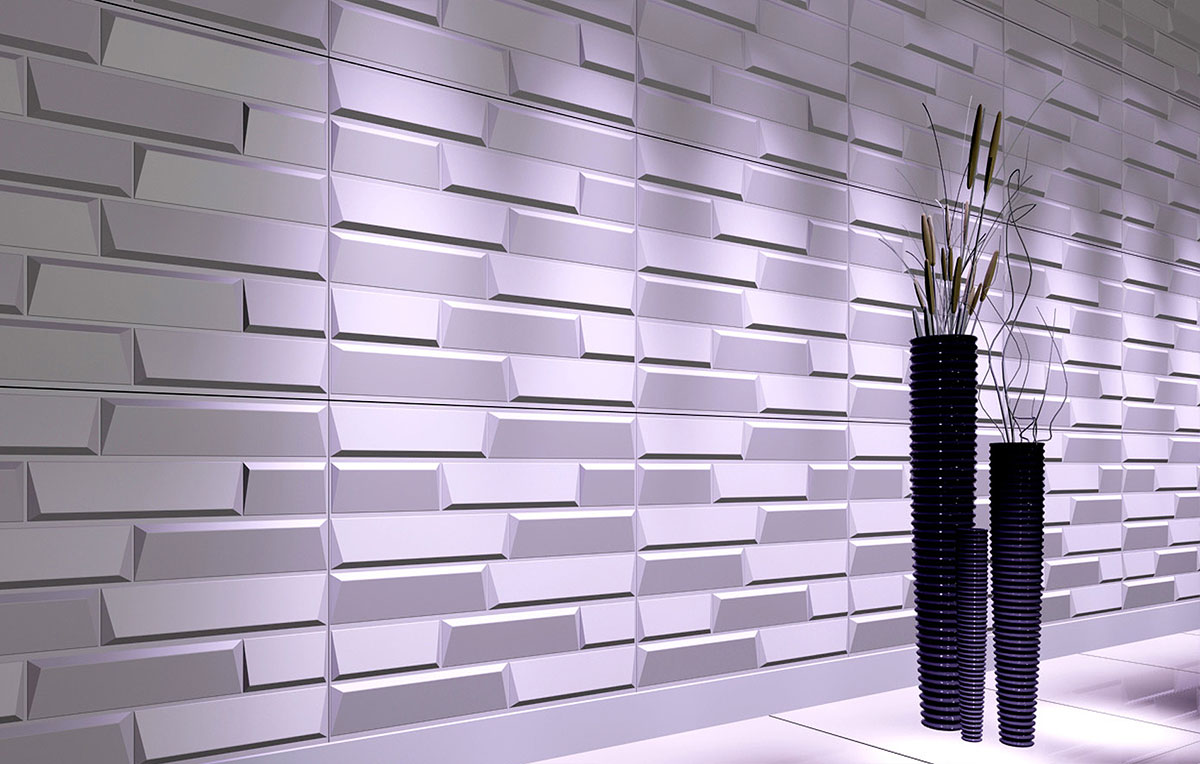
- Stone. It turns out very well to imitate brickwork, so beloved by everyone, with the help of 3D panels. Bricks can have a smooth or embossed surface, which makes them even more similar to the real material. They can repeat the masonry in a checkerboard pattern with the same seam, or they can be located on the panel perpendicular to each other with a large distance, or simply repeat the horizontal lines. Also, 3D panels are able to imitate cracked plaster, rough granite surface, spongy shell and other variants of natural stone, both in shape and texture. Such panels look very restrained and natural. Suitable for both the design of the fireplace area in the living room and for the hallway.
- Imitation of fabric and other materials. This is a very interesting type of panels that can imitate upholstery fabric very decently, and even have buttons, like on leather sofas. They can repeat the structure of wood fiber, natural leather or luxurious tapestries. This design looks very chic and expensive, especially in spacious offices or libraries, and a skillfully chosen color will help to achieve maximum naturalness.
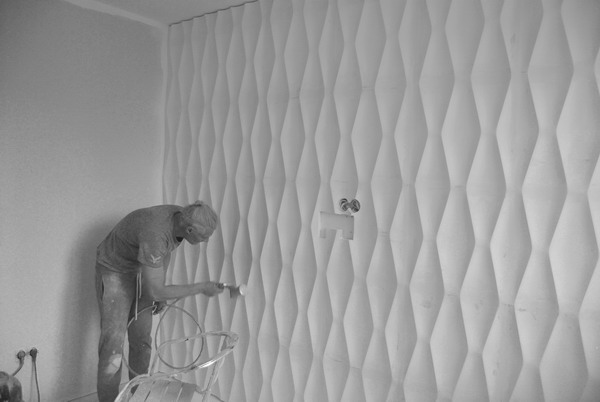
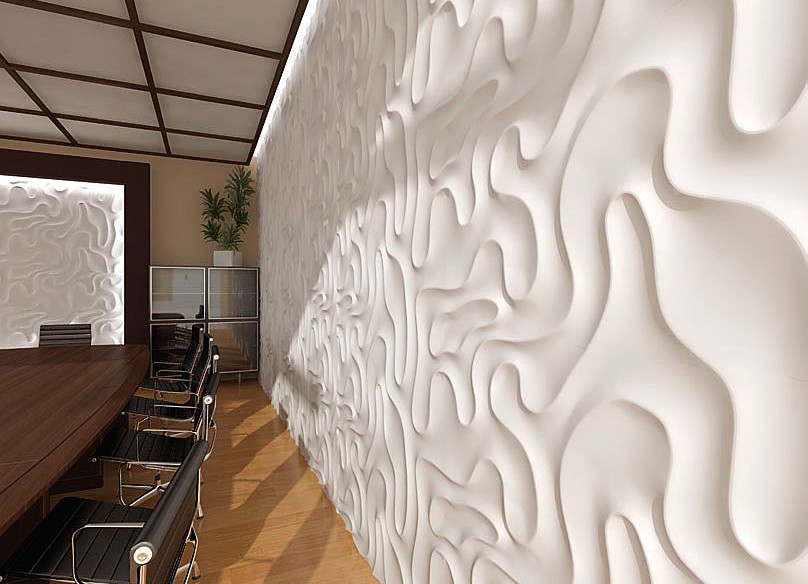
- Abstraction. Abstract panels will fit perfectly into a loft, hi-tech or minimalist interior. The patterns used are very varied. These are rhombuses, small labyrinths, and rectangles of different sizes, located at angles to each other and protruding above neighboring elements.It can be pigtails, the effect of crumpled paper, large or small circles, lines resembling a snake, all kinds of bends and fractures, triangles, puzzles and other geometric shapes. Such an ornament does not oblige to anything, but at the same time, it is very original and "alive". Immediately there is a desire to touch such a surface. Such 3D panels will look great, perhaps, in any room.
- Bubbles and spheres. Imagine a bubble show! And on your wall? There are panels that really look like big bubbles of different sizes. It looks very unusual and immediately resembles a spaceship. There are panels that resemble raindrops on glass or circles on water, or just small ovals arranged in random order and intersecting with each other in different places. Such panels will be appropriate in the bathroom, especially since there are moisture-resistant 3D panels.
- Floral ornament. The variety of shapes of this type of panels is probably the richest. These are all kinds of flowers of large and small sizes, plant trunks intricately intertwined with each other, leaves of various plants, bamboo, huge asters, orchids, ivy, chamomile and roses, or just individual petals. These panels look very rich, so we would recommend using this view for decorating a wall panel, otherwise it may be too clumsy. Although, this is also a matter of taste.
As you can see, it will be very difficult to choose a 3D gypsum panel, so imagine in advance how this or that form of panels will look in your interior. Focus on the furniture and decoration of the adjacent walls. If calm, strict colors and shapes prevail in your interior, then you should choose similar panels. Such a tandem will successfully emphasize the depth and elegance of your room and will look appropriate.
How to paint?
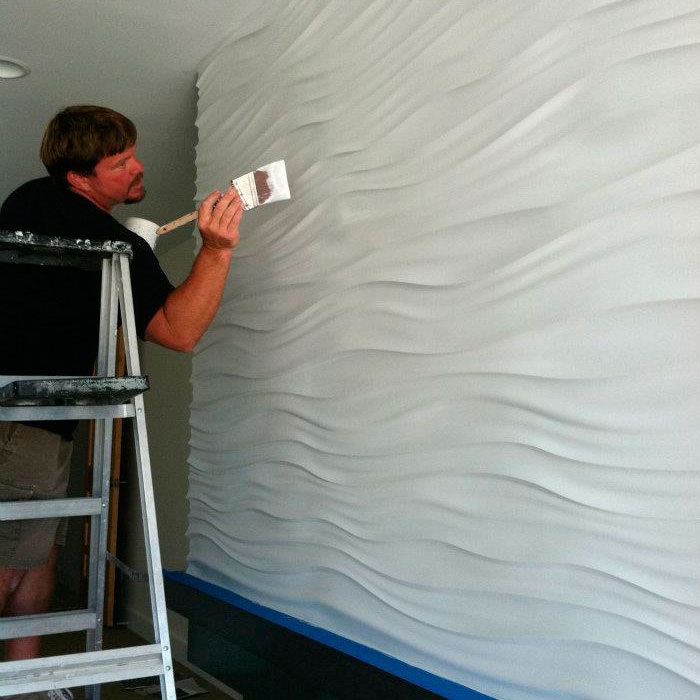
Upon completion of the installation, painting is carried out, the purpose of which is not only to give the products a pleasant appearance, but also to protect them from external influences. Any decorative paint with good performance characteristics can be taken as a coating.
Steps to be taken:
- before covering the surface of the slabs with the desired composition, for optimal adhesion, a primer with antiseptic inclusions is applied to them;
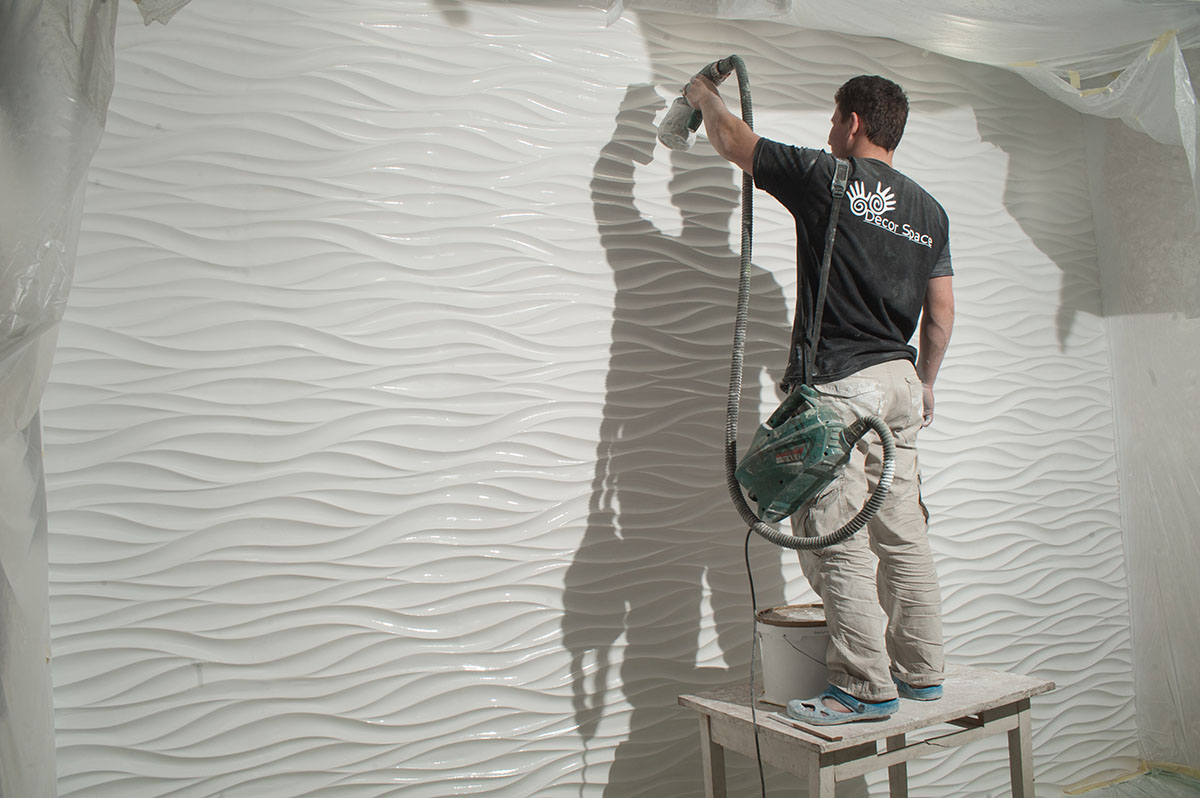
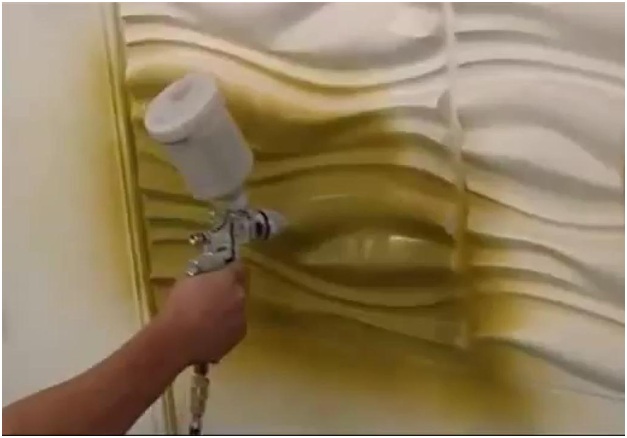
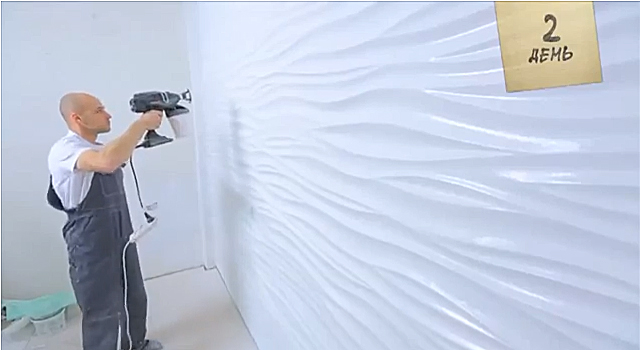
- you can paint the finished walls with a paint roller for panels with a minimum relief; when drawing with very prominent details, it is better to use a spray gun;
- smooth, gradual transitions are achieved with a sponge, with which the solution is rubbed into the surface.
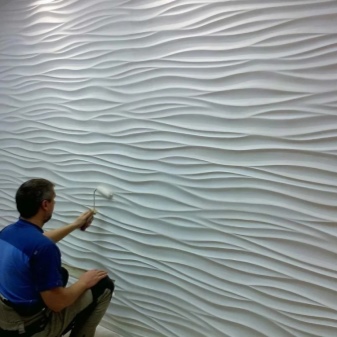
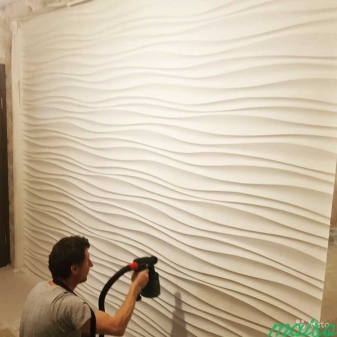
In principle, different types of dyes are suitable for coloring: latex, textured, water-based. For the information of those who decided to use this wonderful material: you can repaint the panels without losing their appearance and quality indicators more than 20 times.

How to fix it?
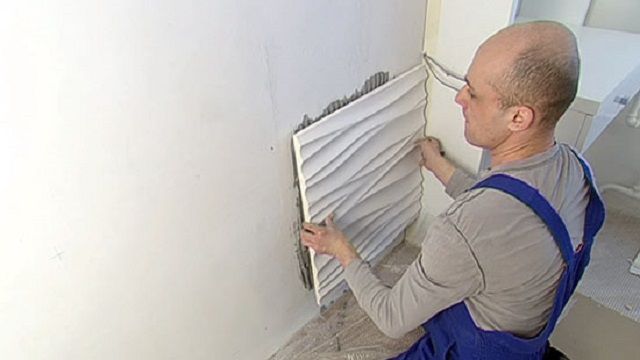
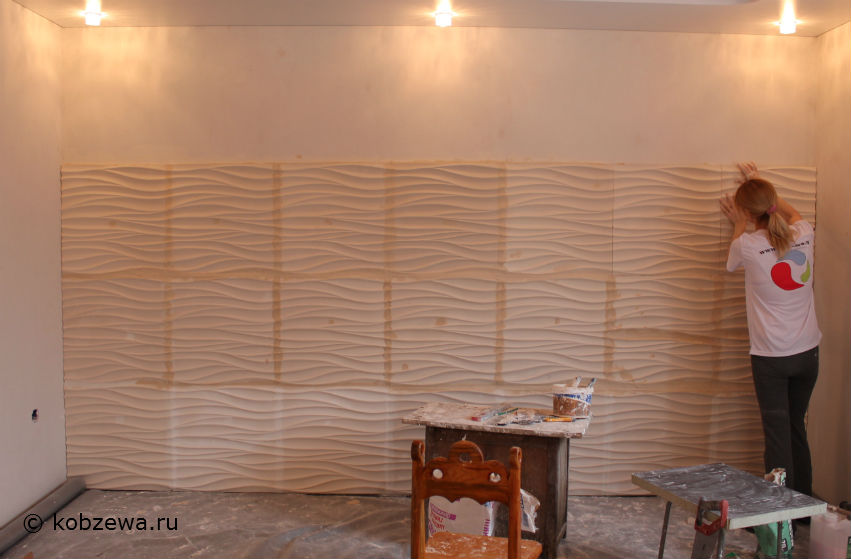
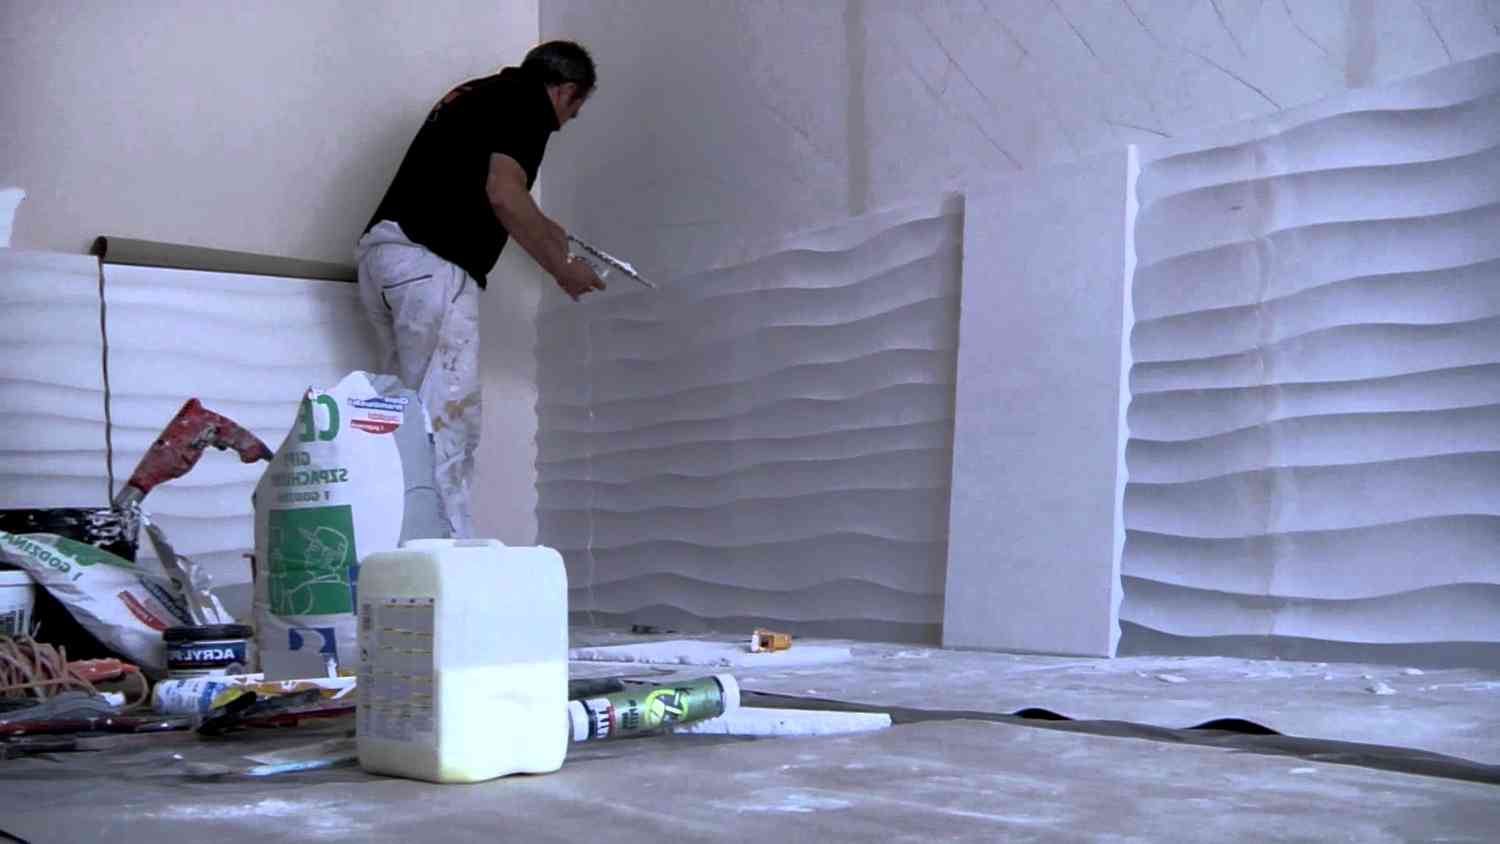
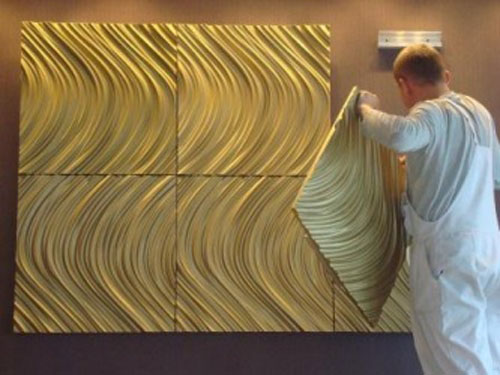
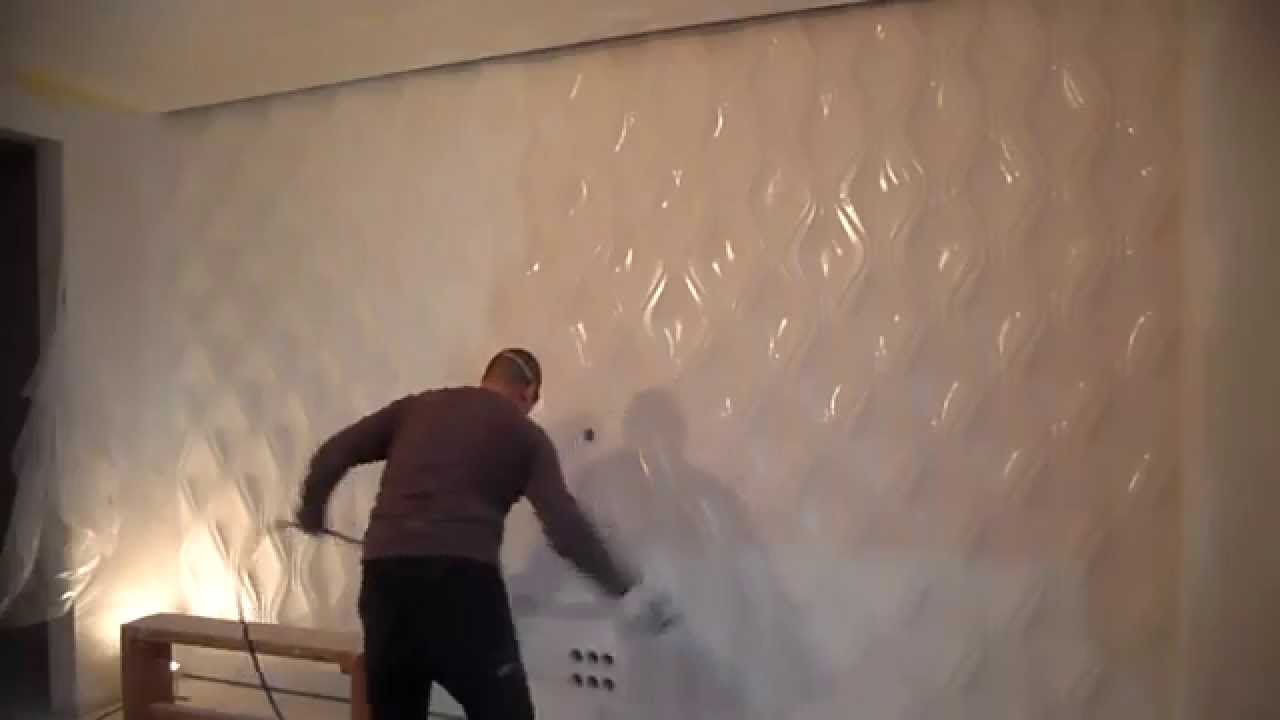
If you are going to install voluminous drywall panels with your own hands, you need to adhere to the exact algorithm of work and follow the rules of the technological process. Installation of embossed gypsum slabs is carried out in 2 versions. It is allowed to fasten the panels with dowels - it is much easier and more durable, but the general appearance of the walls may suffer. The seamless method involves planting the slabs on glue, which ensures the solidity of the resulting canvas.

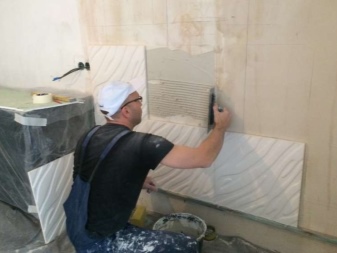
A step-by-step guide will help you with your work.
First of all, you need to prepare everything you need, including a sufficient number of 3D gypsum panels of the required thickness, format and texture, taking into account the use of skirting boards - in this situation you will have to cut the material.
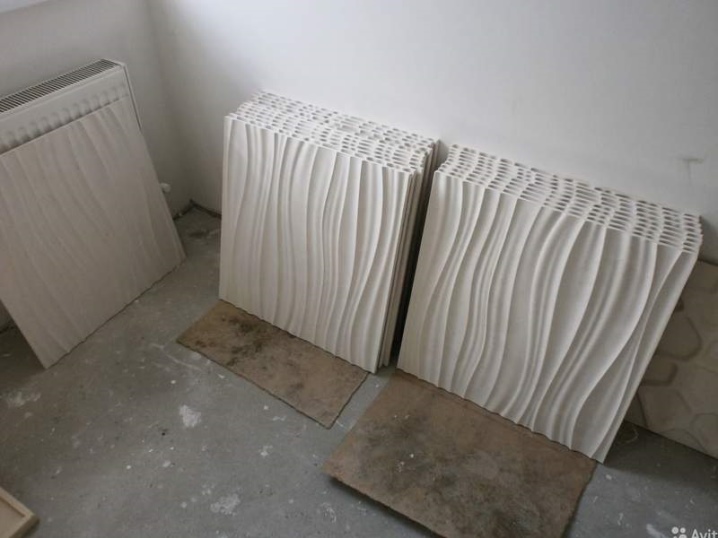
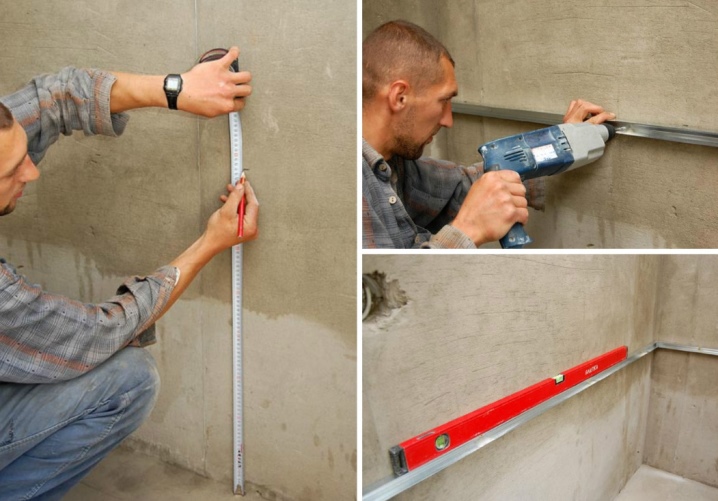
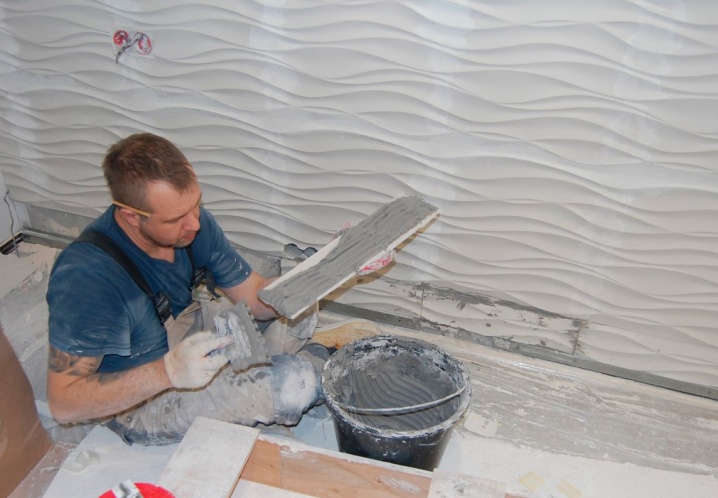
Now more about the process itself using glue or an alternative option - liquid nails:
- volumetric panels are laid on an already processed dry flat surface, primed in advance, but you can also glue the material on the wallpaper;
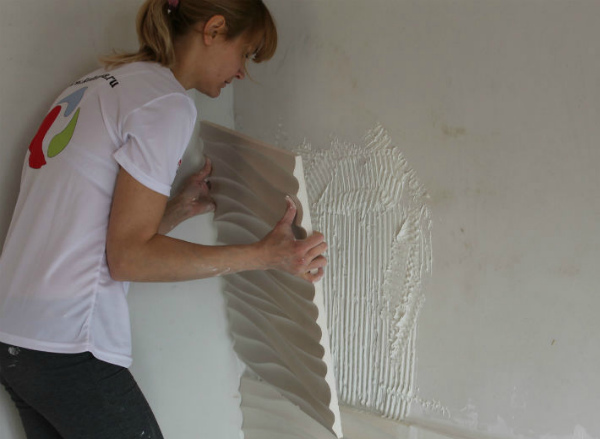
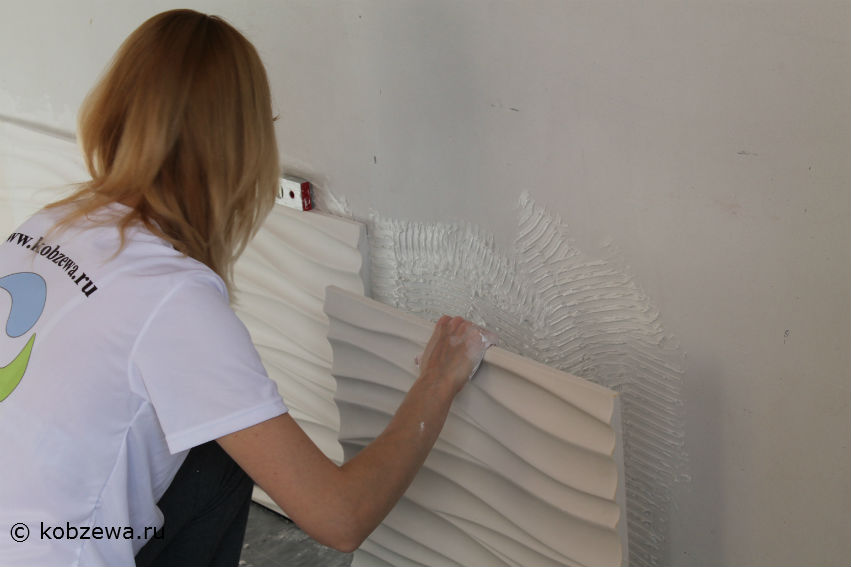
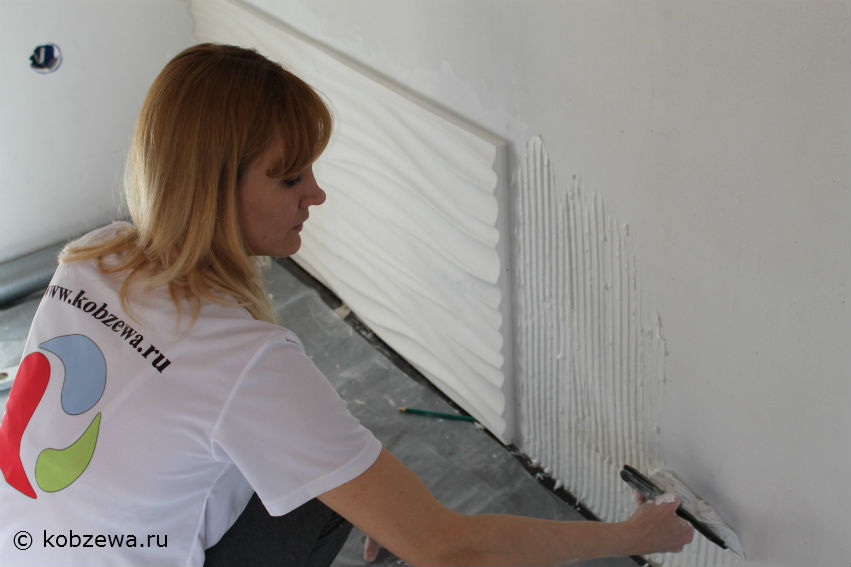
- the glue is applied with a spatula and evenly distributed over the area where the boards will be installed;
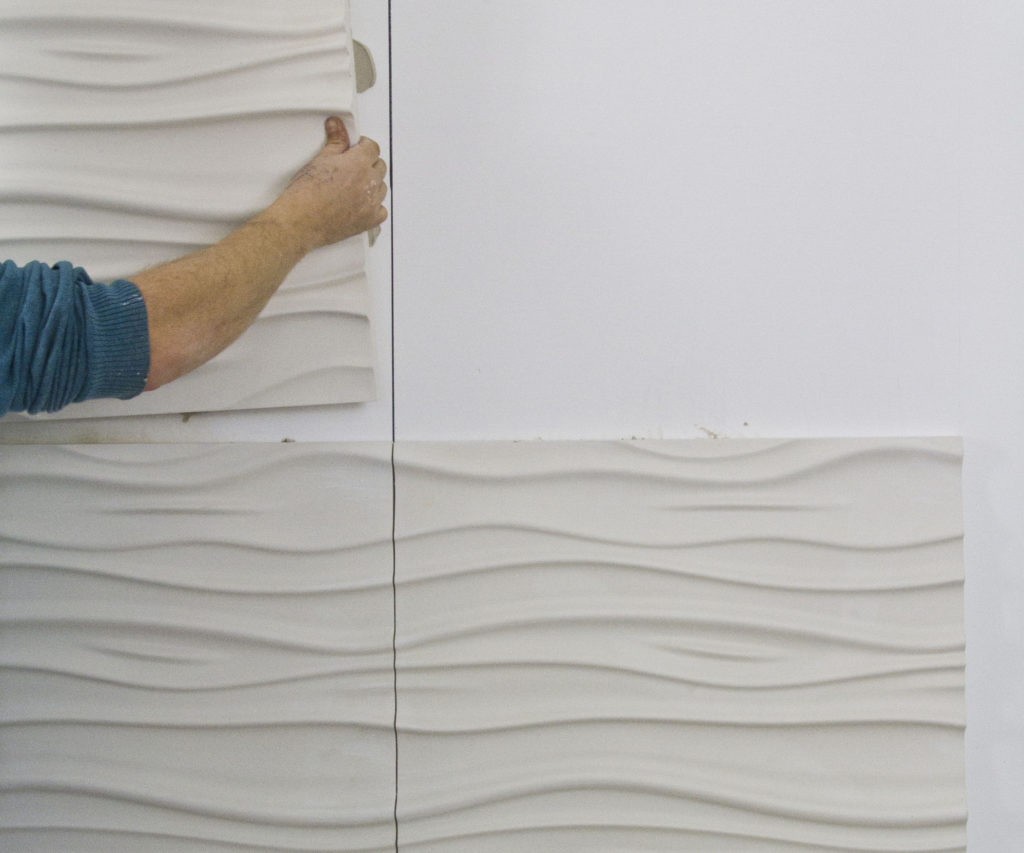
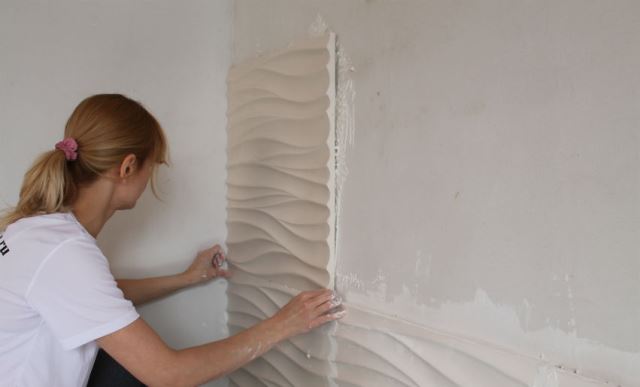
- a sheet of drywall must be attached to the wall, pressed and brought into position according to the markings, this is done from the left edge;
- the entire second row and subsequent ones are installed in the same way, and the excess glue is removed immediately, it will be difficult to get rid of it in the hardened form, you can damage the panels;
- if necessary, trimming the sheets is done with a hacksaw or a fine saw, the cut is sanded with fine-grained emery;
- it is possible to grind the seams with a seamless method at the end of the installation with a rubber trowel and plaster putty.
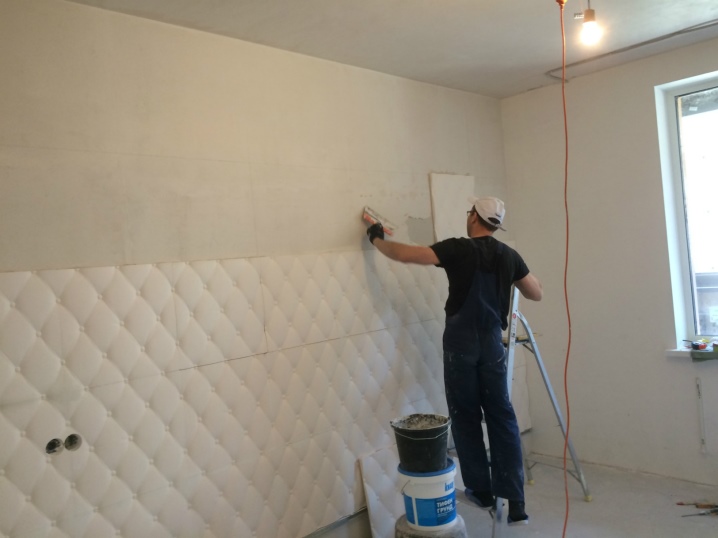
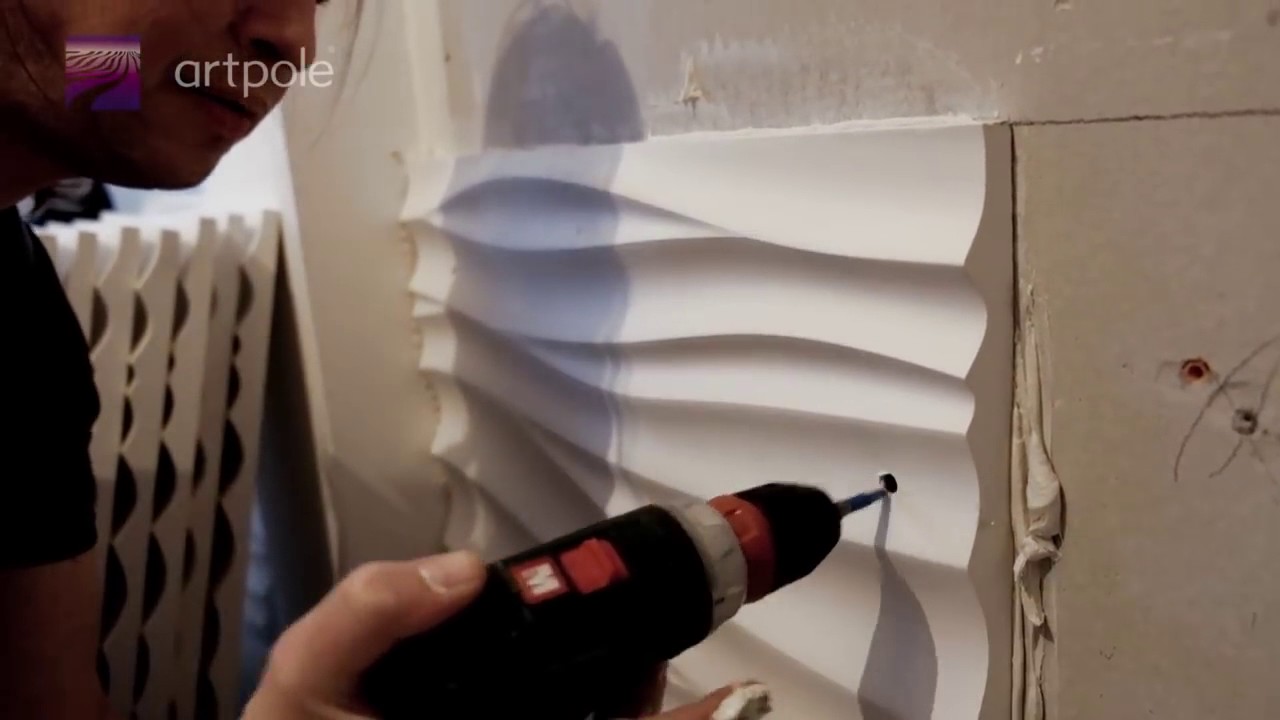
A simplified method is to fit the slabs onto dowels (Molly, Driva). To do this, you need to drill holes in drywall, make a chamfer up to 3 mm deep and 2 mm larger than the size of the fastener collar. For walls made of bricks and concrete, galvanized dowel-nails are used. At the same time, gypsum-based glue is also applied to the area for installing the panels. The joints are filled with putty, and its excess after drying is also removed with sandpaper.
Advantages of PVC panels
Why have PVC panels for bathroom furnishings become the number one competitor for tiles? It's all about ease of installation. Laying tiles, even on the most even base, is beyond the power of a person who has never done this. The services of a specialist will be required to level and strengthen the base, mark the wall and lay out the tiles row by row, observing the levels and width of the tile joint. In addition, the cutting of tiles itself, if necessary, requires additional special tools and certain skills.
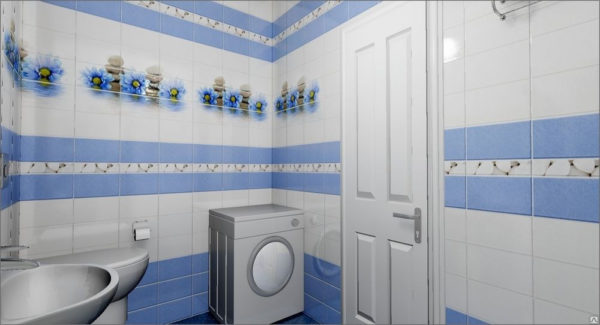 Bathroom cladding
With PVC panels, everything is much easier. They have a lot of advantages:
- Lightweight: transporting them to your home and installing them is straightforward.
- There are several installation methods from a simple wall sticker to battening systems, each of which even a layman can handle.
- The panels are biologically stable and the appearance of fungus on them is excluded during operation.
In addition, such advantages of plastic products as moisture resistance, hygiene, durability and inexpensive cost can be noted. Of course, they also have their own characteristics. For example, despite the presence of stiffening ribs in the design of the product and a rather large plastic thickness for some manufacturers, the panels are a rather fragile material and can break through an accidental strong point impact. Therefore, when buying, you need to choose the most durable products from European manufacturers.
However, if the cladding is of good quality, then when bathing, for example, you can lean on it as much as you like: it has sufficient flexibility and elasticity to support the weight of a person.
 Panel ceiling
When choosing products, you should look at technical characteristics such as:
- the thickness of the plastic (the more, the more reliable);
- the presence and number of stiffeners;
- when looking at the front plane under artificial lighting, the transverse ribs should not be visible;
- the surface should be intact, undamaged, not scratched, the film on the front plane should not be damaged;
- plastic from the ends should not be with burrs and microcracks.
There are several varieties of PVC panels, differing in size and other parameters.
Table 1. Types of PVC panels.
| Name | Peculiarities | Dimensions (edit) |
|---|---|---|
| Ceiling | Thinner up to 5 mm thick | width 15-50 mm, length 90-300 mm |
| Wall | Thicker and stiffer up to 10 mm | width 15-50 mm, length 90-300 mm |
| Rack | Narrow strips with shaped edges, similar to lining, have a tongue-and-groove lock | width 13-50 mm, length 90-300 mm |
| Leafy | Large rectangular sheets with a relief or pattern on the outside | width 50-122 mm, length 30-98 mm |
| Tiled | Tile | width 30-98 mm, length 30-98 mm |
| Sandwich | Double-layer, with a heat-insulating layer, the thickness can be up to 4 cm | width 90-150 mm, length 300 mm |
In width, standard wall panels are most often found 25cm and 37cm, length - 2700cm, 3000cm. Different manufacturers can make products in different sizes. The difference in price depends on various factors: the quality and thickness of the plastic, the type of decor printing, its complexity, etc.
Polyvinyl chloride panels are divided into several types according to their coating. They are:
- one-color;
- colored, with a dye added to the mass;
- mirrored;
- with an image pasted on a thermal film;
- with a pattern applied by offset;
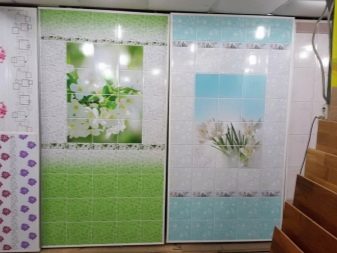
- with one image, spaced into several panels, forming a panel.
According to the method of joining, the products can be seamless and with a groove. Of course, when joining seamless panels, the seam is still visible, but unobtrusive. If the products are chamfered, then the seams are more prominent and create a certain geometry of the room.
In addition, a large selection of fittings for fastening elements is offered: starting and F-shaped profiles, internal and external corners, docking profiles, skirting boards. The use of fittings allows you to give an aesthetic appearance to the joints, and of course is used for more reliable and simple fastening.
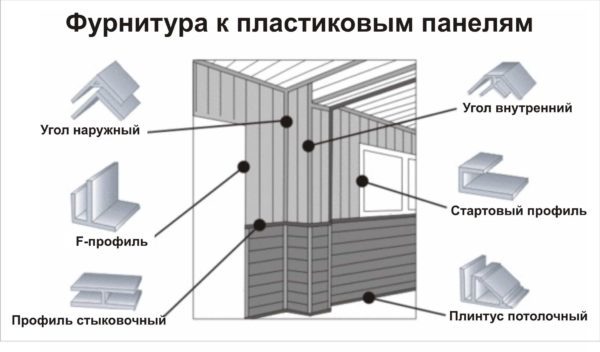 Necessary fittings for finishing
Methods for mounting plastic panels
There are 3 methods to fix the lamellas on the walls:
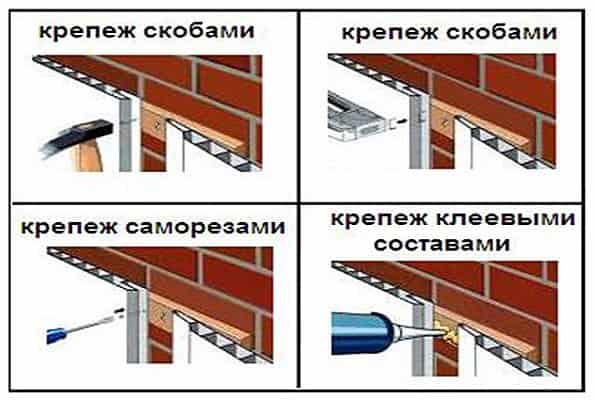
- Put on glue. This method is intended for mounting on perfectly flat and smooth surfaces. As a composition, a special glue for PVC or universal "Moment-montage", as well as liquid nails, are used. The use of this method allows not only to reduce costs during installation, but also to facilitate it, eliminating the need to erect a frame. The disadvantage of fixing the panels to glue is the impossibility of replacing damaged lamellas, as well as the difficulty of dismantling them during repair work.
- Self-tapping screws. When fixing with these fasteners, it is not necessary to have a surface with perfect evenness. For installation, a screw top is required, which allows you to significantly increase the speed of the work carried out. The disadvantage of using it is that self-tapping screws are best screwed into a crate made of wood, additional time should be spent on cutting a bar and treating it with an antiseptic.
- With staples or clamps. The most optimal options. Brackets and clamps are quickly and easily fixed to the frame and reliably connect the slats to the wall surface. The installation of the lathing is carried out from metal profiles, from which the assembly does not take much time and does not require huge efforts. In case of damage, any element can be replaced without any difficulty with a similar new one. Dismantling of material is also done quickly enough.
Varieties of 3D panels
Volumetric panels for walls are classified according to the type of material of manufacture. Modern technologies make it possible to form decorative 3d panels from almost any material that can be machined or pressed. The most popular materials used in the mass production of embossed cladding are:
- Wood-containing materials: natural wood and its derivatives - chipboard, fiberboard, MDF and plywood;
The choice of wood cladding directly depends on the financial capabilities of the owner of the house, since the cost of the panels includes not only prices for materials, but also labor costs for making a three-dimensional ornament. If the selected wood is a valuable species, then the drawing on the plate is created manually. Naturally, 3D wood panels are the most expensive in the 3D wall cladding product line. Such plates are more to the liking of interior lovers in classic, baroque or empire styles.
In fig.Below are the options for 3D panels, handmade, made from solid woods for individual orders.
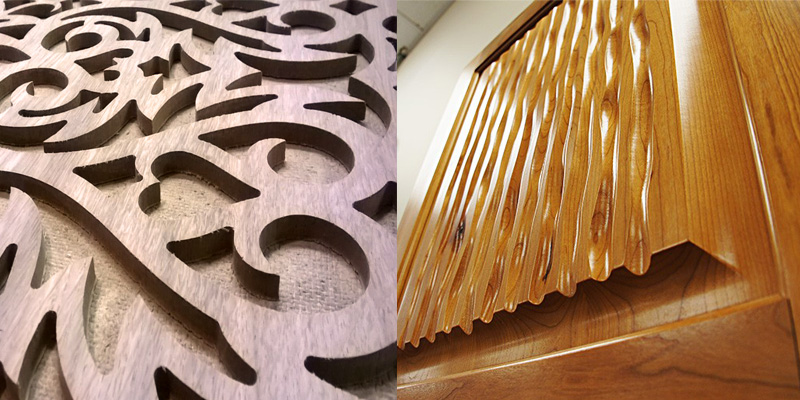
Handcrafted 3D panel options from precious wood species
3D boards with a pressed base are more affordable in terms of prices compared to products made from natural wood, since the load-bearing base is made from recycled wood raw materials:
- large wood chips - for chipboard;
- shredded wood chips - for MDF;
- shredded wood fiber - for fiberboard.
The three-dimensional relief is created by hot pressing. A protective coating is applied to the surface of the pattern - a film with imitation of a variety of textures. In fig. below shows a volumetric panel made of MDF.
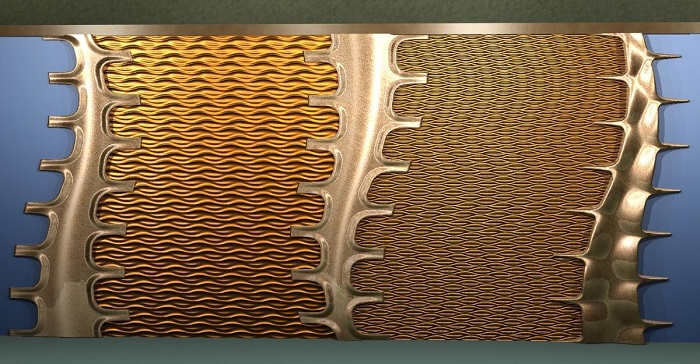
Volumetric MDF panel
- Eco-panels made of shredded cellulose or bamboo;
The technology for the manufacture of eco-panels consists in preliminary crushing of the plant mass (cellulose and / or bamboo) and subsequent pressing (by analogy with MDF and fiberboard) to create the desired relief. The products are absolutely environmentally friendly, therefore they are recommended for children's and bedrooms.
- Aluminum and its alloys, stainless steel, copper, which are highly resistant to corrosion and moisture. The volumetric ornament is applied using a special perforation technology, followed by the application of a protective polymer film. Metal panels are not afraid of wet wiping with ordinary household detergents. For the decoration of living quarters, they are used by admirers of minimalist and high-tech styles. Popular in the design of museum and exhibition halls. In fig. the interior trim with embossed aluminum plates is shown below;
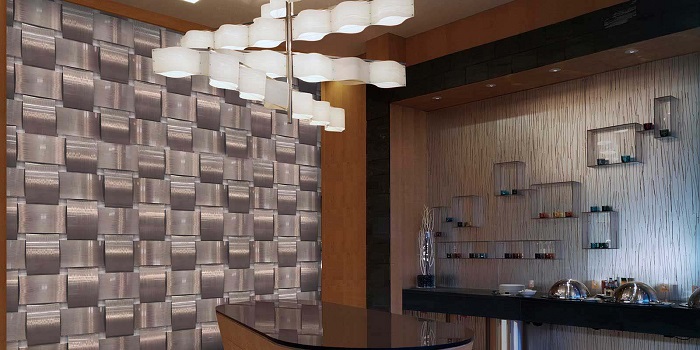
3D aluminum cladding
- High strength glass 5 mm thick. Thanks to the play of light on the edges of the convex relief surface of the ornament, the interior acquires an element of lightness and a kind of fabulousness with appropriate lighting. Perfectly fit into the environment of children's rooms, living rooms, they are used to decorate private pools;
Additional Information. Tempered glass for 3D slabs has a structure similar to car windshields. Therefore, when the panel is destroyed (fall, impact), sharp glass fragments are not formed.
In fig. below is a composition of glass slabs with a relief pattern.

3D glass composition
- Plastic panels made of polyvinyl chloride (PVC), manufactured on thermoplastic extruders. Extrusion technology allows the execution of complex patterns with imitation of the texture of natural materials. Three-dimensional pvc panels are highly resistant to humidity and temperature changes. Users are impressed by their flexibility and light weight, a wide range of colors for the execution of the ornament. Among the disadvantages of PVC products, they note low strength to shock loads - even a weak impact can damage a fragile product. Not recommended for children's rooms;
- Gypsum that can be used to decorate any room, including rooms with high humidity.
What is required?
To perform the installation of bulk products, the following tools and related materials must be available:
- special plaster saw with large teeth (file, power tool);
- 3 spatulas - normal, 10 mm notched, narrow rubber;
- 2 drills adapted to the size of screws and plugs;
- fine-grained abrasive cloth;
- glue designed for drywall;
- roller and brush for the primer mixture;
- plumb line / building level (laser, normal);
- impact mechanism for perforation;
- drill screwdriver;
- cork and plastic screws;
- primer and filler mortar for sealing joints between panels.
Fastening process of plastic panels
Further, it is described step by step how to properly fix the plastic panels in order to prevent any shortcomings that can negatively affect the life of the material.
Wall markings
It is necessary to carry out the installation of the frame with the obligatory use of the building level, which will provide an opportunity to eliminate the likelihood of distortions. In order not to measure each strip, you need to make markings on the walls. The bottom of the frame should be 1 to 2 cm above the floor covering. At this height, a point should be drawn on the surface of the wall with a pencil, after which, using a level, it is necessary to draw a horizontal strip along the entire perimeter of the room. A similar line must be applied along the border of the finishing material or under the ceiling if the sheathing is not at full height. Then it is necessary to measure upwards of 0.4-0.5 m from the strip marked at the bottom, install the beacon and continue this procedure to the upper line. Through the lighthouses, you need to draw strictly parallel lines along the length of all walls, which are the final stages of the marking.
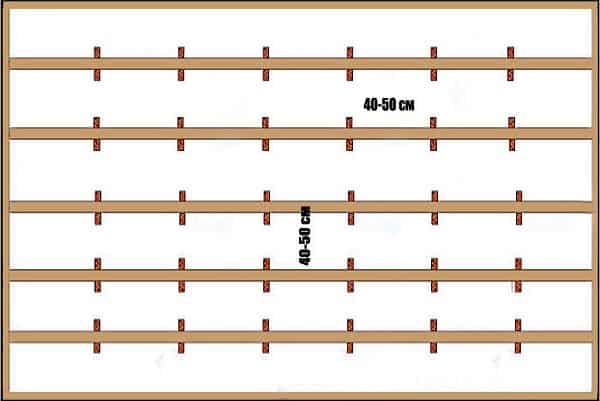
Fixation of the panels should be done perpendicularly to the frame, which is why the horizontal lathing is finished vertically and in the opposite direction. In the case of drawing a vertical structure, the first strip must be carried out in the corner from ceiling to floor by means of a plumb line. Next, the second corner is marked, after which other lines are drawn with an interval of 0.5 m.
Fastening the frame
When constructing a lathing made of wood materials, all its components must first be opened with an antiseptic. Drilling holes for dowels at a distance of 0.5 m using a perforator along the drawn stripes. Next, you need to attach the slats, align them horizontally and fix them on the wall surface. In places of unevenness, wood wedges should be laid under the frame. The wires running along the wall must be hidden under the finish, for which it is required to take measurements, drill holes in the surface and fix them with clamps so that there is no peeping out of the plane of the frame.
Fixing plastic panels
Installation of the first lamella should be carried out from the corner of the room farthest from the entrance, which is considered the most noticeable. Further measurements are made, and, if necessary, the lining is cut with a hacksaw along the length. On one side, the lamella is installed in the molding from the side, which leans against the corner and from the rear side it is fixed to the frame.
The second panel must be inserted into the fastening groove of the previous one, tightly pressing the joints and fixing them to the wooden elements of the sheathing. To increase the tightness of the joints, before installing the edges along the edges, it should be lightly coated with silicone. All further panels are attached in the same way.
For switches of lighting elements and sockets for electrical appliances in the lamellas, appropriate holes should also be cut out in the course of work.

Fastening moldings
Upon completion of the installation of all panels, the walls should have a monolithic and even appearance, with no cracks on the surface of the seams and in other areas. To hide them, all existing joints and corners are closed with plastic moldings. The design of these products makes it possible to neatly dress on the edges of the lamellas from both edges, making them attractive.
Last but not least, according to the length of the ceiling, decorative moldings are installed, and the floor plinths are fastened to the floor.
Preparation
PVC is polyvinyl chloride, in a simple way, a kind of plastic. Panels made of this material are especially popular, since they are not afraid of moisture and do not rot, they are quickly mounted, they do not change under the influence of ultraviolet rays, they retain a decent appearance for a long time and, when using a frame, create additional sound insulation. Finally, they are relatively cheap.

Installation of plastic PVC panels always starts with a preparatory stage.First, the material is selected and bought in compliance with several important points. While in the store, you need to inspect the panel cut. If there are thick layers, both external and internal, and a thick lintel, then the finish will be reliable. The thickness of the panel can also be determined by weight - the heavier the panel, the thicker it is. The uniformity of the plastic is then examined. The entire sheet should have a uniform thickness without overly thick or overly narrow spaces - this is a guarantee of good quality.


When a brand and manufacturer is chosen (it is better to pay attention to European firms), then you also need to calculate how much material is needed. Otherwise, unused fragments will remain (and will be overpaid), or, on the contrary, the material will not be enough and you will have to urgently buy it in the store (unnecessary time will be spent)
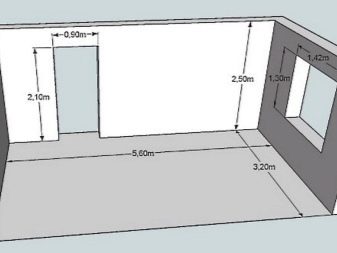
PVC panels are placed either vertically or horizontally. In the first case, you need to measure the length of the room around the perimeter, then subtract the width of doors and windows from this figure and divide the remainder by the width of one panel. You will get the number of elements needed to repair the premises. It is better to add a couple of units to this figure in case of unforeseen situations.
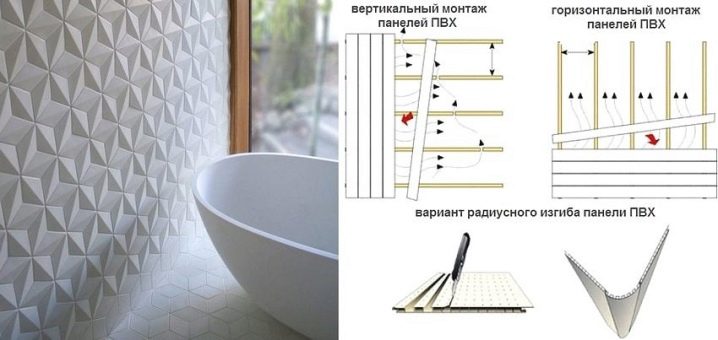
If the panels are placed horizontally, the first step is to calculate the area of the room. Next, the area of doors and window openings is subtracted from this figure. Finally, the resulting number is divided by the area of one panel (usually this figure is indicated on the packaging by the manufacturer). 10% is also added in case of unforeseen situations. If the sheets are mounted horizontally, then you should be prepared that the material will have to be cut, which means that there will be scraps.
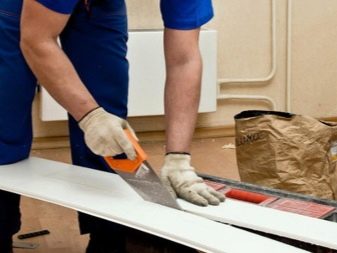
Once you get rid of the packaging, you can get a good look at the edges and individual cells. The panels should not show any dents or damage. The more complex the image, the more important it is to study the quality of its application - blurred fragments and uneven coverage should cause vigilance. Also, if you have to purchase several packs of sheets that must match in color, it is reasonable to unpack and check if the shades converge. Finally, the material should be tested right in the store. One sheet is folded about 30% and then unbend. If there is no damage, then everything is in order with the purchase.

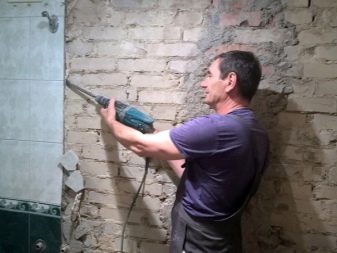
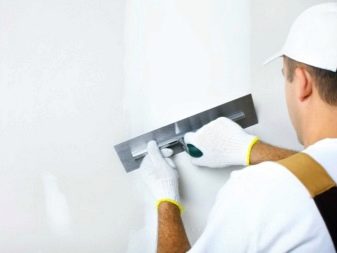
Having acquired the material, it is necessary to prepare the walls. The first step is to remove old paint, tiles, wallpaper and layers of old finishes. Then the surface is leveled with plaster. In addition, it would be a good idea to try to repair the existing grooves or to eliminate protruding elements. Having finished with the leveling of the wall, you can proceed to the primer. It is recommended to choose a composition with additives against mold and mildew. While the primer is drying, you can start assembling the crate, and also bring the panels into the room - they need to stay inside for about 12 hours to adapt to existing conditions.
The elements of the lathing should be located perpendicular to the plastic sheets. This means that if the sheathing runs horizontally, the panels will run vertically and vice versa. The distance between the battens of the crate should be from 30 to 50 centimeters, the first figure is still optimal. The planks are to be fixed near window openings, near doorways, as well as at the beginning and end of the wall.
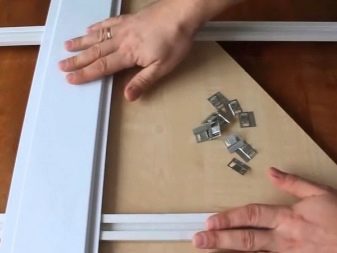
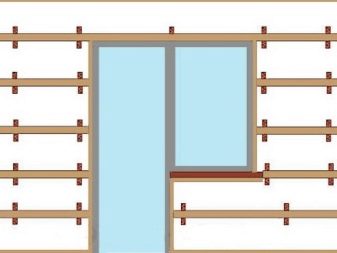
The lathing is most often attached to the dowels. The length for a concrete wall is 40 millimeters, and a brick wall is 60 millimeters. The distance between the dowels varies from 50 to 60 centimeters. In order for the PVC panels to be evenly laid as a result, the crate must also be in the same plane. To do this, you can use pieces of plywood or wooden spacers, pre-treated with an anti-fungal compound.
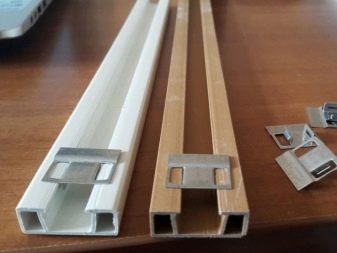
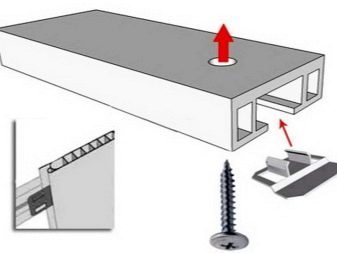
Selection of panels for future use
In order to avoid possible mistakes that can be made during the purchase of plastic panels, you should familiarize yourself with their characteristic features and varieties before visiting the stores, since their huge variety can turn your head. The first step is to purchase certified material, since low-grade products have a rather low level of strength and are suddenly subject to burnout.
The advantages of plastic panels are several of the following:
- Ease of their attachment.
- Fire safety.
- Long period of operation.
- Increased resistance to the negative effects of moisture.
- Hygiene.
- Resistance to the effects of various microorganisms.
The disadvantage of this material lies in the insignificant tolerance of shocks, which is why during their transportation and during installation work, increased care must be taken

According to the type of coating, they are matte and glossy. According to the application technology, the images are divided into printed and film varieties. Their standard is the following dimensions:
- length - 2.7-3 m;
- width - 20-35 cm;
- thickness - 8-10 mm.
The strength of plastic panels depends not only on their thickness, but also on the number of stiffeners inside them. To determine the level of strength of the material, you need to press your finger on its surface. The appearance of a dent indicates a short service life.
In addition, you should avoid purchasing material that:
- deformed or damaged stiffeners;
- with the presence of scratches on the surface;
- differs in tone color;
- has a fuzzy or blurry pattern on the outside;
- varies in size.
Stages of manufacturing 3D panels
The production of 3D panel products is carried out in three stages:
- Stage 1 - 3D project development;
The project is developed on the basis of preliminary sketches of flat decors and their subsequent computer processing to create a three-dimensional image of the interior. In accordance with the 3D interior design, a decorative 3D panel relief is formed in the interior.
- Stage 2 - working out the technology for making a relief texture, making samples with a three-dimensional relief;
At this stage, the technological possibilities for the implementation of the developed 3D panel for walls in the material are being worked out. In the process of making samples, it is necessary to ensure the parameters of the relief laid down in the project. By making one or several prototypes, the optimal depth of the ornament is achieved in order to determine the method of its application. For mass production, pressing or casting technologies are preferable, allowing partial or complete automation of the production process. In this case, it is necessary to make a separate production of technological equipment (molds or casting molds). If the production is one-off (individual order, exclusive project) or small-scale, then the work is carried out manually, for example, by milling or boring on a lathe.
- Stage 3 - finishing of the embossed pattern.
At the stage of finishing the pattern, work is carried out to complete the formation of the volumetric effect. The surface of the ornament is covered with materials that give it strength and specific optical properties. The surface of the ornament can be made matte, glossy and even fluorescent.
Note! Work on developing the technology and launching the production of relief slabs require significant financial and time costs and are highly labor-intensive. Therefore, the cost of three-dimensional cladding is several times higher than the prices for flat panel counterparts.
In fig. Shown below are the exclusive gypsum panels in the interior with built-in LED backlighting (LED strip) relief.
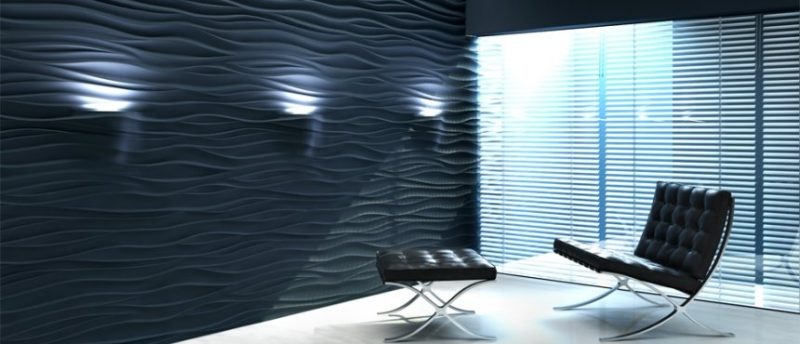
3D cladding with backlit LED elements
How to carry out the installation correctly
If you are not going to resort to the help of a wizard, and intend to lay 3D panels with your own hands, you need to carefully approach this issue. Indeed, the service life and appearance of the wall, decorated in this way, directly depend on the quality of installation. Before starting the installation, leave the panels for 48 hours in the room in which the work will be carried out. This will save from fragility and facilitate installation. There are two ways of fixing the panels - on a metal crate and directly on the surface using adhesive mixtures.
- Fastening to a metal frame implies the use of additional room space and the cost of its construction. Gypsum panels are attached to metal profiles with self-tapping screws. Holes are drilled in the panels themselves, and after fastening, they are sealed with putty. Not the most gentle way.
- Installation directly on the surface is possible only if there are flat walls. If your walls are not perfect, then you need to carry out additional work to align them, or give preference to the first option. The surface of the wall must be carefully treated with deep penetration soil, then it is recommended to process the back side of the panels themselves. After that, you need to apply the markup. Using a level, draw straight vertical and horizontal lines - this will be your guide for the first panel. An adhesive mixture must be applied to the attachment point. Give preference to mixtures that include plaster, for example, "Perlfix" from Knauf. If you neglected to properly prepare the wall before pasting and hope to level it with a thicker layer of adhesive mixture, then be prepared for the fact that its consumption will be many times more than necessary, and its cost is not the cheapest. So, apply a layer of glue to the marked area and spread it evenly with a notched trowel, lean back the panel and align it according to the marked lines. The Perlfix mixture sets fairly quickly, so you don't have to hold the panel for too long. Lay subsequent tiles in a horizontal line, focusing on the first. If you have chosen a seamless installation method, experts still recommend leaving small gaps, about 2-3 mm wide, so that you can then fill them with putty. This will give you more uniformity. There are two ways to fill the seams - after complete drying, fill them with putty using a small rubber spatula, or apply the putty directly to the joint. Pasted on the first panel - apply a thin layer of putty to the end that will be in contact with the next panel. Press it not only against the wall, but also against the end to which you applied the putty. Its surplus will immediately come to the surface. They must be carefully removed with a barely damp cloth. In this way, you will achieve complete filling of the joints without wasting time. If the last panel does not completely rest on the wall, do not be alarmed; using a small hacksaw, you can easily saw off a piece of the required size. The sawn-off edge is recommended to be processed with sandpaper. If, after finishing the installation, you notice irregularities or gaps in the joints, refine these nuances with a finishing putty.
It doesn't matter in what way you fixed the panels to the wall, the main thing is that if you are to paint 3D panels later, they must be treated with soil. Painting can be done with a roller or spray gun
It is recommended to choose a water-based emulsion, latex or acrylic matt paint.

