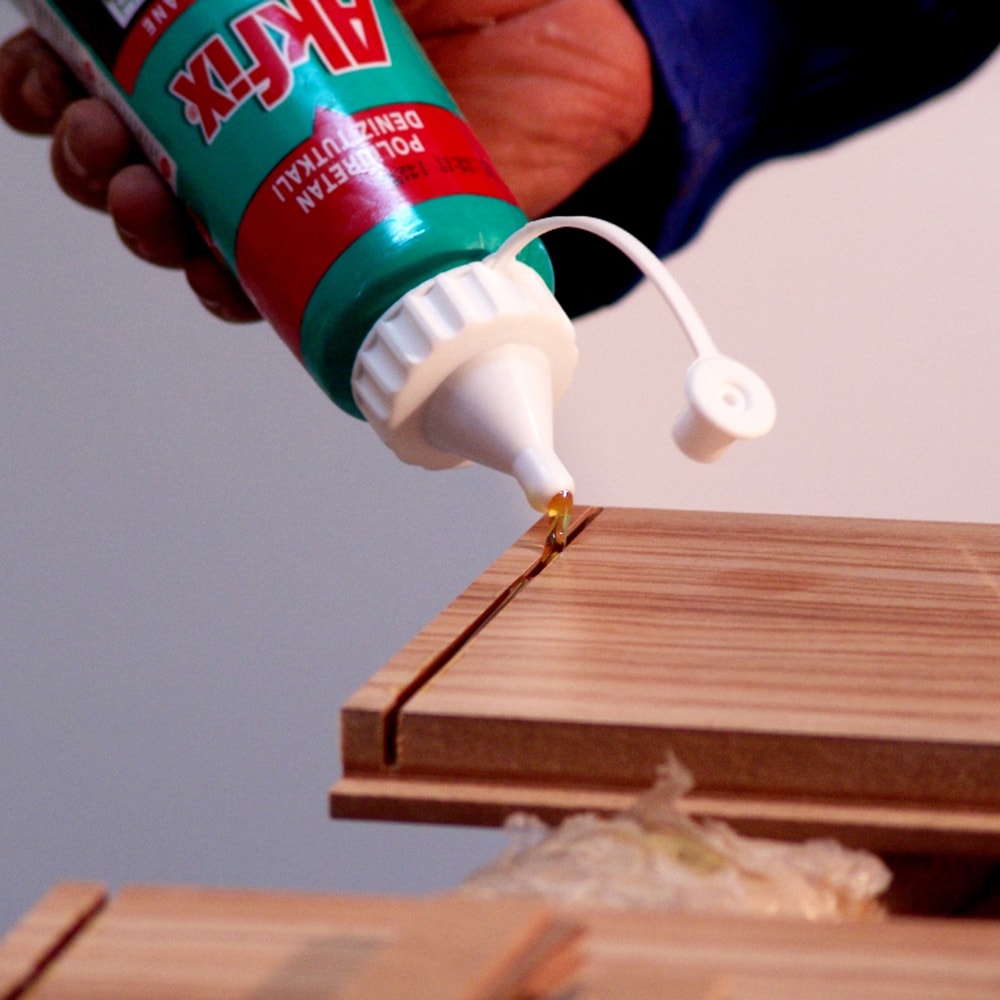
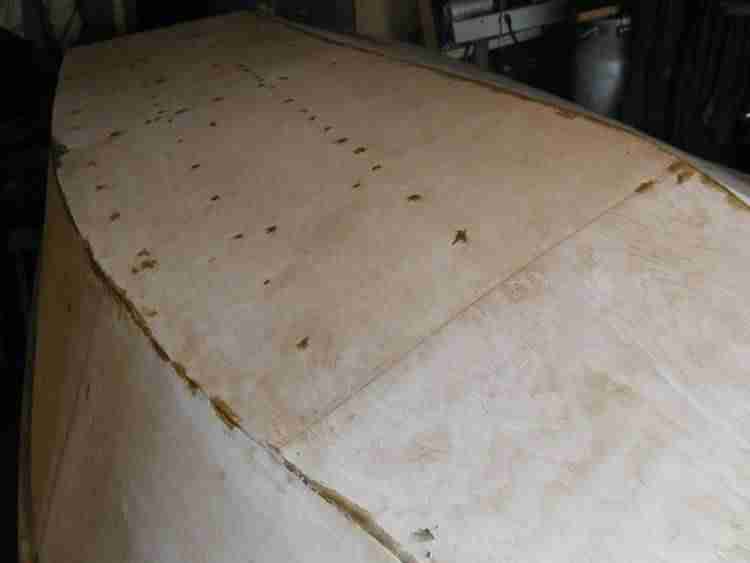
How to drill pilot holes for screws
Learn to prevent plywood from cracking by making the correct fastener holes. Traditional screws with a tapered shank require drilling a mounting recess for the smooth part and a guide channel for the threaded part, plus the head also needs to be recessed. Perform these operations in one go with the combination tapered tip and adjustable countersink drill.

Drilling pattern for traditional screws.
Advice. Use a steel screw of the same size to screw the brass screws into the thread made in the pilot hole.
Modern screws have a straight stem and a thinner top than the thread, so they don't need a mounting recess. It is convenient to drill pilot holes with the same combination equipment, but with a conventional drill selected for each screw gauge.

Drilling diagram for modern screws.
Self-tapping screws with a drilling tip and countersink ribs on the head, which make it possible to dispense with preliminary drilling in soft wood, often cause splits when screwed along plywood layers. Do not take risks and do not waste time replacing a cracked workpiece - make holes even for screws with a drill at least half the depth and especially near edges and ends.
Advice.Calculate the tightening torque by selecting the appropriate screwdriver mode. It is better to leave the cap sticking out a little above the surface and tighten it with a screwdriver.
It is not necessary to determine the size of the pilot hole with an accuracy of fractions of a millimeter - it can be done "by eye".
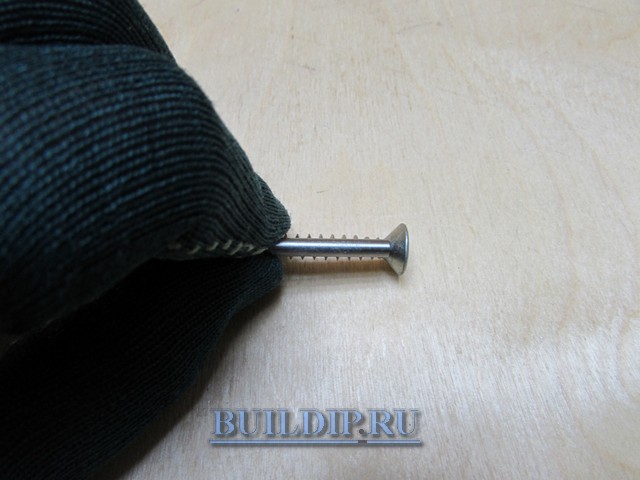
The diameter is suitable if the attached drill covers the screw body and not the thread.
When making indentations for the caps near the edge of the plywood sheet, stick masking tape over the drilling site so as not to destroy the upper veneer.
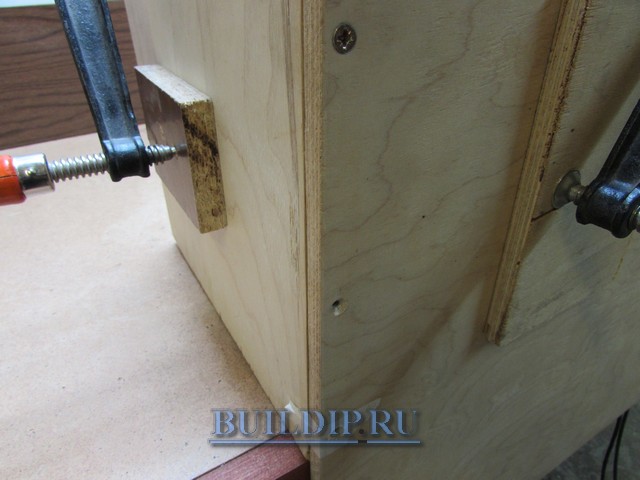
When drilling pilot holes, fix the parts, preventing the workpiece from moving and, as a result, breaking off the drill.
Any fastening of plywood parts will be accurate and reliable only if the workpieces are precisely adjusted. Make strictly perpendicular cuts on the workpieces. Always start by making a groove, and then adjust the comb to fit it.
It is very important that the floor in the apartment is warm and comfortable. Therefore, its installation begins with the laying of plywood, which will play the role of the base and will be able to ensure its stability and strength. This material, which consists of several layers of veneer made from coniferous wood, is prone to various types of fastening.
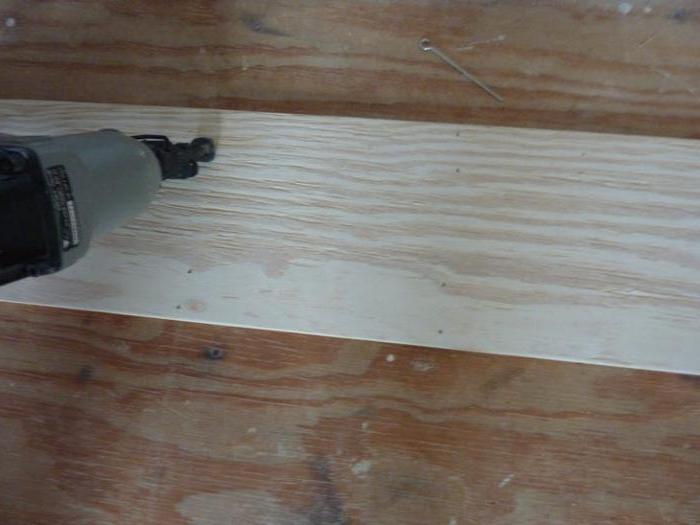
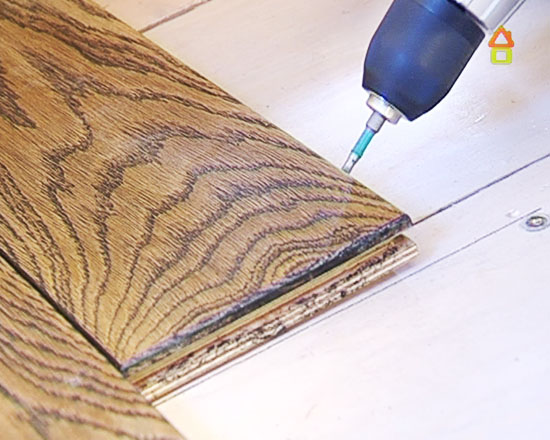
It can be mounted with screws, nails or bolts
This material, which consists of several layers of veneer made from coniferous wood, is prone to various types of fastening. It can be mounted with screws, nails or bolts.
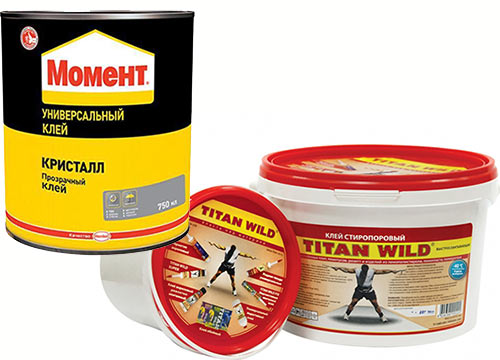
What kind of glue to use?
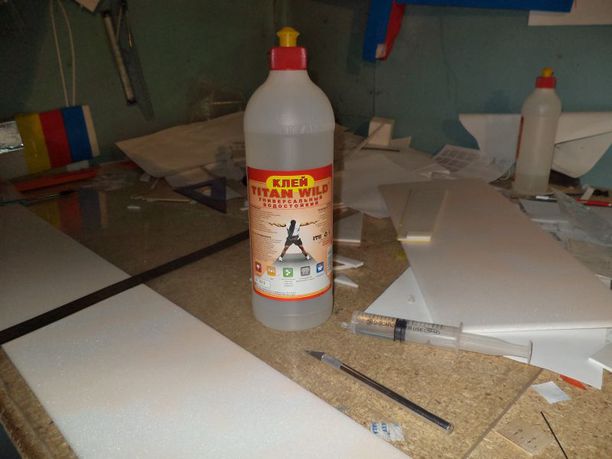
For the correct answer to this question, first decide how large the pieces of plywood you want to join and how to use after gluing.
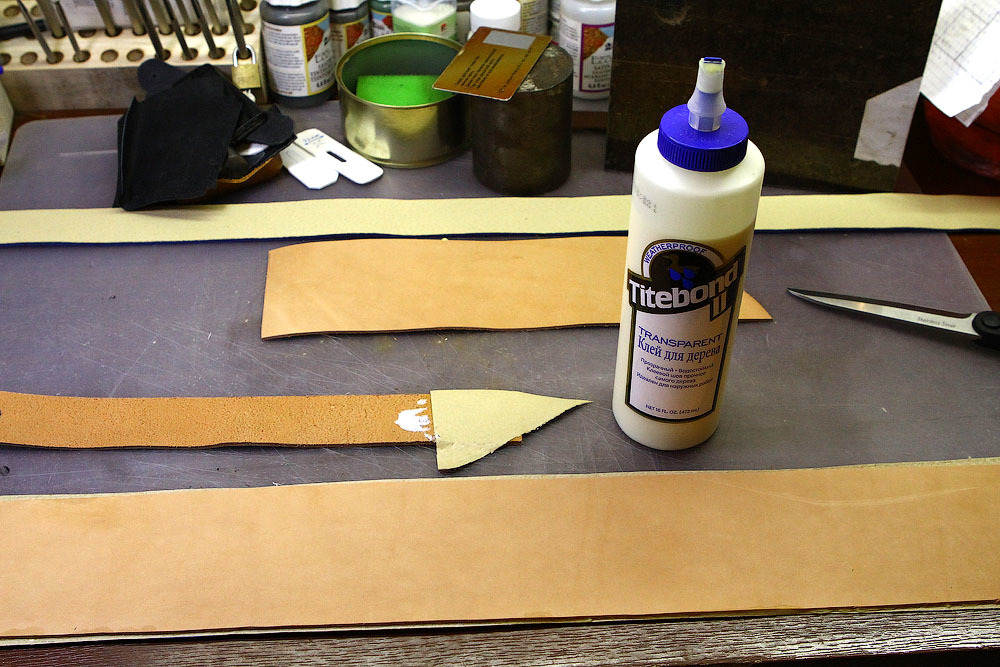
Any adhesive composition is suitable for bonding construction (rough) plywood that does not have a front layer. The main thing when joining is to clean and degrease the glued surfaces of the sheets as efficiently as possible.
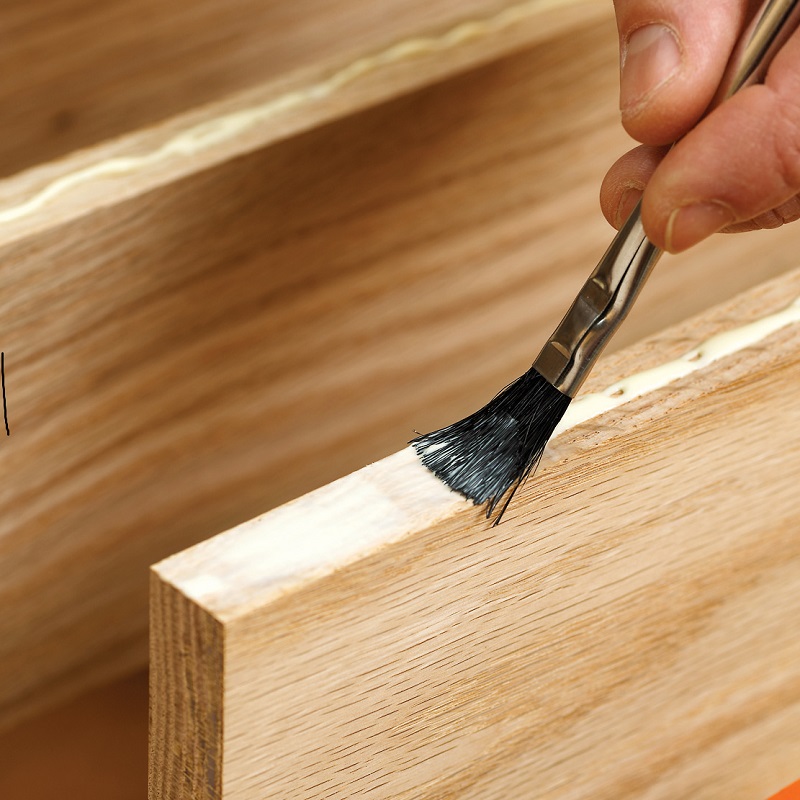
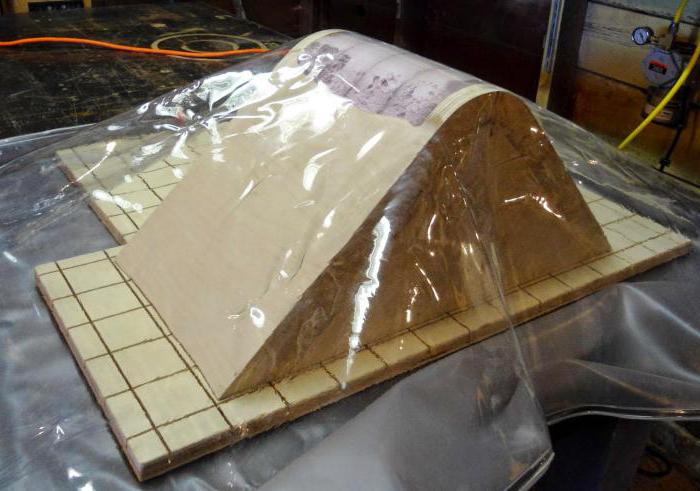
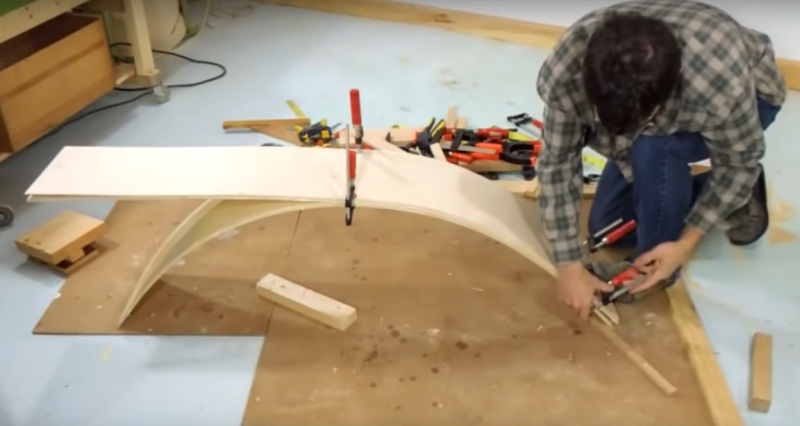
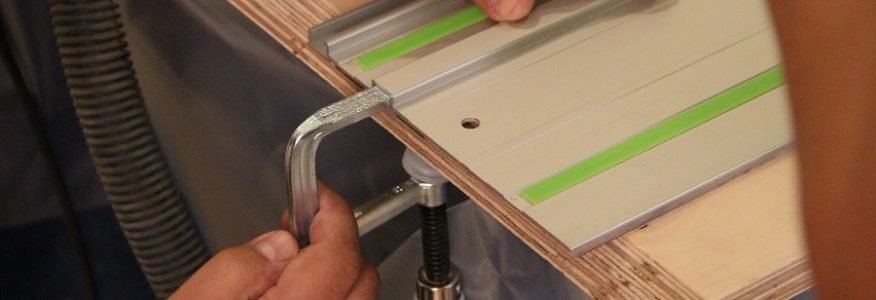
When gluing large sheets to each other, after applying the glue, the workpieces are pressed using temporary fasteners-clamps.
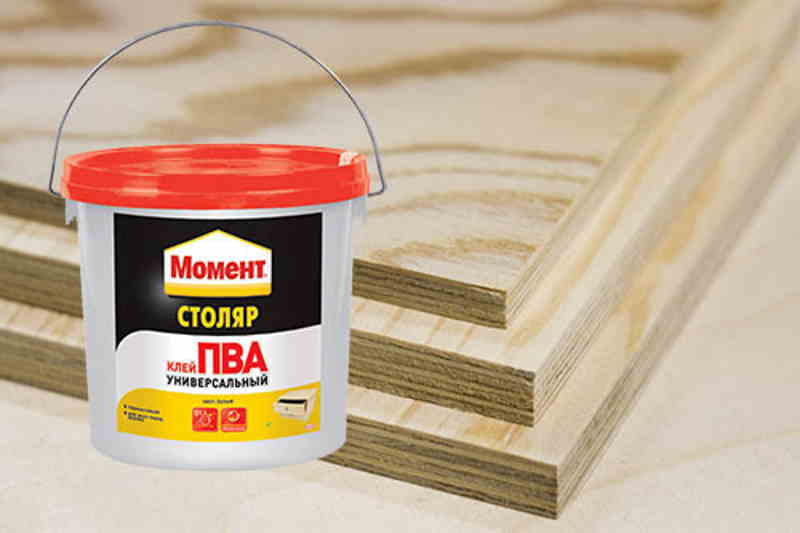
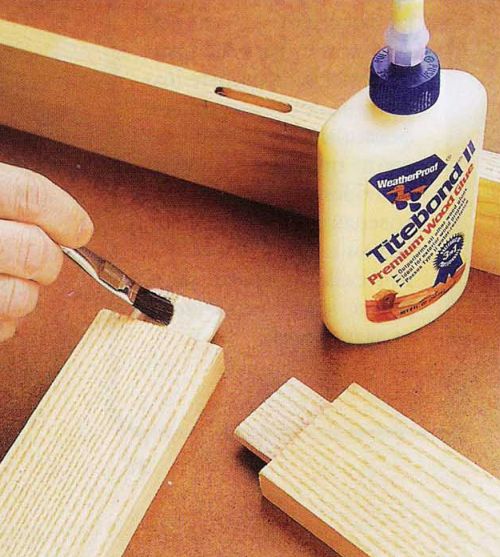
If, when gluing plywood, it is important not to disturb the texture and color of the material, but to ensure a reliable connection, we recommend using PVA if in the future the blanks will be used indoors. If we are talking about outdoor use, then epoxy or phenol would be ideal.
To ensure a strong and reliable connection of the workpieces, it is important not only to choose the right glue, but also to use it correctly. Because a violation of technical regulations is fraught with "failure" of all the qualities of the adhesive
For gluing plywood blanks, we recommend using adhesives that meet the following requirements:
- Easy to use, suitable for household needs;
- Providing a reliable bond;
- Resistant to moisture;
- Inert to mold and mildew;
- Color and composition that does not violate the composition.
How to glue plywood
Most modern floor coverings are laid on top of the substrate rather than directly on the concrete. One of the most popular types of backing is plywood.
It attracts with ease of installation and affordable price, and one should not forget about the important fact that it is a natural material. Its popularity is evidenced by the fact that manufacturers have begun producing a moisture-resistant type for use in bathrooms. Also, the grinded grade on one side is gaining great popularity, which facilitates installation under the final floor covering.
Also, the grinded grade on one side is gaining great popularity, which facilitates installation under the final floor covering.
Choosing the right substrate is not enough, the main thing is to choose a good glue for gluing plywood to concrete. It depends on him how firmly the sheets will hold on the floor, how quickly everything will dry out and it will be possible to move from preliminary work to final ones.
Types of glue
The huge assortment presented on the shelves of hardware stores can be divided into several main types:
- water based;
- polyurethane;
- epoxy.
These types of glue for plywood on a concrete floor differ in price, composition, consumption and drying time.

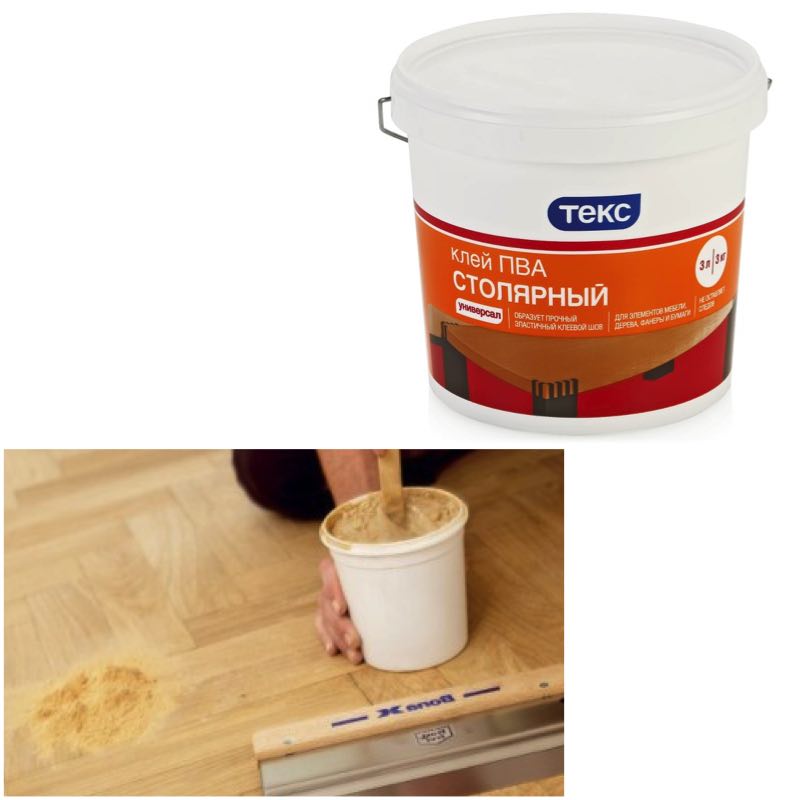
PVA glue for plywood
But besides the pros, it also has its drawbacks:
- dries for a long time (for large volumes up to 7 days);
- suitable only for interior work in heated rooms (there is an option marked D with frost-resistant additives, but its price is much higher);
- fastening the base to the flooring is not very strong, therefore, until completely dry, the sheets must be screwed with self-tapping screws;
- when using this type of glue, the floor must be sufficiently flat, the difference cannot be more than 2 mm.
Polyurethane adhesive is characterized by high strength, toughness and ductility. It can be either two-component or solid.
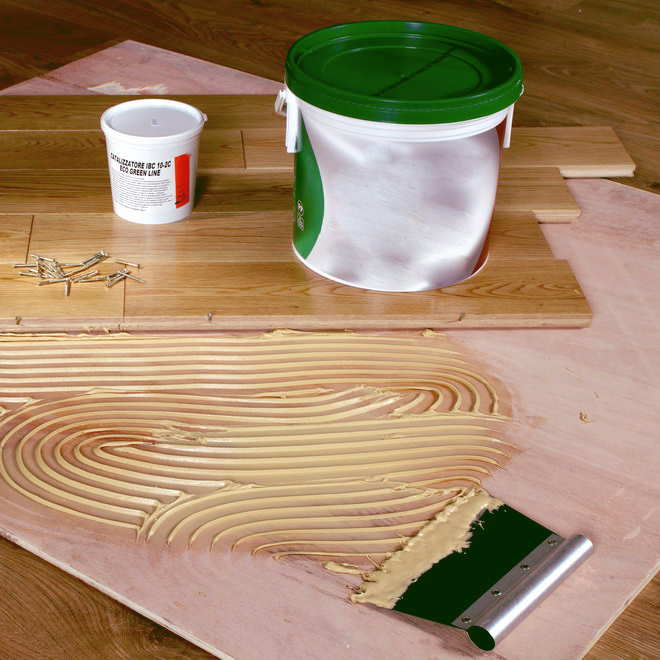
Two-component plywood adhesive on concrete floors has a high viscosity (applied with a comb trowel). This is both an advantage and a disadvantage. On the one hand, it is seized literally in half an hour, and on the other, it cannot be cooked in a large portion "in reserve", as it quickly dries up and becomes unusable.
The one-piece version dries much longer, so it does not freeze during installation. Complete drying takes 36 - 48 hours, and the strength of the resulting layer is superior to concrete, and can withstand drops up to +55 ° C.
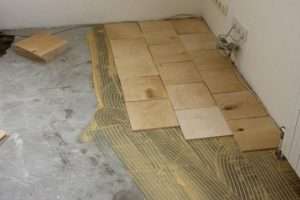
Installation of plywood on glue
The disadvantages include:
- high toxicity, but harmful substances are released only during installation, after hardening it becomes safe;
- too fast solidification of two-component mixtures, which creates inconvenience in the process.
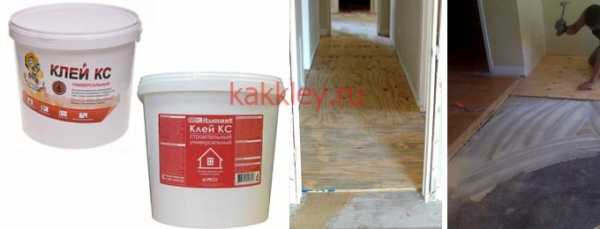
Epoxy adhesive for plywood on concrete floors also consists of two components that must be mixed before laying. Complete drying occurs in 4 - 5 days, but you can walk on the plywood surface in a day.
Read the topic: how to properly lay plywood on a concrete floor.
When laying, harmful substances are also released into the air (due to the alcohol base, the smell is saturated and sharp), so you need to work in accordance with safety precautions. Safety goggles, gloves and a respirator must be present, regardless of what glue you glued the plywood to the concrete floor.
But there are some general rules:
- First, the concrete must be cleaned of the remains of construction debris and other contaminants (if necessary, vacuum or wet cleaning).
- It is advisable to prime it before work - this will reduce the consumption of raw materials and improve adhesion to the surface. For these purposes, both a primer (ordinary or water-repellent, for damp rooms) and the glue itself are suitable. It must be diluted and applied in a thin layer to the prepared surface.
- Although additional fastening requires only PVA and its water-based analogs, when working with the rest, for better adhesion, it is also advisable to press the sheets with something to the floor (put under pressure) until completely dry.
- It is best to cut the sheets into 0.5x0.5 squares, so they will fit better without creating cavities in uneven areas. Such squares are laid in a checkerboard pattern, or simply with an offset.
- A technological gap of 2 - 5 mm must be left between the sheets.
- Depending on the condition of the surface (cracks, irregularities, dirt) and the selected type of glue, the consumption will be 0.5 - 1.5 kilograms per square meter.
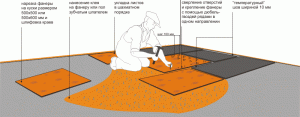
Laying plywood on a concrete floor
On the PVA label they often write “consumption from 0.25 kilogram per square meter”, But do not be hopeful. With this type of glue, it is necessary to cover not only the concrete base, but also to apply it to the sheet. Therefore, when calculating the consumption, the numbers indicated on the label should be multiplied by two.
How to use?
After choosing and buying glue, you need to decide on the type of connection. The gluing technologies here will differ slightly in each specific case. Let's take a look at some of them.
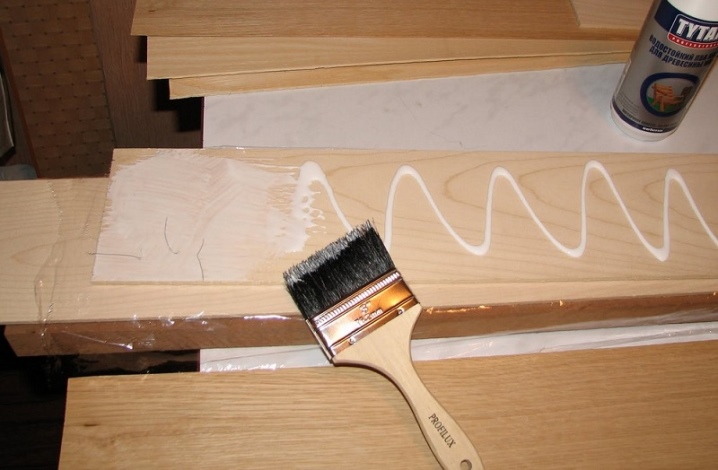
Bonding plywood sheets to each other
In this case, the plywood can be glued or spliced.
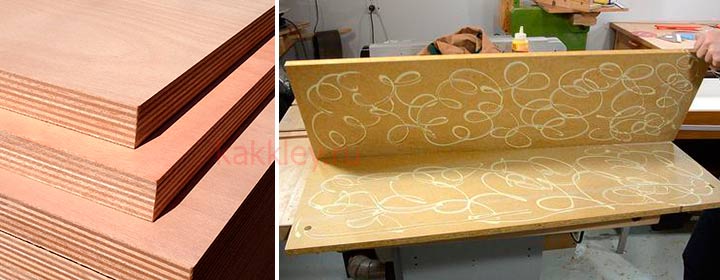
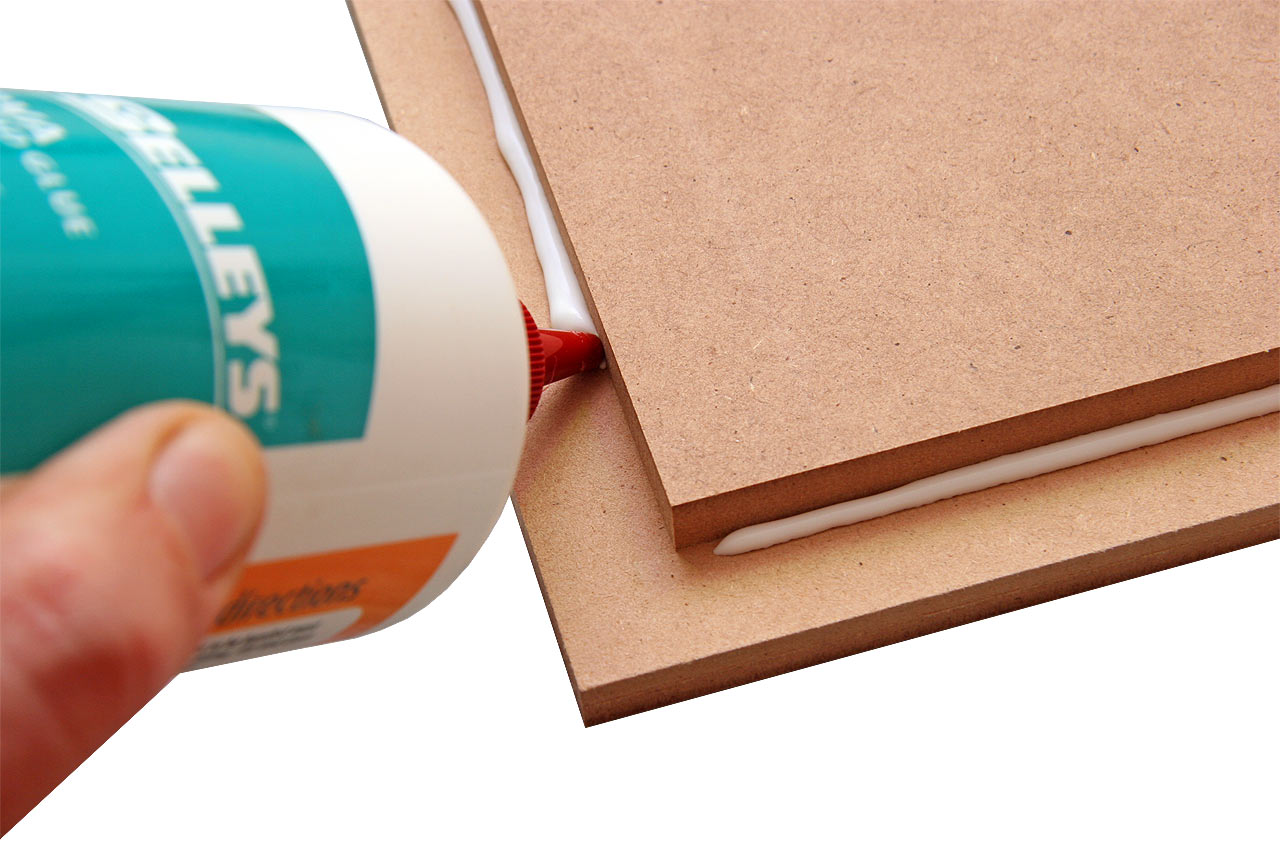
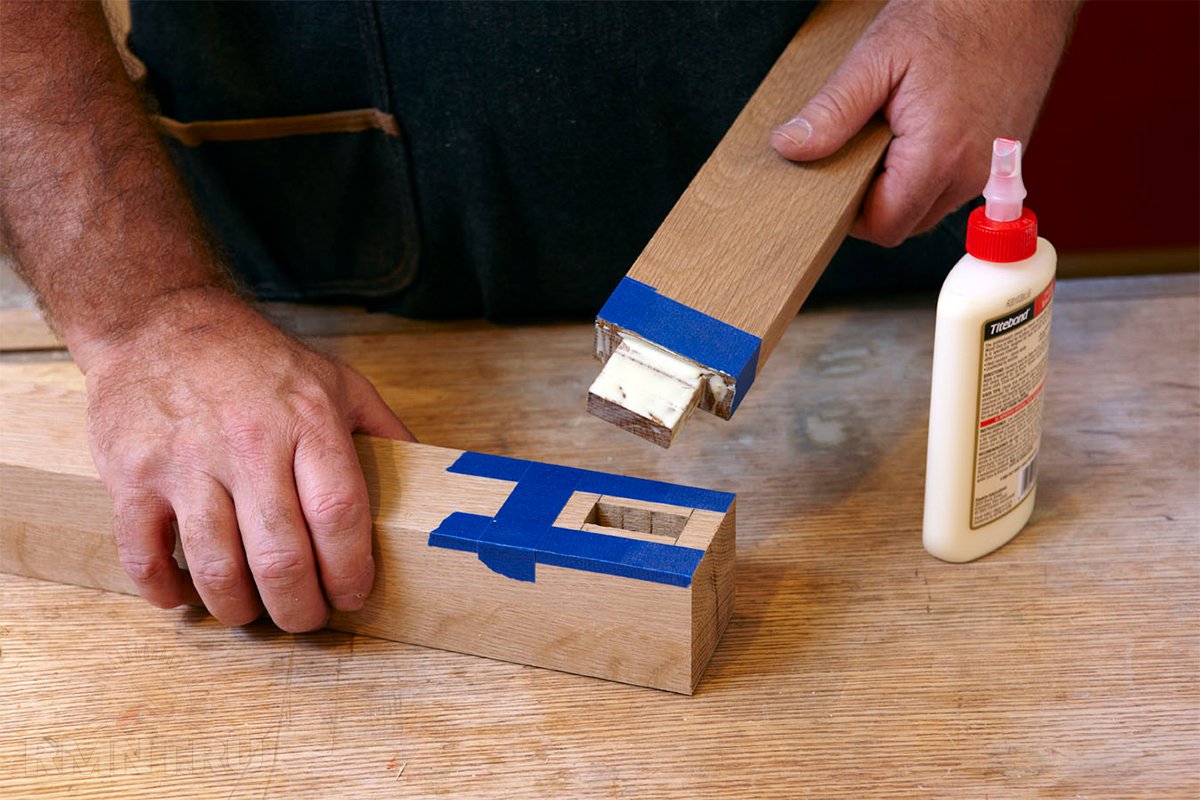
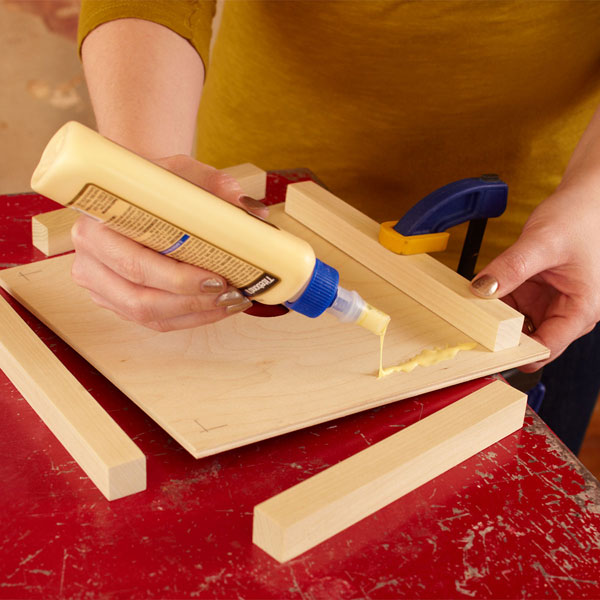
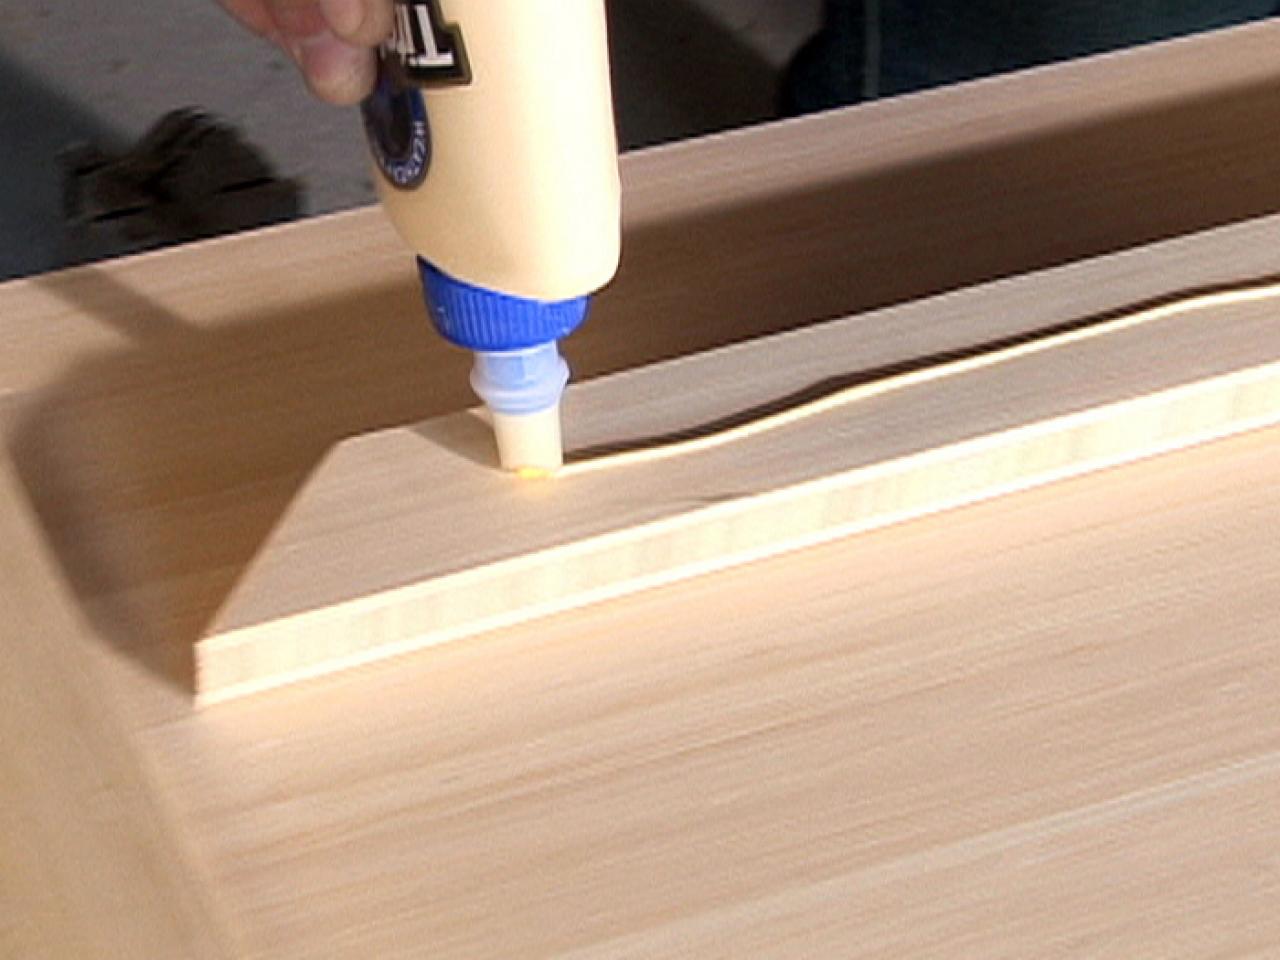
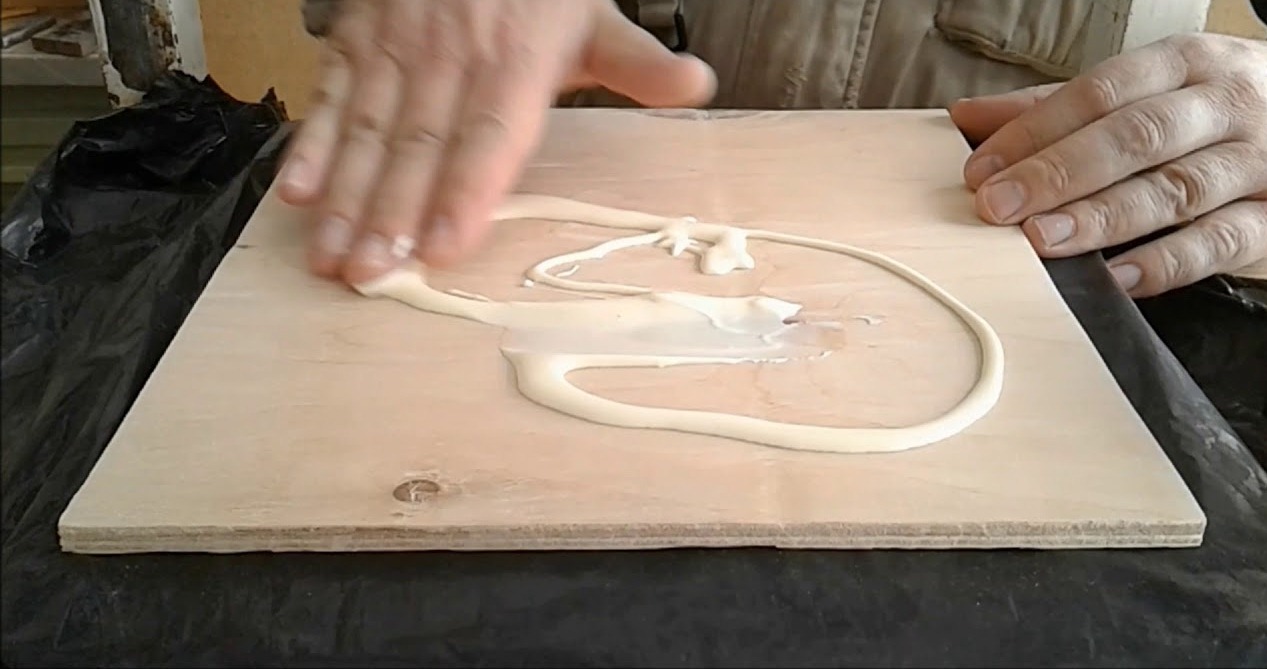
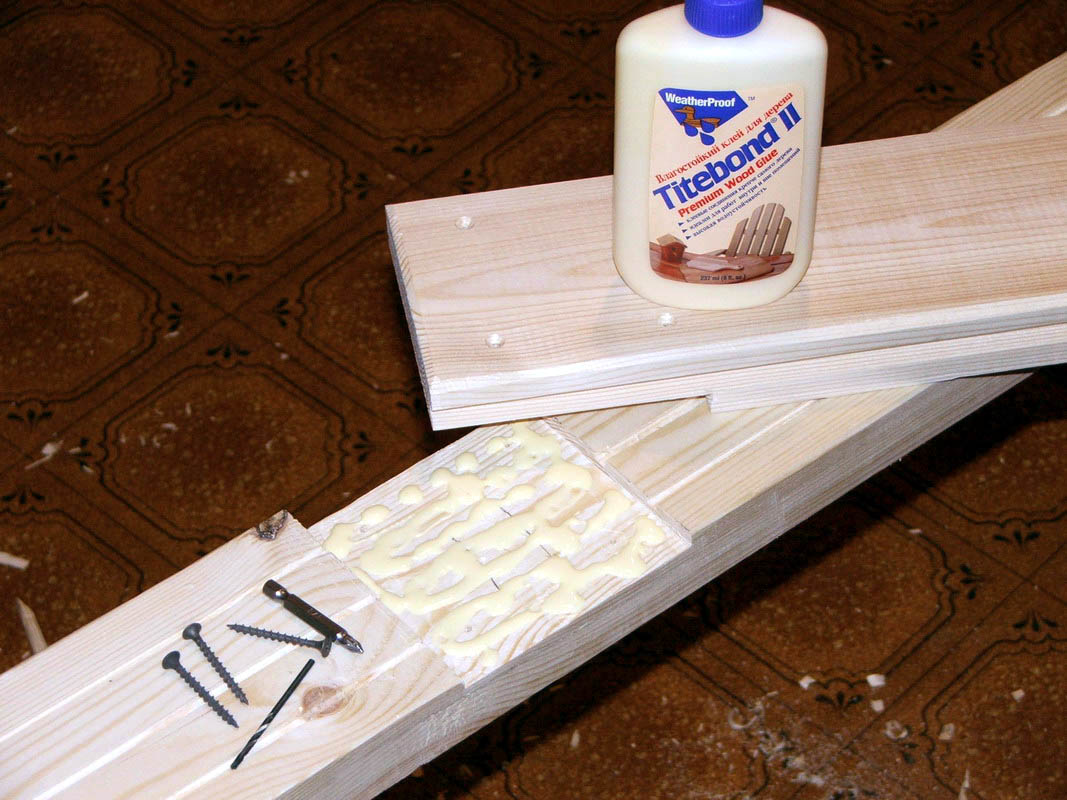
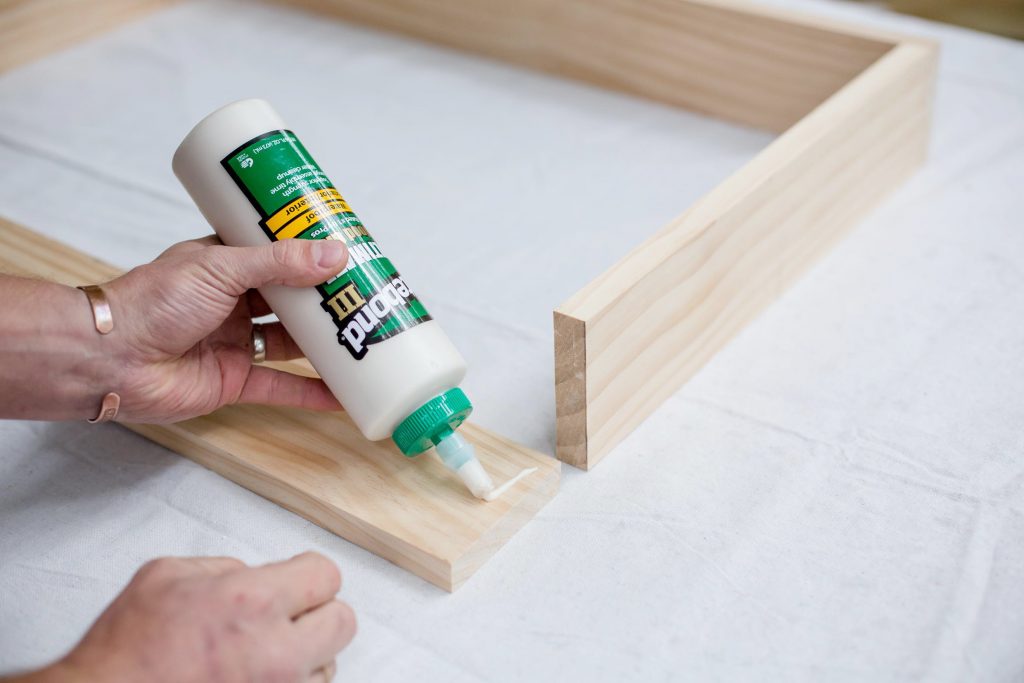
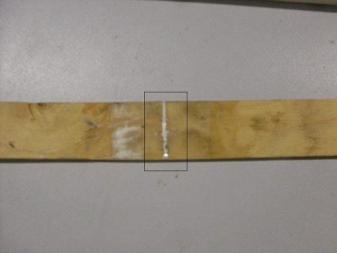
When glued, a ledge is formed at the junction of two sheets. The joints are cleaned with sandpaper, dust is removed and degreased. Both sheets are greased with glue according to the instructions. If necessary, withstand time. Then the surfaces are tightly squeezed together. If necessary, fasten with clamps or hardware until the adhesive dries.
Splicing is used in cases where the seams will not be subjected to serious stress in the future. The ends of the plywood are sanded and glue is applied. After joining, the seam is again lubricated with an adhesive and covered with fiberglass, after which it is sealed with a roller.
When the glue is completely dry, remove excess glue. The fiberglass is left to enhance the strength of the joint.
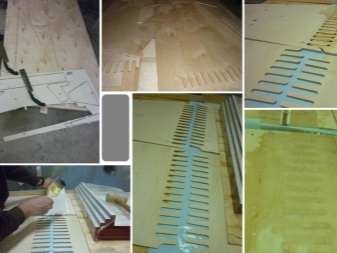
When splicing, you can use another method. The sheets are laid on top of each other, a "mustache" is made with a jointer (their length is approximately equal to 10 sheet thicknesses) along the edge at an angle. This is followed by grinding, degreasing surfaces, applying glue. The joints are compressed and fastened with hardware or with clamps until dry.
Plywood with wallpaper gluing
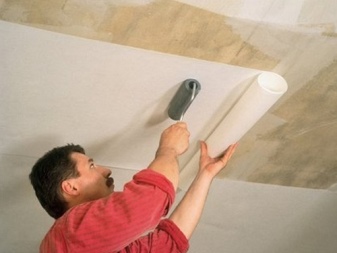
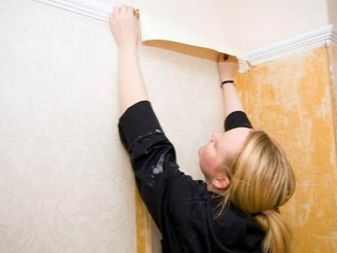
In this case, the best option would be to use moisture resistant plywood. The usual one will need to be treated with linseed oil and paint. When gluing wallpaper to plywood, water and water-dispersive types of glue are used.
In this case, it will be difficult to create a perfectly flat surface. The joints of plywood sheets must be sanded, puttyed, then treated with epoxy or acrylic paint. Use masking tape around the edges of the sheets.
Pasting is carried out necessarily taking into account the type of wallpaper.
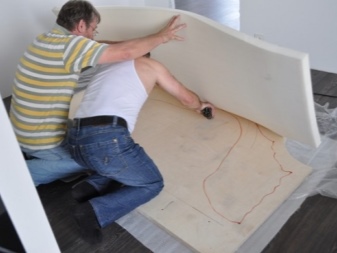
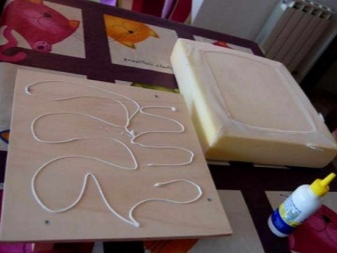
Bonding foam rubber to plywood
Plywood is often used in furniture manufacturing. When gluing it with foam rubber, styrene or neoprene adhesives, as well as dispersion ones, are most often used.
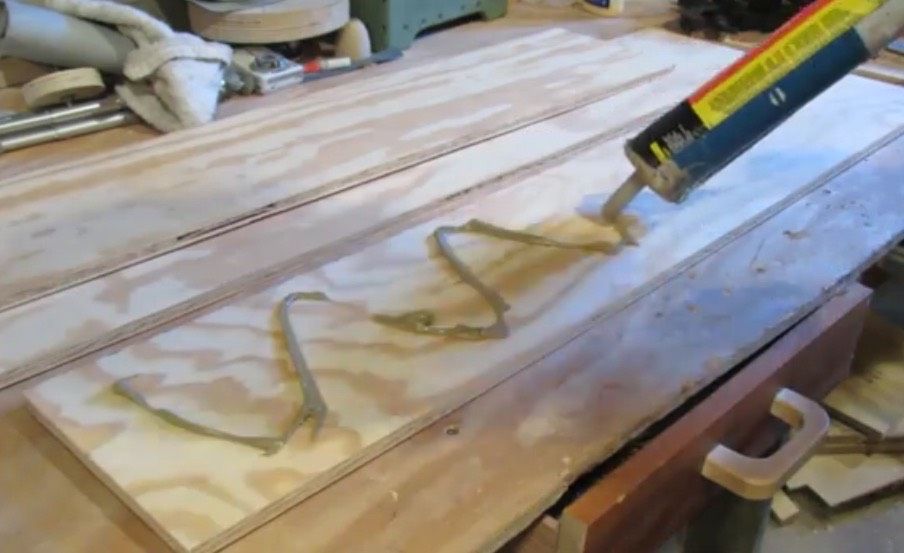
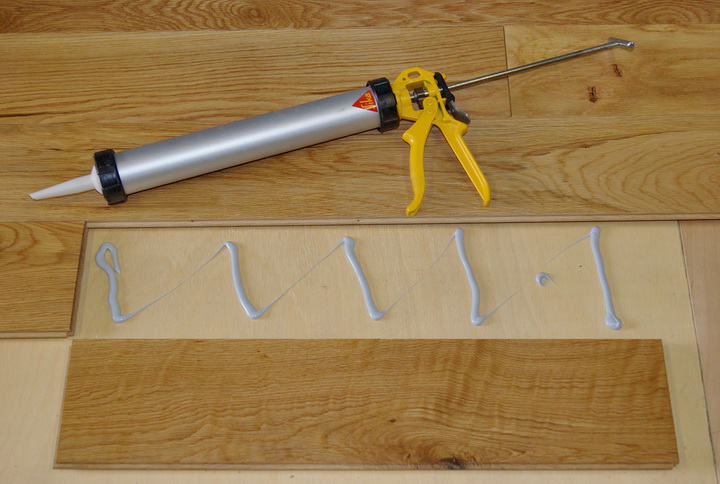
Glue is applied with a gun or brush
It is important to adhere to the drying time of the glue, which is indicated in its instructions. Glue is applied to one of the surfaces, and the parts are tightly pressed against each other
When using some solutions, the surfaces after compression are ironed with a hot iron through the canvas.
Thus, a properly selected adhesive composition can greatly facilitate the work with the material.Many experts also recommend priming the surface prior to bonding. Primer application improves adhesion and reduces adhesive consumption.
You can learn how to properly glue two sheets of plywood with PVA glue from the video below.
Advice for the selection of glue
How to glue the laminate and how to choose the right material? It is important to take into account the main criteria by which all such compositions are produced. They must be resistant to moisture, otherwise gluing will not make sense.
Also, the adhesive is required to provide excellent adhesion to the substrate. Below are other rules for choosing a tool.
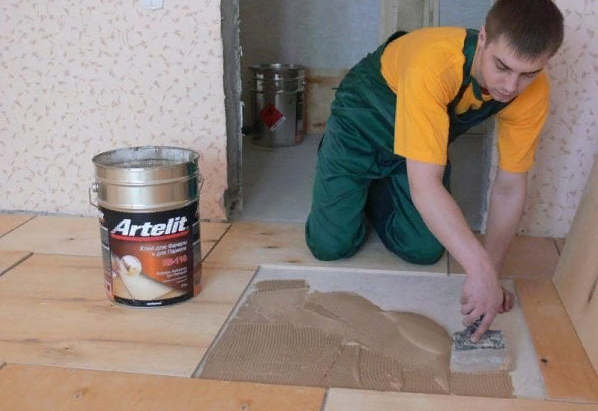
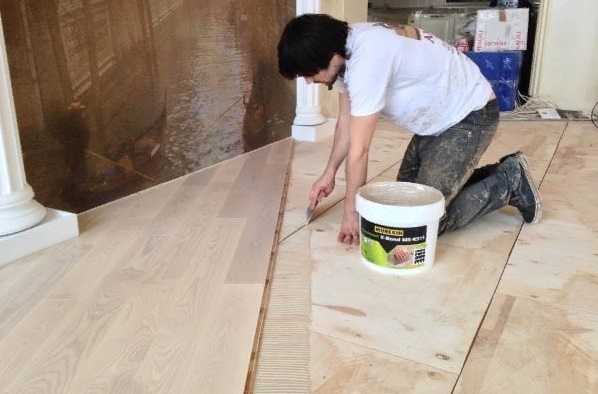
Laminate base
You can glue the laminate board to concrete (screed), plywood, OSB. Depending on the type of substrate chosen, you should look for an adhesive composition. It must match the base material, providing a sufficiently strong grip.
Appointment of the room
The load on the floor must be taken into account when choosing an adhesive. If the laminate is installed at home, the loads are moderate, but in shopping centers, shops, offices, the special hardness and strength of the adhesive is important.
Terms of use
In addition to the load, it is necessary to provide for the frequency of contact with water. Sealing joints and the ability to withstand certain operating conditions are also written in the instructions for the glue. These characteristics should not be neglected.
Resistant to temperature fluctuations
Typically, laminate is used only inside heated rooms, at subzero temperatures it is not used. Therefore, temperature fluctuations are taken into account mainly when installing underfloor heating. But the use of the glue method for underfloor heating seriously limited and almost never practiced, only a professional can perform such a task.
Curing time
The shorter the curing time, the more difficult the work of the installer. If a dry film forms on the surface of the compound, the adhesion to the surface is impaired. A longer time between application and curing will be more convenient for the master, and will also provide high quality and good adhesion.
Therefore, it is not worth striving for a minimum drying time; it is better to wait a sufficient period of time before starting to use the coating.
Right angles are the main rule of assembly
Self-made mounting squares will help to expose right angles.
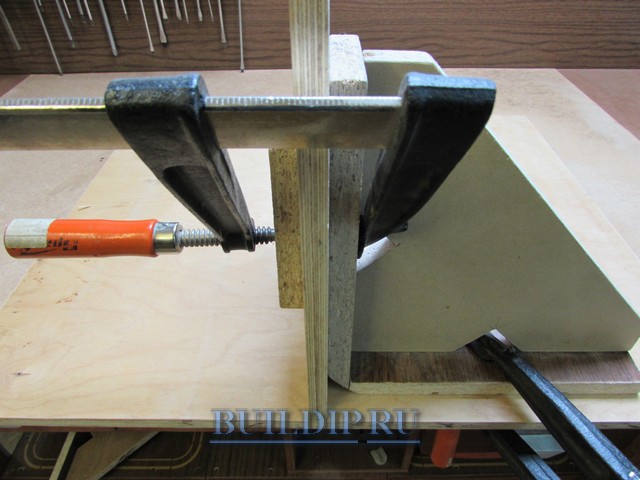
The use of mounting angles for joining plywood parts.
DIY several sets of these simple fixtures of different sizes from pieces of chipboard and use them when assembling large and small products.
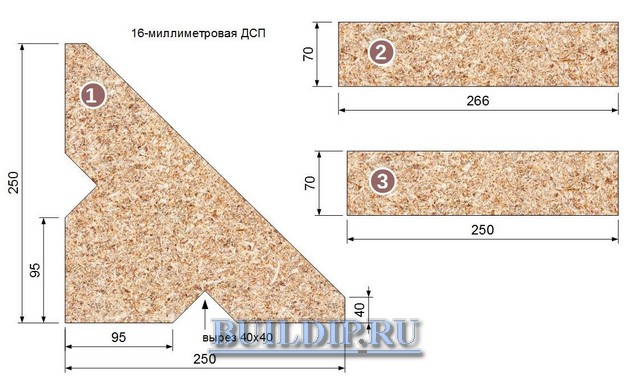
Mounting angle details: 1 - corner; 2 - long bar; 3 - short bar.
Saw a square workpiece with dimensions of 290x290 mm diagonally.
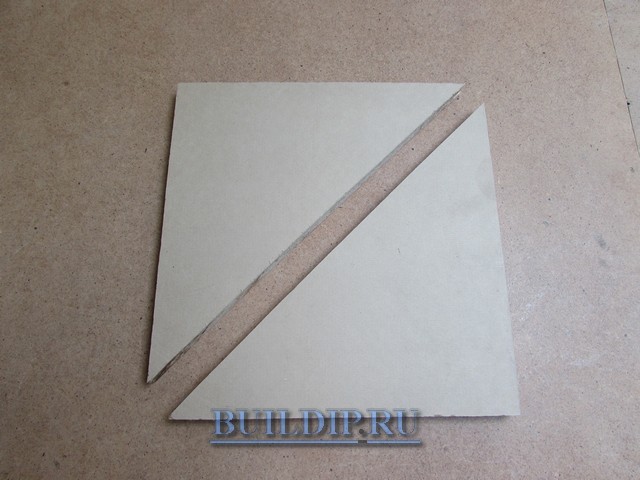
Manufacturing of mounting angles for joining plywood parts.
Mark the cutouts for the clamps on the corners and cut out the excess material.

Prepare the side strips and make countersunk holes in them.

Secure the corner to the workbench by placing a suitable thickness of shims under it. Install the screws by drilling the pilot holes.
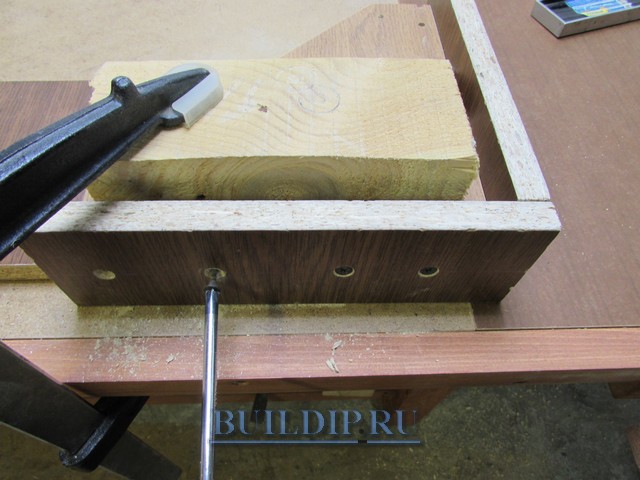
Cut a right angle at the junction of the planks so that during assembly it does not interfere with the tight fit of the parts.
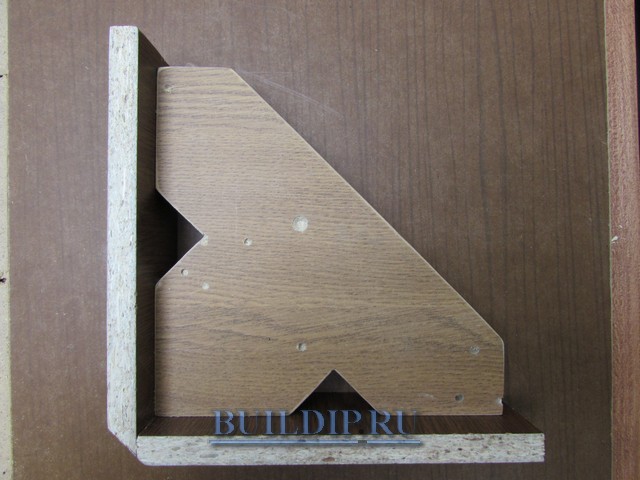
A ready-made mounting bracket for joining plywood parts.
You can also make a mounting square with your own hands from thick plywood. Side strips are not needed here, the strength of the material is enough for fixing with clamps directly to the end of the device.
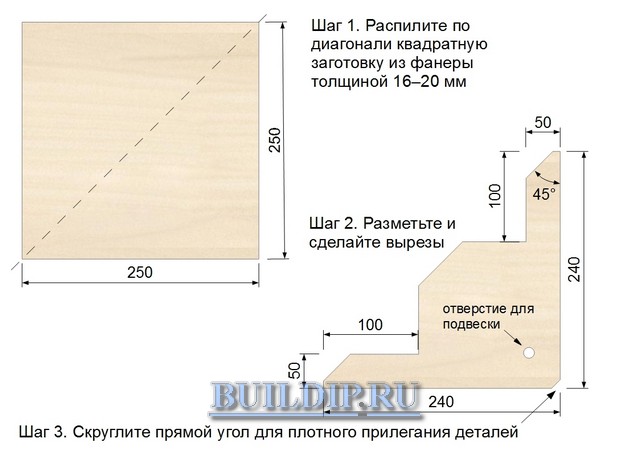
Drawing of a plywood mounting square.
Types of glue for fixing plywood to the floor
Water-based glue
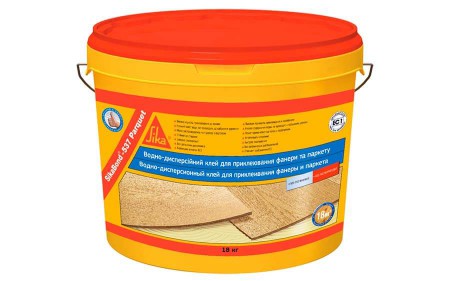
Water-based adhesives are the answer to the question of whether plywood can be glued to a wooden floor without emitting strong odors and maintaining an environmentally friendly atmosphere. Therefore, it is recommended for residential use.
It is best to glue them to moisture-resistant wood.
But water adhesives also have disadvantages:
- they dry for a long time;
- need additional fastening with dowels.
If communications are laid in concrete, and there is no diagram of their location, then the use of nails or dowels will have to be abandoned so as not to inadvertently damage the electrical wiring. Otherwise, the floor will have to be opened with diamond cutters, the damaged wire should be corrected and concreted again.
The main types of water-based adhesives:
- polyacrylate;
- latex containing artificial rubbers;
- PVA (polyvinyl acetate emulsion in water);
- contact compositions.
One-component adhesive
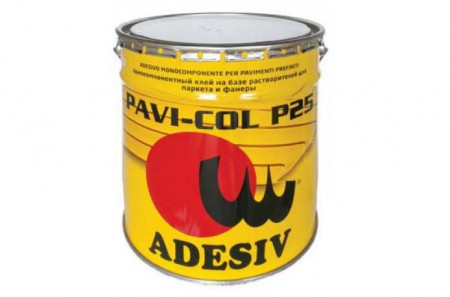
One-component plywood floor adhesive contains a non-flammable solvent, but the screed must first be primed when using it. Dowels for intermediate fixing are also needed here.
Toxicity requires good room ventilation and the use of a respirator.
V composition of one-component polyurethane adhesives in addition to the solvent and polymer, there is a hardener - isocyanate, adhesion promoters and other additives.
This glue has a number of advantages:
- perfectly penetrates into voids and cracks, which allows you to increase the solidity of the subfloor;
- after drying, the glue remains elastic, therefore it does not crack during operation;
- used for plywood made from wood species prone to deformation from high humidity.
Two-component adhesive
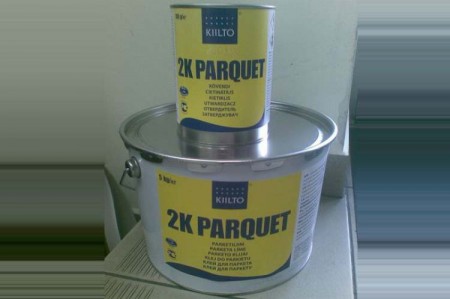
Any two-component glue for plywood on a concrete floor, thanks to a fast reaction (hence they are called reactive), sets very quickly and gives a durable and very strong seam. It is much easier to buy glue from two components than to glue it, because immediately before use it is necessary to mix the resin with the hardener in the right proportions.
Work with such glue should be in personal protective equipment.
The price of glue for plywood on a concrete floor, consisting of two components, is significantly higher than that of one-component adhesives, but there are also enough advantages:
- no intermediate fastening with dowels or self-tapping screws is required, which saves effort, money and time;
- after the glue has quickly hardened, you can start grinding the chipboard surface much earlier;
- provides the highest bond strength.
Video on how to glue plywood to a concrete floor with two-component glue:
Main varieties
When choosing an adhesive for splicing plywood, it is necessary to take into account the requirements for such compositions:
- ease of use;
- viscous or semi-viscous consistency;
- fast hardening;
- lack of volatile toxic substances in the composition;
- resistance to moisture;
- the presence of antiseptic properties (not exposed to bacteria).
> Any formulation is used for indoor plywood. For splicing material used outdoors, synthetic glue is suitable, for moisture-resistant boards - based on urea resin.
Water or water-dispersive
Among such adhesives, PVA is more popular. These products are based on toxic substances and components that emit unpleasant odors. The glue gains sufficient strength in a day, but it takes 2-3 days for complete hardening. Due to the fact that the basis of PVA and other similar products is water, these products cannot be used for gluing plywood sheets with a porous surface that absorbs moisture.
Joiner
The basis of the carpentry compositions are animal fats: casein and albumin. Both products are available in the form of a dry mixture, which must first be diluted in water. Albumin compounds are used for hot gluing, due to which the created joint gains strength faster.

Based on urea and phenol formaldehyde
Adhesives on this basis contain natural resins that are less toxic than epoxy ones. Compounds of this type are used exclusively for splicing wooden products.Glue with such a base creates a transparent seam, therefore, such products are used to repair decorative elements.
Epoxy and polyurethane
Such formulations are based on solvents containing toxic substances and emitting a pungent odor. Therefore, it is recommended to work with such products in ventilated rooms or outdoors.
Epoxy adhesives are classified into one- and two-component. Formulations of the first type are immediately ready for use. Two-component products consist of an adhesive and a solvent, which must be mixed before starting work. Such compounds are used for quick splicing of various materials, including wood.
Sequence of work
Before gluing the wallpaper, you need to properly prepare the surface of the walls:
During the fastening of the sheets, the self-tapping screws should literally be sunk into the wood so that the caps in no case protrude above the surface. After that, all fasteners are treated with special anti-corrosion compounds, otherwise rusty spots will quickly appear on the surface of the canvas.
Plywood must be covered with a layer of primer after laying. The composition must contain special additives against mold
This is especially important for vinyl wallcoverings.
The joints between individual slabs must be sealed with putty, otherwise they will be visible through the canvases, especially paper ones. The same applies to any defects, including microcracks, knots, nail marks.
After the putty dries, the surface must be sanded and primed again.
Scheme of the procedure for gluing wallpaper.
It is best to use non-woven wallpaper for the plywood wall. They perfectly mask various defects, since the canvas is quite thick.
How is plywood prepared? Plywood after wall cladding has seams between individual slabs and fasteners. All such joints and fasteners must be repaired, otherwise they will be clearly visible. If rough plywood was used for work, then the walls are first sanded and then cleaned of dust. Then they are covered with a moisture-resistant primer, all joints and fasteners are putty.
When the mixtures are dry, it is necessary to sand the surface again so that it becomes perfectly flat and smooth. If non-moisture-resistant plywood was used for wall cladding, it is recommended to paint the wall with special alkyd enamel, water cannot be used. If waterproof plywood was used for work, then after all the mixtures have dried, the walls must be treated with an ordinary vacuum cleaner, which will collect all the dust so that it does not interfere with the adhesion of the glue.
Bonding Basics
Production technology
Speaking about gluing plywood sheets, most often they mean either the production technology of the material itself, or the connection of several fragments in the manufacture of various products
We will talk in detail about the splicing of sheets a little below, and in this section we will try to pay attention to the intricacies of the production process
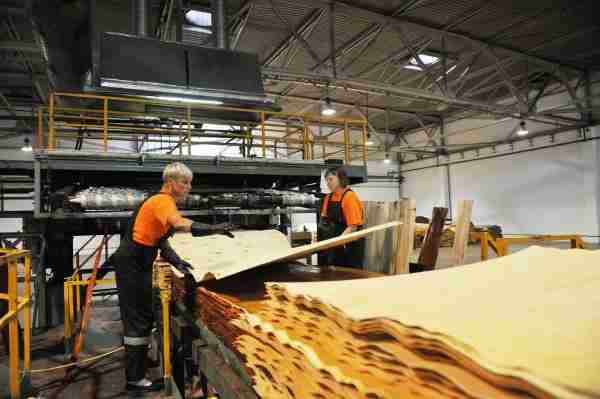
Most often, veneer gluing for plywood production is carried out using a hot dry method. The following technological schemes are relevant today:
- The connection of the prepared veneer plates is carried out using a press while maintaining a constant pressure in the working gap. This technology is used for the production of slabs, the thickness of which does not exceed 8 mm.
. - Alternate gluing of veneer at constant pressure with heat treatment. Thicker plywood is made by alternate joining - usually from 10 to 18 mm
. - Multi-stage gluing of workpieces with cooling of the press after each operation makes it possible to build up a significant thickness of the plate. This technique is used for the manufacture of a sheet with a thickness of 20 mm or more.
.
However, these technological schemes are of interest only for those who plan to engage in the industrial production of veneer panels.
For us, first of all, it will be important to know how you can connect several pieces of plywood with your own hands, without the use of presses and thermostats.
Used adhesives
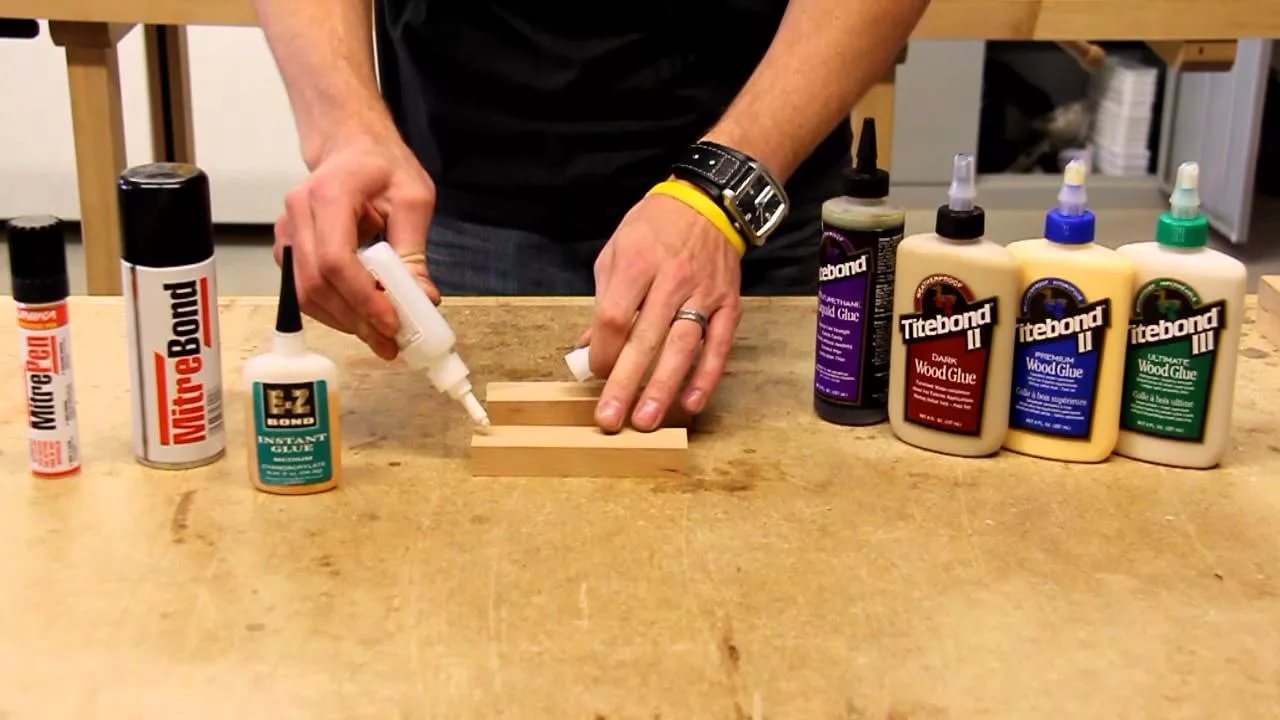
When choosing how to glue plywood, you should carefully study all the available options. There are many formulations on the modern market, and therefore it is worth choosing exactly the one that will best meet our requirements.
The bulk of plywood adhesives is presented in two categories - protein (animal) and synthetic. We will talk about the most popular varieties from each category. 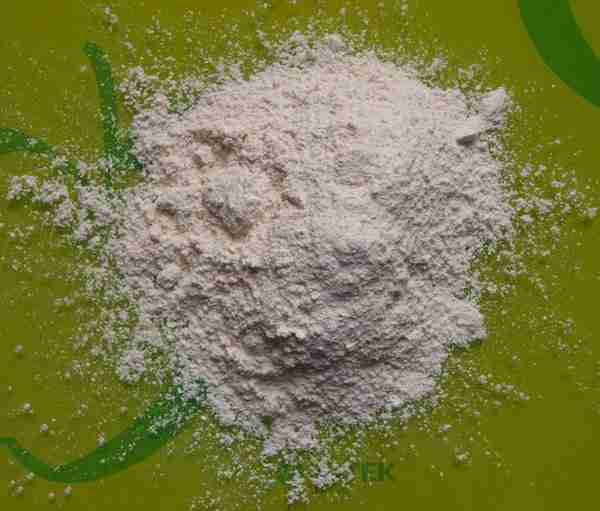
Protein groups include the following groups:
- Casein
- are made from cottage cheese that has passed the degreasing procedure. Adhesives are sold in the form of a dry powder, dissolve in water and mix thoroughly before work. - Albumin
- made from protein obtained from animal blood. The dry component is mixed with water in a ratio of 1: 9. The glue curls up at a temperature of 70 0 С, therefore albumin compounds are used for hot gluing. -
Combined
- combine components of casein and albumin compositions.
Synthetic adhesives are mainly represented by resinous substances. The most commonly used:
Urea-formaldehyde resins (KF-MT, KF-Zh, etc.).
They provide a colorless seam, therefore they are practically irreplaceable in the manufacture of decorative elements that imitate natural wood.
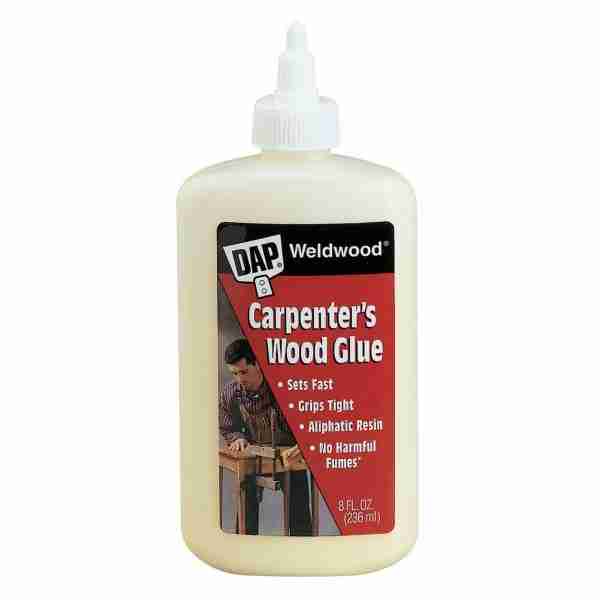
Almost any glue for gluing plywood includes:
- The main adhesive.
- Solvent.
- The filler is wood dust or flour.
- Additives that control the cure rate and ensure maximum adhesion.
- Plasticizers.
- Antiseptics.
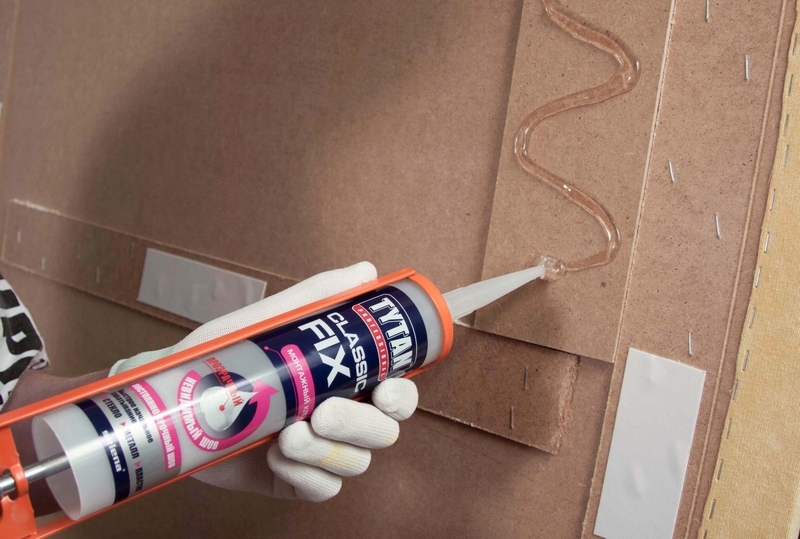
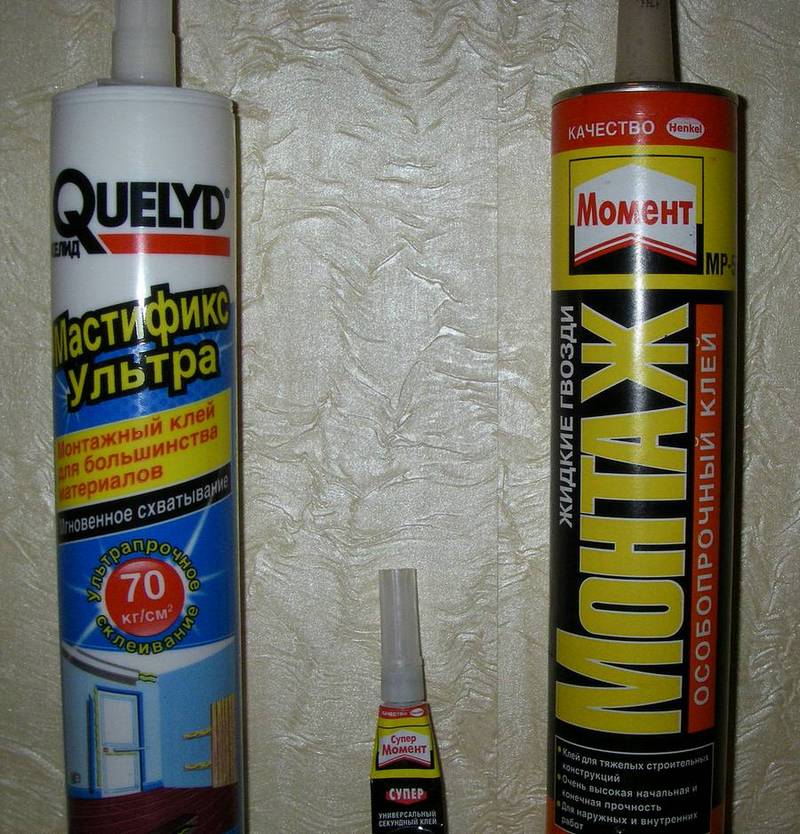
Substances such as acids or ammonium chloride are used as hardeners, and tannins (formalin, copper salts, etc.) are introduced into the composition to ensure resistance to wetting. 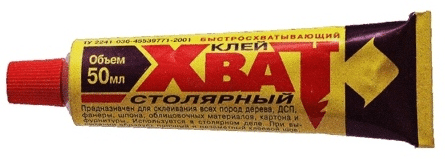 Photo - fast-hardening composition in a tube.
In order for the glue to retain its adhesive properties for the longest possible time, either ethyl alcohol or acetone is used to dissolve the adhesive component.
Adhesive requirements
Many joining technologies, such as bonding on plywood with a mustache, can only be realized if high quality adhesives are used.
It is for this reason that the following requirements are put forward for most types of plywood adhesives:
- High quality joining of materials.
- Ease of use at home.
- The absence of volatile toxins in the finished product after the composition has dried.
- Resistant to moisture.
- Not susceptible to degradation by bacteria and fungi.
It is very important that the adhesive during application does not destroy the wood veneer or change its color. The democratic price is also important, since when working actively with plywood, the glue is consumed quite quickly. The democratic price is also important, since when working actively with plywood, the glue is consumed quite quickly.
The democratic price is also important, since when working actively with plywood, the glue is consumed quite quickly.

