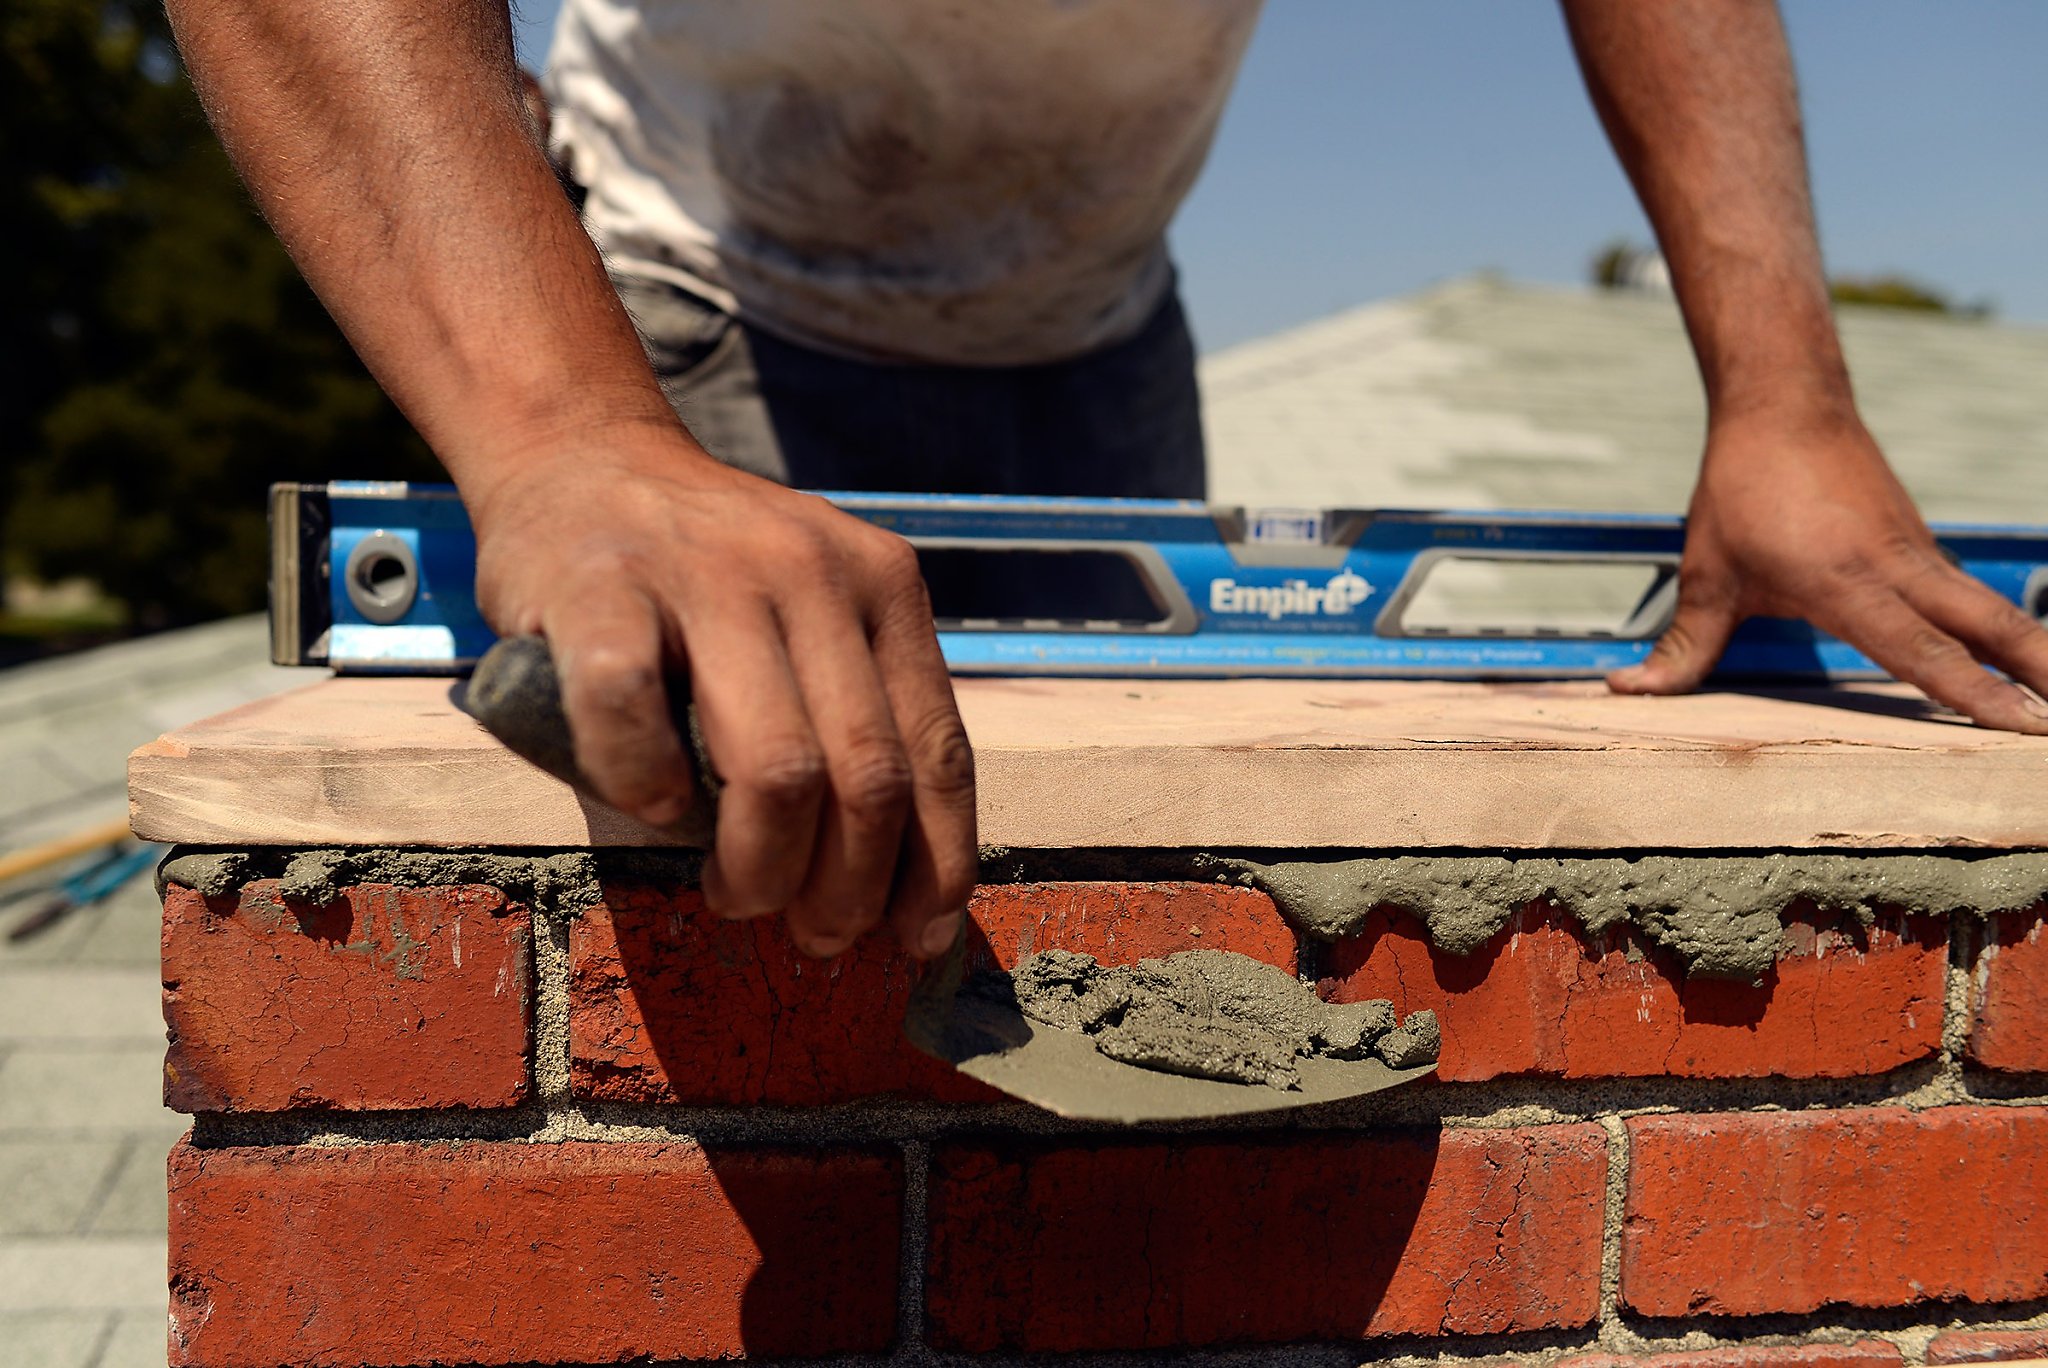
How to choose a brick?
Bricks come in different degrees of strength: M-75 and M-100 are weak, M-125 and M-175 are medium, M-200, M-250 and M-300 are strong. For private construction, the M-175 is enough. The material is also distinguished by frost resistance, which is designated by the letter F and a number after it, for example F25.

The number is the number of freeze cycles that the material will withstand. If the house is being built in northern regions, the higher the number, the better.

In building stores, bricks are divided into two broad categories: building and facing. The first is the carrier material. Facing blocks are needed for beauty, they are more expensive and have a more neat look.

Masonry mortar
The brick is placed on a cement-sand mortar. Cement is used not lower than M400, sand is clean, ravine. The proportions for the specified brand are 1 to 4 (for m500 - 1: 5). Kneading is done manually or with a concrete mixer, but the order does not change.
First, sand is sieved, a binder is added to it, everything is mixed in a dry state until a uniform color is achieved. Then add water. Its amount is 0.4-0.6 parts, but look at the plasticity of the solution. It is more convenient to work with a plastic mortar than with a hard one, but when laying hollow bricks, in this case, the consumption of the mortar increases greatly: it fills the voids. In this case, it is more practical to make a hard solution.
The bricklaying technique depends on the consistency of the mortar.
To improve plasticity and more convenient work, lime, clay or a liquid detergent are added to the composition (you can use hand soap, available in large flasks). The amount of additives is very small - no more than 0.1 part, but the characteristics of the solution improve significantly: it is easier to lay, it does not exfoliate longer.
It is worth warning right away: do not mix large volumes at once. The batch must be used within two hours. And in the last half hour it can be difficult to work with it: the separation of water may begin, or it may begin to set. It depends on the weather conditions and the quality of the cement, on the thoroughness of the batch. If laying bricks with your own hands is your first experience in this area, it will turn out slowly. Therefore, it is better to make small portions of the solution.
Approximate solution consumption
Often, beginners who plan to lay bricks on their own, the question arises: at what temperature can you work. You can work at positive temperatures without special additives. In the best case, it should not be lower than + 7 ° C. This is the threshold at which the cement sets normally. At lower temperatures, the hardening process practically stops, as a result, the mortar can crumble, and the strength of the wall will be low. To lower the bar, there are special antifreeze additives, but the cost of such a solution is already high: the price of these additives is considerable.
Bricklaying - turning up the corners.
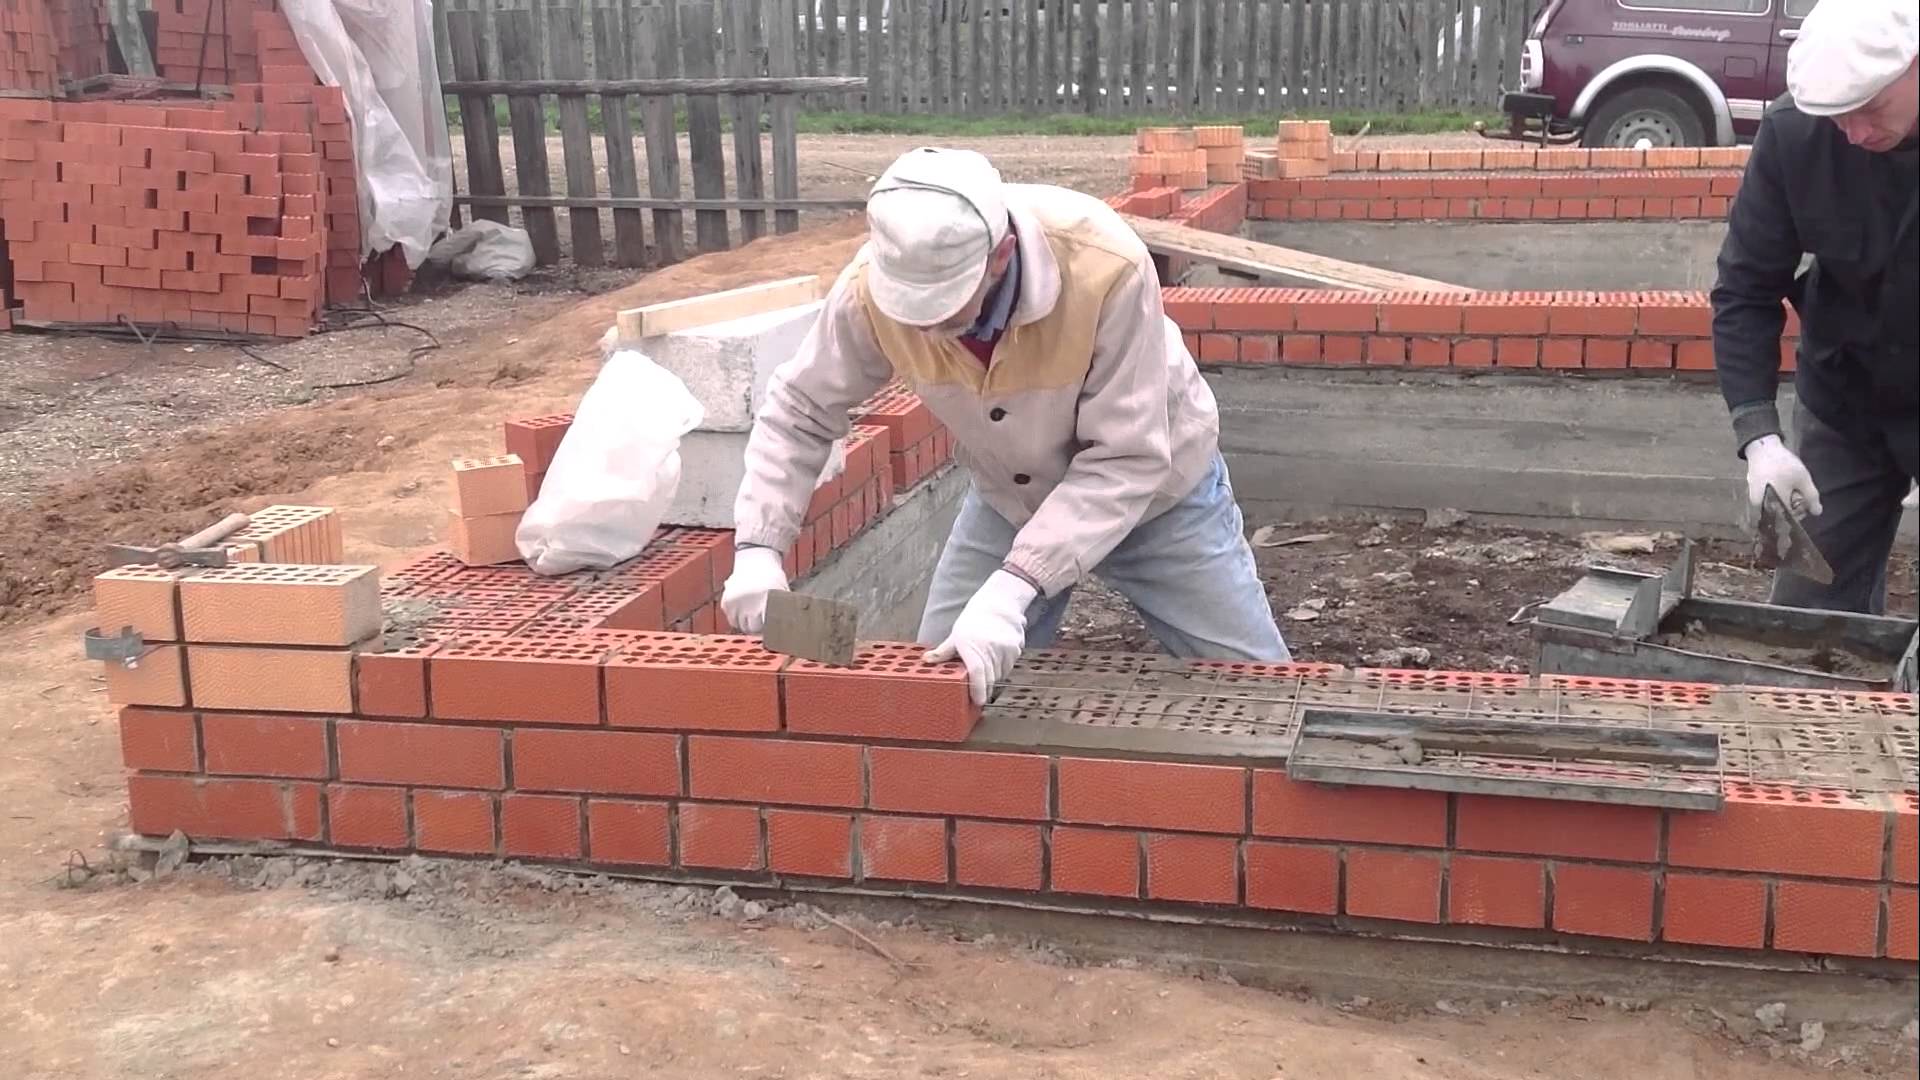
Further, with the help of the previously acquired knowledge, set the corners brick by brick. Do not forget that the quality of the masonry of the entire wall will largely depend on how correctly the corners were set. That is why we recommend using not only an eye, but also other devices that can help in the correct setting of angles.

Check the verticality of the masonry using a plumb line. The plumb line is considered to be a fairly accurate device for checking the verticality of the surface. And it is probably the easiest to use and the most accurate in comparison with the building level, which sometimes gives false indicators. If you have 1-2 rows of masonry, it makes no sense to use a plumb line, since it is quite difficult to determine by eye the divergence from the vertical in such a small area.
In the image, we marked 3 points that are equidistant from the masonry. Based on the fact that the distance on these segments is the same, we conclude that the masonry is laid out exactly vertically. To use a plumb line, you need to have a good eye, because all the distances between the masonry and the plumb line are determined by eye.

In order for the horizontal joints to be the same, and in order to control the horizontalness of the masonry, we recommend using orders. This device will be relevant for those who do not have enough experience in bricklaying. The ordering must be installed strictly vertically and attached to the masonry using U-shaped staples. The distance between the ordering divisions should be 77 mm for a single brick (since the brick thickness is 66mm + 12mm seam) and 100mm for thickened brick (88mm + 12mm).

Fence post laying: basic technologies
Usually, the pillars are 1.5-2 m high and 38 × 38 cm or 51 × 51 cm wide (for three-meter supports). Strength is achieved by the way the bricks are laid. The seam between the bricks (8-10 cm) of the lower row should be overlapped by the surface of the upper brick. Such a masonry scheme ensures that the rows are linked to each other.
Operating procedure
To correctly fold a brick post on your own, you need to perform the following work procedure.
- Laying waterproofing under the support so that it is not saturated with moisture. The wet brick starts to deteriorate. For insulation, roofing material or special insulation with bitumen ("Gidroizol") and mastic are used.
- Each layer is checked with a level. Use the handle of the trowel by tapping it on the masonry. It is necessary to have other devices for laying brick posts - a hammer with a rubber tip and others.
- It happens that a badly rubbed solution drips onto the brick. The material is recommended to be slightly moistened with water. This one makes it easier to clean the bricks.
- After laying out several layers, measurements are taken. By tapping with a hammer, the displacement is straightened (even 1-2 mm). The vertical gaps are filled with the solution.
- The voids between the pipe and the masonry are poured with a solution, if it is large, rubble with sand is interfered with, poured into the voids and fixed with a solution.
Brick pillars for bars
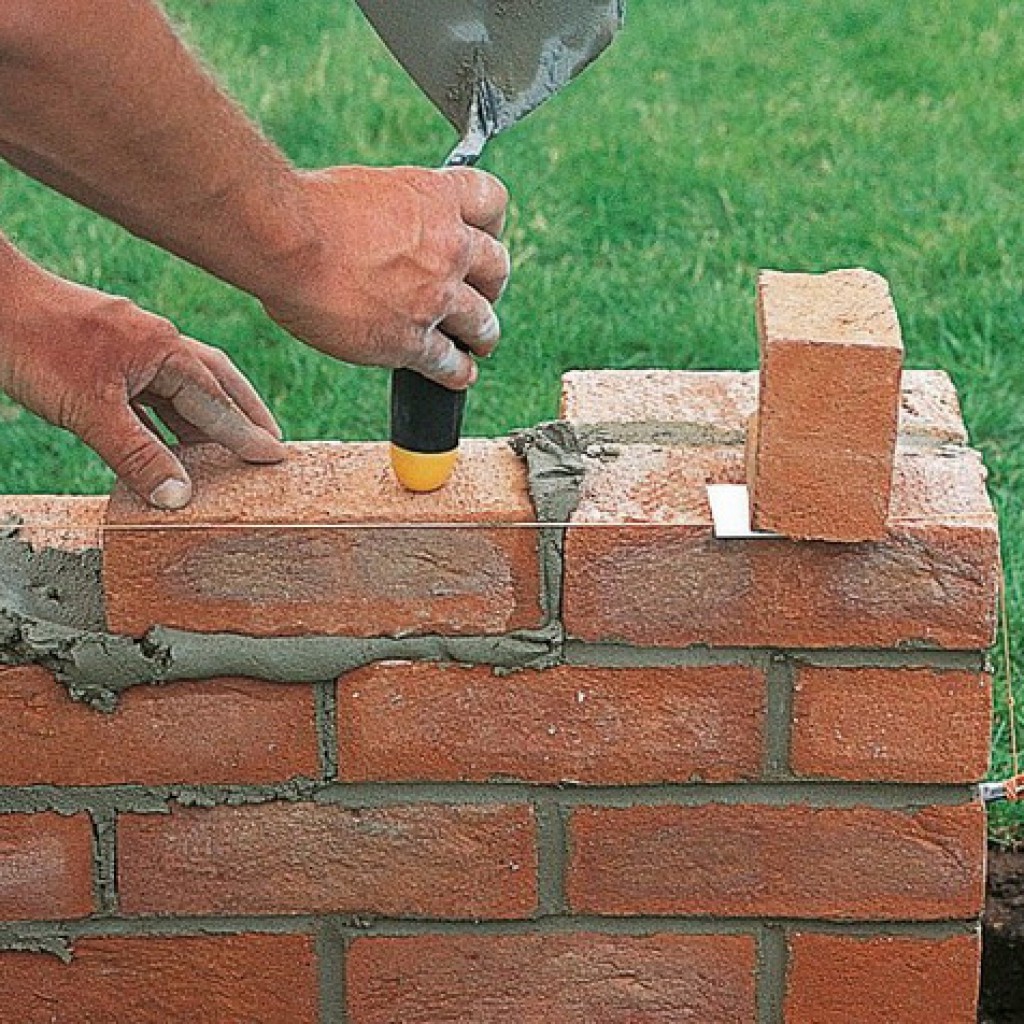
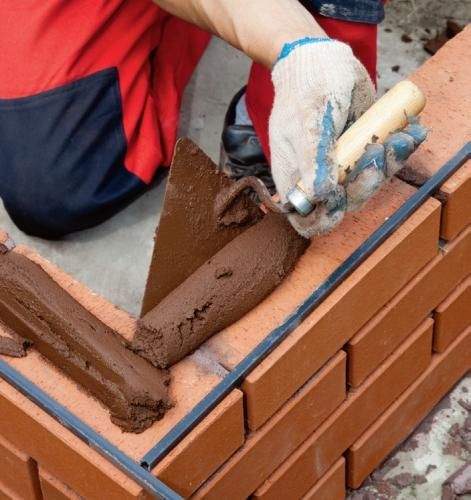
Masonry with rods allows the bricklayer to make beautiful seams, since usually excess mixture crawls out onto the plane of the brick, and the seams are made uneven. The bar (side - from 8 to 10 mm) is cut into pieces that are 10-15 cm larger than the post. The first row is laid, then the rod is laid along the edge. A layer of mortar and bricks of the second row are applied. Metal prevents them from sinking. A trowel is led along the bar, cleaning off the excess. Bricks are checked by level. The same method is used when laying the bar on its side. The solution is applied with a trowel, the excess is also removed, a level is applied, the workpiece is removed. The bar is removed, the seam is adhered to with a trowel.
Installation of mortgages for fastening the intake sections
The master often overlooks the detail - what to attach the fence to. For fastening to the pipes in the middle of the pillar, mortgages (corner, pins and others) are welded at the same height so that the crossbars are level. For a solid brick wall, wire loops 8 cm thick are used for every fourth row. In the case of profiled sheet and wood, a cut is made in the brick and metal plates are attached that can withstand the weight of the canvas. Logs are welded onto the mortgages for fastening the fence.
Characteristics of bricks, varieties
In order for a wall or oven to serve for a long time after laying with your own hands, you need to know what kind of material is used, to choose it correctly. Apply a suitable ligament pattern. A brick block can contain several components that affect its characteristics.

At the same time, clay or sand is the main component, and lime and other additives are additional, increasing the strength, frost resistance and other properties of the material.

Any bricks, regardless of type, have standard sizes. They can differ in thickness and are:
- Single (standard) - 250x125x65;
- One and a half - 250x125x88;
- Double - 250х125х138

As for the types of bricks, there are only 2 of them:
- Silicate (sand based);
- Ceramic (clay-based)

Both types of bricks can be hollow, which makes them less durable, but increases the ability to retain heat.

Also, according to the strength of bricks, they are divided into classes:
- Weak;
- Average;
- Durable.
Necessary additional tools
Auxiliaries will be needed if you want to create an atypical seam shape. It will not work to make such a line with the help of joining lines alone. The exact set of tools is determined by the technical condition of the brick wall, but the most massive set will consist of the following assistants:
- hammer;
- concrete mixer;
- chisel;
- electric drill;


- triangular trowel;
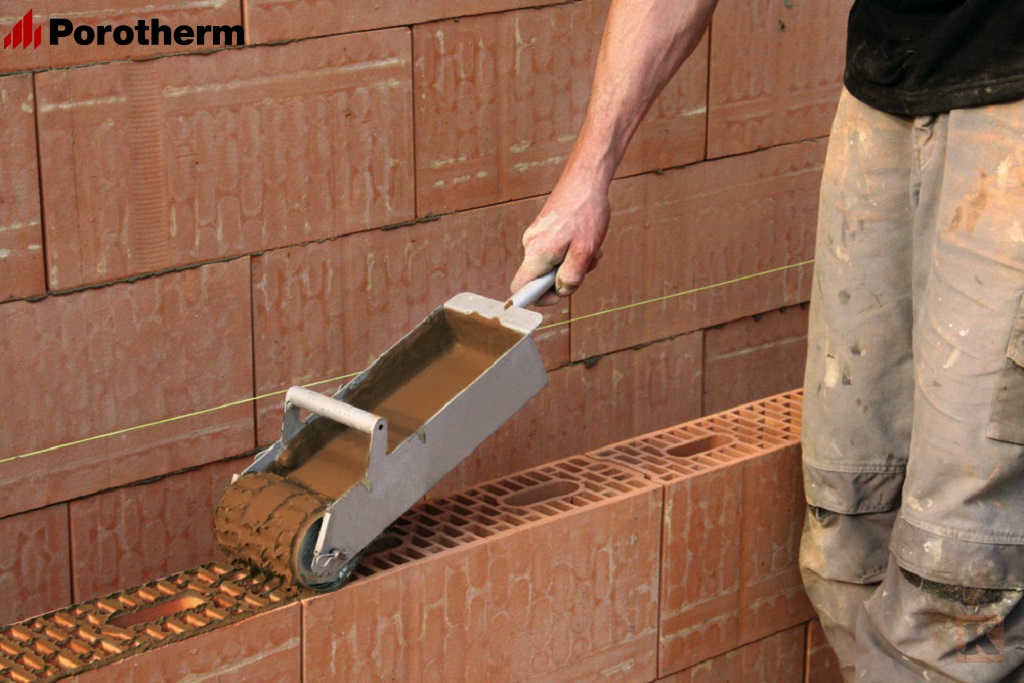
- paint brush with soft bristles (or roller);
- brushed;
- brush with hard steel bristles.


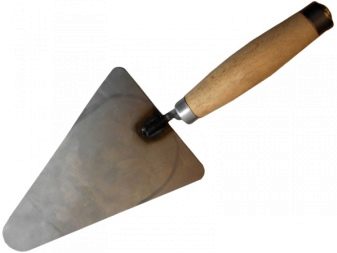

A chisel, which is hit gently with a hammer, will help clear the old mortar out of the joints. If there is no such tool, you can replace it with a hammer drill.
Making grout most often requires a drill and a mixing head. This component makes it easier to stir the solution.
A concrete mixer is not particularly needed if the scale of the work is small. The trowel helps both when removing excess mixture and when applying it. Wall cleaning is carried out when the jointing and grouting itself has already been completed. A flute brush is often used to wet the stripes. A wooden lath 1 meter long is used as a support for the tool. The tank where the grout is prepared must be deeper than wide, otherwise the grout will set very quickly.
Technological process
How to make brickwork for joining? When is it allowed to start such work?
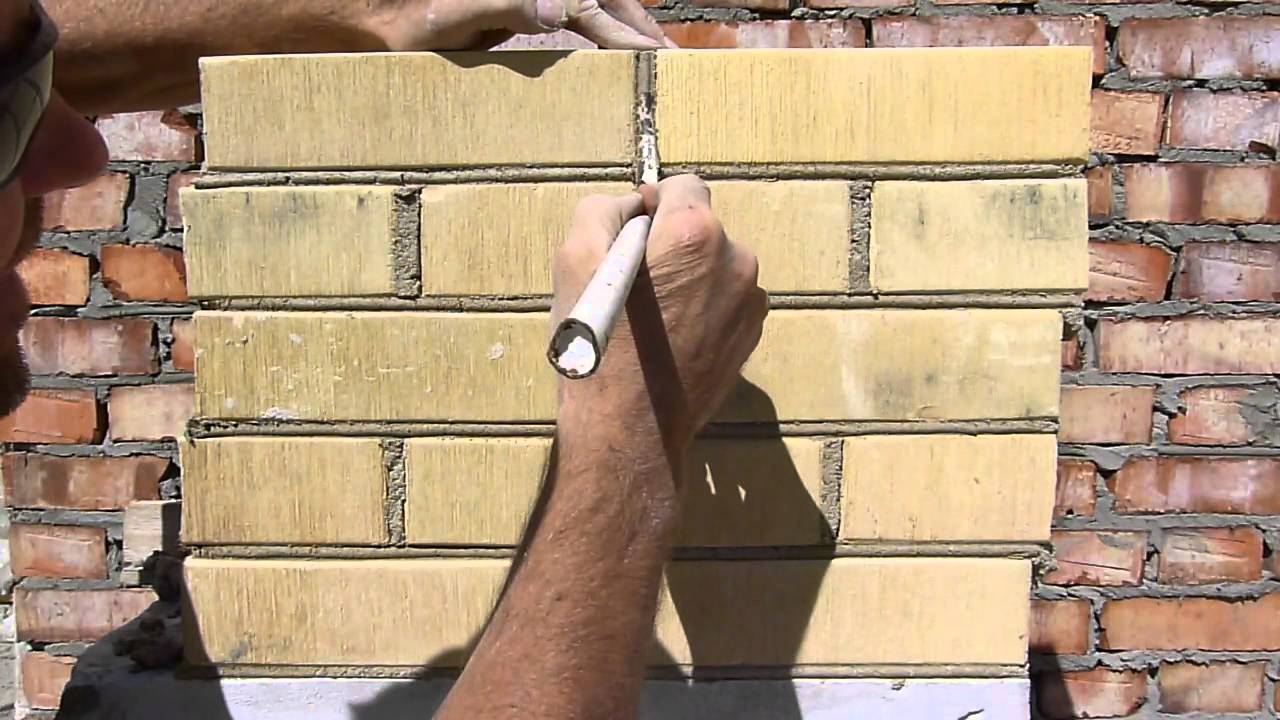
If you decide to use the technology of laying facing bricks with the simultaneous design of the seam areas for joining, then the excess mortar mixture is removed with a trowel so that a common level with the plane of the wall is ensured.
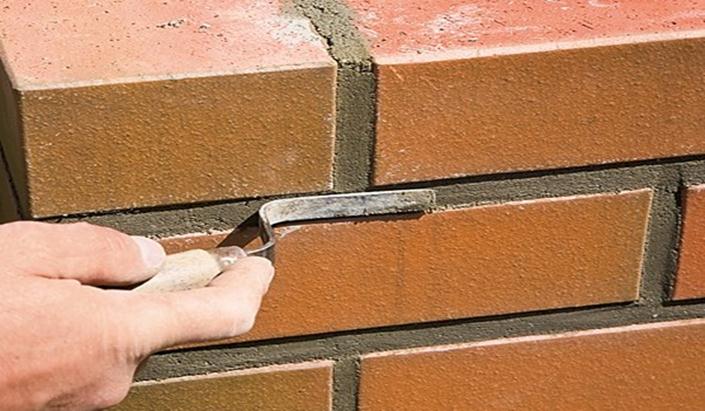
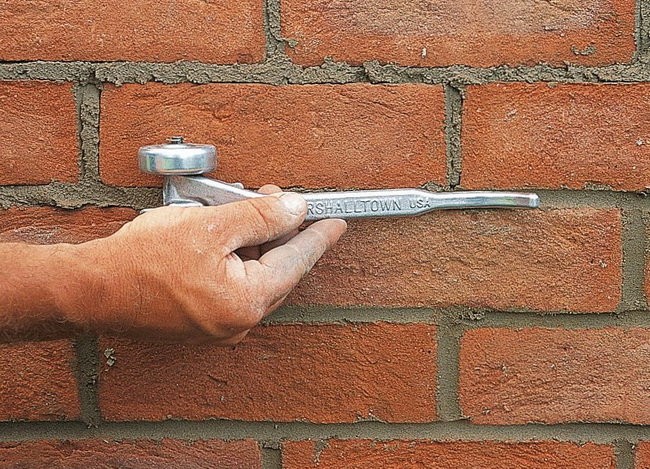
As soon as the mortar mass begins to set, it is given the required shape using a joining template. The solution between the brick rows is pressed inward by about three millimeters, well compacting the mass. This improves the quality of not only the masonry, but the entire wall as a whole.
With regard to the time when it is best to start such a procedure, the following points are observed, which are the most significant:
- monitor the consistency of the solution and the degree of its plasticity;
- control natural factors - the temperature regime of the air and the percentage of humidity in it;
- high-speed mode of work of the master performing the laying of brick stone.
Masonry with simultaneous joining
A similar procedure is started by preparing several rows of masonry, the solution in which begins to gradually harden.
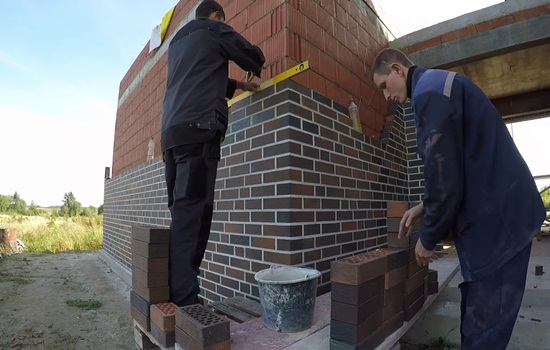
It is necessary to act in a certain sequence:
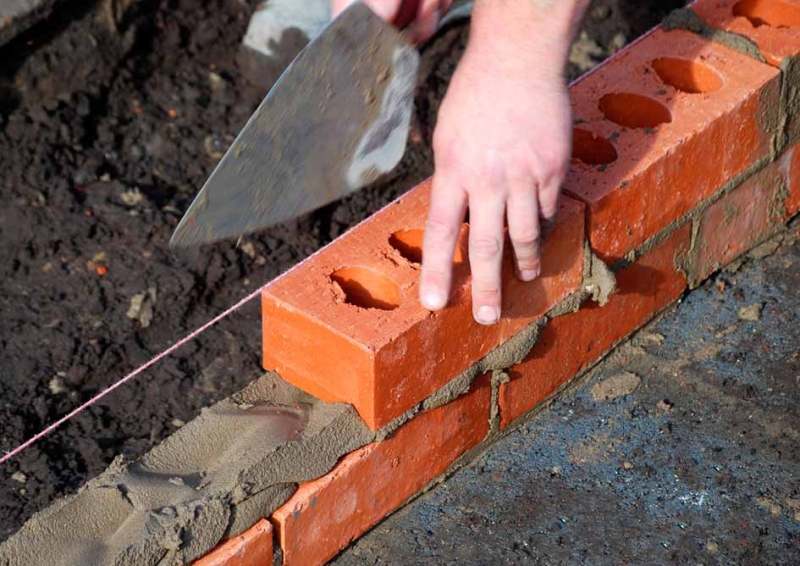
- the brick stone is laid on a sufficient thickness of the mortar layer, slightly pressed. The mixture outside the joint is removed flush with the brick surface;
- the mortar that has seized, but did not have time to harden, is smoothed with a jointing or a piece of a simple hose, compacting and pressing the mass into the seam;
- if the joining will be performed a little later, then it is recommended to leave a little free space in the joints so that there is room for the jointing mortar.
Joining after masonry
Making bricks for joining is possible on long-built walls. To do this, you will have to remove a certain amount of old masonry mortar. The formed cracks are moistened, a new solution is laid in them, which is embroidered in a known manner.
It is recommended not to prepare the mixture yourself, but to purchase ready-made formulations in a dry form, which remains to be diluted with water. Such materials, after completing the jointing procedure, perfectly retain their shape.
Masonry using a rod
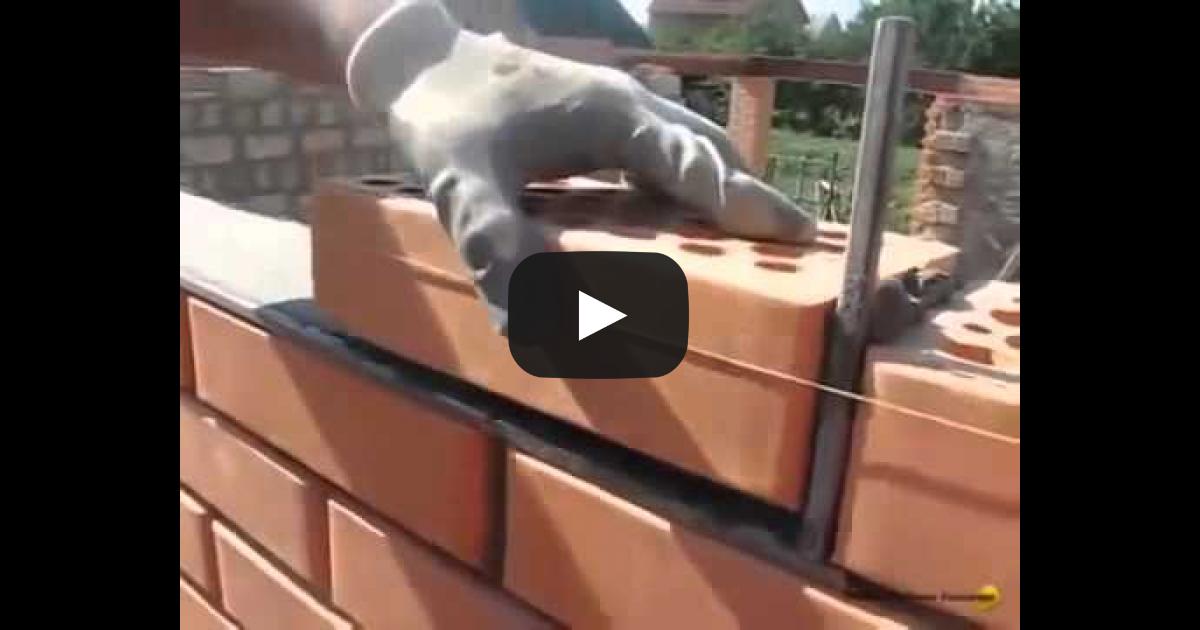
This technique is based on the use of a round or rectangular steel rod, which is laid along the entire length of the bottom row on both sides. Then it remains only to fill the free space between the metal elements with a mortar mixture, lay out the brick stone in a row, adjusting it in place with a wooden mallet.
Carrying out such work implies a large supply of metal rods of the same section, since the laid steel elements should be removed after a certain number of brick rows have been removed from above. The rods are carefully pulled out, after which they are immediately washed with water from traces of the mortar mixture.
The advantage of this method of joining is that after removing the rod, an attractive and even joint remains, uniformly filled with sand-cement mortar. It does not have to be additionally modified, even cleaning with a metal bristle brush is not required
True, the performer of the work will need special attention on the layout of the first row - it should turn out to be ideal, displayed strictly in a line. The check is carried out at the building level

By expanding seams with a metal rod, you get the following benefits:
- masonry seams are perfectly flat;
- if all work is done carefully, then the front surface of the brickwork retains its cleanliness. This is especially true for expensive facing stone, the surface of which is difficult to clean from dried mortar particles;
- the need for the formation of seam areas completely disappears - all the work is performed by a metal rod.
By the way, many people prefer to use round steel elements, because square shapes do not always make it possible to maintain the general level for brick stone and mortar. This type of joint requires additional filling with jointing compound.
Mixing solution rules
The mortar for facing stone masonry is made of cement of the M-500 brand and fine sand cleared of debris in a ratio of 1: 4. Water is poured in small portions, the finished solution is thick and uniform in shape. You can check the correct consistency using a special construction method: a ball made of cement mortar must retain its shape and not crumble with light pressure.
Laying the bottom row and corners
Since for the aesthetic appeal of external wall cladding, it is necessary to think over the optimal way of placing the joints, it is better to lay the first row without mortar. Professional craftsmen recommend working from an angle, leveling each brick and seam with a level. Before laying on a cement mortar, a ceramic clay brick is soaked in water.
The corner is formed to a height of 5–6 lines. A square metal bar with a section of 10x10 mm is laid on the outer edge of the first or previous row, on top of which the solution is laid out. A brick pre-soaked in water is neatly laid on a mortar and a metal bar, the horizontal and vertical lines are checked, the skew is leveled
Then the rod is carefully pulled out and excess mortar is removed.

Wall covering
Wall decoration begins after the work with the formation of the corners is completed. A construction cord is pulled and fixed between the corner blocks of one row.
A square metal bar is installed along the outer edge of the previous row of masonry. The resulting cavity is filled with cement mortar, a brick is laid on top
The reinforcement bar is removed carefully and carefully so as not to disturb the masonry.
As experienced builders advise, every 5-6 rows of masonry you need to take a pause so that the cement mortar can grab well and does not lose its original shape under the weight of the elements laid on top
Binding
Attachment of the facade masonry to the support wall is carried out using knitting wire, anchors and dowels.
For 1 sq. m of a facing wall, at least 5 fixation points are required. As a standard, fasteners from anchors or dowels are installed every 4 rows vertically and every 70 cm horizontally.

Slope and jointing
To give the building an aesthetically attractive appearance and decorativeness, vertical slopes are laid out of stone of a different color. The cladding is carried out according to the bonding scheme.
A facing brick slope column, formed from one vertical straight line, may slightly protrude beyond the finishing edge of the wall.

Upon completion of the masonry, they begin to join it. The surface is carefully swept, the remnants of dried cement mortar are removed and the masonry is moistened. The grout mixture is prepared from M-500 cement, lime and clean fine sand. The ratio of cement and lime to sand is 1: 1: 10. Water is added in a small amount and is constantly mixed. The mortar ready for grouting is a homogeneous and pasty mixture.
Fence masonry: technology
In most cases, the fence posts are made in 1.5 or 2 bricks, the section is 380 * 380 mm and 510 * 510 mm, respectively, the height is up to 3 meters.
The laying is carried out with a bandaging (offset) - the seam of the lower row is overlapped by the "body" of the brick lying on top. The seam is standard - 8-10 mm. The scheme of laying posts in one and a half and two bricks in the photo below.
Brick pillars in 1.5 and 2 bricks
Laying pillars: order of work
Cut-off waterproofing is spread on the finished foundation. It can be roofing material in two layers, but waterproofing on bituminous mastic is better. This layer is necessary so that the brick does not "pull" moisture from the soil. If wet brick freezes, it quickly begins to crack and crumble. Therefore, waterproofing is necessary. Rolled waterproofing can be replaced - twice smear the foundation with bitumen mastic, and in areas with high humidity it is better to make a double waterproofing - smear with mastic, and then also lay "Gidroizol".
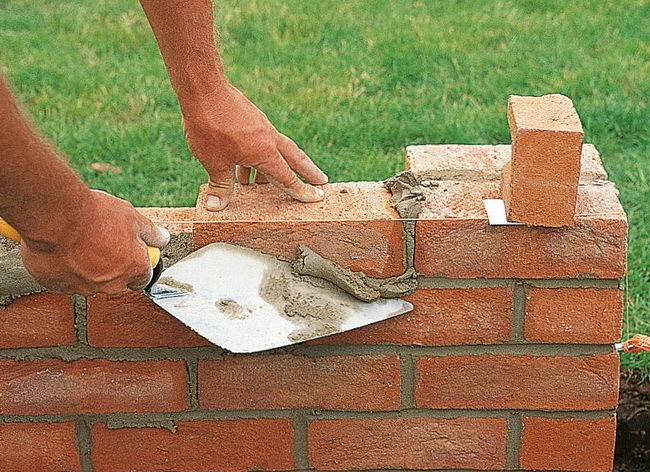
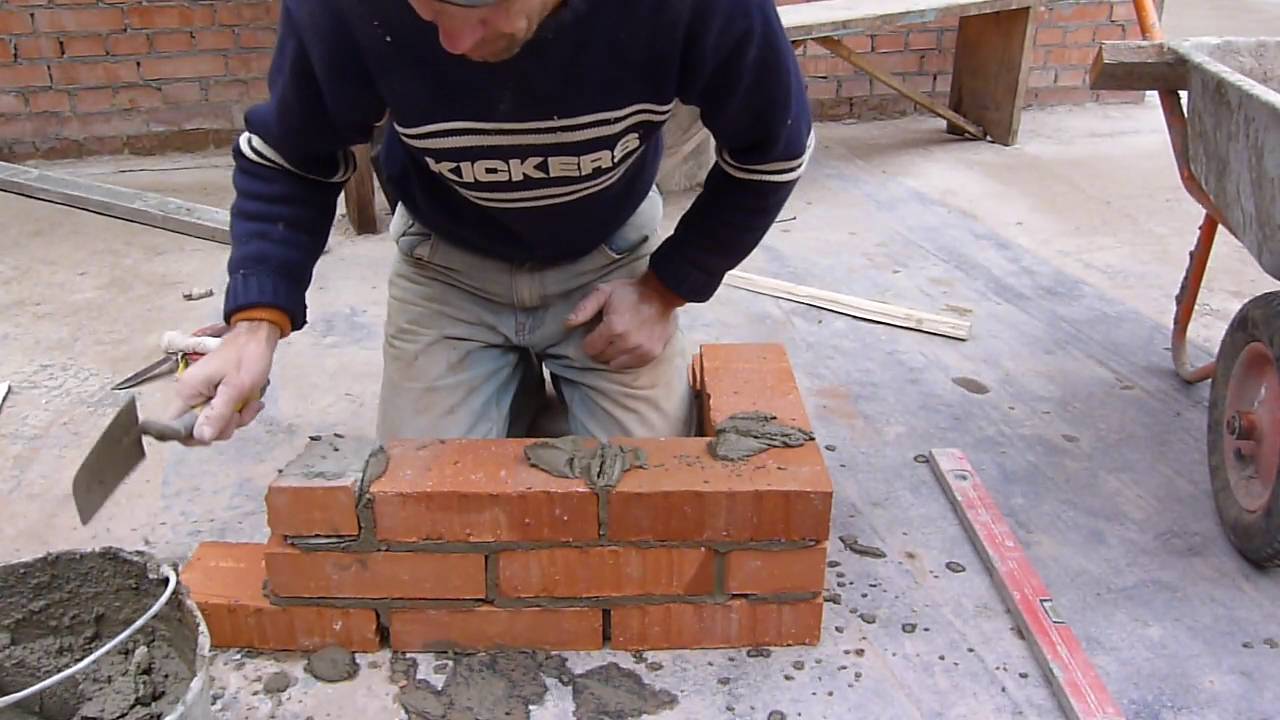
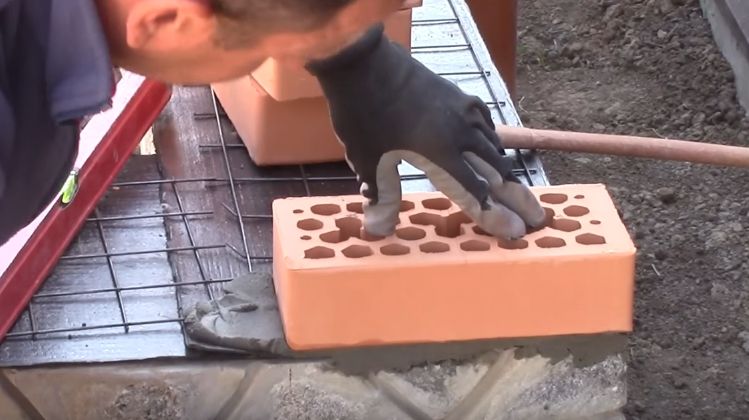
According to the dimensions of the pillar, a solution is applied to the waterproofing with a layer of a little more than 1 cm.According to the diagram, bricks are laid on it. They are leveled vertically and horizontally by tapping with a special rubber mallet. Craftsmen can use the handle of the trowel, but, in this case, the remnants of the mortar can fly off the plane of the trowel, staining the hands and brick, and it is not wiped off the cement well.
Ceramic brick absorbs moisture very quickly, so if you hesitate a little, it will be difficult for you to "put" it in place. In order for the mortar to retain its plasticity longer, the brick is dipped in water for a few seconds before laying. The same maneuver makes it easier to wipe off the solution from the surface (it is removed immediately, with a dry cloth).
Hammer down
The second row is also placed: a mortar is spread on the bricks, bricks are placed on it, but with a dressing - unfolding so that the seam is blocked. Level again. Then they take a tape measure and check the dimensions of the stacked rows. Even a small offset of 1-2 mm is eliminated. They tap on the end of the brick (called a "poke"), moving the bricks closer. Then, if the side edges were not coated, the vertical seams are filled. All subsequent rows are laid in the same way.
If there is a void between the inner reinforcement pipe and the brickwork, it is filled. If the distance is small, you can use a masonry mortar, if the void is significant, to save space, you can fill it up with rubble, tamp it, then spill it with a liquid cement-sand mortar.
Bar masonry
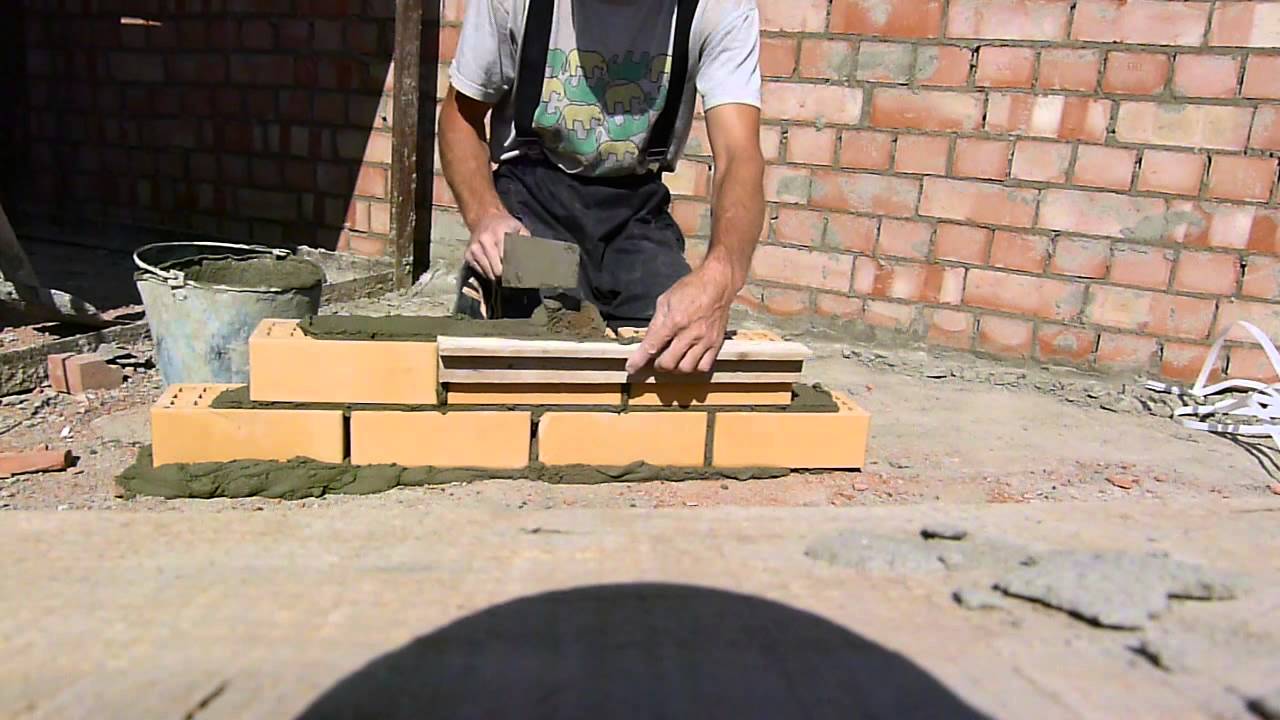
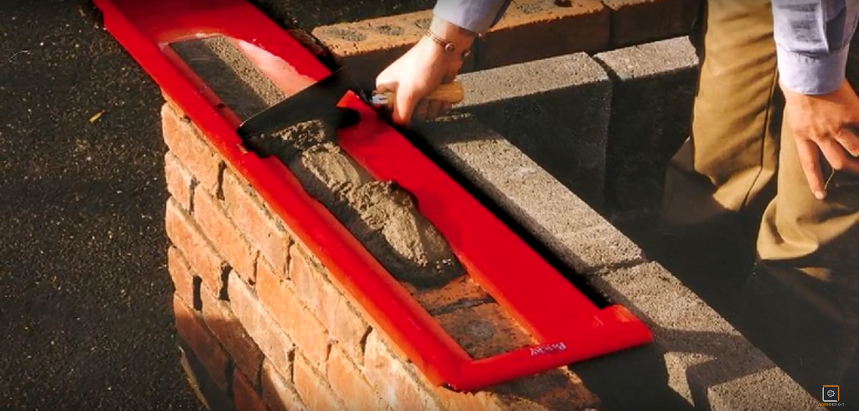
The laying of the pillars described above has long been tested, but for beginners, when making their own, it is difficult to maintain an even seam. Another problem - the solution crawls out of the seam, staining the surface. It turns out not very nice. To facilitate the work, they came up with a masonry for a bar.Take a square metal bar with a side of 8-10 mm, cut it into pieces, 10-15 cm longer than the size of the post.
Bar layout
Having laid the first row, a bar is laid on it along the edge of the brick. The site is filled with a solution with a small margin, and closer to the pipe, the layer is made larger. Then, leading with a trowel along the bar, remove the excess, cleaning the bar from the solution. But at the same time, the slope of the solution remains. They put a brick, level it. At the same time, the bar does not allow it to settle strongly, and the position of the other end is controlled by the level.
Apply the solution to the side face under the bar.
Then they take a short piece of a bar of about 10 cm (for a vertical seam), put it along the butt, apply the mortar with a trowel to the side of the laid brick, also removing the excess along the bar. The second brick is placed and leveled. After the level is set, the seam is pressed from above with a trowel, and the vertical bar is removed.
We take out the bar, holding the seam with a trowel
This is how all the bricks in a row are laid out. Then the rods are taken out, proceed to the next row. This technology of laying brick posts allows you to control the seams and make them neat. Even a novice amateur bricklayer can fold a pillar with his own hands.
It is only important in the process to control the parameters of each row (so that the column in the section is of the same size)
Video lessons
A more complex version of a brick pillar - twisted with a screw
Features of working with ceramic bricks
Waterproofing
After we figured out the measurements of the foundation, we proceed to the next stage: waterproofing the upper part of the foundation. It is performed using 2 layers of roofing material. The second layer is laid with the overlap of the seams of the first by 10 - 15 cm. Roofing material can be laid in several ways:
- dry, temporarily press the roofing material to the foundation with bricks (so as not to be blown away by the wind);
- for bituminous mastic or heated bitumen;
- gluing the surface of the roofing material by heating with a burner.
The modern roofing material has several modifications: rubemast, glass roofing material (stekloizol), euroruberoid. According to their characteristics, they are superior to ordinary roofing material, but their price is also higher. A wide selection of roll waterproofing is offered by Technonikol.
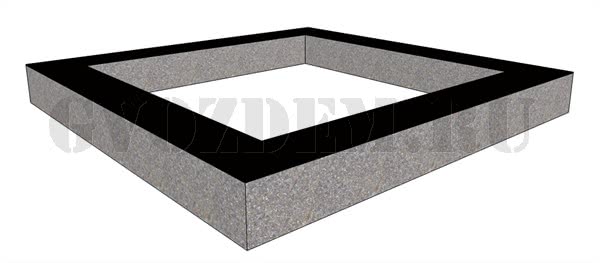
Why do you need to waterproof the foundation before brickwork? It's simple - so that moisture from the foundation does not pass into the basement or into the brick walls. Moisture can be not only due to rains and melting snow, but also simply from the capillary suction of water from the soil by our foundation. Moreover, if we have a brick basement and brick walls, then we will need to waterproof it twice:
- between the foundation and the plinth;
- between the plinth and the brick wall.
Way of work
To get started, you need to prepare the following materials:
- Trowel;
- Solution;
- Water;
- Jointing;
- Brush, sponge.
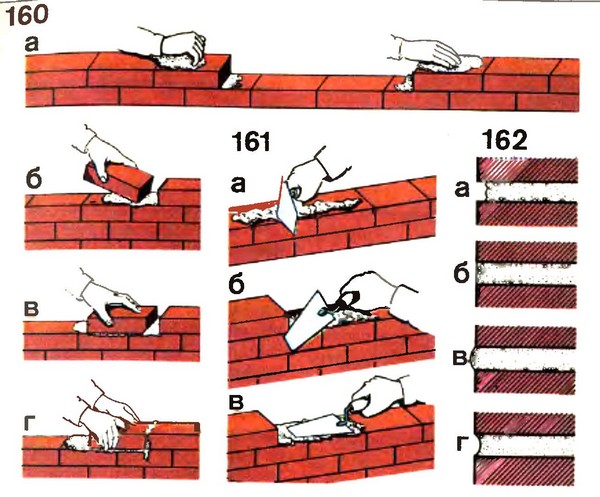
It should be understood that the layer of mortar between the bricks can be made in different shapes: concave, convex, triangular and others. All this is done using the appropriate tool that was mentioned above. When laying the selected material, excess mortar is removed with a trowel.
This will prevent the mixture from drying out too much and will facilitate the joining process. To avoid inter-seam voids, you need to press in an additional amount of solution, which will thoroughly seal the material.
Types and methods of styling
If we talk about what brickwork is, then this is a structure made of bricks, while they are laid in a given order and are connected to each other with mortar.
The classification of masonry will depend on its complexity and how where does it apply, so there are several of its groups:
the simplest masonry, it is used for summer cottages and houses, implies the construction of any walls, while work is carried out without architectural elements;
If the height of belts and cornices is no more than 4 bricks, they are not considered architectural elements, and this type of masonry is one of the simplest.
- simple complexity, in this case, decorative parts in the form of cornices, bay windows, belts, semi-columns and other elements make up no more than 10% of the wall surface;
- medium complexity, part of the wall with architectural elements is no more than 20% of its area;
- complex, in this case decorative elements account for up to 40%;
- especially difficult when the creation of arches, domes and other elements with a complex curvilinear shape is carried out.
Depending on what materials are used during the masonry, it differs into the following types:
- From solid bricks made by plastic pressing, it is used to create walls, chimneys, underground buildings.
- Any walls of buildings are made of hollow bricks. If we compare such a masonry with that made of solid bricks, then its thermal conductivity will be less, which makes it possible to make the walls 20-25% thinner, and its weight is 20-30% less, which reduces the load on the foundation.
- Concrete stones are used to create foundations and underground spaces.
- Walls are made of hollow concrete stones, if they are lightweight concrete or cinder-concrete, then to protect against the effects of natural factors, such surfaces must be plastered.
- Hollow ceramic stones have a low thermal conductivity, which allows masonry to be made 50% thinner than that made of hollow bricks.
- Silicate stones are used for the construction of any walls.
- Natural stones are used for foundations, underground structures and basements.
- Natural stones with the correct shape.
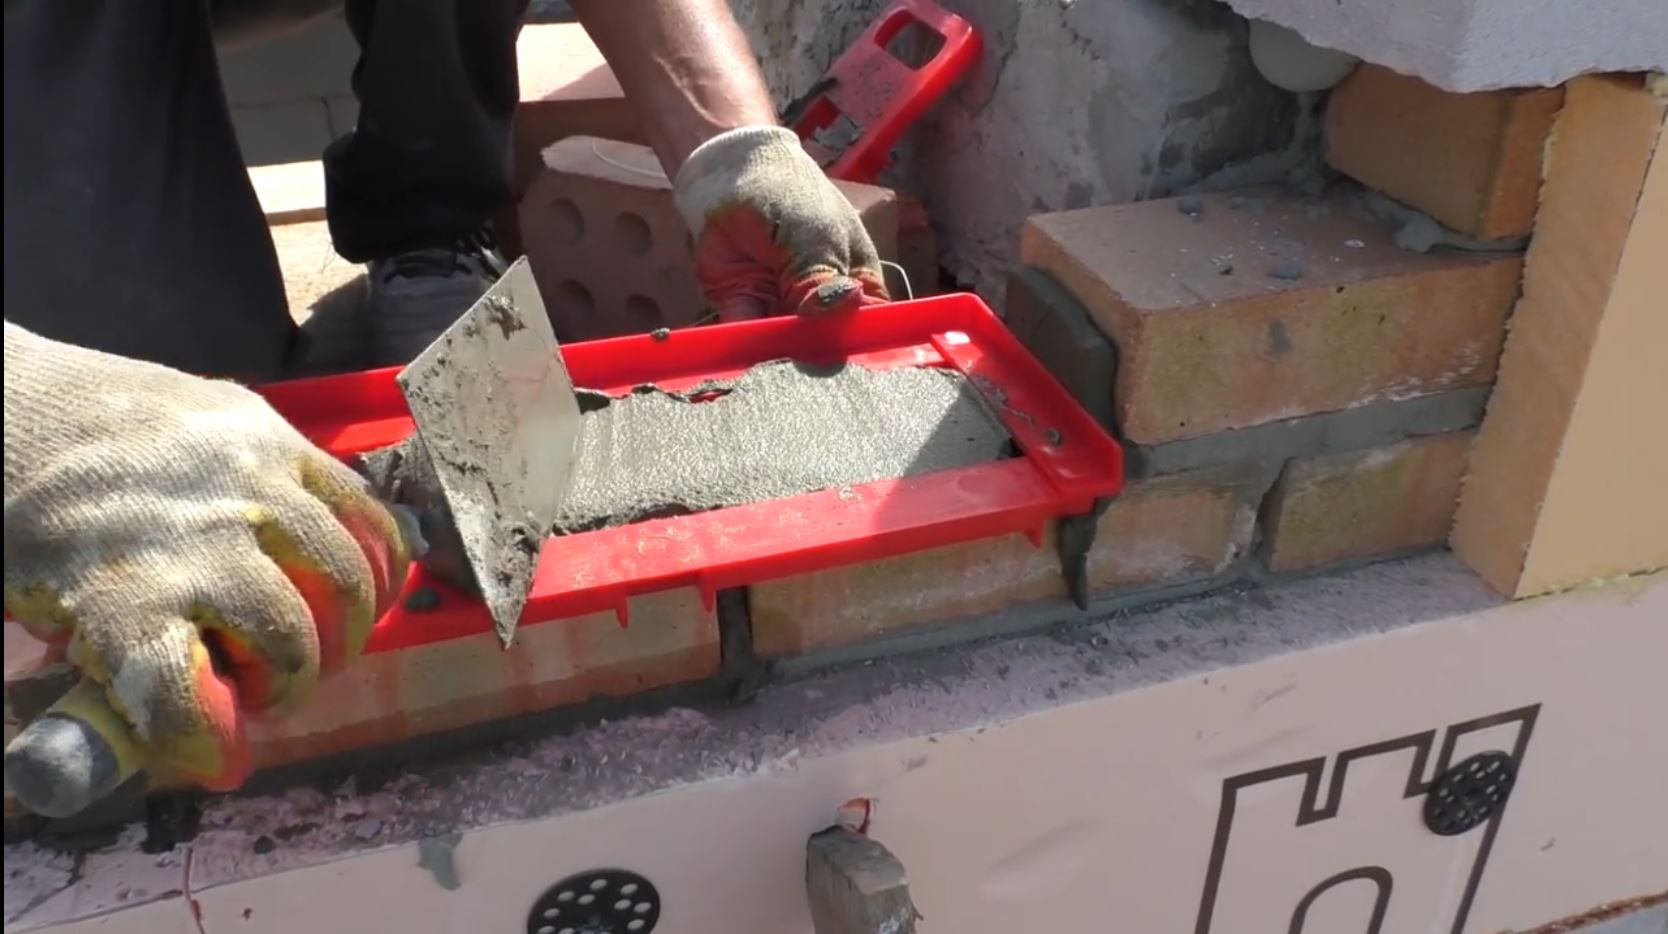
The option of masonry with insulation in the photo below allows you to insulate brick walls during masonry.
Both the brick and the stone have edges: the upper and lower bed, spoons, so the lateral long sides are called, butts are the lateral short sides, there are ribs to intersect the edges.
Subsequence
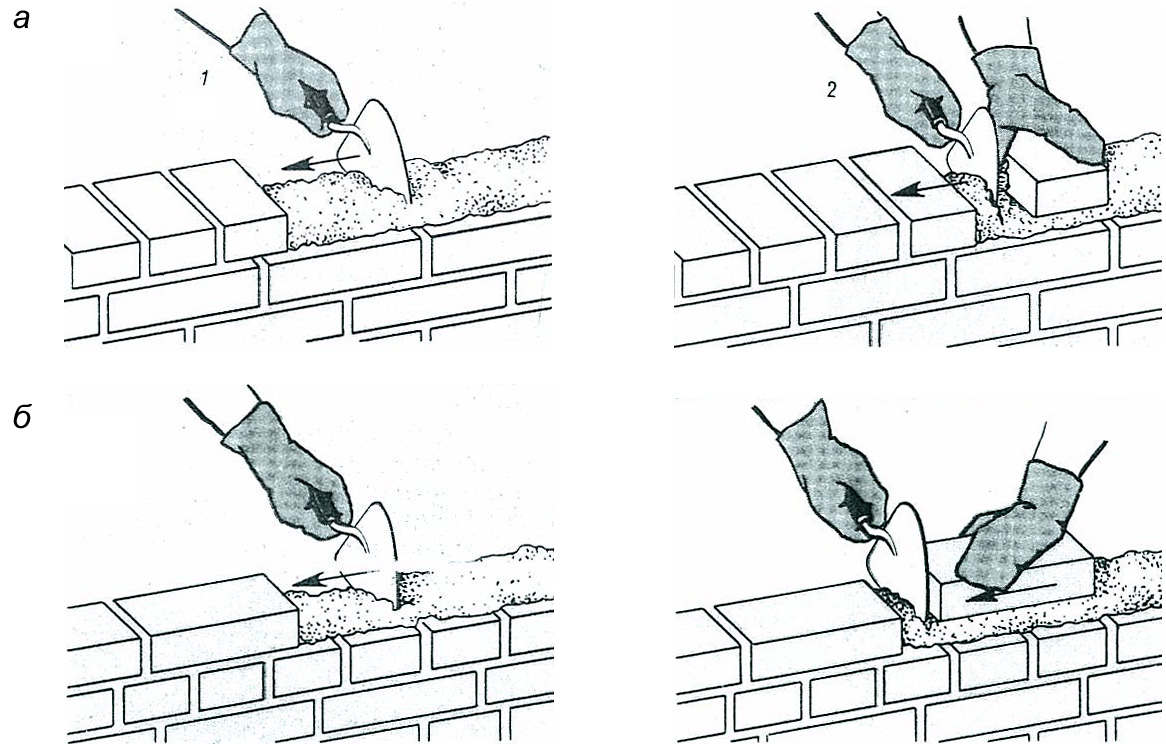
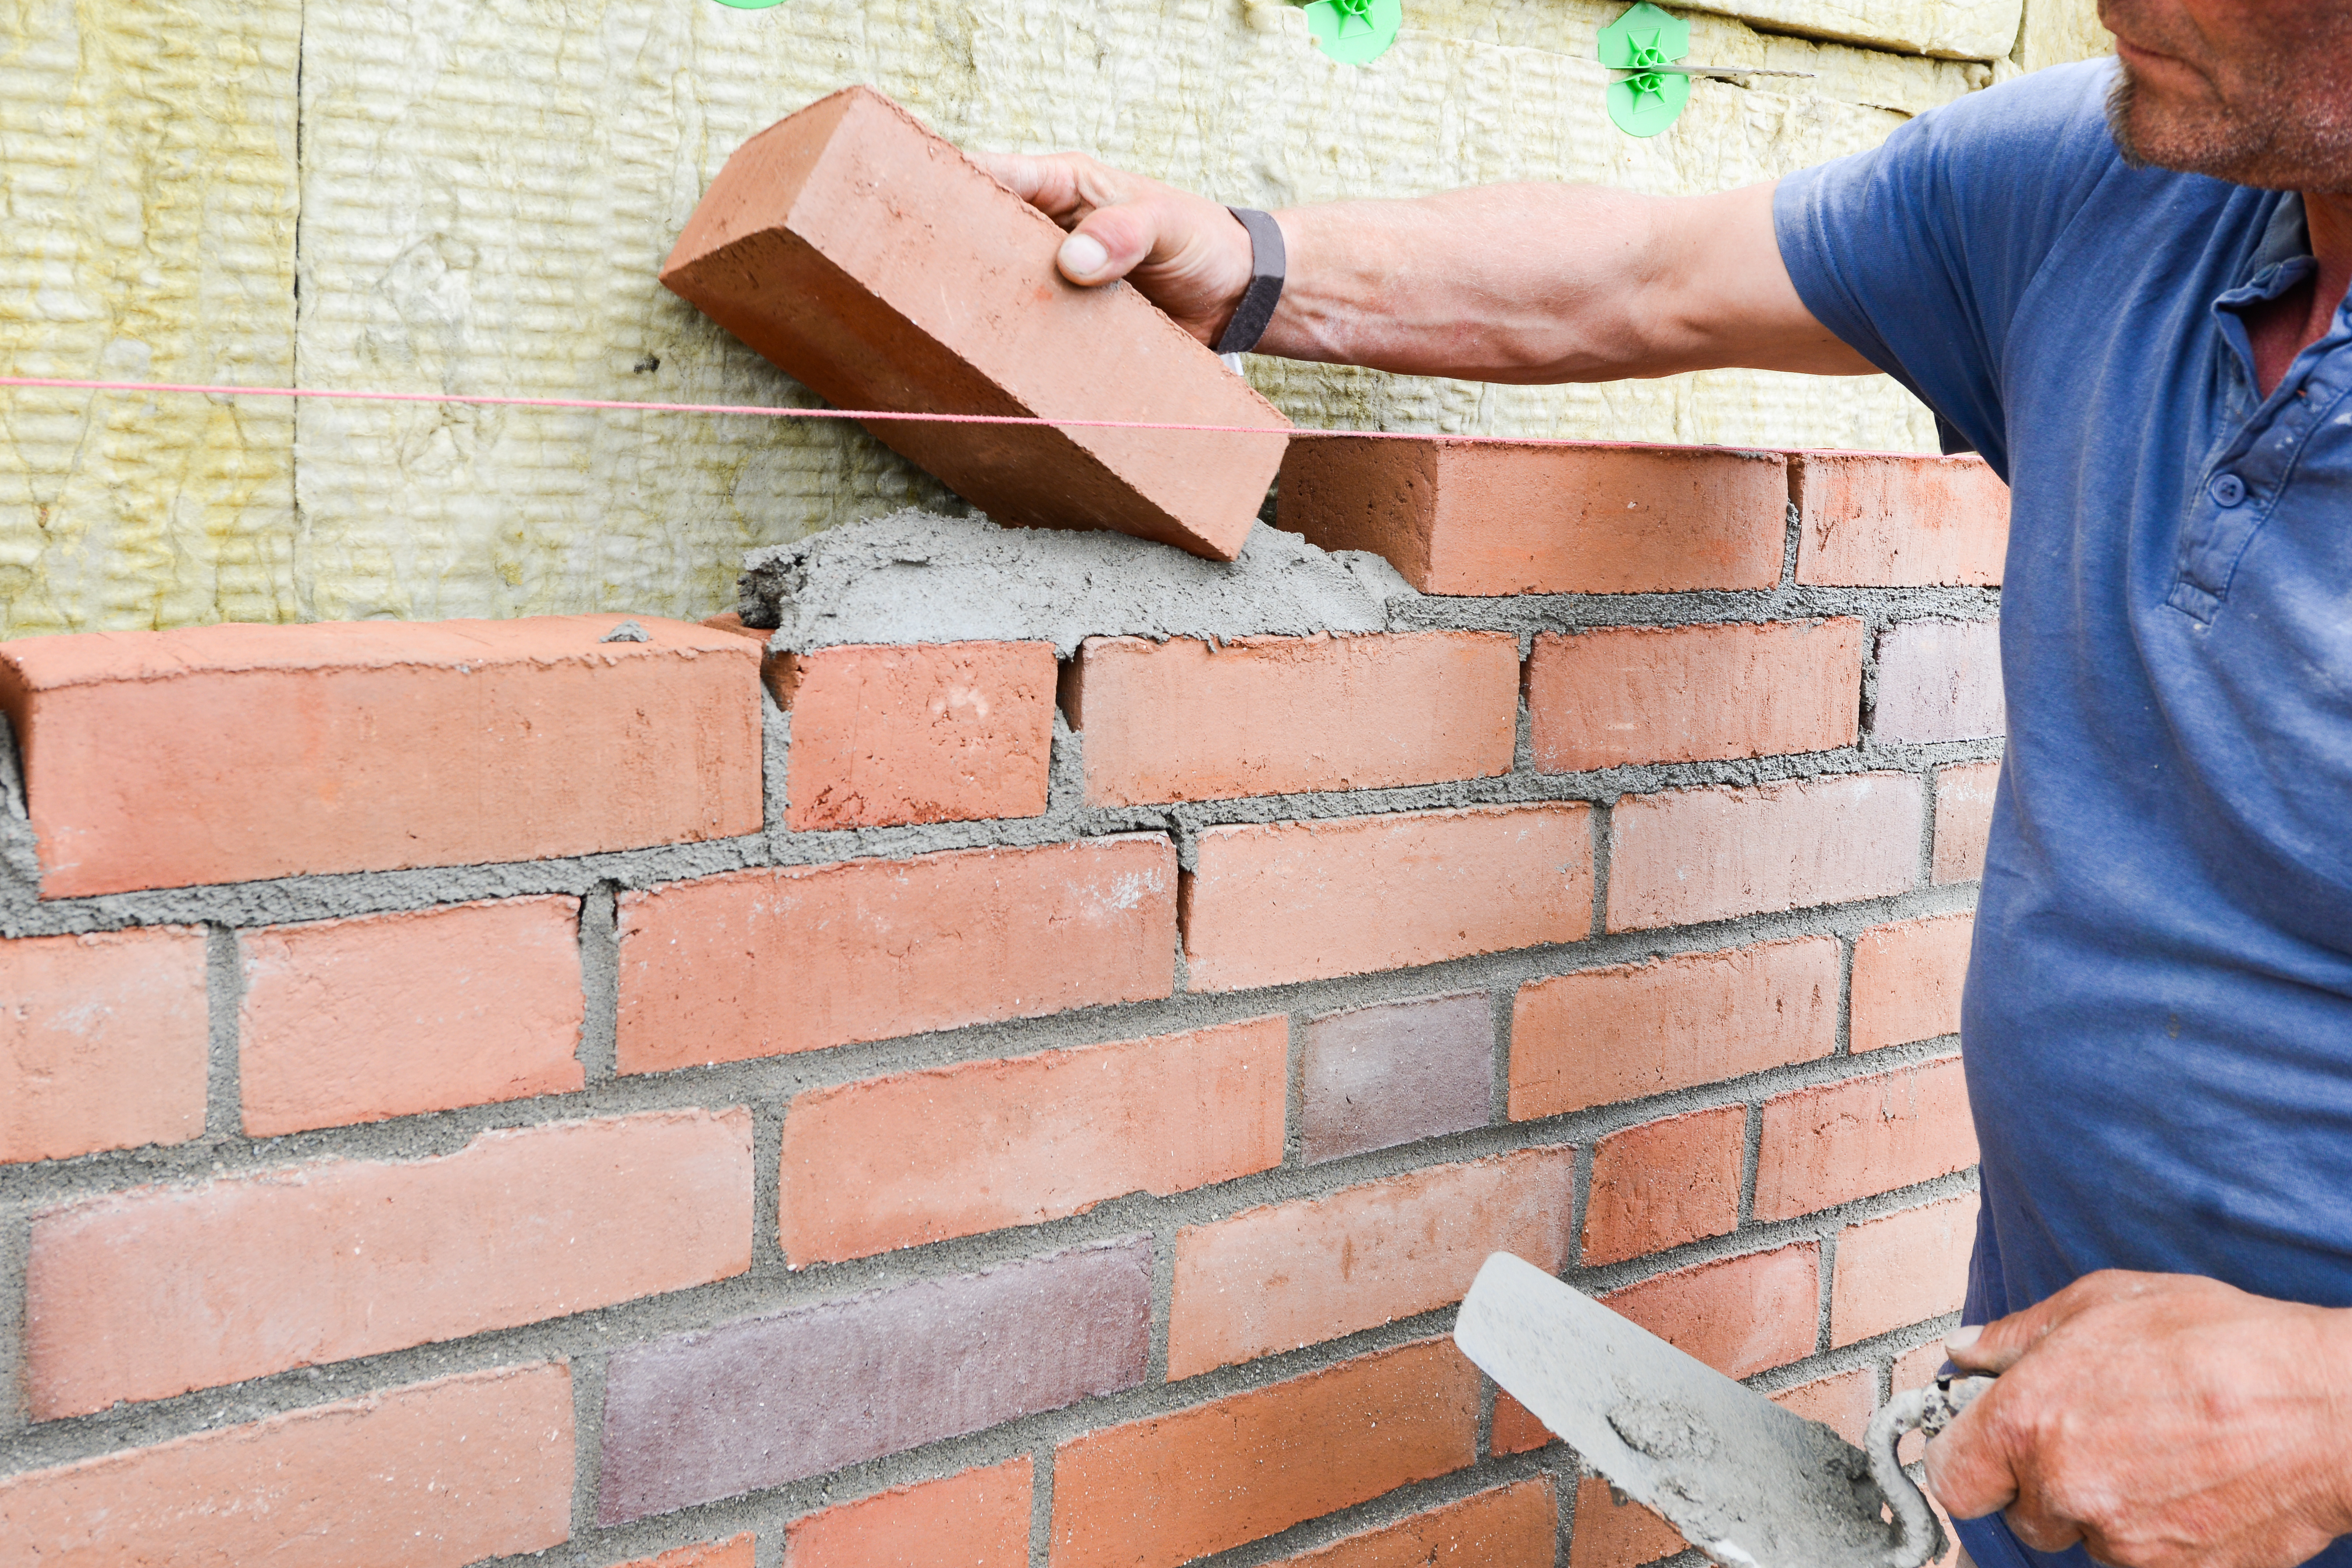
After the first row is laid out, the next ones are coming. Here you need to learn how to lay the solution evenly. The help of joining will come in handy. And so, on the previous row, the mixture is laid out with a slide, the height of which should be twice as large as the dimensions of the tool. A brick is placed on top, tapping with a hammer.
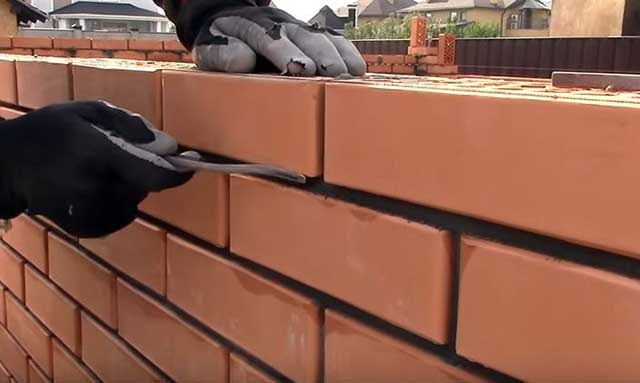
The seam between the first and second material is controlled by joining. You just need to place it between both sides of the building product, this will be the level of the seam. This is done until the very end of construction. After the mortar has dried, the seams are trimmed with additional smoothing.
It should be noted that the tool requires timely wetting with water. So it will easily slide through the mixture without adhering to the metal. The remains of the solution are removed with a special brush
The work is, of course, painstaking, requiring strength and attention. But in the end you will get a neat, beautiful structure.

