Self-preparation of the mixture
Now let's talk about how to properly dilute the putty at home. At the moment, there are many recipes for preparing such mixtures, but the main components are gypsum, glue, chalk and varnishes.
Most often, plaster and chalk based putty is used for wall decoration. To prepare such a mixture, you need to prepare a container, 3 kg of chalk, 1 kg of gypsum and wood glue. For mixing, it is better to use an electric drill with a nozzle, but you can do with an ordinary spatula. In addition, a respirator or gauze bandage should be used to protect the upper respiratory tract.
Sift the chalk and plaster thoroughly, then pour the glue into a plastic container. The sifted powder must be gradually poured into the adhesive composition. After that, the composition should be mixed until a homogeneous mass is obtained. It is better to cook in small portions, since the putty dries up rather quickly, and the excess will have to be thrown away.
This solution is used as a finishing material in dry rooms.
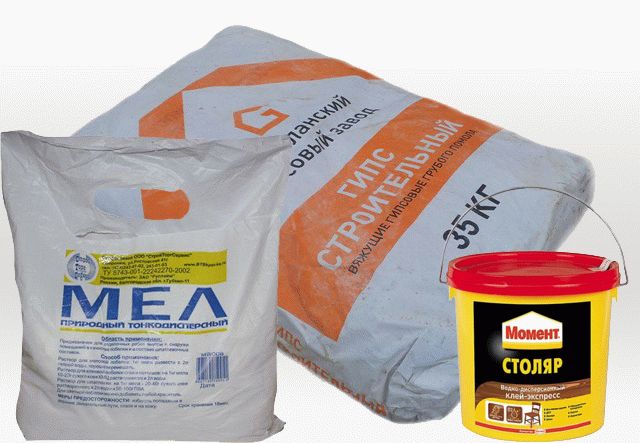 It is not necessary to buy a ready-made putty mixture, it is easy to make it yourself: all you need for this is chalk, gypsum and wood glue
In wetter conditions for walls to be painted with oil paints, a different putty is needed. To prepare the base, you need to stock up on linseed oil, chalk and desiccant. Pour 1 kilogram of drying oil into the mixing container, then add 100 grams of desiccant and mix. Then gradually add chalk, the total weight of which should be 2 kilograms. The resulting material is perfect for treating walls with windows and doorways.
If the wall surfaces are planned to be painted with glue, then a special putty should be prepared. To prepare it, you will need 1 kg of wood glue, 2.5 kg of chalk and 25 grams of drying oil. The first step is to sift the chalk and warm up the adhesive, then add drying oil to it and mix thoroughly. The chalk is added last in small portions to avoid clumping. In some cases, in order for the composition to better fit on the wall, soap, previously grated on a fine grater, is added to it.
Aligning the walls and preparing them for decorative finishing is one of the most important jobs, the quality of which determines not only the aesthetics of the room, but also the reliability and durability of the repair.
If you do it yourself, it is important for you to know how to dilute the putty - the proportions of dry mixture and water, mixing methods, optimal consistency depending on the purpose and purpose of use
The mixture for puttying should be plastic, elastic, smooth well and stick to the surface, not drain from it and not fall off in pieces. At the same time, it should easily lag behind the spatula and have a uniform consistency without lumps and solid inclusions.
Buying a ready-made putty in a hermetically sealed container, you free yourself from the need to think about how to achieve the required quality of the solution - the manufacturer has already taken care of this, you just have to mix it well before applying.
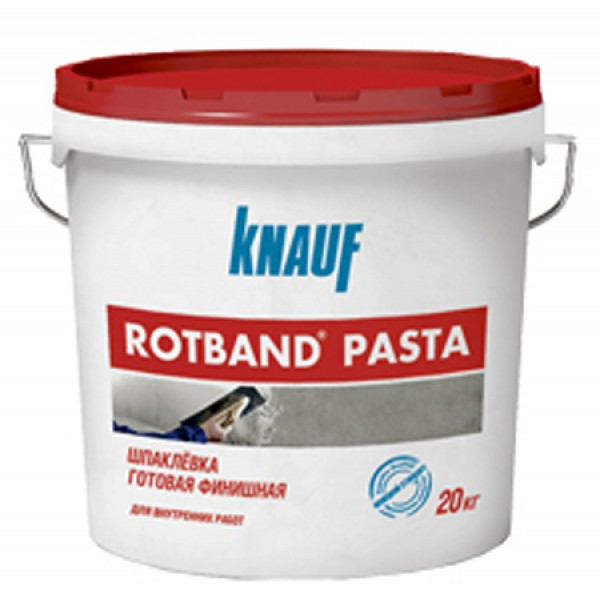
But the price of ready-made mixtures is much higher than dry mixtures that require dilution with water directly at the construction site, so the choice most often falls on the latter.
It would seem that there should not be any problems with their preparation, since the packaging always contains detailed instructions from the manufacturer, which describes the whole process in detail. But, firstly, putty mixtures are sometimes prepared independently from gypsum or cement, and secondly, the consistency of the solution, obtained with strict adherence to the instructions, is not always convenient for performing this or that type of work.
So:
If the surface needs serious leveling with filling of significant potholes and cracks with a putty mixture, it will be easier and faster to do this, giving the mortar a thicker consistency.It is also easier to seal up joints between slabs, masonry seams with a thick mortar;

For the finishing putty, the mixture should be more liquid, since it is applied in a very thin layer and is intended to make the base smooth;
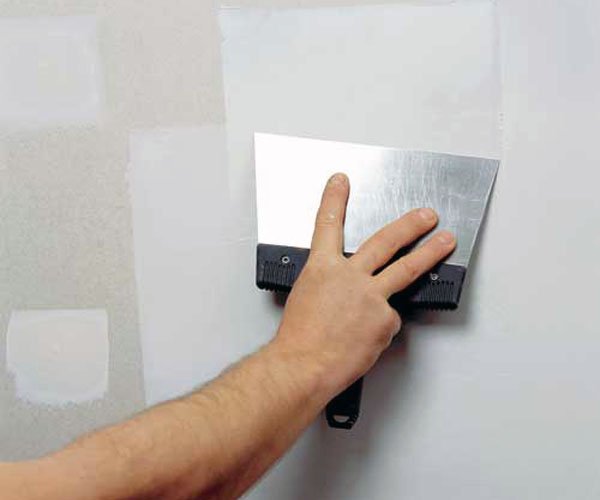
For the ceiling (see Ceiling puttying in different versions) and for walls, the proportions of dry mix and water may also need to be changed in order to achieve better adhesion to the surface.
Experienced finishers, by the type of the finished solution and its behavior when typing on a spatula, are able to determine the suitability for a particular purpose. Those who undertake such work for the first time will have to act empirically, taking the proportions from the instructions as a basis and preparing the mixture in small portions.
Varieties and features of adhesives
Modern manufacturers of building materials offer several varieties of mixtures for facing work. These include:
- universal glue - made on a cement basis with the use of additives that give the composition the necessary functional characteristics;
- reinforced - capable of reliably fixing weighty facing elements;
- moisture resistant - suitable for finishing work in rooms where a high level of humidity remains;
- polymer - intended only for interior finishing work, as it does not tolerate temperature fluctuations and ultraviolet radiation;
- modified - a plastic mixture characterized by improved performance due to the addition of additives.
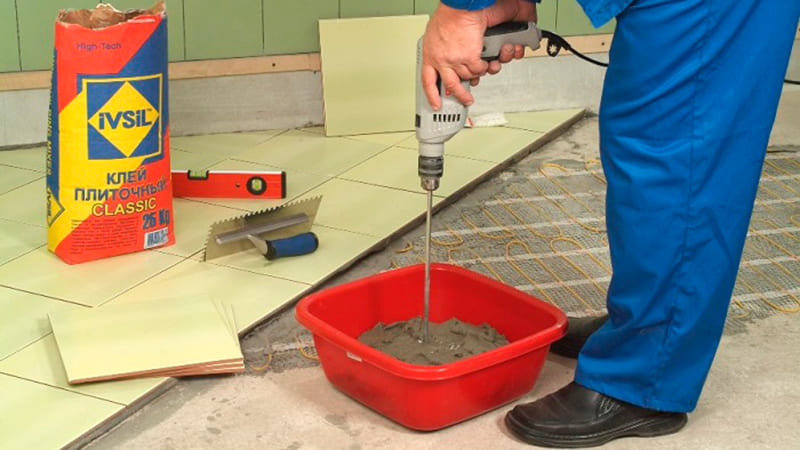
According to the method of preparation, all mixtures are divided into glue mastics and dry mixtures. Mastics do not require preliminary preparation - they are available in the form of a paste, ready to use.
Dry mixes in the form of a powder just require accurate and thorough dilution to obtain a high-quality homogeneous glue.
Expanded clay concrete for floor screed: proportions and calculation of materials
Expanded clay concrete consists of cement, sand, expanded clay. As with any concrete, the ratio of the components depends on the required strength and on the quality of the cement. Cement is used grade M400 or higher. And it is highly desirable to be confident in quality. Sand - quarry, washed. And this is also not just that. Otherwise, the expanded clay concrete screed will have insufficient strength.
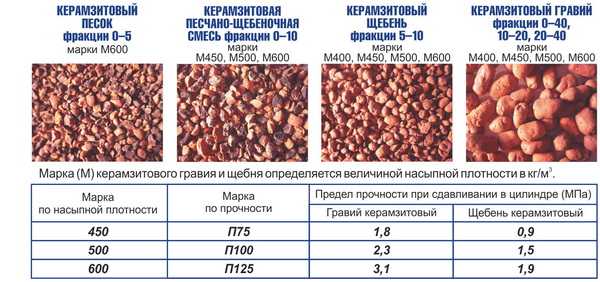 Expanded clay fractions. It is better to mix several sizes for strength to be sufficient.
Proportions for expanded clay screed
If the composition of expanded clay concrete is known, then its proportions depend on the required strength. A screed made of expanded clay concrete for apartments and houses is not needed too high grade. M100-M150 is enough. Higher ones will be more expensive, and strength will not be in demand. To mix expanded clay concrete for floor screed, the proportions will be as follows (cement / sand / expanded clay):
- M150: 1 * 3.5 * 5.7
- M300 1 * 1.9 * 3.7
 Consumption of materials per cubic meter of expanded clay concrete
Water is added depending on what type of screed you are going to do. If the classic "wet" solution, then take about the same amount of water as concrete. If they do it semi-dry, then about half of the water goes.
Expanded clay concrete screed: proportions and consumption of materials per cubic meter
The peculiarity of the expanded clay concrete mixture is that the aggregate, fired clay (expanded clay), quickly absorbs moisture. Therefore, so that the solution does not dry out, you need to knead in small portions and spread immediately. Ideally, while kneading the next batch, you need to lay out / flatten the previous one. The second option is to mix the entire volume at once and level it until it sets.
Calculation of the amount of materials
If the expanded clay concrete screed will be made independently, you will have to purchase the materials yourself. You can calculate their number by knowing the average thickness of the screed and the area on which it will be laid. Multiplying these data, you get the volume of expanded clay concrete that you need. And by volume and brand, you can find the consumption of each of the components.
Let's take an example.Suppose a screed made of expanded clay concrete with a thickness of 7 cm is planned on an area of 56 square meters. First, we translate 7 centimeters into meters: 7 cm is 0.07 meters. Next, you can search for the volume of the required expanded clay concrete: 56 sq.m. * 0.07 m = 3.92 m³. That is, it will take almost 4 cubic meters.
 Expanded clay concrete: consumption of materials per cubic meter
Compositional data per cubic meter can be taken from the table above. The class of expanded clay concrete for the screed is B7.5 (grade approximately M100) or B10 (M150). According to the data from the table, 430 kg of cement, 0.8 cubic meters of expanded clay with a density of 700 kg / m³ and 420 kg of sand will go per cubic meter of M150 grade. To make four cubic meters of mortar, four times more materials are needed - 1720 kg of cement, 3.2 cubic meters of expanded clay with a density of 700 kg / m³, sand 1680 kg.
As you can see, expanded clay is indicated in volumetric measure. This is because it can vary in humidity. Therefore, it is measured not in kilograms, but in cubic meters. By the way, the moisture content of expanded clay and sand must be taken into account when determining the amount of water.
Kneading by yourself or ordering?
If you are going to make a screed from expanded clay concrete in an apartment, you will have to lift it all up to the floor, and then knead it. Believe me, this is not easy at all. And then you still have to pack. Far from being a rosy prospect. Therefore, many people prefer to order a ready-made composition at the factory. You can calculate what the purchase of the material will cost you and compare with the prices that the factories are asking for. The difference is often not so big that it is worth the trouble. Of course, with a small volume - for one room - it's hard to find ready-made material. But a few cubic meters can already be ordered.
 Prices per cubic meter of ready-made claydite concrete made in accordance with GOST 25820-2014
If you need any additional characteristics (it is necessary to extend the period before setting, increase elasticity, etc.), this can be discussed. But the price will go up from this. It is also worth discussing the cost of delivery. Sometimes it is included in the price, sometimes you have to pay extra separately. Also discuss where the solution will need to be fed. The price also changes from the height.
How to choose?
When buying a dry putty mixture, you should pay attention to the following points:
- safety - the composition should include only substances harmless to human health;
- adhesion - adhesion to the surface to be leveled must be good;
- convergence - the formation of a smooth surface should occur without the use of additional tools and materials;
- resistance to external influences;
- the possibility of grinding.
In addition, when choosing, you need to decide at what stage of finishing you plan to use a leveling coating.
Depending on the purpose, the plaster is of the following types:
- Basic (starting). She is given the entire rough-relief surface treatment: they correct irregularities, close up cracks, fill in depressions. Such a composition is applied with a layer up to 7-8 mm thick. If the flaws cannot be eliminated the first time, then the layer is reapplied. After this initial leveling, the surface is flat and slightly rough due to the coarse-grained components of the putty.
- Finish. It is intended for finishing the surface and bringing it to a perfectly smooth state. It is applied once with a thin layer on a pre-dried starting putty.
- Universal. It is used for both roughing and finishing work, but it is distinguished by its increased cost and not always the required efficiency.
The main component of the mixture plays an important role in where and under what conditions it will be used. Depending on the composition, the putty is of the following types:
Depending on the composition, the putty is of the following types:
Cement. It is used for finishing the facades of buildings, as well as damp and unheated rooms: bathrooms, kitchens, swimming pools, basements.It is moisture resistant and resistant to extreme temperatures. After being applied to the wall, such a putty begins to shrink strongly, as a result of which the layers of solution have to be reapplied for better alignment. Its curing speed is low and amounts to 28-30 days, which significantly slows down the finishing process.
- Plaster. Designed for dry rooms inside the building: living room, bedroom, corridor. In this case, the solution dries on the surface within a few days, but it also quickly decomposes under the influence of moisture.
- Polymeric. It is a universal mortar for leveling polyurethane, cement, concrete and plaster surfaces. It combines the properties of cement and gypsum plaster, resulting in a high cost.
- Oil and glue. It is applied before painting on concrete, wood and plastered surfaces.
- Water-dispersive. It is used for partial leveling of bases made of various materials: wood, aerated concrete, brick.
- Polyester. It is used when working on metal, wood, paintwork, concrete, natural stone. It is successfully used for sealing holes and through holes, getting rid of rust and corrosion. This composition is distinguished by good adhesion, increased strength and water resistance.
Preparation of the starting putty mixture
This operation can be performed in two ways - using a power tool, a drill with an attachment, and also manually. We will consider how to properly dilute the putty with the first method and the second.
Hand kneading
The first step is to prepare a bucket
It must be dry - this is important. Dry putty is poured into this bucket in the required amount
The standard ratio from the manufacturer is 25 kg of dry polymer mixture per 10 liters of water.
Before mixing, carefully read the instructions on the package.
Water is poured into the prepared bucket. The standard proportion is 1/3 of a bucket. Further, dry powder is poured into the center with a stream until it raises the water level by another 1/3.
Then they wait about 25 seconds - during this time the material should settle into the water. Now it remains to stir the water with the powder - if the consistency is not thick / liquid enough, then add powder or add water and mix thoroughly again. After that, the mass is left for some time to swell, then the kneaded mass is mixed again.
To check the density of the mixed putty, insert a spatula into the solution.
If the consistency looks like thick sour cream, and the tool sinks, then you get the right mix, with which you can perform rough work. When working with this putty, it will fit perfectly and smoothly without liquid marks.
Related article:
Features of the Venetian putty and the technology of its application

In the video:
correct preparation of the putty.
Using a mixer

But there is no need to think about speed - speed is useless in this work. Power tool revolutions should be no higher than 800 - this will be enough for high-quality and thorough stirring.
Water is first poured into the container, and then the powder is added. It remains only to mix the ingredients with a mixer to the required consistency. Lumps may form in the process of work - the process should be periodically monitored.
Further, it is recommended to leave the mass to swell, and then stir again - this will help to give the material elasticity and prevent the formation of lumps.
Breeding
How to properly dilute dry putty without a mixer at home
In general, on the question of how to properly knead the starting putty for walls, there are two main methods, both are actively used. Now let's look at the first method. The principle of how to dilute the putty for walls in this perspective is very reminiscent of kneading dough.
In this case, it is precisely this sequence that must be observed, when the putty is poured into the water, it is taken in pieces that will have to be pressed manually. To study how to breed gypsum putty, it is necessary to consider the issue in stages.
How to dilute and stir the wall putty without a mixer:
take a small container, plastic containers work well, but must be clean. Pour about 7 trowels of starting putty and add a little water. Everything is thoroughly mixed. A prerequisite for preparing a high-quality mixture is ideally clean dishes;
in case of dust, dirt, pieces of organic matter, the mixture will quickly solidify, and you will not have time to work it out before this moment; after good mixing, add the rest of the dry putty and pour in water. Now we mix everything again, a homogeneous mixture should come out
Then shuffle again; it is now clear how to dilute the wall putty, but the proportions can vary greatly depending on the type of work being done. Most likely, after mixing, you will have to adjust the consistency by adding the necessary ingredients; the mixture hardens quickly, so you need to prepare such an amount of putty so that it can be worked out in 20-30 minutes, then the putty begins to harden. You will have to knead the mixture a little, which is better than tormenting yourself with a dried mixture and ultimately throwing it out; in the question of how to properly dilute the putty, there is another nuance, which lies in the specifics of the gypsum mixture. It absorbs moisture well, because of this it swells somewhat; thus, in the process of hardening, it dries out a little, which at the corners can provoke cracks, which are eliminated with putty; it can be used for rooms with humidity, since gypsum absorbs water, but it is better to prevent a constant change in moisture, as well as the transfer of liquid to the walls;
Also, a layer that is too thick can become a problem, as uneven solidification occurs. Cracking is possible due to the type of material on which it is applied, the putty does not stick to, or rather disappears over time, and cracks appear in the near future.
In this case, the particles of the wall stretch behind the spatula, and they fall into the mixture, which leads to the unevenness of the material, and, accordingly, its fragility.
How to mix and dilute wall putty with a mixer by hand
This option used much more often, if the farm has a drill or screwdriver with a mixer attachment. How to properly dilute and knead the putty at home:
- pour a little water and add the mixture, add the putty until the required density is obtained;
- depending on the type of putty base, it can be taken in lumps, but the mixer easily removes them;
- with experience, you can prepare the putty in large quantities, with a higher quality;
- prevent the ingress of air in large quantities, otherwise cracks or bubbles in the putty may occur. Use rotation speed of about 800 rpm... At first, when there is still a dry mixture, it is necessary to knead very carefully, otherwise part of the putty will swell with air.
Repeat the stirring procedure, if preparing a large portion, every 15 minutes. This will allow the diluted filler to be retained before it hardens.
Before diluting the putty and clarifying the proportions of water with the mixture, it is necessary to determine the purpose and size of the application layer.
If the whole mixture immediately falls off in one clot, then this indicates poor stirring, since there is a layer of water on the trowel, which will greatly interfere when applied to the surface.
Features of mixing compositions
In order for the walls and ceiling in the room to have a beautiful and even appearance, putty will be the main material for their processing. It is this mixture that allows you to achieve the desired result.In cases where the working surface is small and there is little work, you can purchase a ready-made mixture, which is diluted in the correct consistency and is ready for use.
If you need to revet all the walls, and maybe also the ceiling, it is much more profitable to buy a dry mixture, dilute it and carry out repair work.
Based on the types of work that will be performed, starting and finishing putty can be used. If the mixture is diluted for rough work, then the composition will have a certain consistency.
There are two options for obtaining a ready-made solution:
- using a power tool;
- preparation of the solution manually.
If there is a construction mixer available, then the work on preparing the putty solution will go quickly, efficiently, and most importantly, a large amount of work can be done immediately. To do this, you need a dry and clean container, where water is poured, and only then the dry mixture is added. The number of ingredients should be read on the packaging and the composition should be adjusted as it cooks.
When the ingredients are ready, use a mixer to mix them for at least two minutes.
Manual dilution of the putty is different from automatic mixing. The first step is to pour the solution, and then add water and mix everything thoroughly. The infusion process in this case is only three minutes, after which everything is mixed with a spatula and the material is ready to work.
The finishing putty is kneaded in almost the same way, forming an optimal consistency, not liquid and not too thick.
For woodwork, it is especially important to correctly knead the solution, because it is necessary to create the structure of the material, and then form the required appearance of the surface. If during plastering there is a concern that the surface may crack, it is advisable to use fiberglass, which has a very thin but strong structure and prevents any changes in the structure of the wall.
If during plastering there is a concern that the surface may crack, it is advisable to use fiberglass, which has a very thin but strong structure and prevents any changes in the structure of the wall.
Interesting: Stretch ceilings - installation tips
Varieties of putty
- Oil-adhesive (for indoor work: leveling ceilings, walls, the surface of which is made of concrete, wood or plaster, for further painting or wallpapering).
- Oil - high strength putty for indoor spaces, both dry and wet (dries longer, used for floors, window sills, external doors, etc.);
- Glue (acquires unique qualities due to the content of glue and drying oil);
- Polyester (has improved properties and is used for outdoor repairs of cars or water transport);
- Latex (used for the same purposes as oil and glue);
- Epoxy (used for priming metal surfaces);
- Gypsum (for indoor use);
- Spakryl (for leveling the plastered walls and filling the plinth);
- Acrylic universal (for removing cracks from old putty and leveling surfaces);
- On the basis of PVA (practically universal for surfaces, due to the presence of antiseptic substances in the composition, it prevents the appearance of fungus and mold);
- Facade acrylic (high resistance to moisture).
Which of the types of fillers to choose for finishing the room.
Types and design
For a long time, plaster has been used as a base and as a leveling component. Currently, its decorative varieties are widespread, which can easily compete with wallpaper in popularity. It is easy to combine it with other types of finishes and, as a result, to bring to life the most daring design ideas. It can be smooth or textured.
Decorative plaster can be divided into types according to the binding agent:
Acrylic
elastic, perfectly applied to a wide variety of surfaces, suitable for creating decorative elements and patterns with a roller or spatula. Available on the market as a ready-to-use mixture. If desired, you can add the desired dye to it. Suitable for work in bathrooms and kitchens. To apply plaster to the base, you can use special installations, which is usually done with a large amount of work.
Please note that in order to obtain a uniform shade and equal texture, it is necessary to constantly stir the composition so that it does not lose its uniformity, and, if possible, do not interrupt work for longer than half an hour. The resulting surface can be cleaned using mild detergents

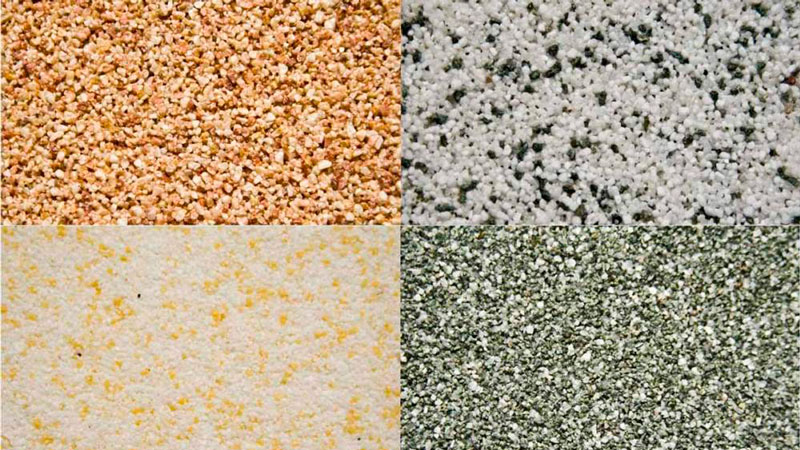
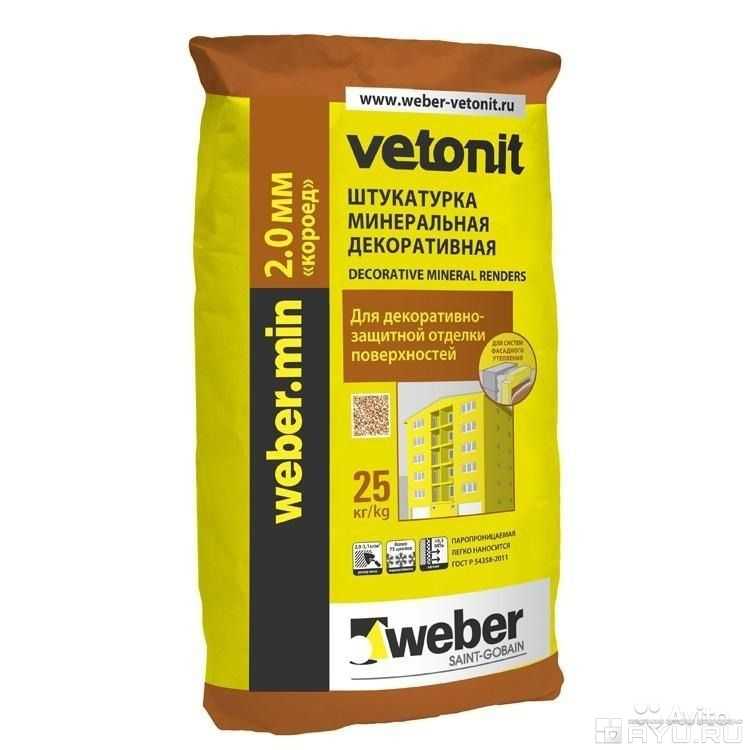
Mineral.
It uses cement as a binder. This formulation is sold in powder form. Of the positive aspects, one can single out its strength, resistance to mechanical damage, good soundproofing properties. Allows painting or varnishing.

Silicone
produced on the basis of synthetic resin. Flexible, easy to apply, upon completion of drying, forms a water-repellent film on the surface, which allows you to cover surfaces in the bathroom with it. Long-lasting, not afraid of mold and mildew. It is used exclusively for decorative purposes and does not require preliminary preparation of the surface for application, since it perfectly levels the walls. The price category of such plaster is slightly higher than that of the previous types. It is sold in containers of various sizes, which is extremely convenient for creating a unique interior design during the final finishing work.

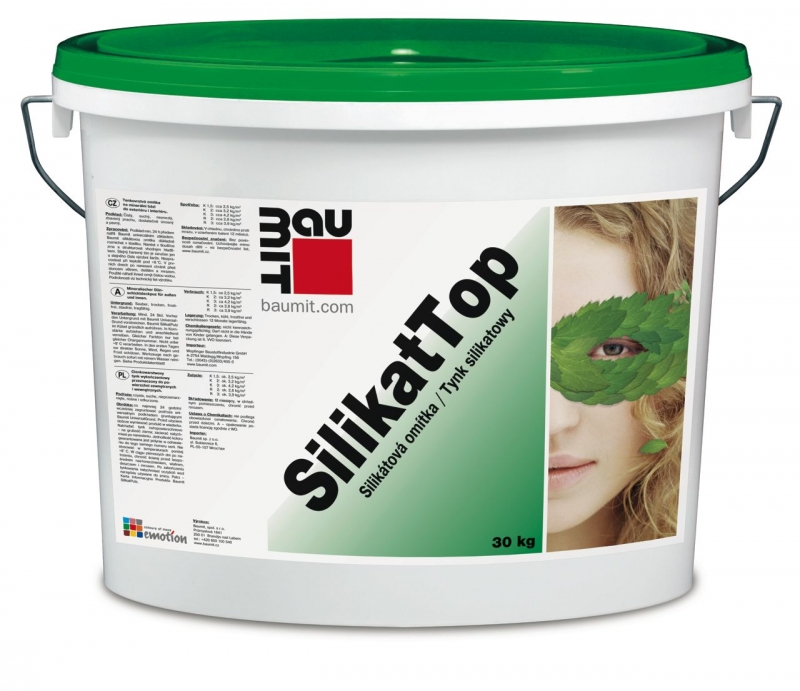
Silicate
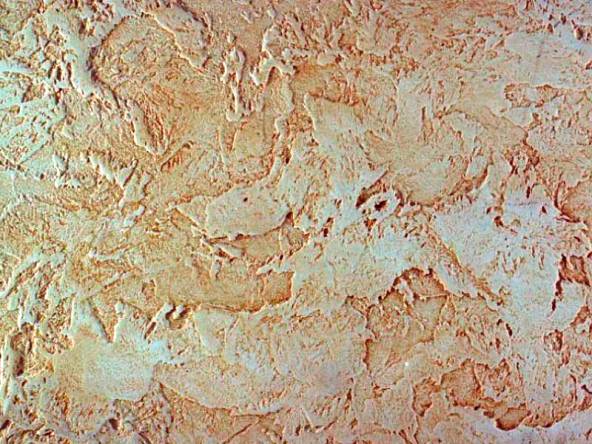
- manufactured using liquid glass. It is the most durable and durable type of coating, it prevents walls from rotting and the appearance of mold, therefore it is more often used for external decoration of facades, although sometimes it is used for indoor work. Does not suffer from temperature and wind changes. It comes in white or it can be colored. Ideal for porous substrates such as aerated concrete.

In appearance, gypsum plaster is divided into the following types:
Structural - with the addition of marble chips or quartz, it looks like a non-uniform granular surface. Highly breathable and moisture resistant.
Textured - demonstrates high adhesion to brick, wood and simply smooth plastered surfaces. Easily creates an imitation of wood, fabric or stone, it is possible to paint the composition in different colors. This type of plaster perfectly masks irregularities.
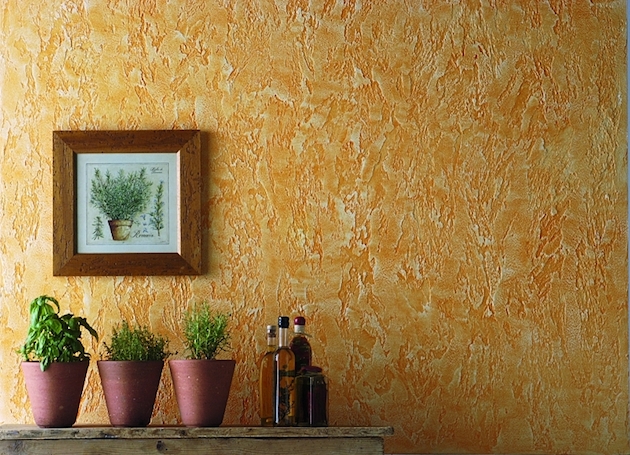

Venetian - imitates marble or onyx, is often used in interior decor in a classic style. The application of such a plaster requires careful preparation of the walls, including reinforcement, putty and primer. Then the paint is applied with a rubber spatula. Each smear requires careful drying. Can be matte or glossy.
Flock is a new development containing acrylic flakes in the composition. Creates an imitation of suede or velor, is widely used for finishing ceilings and columns.


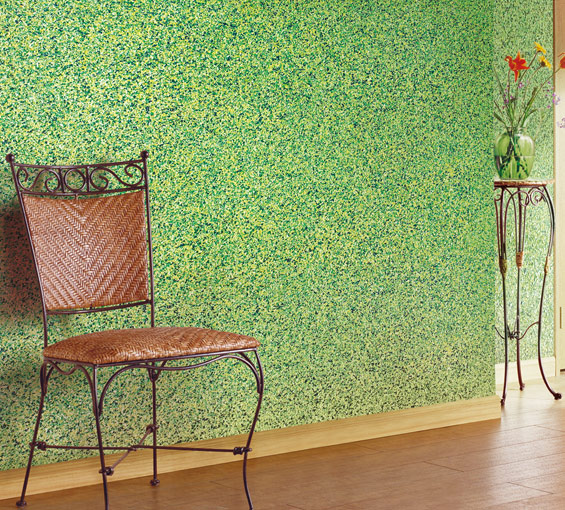
I would like to briefly highlight the currently most popular types of finishes:
"Bark beetle"
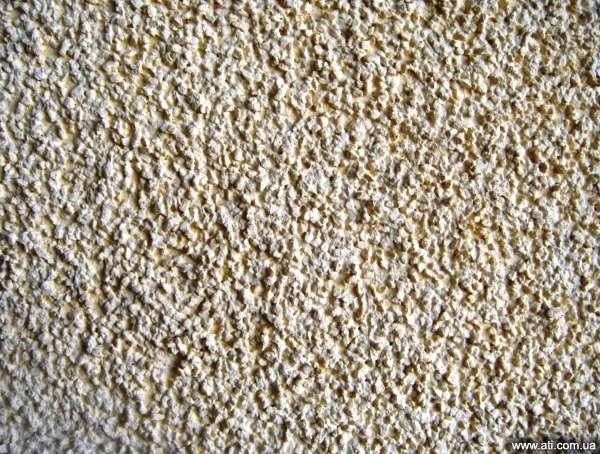
- contains mineral granules, which, when applied, imitate a pattern similar to the path of a wood beetle. It is used only for finishing work, it fits perfectly on plasterboard, brick and concrete substrates.
"Lamb"
- contains mineral chips. As a rule, it is used for facade work, it fits perfectly on any kind of surface, previously cleaned of dirt and primed. After drying, painting in any desired color is possible.
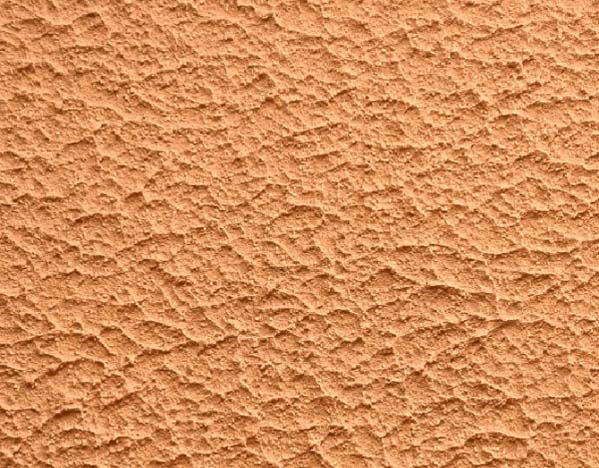
"Fur coat"
- has been ranked first in popularity for a long time.Stir the composition thoroughly before starting work, since decorative elements tend to settle to the bottom of the container over time.

How to use
Not everyone knows how to handle such a finishing material, and those who want to know how rotband plaster is used will need a little instruction.
Before you start working directly with the plaster mixture, you need to thoroughly clean all surfaces to be processed from dust and dirt.
A standard 30 kg bag of the mixture is diluted with approximately 18 liters of water. It is not necessary to dilute the entire volume at once. The finished composition has a limited application time. It will need to be consumed in about 25 minutes, so it is enough to dilute exactly as much as required, but the proportions must be observed.
It is best to stir the mixture with a nozzle - a mixer on a drill, then the mixture is guaranteed to be well mixed.

After stirring, the composition is applied to the wall with a wide spatula or by scattering with a construction trowel.
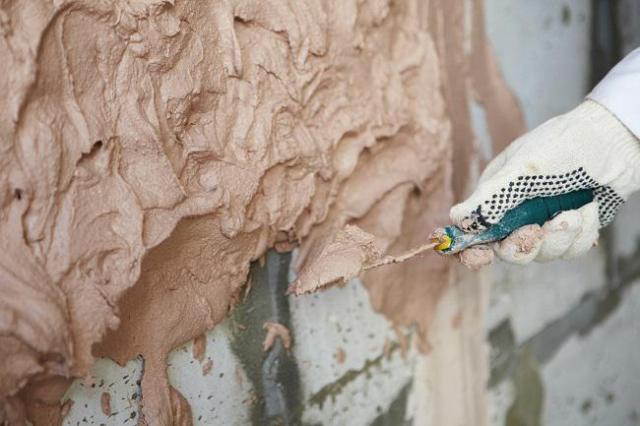
Then you need to level the resulting layer with a wide spatula.

Until about 20 minutes have passed, the composition has the property of "sliding" down, so sometimes you need to adjust it, again smoothing the surface with a trowel or trowel.
The layer can be applied up to 5 centimeters in one pass. If more thickness is required, the applied coating should be "combed" with a notched trowel. When it is completely dry, it must be re-treated with a primer and another layer of material applied.
When leveling work is being done on a rough substrate, it may be necessary to thicken the layer. And here it is already necessary to use a special reinforcing mesh. It will not allow the coating to crack or collapse.
Thin finishing layers do not require any reinforcement. When the surface is completely dry, it will be strong enough.
20 minutes after application to the wall, the material is processed with a hard felt or sponge float. To make the plane more even, it can be moistened with water. Within 40 - 60 minutes, after preparing the solution, you can wet the surface again and rub it with a grater.
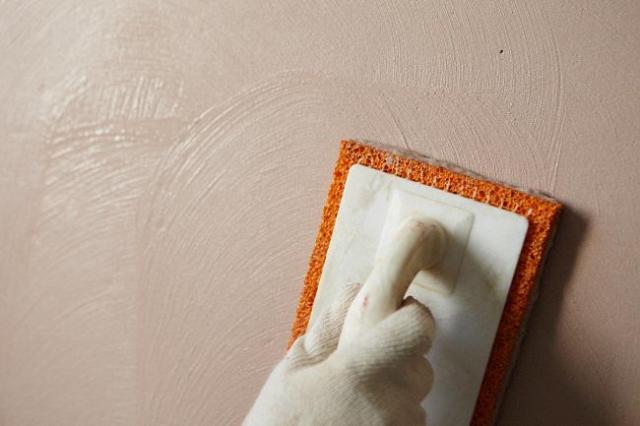
When it is required to obtain a glossy finish, moisten and iron the entire surface with a sponge or felt trowel no earlier than two and a half hours after diluting the mixture. This can be done within 24 hours from the moment the mixture is diluted.
If there are shells or irregularities on the coating, then within a day you can correct the resulting plane. To do this, you need to prepare a liquid solution of the same plaster, but it should not be diluted as indicated in the instructions, but to the consistency of thick sour cream. The resulting mixture smoothes the detected defects.
To get the best idea of working with such material, you can watch the video.
While the composition has not yet dried completely, it can be given some kind of texture. For this, you can use any of the molding tools that will be at hand and suitable for creating the conceived pattern or texture.
If, after plastering, it is planned to glue the wallpaper, then nothing else can be done with the treated wall. She just needs to dry. How much rotband plaster dries depends on the humidity in the room and the thickness of the applied layer.
The manufacturer indicates the time of complete drying from 7 days, with a layer of 10 - 20 millimeters, respectively, if the layer was thicker, then the time of complete drying may increase.
