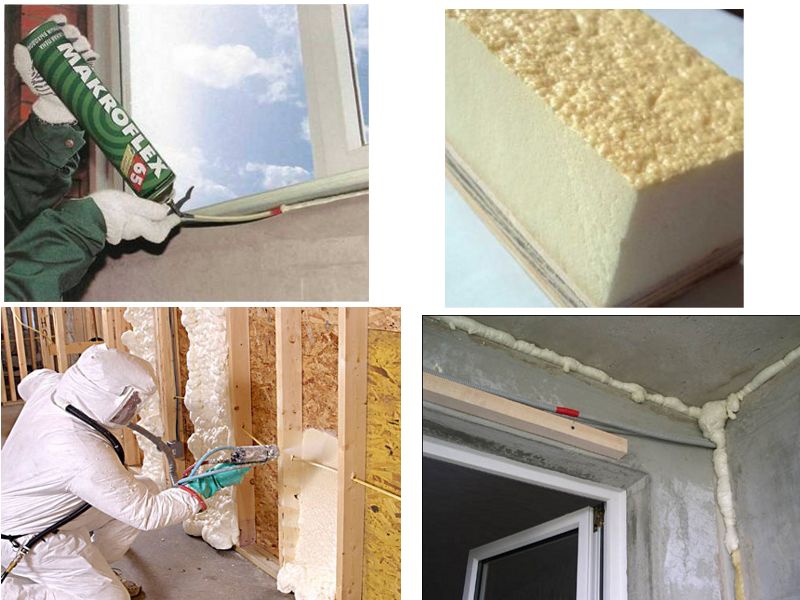
How to use the product?
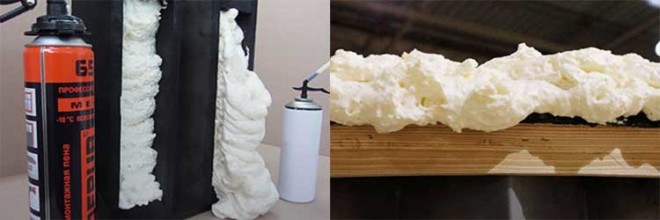
Before using the sealant, you need to correctly calculate its volume. If the door needs to be foamed with polyurethane foam, then the gaps between the box and the wall 3–5 cm wide will be filled from a 300 ml bottle. The output will be about 30 liters of expanded polyurethane. From a 500 ml bottle, 35 to 40 liters of foam will come out. This is enough for one and a half door frames. A 750 ml cylinder is capable of delivering from 45 to 50 liters of sealant. There is enough foam to handle two doors.
Before foaming, the surface is cleaned of dust, grease, abundantly moistened with water. In winter, ice, snow, frost are removed. To increase the foam yield, the can is shaken for 30 seconds, heated to room temperature, but not over fire.
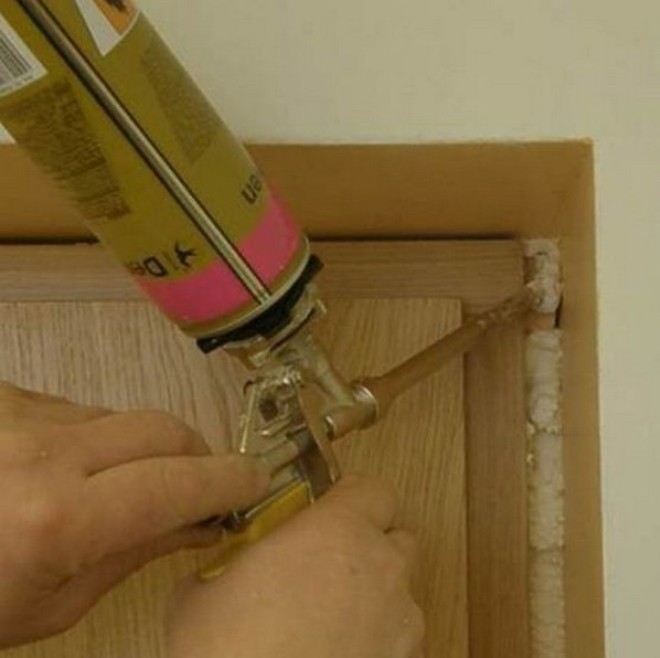
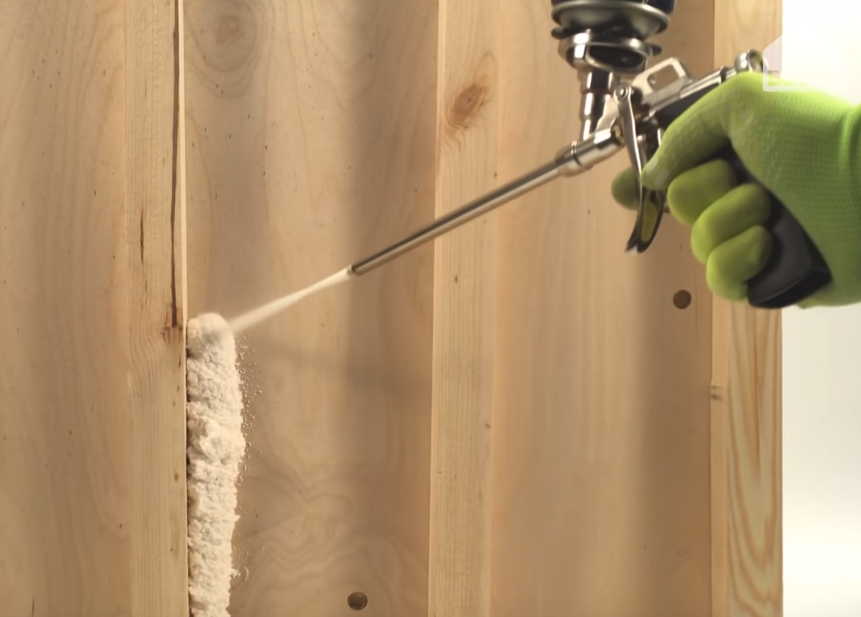
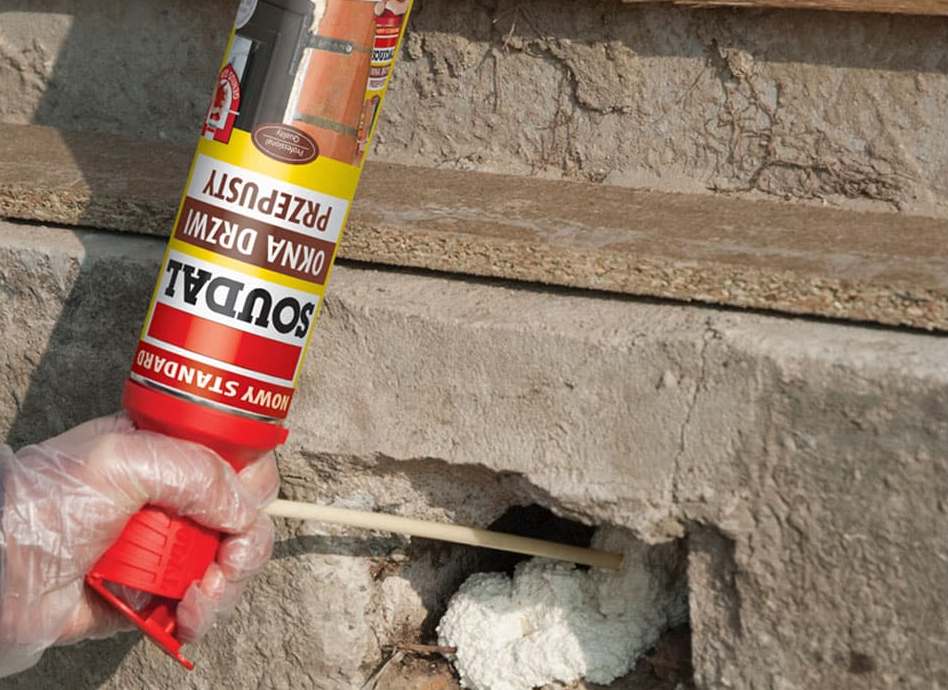
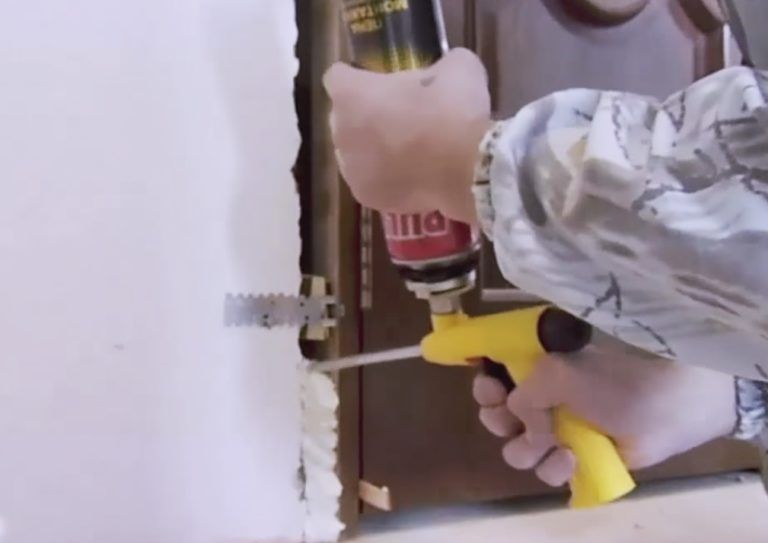
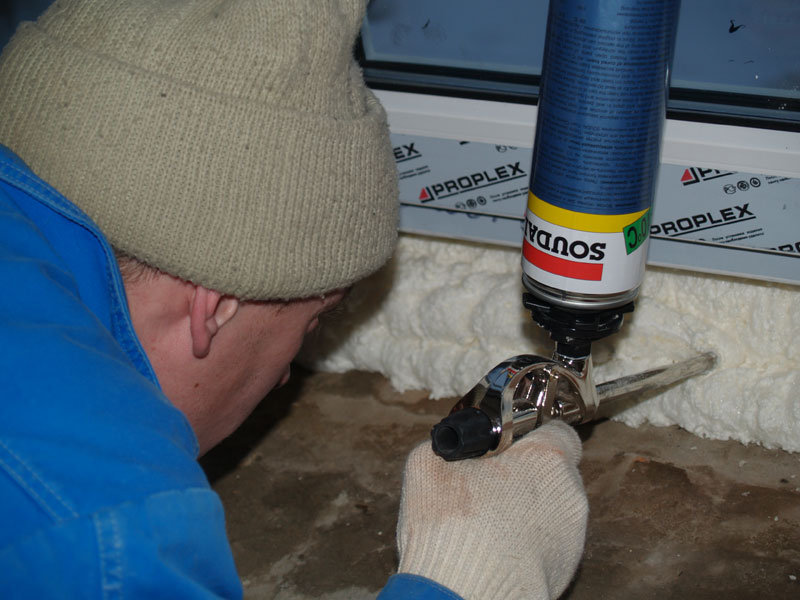
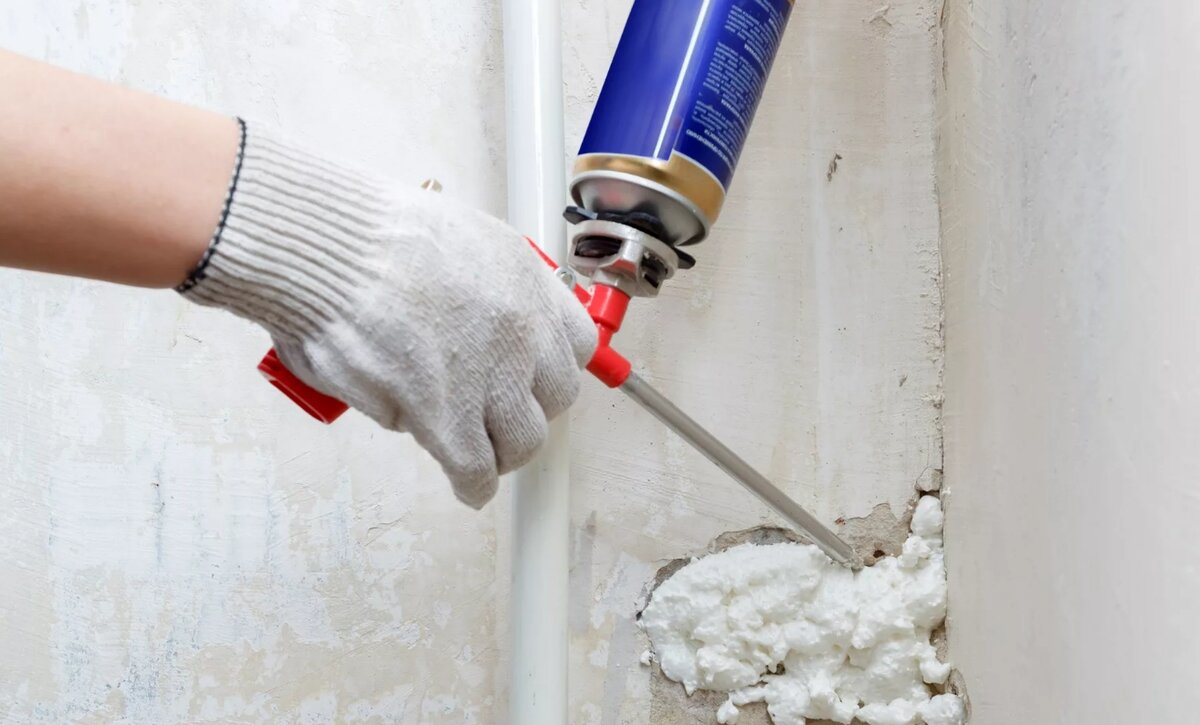
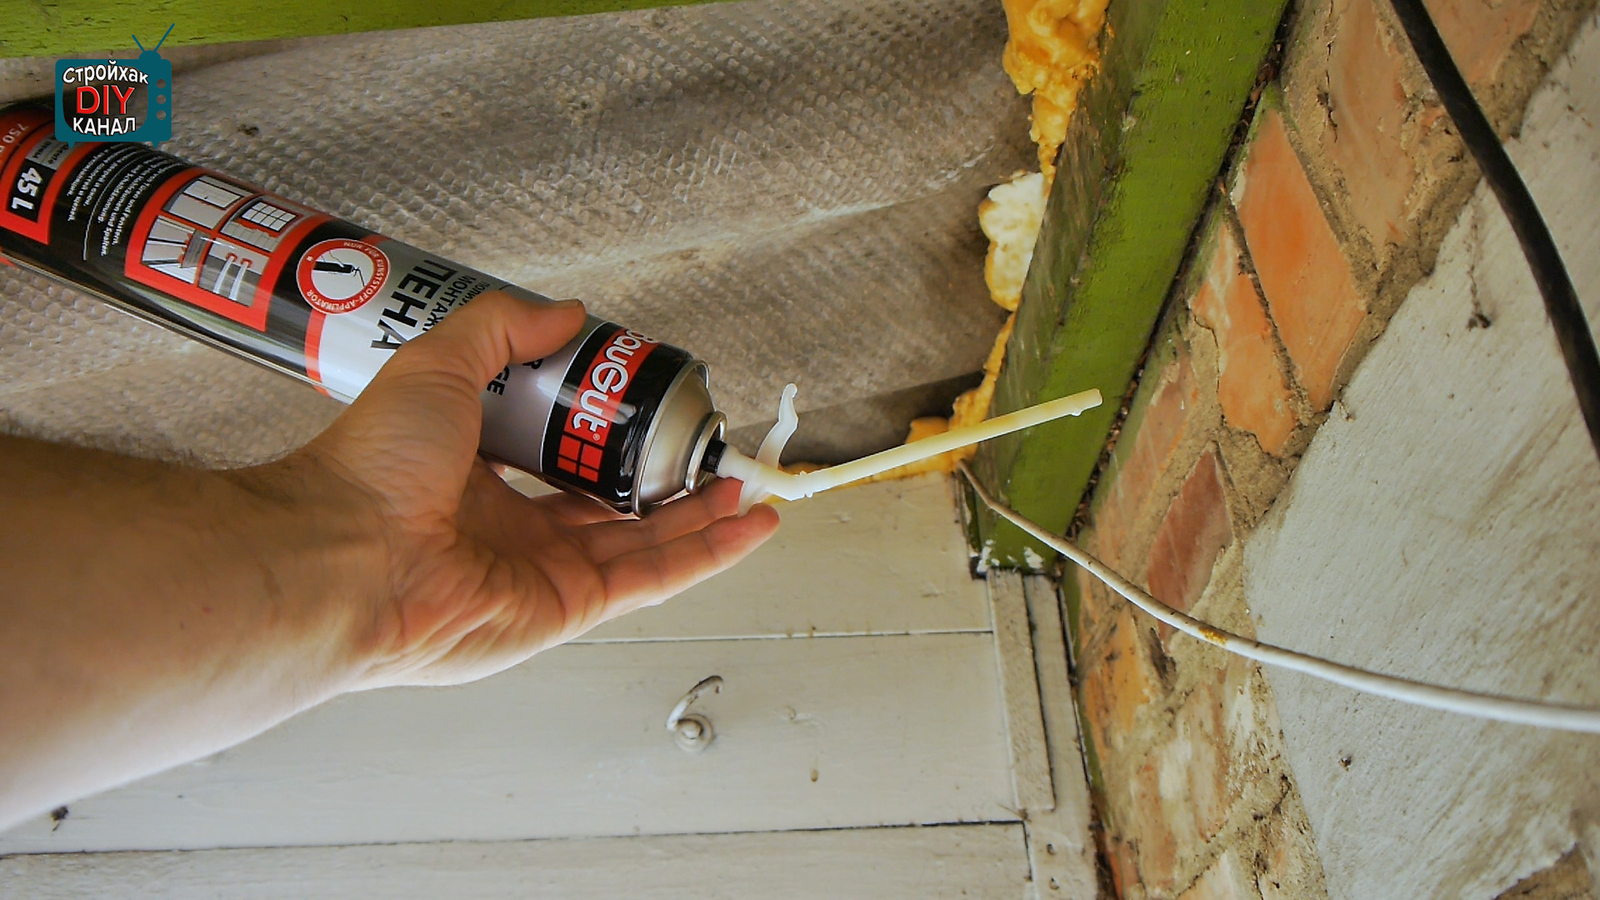
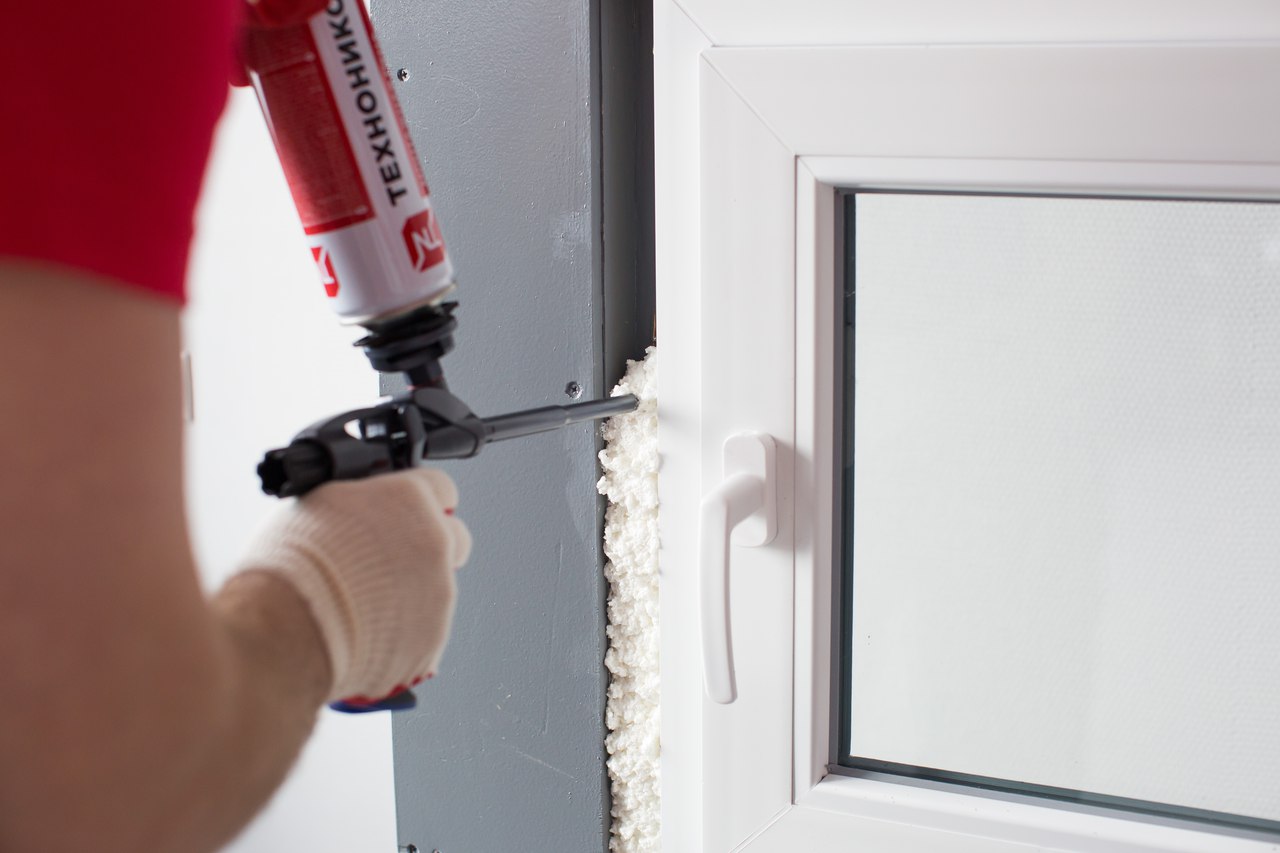
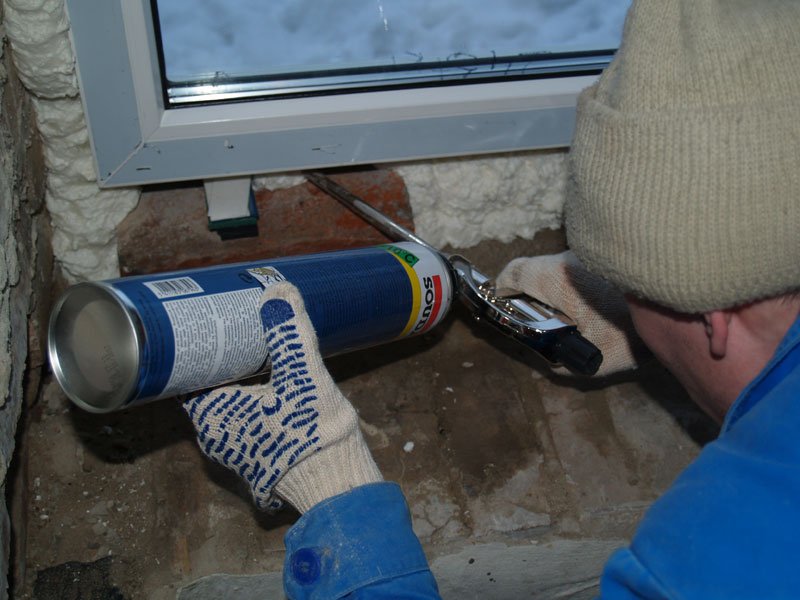
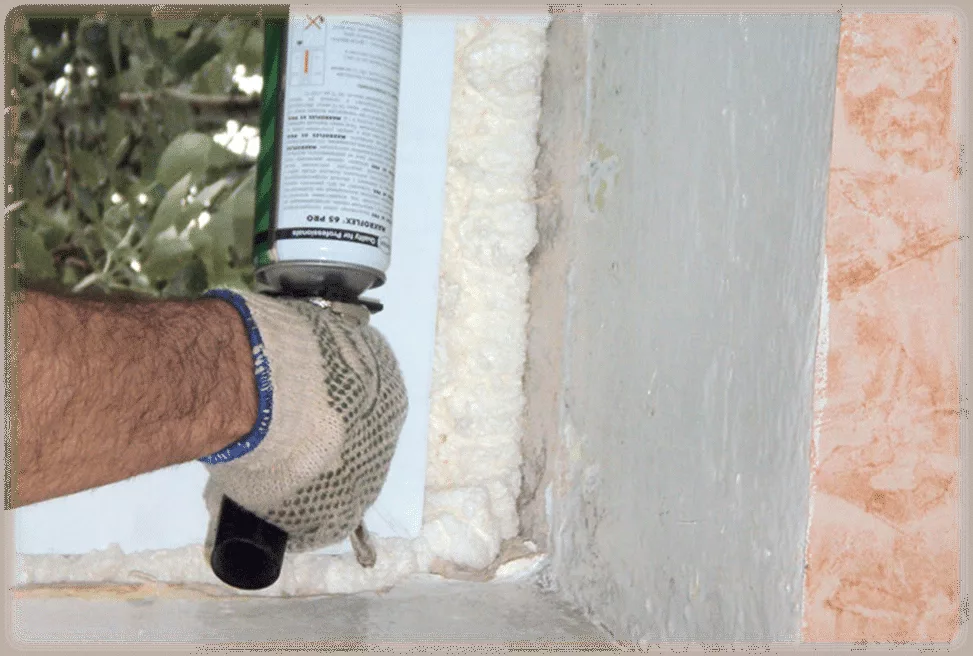
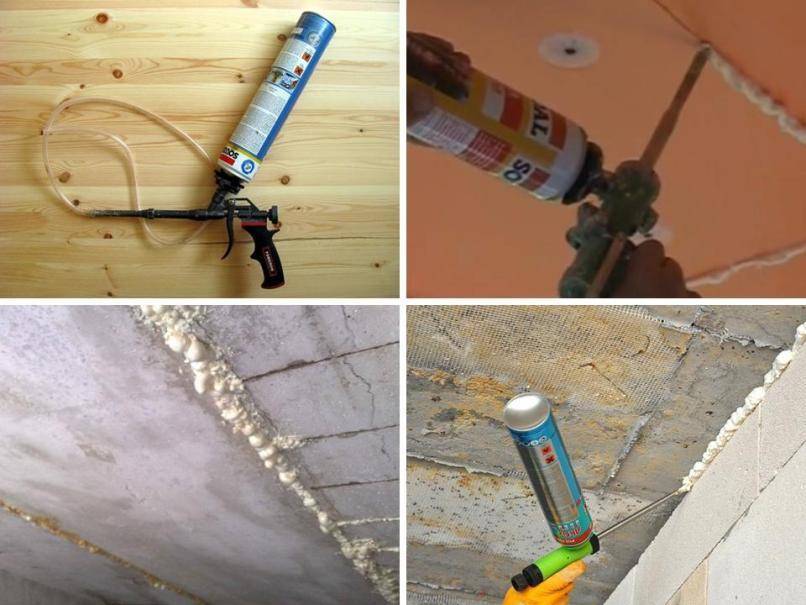
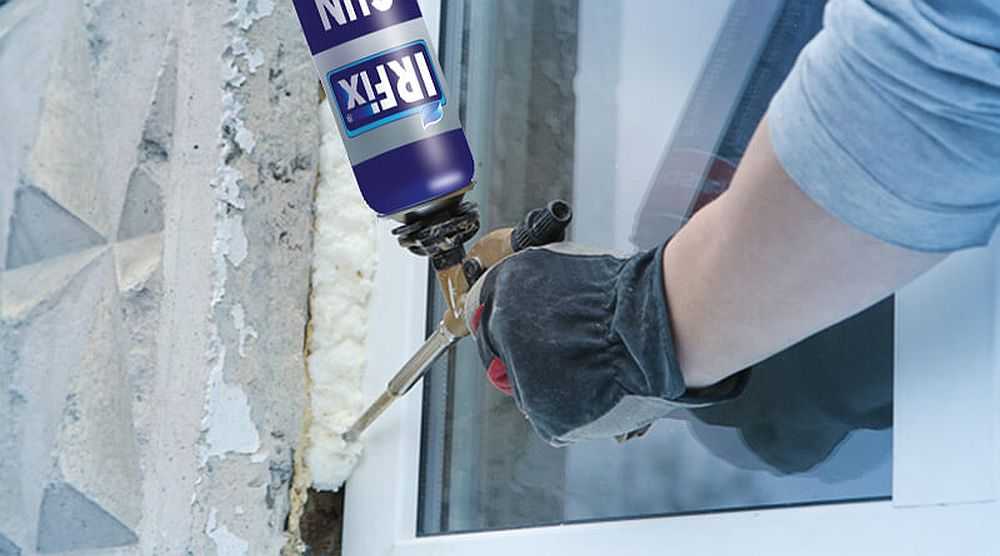
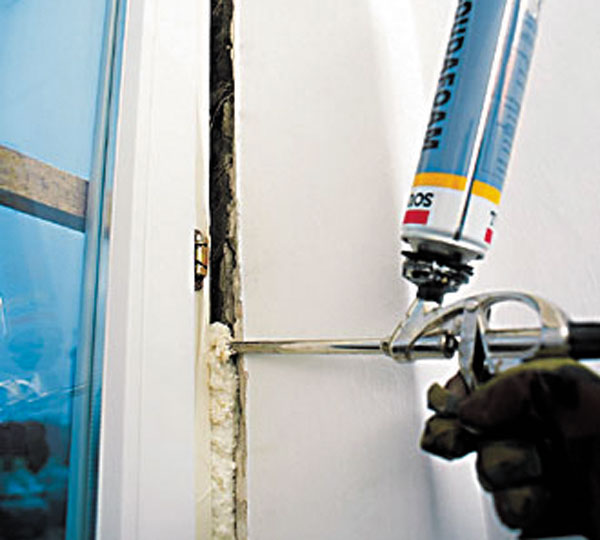
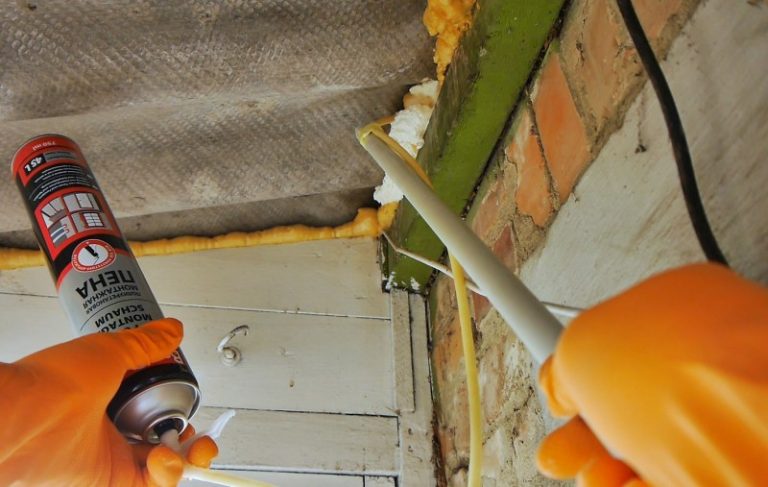
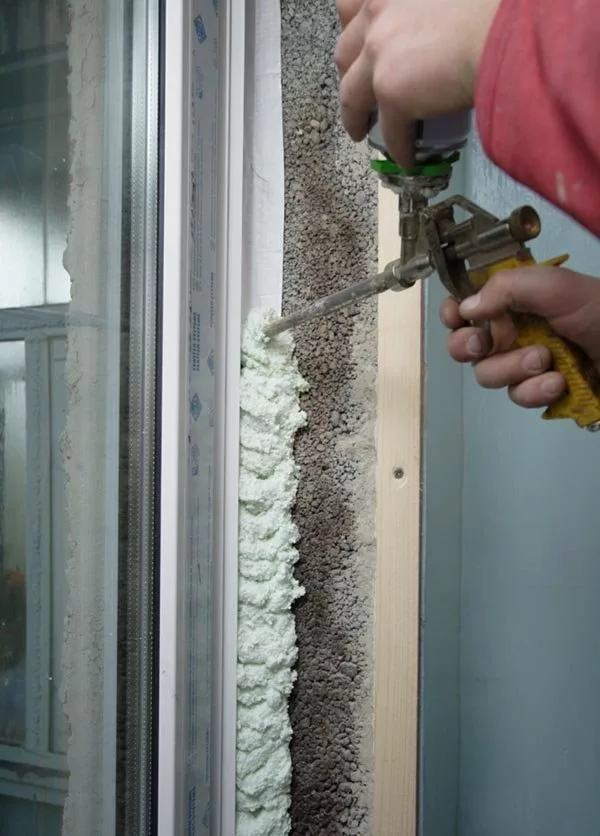
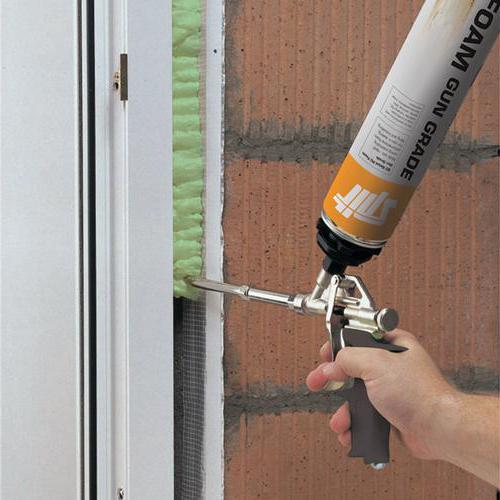
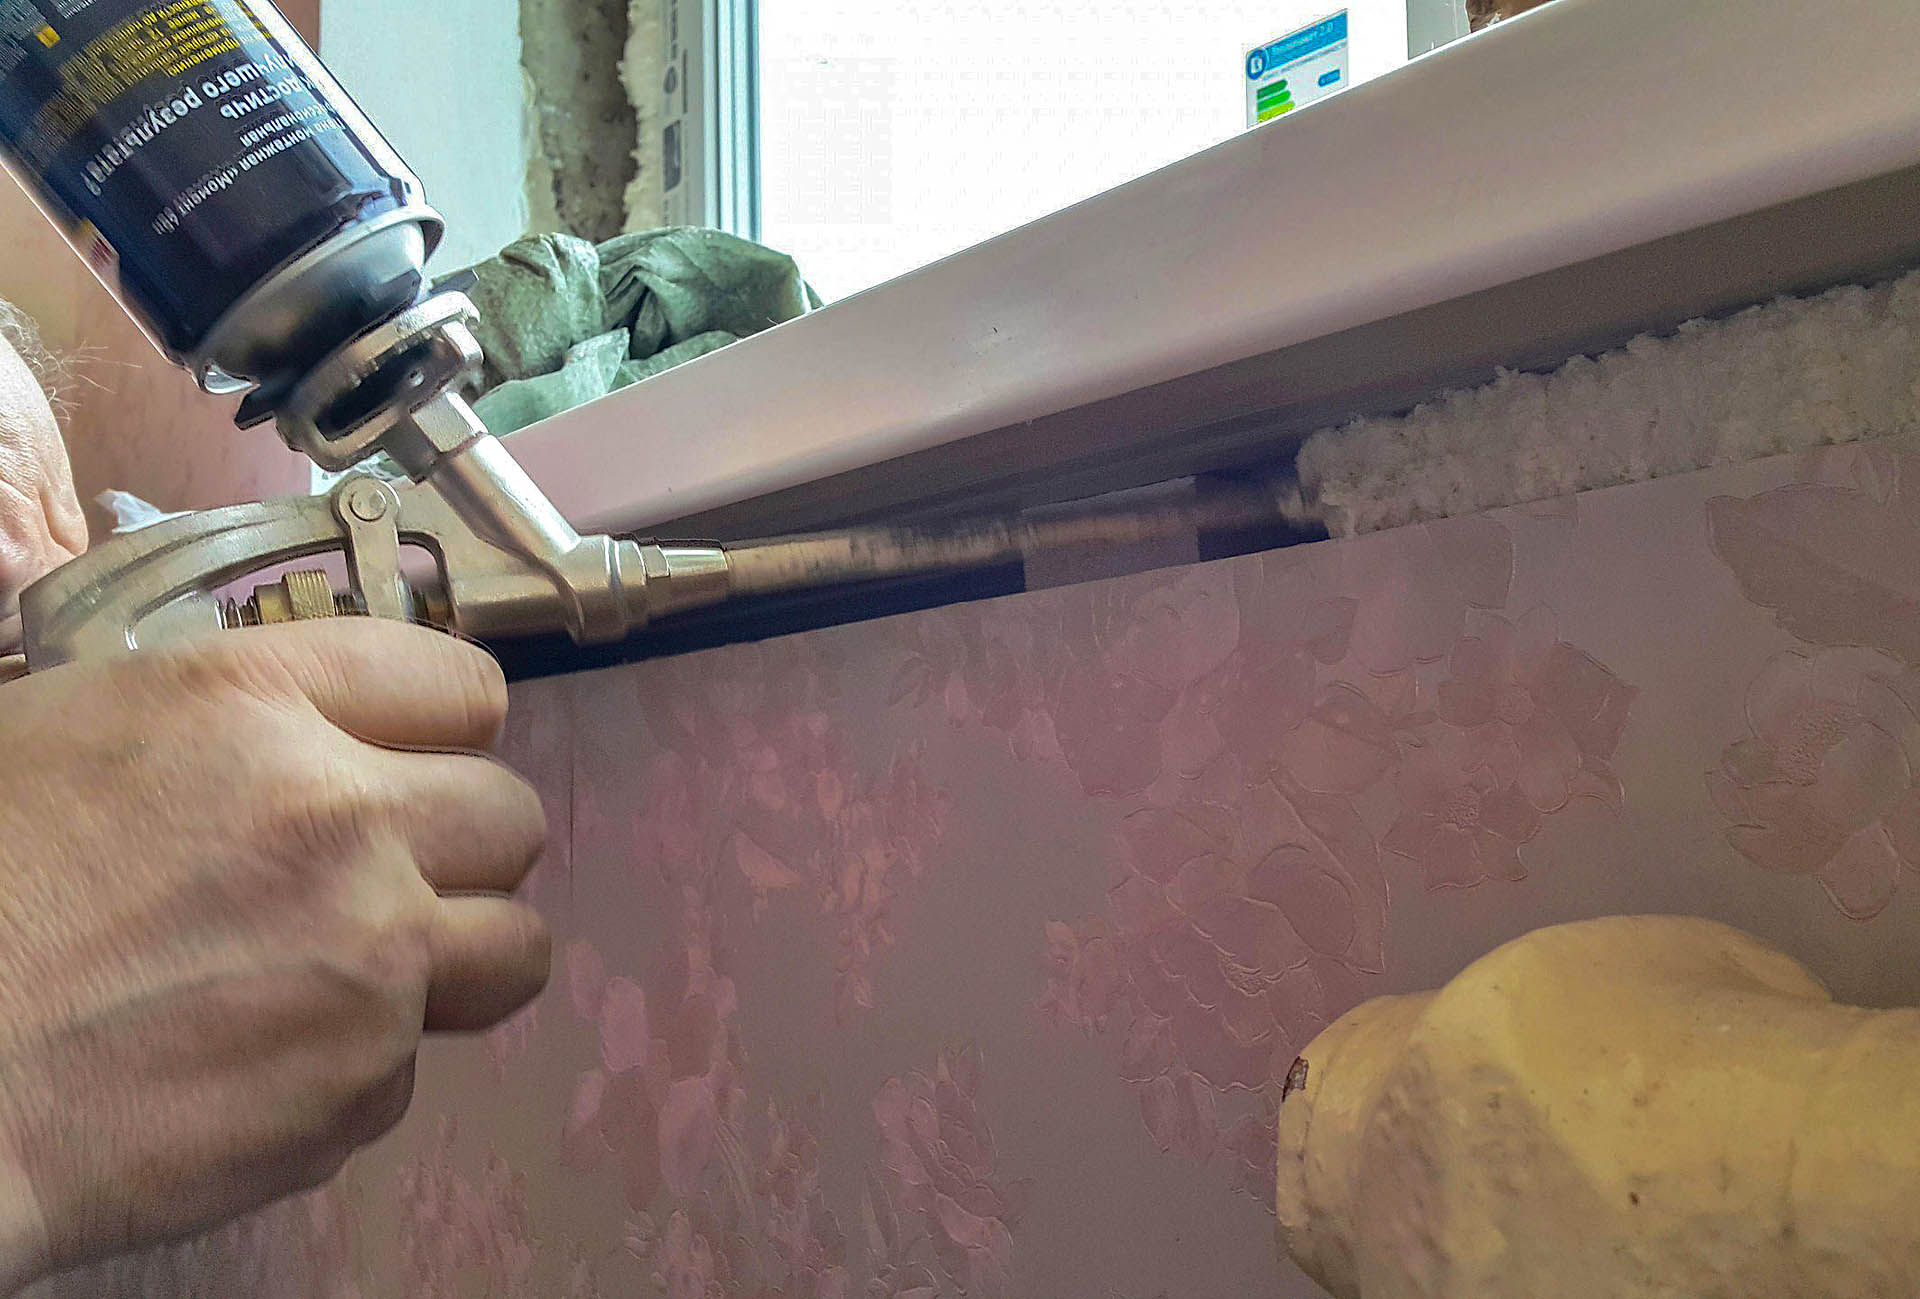
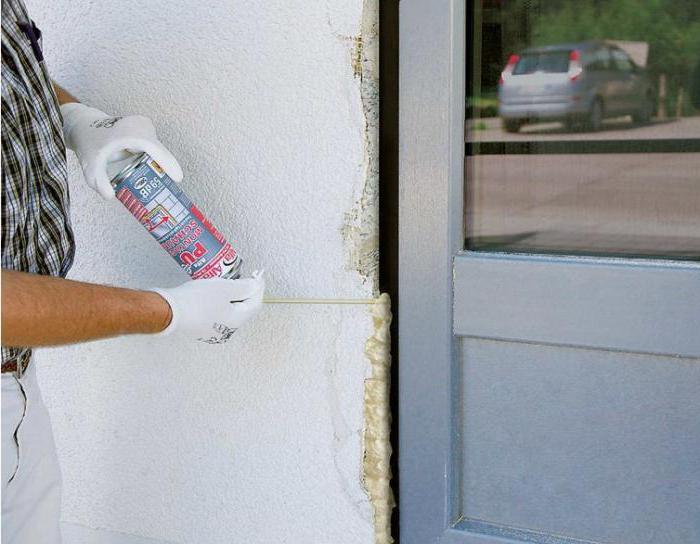
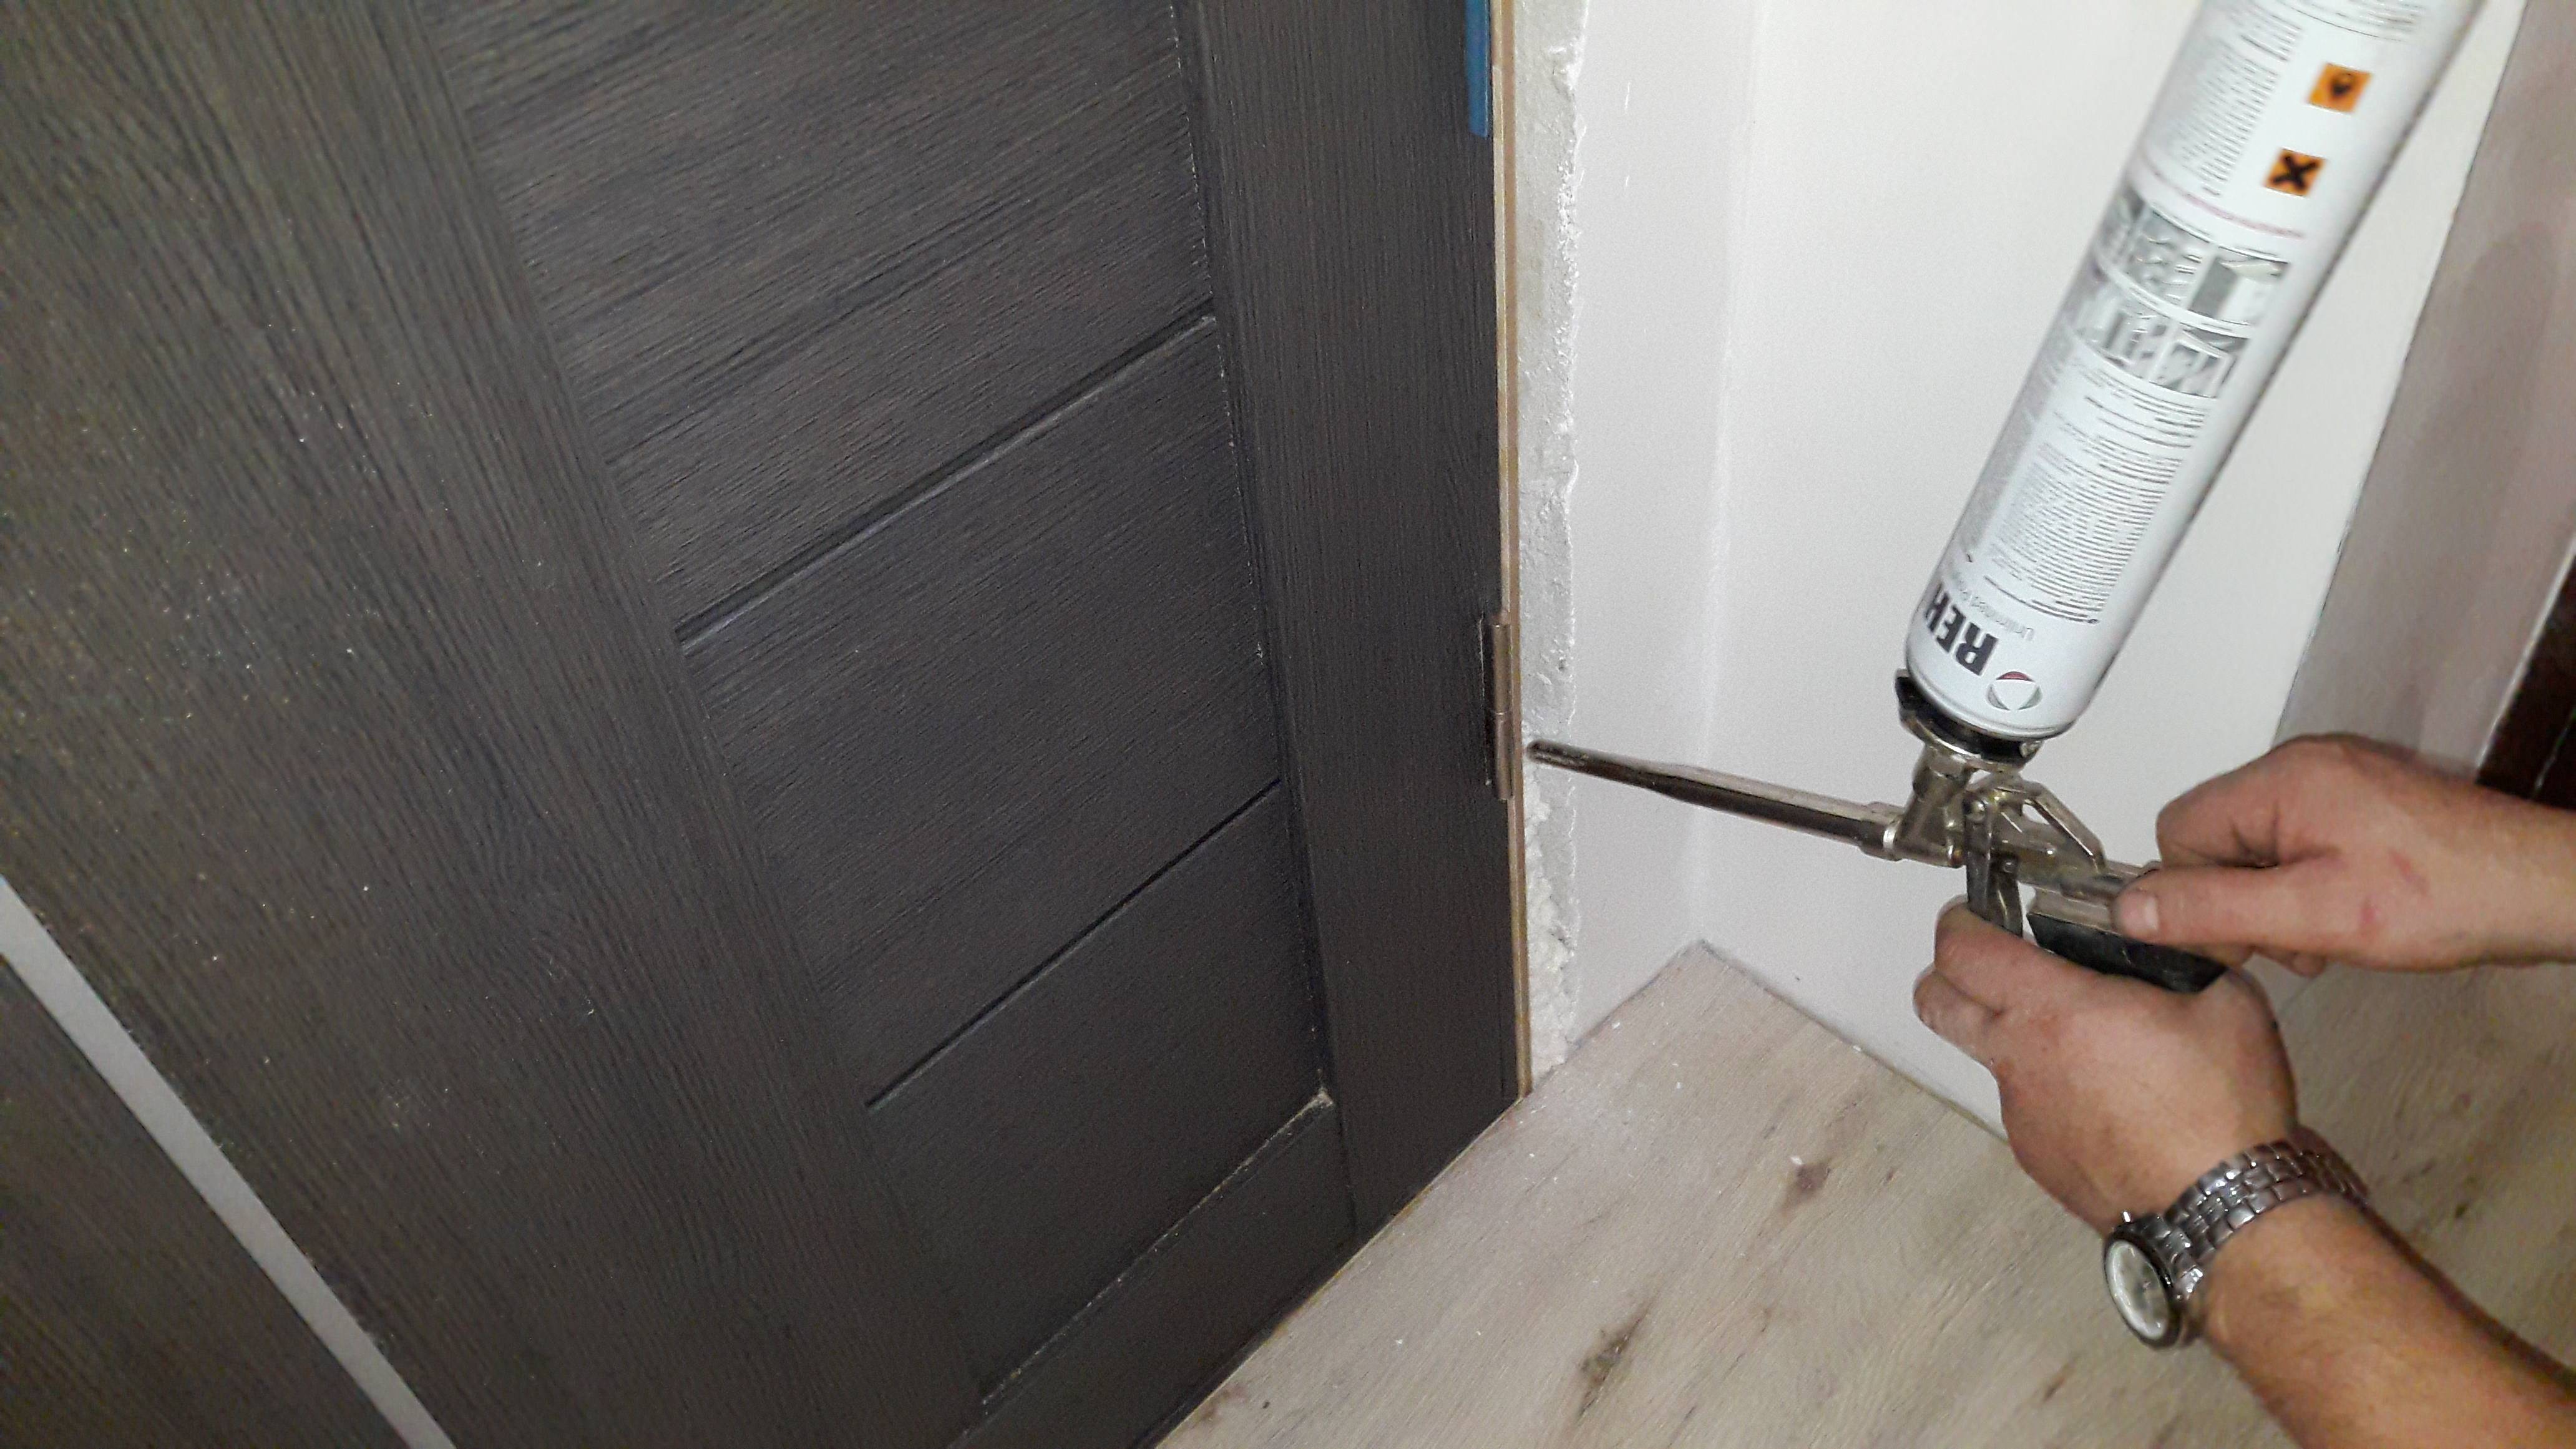
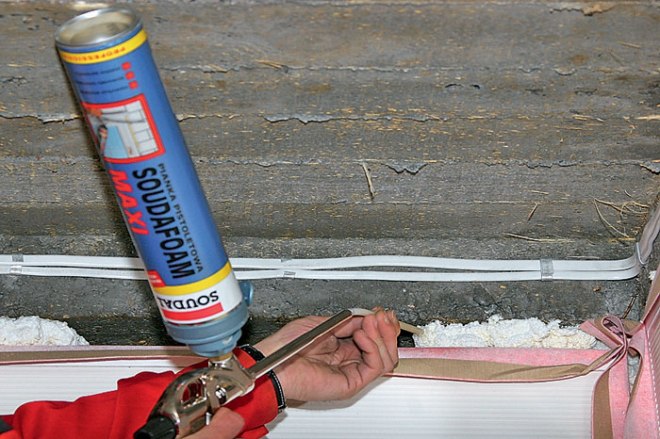
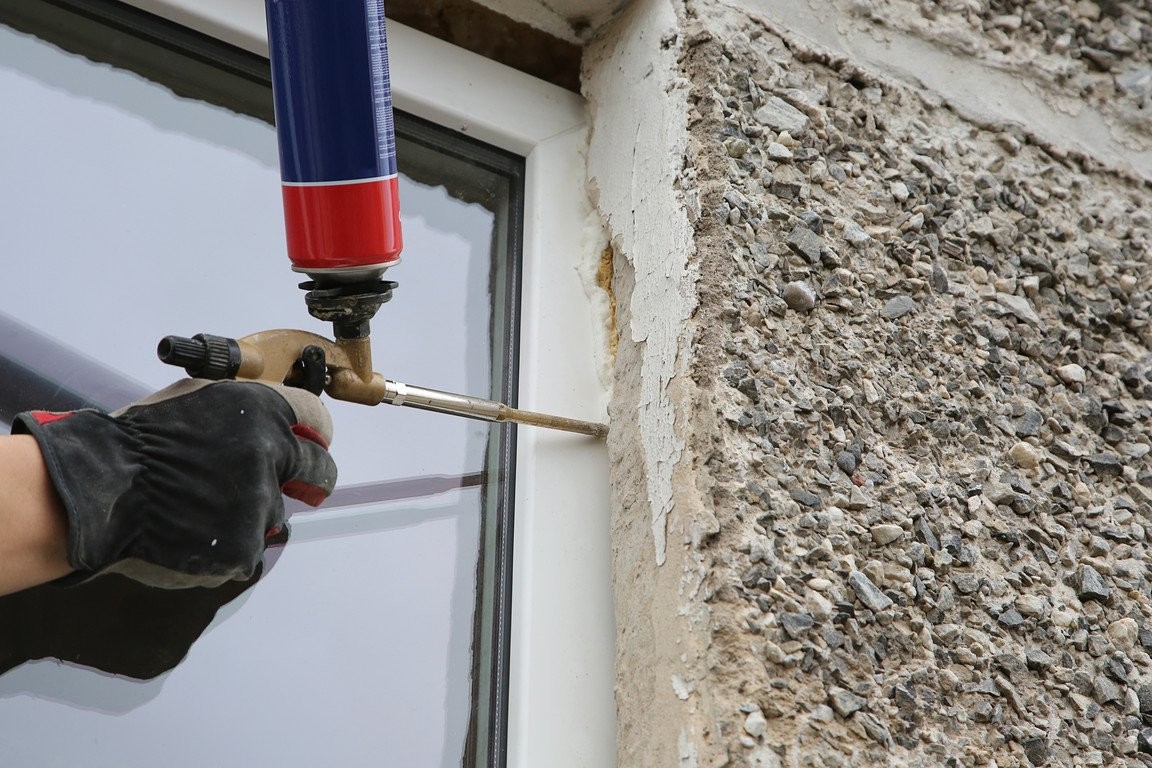
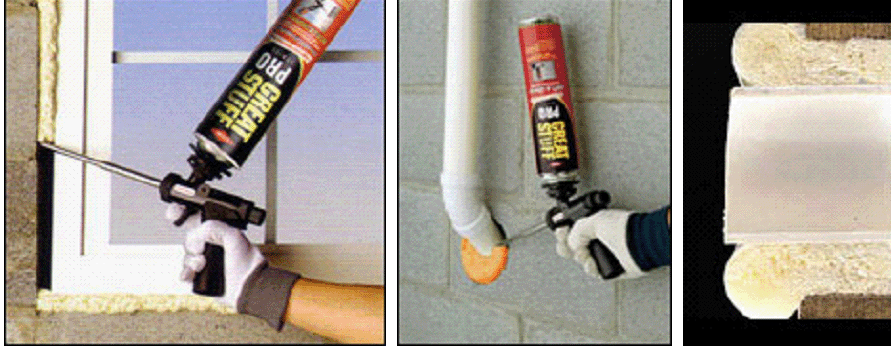
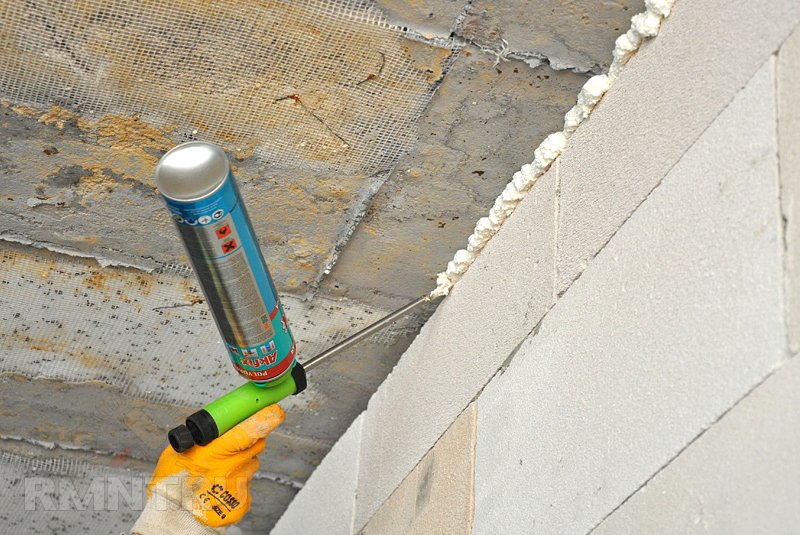
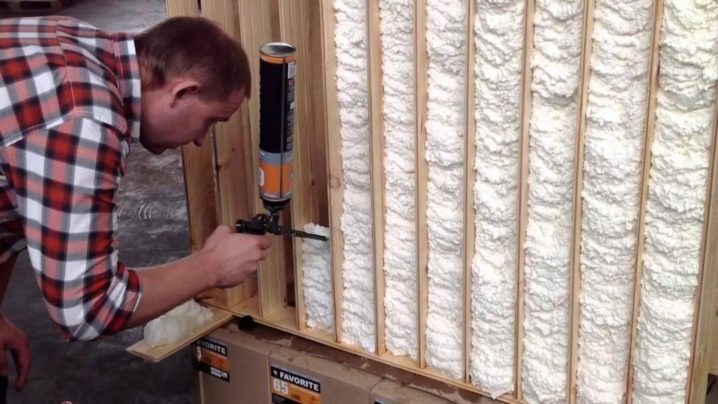
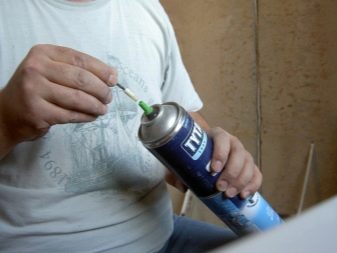
To properly foam with polyurethane foam, hold the cylinder upside down. In the reverse position, only gas will come out. When using a pistol, the cylinder is screwed onto the seat. Extrusion occurs by pressing the trigger. If household foam is used, a plastic tube with pressure handles is screwed onto the spout of the cylinder.
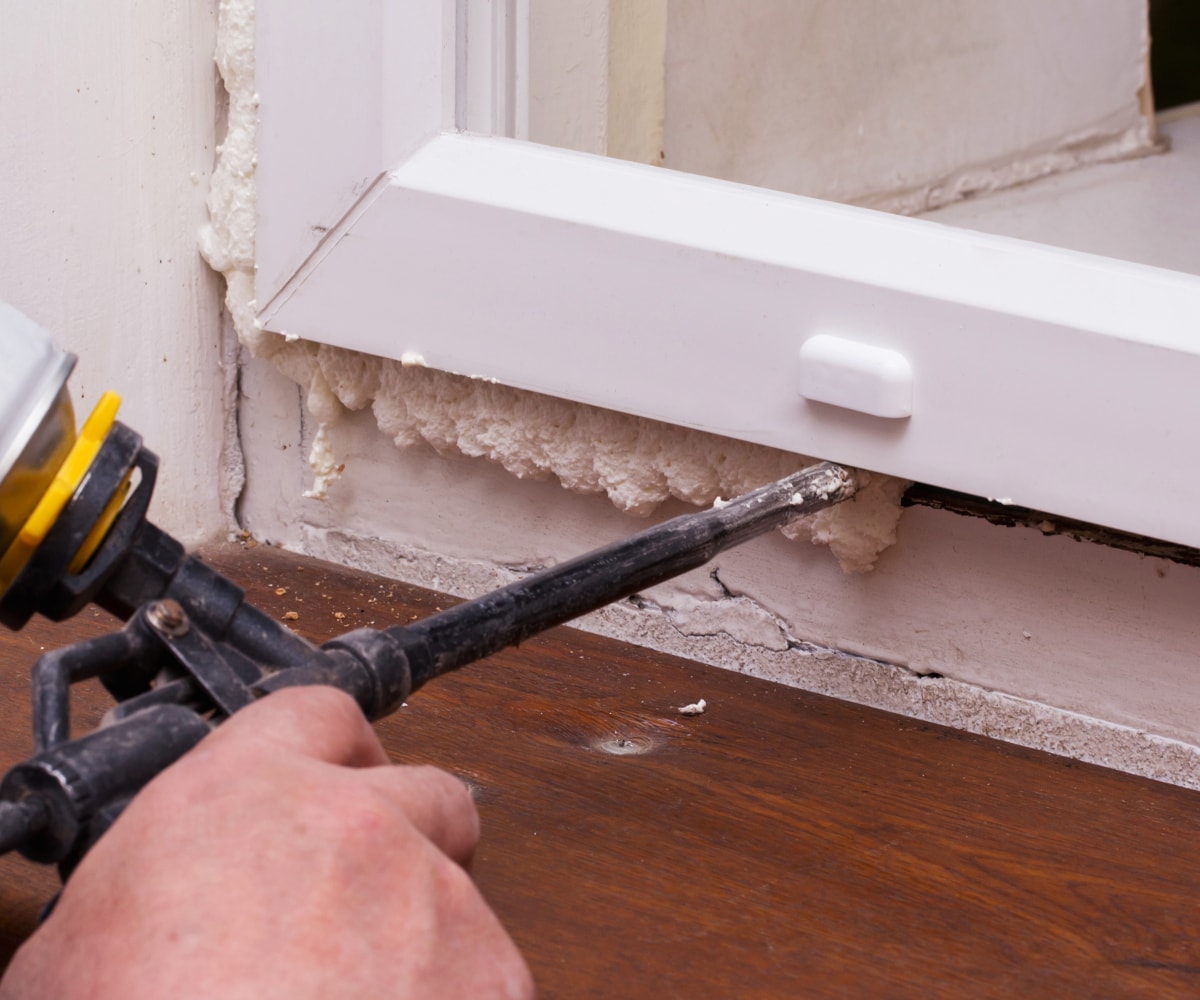
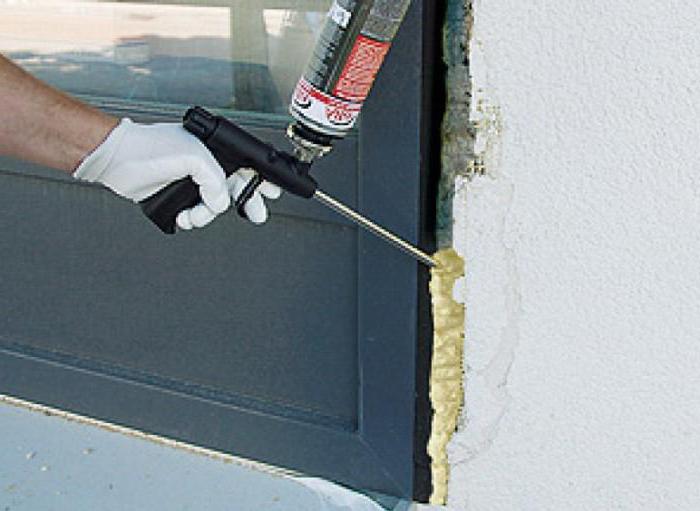
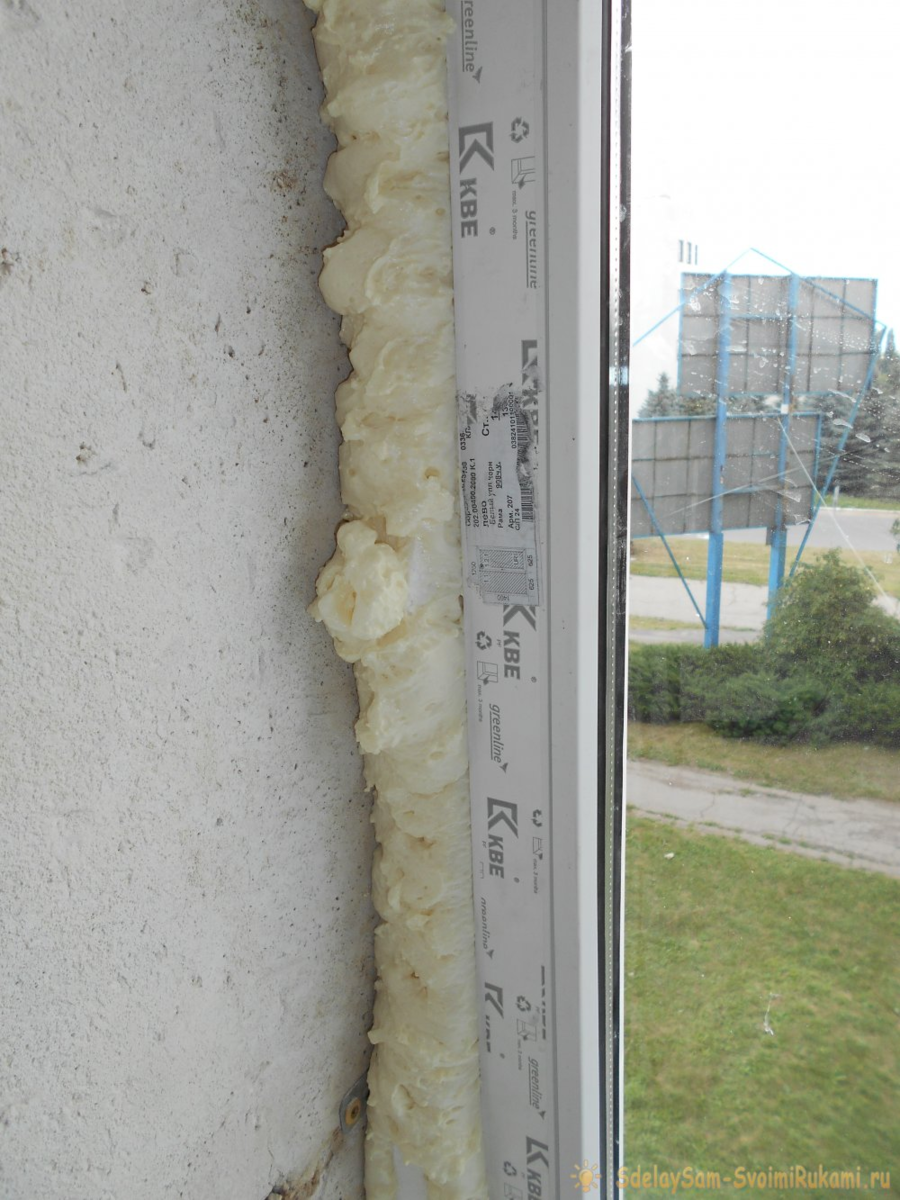
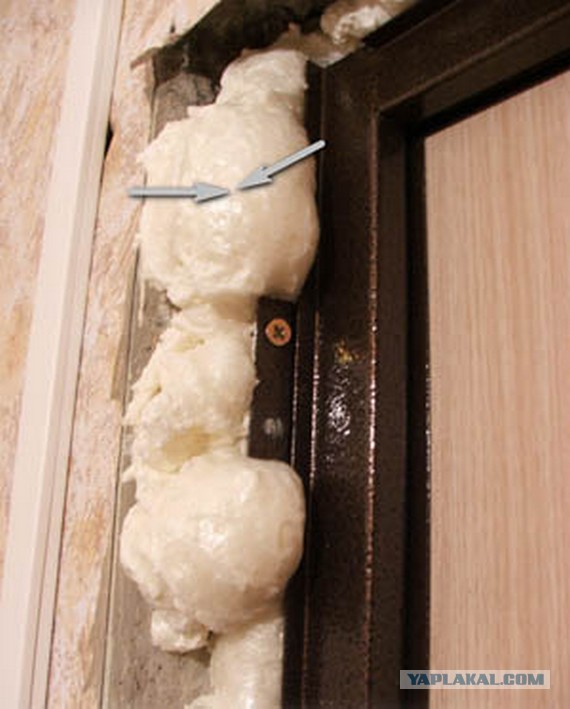
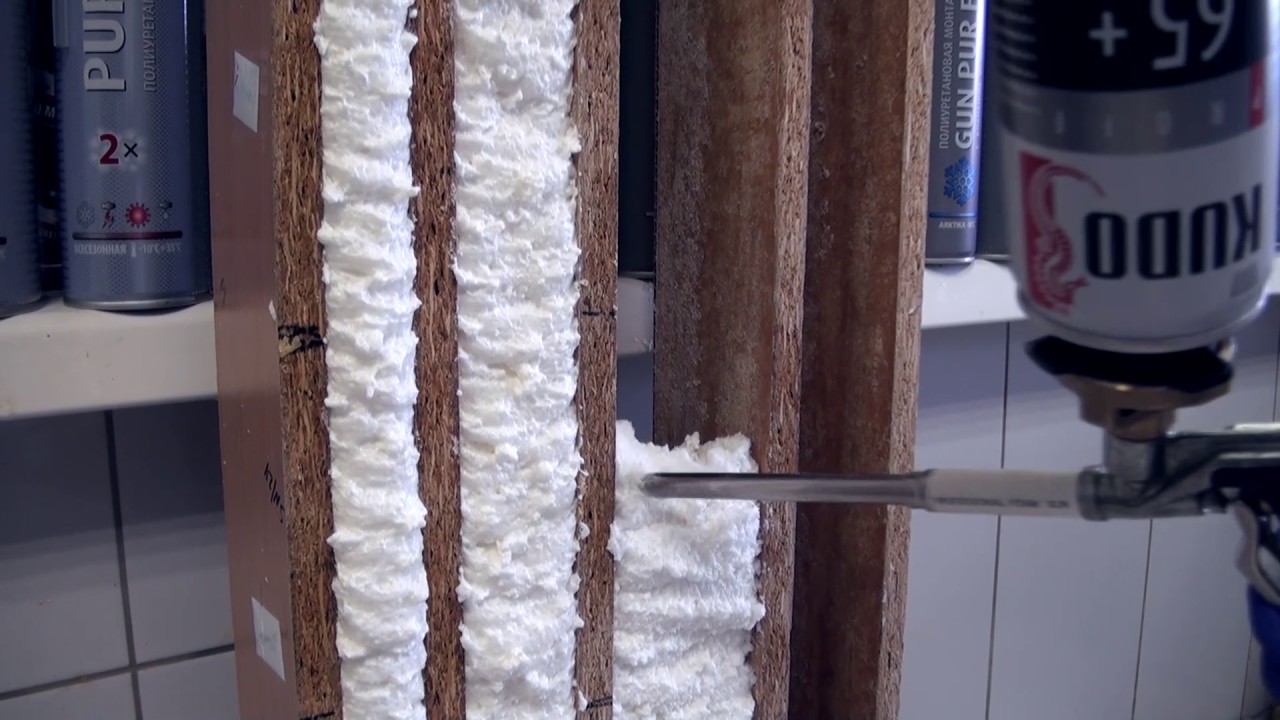
The seams are foamed upwards. Try to apply an even layer with a thickness of half of the free space. Slots more than 5 cm deep are poured in two times, giving the first layer time to dry.
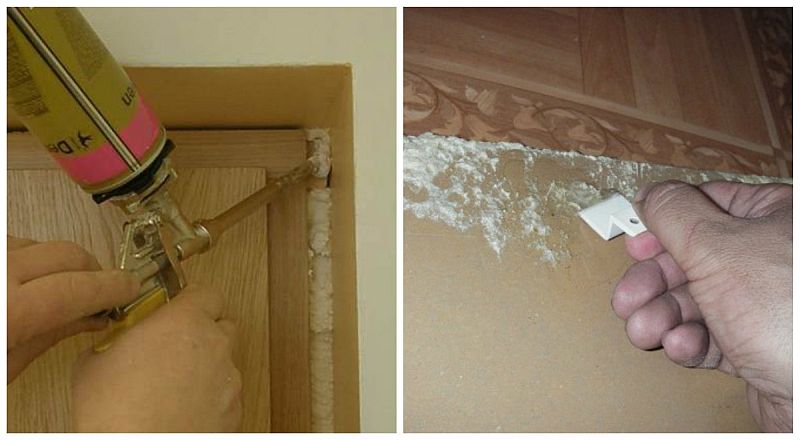
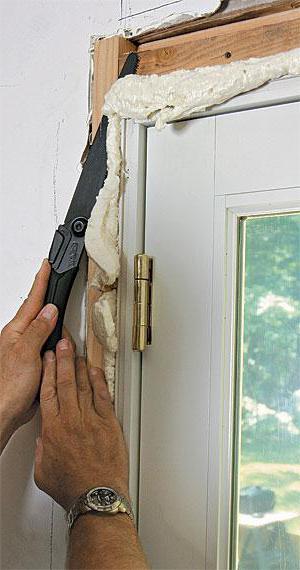
At the end of the work, the gun is washed with a special solvent. The cylinder is disposed of. After drying, the protruding excess is cut off with a knife.
How to use polyurethane foam correctly
Consider situations when it is advisable, and when not very, to use polyurethane foam:
- Do not use foam to seal cracks less than 1 cm wide. For these purposes, sealants or more plastic materials, such as putty, are better suited. In addition, these materials do not have secondary expansion.
- If the width of the gap exceeds the 10 cm mark, before filling it with polyurethane foam, it is better to additionally reduce the space with the help of wooden beams, bricks or any other sealant. This will significantly reduce foam consumption and increase its adhesion to the surface. Otherwise, under its own weight, it can simply slide along the walls of large cracks.
- The optimal size of the gaps for filling with polyurethane foam is 2-8 cm.
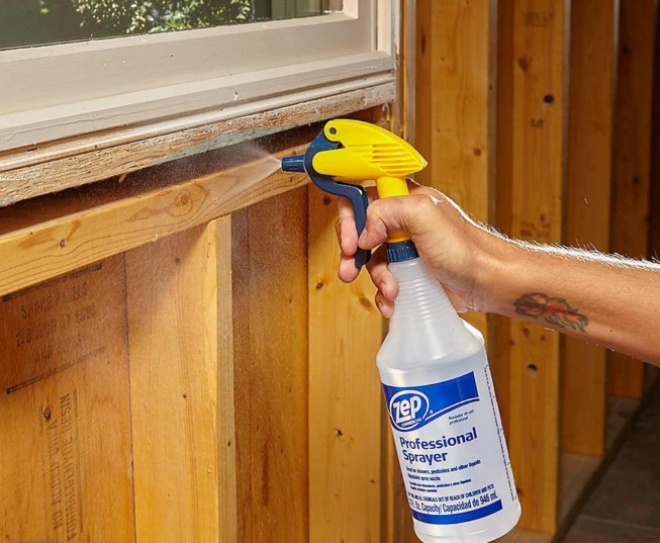
- For faster polymerization and better adhesion of the foam to the adjacent surface, many recommend slightly dampening the walls before applying. And then, spray the assembly joint with water from a spray bottle after initial hardening.
- It is not recommended to use foam on surfaces such as Teflon, silicone, polyethylene and other greasy or dusty walls. It just won't stick to such materials.
- Be sure to consider the primary and secondary expansion ratios. This will help you understand how thick the seam needs to be applied to the gap of a certain width.
- Before using the cylinder, be sure to clean the surface according to the instructions on the package.
- If the bottle is too cold or you brought it in from the cold, keep it in warm water (no more than 20 ° C).
- To ensure better mixing of the components with each other, turn the can upright and shake for 1 minute.
- Use protective gloves. Dried foam is very difficult to wash off.
- Never touch freshly applied foam until it has set. You will not only get dirty, but also break the structure of the material. This can lead to poor curing or incomplete expansion.
- To achieve the full volume of foam from the cylinder, be sure to hold it upright and upside down until the end of the work.
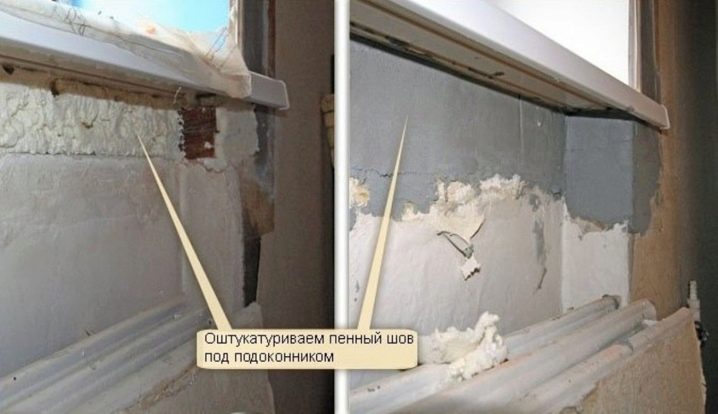
- The polyurethane foam should have a pale yellow color throughout its entire service life. But you can see that it can darken over time. This is caused by the harmful effects of ultraviolet rays, which destroy the structure. If possible, it is better to plaster or paint the seams, thereby protecting them from sunlight.
It is very easy to use a can of household foam. It is enough to screw on the tube and the working attachment is ready. But if you do decide to purchase a professional foam and a special gun, you need to be able to use it correctly. The principle of its operation is very simple - the pistol is screwed onto the cylinder, after which the foam enters the barrel through the supply valve. There it remains until you pull the trigger. After that, the material is released with a predetermined volume. 
basic moments:
- Choose guns that are only made of hard metal.
- To facilitate cleaning and replacement of parts, it is better to purchase collapsible rather than monolithic models.
- Get a special cleaner right away.
- Before installing the pistol on the cylinder, you need to unscrew the fastening screw, lubricate the socket with technical vaseline and only then proceed with its fastening.
- First, you need to set the adjusting unit to the minimum rate of foam consumption.
- Flip the balloon over and do a couple of test presses. So you can visually assess the need to increase the flow and adjust the volume to suit your needs.
- Make sure that the cylinder is always in an upright position during operation.
- At the end of work or when changing the cylinder, be sure to thoroughly clean the gun.
By adhering to these key recommendations, you can easily cope with the use of any type of polyurethane foam.
Door leaf installation
The work is carried out after the frame is securely fastened in the aisle
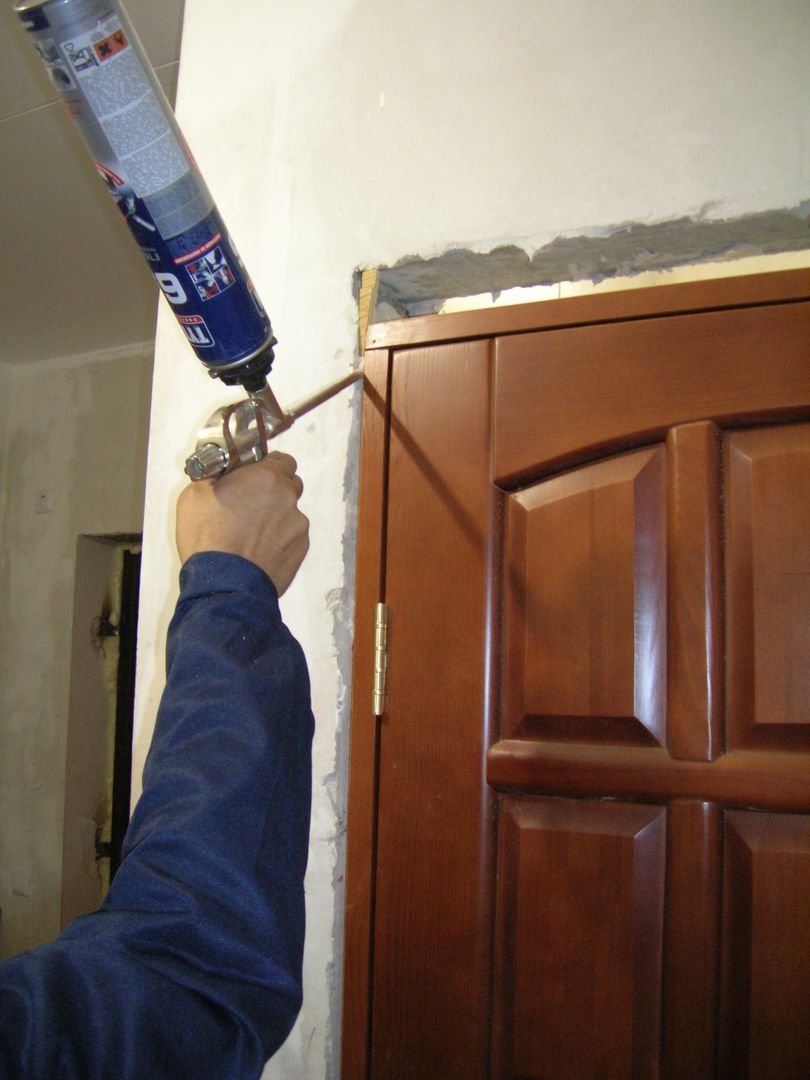
However, before hanging the product, it is important to increase the reliability of the structure. For this, the remaining gaps between the frame and the wall are blown out using polyurethane foam.
In this case, it is necessary to place special spacers in the box, which will avoid damage and distortions of the structure when expanding the foam.
The sash is hung from the open door position. To do this, the product is lifted over the counter pin in the frame and pushed onto it. If necessary, the position of the door relative to the floor and walls is adjusted by tightening the hinge fasteners. The product is then checked several times for correct placement by opening and closing.
The final stage in the installation of a new interior door is the installation of platbands. After marking the decorative strip, it is cut using a circular saw or a fine-toothed hacksaw. The tops are trimmed at an acute angle of 45 degrees. After the fitting procedure, the planks are installed. For their fasteners, construction glue or finishing nails are used. It is also permissible to use self-tapping screws with their subsequent masking with decorative plugs to match the platband. After reading our instructions, you will now easily understand how to easily change the interior doors yourself and avoid mistakes.
There is foam - no gaps!
This sealant is one of the most sought-after types of sealant available. It is the foam that will allow you to process high-quality seams and various joints, whose width is more than three centimeters. The material, so much needed in everyday life, is sold in metal aerosol spray cans, it has a rather small weight, but, despite this, its concentration is very high. So, from one cylinder, more than 40 liters of foam are obtained for filling joints and cracks. Using video tutorials, you can learn how to properly use the foam assistant during installation work in your home and not have problems with drafts.
When starting to work with this substance, remember that it hardens very quickly under the influence of moisture and at the same time increases very much in volume after using the cartridge. The porous substance formed has excellent thermal insulation properties. Along with this, given the possibility of a long service life of this material, it is understandable why polyurethane foam is recognized as an indispensable assistant in construction and repair.
It is the polyurethane foam that will allow you to seal up the seams, glue certain structural parts, successfully fix the joints and, which is important, provide these places with heat and sound insulation
Such a miracle solution is divided into several types - there are semi-professional and professional (pistol), it is winter, summer and for all seasons. Such a convenient design was not invented by chance - it is easy to displace polyurethane foam from cylinders using a special gas. So the liquid polymer on the surface to be coated successfully solidifies and forms a rigid frame (polyurethane foam).
So, it makes sense to choose a miracle foam in a store for its main properties - thermal insulation, sound insulation, ease of installation, the ability to connect, fasten and glue various parts. At the same time, given the ability to expand, the polyurethane foam successfully fills in hard-to-reach joints and seams, and when it solidifies itself, it does not require special attention to itself in the future. Previously, only cement mortar could replace foam in this field, but its preparation is a more laborious process than working with an aerosol can. Therefore, choosing convenience and simplicity, many people prefer polyurethane foam. Moreover, it is successfully combined in work with stone, and with concrete, and with wood, and with metal, and with plaster, and glass.
Which foam to choose
The work of installing an interior door depends on the technology, as well as on the correct foam. What kind of mounting foam is best for interior doors? This question is asked by every person who is faced with the installation of a door leaf. To solve this problem, you need to know that polyurethane foam is classified according to different criteria:
- by composition;
- by scope;
- by the degree of combustion;
- by temperature of use.
Composition
All types of polyurethane foam available on the construction market have the same composition with small additions, therefore they are called polyurethane one-component sealant in an aerosol can. There are also complex foam formulations called two-component. But for domestic use, they are little used.
The one-component foam contains:
- prepolymers (polyol, isocyanate), which are the basis of the foam;
- a mixture of butane and propane acting as a propellant gas;
- elements that increase adhesion and the degree of foaming act as additives.
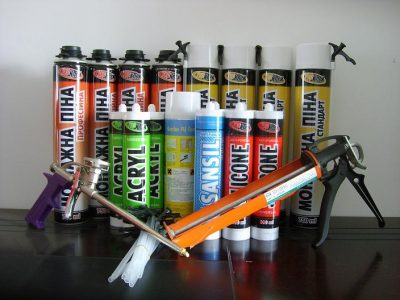
Types of polyurethane foam
Applications
The scope of application of the foam lies in the name - mounting, therefore it is used for any repair work:
- when installing windows and doors;
- when installing structures made of wood, metal, concrete or plastic.
Based on this, polyurethane foam is:
- professional, which is used by experienced craftsmen. The foam is inserted into a special gun and dispensed in portions in the right places;
- semi-professional, which is sprayed with a plastic tube, put on a pressure lever. It is recommended to use it for solving small problems.
Flammability degree
This indicator is indicated on polyurethane foam cylinders. Foam of the following classes is presented on the construction market:
- B1 - polyurethane foam with refractory properties;
- B2 - self-extinguishing foam;
- B3 - foam that is subject to combustion.
Application temperature
Foam is used in different conditions, therefore the temperature regime affects the components of the foam in different ways. To avoid problems when installing doors or windows, match the foam within the temperature range of the room.
Depending on this, there are three types of polyurethane foam:
- summer foam, which is used at temperatures from +5 to +35 ° С;
- winter foam, which is used at temperatures from -18 to +35 ° C;
- universal or all-season foam, which is used at temperatures from -10 to +35 ° С.
Sealant properties
The popularity of polyurethane foam is explained by its operational properties, which are also its advantage. In this regard, polyurethane foam has:
- high adhesion to any materials;
- heat resistance;
- non-conductivity of electricity;
- high speed of setting and hardening;
- toxicity before and after polymerization;
- incombustibility (only some types);
- moisture resistance;
- a combination of plasticity and elasticity;
- low thermal conductivity;
- slight shrinkage throughout the year;
- chemical resistance;
- high strength;
- good sealing effect, which cannot be achieved even with cement mortar;
- a little time for foaming;
- lack of additional materials and tools;
- lack of power supplies.
Preparation of the working area
Since it is possible to replace the interior door correctly only if a certain sequence of work is observed, all stages should be considered in more detail. You need to start, of course, with surface preparation. If a door was installed in your opening, it must be removed.
Remove the canvas first. Then it is necessary to remove the platbands from the door. How to do this will depend on how you attach them. If the structure was installed with glue or with the thorn-groove method, it is enough to slightly pry the elements and pull them to the side. It is a little more difficult if the platbands are nailed to the box, in which case you can use an ax to pry them off and tear them off the base. After that, you need to carefully remove the door frame. It is recommended to remove all fittings, namely the lock and hinges, they will also need to be replaced.
First of all, it is necessary to dismantle the old door.
To simplify the process, use a grinder and a crowbar. Saw the box in half and tear off its parts from the wall in the opening. This is not difficult to do, but at the same time it is necessary to minimize the destruction of the walls in the room.
If serious damage cannot be avoided, preliminary alignment of the sides will be required.
How to properly foam the gap between the box and the wall
Step-by-step instruction:
- First you need to glue the installation site with masking tape if the finish has already been completed.
- Wing the door open while checking the levels. If the door frame is tilted, the doors will open on their own and wobble due to the tilt.
- When everything is insulated and the box is in place, you need to fill everything with foam.
- It freezes from 20 minutes to an hour. Do not use a hair dryer for drying, because oxygen must penetrate inside so that the foam fills all the porosities and "puffs out from the inside". The foam components draw air in and the heat will interfere with the process.
- When the foam has frozen, you need to cut off the remnants with a clerical or construction knife, remove the masking tape.
- Done, now you can remove the wedges, and the space that has formed can also be filled with foam if desired.
Tips for all occasions
Most often, polyurethane foam is purchased in the required volume at one time and after use, even if it is unfinished, is thrown away. And also it is not bought in advance, as it has a limited shelf life. It is worth considering in more detail the nuances described below in order to be able to save money.
Can it be applied multiple times?
It is widely believed among buyers that professional foam with a gun can be reused, but the household version with a flexible tube, alas, is disposable and cannot be reapplied to the surface.Indeed, most often, if you leave the cylinder on the pistol and block the trigger with the dispenser, the pistol will not allow air to enter the cylinder and the composition will not solidify. The next time you use it, it will be enough to remove the remaining frozen foam from the nozzle and you can start working again. However, exactly the same can be achieved from a household product. To do this, you need to start releasing the foam from the cylinder, but without letting it come out, bend and wire the soft tube. The foam at its end will harden, but the fold will not allow air to penetrate further and spoil the entire volume of the substance. The next time you use it, the hardened edge of the PVC tube is simply cut off and the foam is ready to use. The balloon can be stored in this form for no more than a few weeks.

Can I use an expired one?
If the shelf life of the foam, which usually ranges from 12 to 18 months, is exceeded by only a few days, then it is unlikely that such foam will be very different from normal. If the expiration date is significantly exceeded, then the use of the product is still not recommended. Over time, the composition loses its properties and can behave unpredictably, which will entail even more waste on reworking the repair than will be saved on the purchase of a new cylinder.

What is the shelf life after application?
According to manufacturers, foam of good quality, applied properly and protected from large amounts of moisture and direct sunlight, can last up to 15 years. However, in practice it often turns out that its service life is limited to 3-4 years. To increase it, the foam must be plastered on top with a high-quality mortar, which will double its service life, after which you will have to remove the old layer and re-lay the new foam.
In order for repairs using polyurethane insulation not to bring unexpected troubles, it is necessary to correctly calculate the required number of cylinders and use them correctly. It is most convenient to use professional products that include a construction gun in the set, but with small volumes of work, household polyurethane foam will cope just as well.
Polyurethane foam - your confidence in an excellent repair result
When buying polyurethane foam, remember - the cylinder is designed for single use only. So don't try to split it in half. It is not difficult to calculate the volume if you have already had experience with such material. If not, it is better to consult with those who work in the construction industry or with the seller in the store. It is allowed to reuse the same bottle only if you are going to "repeat the maneuver" in the near future. Then, at the end of the first stage of work, you need to flush the tube (gun) and the valve with a special cleaning liquid. However, the workers on the sites often do not do this.
Useful tips and secrets of working with the material:
- Prepare a water spray and a pruning knife in advance.
- It's good if you have a soft sponge and acetone under your hands - they help wipe off the foam that has adhered in unnecessary places.
- If you use foam sparingly, then you can get by with fewer cans.
- It is better to carry out surface treatment (cutting with a knife) after applying the foam after about 4 hours have passed - after 7–8 hours the foam will completely harden and it will be much more difficult to cope with it.
- Use a respirator (protect your body from unnecessary chemicals). Great if glasses and gloves are available.
- Ventilate the room (unless, of course, in the same room you just decided to do wallpapering).
- Do not wait for the foam to darken - a change in color is already an indicator that a reaction is underway and the process of exposure to ultraviolet rays (initially it is light yellow).
- Do not use a cylinder near a fire and do not leave it in direct sunlight (this is a well-known rule, nevertheless, many do not follow it and risk facing the consequences of a fire and arriving firefighters in the future). Indeed, this polyurethane foam sealant contains various flammable materials that can lead to undesirable consequences. Your foam can be one of three classes - fireproof, self-extinguishing, or flammable (it's best to find out in advance).
- Problems can also arise if the foam is applied to a dirty surface (for example, when using such materials, window frames are cleaned with a vacuum cleaner).
The viscosity of the product may not meet the standards if the foam cylinder was at temperatures below plus 5. The required consistency will be violated even when the air temperature rises to 30-35 degrees (only all-weather foam can operate at temperatures from minus 10 to plus 40 degrees) ...
So if you have taken into account all the tips and secrets indicated here, you can safely proceed to sealing window, door blocks or other structures with foam in the rooms of a house or apartment. Also, with the help of this material, it will be easier for you to cope with the insulation of the distribution network and with the sealing of different widths of seams and cracks, and in addition, your assistant - foam will help you easily and simply fill unnecessary voids in the walls. So go for it and have a good repair!
How to make a metal door warm?
Often, due to a lack of funds, the front door is chosen from inexpensive, often of dubious quality. As a result, such a door and a metal box freeze through, up to the formation of ice, and through the cracks between the door and the frame. There are several ways to fix the situation (we will talk about buying a new and high-quality one another time).
To make the entrance group energy efficient, you need to install two doors - steel, which opens outward, and the second - internal, simple wooden or PVC, which opens to the inside of the house. In this case, an air gap forms between the two doors, and air, as you know, is the best heat insulator. Such a tandem of two doors will keep the house warm, and will also protect the inner door from freezing and fogging in severe frosts.
However, this is not always possible. This means that we need to work on the insulation of the door and frame. Let's start by replacing the seal. Very often, the "native" seal does not fit snugly between the door leaf and the frame, cold air enters the house from outside. This can be caused by damage, loss of elasticity at low temperatures, and so on.
We remove the old one, buy a new one. But which one: there are a dozen types of such seals in a building store? Don't panic, everything is simple here. You just need to decide on two questions: how thick the seal is needed and what shape.
So, before going to the building market, measure the size of the gap between the door leaf and the frame. As a guide, you can adhere to the following rules:
- If the gap does not exceed 1-3 mm, then you can choose a rectangular seal.
- If the gap is 3 mm, you can choose a seal with a C, K, or E-shaped profile.
- For a gap of 3 to 5 mm, a P or V profile seal is used.
- If the gap is more than 5 mm, then a gasket with an O or D profile is installed.
Please note that if the seal is glued with silicone glue, then before applying the glue, the surface must be cleaned of the old seal and degreased. Otherwise it will fall off on the second day
Special attention should be paid to the corners when gluing the sealant, because when cutting the sealant, gaps may remain in them
If you don't feel like messing around with glue, buy polyurethane self-adhesive seals (but degrease the metal before gluing anyway!).


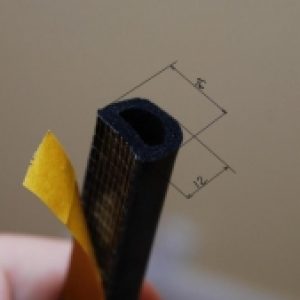
To seal the door-to-box junction, you can buy rubber seals. They are distinguished by their durability, resistance to adverse weather conditions, and low cost. The silicone sealant has similar qualities.
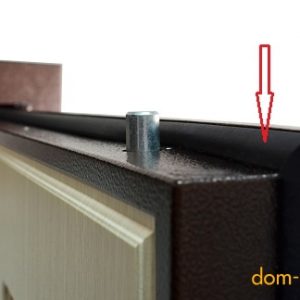
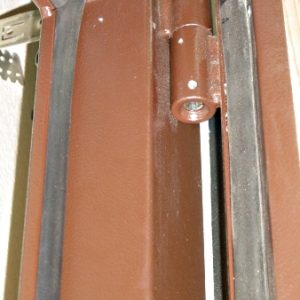
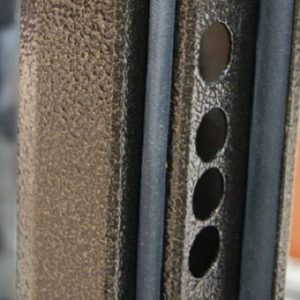
But do not touch the foam rubber seal, you do not need it because of its low mechanical strength, short service life.
If your iron door is empty inside (and it happens!), You should remove the decorative paneling from it, and lay a Penoplex-type insulation inside. Seal the joints of the thermal insulation with polyurethane foam. By the way, there are craftsmen who foam the insides of doors and boxes through drilled holes. And this is not correct. expanding foam can lead to deformation of the door frame or stain the door. You also need to remember that polyurethane foam can get into the crossbar cavity and, when dry, jam the crossbars and disable the lock.
On construction forums I came across a post of one such "craftsman": "I decided to insulate the door frame in the country by foaming it. I sang from the heart. As a result, the foam got onto the crossbars through small cracks and froze. Trying to open the door, I first broke the key, then I decided to drill the lock or even turn the door out with a crowbar. Having calmed down and thinking, I opened the box with a grinder and, thrusting my hand into it, pushed the bolts out with my fingers. At the same time, the foam that was not completely solidified flowed out of the slot. I had to, so as not to spoil the door, to seal it with cellophane and construction tape. Then I waited for all the foam to dry so that it could be removed from the crossbar cavity with a chisel. "
Without a thermal break in the metal structure of the canvas and the box, the iron will freeze through. Is it possible to modify the metal door frame of a cheap door using the principle of thermal break?

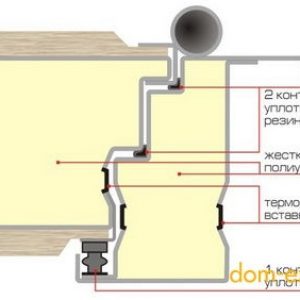
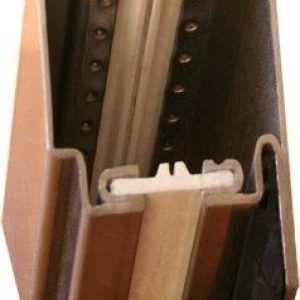
It is possible, and quite simple. For this, the metal box is insulated from the warm room. This can be done by installing an additional box made of wood and a platband. Approximately as in the photo. Alternatively, by pasting the outline of the metal box with an Izolon strip.

