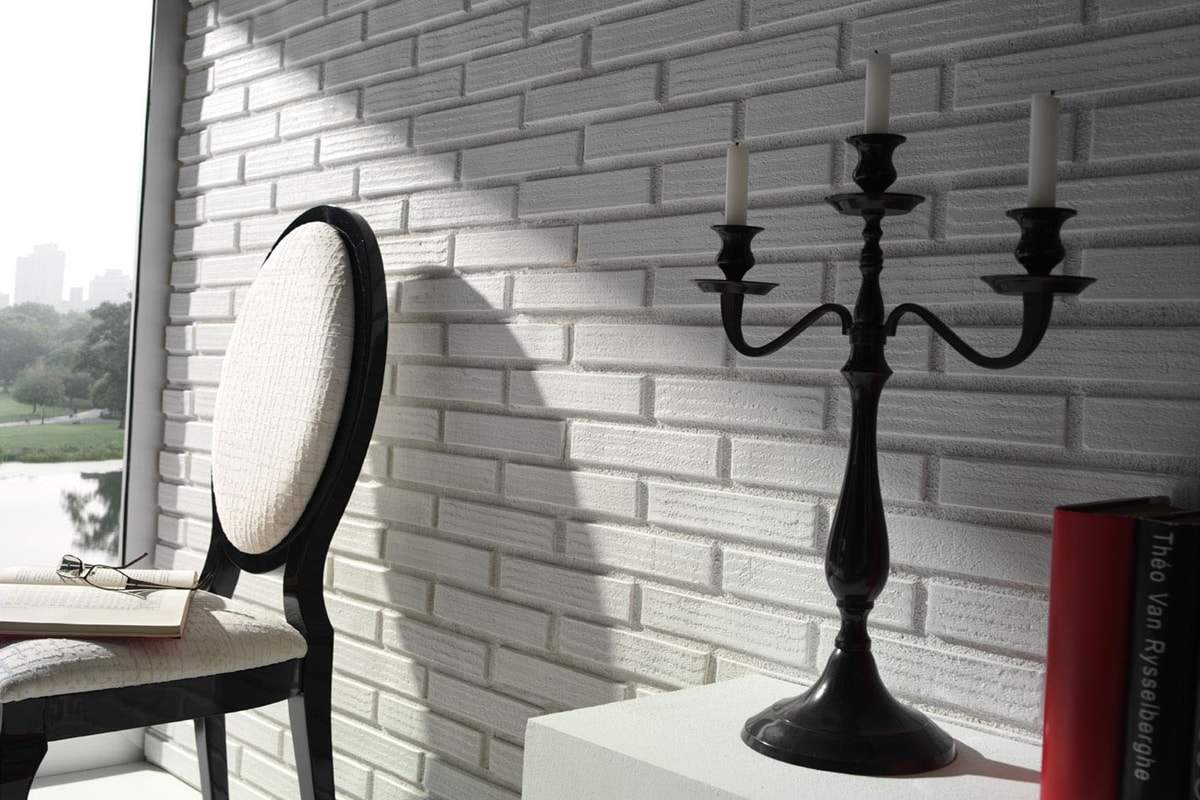
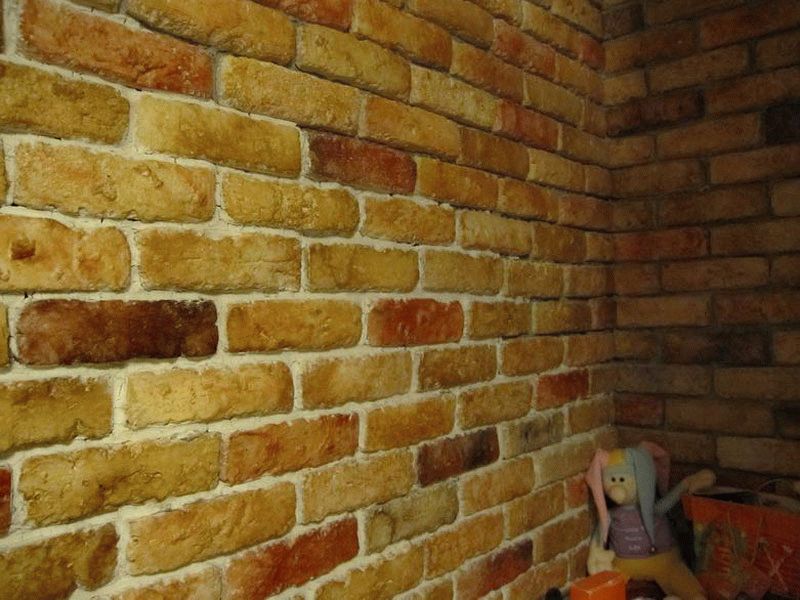
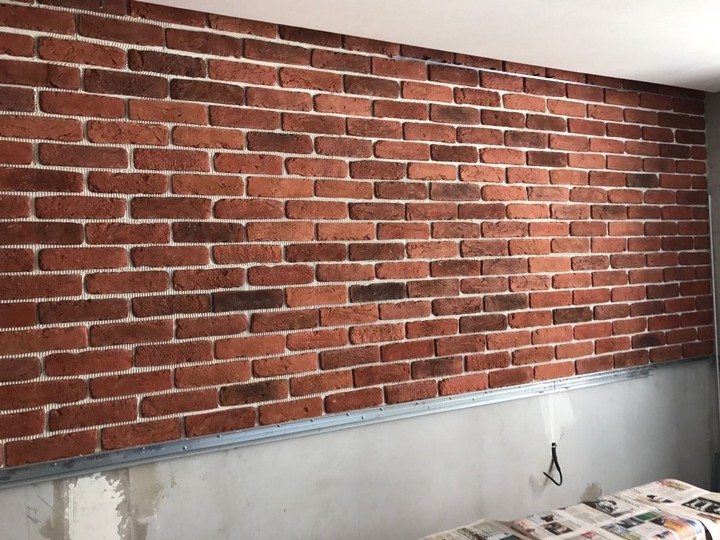
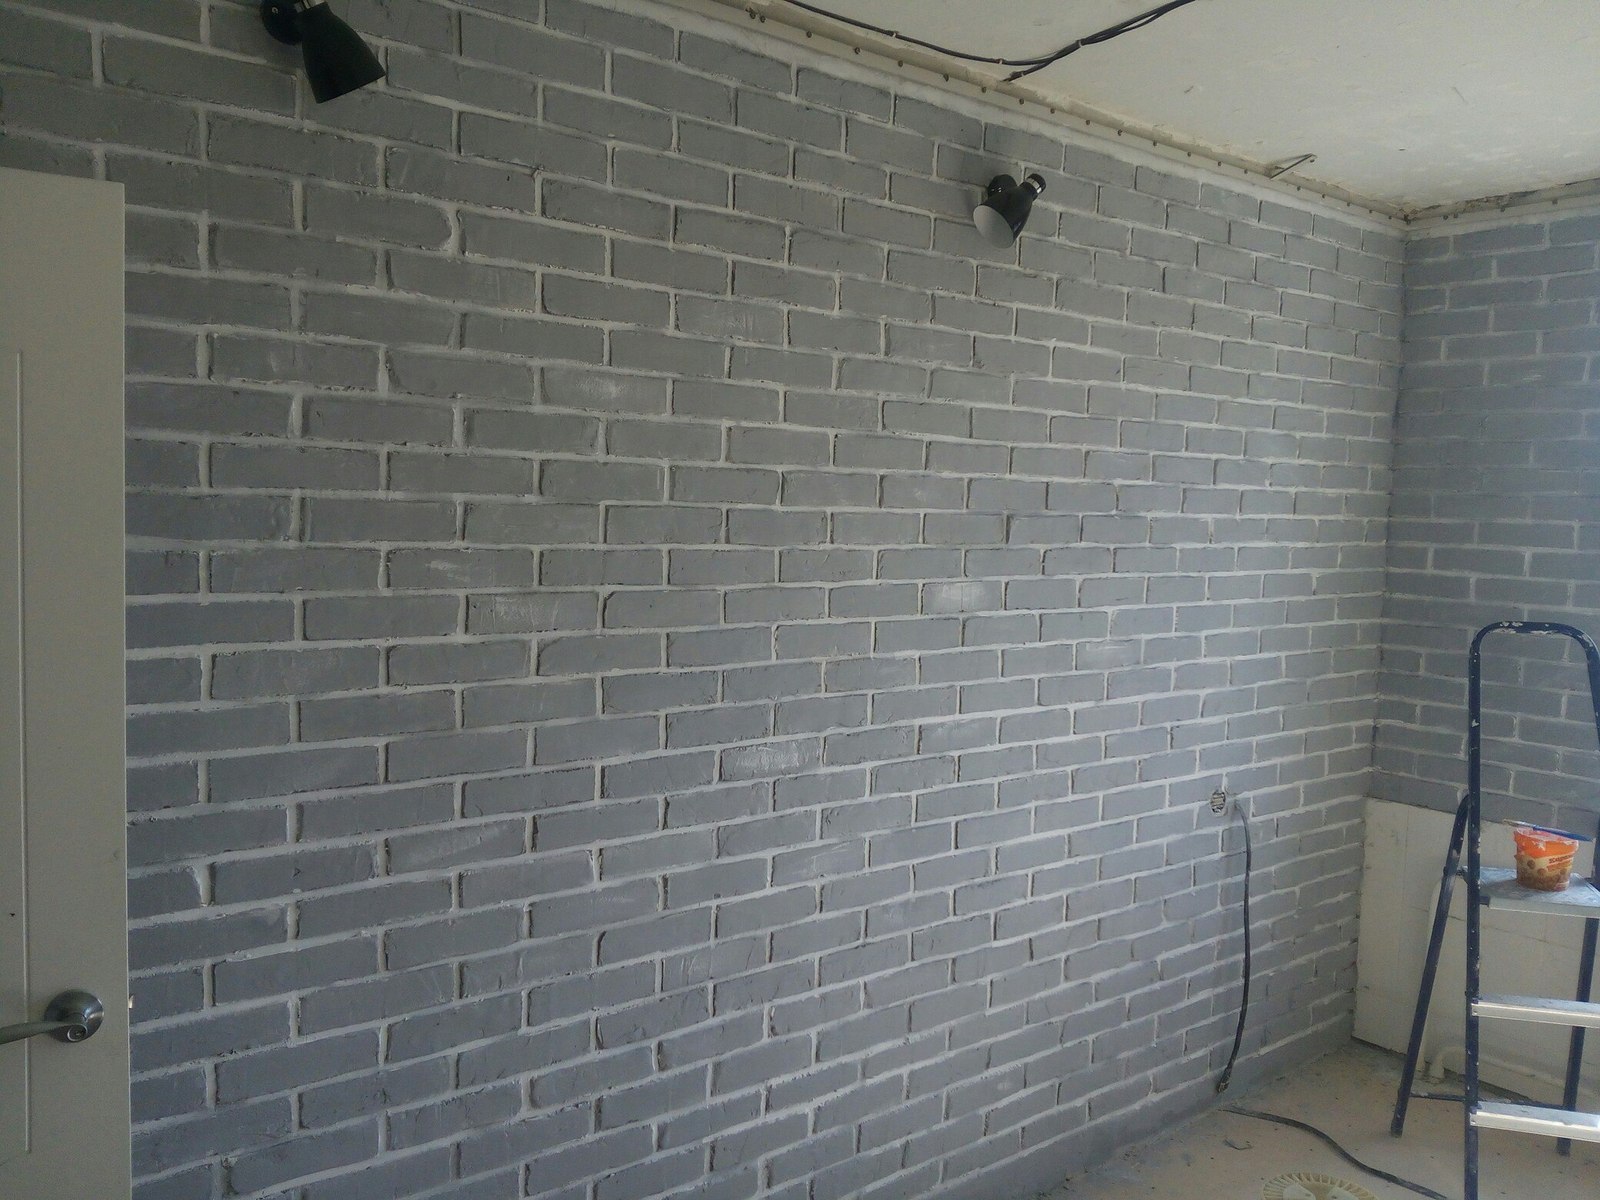
Characteristics, pros, cons of interior panels
Panels for the original brick-like interior design are made of a variety of materials:
- MDF;
- hardboard;
- Fiberboard;
- PVC;
- glass fiber concrete;
- Particleboard and others.
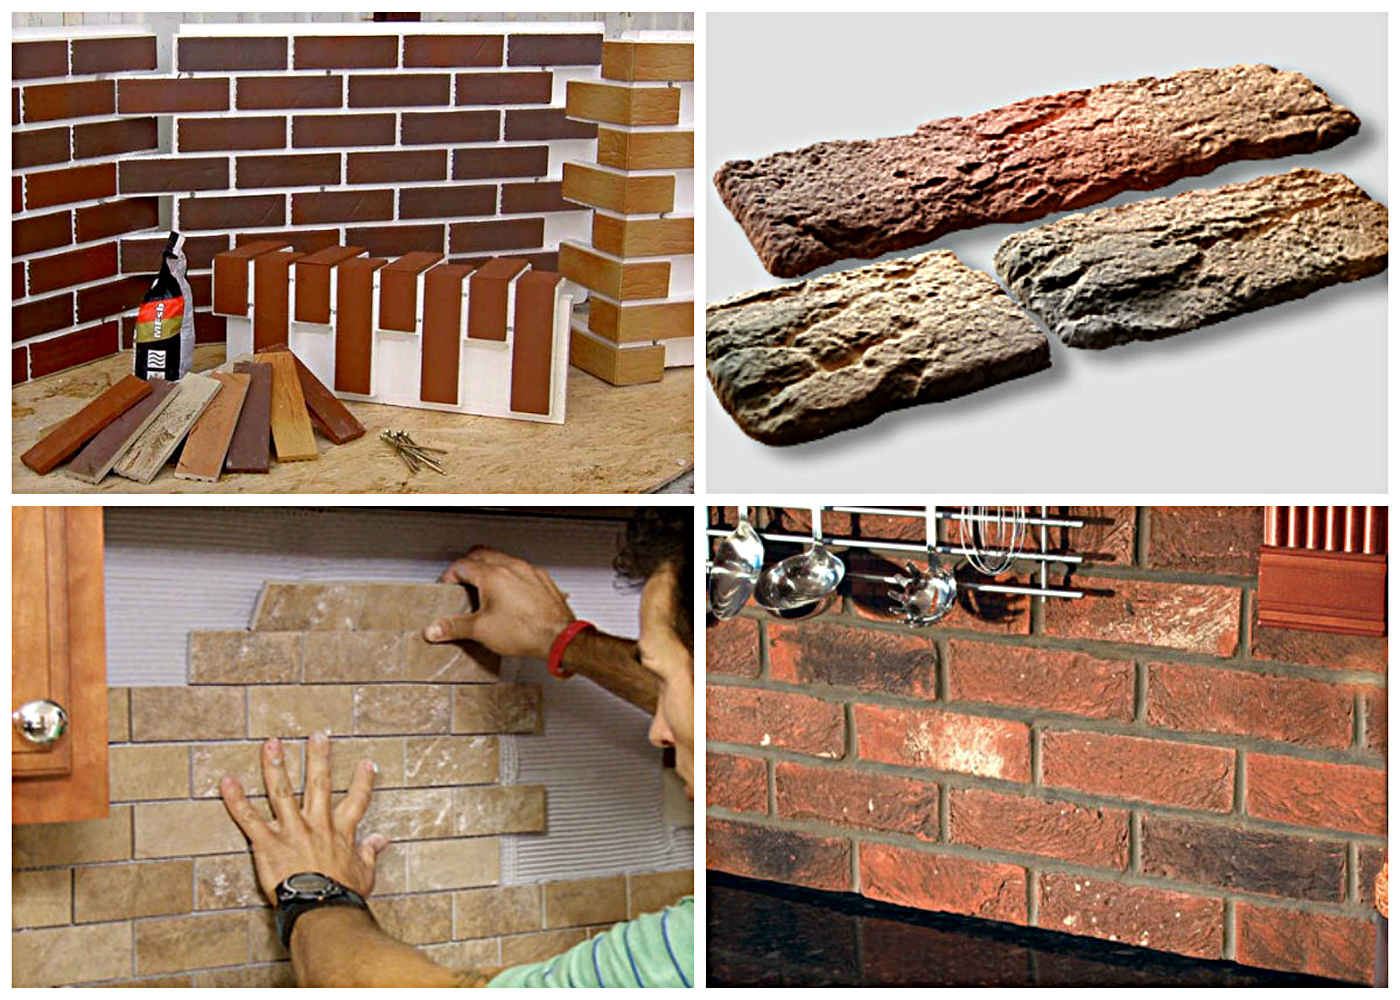
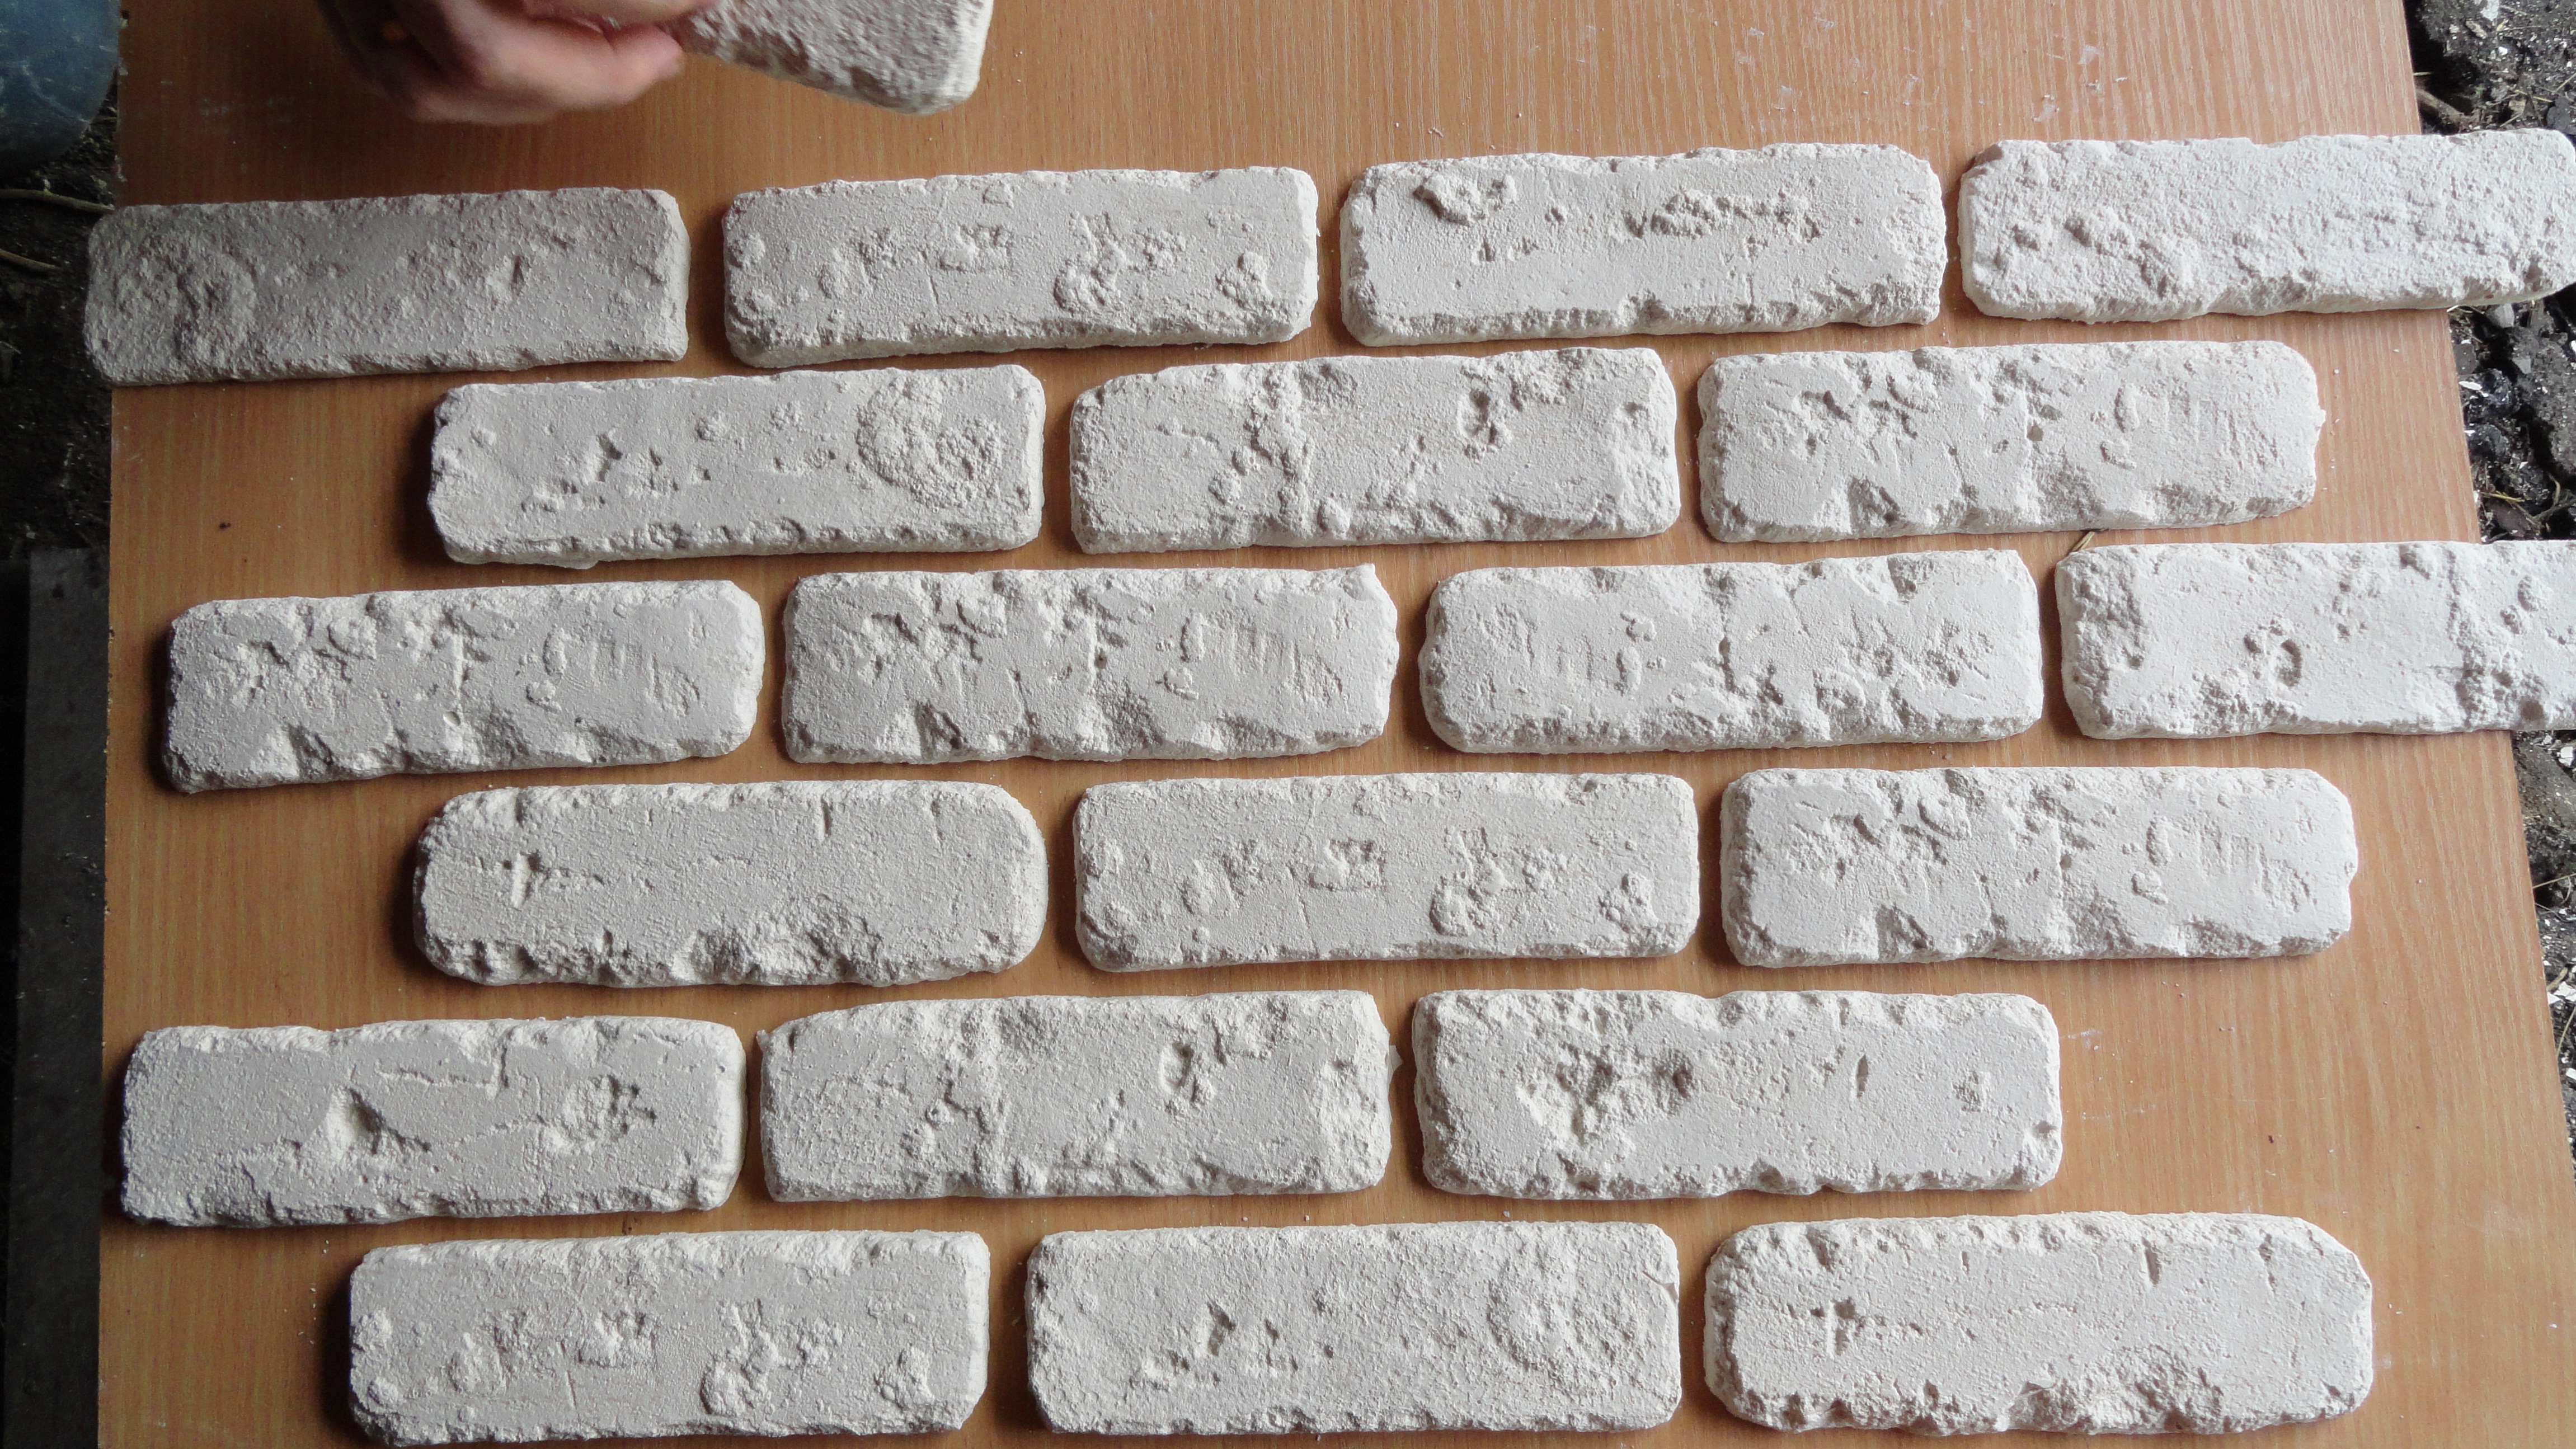
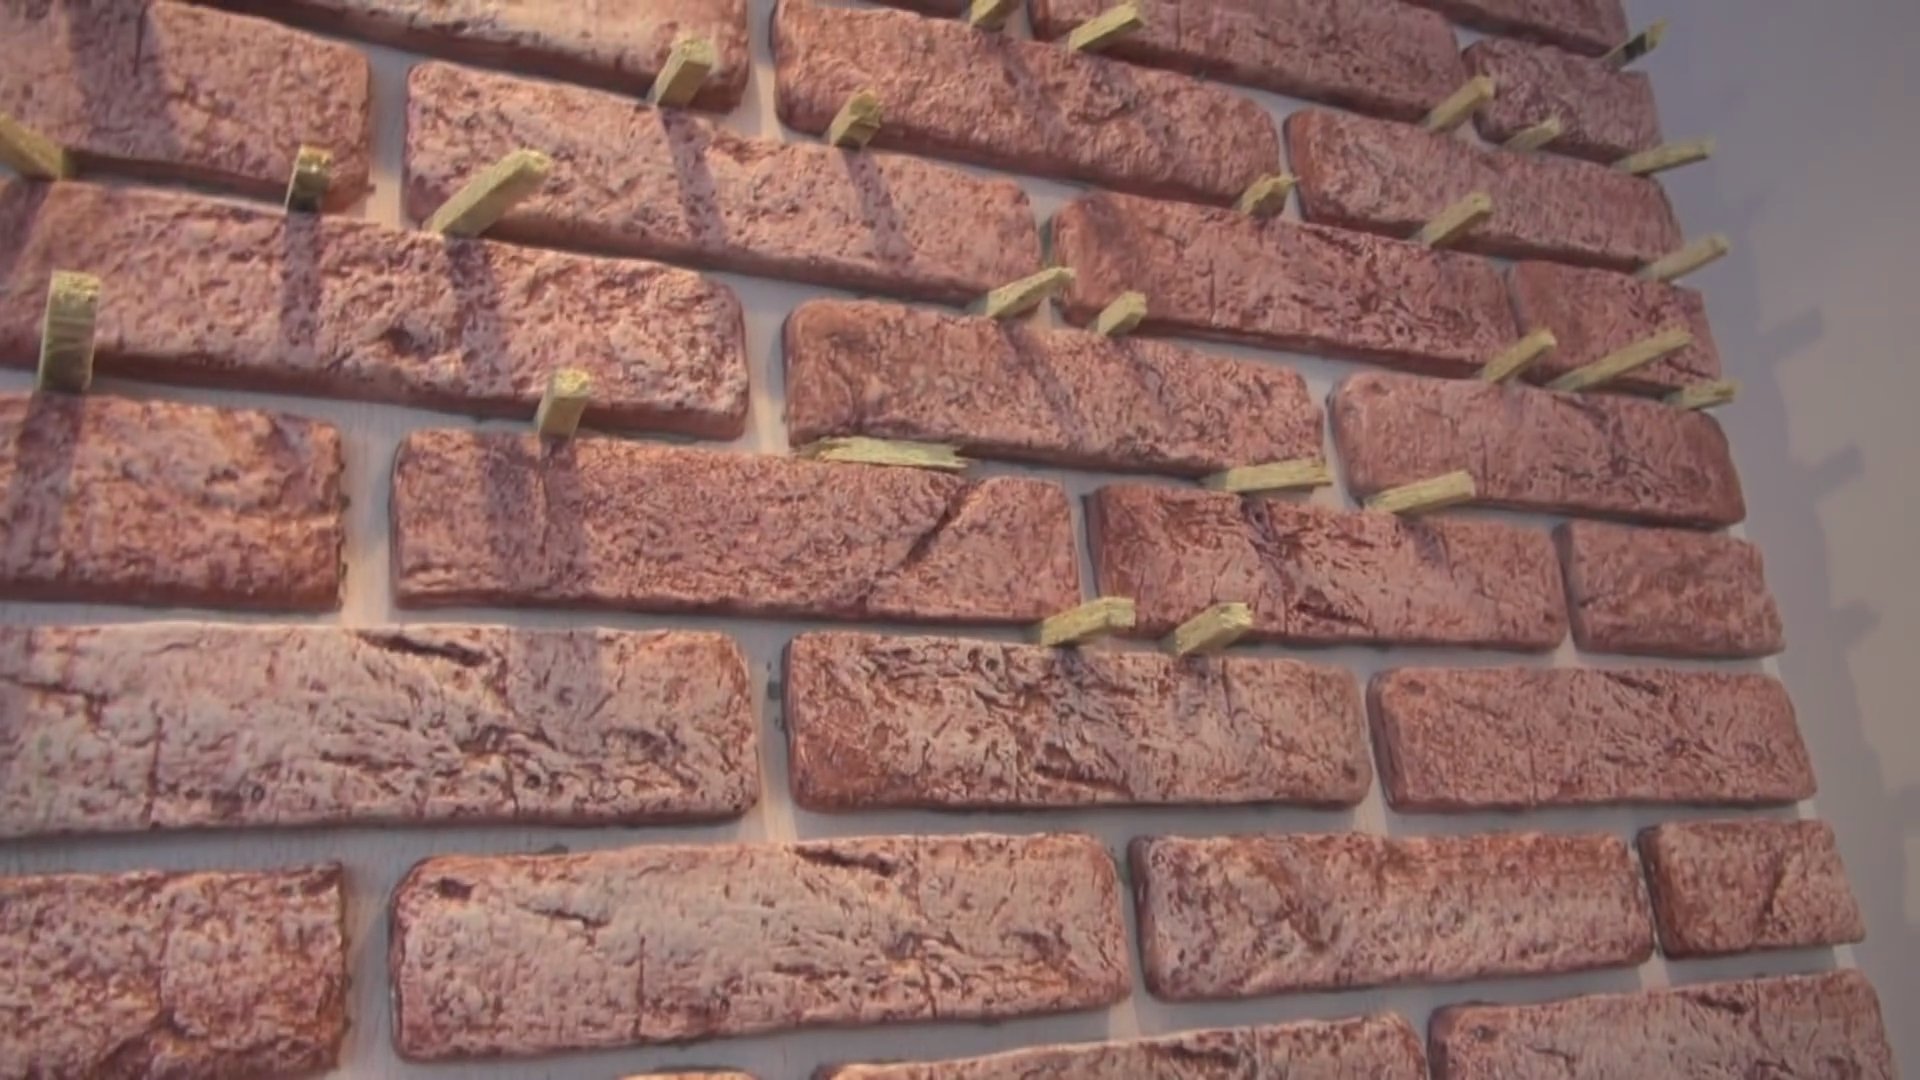
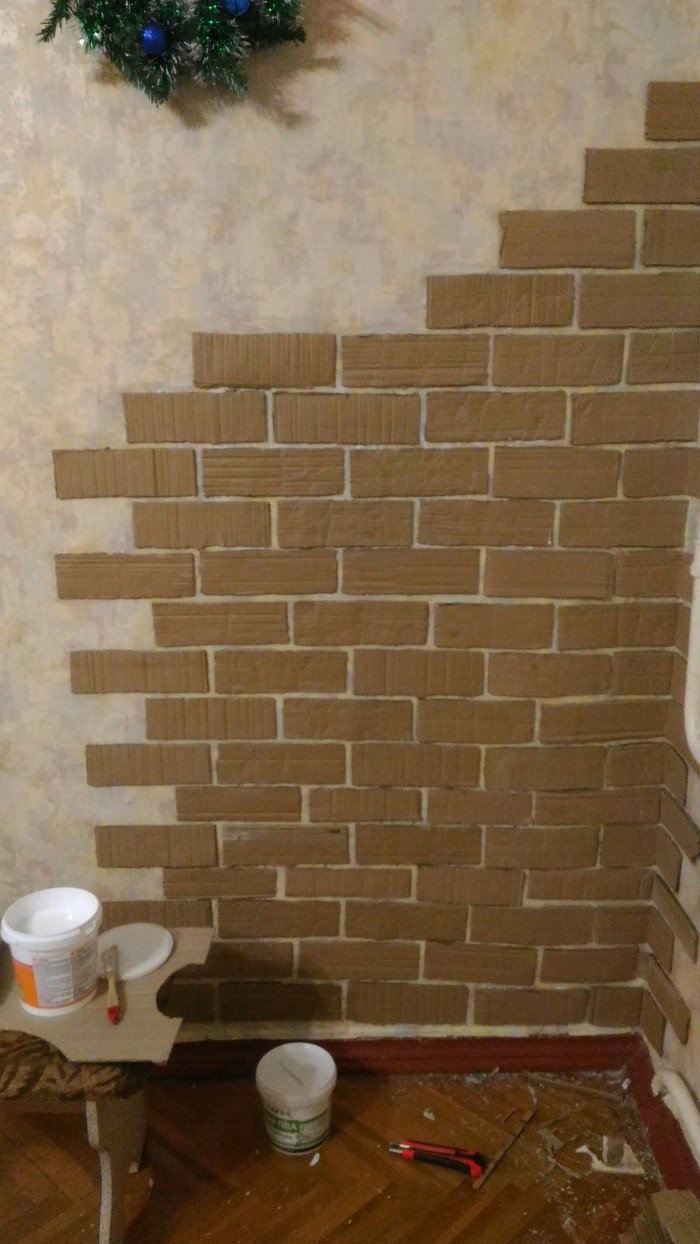
They differ in the degree of similarity to real bricks, size, color, thickness, durability. Installation of most types is very simple - the wall is literally assembled like a puzzle, or the parts are stacked end-to-end.

PVC panels, MDF
Parts made of polyvinyl chloride are the most popular in modern times, due to their environmental friendliness, safety, and relatively affordable cost. In second place are panels made of modified fiberboard. Stores offer a wide range of such decor "antique", "wild stone", etc. MDF is cut with a jigsaw, a hand saw, PVC - with sharp scissors, a paper knife.
The main plus of the above materials is that they can easily finish even the most uneven walls, which do not need to be prepared, leveled or putty applied in advance. In cases where it is necessary to hide engineering communications in spacious rooms, the panels are mounted on a frame made of metal or wood. PVC panels are used in rooms with different temperatures and degrees of humidity. For sound and heat insulation, a layer of insulation is used in parallel with the panels. MDF is not used in wet rooms - it is suitable for living rooms, there are also corner pieces in the assortment.

Fiberglass panels
Fiberglass parts are durable and beautiful. The material contains high-quality cement, fiberglass (including colored ones), which greatly increase the strength of products; in the production of external work, reinforcement with metal structures is often used, increasing the total mass of the structure, increasing its mechanical resistance to any impact. The material is environmentally friendly, protects the house from radio emission, but its cost is high, therefore not everyone can afford it.

Technology, methods of fixing panels
Interior panels are attached to a flat wall with any polymer glue, for example, "liquid nails". For curved, "humped" surfaces, you will need to install a metal frame with a special hinged system. Heavy MDF panels are additionally mounted with dowels in three to five places. Fiberglass concrete structures are attached to a flat surface using cement tile adhesive.

In the interior of which rooms can brick decor be applied
Execution of building facades, internal premises of bricks is always beautiful. But real bricks cannot be used everywhere - they significantly make the floors heavier, and not everyone has the skills of a bricklayer to make high-quality masonry.
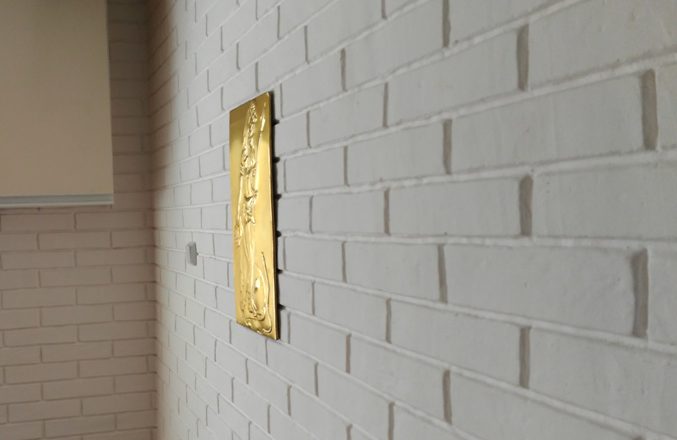
Decor imitating brickwork from red, white, any other brick looks good in almost any room. For spacious rooms, dark, cold, rich colors are suitable, for cramped, dimly lit rooms - lighter, warmer ones.

This design is most often used in loft, industrial, art-believe interiors, less often in classic, modern, minimalism, provence. Fake masonry indoors can cover all walls of a room, frame window openings, door frames, and look like narrow, wide, medium dividing strips. Also, with its help, separate logical zones are highlighted, a fireplace, arched structures are made out.
In the hall
The front or the hall is a kind of "face" of the apartment, from which the whole interior design "dances".Here, brick decoration is permissible on all walls, with rare intersperses of decor that is suitable for the meaning - painted ivy twigs, decorative cracks, etc. , heights.

In the living room
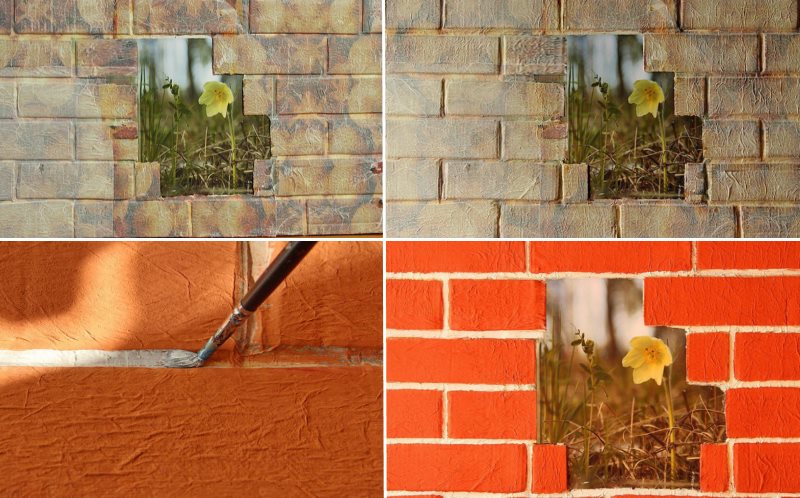
In the hall, most often, not the entire room is decorated with brick props, but only one of its walls. A fireplace or a false fireplace looks organically here, looking as if it were made of real brick, several zoning partitions. If the living room is fully combined with the kitchen, then only the kitchen or living room is finished with bricks. Let's assume the option of creating a brick dividing strip between separate zones. Bottles, boxes with colored bricks painted with acrylic, pictures applied using decoupage technique, made using ordinary putty will organically complement the overall picture.

In the bedroom
In the bedroom, not only the walls are finished with brick decor, but also the podium (if any), on which the sleeping place is located. The same design will allow you to beautifully zone a large room, finishing with brick only a mini-office or a dressing area. Wallpaper works best, ceramic tiles are not recommended - they are too cold.

In bathroom
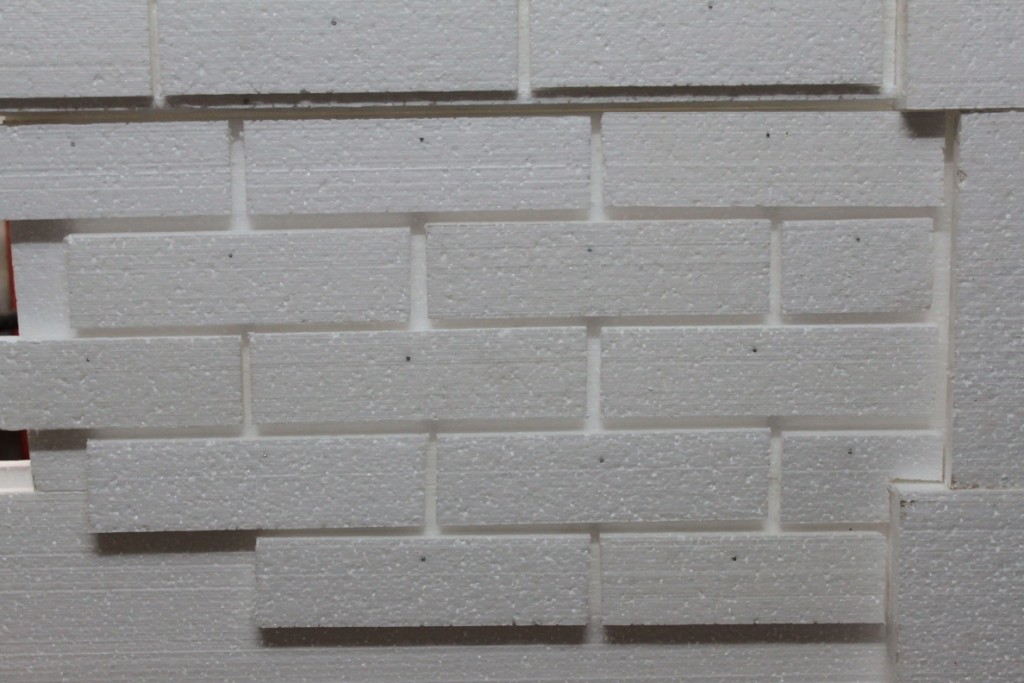
Special requirements are imposed on imitation of bricks in the bathroom - it must be moisture resistant, not destroyed, not deformed by direct ingress of water. Ceramic or flexible rectangular tiles, polystyrene, painted with moisture-resistant paint are suitable here. The color depends on the size of the room - the closer it is, the lighter the coverage is chosen.

In the kitchen
An imitation brick for this room is used to make a kitchen apron made of plastic, glass, with a pattern applied to it. All materials must be waterproof, which is especially important for the area near the sink, gas stove, easily cleaned of grease without the use of harsh abrasive substances, aggressive detergents.

On the balcony, loggia
Insulated, glazed balcony, spacious loggia can be combined with any room - bedroom, kitchen, living room by means of the same cover with the main room. As an option: the room is finished with white or yellow painted bricks, the balcony is finished with a darker imitation of plaster. Here, plastic panels are most often used together with insulation made of foam, polyurethane, mineral wool, etc.

In the nursery
Brick decor is rarely used for a nursery, it looks no less organic than in other rooms. This design is often used in teenage rooms - industrial, loft, pop art and similar styles, almost in their pure form, look most organically there. You can decorate the room in this way with the children, simply by depicting bricks with acrylic paints, watercolors, gouache, markers. The effect of an old brick will be obtained if you draw small cracks here and there with a gel pen.

Brick plaster finish
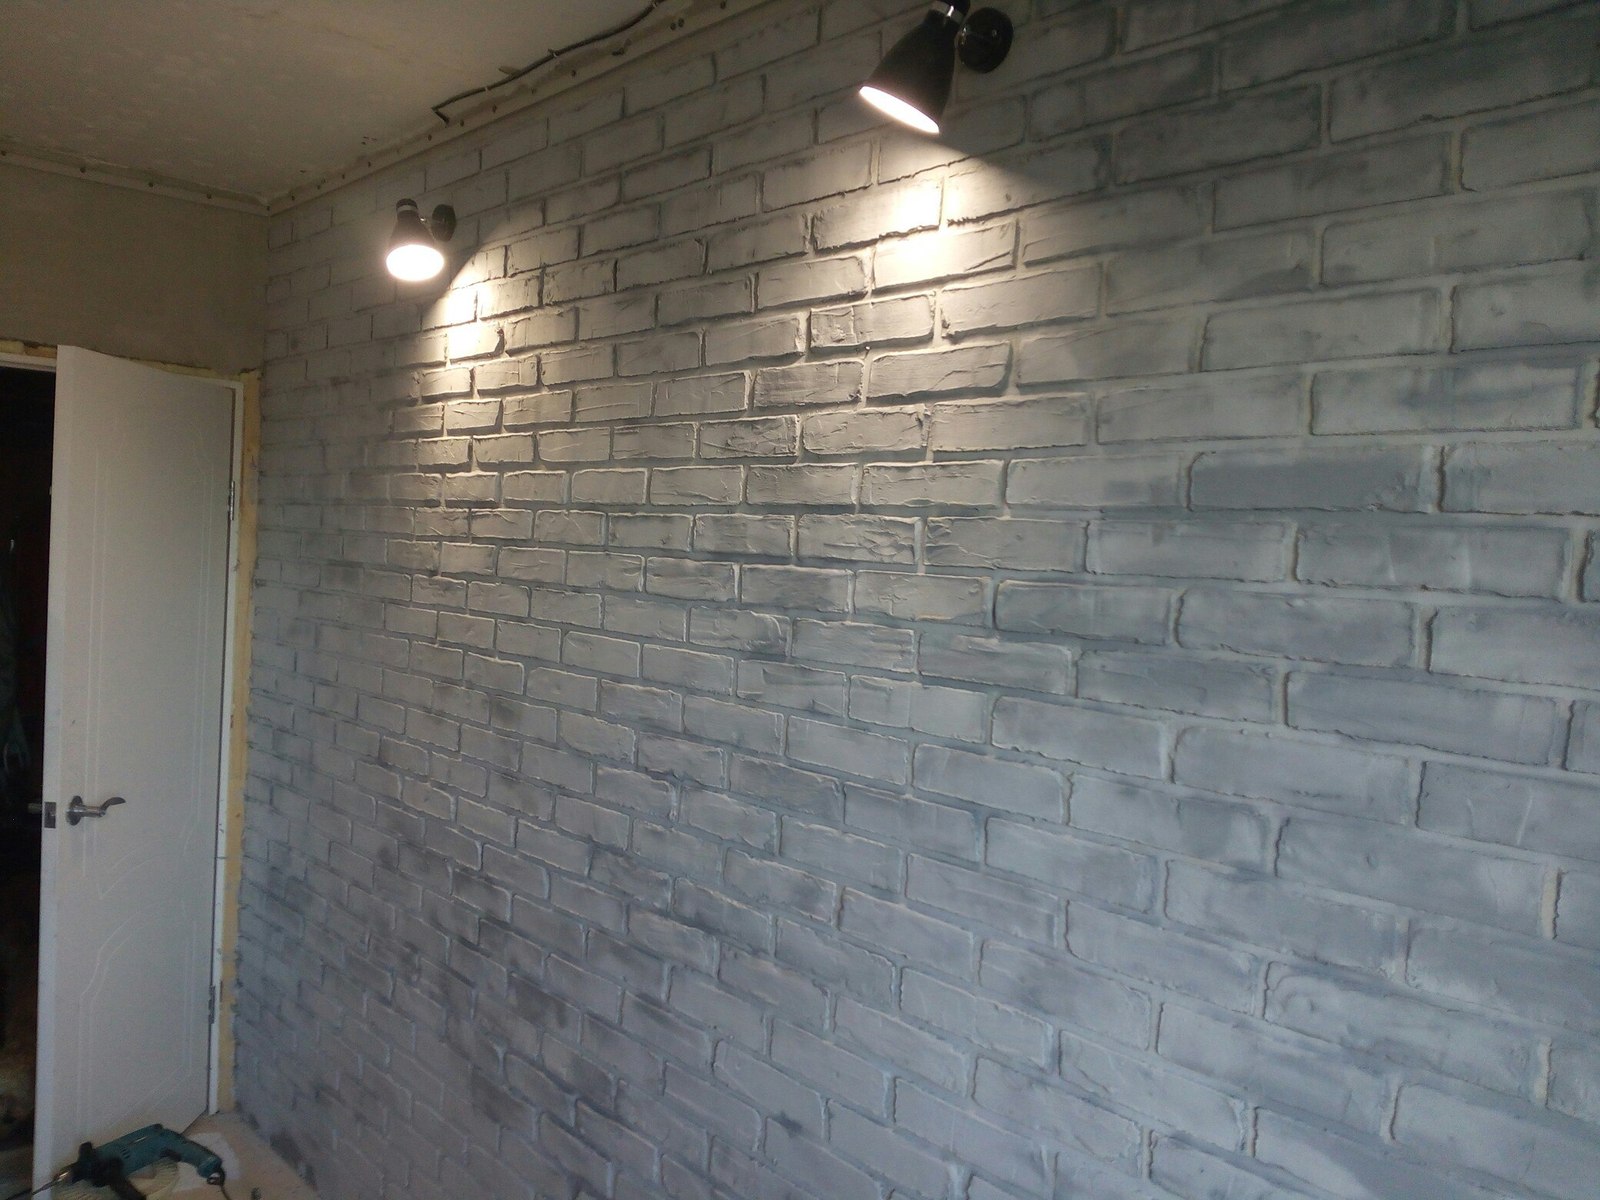
With the help of decorative plaster, you can, for example, decorate an accent wall in a living room, and this can be done in two ways
Method one
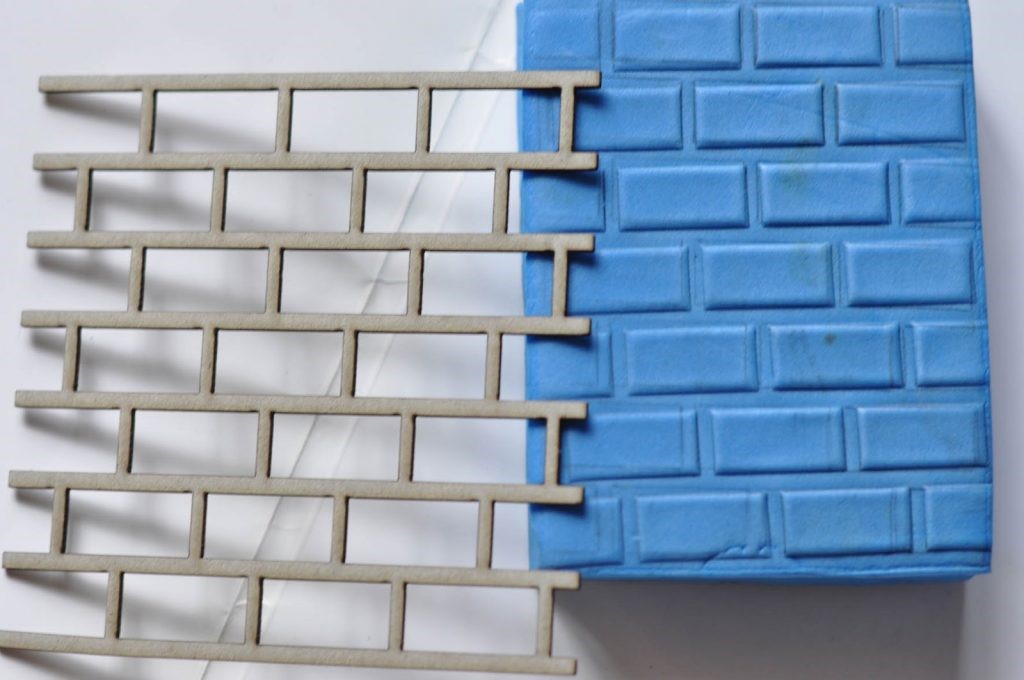
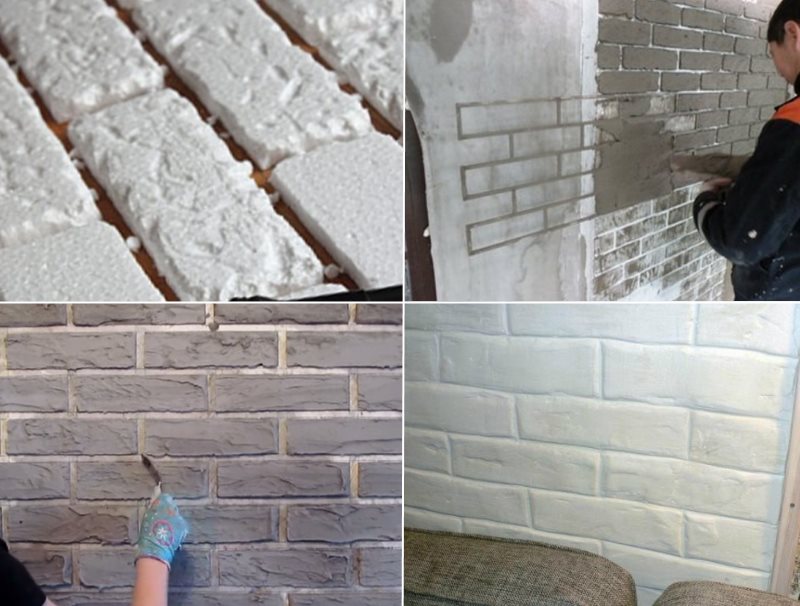
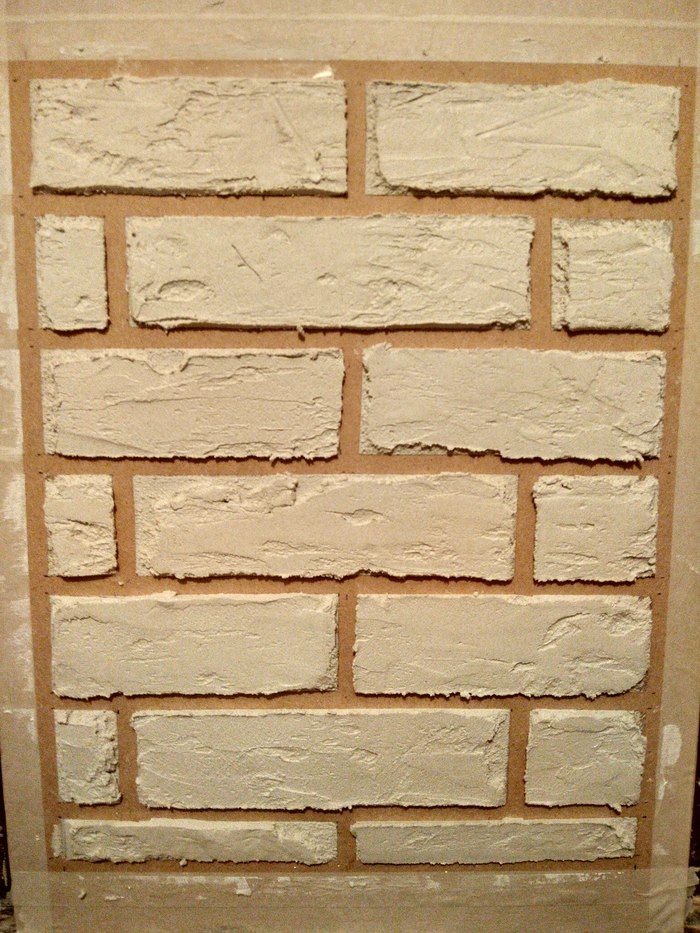
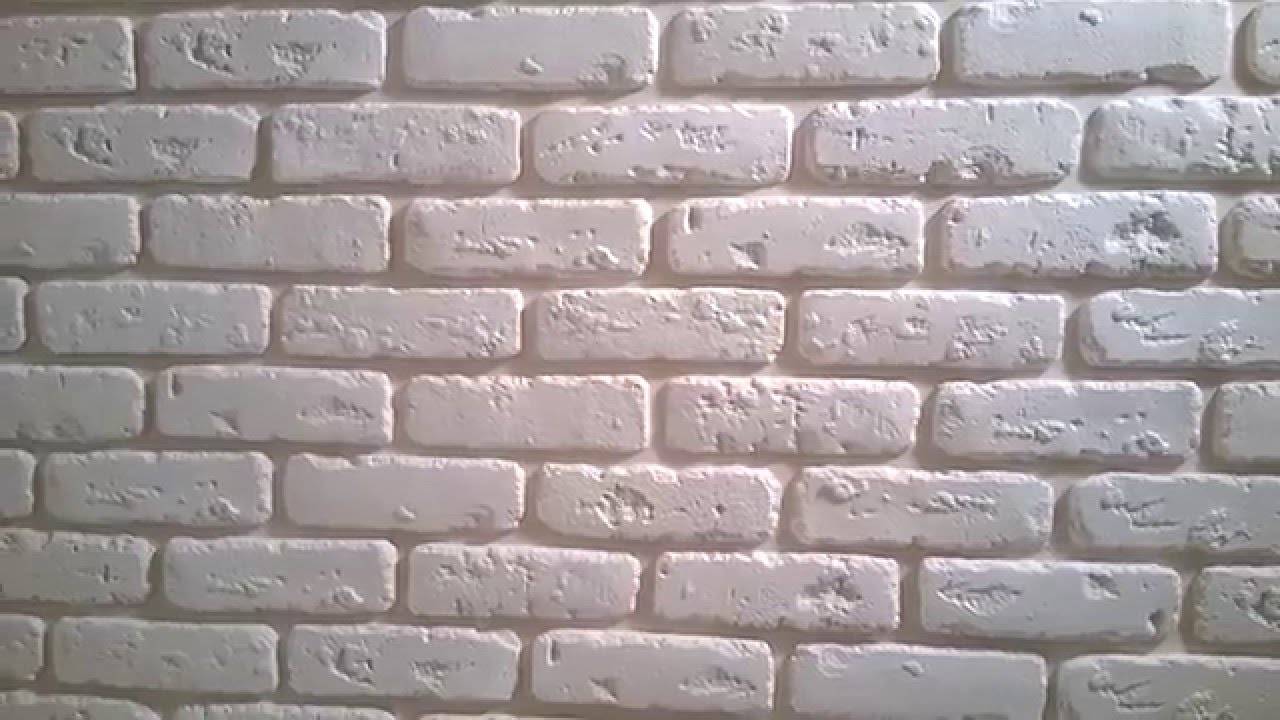
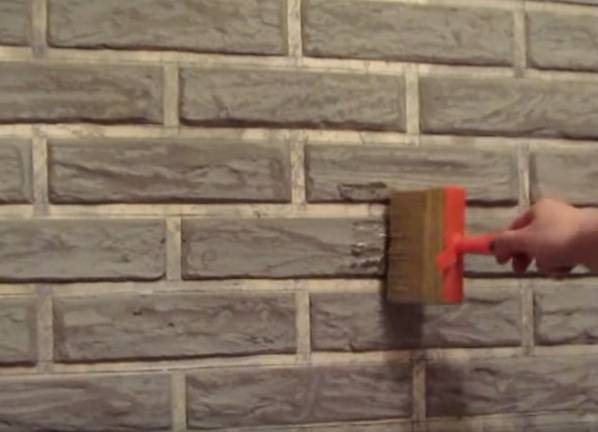
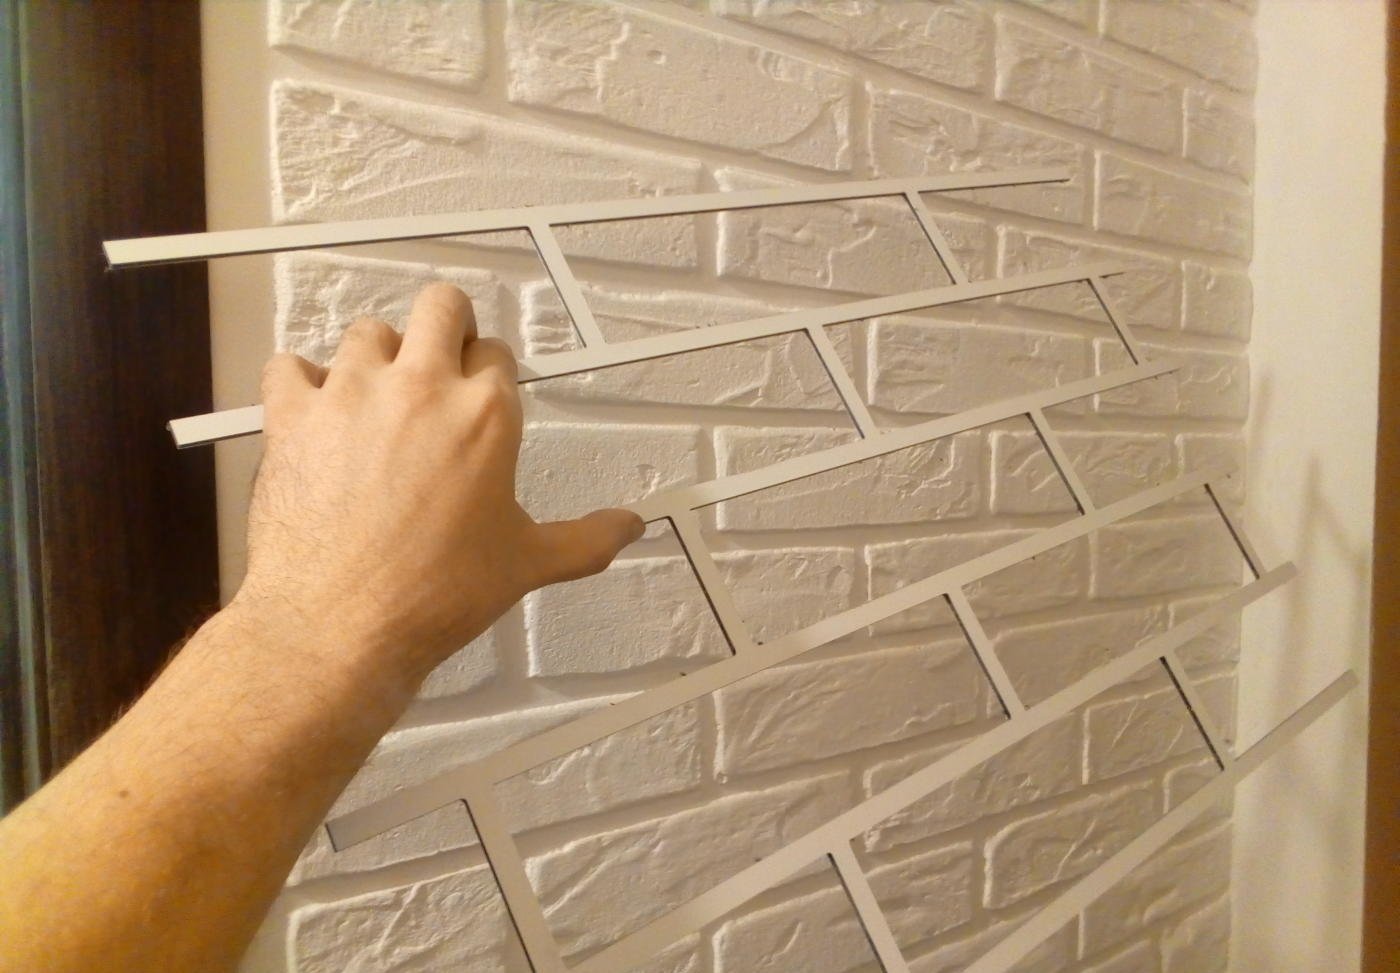
You can make a beautiful brick wall for the interior using plaster, a special stencil. Finding a flat stencil is not easy. To do this, you will have to visit not a single store or market. However, it is the stencil that will help to make the decorative cladding quickly.
These stencils are made of composite material, do not break and serve for a long time
A similar stencil can be made with your own hands from thin boards
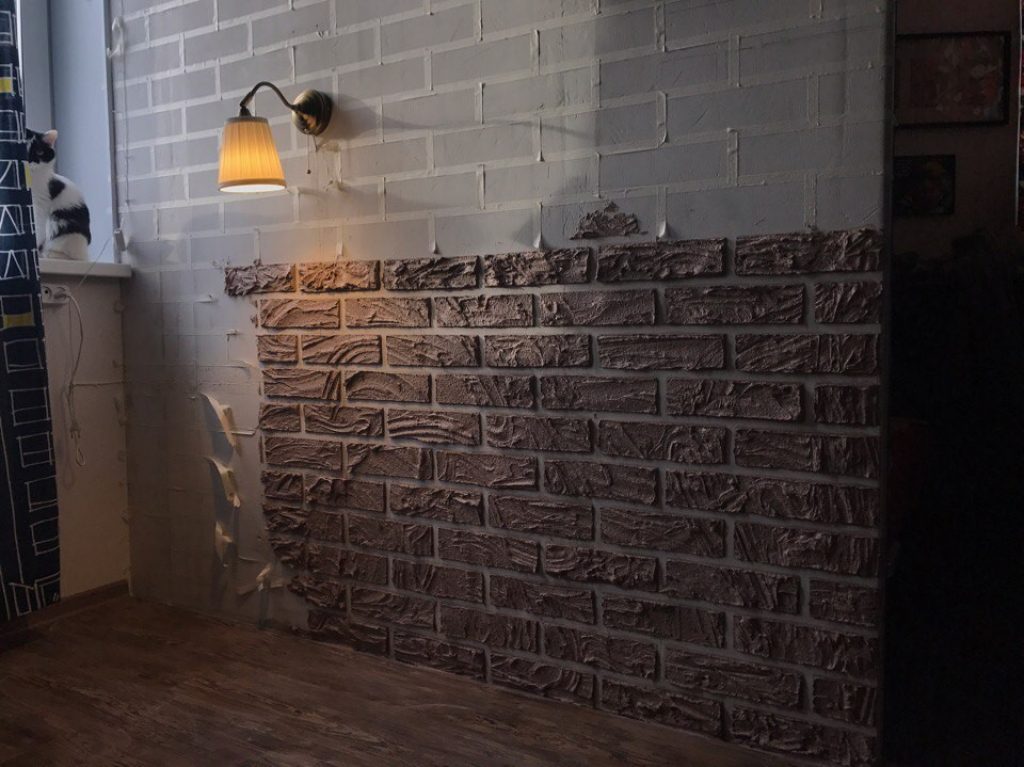
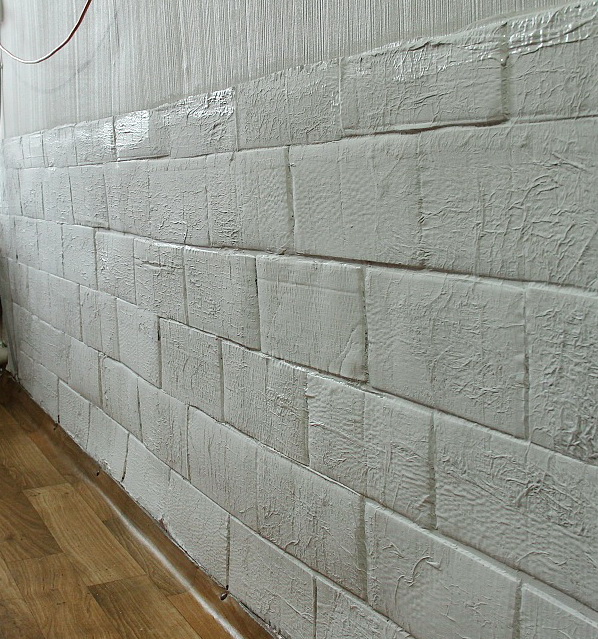
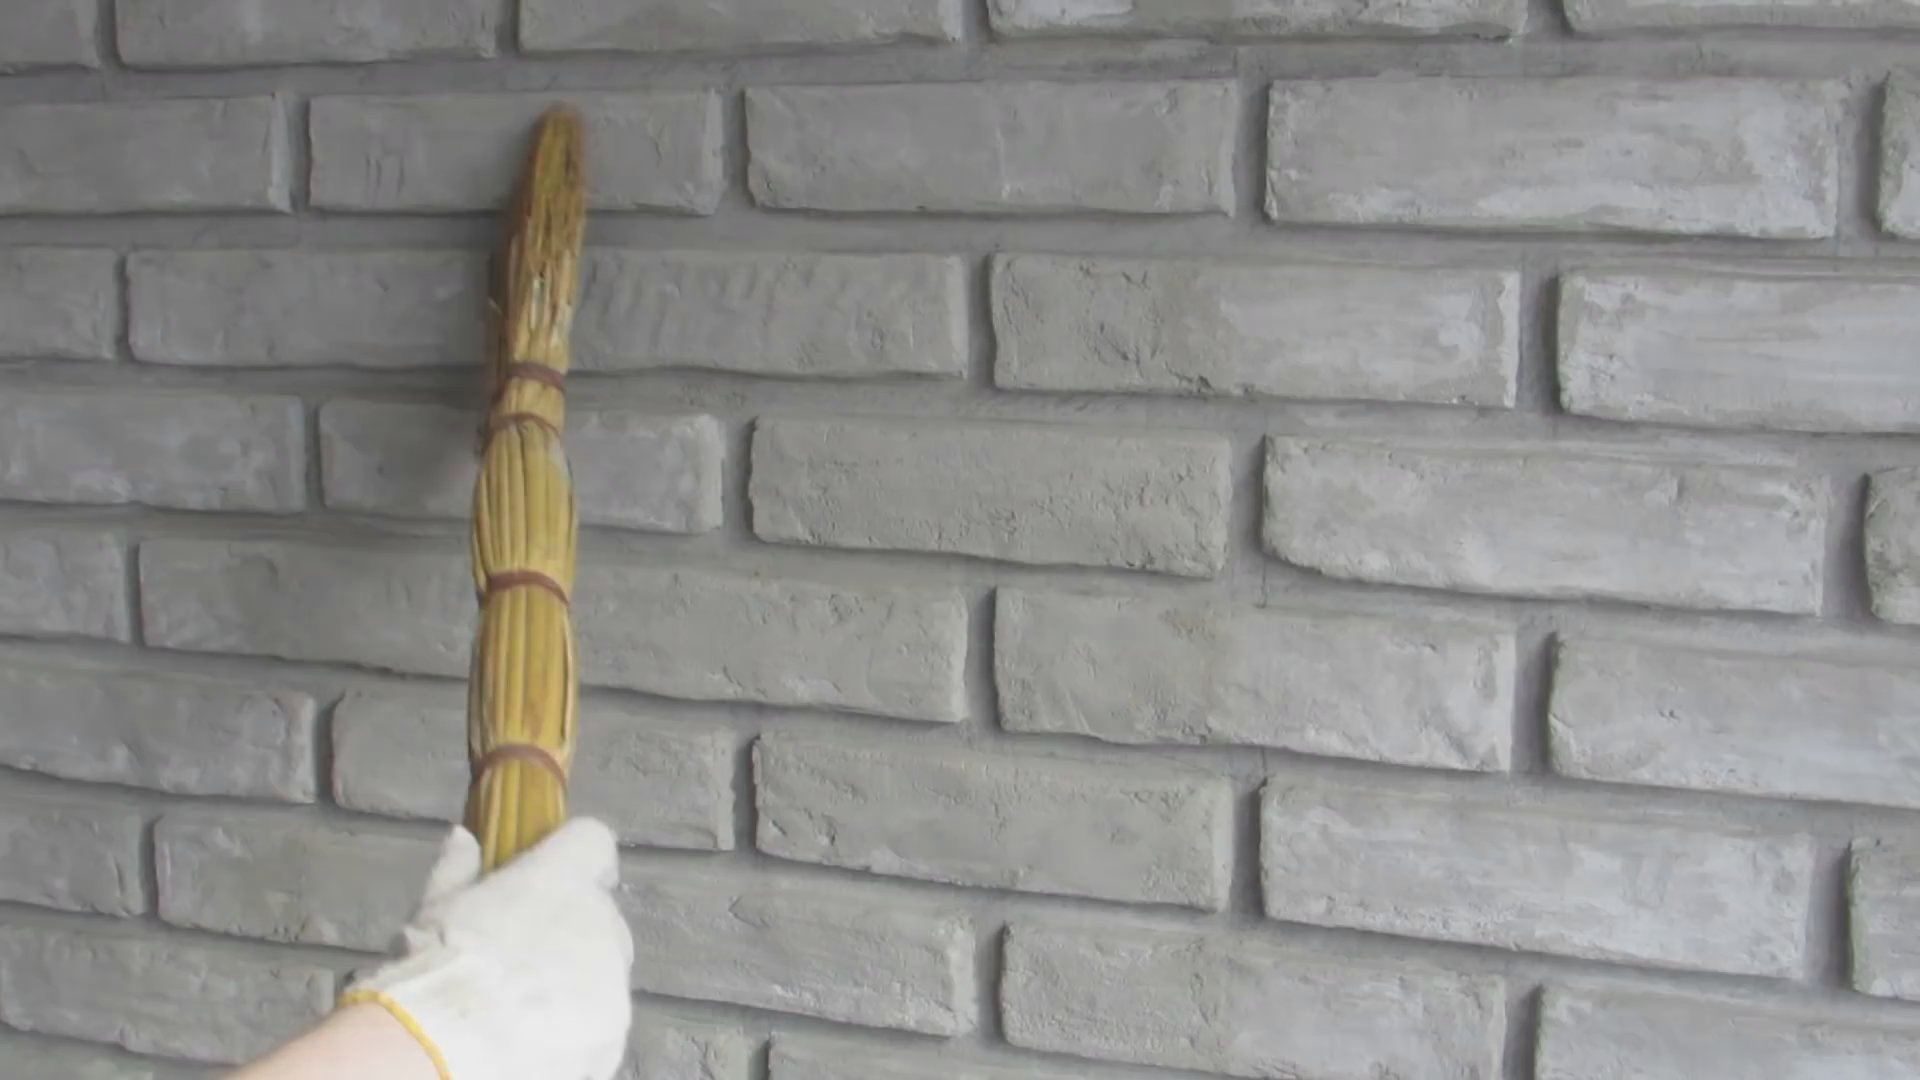
To begin with, the wall must be prepared - to close up cracks, chips, putty, prime. Then you need to purchase a good decorative plaster. The plaster must be of high quality and completely environmentally friendly. The surface is plastered in the usual way.Immediately after plastering, you can take a stencil slightly moistened with water and attach it to the coating. Then the stencil is removed, and clearly traced seams remain on the surface. In this way, you need to process the entire coating. After drying, the plaster layer should be primed, the bricks should be painted. Seams, bricks should have a different color.
Method two
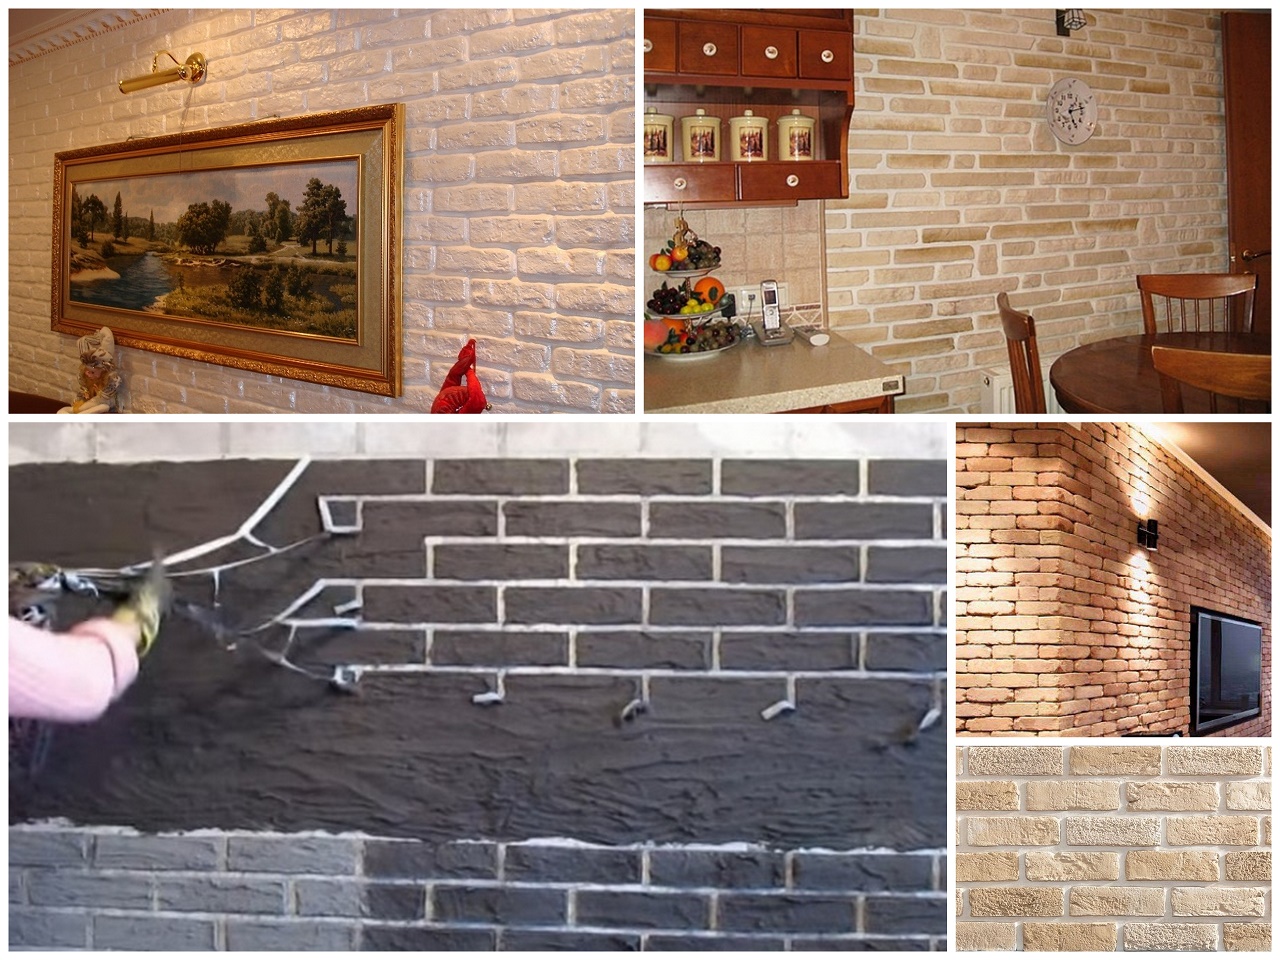
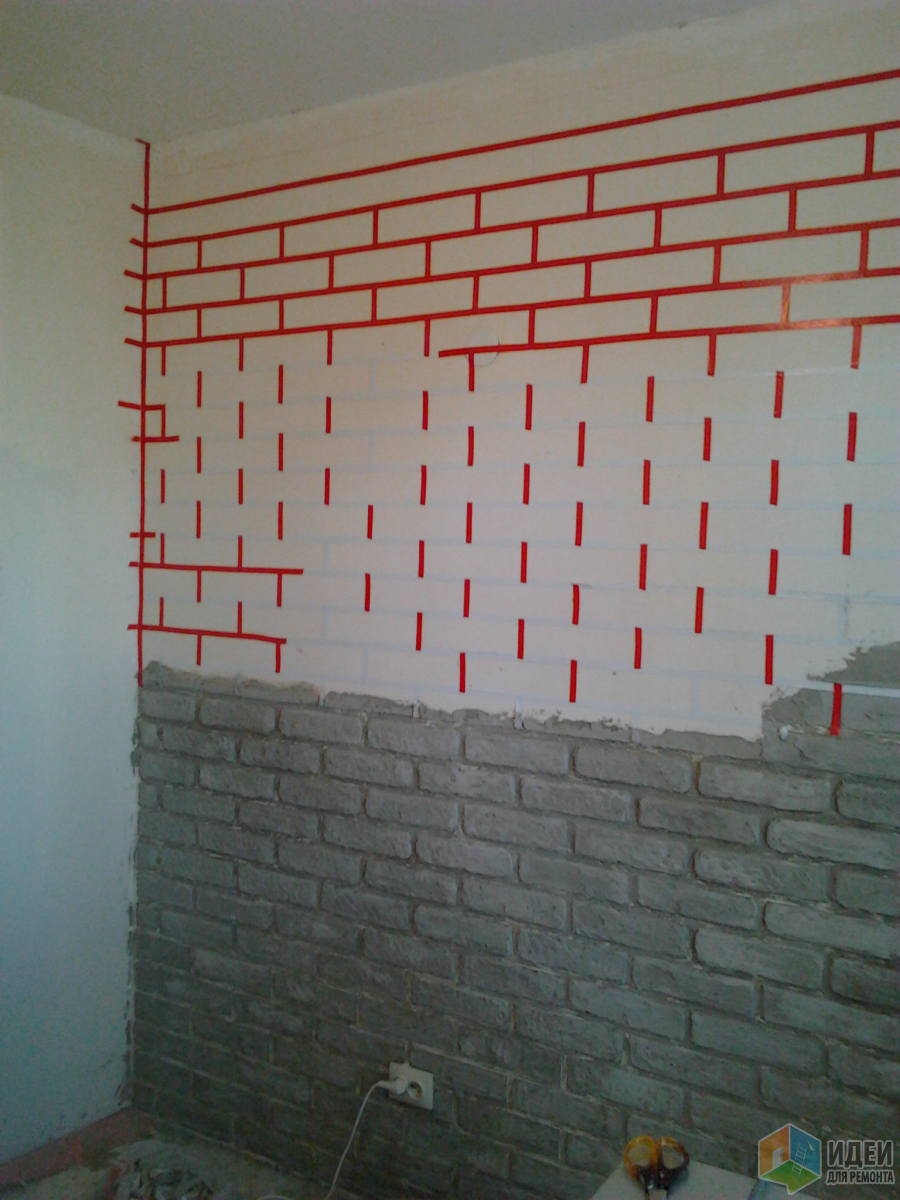
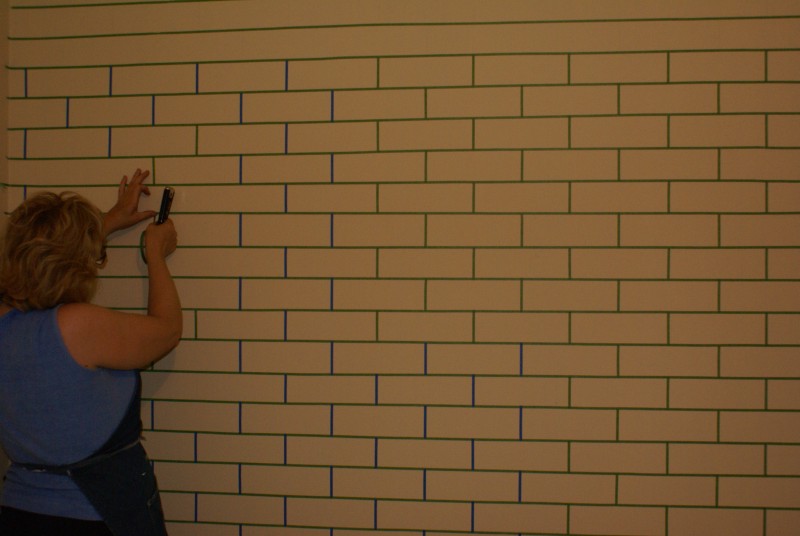
For the next method, a stencil is not needed, we will use ordinary masking tape.
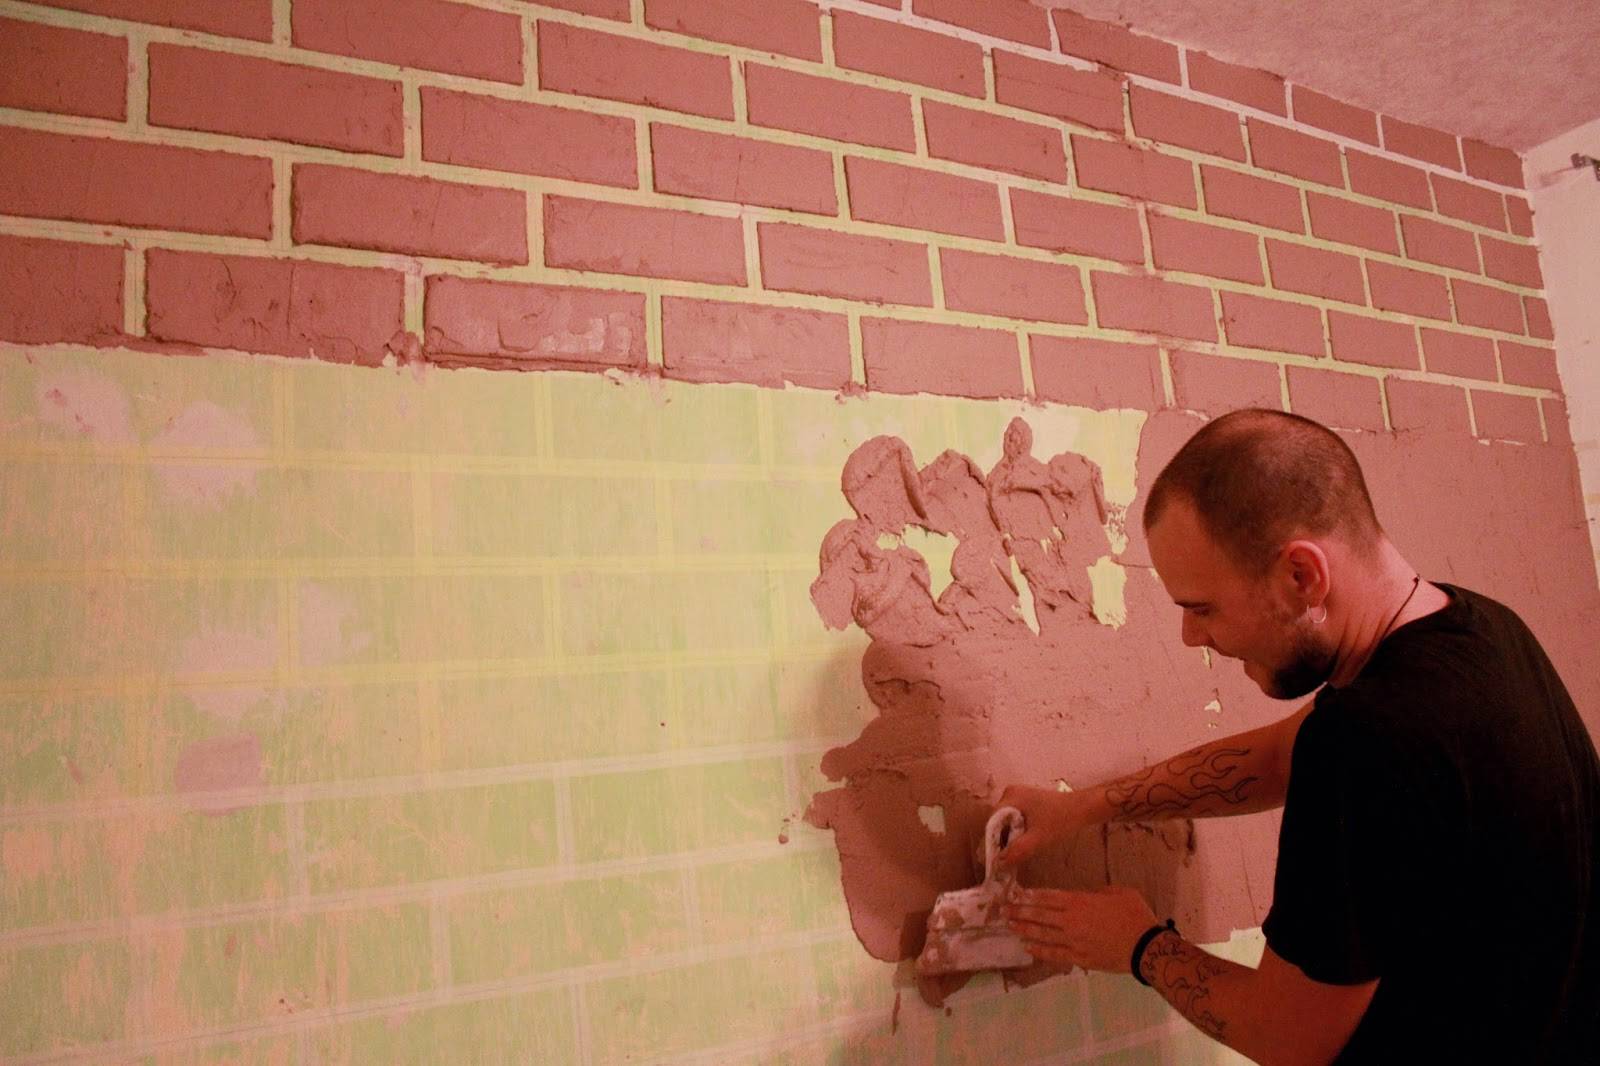
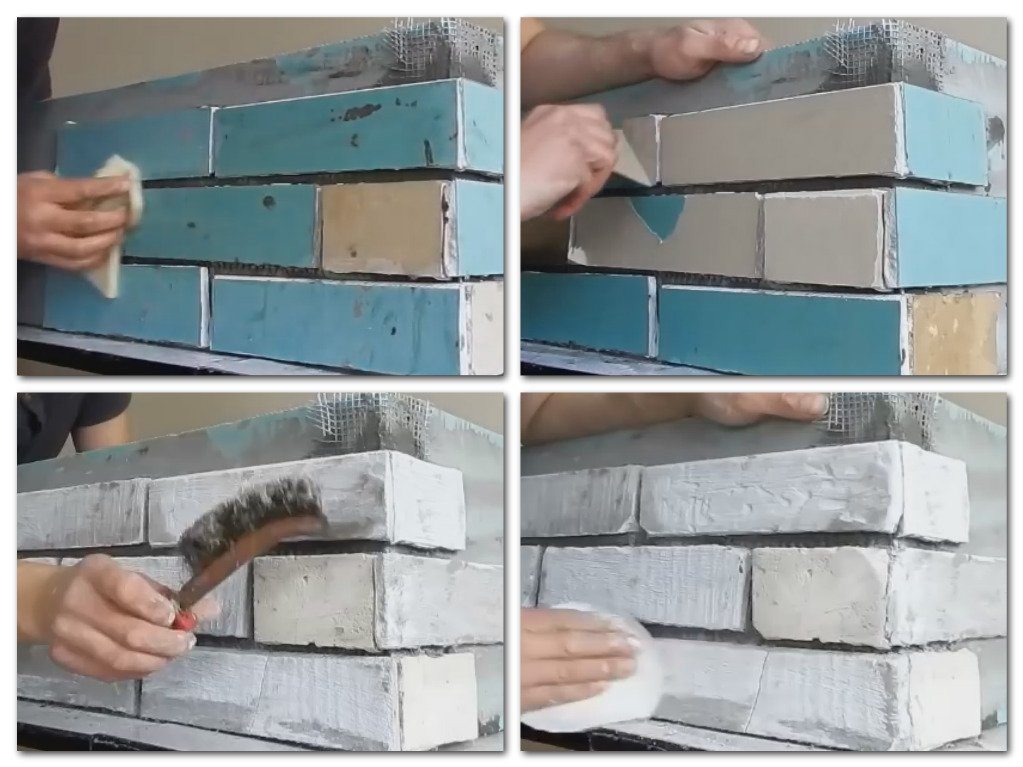
First, on the primed wall, we make markings from masking tape
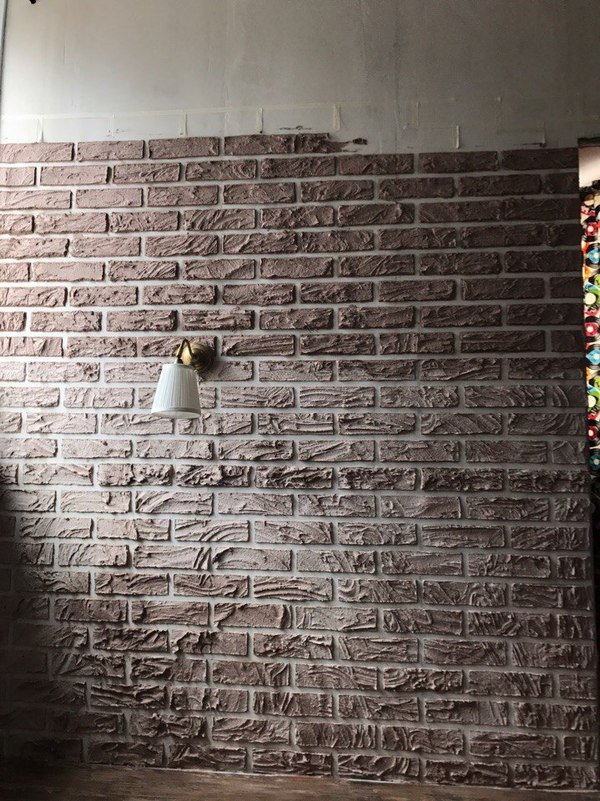
Then we apply the plaster in a layer 3-5 mm thick
After a few minutes, depending on the thickness of the solution, remove the tape
It is important not to overexpose the plaster, otherwise the edges will come out torn! After the plaster has completely dried, cover the wall with paint
After the plaster has completely dried, cover the wall with paint
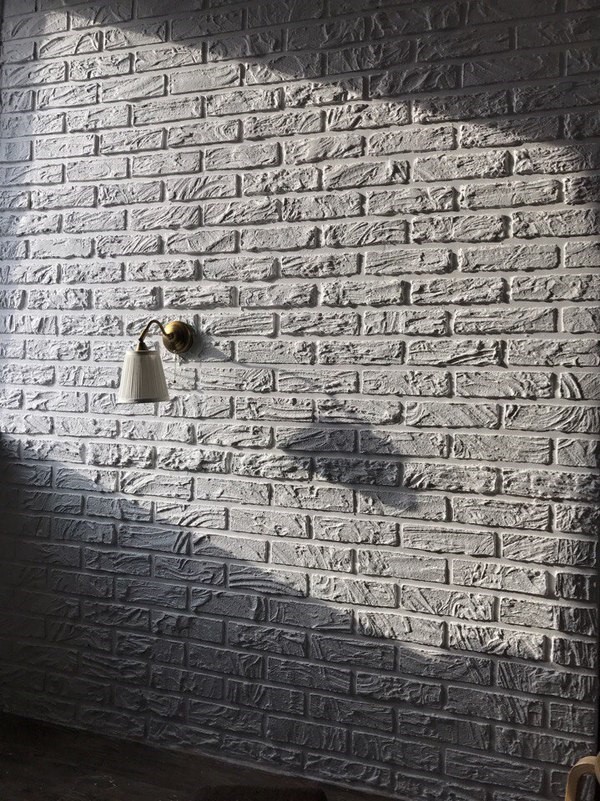
And we get such beauty!
Decorative bricks in the interior of the apartment
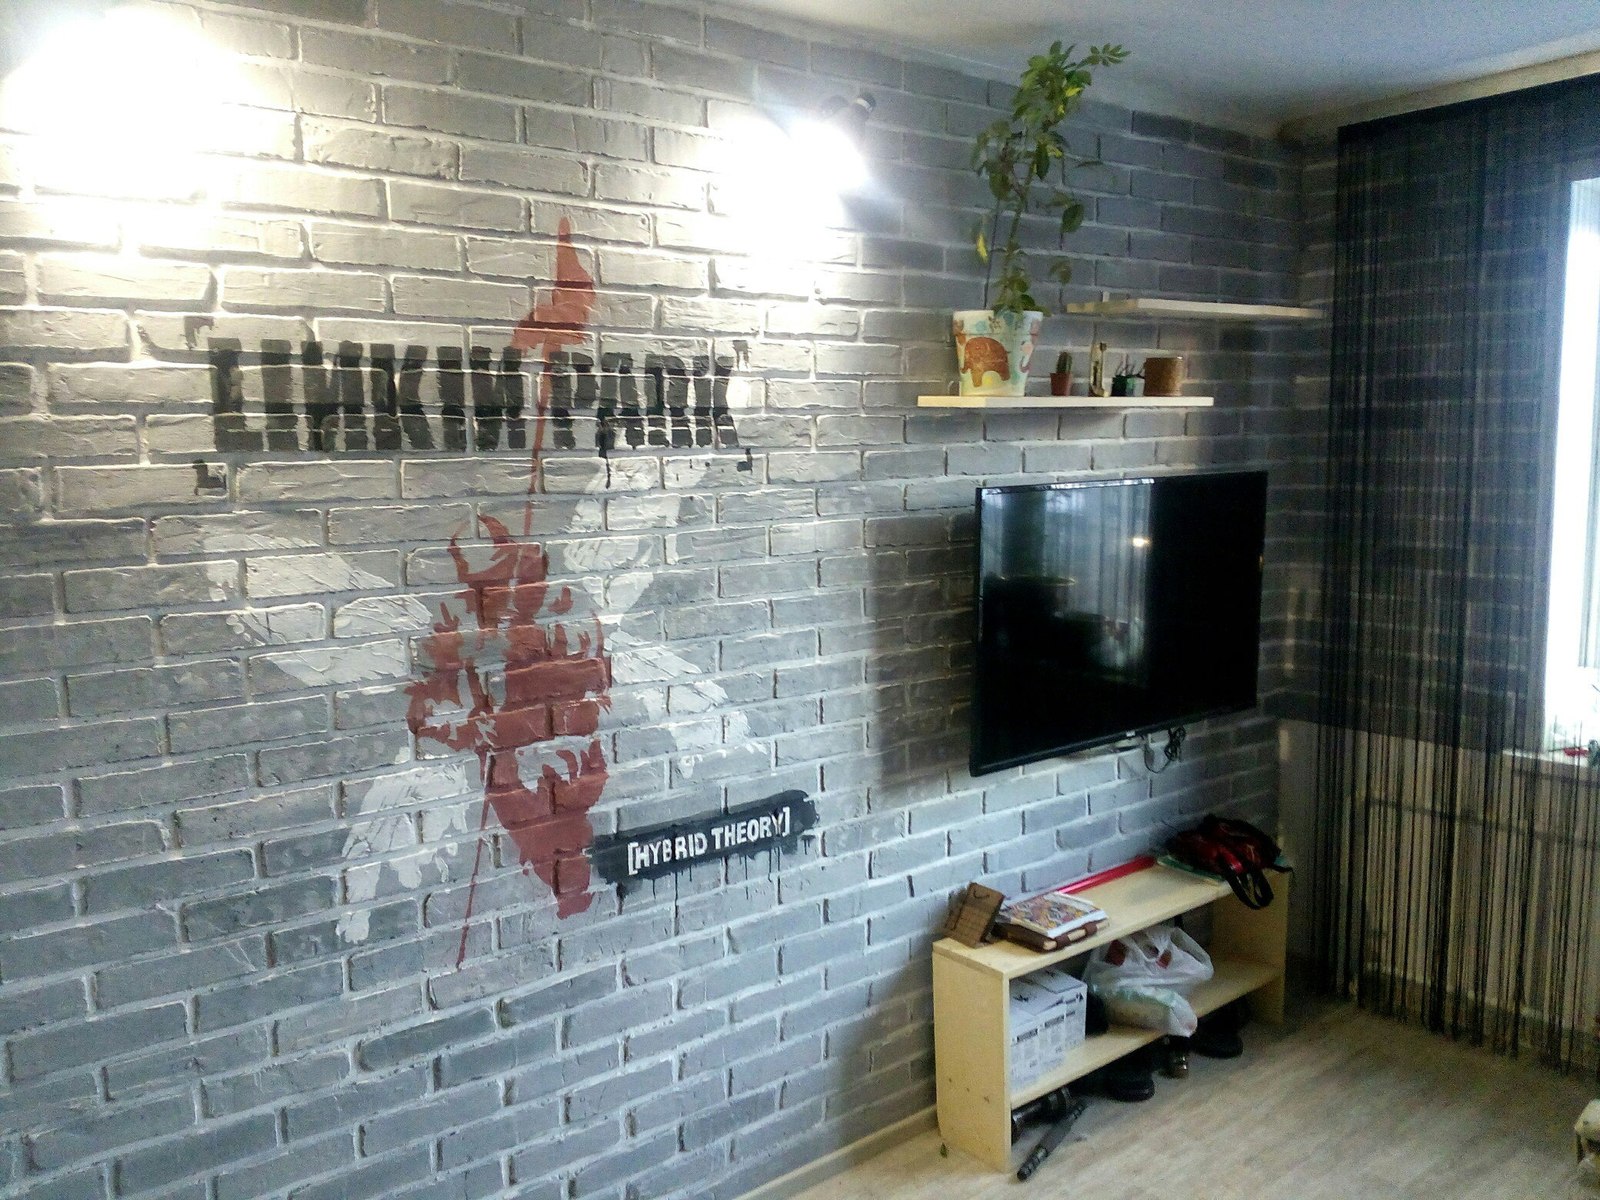
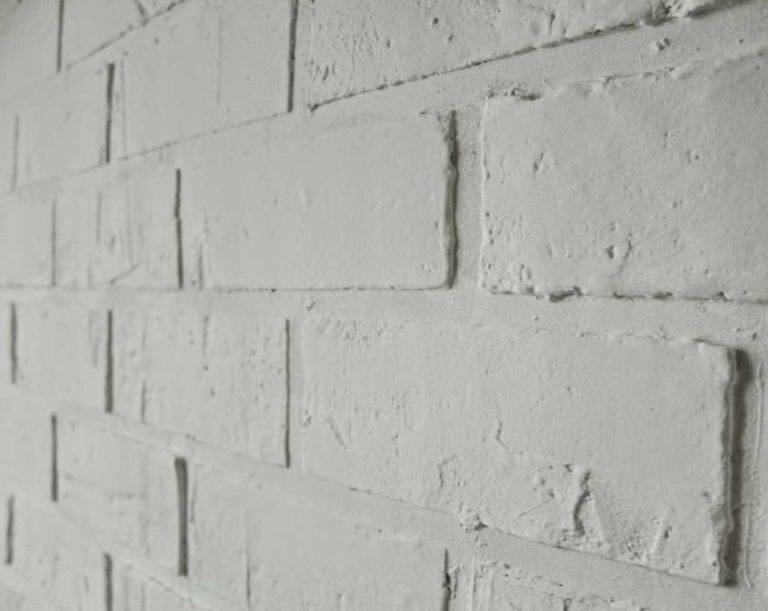
When it comes to finishing, questions always arise related to which material to choose. The most popular solution is wallpapering or painting. Another fairly simple option is the creation of a brick wall from putty. This option has many advantages, is inexpensive, and can be used in almost any room.
More about decorative putty in the video:
On the balcony
Using plaster decor on the balcony is a good solution. With its help, it will be possible to finish the walls in a short time, giving them a spectacular look. The bricks are painted. It is allowed to leave the decor in its original color. This solution is especially good if the ultimate goal is to create a loft style.
Living room
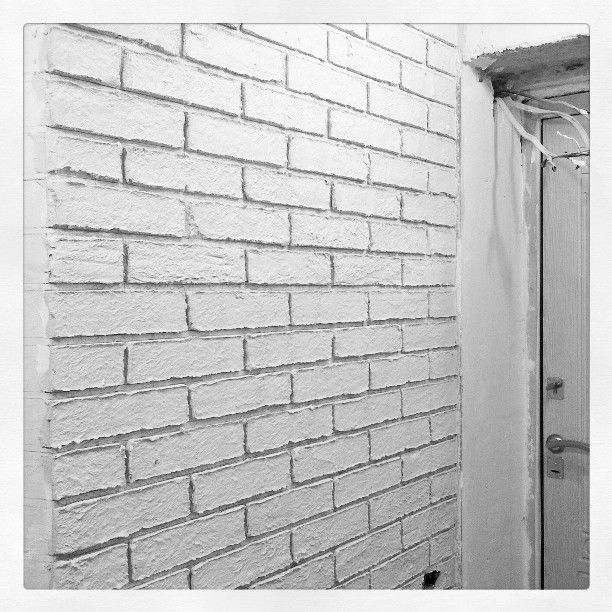
In the living room, it is allowed to decorate all 4 walls with white brick. A fairly popular solution is the allocation of a separate area (for example, the area in which the TV or sofa is located). For decoration, you will need to first carry out preparatory work. The putty is applied only to the leveled base.
Kitchen
In the kitchen, it is recommended to equip an apron in this way. There are many different options for decorating the kitchen area. The choice of imitation with putty allows you to get an attractive design object, without spending a lot of time and money.
Bedroom
To transform the interior in the bedroom, it is allowed to use different materials. Brick decor goes well with both wallpaper and paint. You can highlight the area above the bed. Elements created from putty are painted and painted in a color that matches the design.
Bathroom
The use of brick imitation in the bath is permissible, however, you will need to use a special putty that is resistant to high humidity. The end result will look holistic and attractive. This option looks especially good in a room with a large area. Traditionally, the color of the bricks is chosen white. If desired, it is allowed to combine decor with tiles.
Resilient brick
Decorative brick is a type of facing stone made from cement, sand, various fillers and pigments. Due to the small mass of "brick" cladding (up to 20 kg / m²), it does not require reinforcement of the foundation
Among other advantages of the material - sufficient frost resistance and resistance to aggressive weathering, which is extremely important when decorating facades. Despite the fact that decorative thin-walled brick tolerates high humidity without problems, in difficult areas, for example, in the basement of the building, to give the cladding additional moisture resistance, it is treated with a water repellent
To create a natural look of "brick" masonry, two types of elements are used: planar, measured in square meters, and angular, measured in running meters.
Chester (Camelot)
The facade with decorative bricks from the "Chester" collection is a variation on the theme of buildings of good old England.Once a real prototype of this facing brick was made by hand for the construction of city walls, where its surface gradually changed from wind, rain and fog, acquiring the characteristic traces of time. Today the elements of the Chester collection are an expressive medium for historical stylizations.
The size of the bricks is 22.5 × 5.5 cm, the thickness is 2 cm. They are laid with a seam of 1 cm.
1 of 3
890 rubles / m². Photo: "Camelot" (3)
2 of 3
3 out of 3
Bergamo Brick (White Hills)
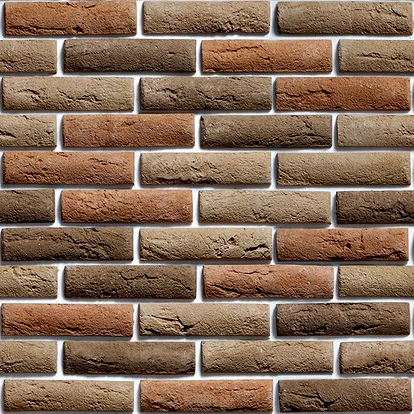
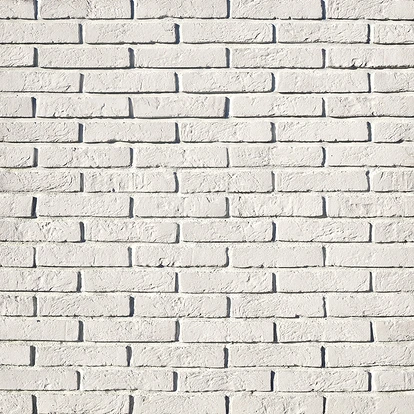
The Bergamo Brick collection is named after an Italian city near Milan. It consists of elongated facing bricks with a moderately pronounced texture. Each element is painted over by hand, and the masonry has a natural look of aged brick. The addition of dark shades in the form of scorch marks creates the appearance of products made by the ancient method of hand molding.
The size of the brick is 22.5 × 4.9 cm, the thickness is 1.2–1.4 cm.
1 of 3
From 837 rubles / m². Photo: White Hills (3)
2 of 3
3 out of 3
"Argo" ("Ideal Stone")
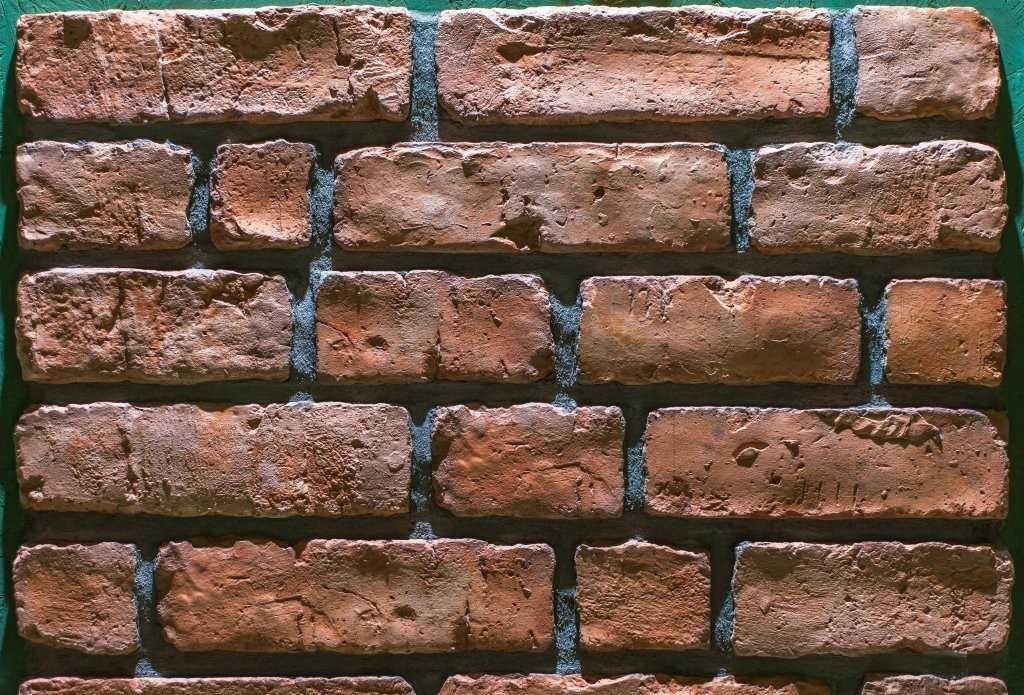
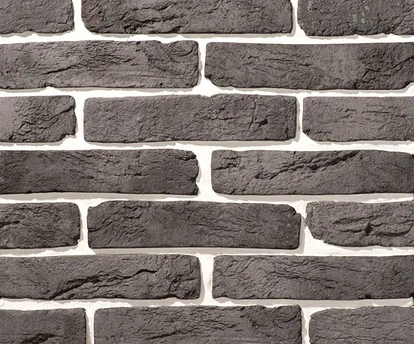
Graphic, but at the same time carelessly uneven, as if hewn for decades, the edges of the elongated bricks of the Argo collection recreate the masonry of an old, but still solid wall. The textured surface of the stones has irregularities, dents, dents and is perceived as a wall made of old clay bricks.
The size of the brick is 28 × 6 cm, the thickness is 1.5 cm.They are laid with a seam of 1.2 cm.
1 of 4
890 rubles / m². Photo: "Ideal Stone" (4)
2 of 4
3 of 4
4 of 4
Expert opinion The popularity of artificial facing bricks is primarily due to the wide decorative possibilities at a relatively low price. It is 1.5 times cheaper than clinker. According to technical indicators, it is a frost-resistant facing material that can withstand severe winter and sudden temperature changes, is not subject to combustion, is environmentally friendly and durable. A wide range of decorative bricks allows architects and designers to show their imagination to the fullest, the color scheme is as varied as possible. Each White Hills brick collection is presented in an average of 11 color options. If desired, you can always create a unique color, based on the preferences of the customer and the architect's intention. Before purchasing, it is worth visiting the showroom, since the images on the Internet do not always give a complete picture of the color and texture of the material.
Sergey Shchetinin
Head of Marketing and Advertising Department White Hills
"Zealand brick" (KR-professional)
Decorative stones from the collection "Zealand brick" are made in the old Scandinavian style of crossbar bricks. Bricks of different height can be combined in any proportion. Their mix creates a complex pattern with a whimsical play of light and shadow. The weight of 1 m² of cladding is quite impressive and ranges from 70 to 100 kg.
The size of the brick is 52 × 4 cm, the thickness is 3.5 and 5 cm.The stones are laid end-to-end or with a jointing of 1.2 cm.
1 of 3
From 1408 rubles / m². Photo: KR-professional (3)
2 of 3
3 out of 3
Tivoli Brick (White Hills)
Elements of the Tivoli Brick collection imitate the ancient flat brick - plinthu, which was widely used in Byzantine architecture. Modern elements can be used to create a variety of decorative masonry: diagonal, herringbone, stepped or traditional.
The size of the bricks is 25 × 2.5 cm, the thickness is 1.5 cm.They are laid with a seam of 1.2 cm.
1 of 4

From 899 rubles / m². Photo: White Hills (4)
2 of 4
3 of 4
4 of 4
How to paint brickwork on a wall
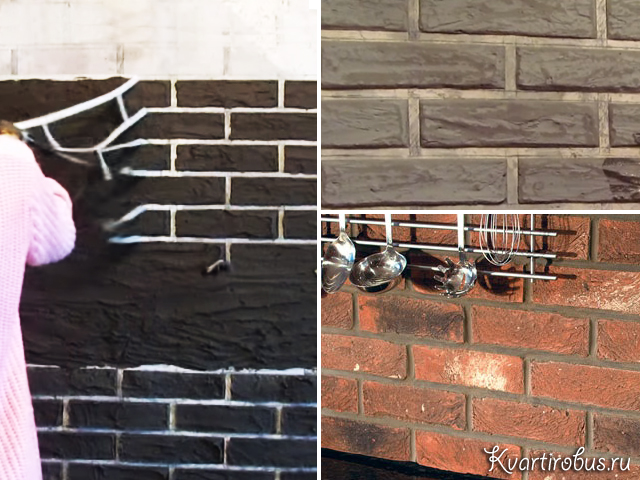
If "wet" or "dusty" work is not your strong point, but you can draw at least a little, you can draw a brick wall. You will need acrylic paints, brushes, a pair of natural sponges, masking tape, thick paper plates for mixing paints. When diluting paints, remember that acrylic paints darken as they dry. And one more thing: they dry quickly, but freshly applied ones can be removed with a clean cloth soaked in water.
The whole process in step by step photos
First, we prepare the workplace: cover the plinth and the adjacent floor with polyethylene or old wallpaper (it is better to fix it on tape). We outline the borders with masking tape - at the top, on the sides. At the bottom, the limiter is a plinth, although in order not to get dirty, it can be removed.
How to draw bricks on the wall
Further step-by-step actions:
- We paint the wall with white semi-matt acrylic paint. We leave to dry.
-
Preparing the background paint. In one of the paper plates, mix 1/6 of the umber, 1/6 of the black paint and 4/6 of the titanium white. We immediately prepare a little paint, apply it to the wall with a sponge, simply by applying the surface soaked in paint to the wall. You should not try to make a solid background - it should be torn, textured. In some places we put the paint denser, passing twice, somewhere with a more transparent layer.
- On a dry background, by hand, not using a ruler, draw several rows of bricks. We focus on the standard for masonry: 25 * 6.5 cm, the thickness of the seam is 0.8-1.2 cm.When marking, keep in mind that with this technology it is easier to make the seam a little narrower by painting it than to try to expand it later.
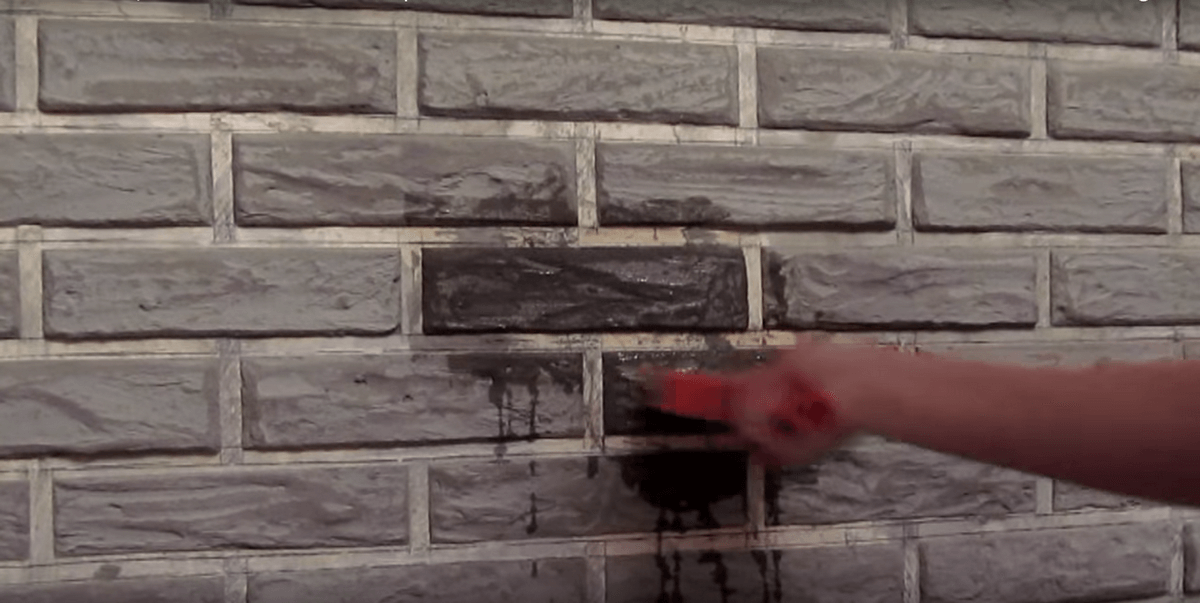
- To paint over "bricks" it is necessary to mix ocher and sienna in different proportions, getting different shades of "brick" colors - from yellowish-orange to brownish. We got some kind of shade, painted several "bricks" in arbitrary places. We mixed a new batch, painted over other bricks. We apply the paint with a brush, without trying to get a uniform surface or a dense layer of paint - the background layer is translucent. The edges of the "bricks" should also not be straight.
-
For the traditional red-brown color, to sienna and red ocher, add a little light ocher, a little white. This color can be used to paint over several bricks in a row.
- Another shade - add brown mars and some water to the above composition. Apply with a brush or sponge as desired.
- If we add white and burnt sienna to ocher and sienna, we get another color.
- We paint over all the bricks with these shades in random order.
- We dilute white and a little ocher, add water. The composition is applied with a sponge, acting like a tampon.
-
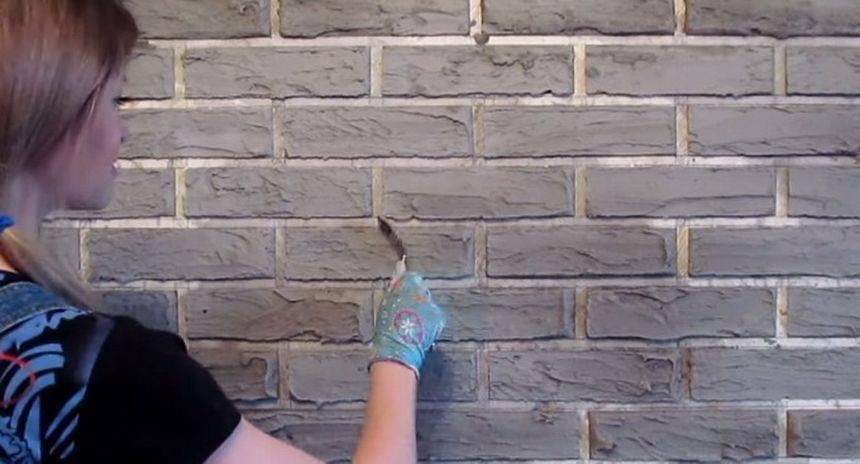
Take an old toothbrush and burnt bone paint. We dip the bristles in the paint and spray on the wall, imitating the heterogeneity and texture of the clay brick.
- We add volume to the bricks: dip a thin brush into a mixture of umber and white. We bring all the bricks from below and to the right or to the left. Everything on one side, depending on where the window is located (on the opposite side from the window). The thickness of the liner is different, since the masonry and the bricks themselves cannot be perfect.
It takes much longer to describe than to do it all. A beginner can draw about 30 imitation brickwork squares per day. For maximum likelihood, there are several secrets, which we will discuss below.
Final touches
To make the brickwork painted on the wall look as close to natural as possible, there are several small secrets:
-
If the shadows near the bricks are too harsh, they can be shaded with a toothbrush (another) dipped in a mixture of white and natural sienna, strongly diluted with water.
- After applying paint to a brick, do not wait until it dries. Take whitewash, add a little bit of umber, dip a sponge and "break" the uniformity of the paint with it, imitating a rough surface. To do this, slightly touch the "brick" with a sponge.
-
Squeeze out a few other colors on a plate next to the main batch. They change the color in the course of painting. The brick will not be monochromatic. It has a smooth and not very color gradient.
- The dimensions of bricks, their edges, seams - all this does not have to be perfect.
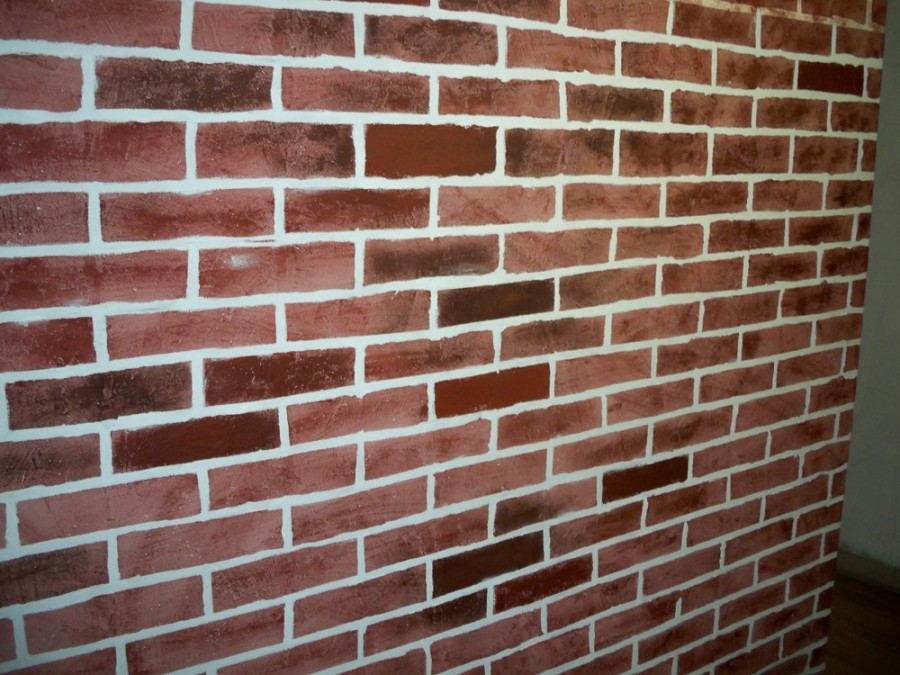
With some skill and diligence, it is possible to achieve that the painted brickwork looks like natural. The main rule is imperfection and heterogeneity.
Imitation of brickwork with your own hands with photos and videos
And now, in fact, a master class for imitation of brickwork with your own hands for a loft-style interior.
Work begins by applying the background paint with a large sponge. The tampon technique is used - blows on the surface should be light and frequent. It is also not worth worrying about uniform coloring of the entire surface. Different cement shades look impressive and create the appearance of naturalness. In the process of making an imitation of brickwork, in one place you can walk with a sponge several times, and in another place a less intense layer of paint.
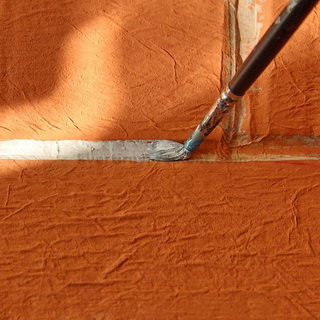
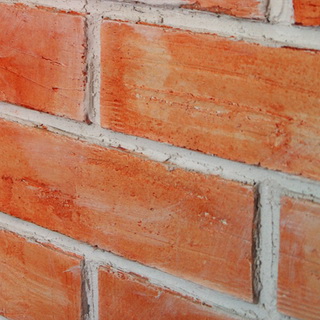
After applying the background paint, you must wait for it to dry completely, and then draw out the outlines of the bricks with chalk. But before proceeding with drawing, it is necessary to calculate their number in such a way that there are only whole bricks in the masonry
This is especially important if the painting is applied near a window or door. It is necessary to leave gaps of 10-12 mm between the bricks.
Too large gaps can be sketched later, while the paint already applied to the surface will not be so easy to erase.
Look at the photo of imitation of brickwork with your own hands - it is more convenient to draw bricks, starting from the bottom row:
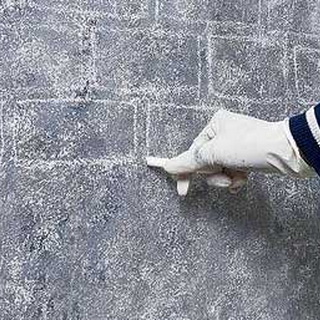
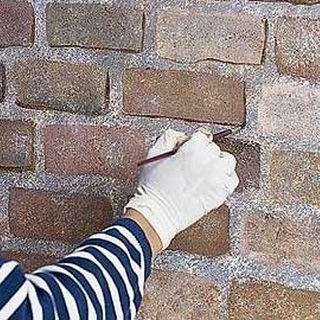
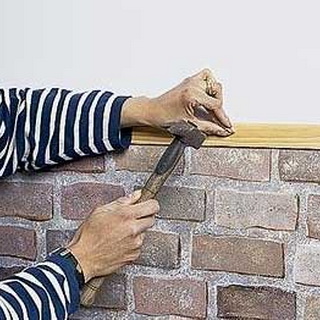
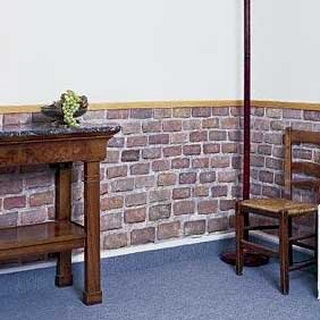
It is important to check the horizontal lines, otherwise the bricks will "fall over" on their side. But vertical lines may be uneven and not coincide with one another.
At the same time, it is not recommended to draw using a ruler. The drawing will look more realistic if you draw lines by hand. Unsymmetrical rows will also look more natural. The size of the bricks can be any size, but keep in mind that it will be convenient to paint over them with a wide brush if they are of medium size.
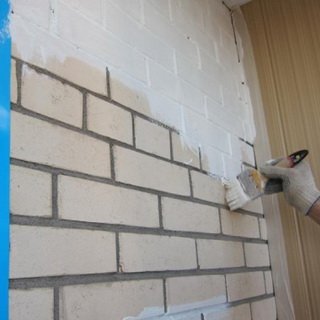
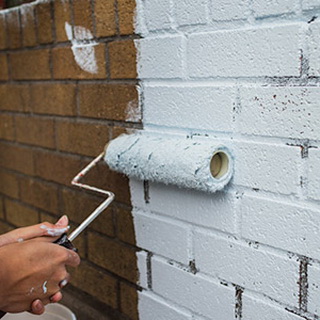
You can paint the masonry with ocher or sienna. The paints are mixed in any proportions to obtain the required shade - from yellowish brown to the color of dried black bread. To achieve a pure brick color, it is necessary to mix natural sienna, red ocher and light ocher with the addition of white. To get a new shade, water, brown mars or white and burnt sienna are added to the mixture. It is not recommended to paint all bricks with the same color. For convenience, you can paint the bricks in random order, first with one color, then mix the paints again and paint other bricks again in random order. After the staining is finished, the elements are blotted with a sponge.
After finishing painting all the elements of the masonry, it is necessary to dilute the white, a small amount of ocher or umber with water. The mixture of paints is applied to the finished drawing using the tampon method. To give the bricks their characteristic texture, dark paint is also sprayed on them. To do this, you will need an old toothbrush, which is dipped in paint, and a stick, which is passed along the bristles so that the paint is sprayed onto the drawing.
The painted bricks will look even more embossed if you add shadows to them. To create this effect, you need a thin brush and a mixture of umber, white and black color. Each detail is outlined from the bottom and to the right or from the bottom and to the left. At the same time, they are guided by the location of the real window and how the light falls in the room. The shadow of all bricks must fall from the same side. If after the end of the staining it became clear that the lines stand out too brightly, you can muffle them with a liquid solution of white and natural sienna, blending the paint with a toothbrush.
Extra lines or spots of paint may appear during drawing. They must be removed quickly, since acrylic does not dry for long. You can erase the excess with plain water.

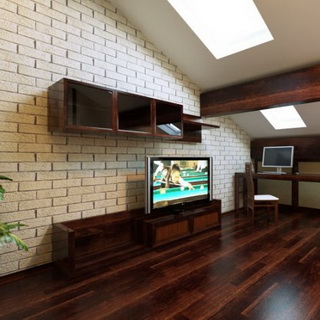
The painting in the form of brickwork will be combined with wood or natural stone. Above the "brick" painting, you can glue a wooden plank, cover it with varnish or wax. Another framing option is natural stone glued to the wall surface.
After watching the video "Imitation of brickwork", you will better understand how this work is done:
Template for imitation of brickwork
Anything can serve as a template for imitating brickwork. But, in general, these items can be divided into two classes:
- In the first case, masking tape is widely used. It is advisable to purchase a skein of a width that matches the seam dimensions of a typical brickwork. The veneering mortar is applied over the tape, and then the template is withdrawn before it has solidified. It turns out an imitation of a brick wall.
- The second type of template is solid material molds. Most often it is wood or plastic. The mortar is applied between the guides of the template.
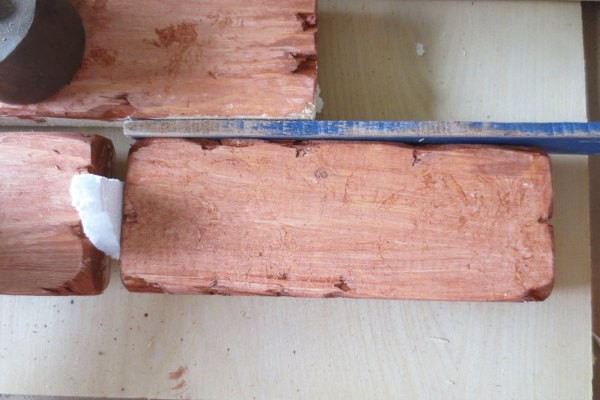 Pattern for wall decor
In practice, there are also hybrid variations using one and the other type of template. In this case, the outer frame is made of wood. Imitation of brickwork dressing is performed with masking tape stretched inside. Obviously, such a template cannot be too large. Otherwise, it will not only be difficult for builders to move it from place to place, but also great difficulties arise when passing through the cut sections of the wall. Builders get out of the situation as follows:
- The horizontal strips of the frame are made of thin wooden slats according to the dimensions of the brick seam. At the end of the verticals, slots are made according to the shape of the ligation of the masonry and the height of the bricks.
-
The height and width of the frame are multiples of the corresponding sides of the bricks. The teeth of the vertical rails are cut through one row to simulate a dressing. Before making an imitation of a brick wall, you will have to move the template many times, and this measure allows you to accurately perform the joints.
- The masking tape is designed to fit snugly against the wall. To do this, it is attached to the protruding teeth of the vertical guides. For this reason, the slots have a shorter length. This is due to the fact that the protrusions include themselves and the seams, that is, each of them is equal to the height of the brick plus two widths of the seam. The vertical sections of the masking tape mimic dressing. It can also be visually butted edges.
The builder walk with such a frame and, one by one, row by row, they process the entire surface of the wall until an imitation of a brick wall made of plaster is obtained. The advantage of this solution is that it is allowed to work, including with fast-setting solutions, like gypsum plaster. During the time that the builder covers a quarter of a square meter of the wall with the mixture, it will not have time to dry. Due to this, the master has great flexibility in the choice of material. At the same time, one serious drawback is noticeable. The fact is that when applying the solution on top of the masking tape, you have to literally rip out the frame from under the plaster. This is fraught with damage. Someone may find that the wavy sections of the edges imitate clinker well, other craftsmen will not like this effect.
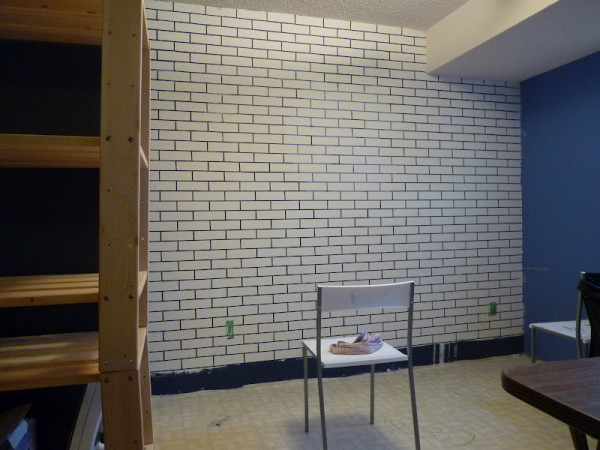 Imitation masonry wall
This is why it is advisable to assemble the entire template from thin strips. Its shape will exactly repeat the already considered construction with one exception. The masking tape will also be replaced with wooden strips. In this case, the slightest gaps between the planks can cause some defects in the masonry.
But, as we will see later, this is not so important. The main thing is to firmly fix the planks relative to each other so that the template does not walk
Finally, when working only with masking tape, without wood planks, the template is created directly on the wall. To do this, an arbitrary section is painted with the desired pattern. And immediately we see the first plus of this decision. The dressing does not have to be regular. We can create both bonded and longitudinal masonry patterns. Moreover, it becomes possible to simulate rough stones with sufficient accuracy. Previous, pre-created templates did not allow you to do anything like this. Imitation brick is more natural.
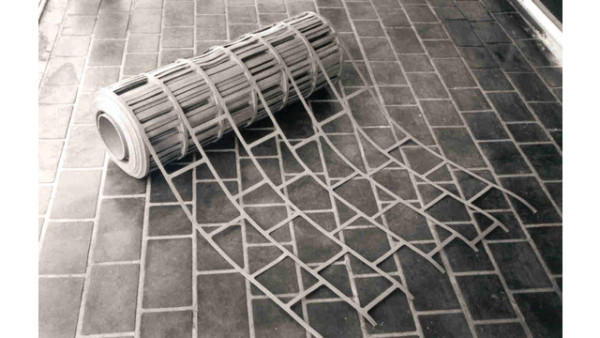 Ready template for the wall
At the same time, masking tape has a couple of significant drawbacks. If the object is large, then it will take a long time to paste the wall, and a large amount of scotch tape will be spent. This is completely unacceptable in a professional planned development. But for some amateurs, apartment owners, this particular technique may seem simpler. Because it requires a minimum of preparatory work, the process of applying the mixture itself is not very complicated. The second disadvantage is that the solution should not harden too quickly. Otherwise, it will be simply impossible to tear out the masking tape from under it without damaging the brickwork pattern.

