The device and principle of operation of the glue gun
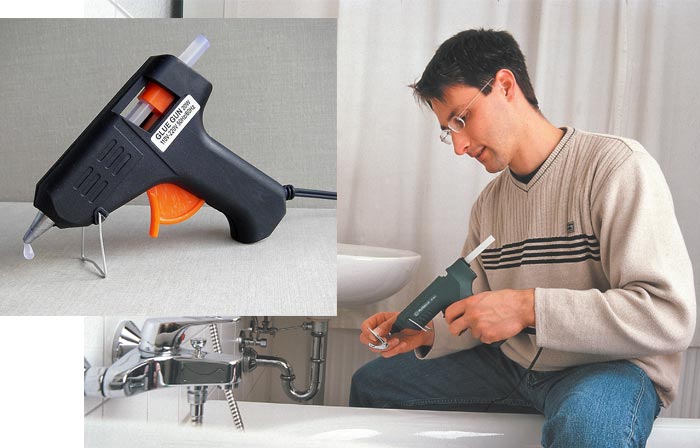
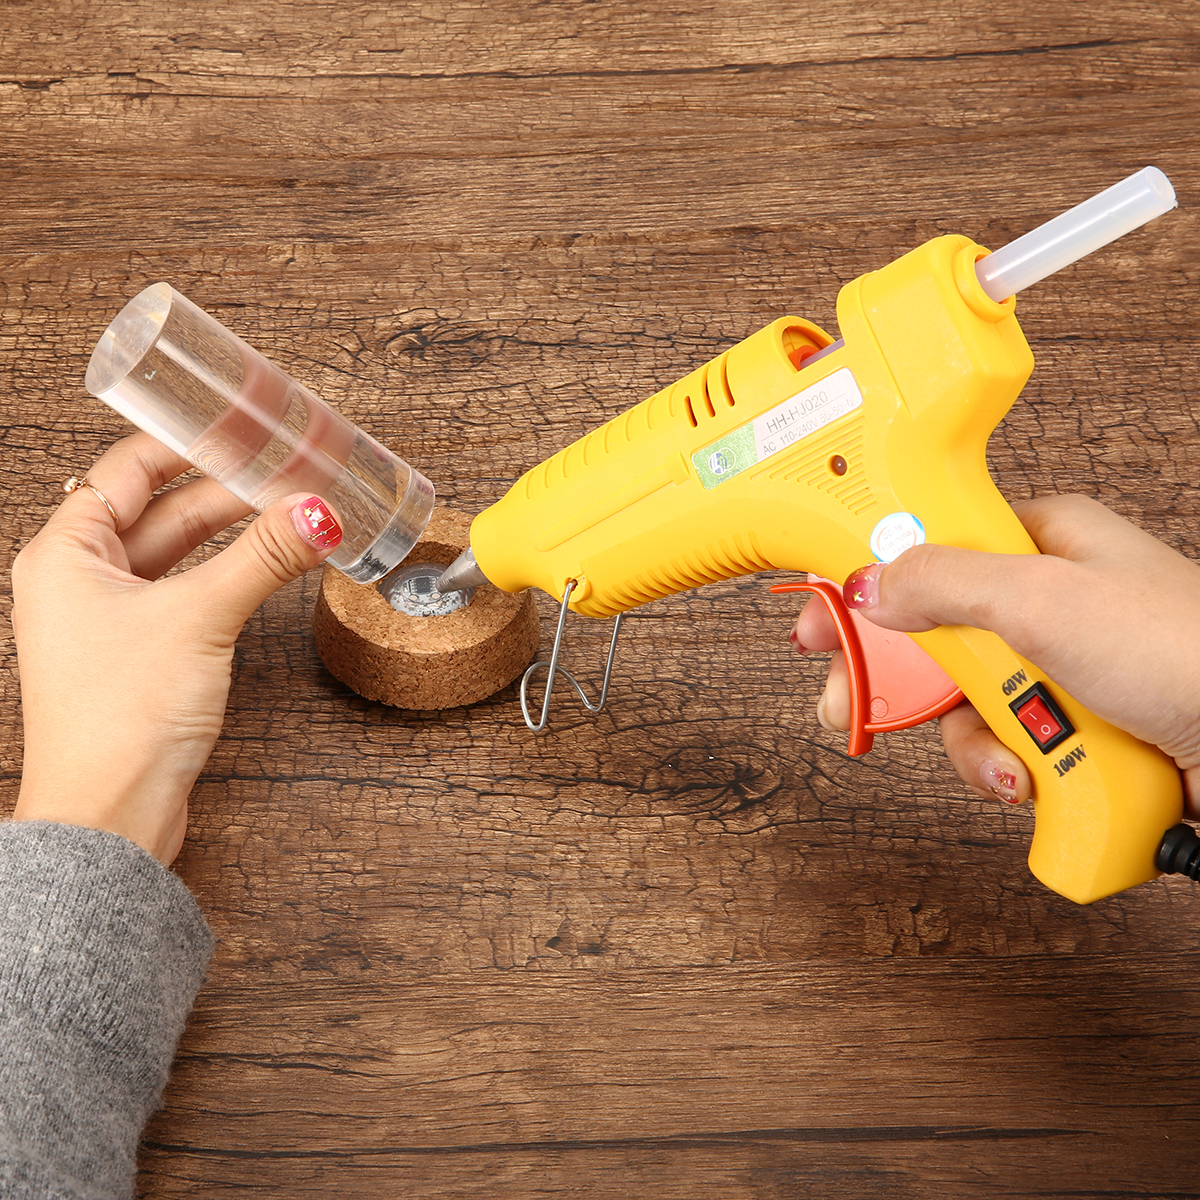
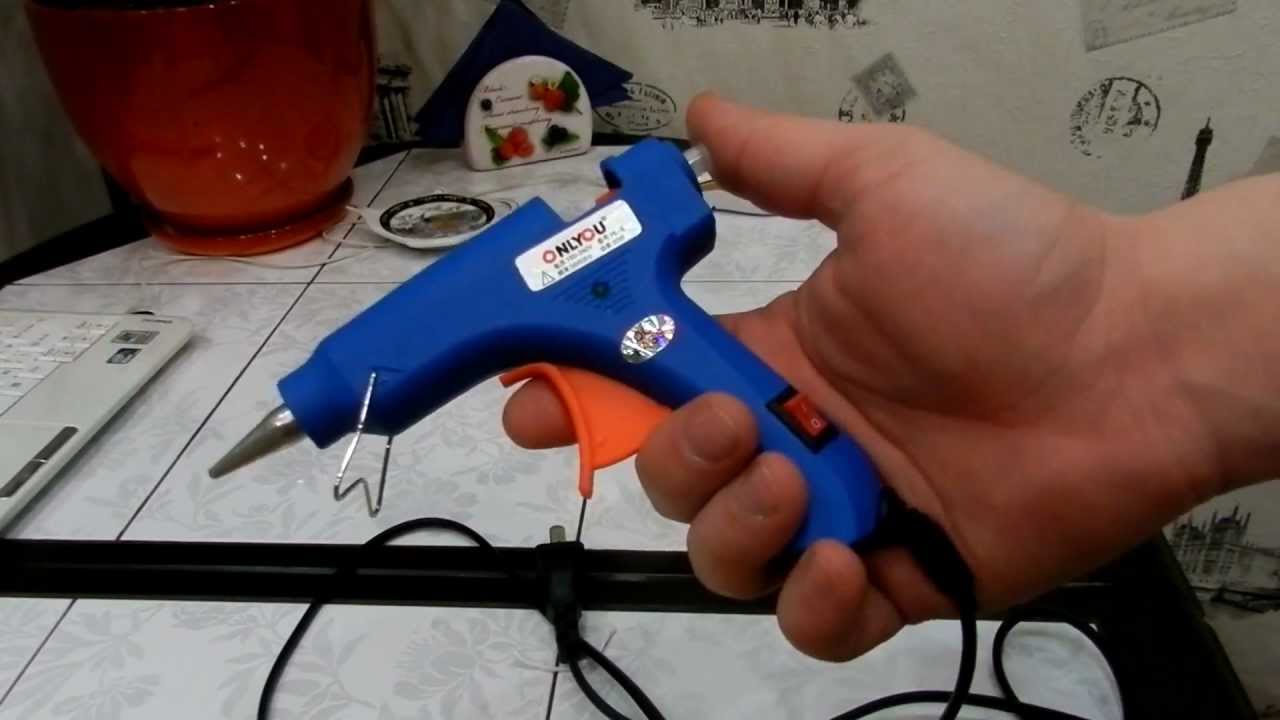
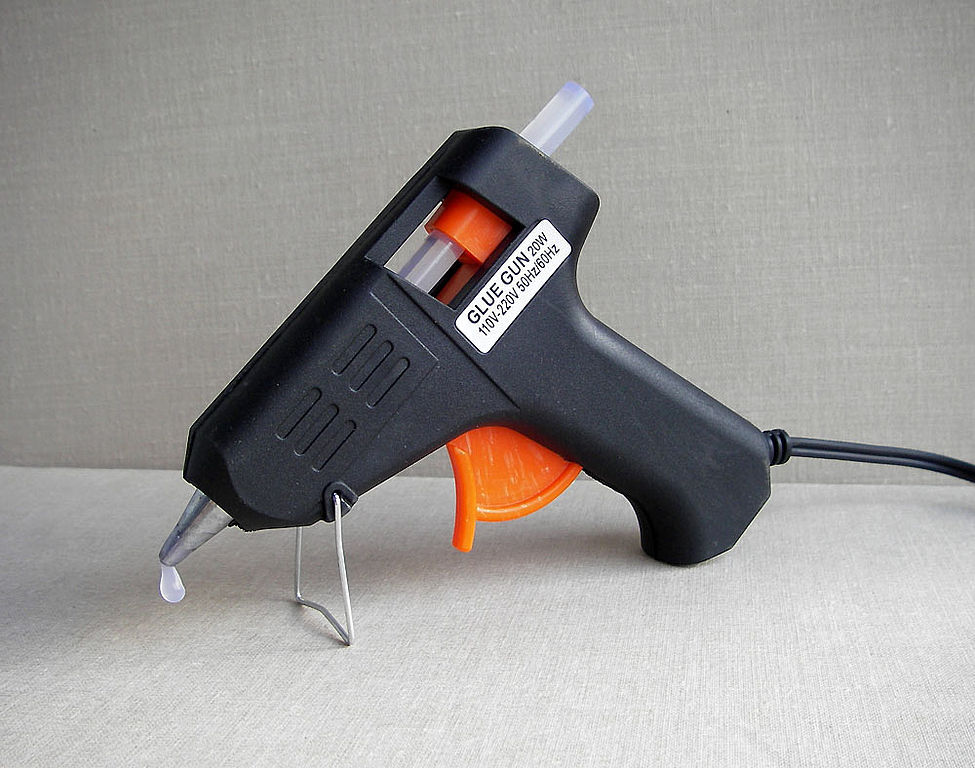
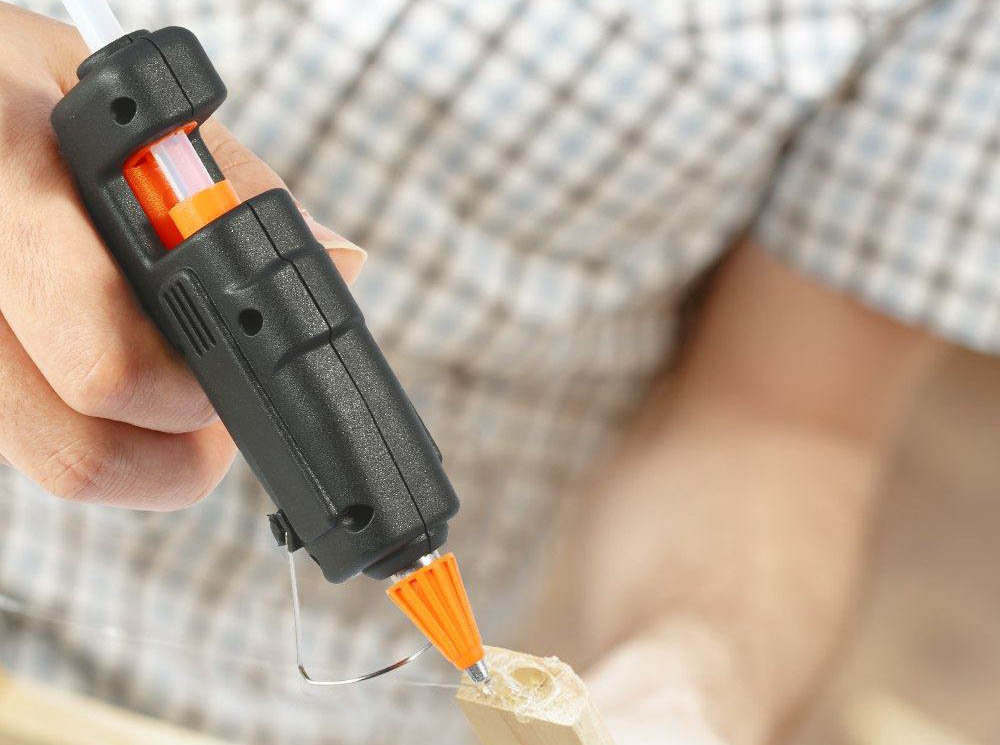
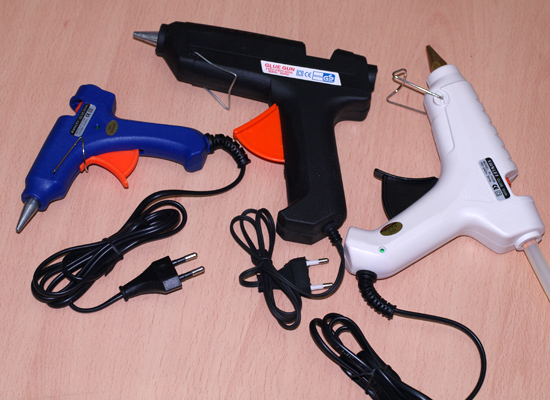
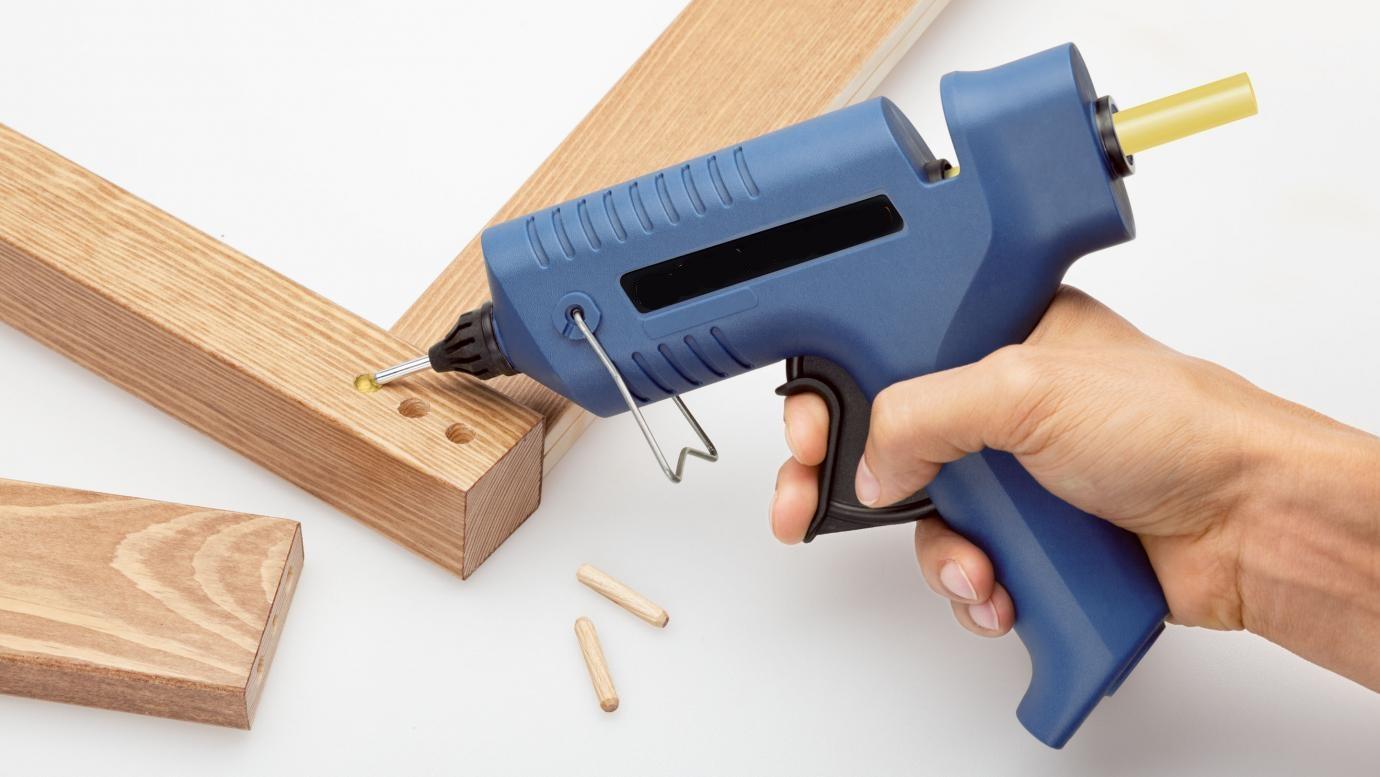
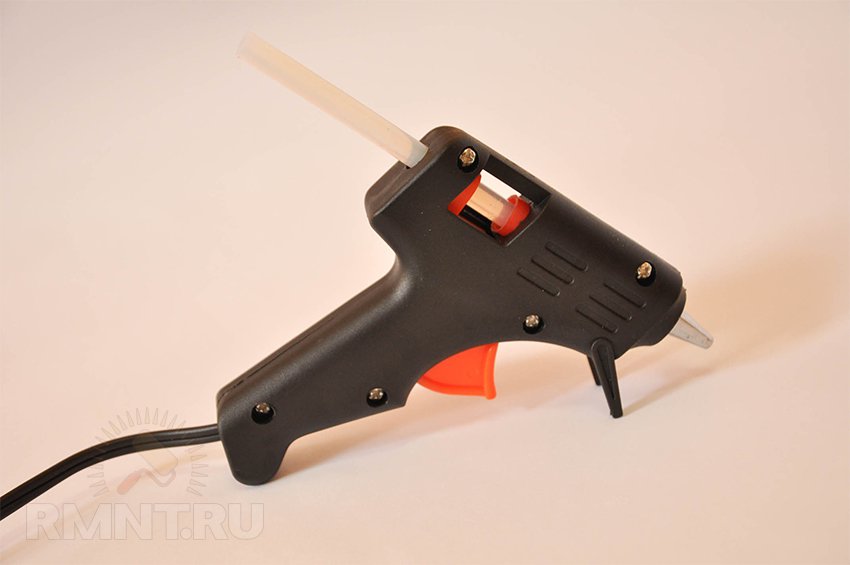
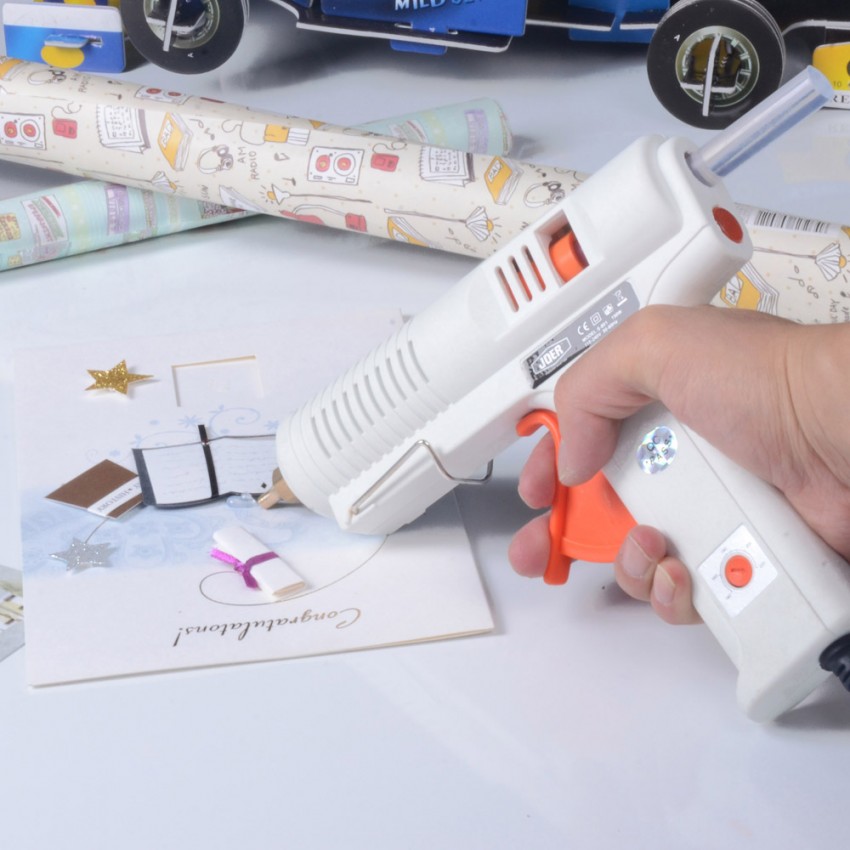
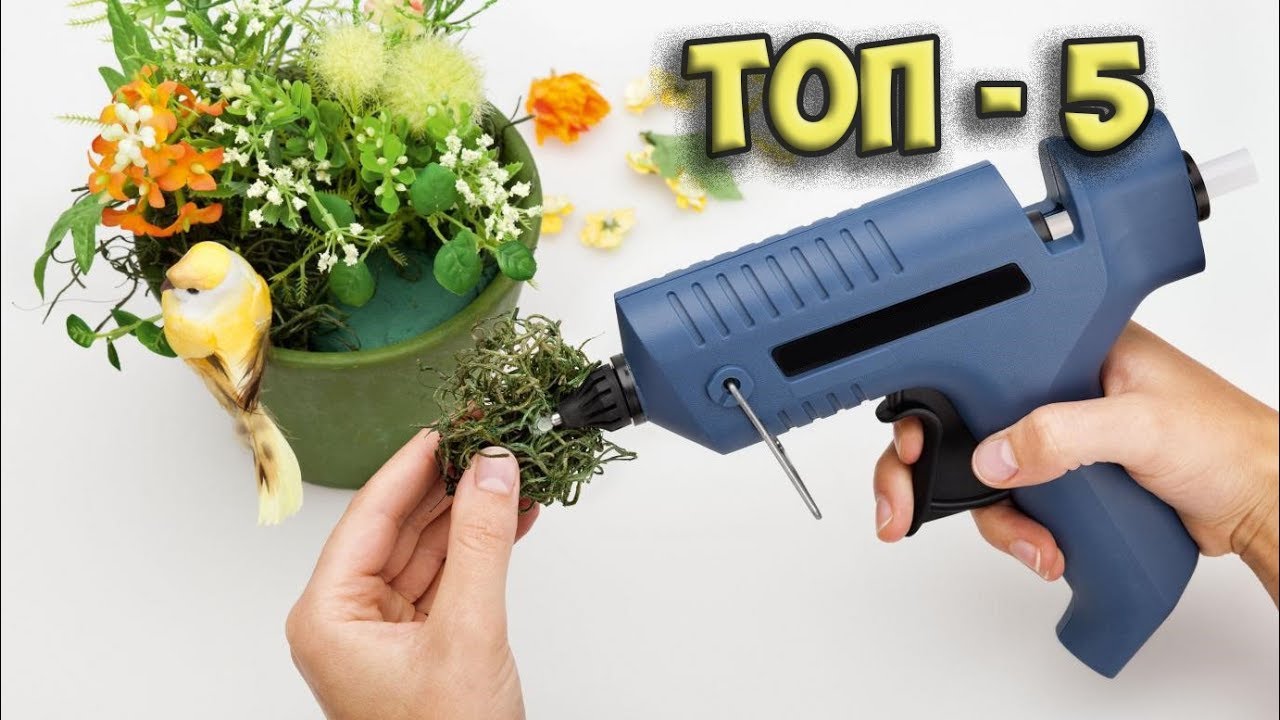
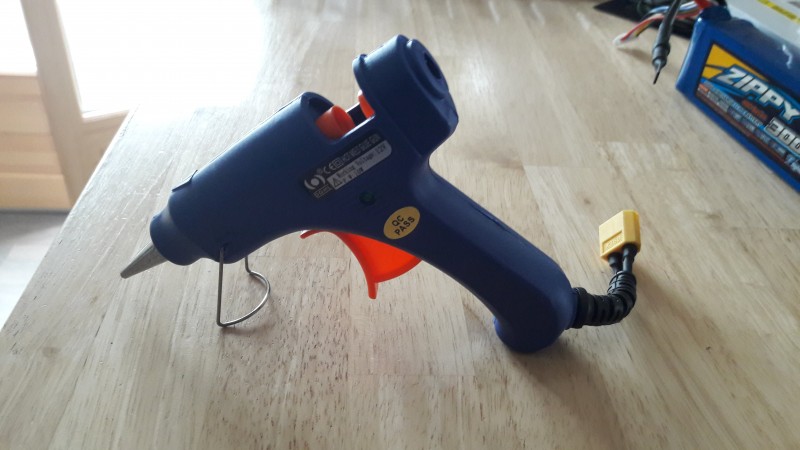
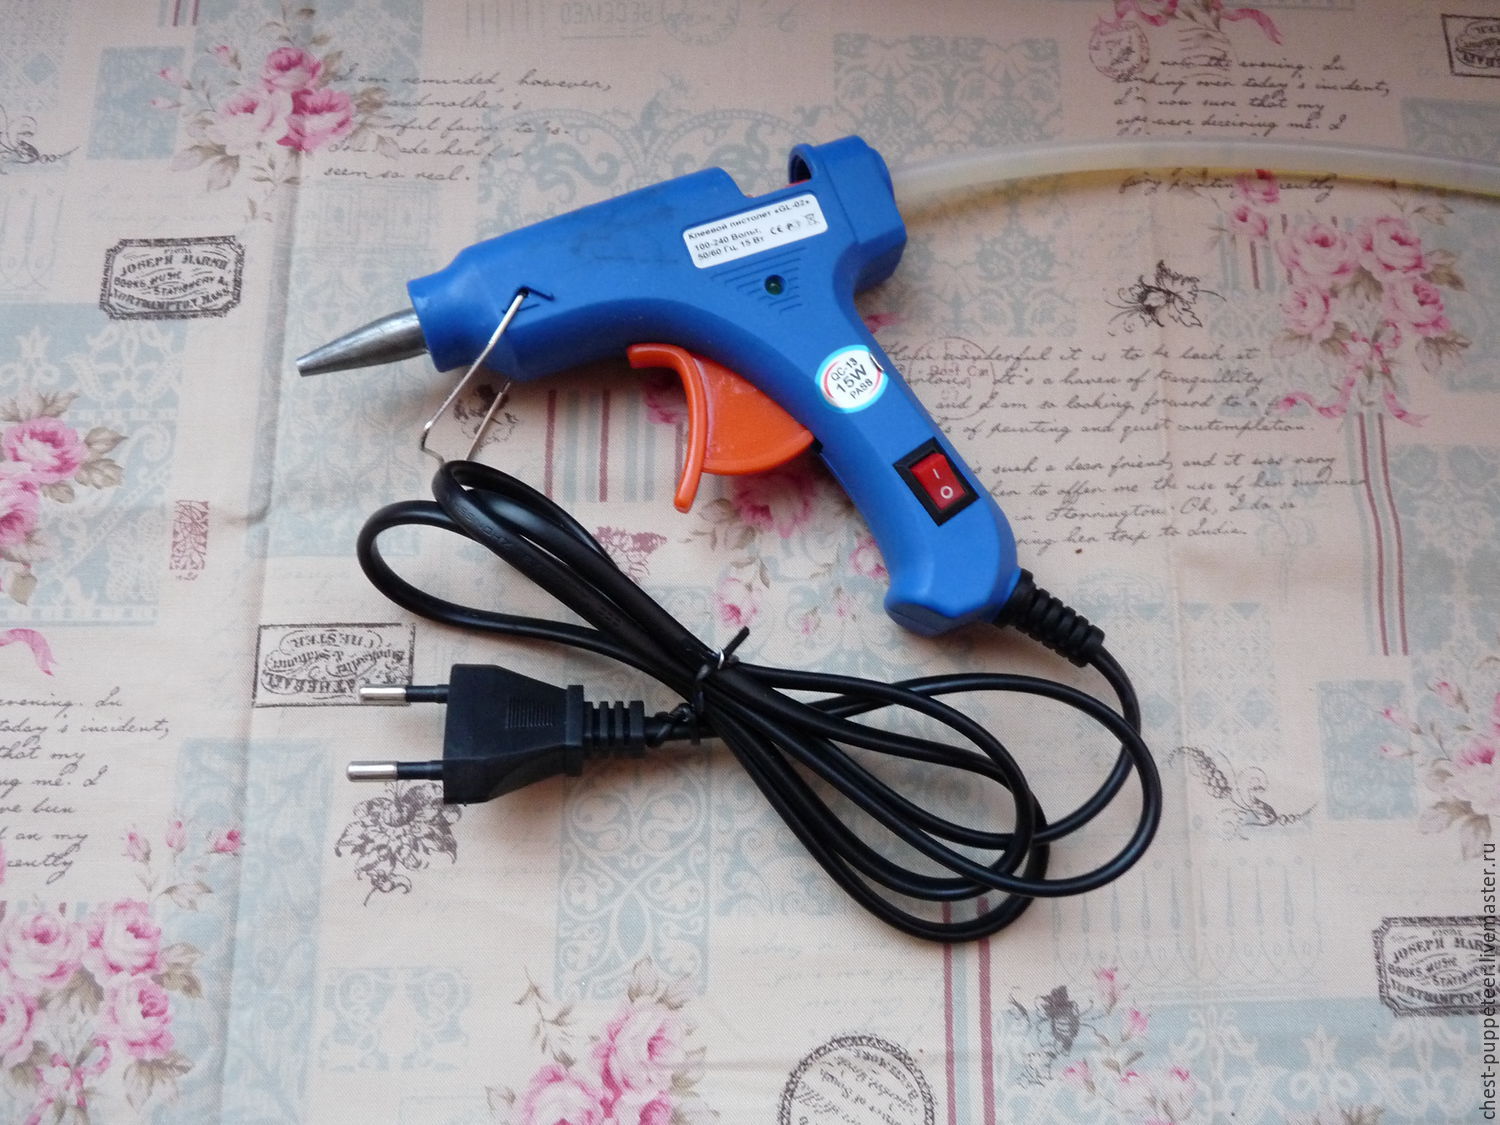
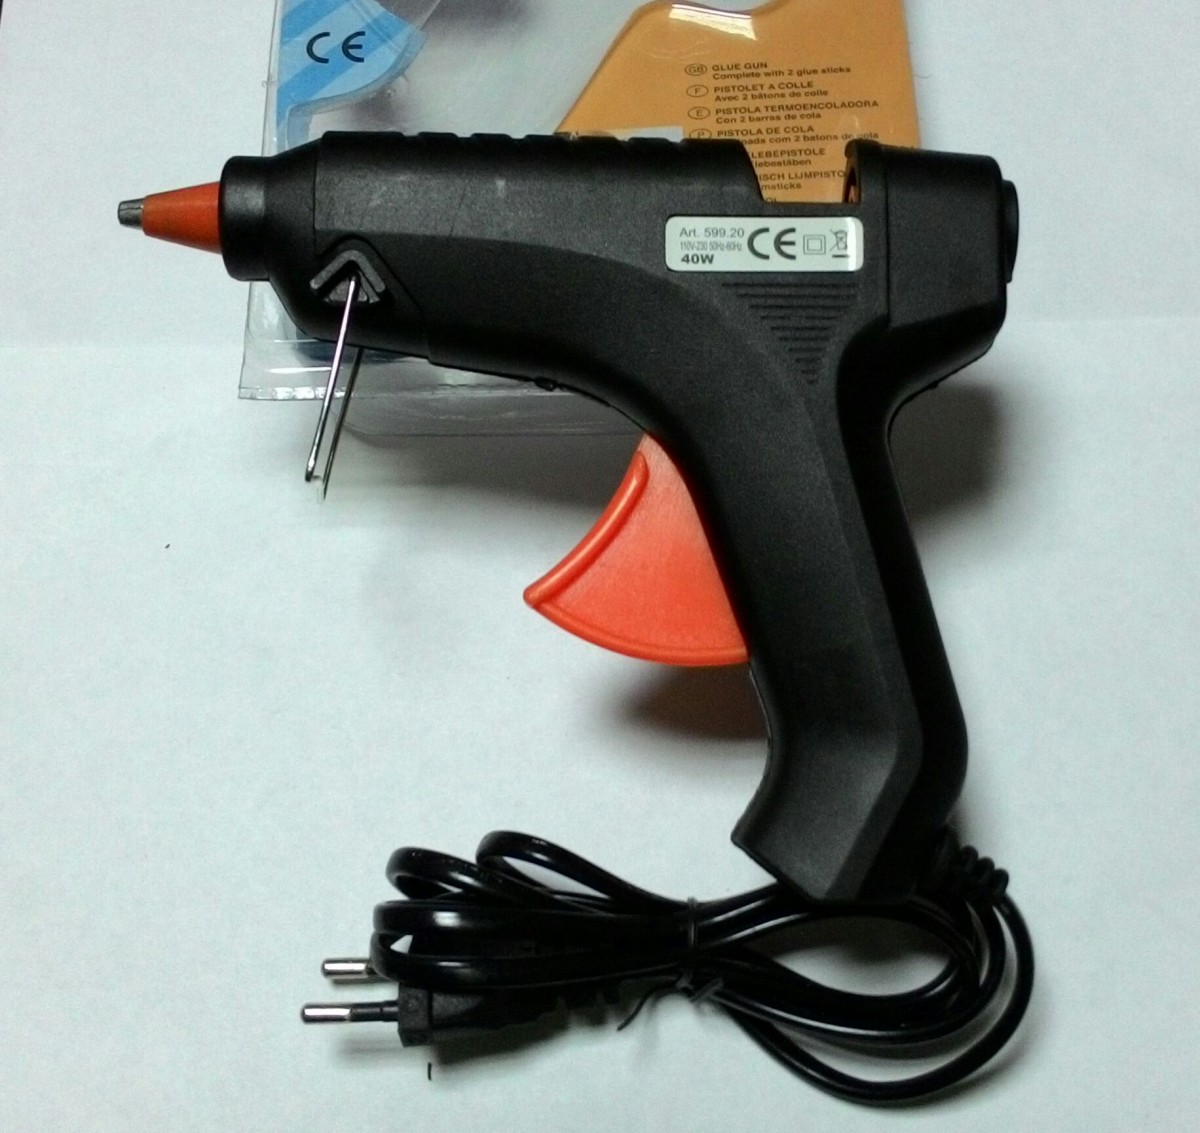
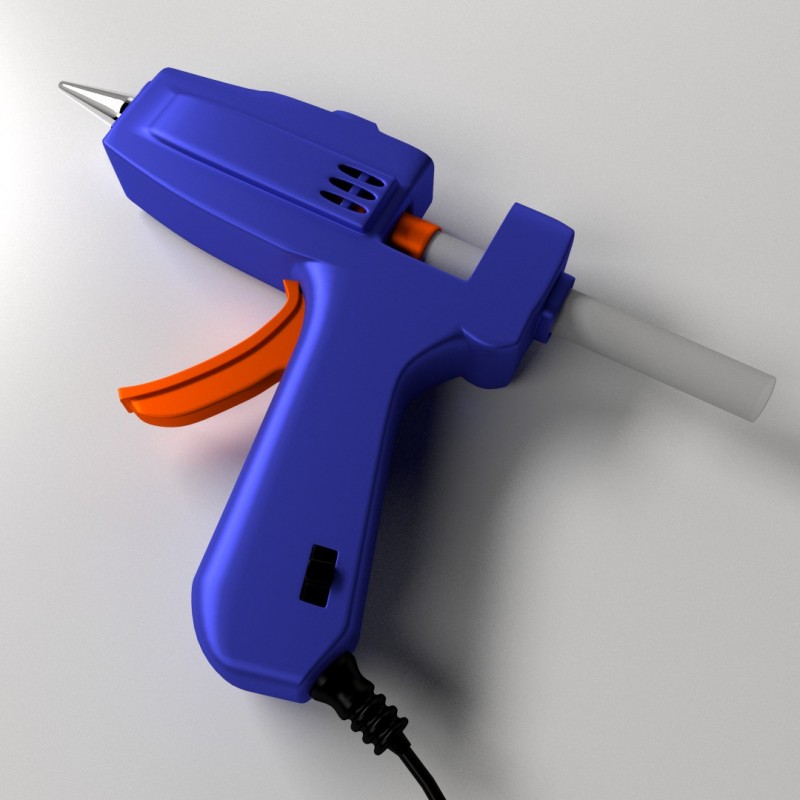
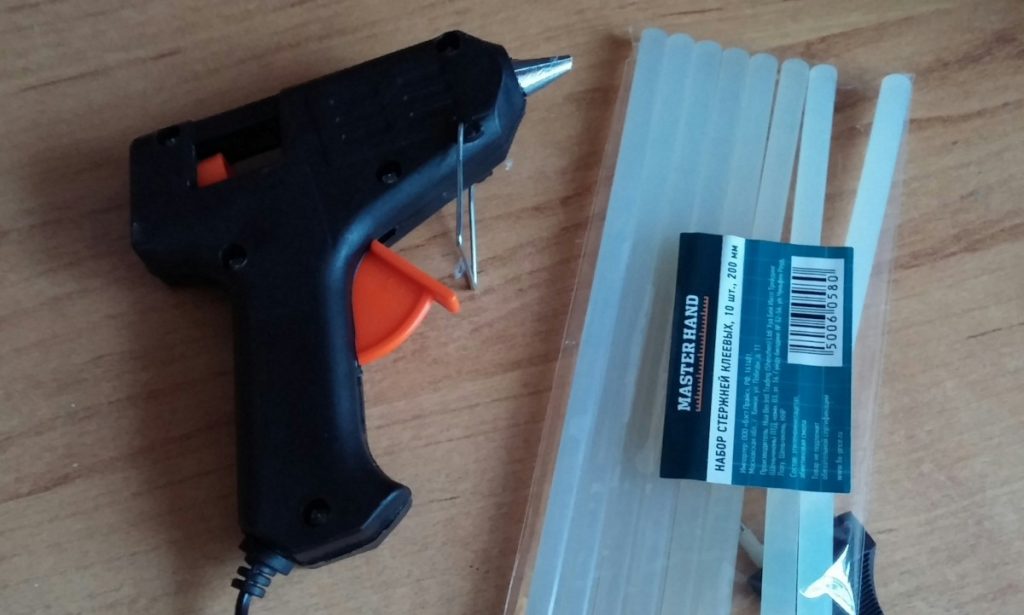
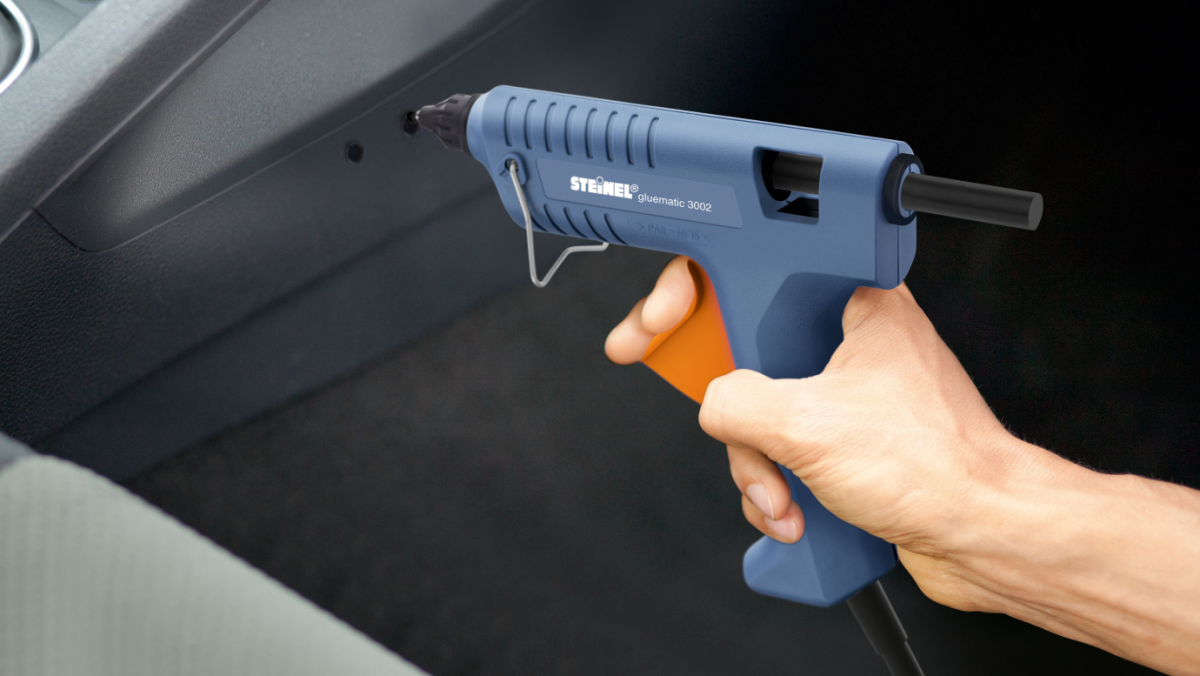
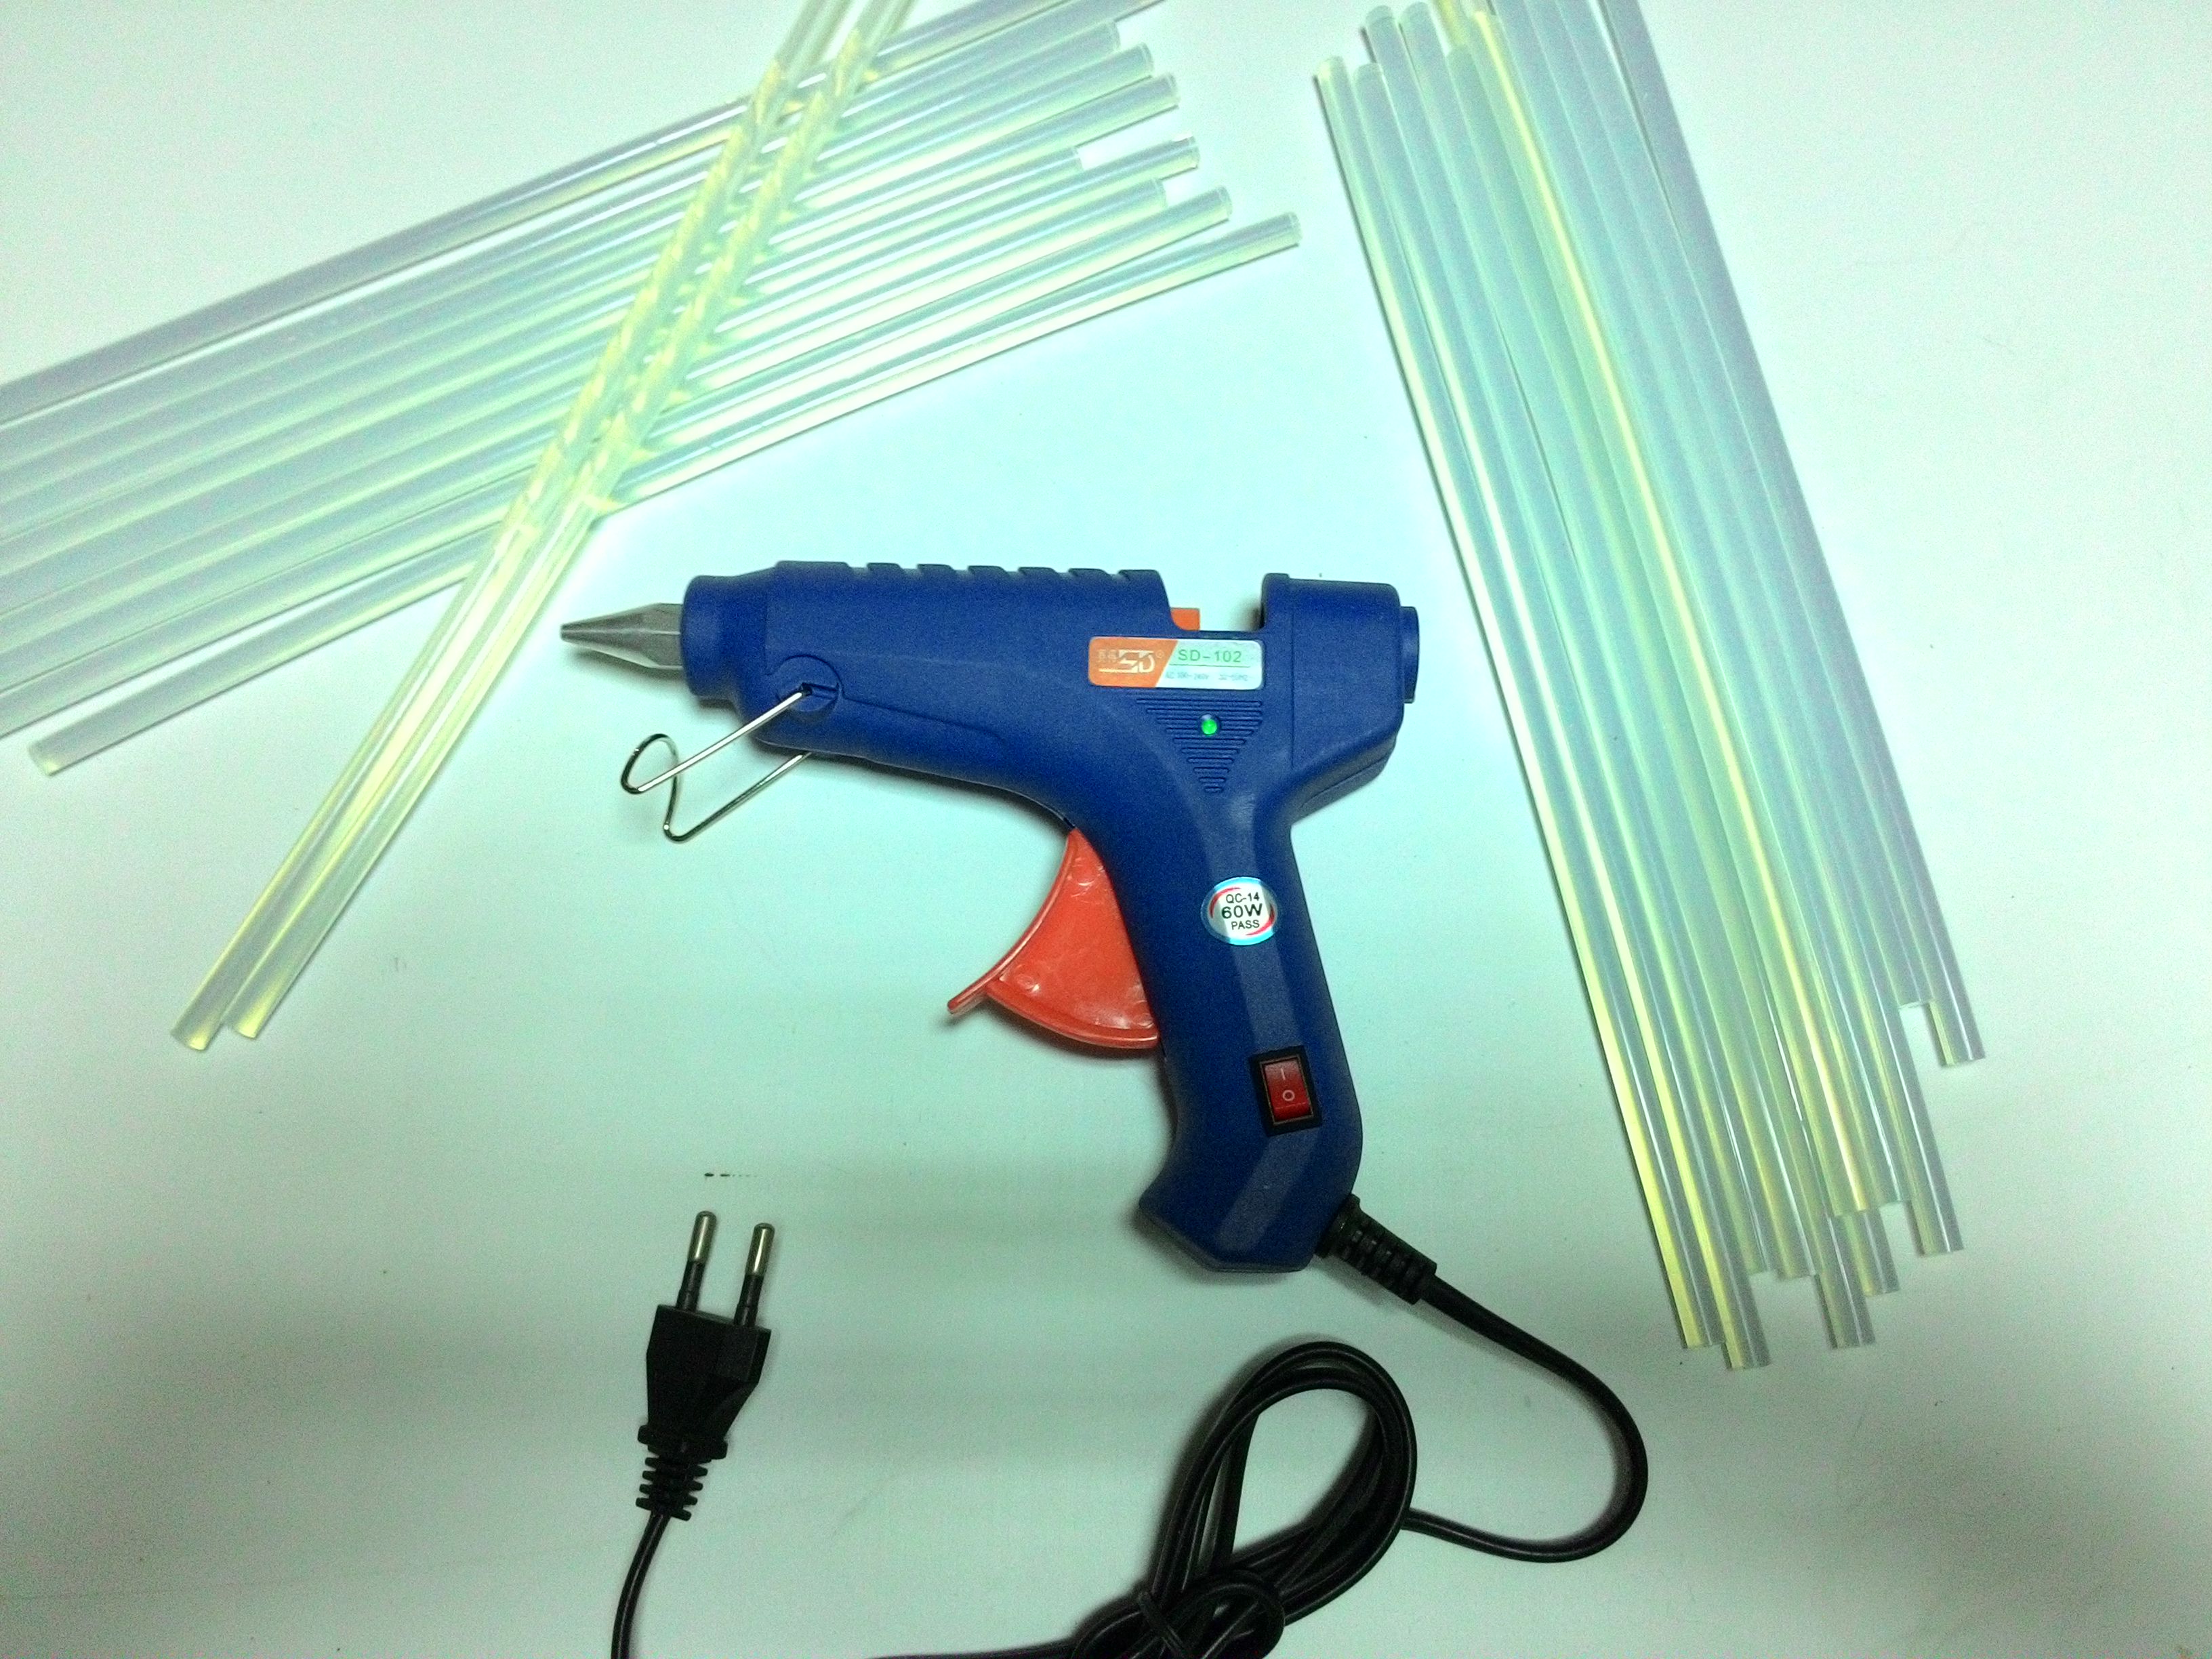
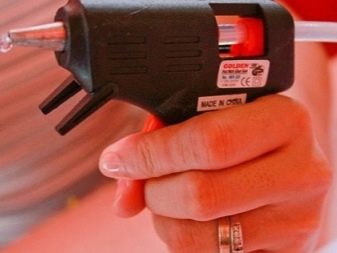
Outwardly, the glue gun looks like a toy weapon. It is a plastic device with metal parts and a hole for glue cartridges. This is the name for translucent rods filled with solid glue. The principle of operation of the device is as follows: as the thermoelement (heating unit) heats up, the rod melts and flows after pressing the trigger.
The gun body is made of hard plastic, which prevents overheating and does not make the device too heavy. Some cheap models have thin, fragile plastic, so you need to follow the rules for using them very strictly. Otherwise, the pistol will not last long.
It is especially important not to overheat the product or work with it longer than the time specified in the instructions.
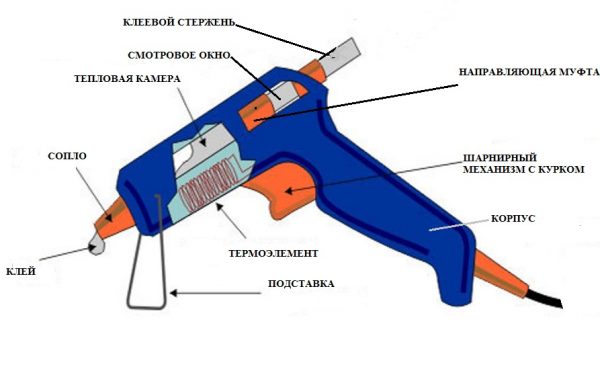
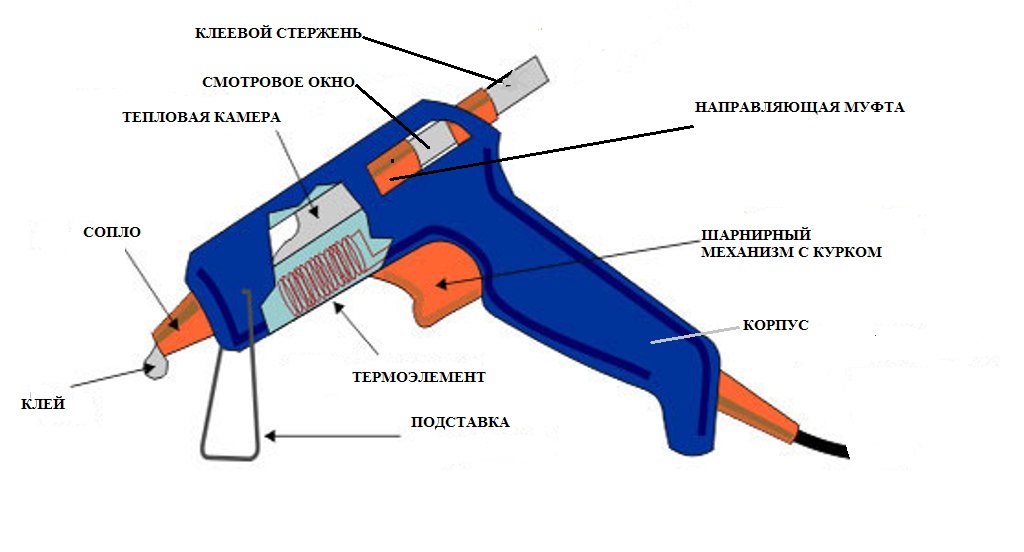
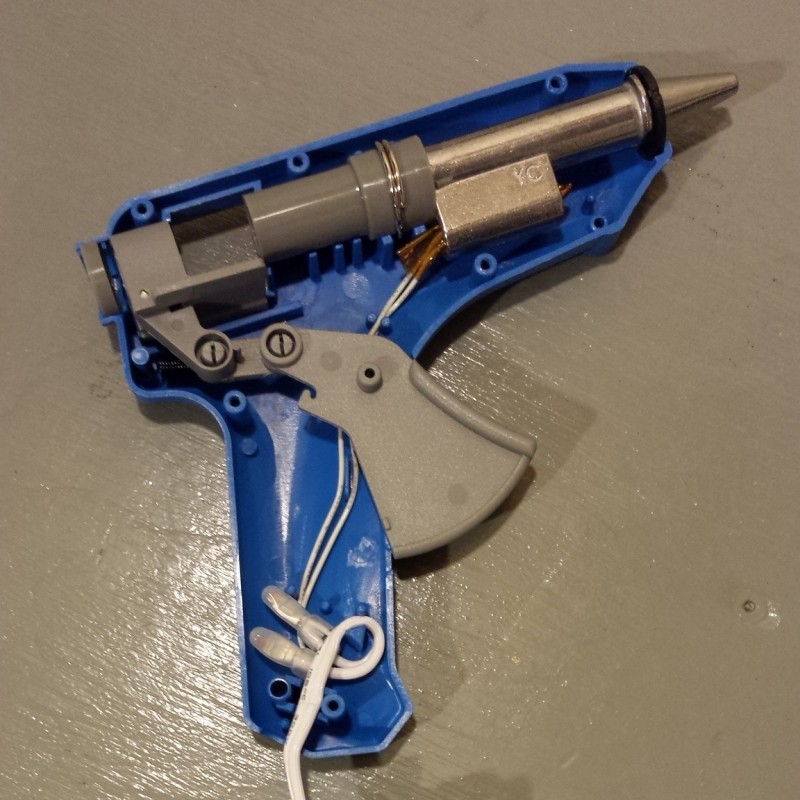
The main components of the device:
- Heating unit. One or more heating elements are located inside the heat chamber, and it itself is located in the barrel. The heated air begins to melt the glue immediately after the heating element reaches the desired temperature. How much it heats up depends entirely on the power of the gun.
- Feeding mechanism. Here is the ring pusher, which is operated by a lever connected to the trigger. Pulling the trigger hard can break the pistol. Usually, only expensive branded models can be repaired, and mini-pistols for creativity can no longer be repaired.
- Thrust guide sleeve. Thanks to this device, the heated glue is not squeezed back into the device. Usually the clutch is made of rubber, which deteriorates over time. You can replace it, and some even put a homemade part.
- Nozzle. It shapes the glue, dispenses the melt outlet, and, if necessary, shuts off the flow. The nozzle has a shut-off valve that is responsible for stopping the leakage of the adhesive. But it will not be possible to completely close the hole - too high pressure will be created inside, so a couple of drops of glue will still flow out of the gun. Why does the glue flow out in a large stream? Perhaps the shut-off valve is not provided at all in the model, or its breakage has occurred.
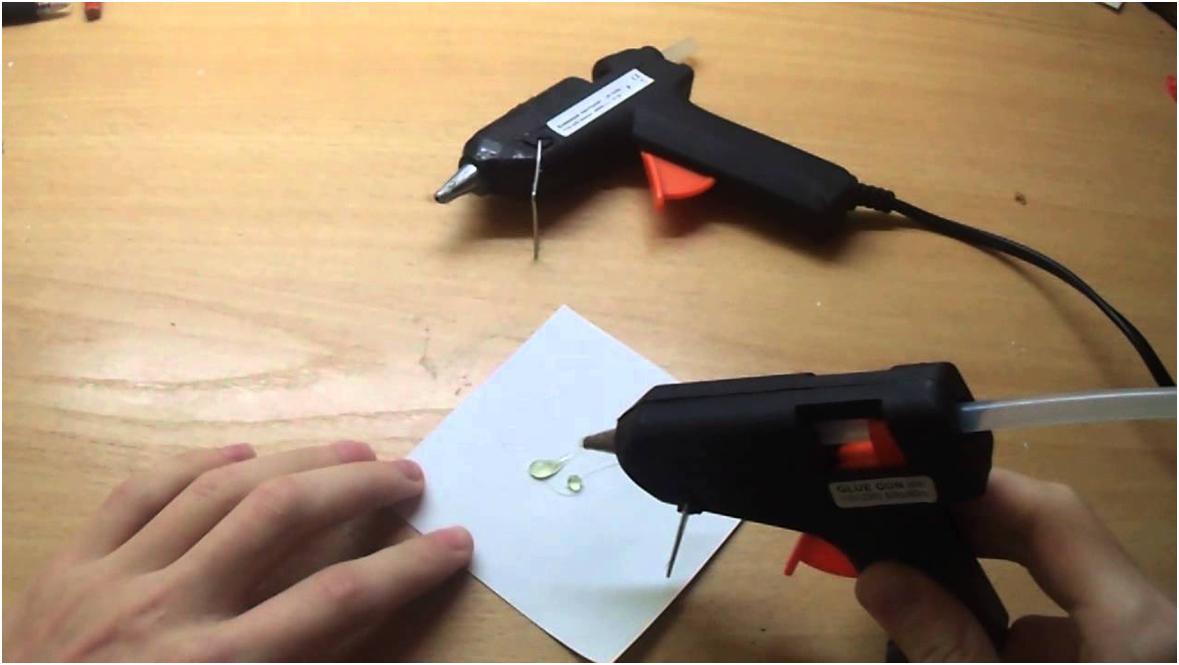
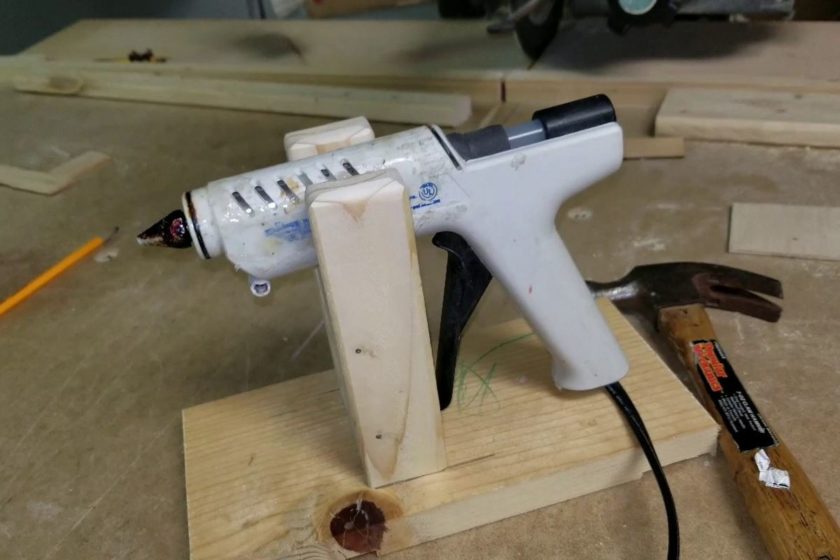
You need to work with a glue gun correctly. It cannot be placed on its side when it is switched on; you can only place the device on a special stand. Put cardboard under the gun, which will "catch" drops of flowing glue. After use, you need to pull out the remnants of the rod, clean the glue inside the chamber, clean the nozzle area. Always clean the gun after use, otherwise its service life will be reduced.
It is equally important to observe safety precautions when the glue gun is on. Devices with batteries or low power are unlikely to cause serious harm, but even in them a short circuit can occur if the instructions for use are violated
It is forbidden to use a gun with a damaged body or cord, as well as if there is any damage!
Main manufacturers
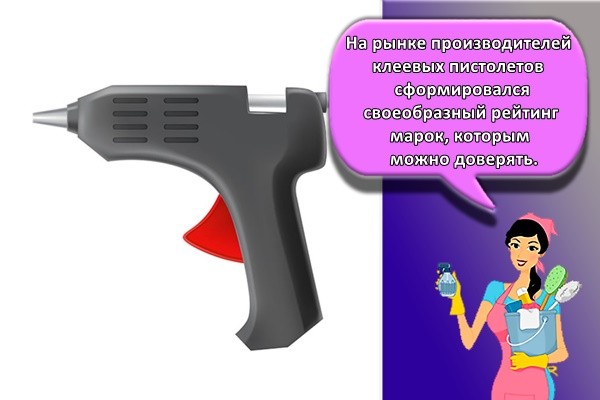
On the market of manufacturers of glue guns, a kind of rating of brands that can be trusted has formed. Which one to give preference is the user's choice. Sometimes the purchase of an unnamed model is justified if you need a tool for a certain time. In the event of a breakdown, it is not a pity to throw it away later. But the marriage among such "masterpieces" of the Chinese shirportreb is great.
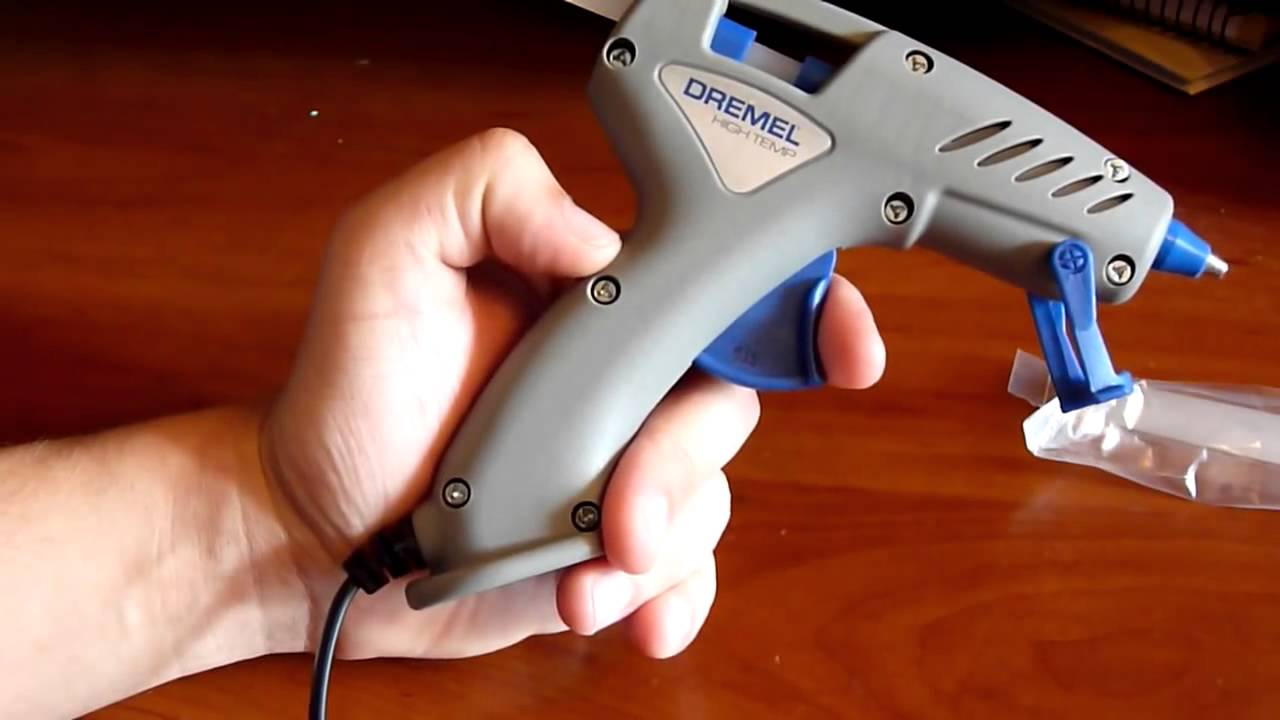
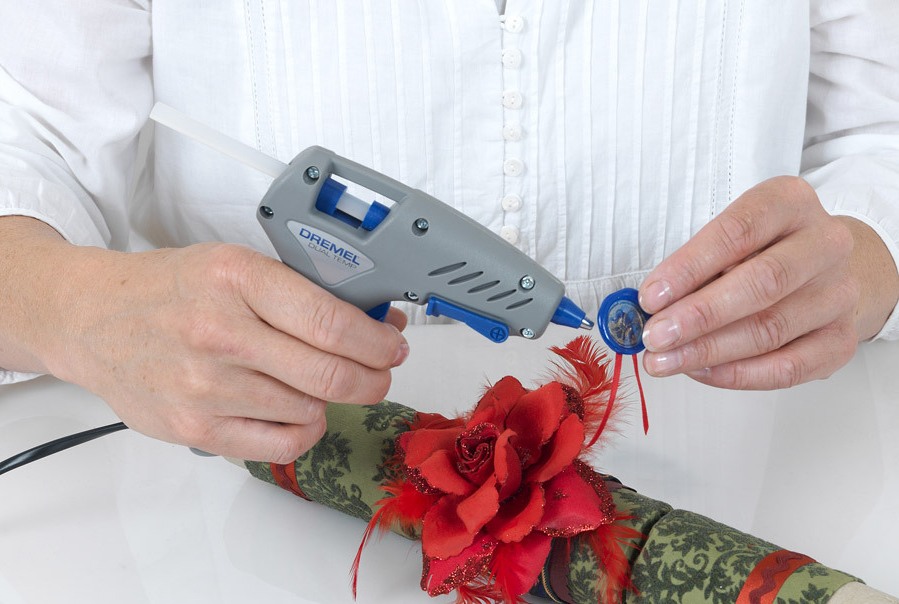
Dremel
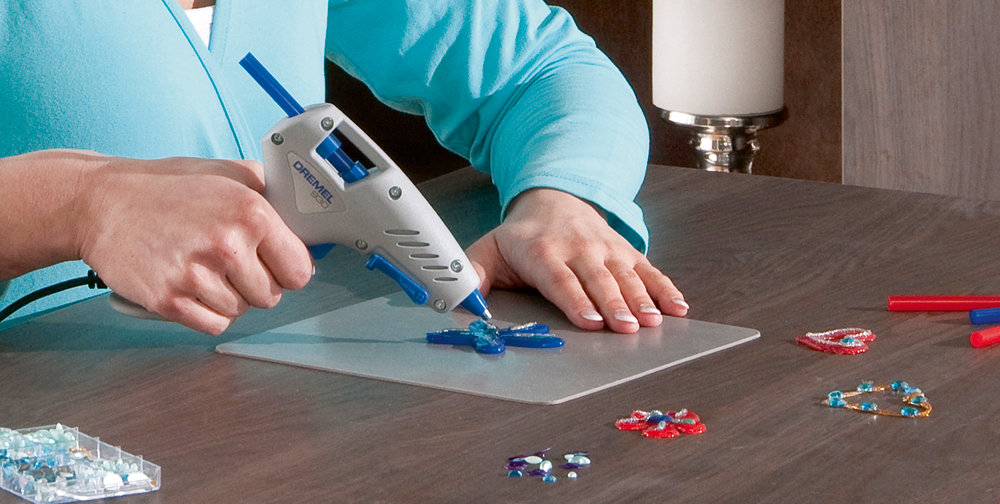
A solid North American brand, famous for its high-speed grinders, which they began to call - Dremel.Thermal guns under this brand are reliable, fully justify the money spent on them. A switch is built into the handle, a special stand is created in the front part. Replaceable nozzle. It is convenient to work with such a pistol, and it will last a long time. Dremel users, all as one, note the ergonomic handle of the unit, its lightness. But the original glue sticks are not cheap.
Steinel
German scrupulousness, full compliance of the declared characteristics with the actual ones. Such a gun, purchased for home crafts or repairs, will not let you down. Designed for a household network of 220 V. There are models with temperature control, as well as rechargeable ones. By the way, autonomous Steinel pistols are considered one of the best: they contain electronic temperature controllers, an automatic shutdown unit.
Bosch
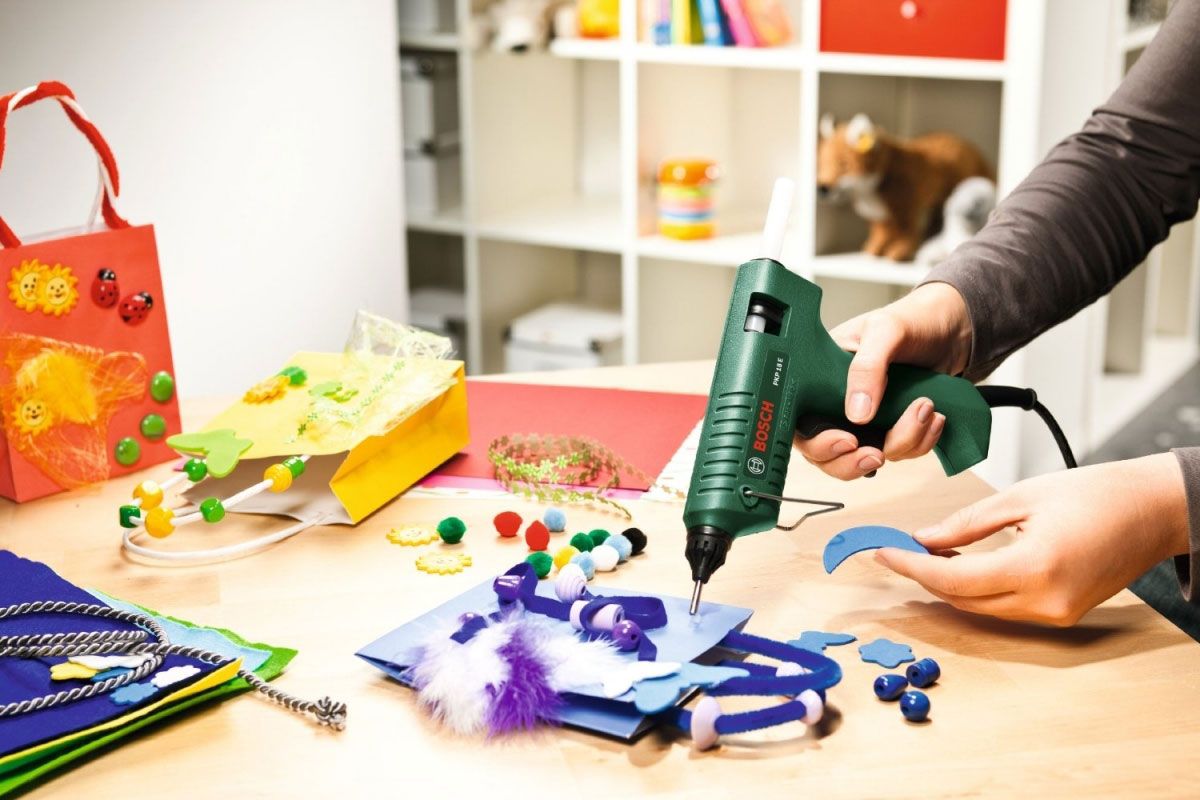
The products of the Bosch concern are known and respected far beyond the borders of Germany. Household, professional tools under this brand are reliable, trouble-free equipment. High-quality components are used in the products. We offer solutions for amateurs and pros. The pistol fits comfortably in the hand and is equipped with an electronic stabilizer.
Hobby and pro
Models of the middle class are produced for universal purposes. The gun is equipped with a switch and has good ergonomics. Of the obvious advantages of the pistol, the low price is called (700 rubles). Provides for blocking the leakage of the adhesive mass.
UHU
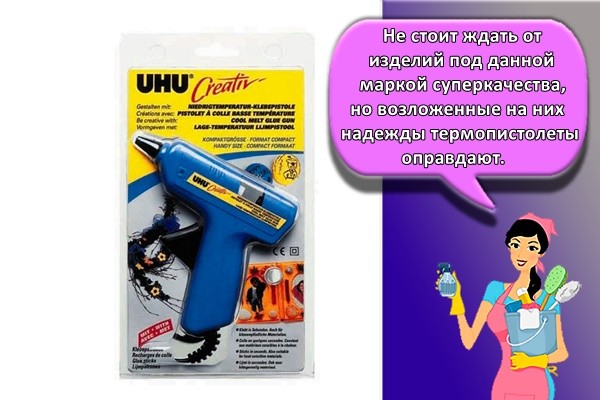
Another middle peasant. You should not expect super quality from products under this brand, but the hopes placed on them will justify the thermo guns. They are classified as low-temperature (110 degrees), suitable for household purposes and handicrafts.
MasterHand
Cheap and cheerful - this is how you can describe the products of this manufacturer. Not Bosch, but suitable for home crafts. There are no additional functions, including the power supply toggle switch. There is no regulator either. One of the simplest and most inexpensive pistols, this is where its advantages end.
Stavr
Russian manufacturer. Produces pistols with good ergonomics, replaceable nozzle and comfortable rocker key. Among the undoubted advantages is fast heating (about a minute). Temperature control for melting the glue is not provided.
Defort
Glue guns with conflicting ratings. Judging by the complete case and spare attachments (2 pieces), this is a tool for professionals. The slightly curved handle leaves a pleasant impression. But the price (up to 2 thousand) and the design of the suitcase are not particularly encouraging.
Kolner
A brand with mixed Russian-Chinese roots. The manufacturer provided for the presence of a switch and lighting of the working area, equipped the gun with a long power cable. And the price of the product does not "bite". In its price range, Kolner "crushes" competitors with a set of additional functions, they have almost no backlight and a toggle switch. Not to mention the removable and spare spout nozzle.
How to make a choice
Pistols vary in power, which ranges from 15 to 500 watts depending on the model. The more powerful the device, the more large-scale work it can perform. If you need a gun for needlework, then a medium-sized sample is selected so that it fits comfortably in the hand and does not cost much to pull the trigger.

If the device will be used infrequently, then a model with a low power up to 40 W is sufficient. The device will be useful when working in the kanzashi technique and fastening small parts. Miniature pistols have a narrow nozzle and heat up quickly.
For frequent work, it is better to choose more powerful pistols. The higher the power, the wider the range of application of the device. Usually any kind of rod is suitable for such pistols. This is very convenient, since for standard transparent ones, a temperature of 80 degrees is enough, and for colored ones, 150 degrees are already required. If the device is compact, it will not cope with such a load and will quickly fail.
Indicators of a good thermal gun:
- It heats the glue in 15-20 seconds.
- It has several modes of operation, which are changed by switching the regulator.
- Maintains the same glue temperature.
- It is desirable that there are replaceable nozzles: with a wide, standard and narrow nozzle.
- It is good if there is a check valve. So, if you stop pulling the trigger, the glue feed will stop.
- The opening for the rod feed should be wide so that the remnants of unused glue can be easily removed.
- The optimal glue consumption is a few grams per minute.
Do not place the gun horizontally: this is fraught with glue getting on the inner parts and quick breakage. It is desirable that the nozzle is pointing downwards. Better to install a silicone pad. This will prevent any accidental glue from sticking to the table.
What glue to use
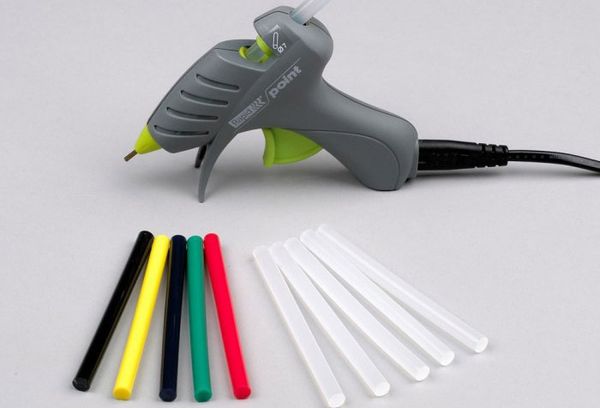
A good seam requires quality glue. On the other hand, it makes no sense to buy expensive Bosch or Dremel rods for a simple pistol. The choice of color depends on the nature of the work: colored glue is used for needlework, modeling. For repairs, a regular, yellow one will do. Different rods do not have the same melting point, and this indicator is related to the characteristics of the pistol. A "weak" unit will not cope with refractory glue. And, of course, the diameter of the rod must match the size of the grip in the pistol, this is an immutable axiom.
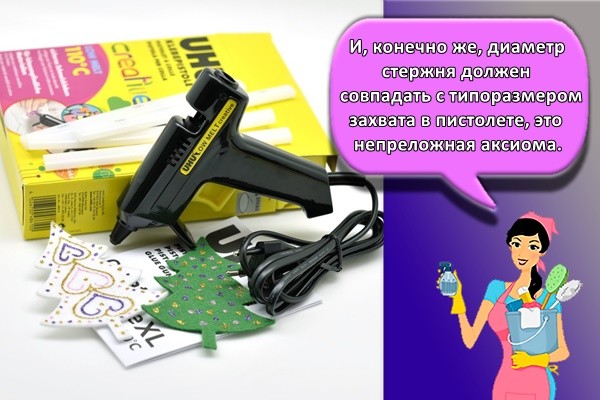
By color
The choice of color is important where it participates in the composition, you cannot do without it. In other cases, "working" yellow glue sticks are used, which give a strong and neutral in shade seam.
Yellow transparent rods
It is a "universal soldier" for most problems. The yellow rod is more often used for working with paper and cardboard, wood.
Multicolored, opaque
This group of glue sticks, oddly enough, is also considered universal. This is explained by the fact that the shade is necessary to mask the seam for the color of the parts to be joined.
Transparent adhesive
Transparent rods of white color are the most demanded. They are supplied with glue guns and will be sold at the hardware store by default. The most common consumables.
Gray or black
Darker shades of glue sticks work to create a layer of insulation, used as a sealant. In terms of quality characteristics, these glue sticks are not much different from others.
Opaque white
When a gun is needed for working with metal, glass, joining white parts, you cannot do without glue sticks of the appropriate shade. Sometimes used as a marker.
By temperature
When choosing a glue stick by color, another important characteristic should not be overlooked - temperature. It is indicated on the package with glue sticks, as well as in the specifications of the gun. It is measured in the range of 100-150 degrees, so the use of "blind" glue, which was at hand, is fraught with unexpected consequences.
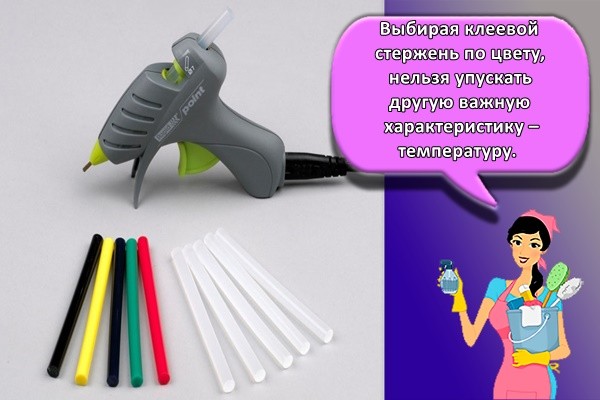
It is always best to check the type of glue stick and match its melting point to the gun's capabilities.
Direct operation of the glue gun
In fact, the stick does not contain any adhesives. Adhesive qualities appear only when heated. It is a water-resistant polymer that, when in a liquid state, can adhere to almost any surface. This is achieved with a pistol. The inserted rod is brought to the melting temperature in the heating chamber and is extruded onto the part through the nozzle. The mode depends on the power of the device and the brand of glue.
The preparation time for low temperature rods is about 2 minutes. Then the glue is applied to the surface. The second part is pressed and held in this position until it sets. The time can be lengthened if a large amount of adhesive is used. If it is a small drop, then a few seconds are enough. If several grams are applied, then the structure must be maintained for up to 2 minutes.Full cooling and set of performance characteristics occurs in about 5 minutes.
Methods for applying glue
The easiest and cheapest ways to work with glue are to apply by hand, to spread the mass with a small roller with preheating. Still, it is much more convenient to use a glue gun, especially if you need to attach not too small parts. The glue stick in the gun will heat up, after which the composition will be ready for use.
Gluing is carried out in this way:
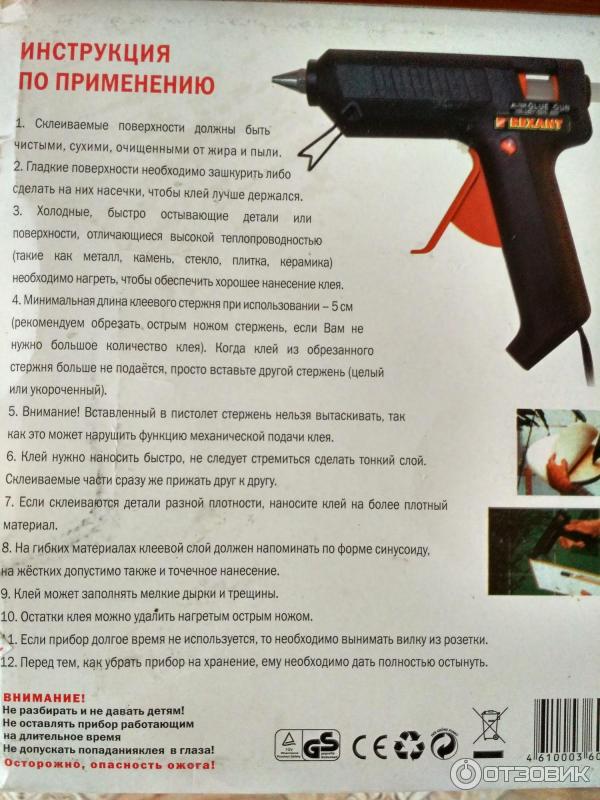
- clean the parts from dirt, dust, completely degrease the work surface (fats can be dissolved with acetone, alcohol);
- dry its base, otherwise the degree of adhesion of the glue will greatly decrease;
- smooth parts to improve adhesion to the glue should be treated with sandpaper;
- heat too cold elements or bring them into the room so that there is no sharp temperature drop, and the glue lays down evenly;
- insert a stick of glue into the cartridge, turn on the gun (into an outlet or with a button if the device is powered by a battery);
- by pulling the trigger, apply glue in stripes, dots or a sinusoid;
- quickly connect the parts together, firmly press them together without delay, fix.
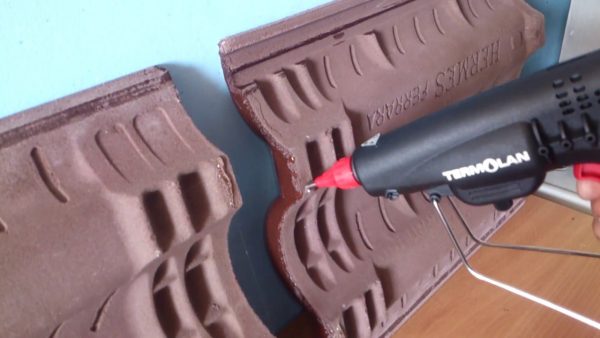
How much the glue dries is always indicated in the instructions. Usually it completely solidifies in 15-30 minutes, but it is better to start using the product in 2-3 hours.
Hot glue safety
The toxicity of the substances that make up the hot melt glue is low, but in order to exclude the inhalation of its vapors during prolonged work, it is still worth using a respirator. When quickly gluing small-sized products, a good ventilation of the room is sufficient. More often, other problems arise - burns, because the glue comes out very hot
Care must be taken when working with the composition, if necessary, work with gloves
How to use a heat gun
The design of the glue gun is not so complicated and it is also unpretentious to use. But as with any tool, it takes a little practice to get used to it to use it effectively.
Do not try to tackle difficult work or crafts the first time, take some unnecessary material, scraps, pieces of plastic or wood and try to practice on them. Glue different materials together and check the result, note the curing time of the glue.
The order of application looks like this:
The workplace should be taken care of first. The surface must be protected from the ingress of glue, for which a silicone mat or cardboard sheet is placed on it. So that the hair does not interfere, they are removed, and protective gloves are put on the hands. It is better to keep children and pets away from the work area. It is good if the room is well ventilated.
We install the pistol in an inclined position, resting it on a special stand with its nose down
Make sure that the nozzle is directed towards the protected area, as a little glue (no more than 7 mm) may leak out during heating.
We connect the thermo-gun to the network and press the power button, if there is one. If there is no button on the case, then the heating process will start immediately upon connection.
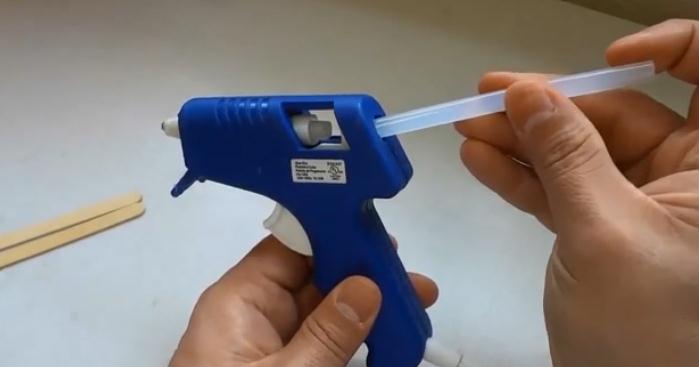
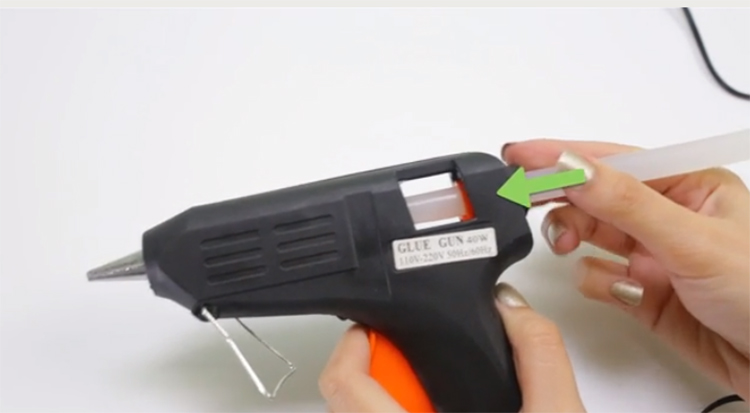
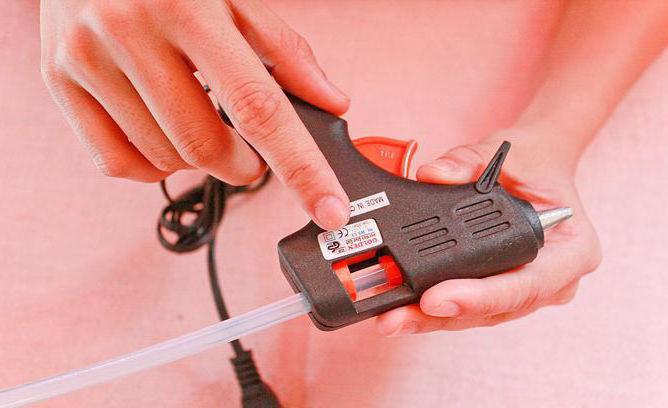
Filling the glue gun by hand is easy - there is a hole for glue sticks at the end of the tool
The "cartridge" is installed smoothly, until it stops. Do not insert foreign objects into the hole. Only glue of the appropriate diameter is suitable. Hot melt glue cannot be reused.
Depending on the manufacturer of the gun, the tool will take 3 to 5 minutes to warm up. At this time, it is not necessary to press the trigger hard, as a result of which the device may fail.
If the thermo gun supports temperature control, then set the desired one. The recommended range is 170 to 200 degrees Celsius.If the temperature is set lower, the tool will take longer to melt the hot melt in the chamber. A high one will cause the glue to boil, which will cause "threads" to appear.
Some models of heat guns are equipped with a trigger travel adjuster that allows you to set the amount of glue supplied. For this, the screw is smoothly tightened.
To start dispensing glue, just gently pull the trigger. The volume of the melted adhesive mass supplied depends on the pressing force.
The parts to be bonded must be cleaned, degreased and dried. After applying glue, the surfaces are tightly connected to each other, pressing them with a dense cloth. It is necessary to understand that the adhesive mass at this stage is still very hot, so we do everything carefully.
If the glue stops coming out of the nozzle, then the rod is out. A new portion is inserted into the hole at the end. While pulling the trigger, hold the rod so that it is in the feed mechanism.
After completing the work, disconnect the tool from the network. Next, we put it in an inclined position and leave it for 10 minutes to cool down. Remnants of glue may leak from the nozzle at this time, so be careful.
After the instrument has cooled down, it is allowed to store it in any position. It is advisable that the place be protected from dust and debris.
During the gluing of the parts, thin threads will be formed, similar to a spider web. They can be easily removed after hardening. If the work surface allows, then you can use a vacuum cleaner (with a small brush attachment for cleaning clothes).
Hot melt glue gun: design and features of work
In shape, the glue gun is similar to an ordinary gun, which is why it got its name. The device is filled with a stick of glue, which, when heated, melts to a fluid consistency. You need to install the rod from the back of the tool, threading it into a special receiver. During operation, its tip falls into the heating module, and the glue melts in about 4-5 minutes. When the trigger is pulled, the compound comes out of the nozzle onto the surface of the product.
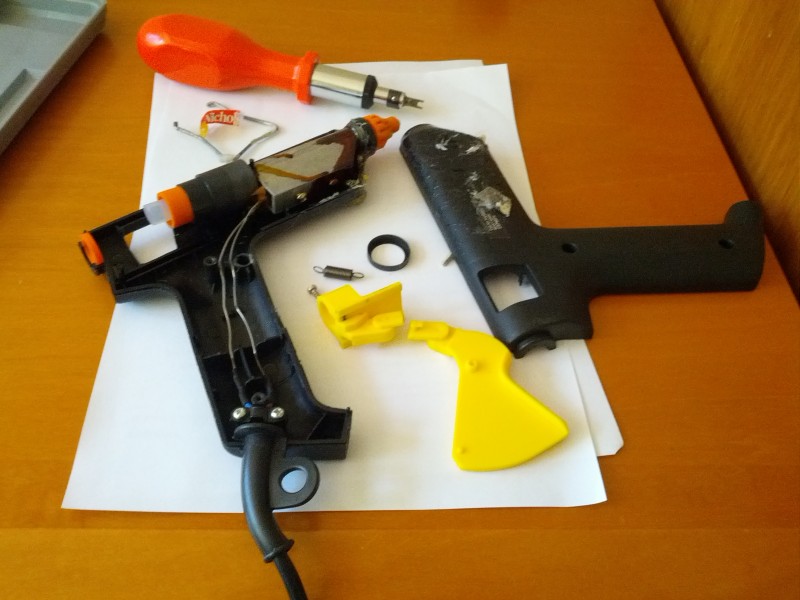
The design of the glue gun includes the following elements:
- Heating module. Located in the barrel, it is a metal reservoir with a heating unit at the bottom. More expensive models have several heating units to melt the glue.
- Annular pusher. This is the glue feeding mechanism that most often breaks, mainly with excessive user effort.
- Clutch. It looks like a tubular receiver located under the glue heating chamber. The coupling is needed to seal the elements of the system so that the molten composition does not get into them.
- Nozzle (nozzle, nozzle). Allows you to direct the flow of glue in the desired direction. There is a shut-off valve inside that prevents the solution from flowing out freely. The outside of the nozzle is coated with a heat-resistant alloy that protects it from damage. This part of the gun must be regularly cleaned to remove glue residues.
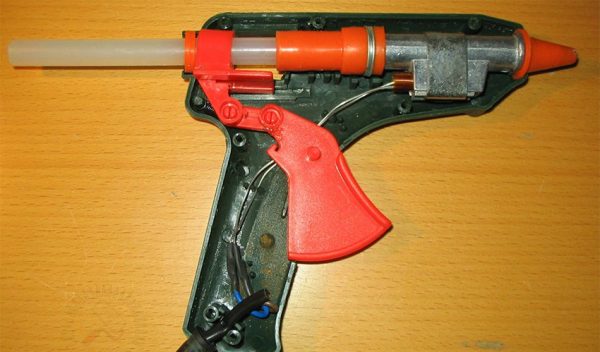
Distinctive features of hot glue guns
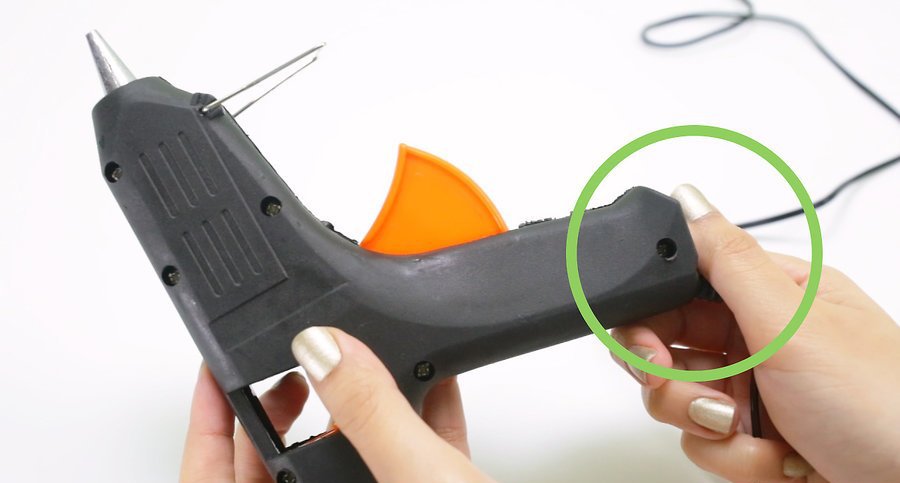
When choosing, you need to pay attention to the quality of the body of the glue gun. The box itself must be made of durable polymers that can withstand heat without burning your hand
There are models with a viewport where you can see the remainder of the glue. Anti-slip inserts are often made on the handles, and a stand is included in the package. Interesting is the design of the spray gun, which significantly speeds up the application of glue to large surfaces. When buying a pistol, it is imperative to compare the diameter of its barrel with the size of the glue rod - they must match.
Required glue heating temperature
The glue begins to melt already at +80 degrees, but the process will be very slow. Therefore, the pistols provide the ability to melt the material at + 150 ... + 200 degrees, which significantly increases productivity.In expensive professional models, the glue heating temperature reaches +500 degrees.
Glue feed speed
Typically glue guns can deliver 5-20 g of glue per minute, although the speed depends on the heating time and the user's need. The upper limit of the indicator, in fact, is the limit of the capabilities of both the device and the master, otherwise there is a great risk of making a mistake. However, for professionals, special high-speed guns are sold (30 g of glue per minute and higher).
Security measures
Like any other electrical appliance, the glue gun requires certain safety precautions. You can see in this photo the extent to which you can burn yourself with hot glue if you allow the gun to overheat and hot glue flowing out of the cracks in its body.
Do not forget also that the wire connecting the gun to the outlet must be serviceable, away from the hands of the working person. If possible, choose a wire in a thick protective sheath and preferably not too short.
Do not allow children to use the glue gun without your supervision.
DIY braided belt
How to make a braided women's belt with your own hands. This leather belt can be made from old leather clothing.
DIY phone case
We offer you several ways how you can quickly and easily make a case for your phone with your own hands from genuine leather.
DIY leather steering wheel braid
How to make leather lacing for the steering wheel. Do-it-yourself technology for sewing a steering wheel cover.
How to sew with rubber thread on a sewing machine
To make an assembly on a dress with a stitching with a rubber thread, the elastic thread must be wound around a bobbin.
How to sharpen scissors at home
Sharpening of scissors, especially used by hairdressers and tailors, should be done on a special machine and always by an experienced craftsman. But often there is a need to urgently sharpen scissors at home, without wasting time on going to the workshop. Can I sharpen the scissors myself?
How to choose zigzig scissors
If the purpose of tailor's scissors is clear, then what are curly zigzag scissors for, especially if there is an overlock and do you need to buy them at all? These are the questions that the atelier technologist will try to answer.
DIY office chair repair
This article gives the wizard's advice on how to drag an office or computer chair with your own hands. They will help you save money when repairing your chair.
Sewing machine repair:
- Sewing machine Podolsk
- Sewing machine seagull
- 1022 class sewing machine
- Overlock class 51
- Repair, setting up overlocks
- Sewing machine problems
- How the sewing shuttle works
- Why does the stitch loop
- Sewing machine lubrication
Sewing machines:
- Brother sewing machine
- Covering sewing machine
- Embroidery Machine
- Sewing machine classes
- Janome sewing machines
- Podolskaya 2M PMZ
- Instruction Podolsk 142
- Sewing machine manufacturers
Knitting machines:
- The basics of knitting fabric
- Knitting machine repair
- Knitting machine Severyanka
- Double Knitting Machine
- Knitting machine Neva-5
- Toyota KS-858
- How to knit the first row on the machine
- We knit by car - the first steps
- Yarn for machine knitting
Helpful hints:
- How to choose a sewing machine
- Tailor mannequins
- What can be sewn from the old
- How to choose an iron
- Household iron with steam generator
- What to make out of an old fur coat
We sew ourselves:
- How to sew chair covers
- We sew the sofa cover ourselves
- Replacing the zipper in the jacket
- How to hem jeans
- How to sew a bedspread
- We sew bed linen
- Pattern and tailoring of skirts along the side
- How to sew fur mittens
- Fitted sheet
- How to make jeans shorts
home
Instructions
Sewing accessories
Useful Tips
Sewing Dictionary
map of site
Contacts
Design
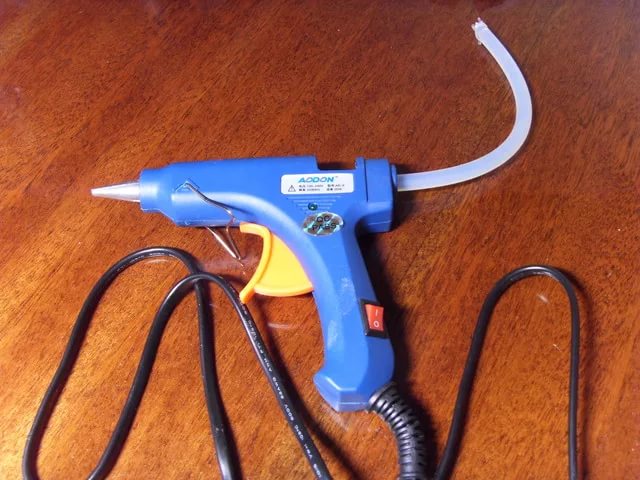
A hot glue device is called a "hot glue gun" or "hot glue gun".The device owes its name to its appearance, since outwardly it looks like a children's pistol. The body of the product of all models is made of refractory plastic. This makes the device lighter and easier to handle. The hot melt glue gun is designed for gluing various materials by using a special type of glue in the form of cartridges. Most often, the device is powered by electricity: to operate it, it is enough to plug it into a 220 W outlet.
However, today there are other varieties that function at the expense of batteries or gas. Mobility adds advantages to their work, but the lack of a landline connection also has disadvantages. This is due to the rapid discharge, as well as insufficient heating of the adhesive.
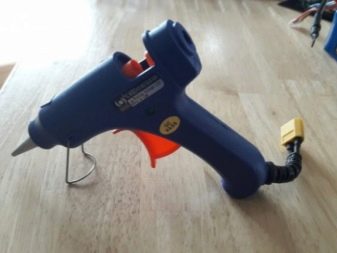
The key design elements are:
- frame;
- viewing window;
- nozzle;
- nozzle;
- stand;
- trigger trigger;
- Temperature regulator;
- adhesive dispenser;
- power button.
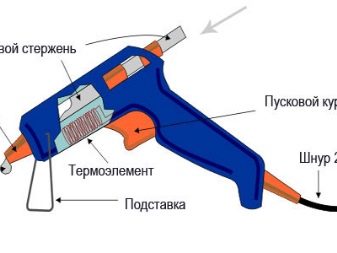
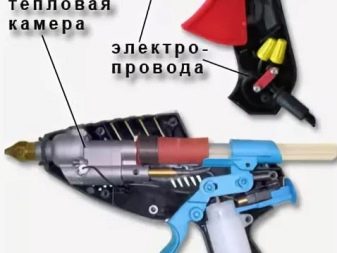
There is a special glue chamber inside the case. In addition, the internal components of the device are fuses and heating elements. The viewing window allows you to see the remaining amount of adhesive. Typical nozzle diameters are 3 mm for 11 mm bar models and 1.5 mm for 7 mm bar versions. Professional models may have removable nozzles for changing the nozzle size.
The heating element melts the glue sticks, and the glue under pressure is fed to the trigger from the nozzle to the outside. For the safety of the user, the nozzle has a silicone cover.

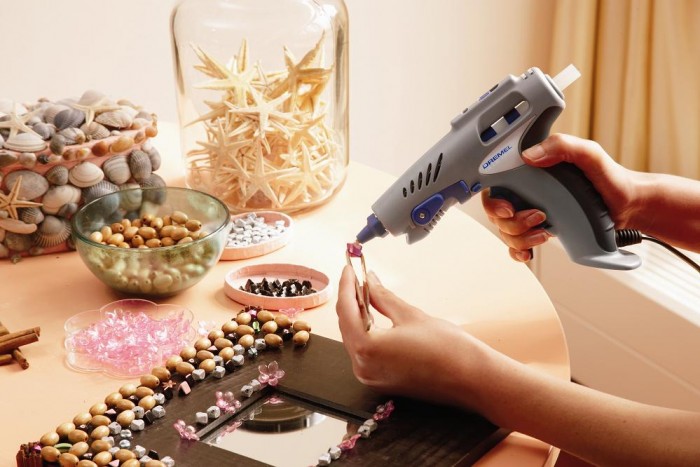
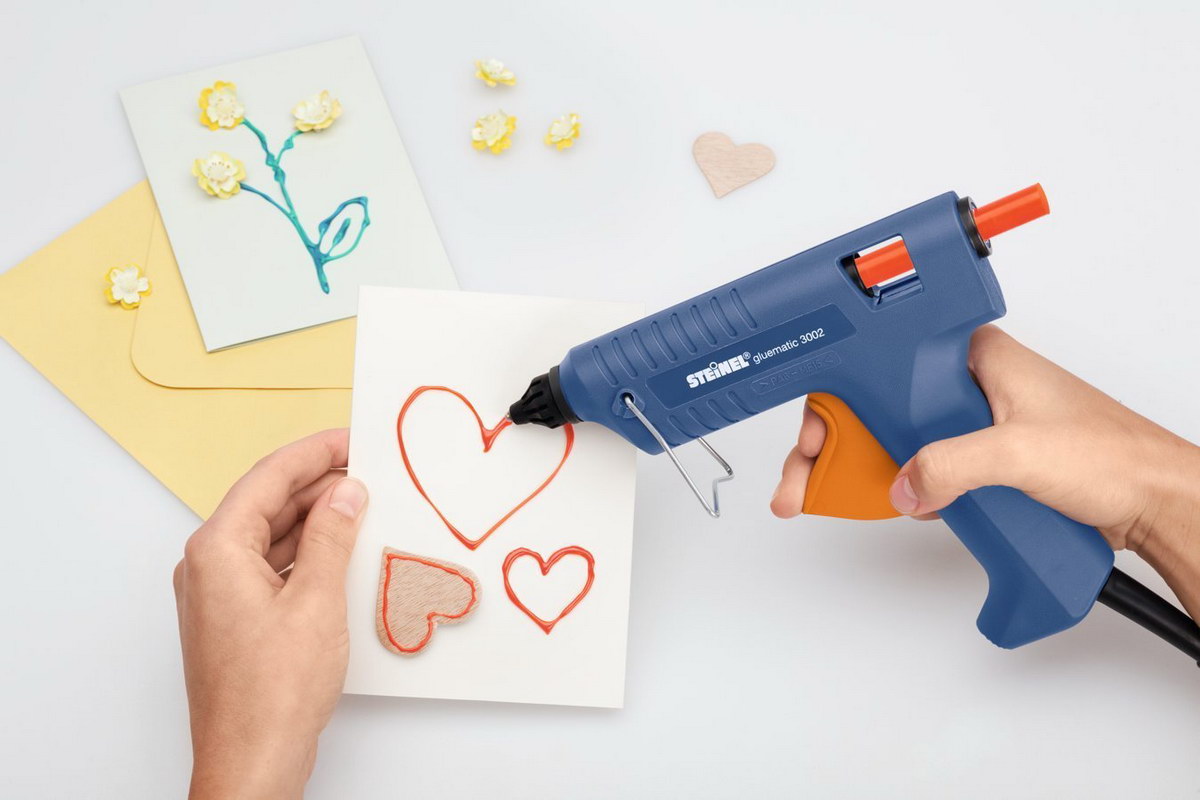
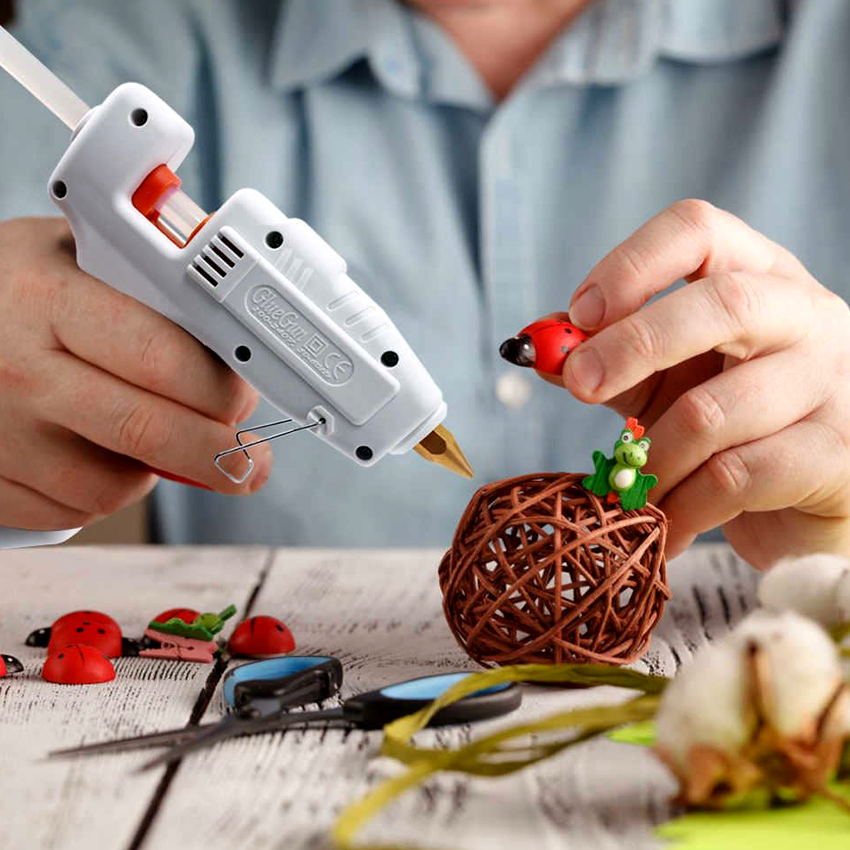
The use of a glue gun in needlework
Needlework is one of the areas where you cannot do without a thermal gun. You can, of course, use glue from a tube in the old fashioned way, but this will greatly complicate the work and reduce its quality. Most often, DIYers take rods with a diameter of 7-11 mm. How to use the device in needlework and what kind of crafts can you do with it?
What can be glued with a heat gun, how to remove excess glue?

The hot melt gun is used for gluing the following materials:
- Paper and cardboard. The simplest material from which you can make various applications, postcards, pictures.
- Beads, beads and rhinestones. Plastic and glass jewelry is glued to paper, cardboard, fabric, leather.
- Textile. With the help of glue, you can either fasten individual pieces of fabric, for example, when making a postcard using the scrapbooking technique, or repair leaky clothes. Colored rods will make the seam almost invisible.
- Ceramics and glass. With the help of hot glue, you can assemble mosaic panels, lay out patterns.
What to do if too much glue gets on the material and you need to remove its remnants? The hot substance will smear over the surface, so you need to wait until the glue hardens. When cold, it can be easily removed with a regular blade or a utility knife.
Fancy glue crafts made with a glue gun
A hot glue gun can be not only an auxiliary device for gluing surfaces, but also the main tool of work, because you can make crafts from this material. Examples of unusual glue crafts:
- Snowflake. Draw the outline of a snowflake on paper, insert it into a transparent file. Using a glue gun, pour the glue along the drawn contour. While the substance is still hot, it is sprinkled with sparkles. When the glue has cooled down, it can be covered with pearlescent varnish on top. After complete cooling, the snowflake is removed from the file. Even a child can handle such a craft.
- Christmas ball. They take a plastic Christmas tree ball as a basis, wash it, wipe it and degrease it. A pattern is applied to the surface with hot melt glue from a pistol. Christmas balls with a pattern of a different color than the base look interesting.
- Candy bowl vase. To make a vase, you will need a cup without a handle, cling film and fatty cream.The cup is wrapped in plastic and generously spread with cream - this will help the glue to move away from the base. To begin with, form the bottom, applying glue on it in an even layer. Then the pattern is continuously drawn from the bottom upwards with a thermal gun. After the glue mass has solidified, the resulting openwork vase is disconnected from the base cup. You can keep the color of the glue stick or paint the item with varnish or spray paint.


